Associate
Sorry for the unimaginative name, I just can't think of anything else at the moment  .
.
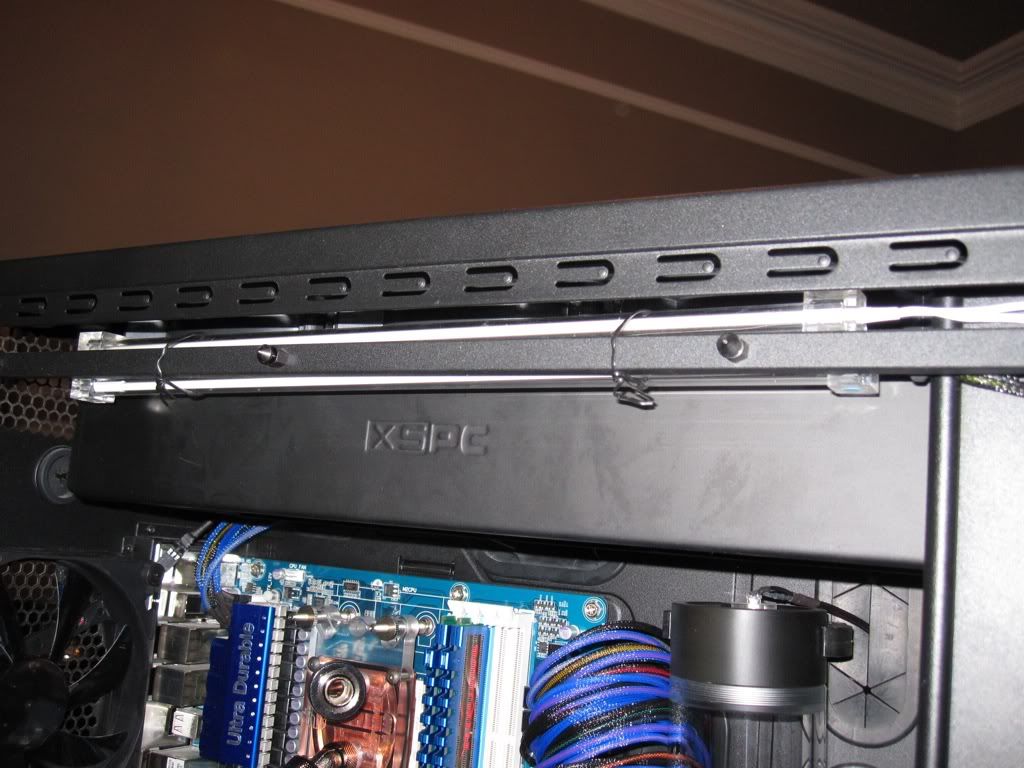
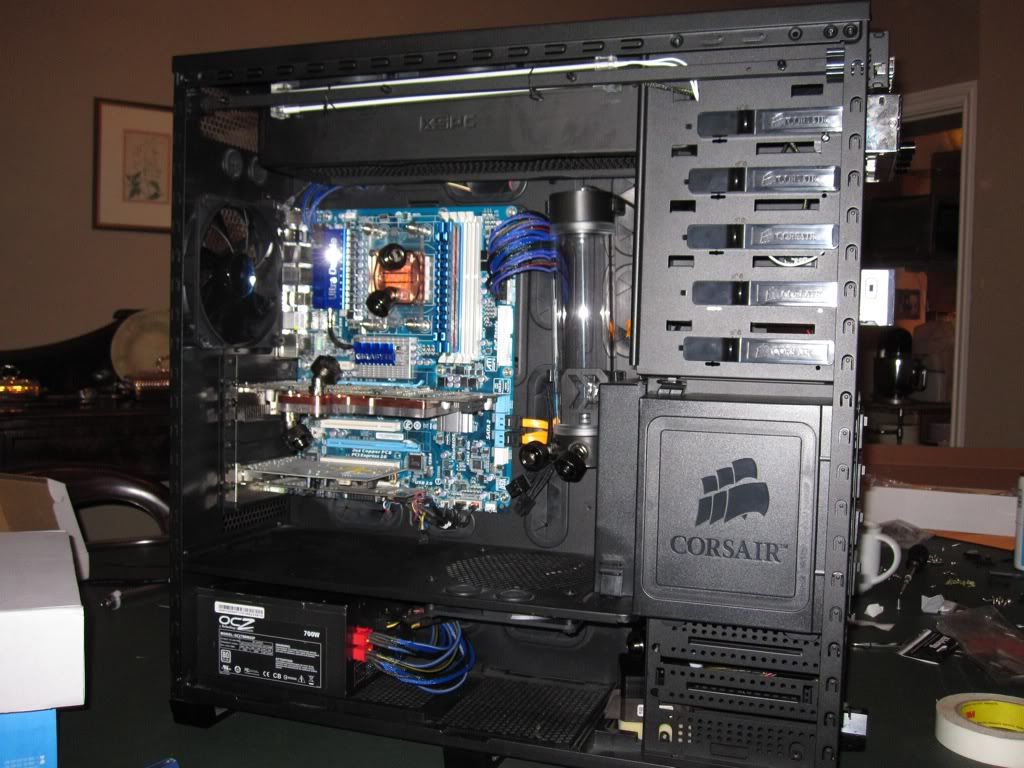
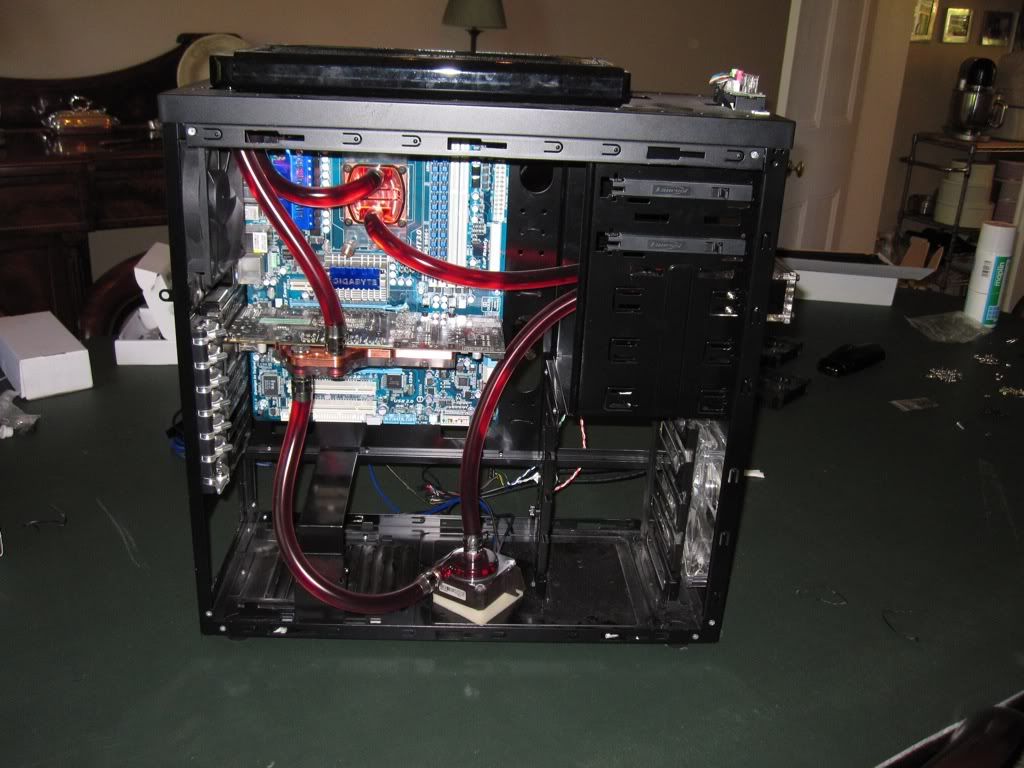
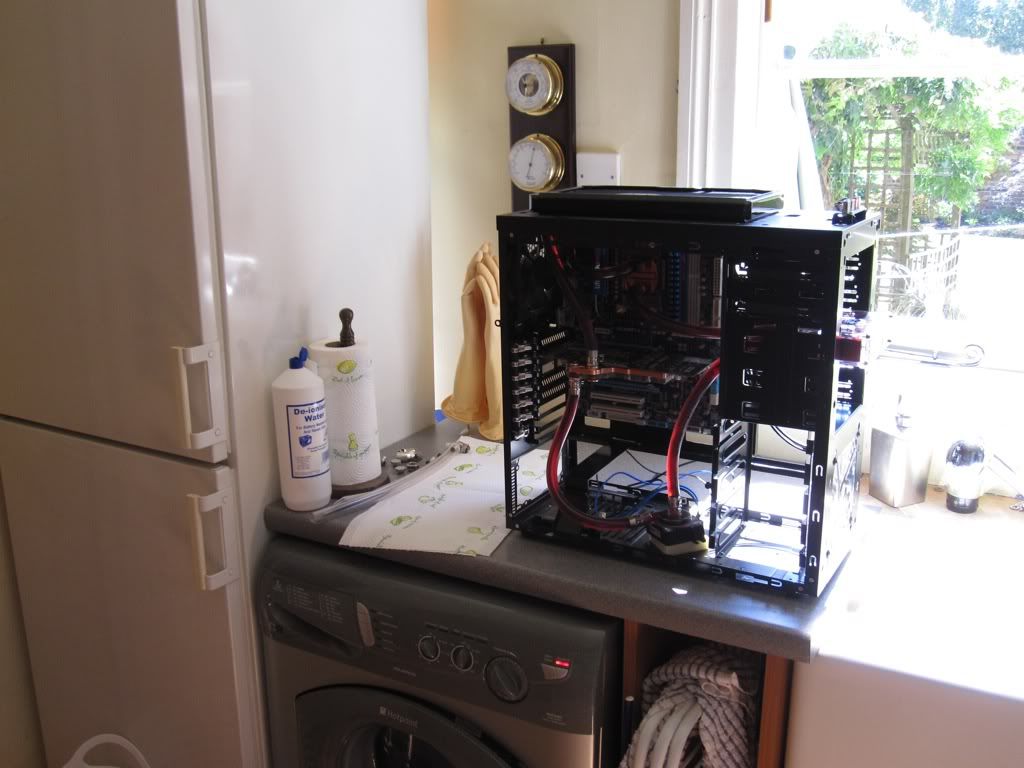
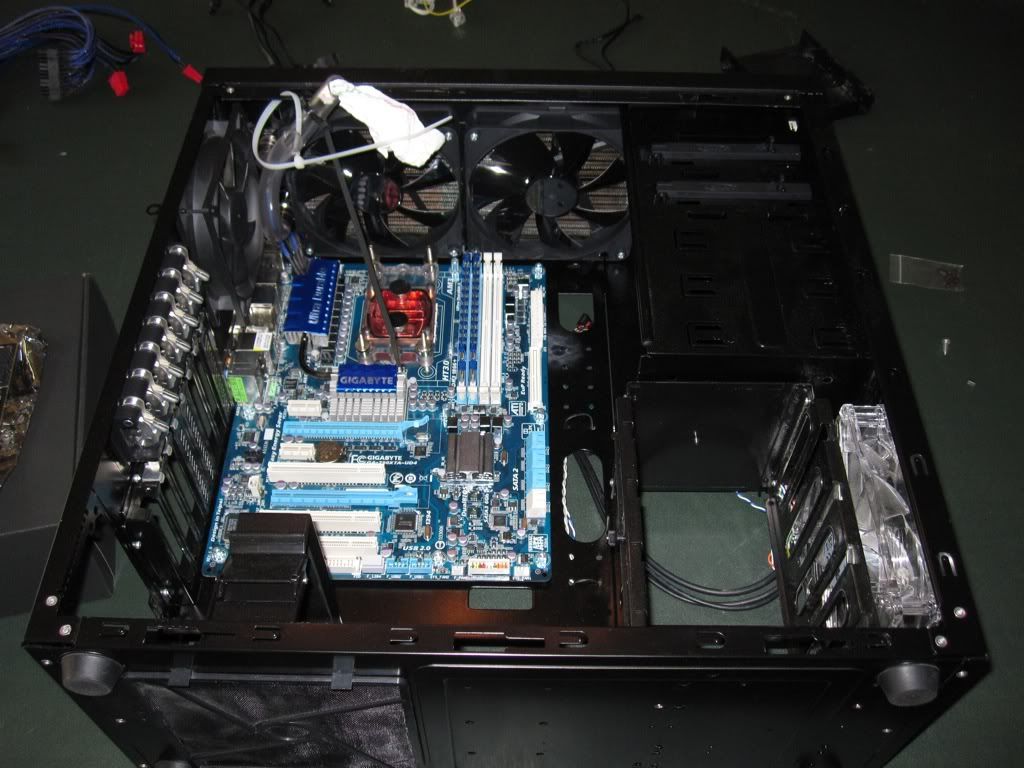
O.k. so back in January I decided to watercool my Lancool K62 rig (Project: Cool Dragon) and I had a bit of a nightmare. Leaks all over the place and broken 5850. Also, when I fired up the rig, I had the GPU temps I wanted but my CPU temps were actually higher than my Venomous-X I had had before
Therefore I have learned from my mistakes and have put my partial failure down to a few things. 1) I rushed it. I tried to do the whole thing on my own in 1 day and for a first time watercooler this was a bad move. 2) Lack of research. I thought a 280 slim rad would be fine for a CPU and GPU....I was wrong Also in order to use a bigger rad I would either mount it externally or buy a new case. I opted for the latter as I want a clean looking exterior.
Anyway, I did some thinking and earned a bit of money and have bought the following:
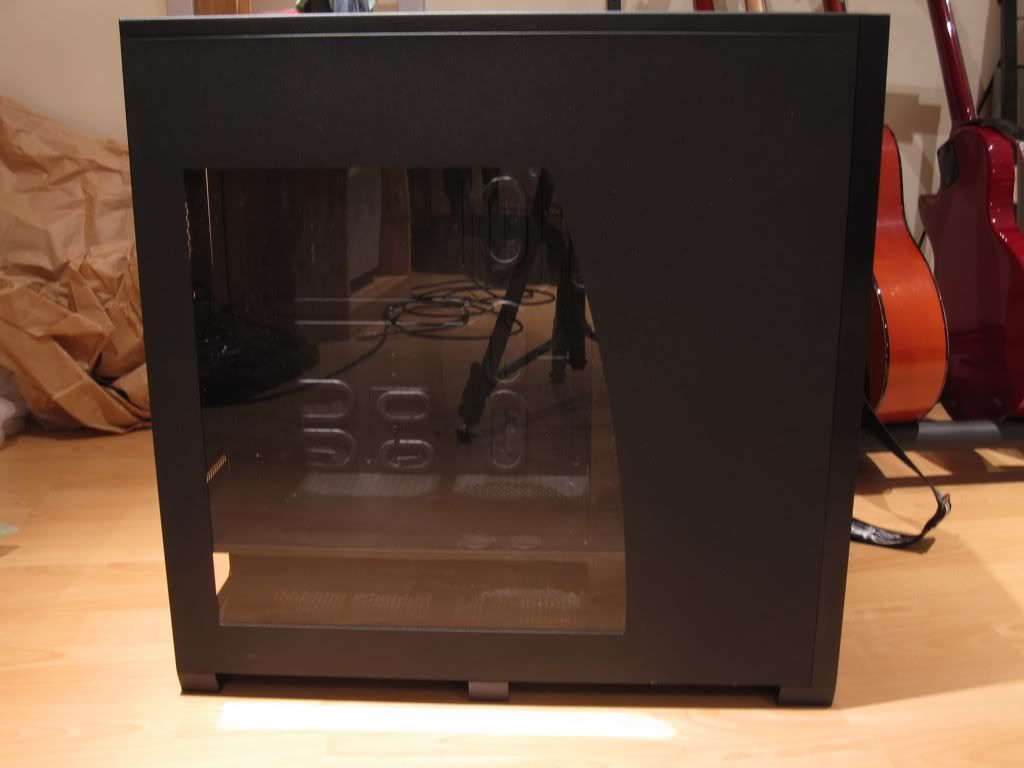
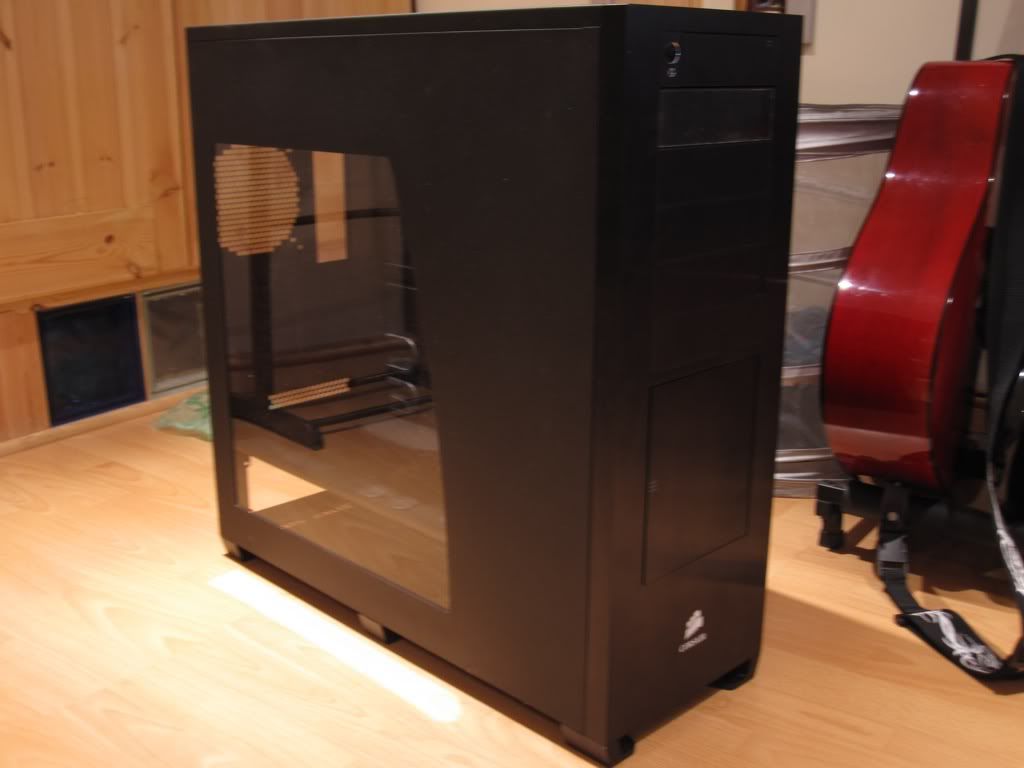
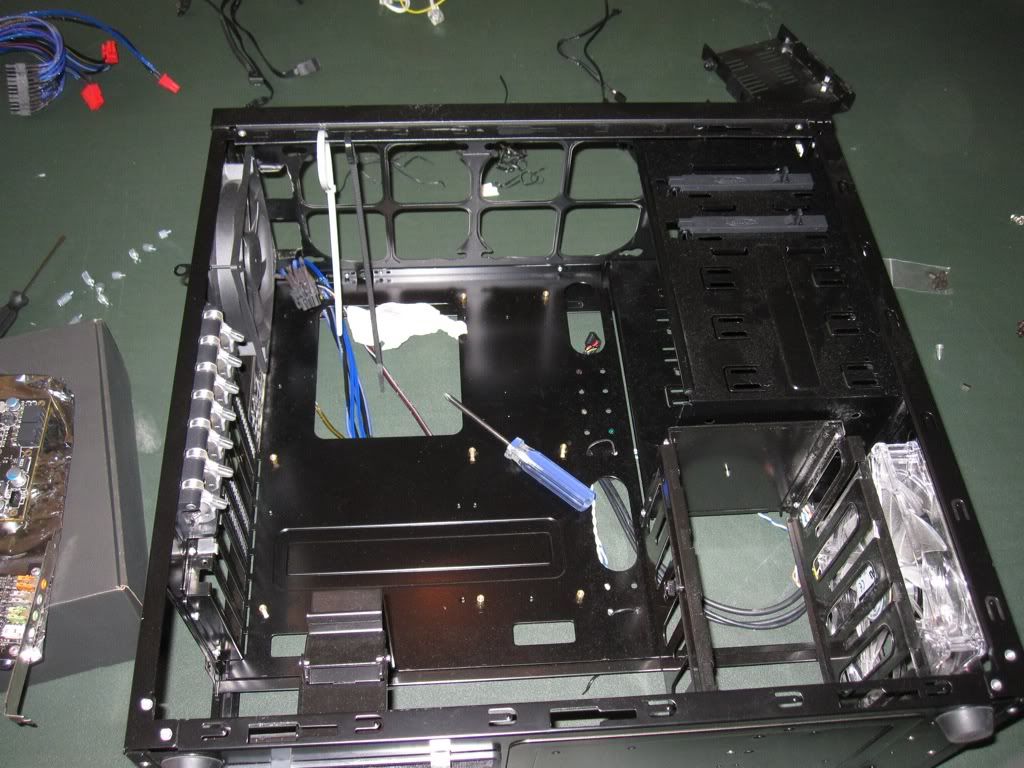
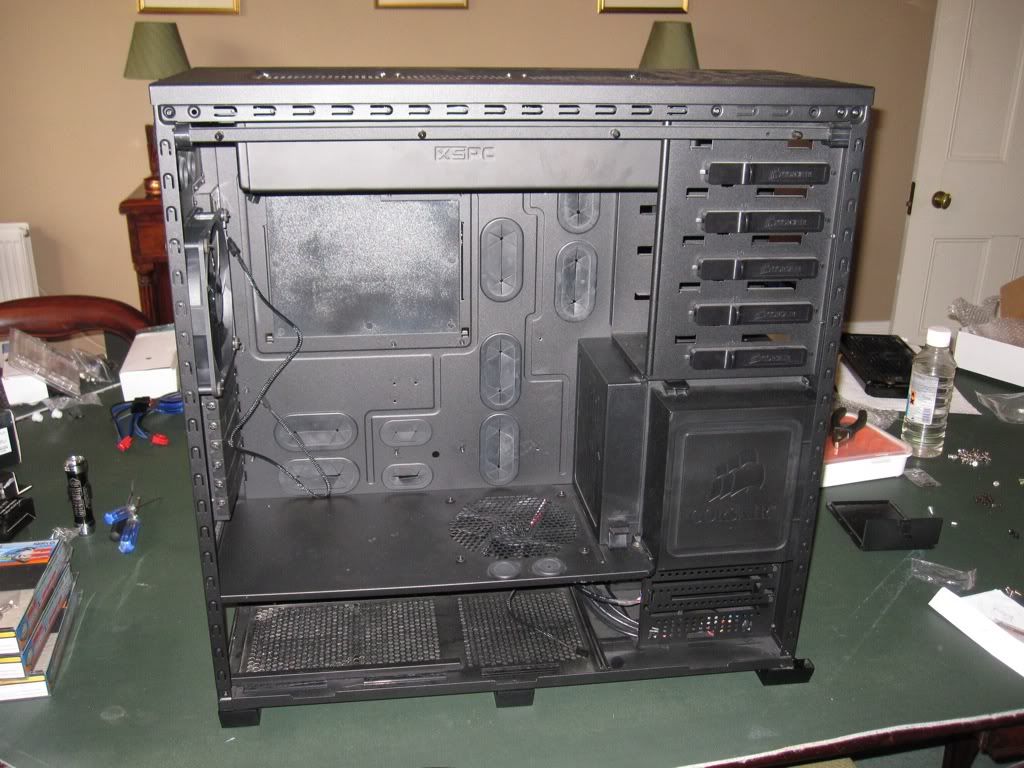
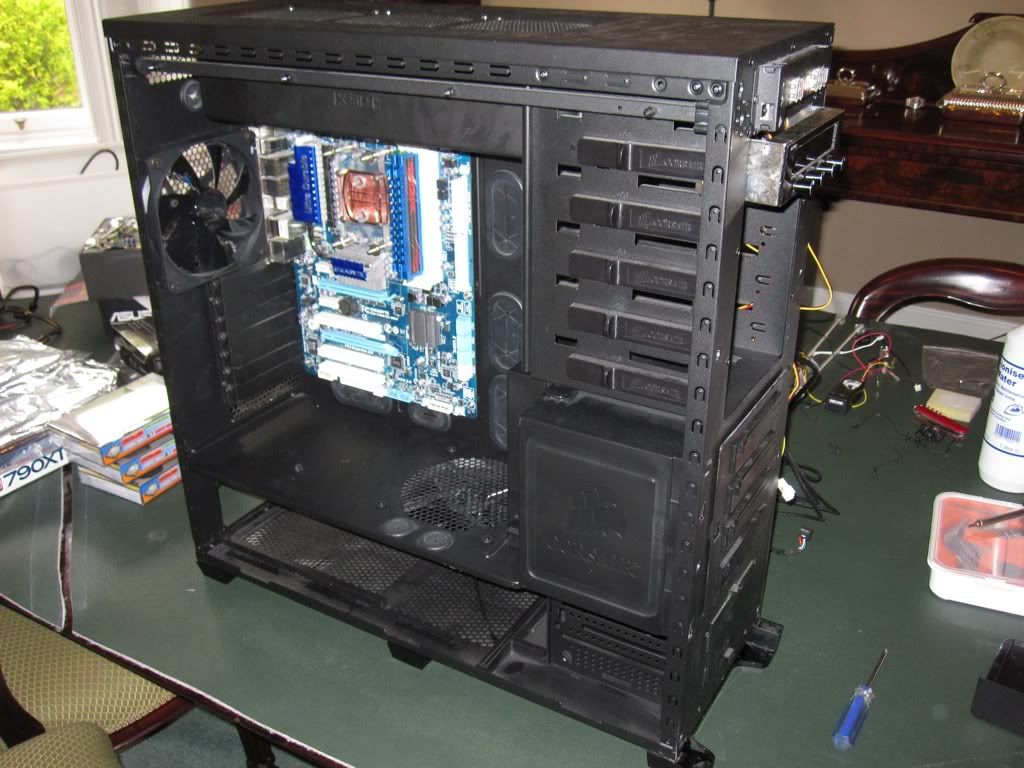
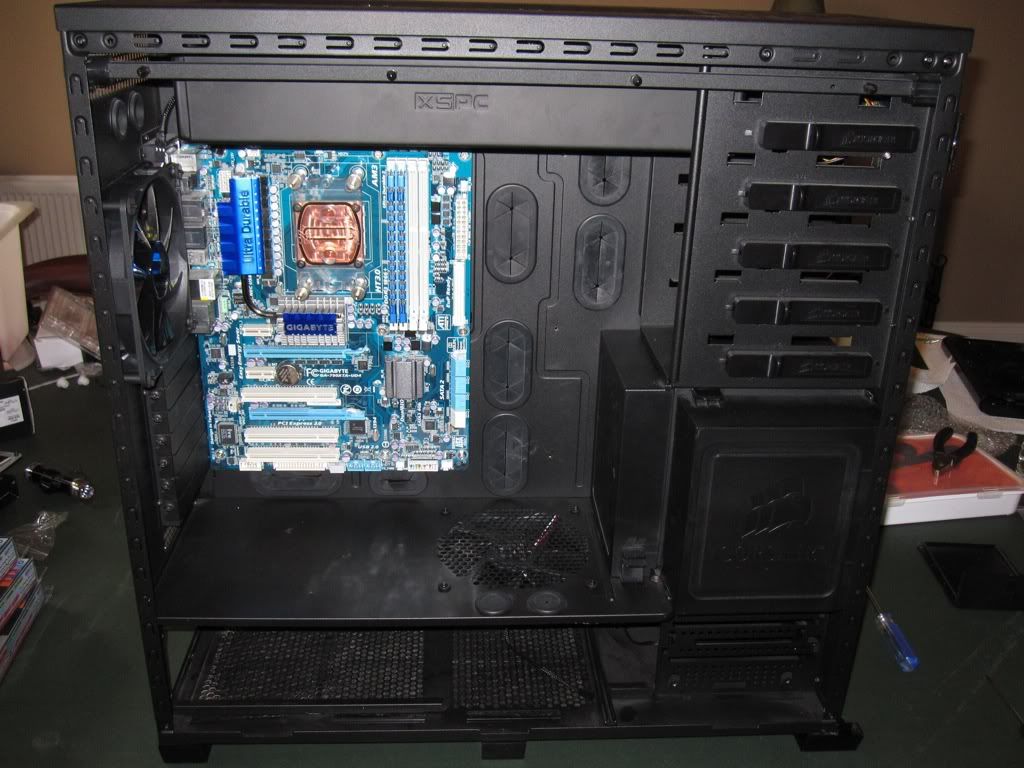
Corsair 800D (thanks to BringTheRain in the MM)
1x Black 1/2" compression fitting
3m White XPSC 1/2" tubing
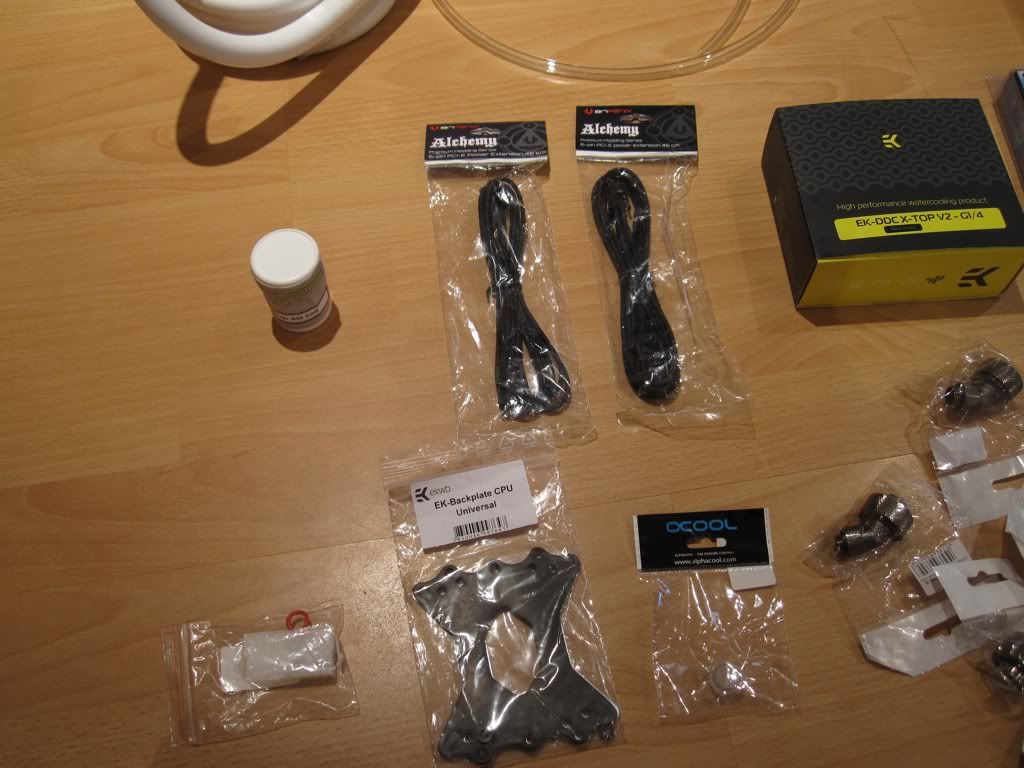
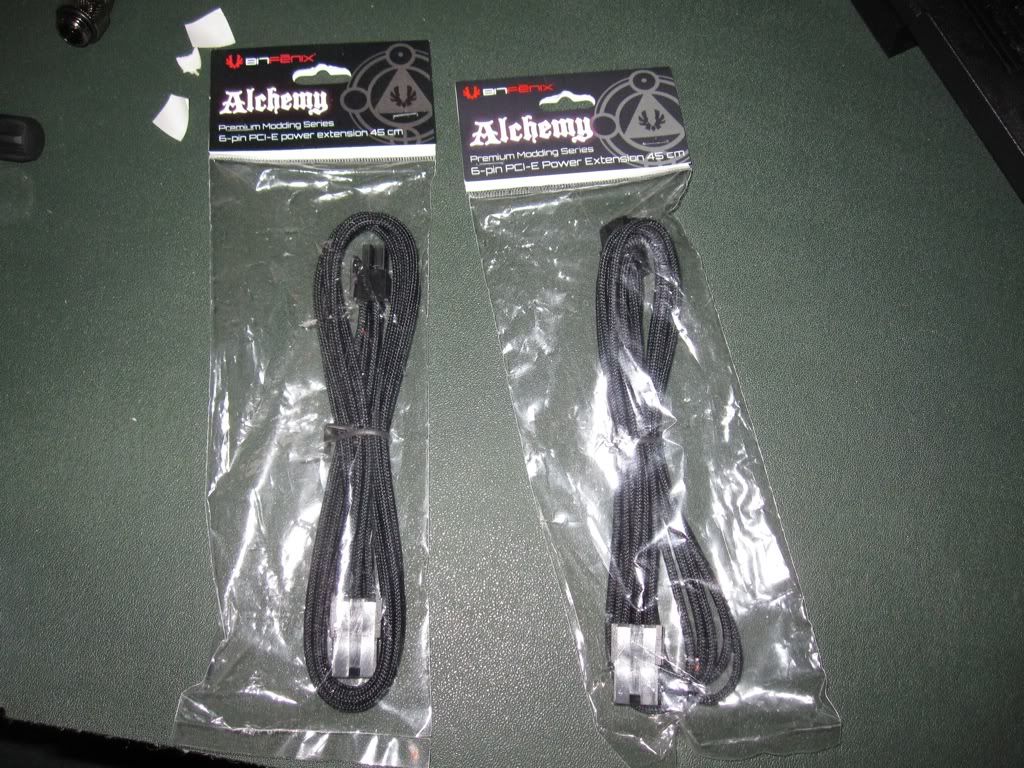
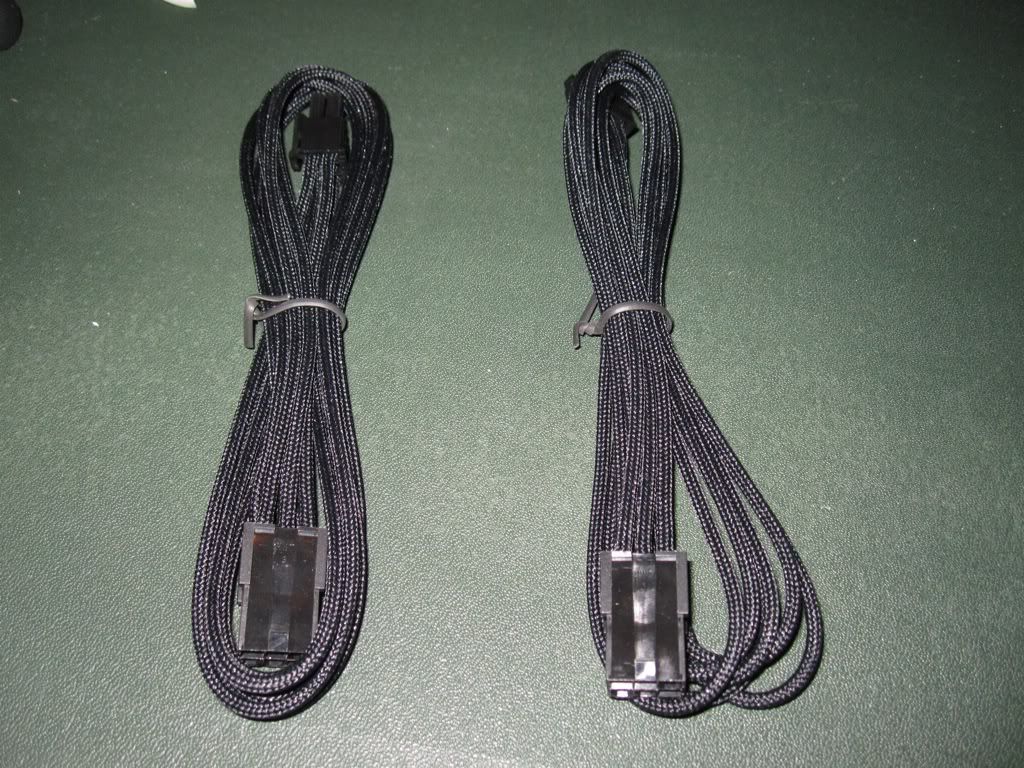
2x black bitfenix 6 pin PCIe extensions
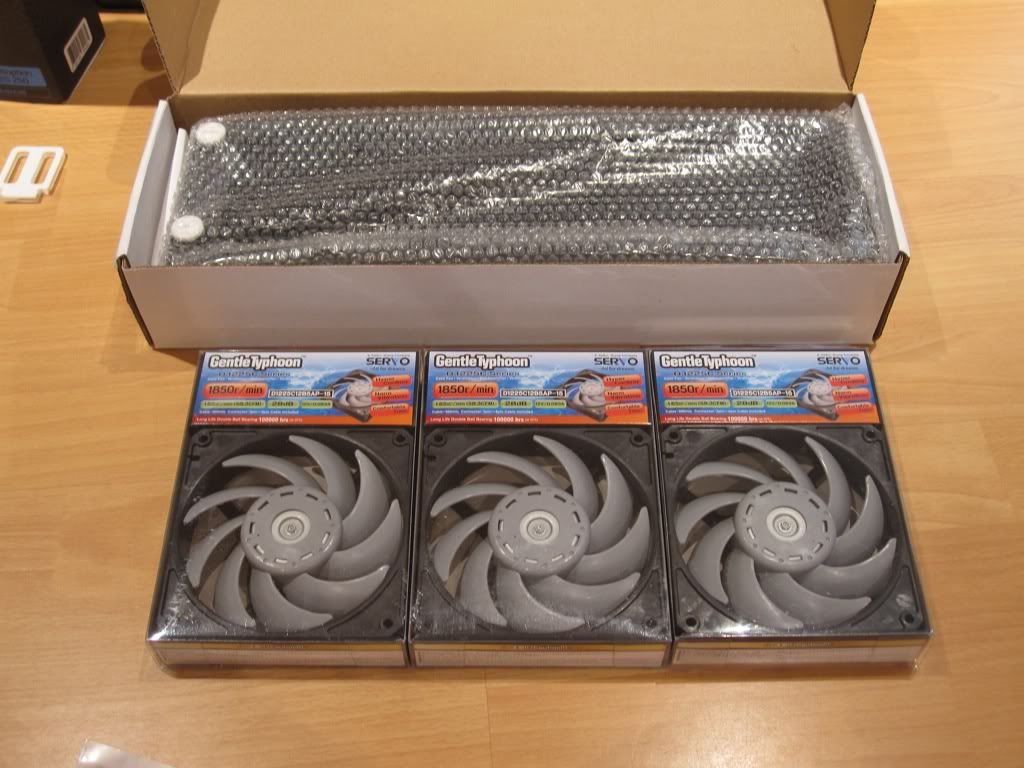
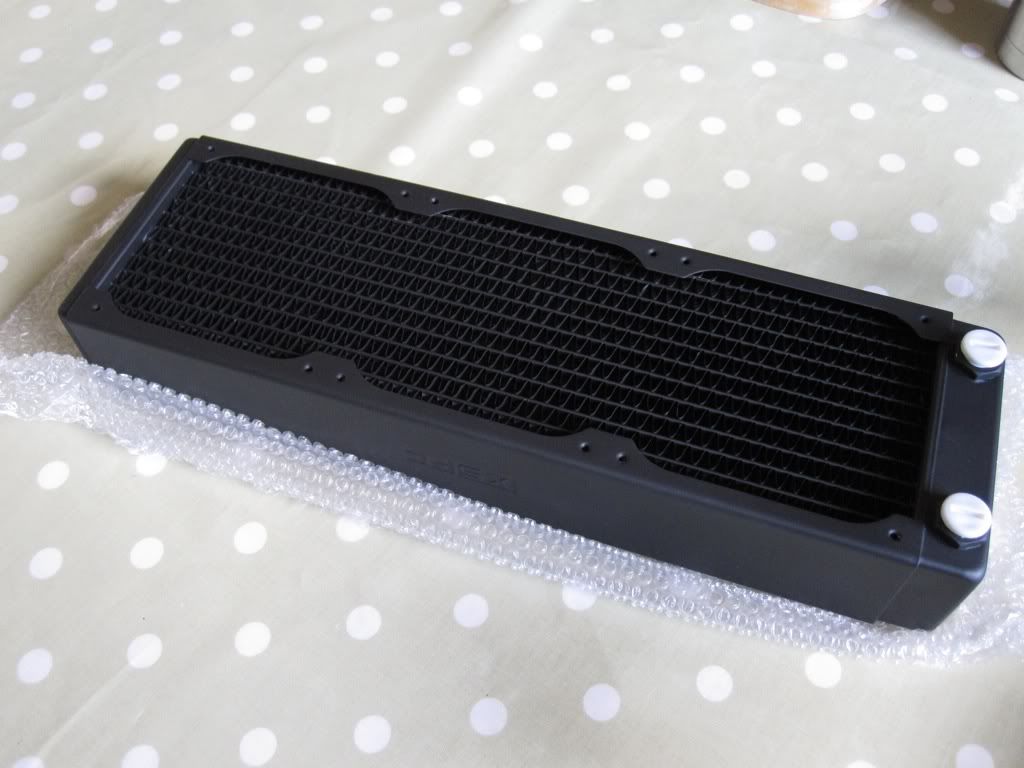
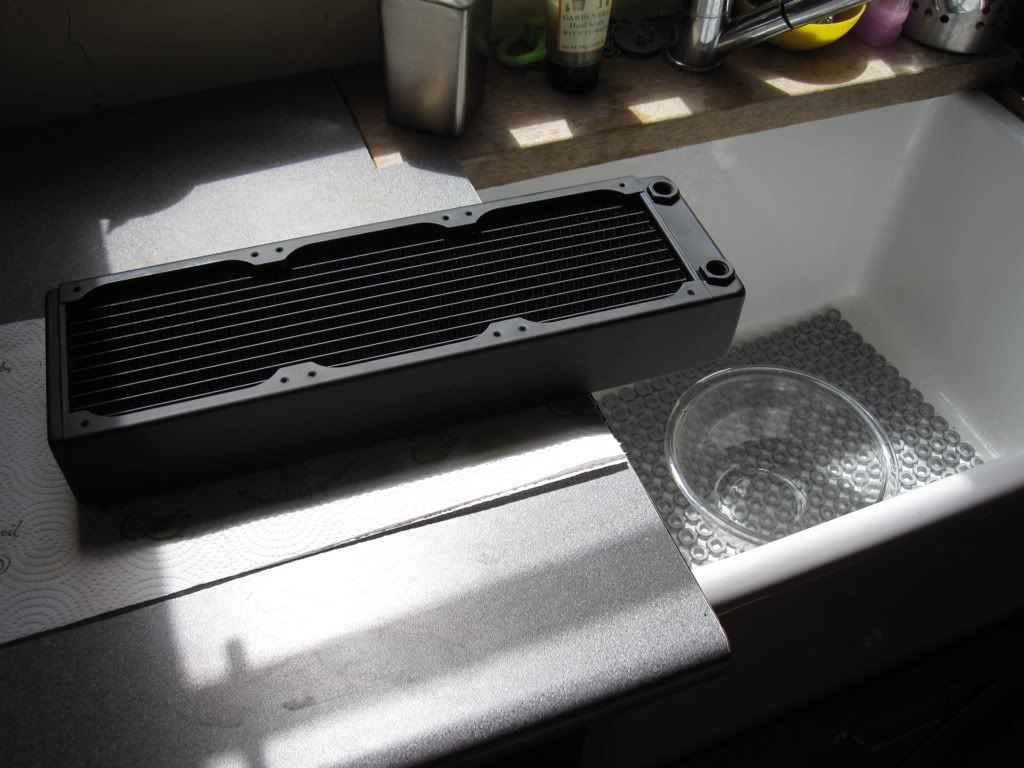
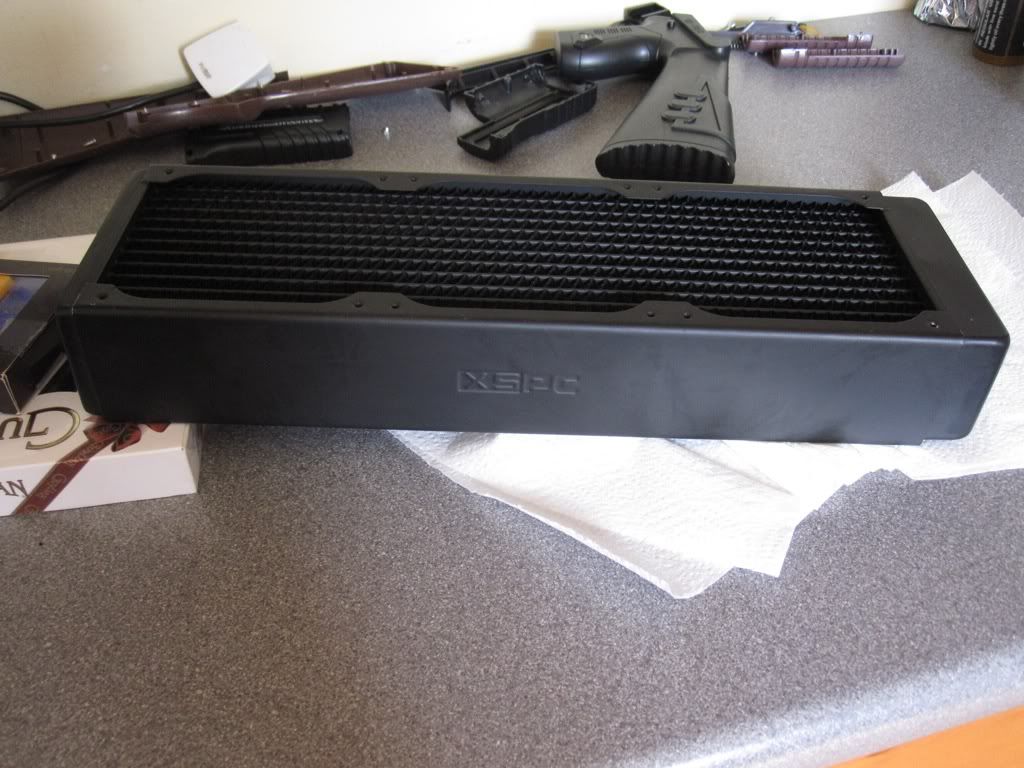
XSPC RX360 radiator
3x Scythe Gentle Typhoon 1850rpm
1x Silver Kill Coil
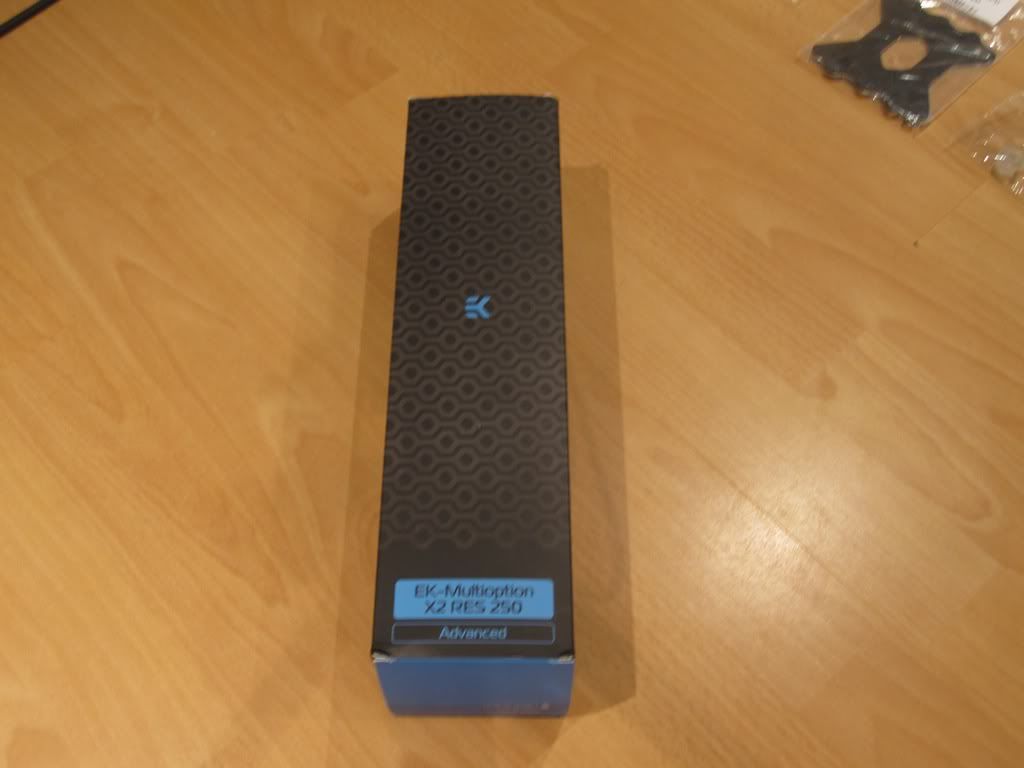
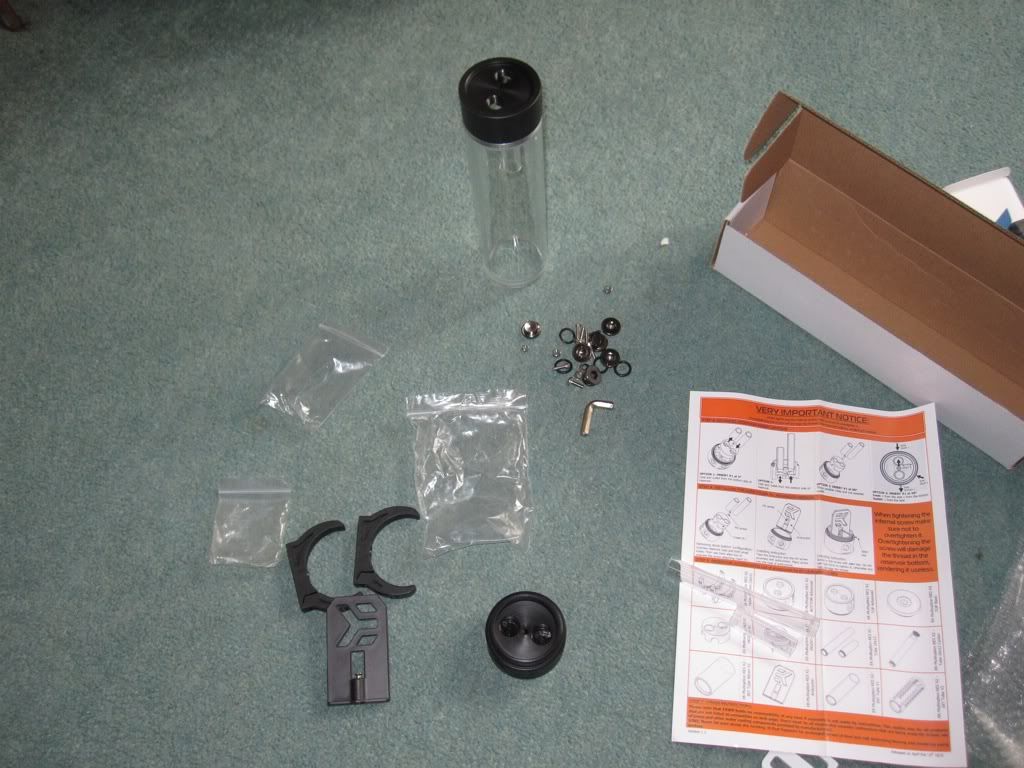
EK Multioption 250 Reservoir V2 Advanced
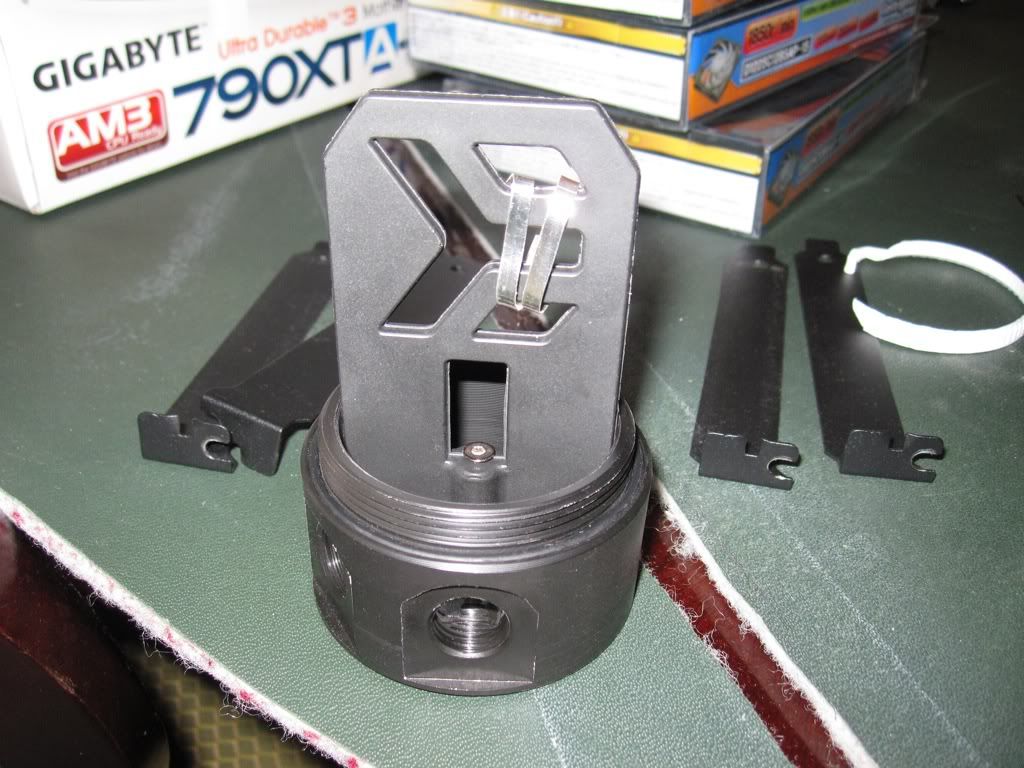
XSPC acetal pump top V3
LED Cap (basically a 1/4" plug but with space for an LED so I can use it in the res)
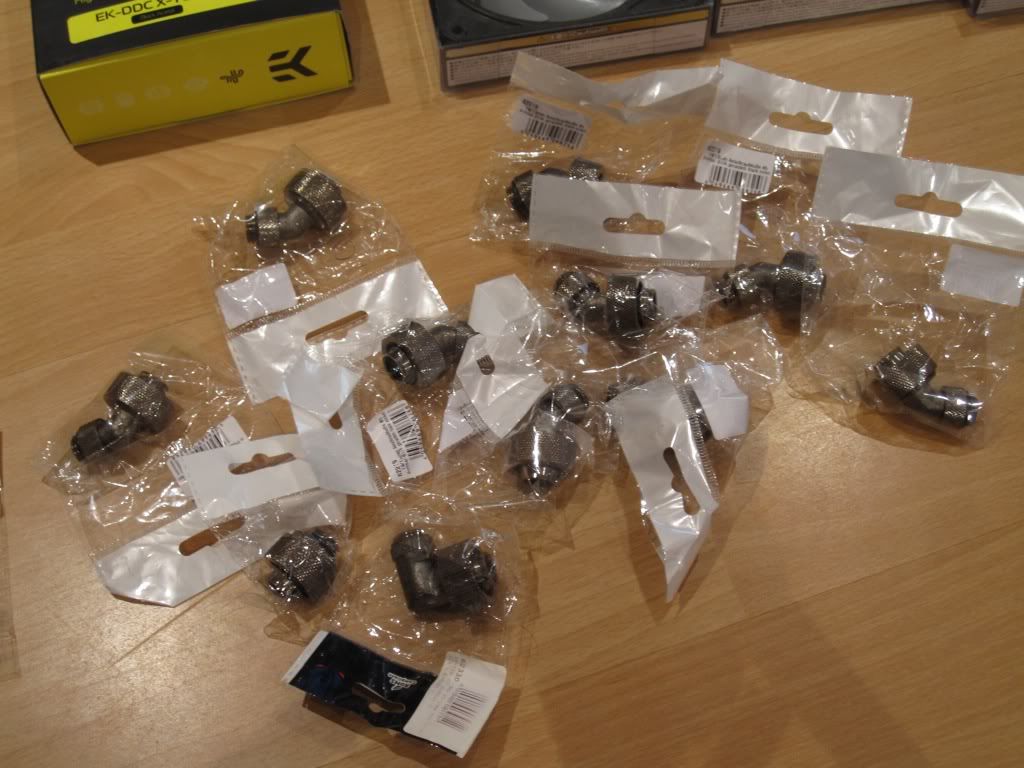
9x 45 Degree black 1/2" compression fittings
1x EK Anti-cyclon
PSU bridge Fpug (for jumpstarting the PSU as I find the paper clip really annoying)
8mm Tubing (for draining my current system)
CPU Backplate (my EK block never came with one so I have made do with my custom one. This was cheap so I though I might as well throw it in to my order )
90 degree 1/2" compression fitting.
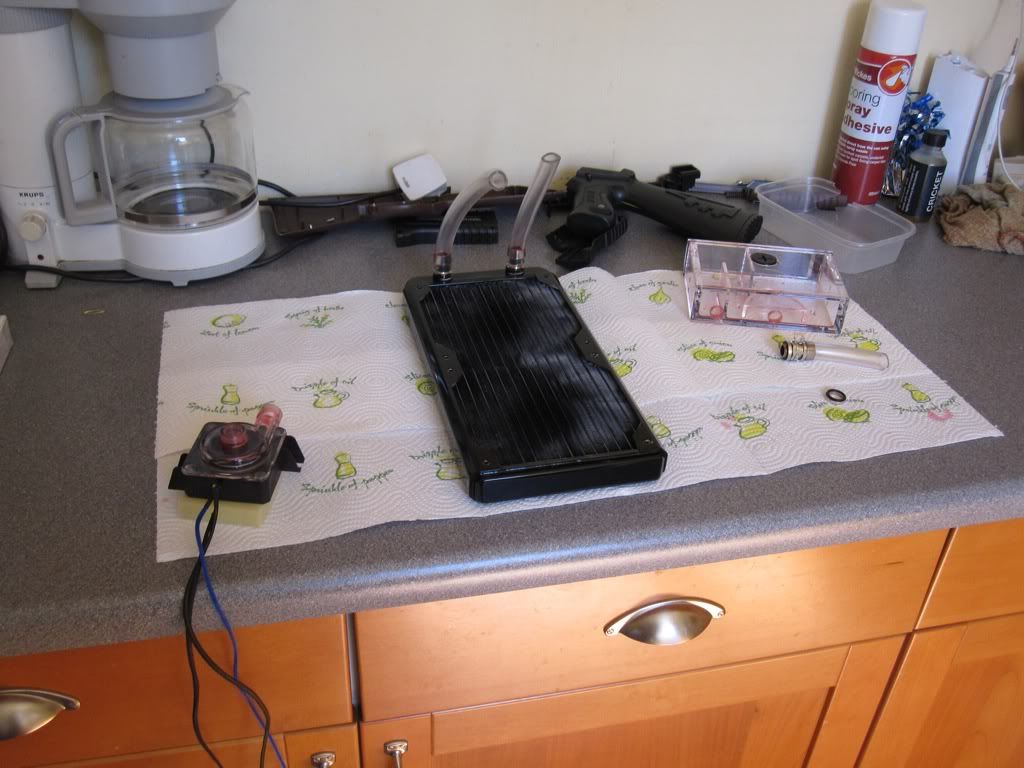
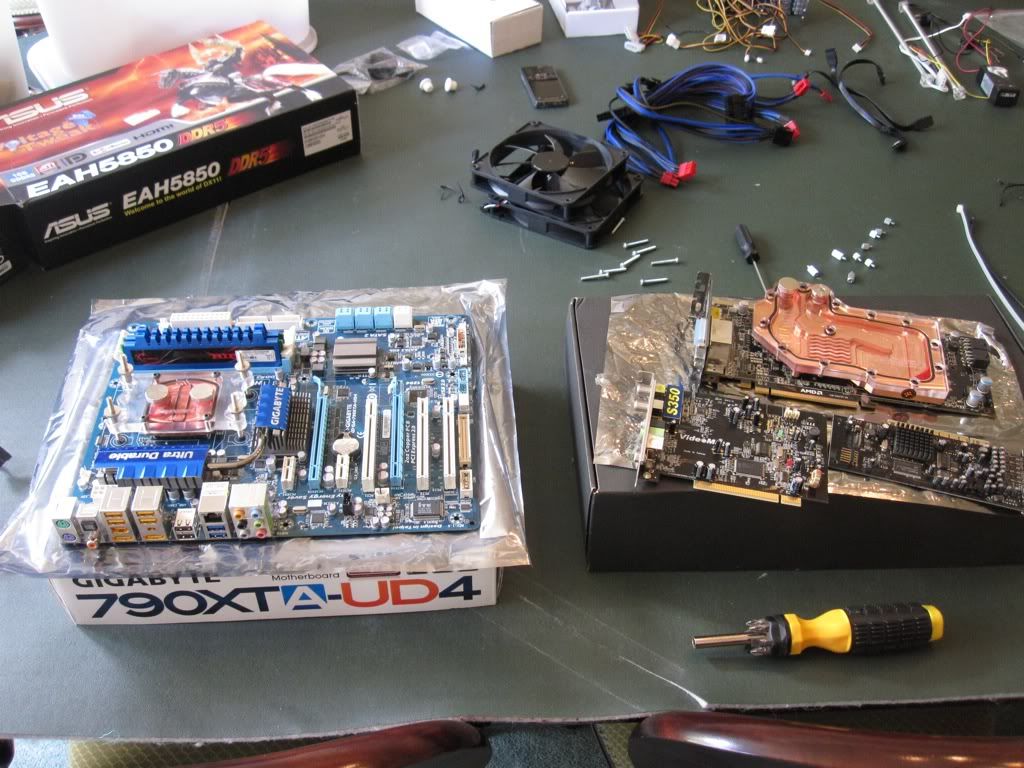
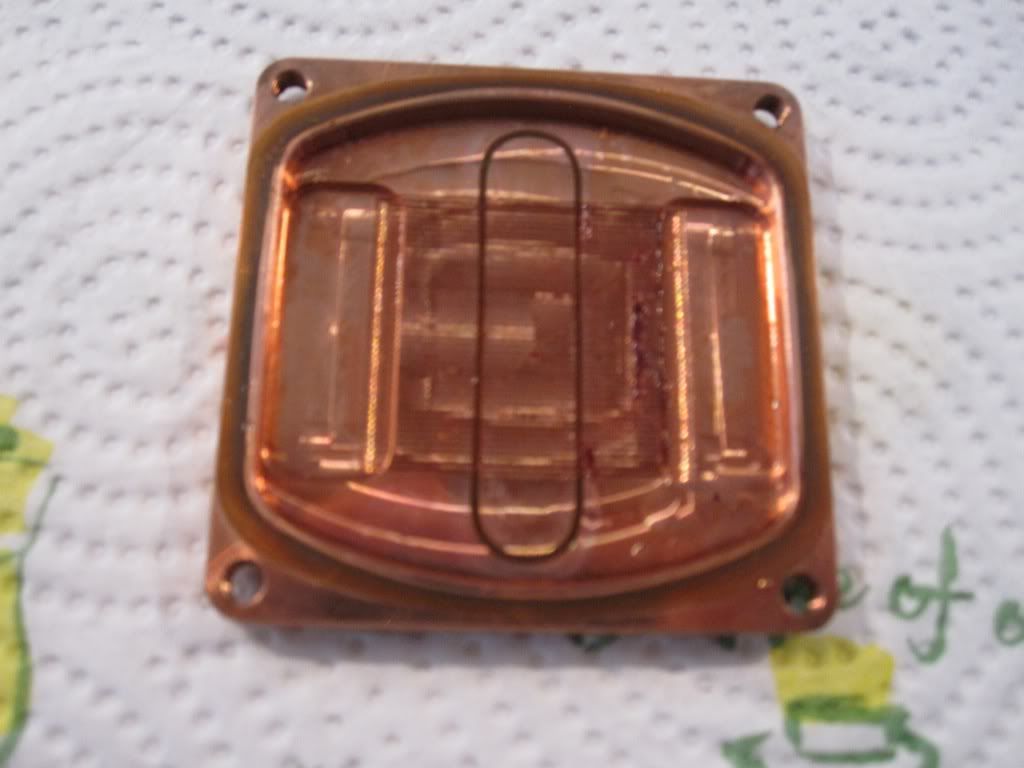
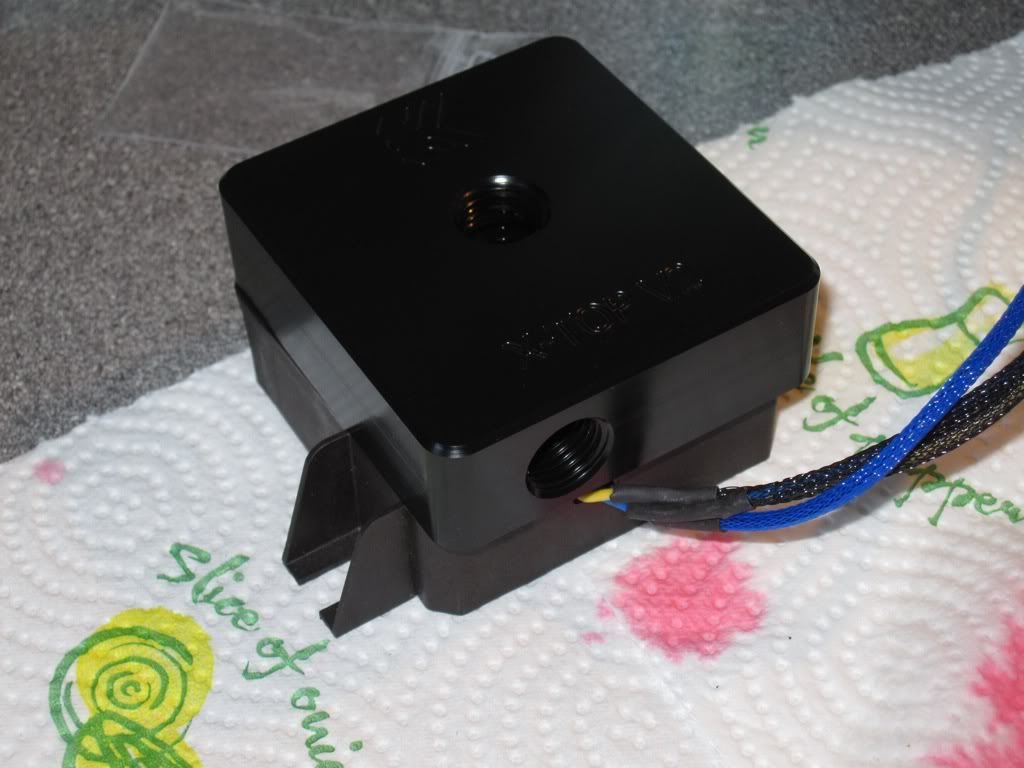
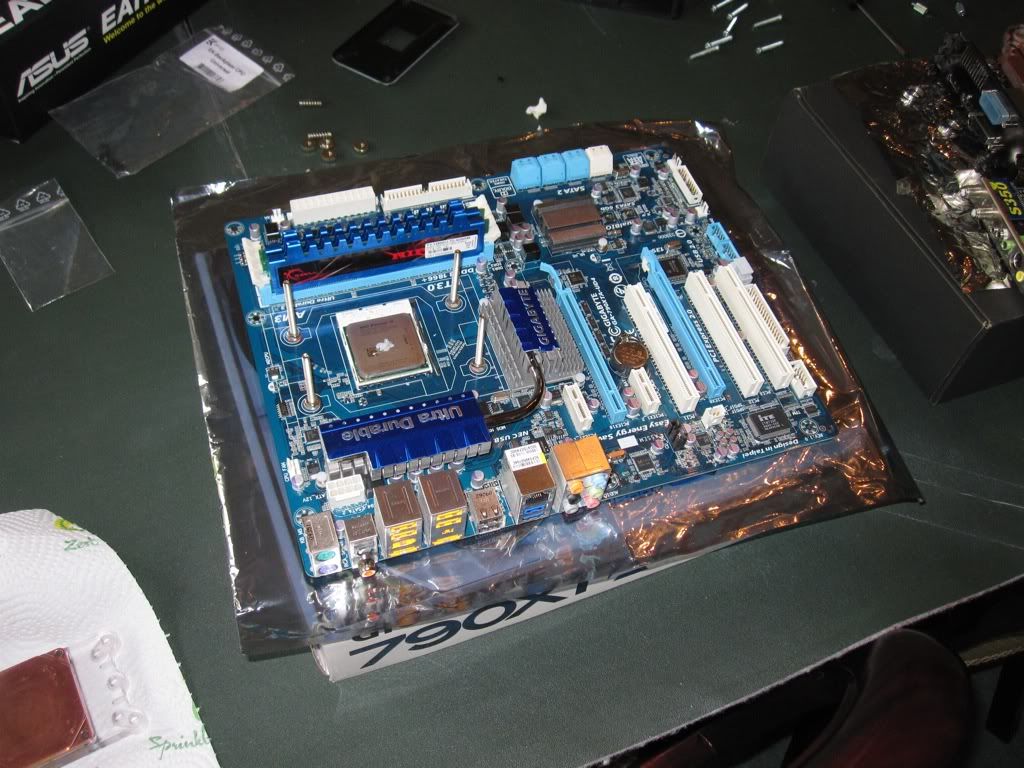
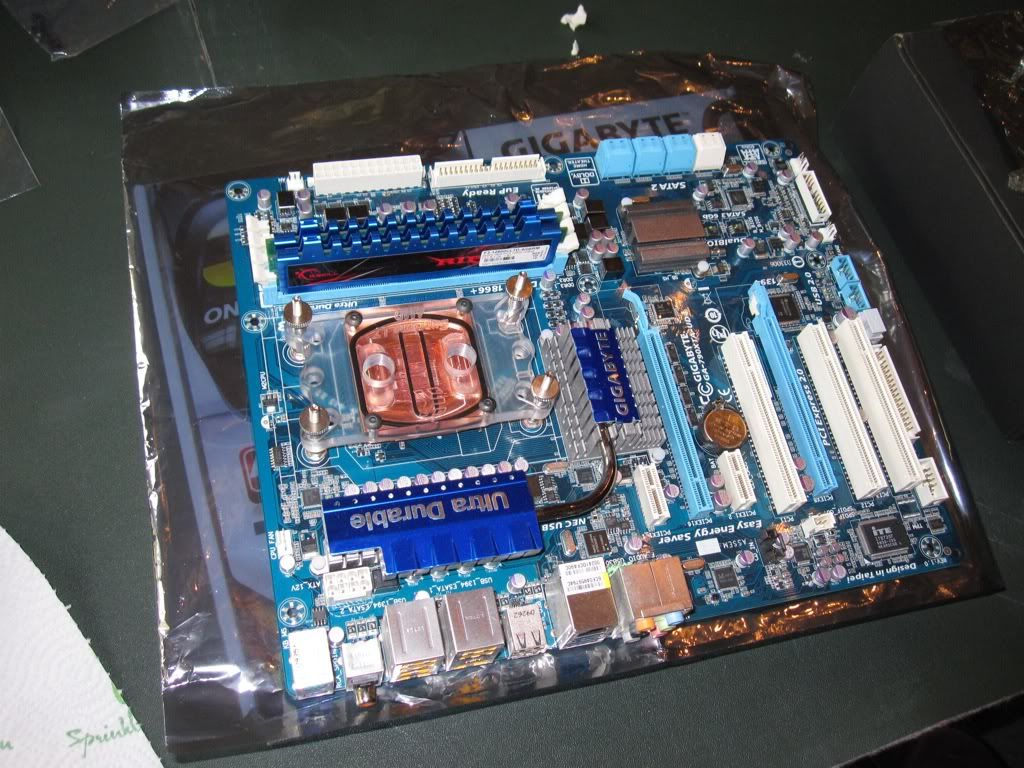
This will be used with my EK Plexi Copper 5850 full cover block, my Laing DDC-1T and my EK Supreme LT AMD CPU block.
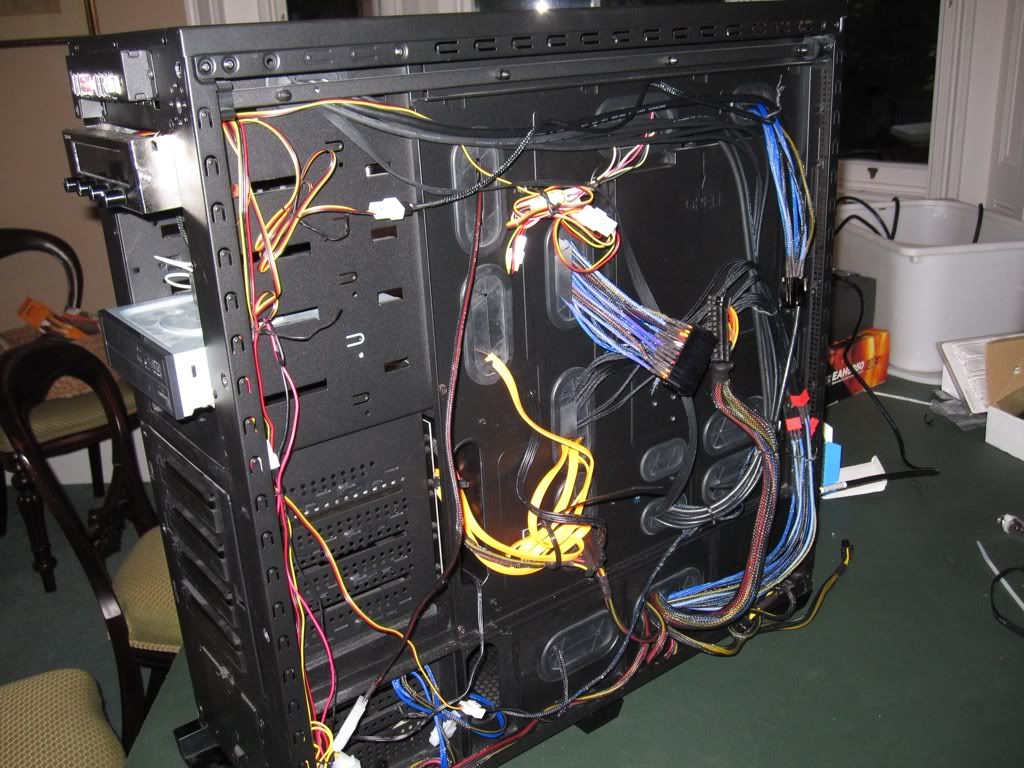
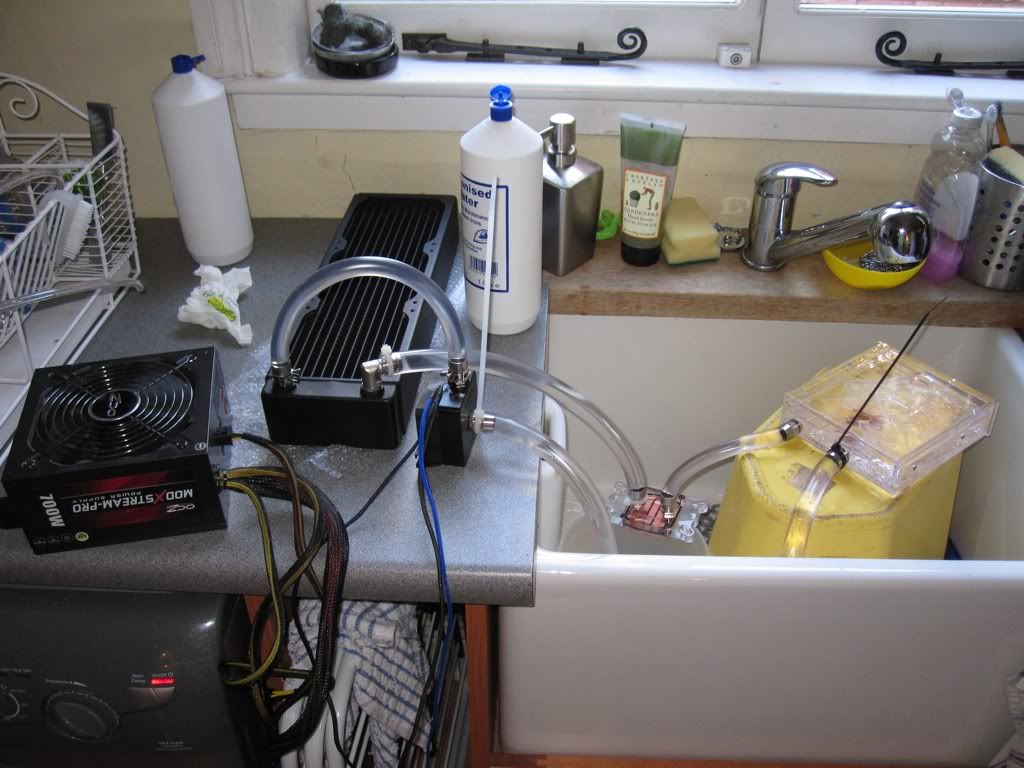
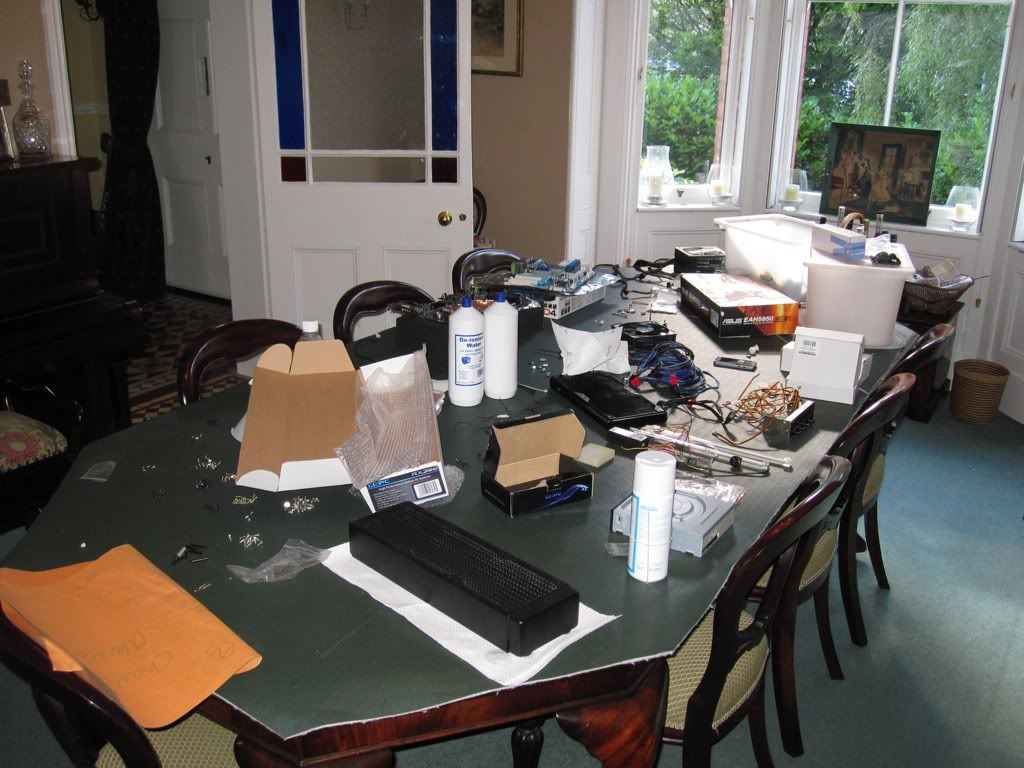
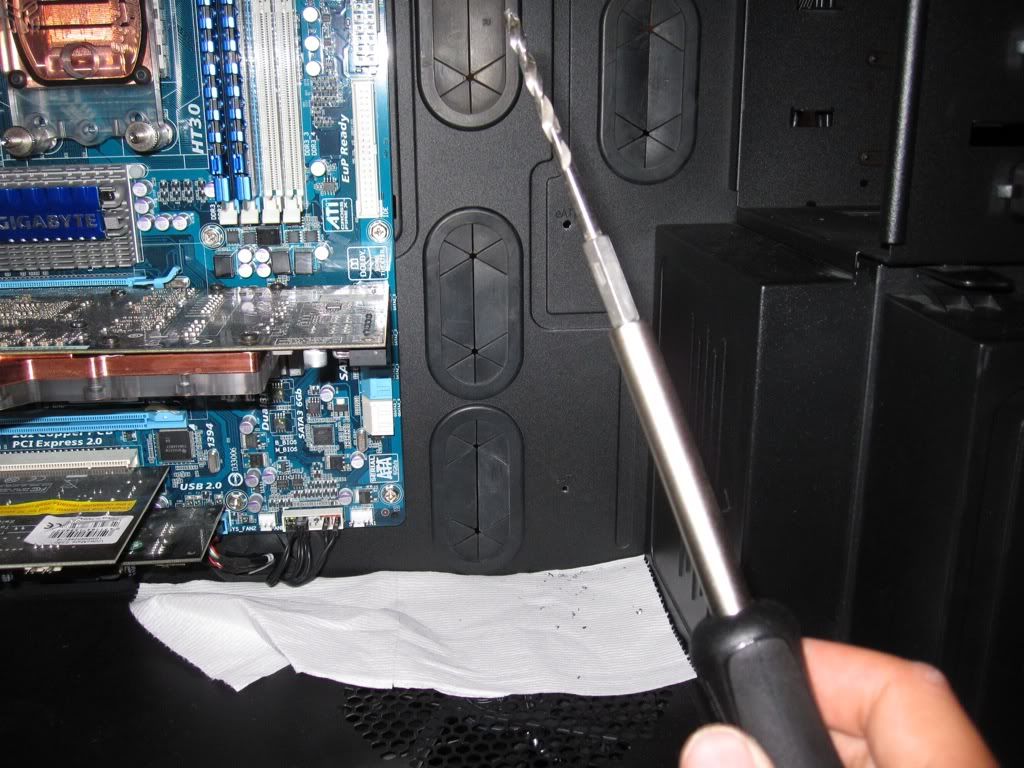
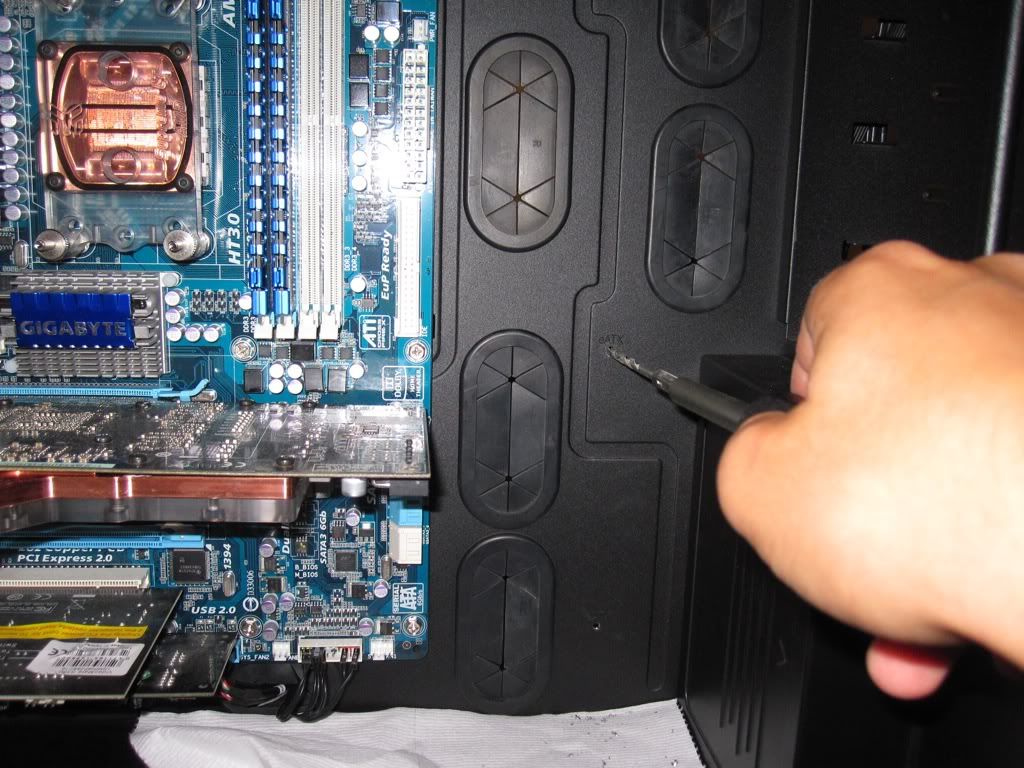
I will most likely start ripping my PC apart this weekend but here are some pics to get this going
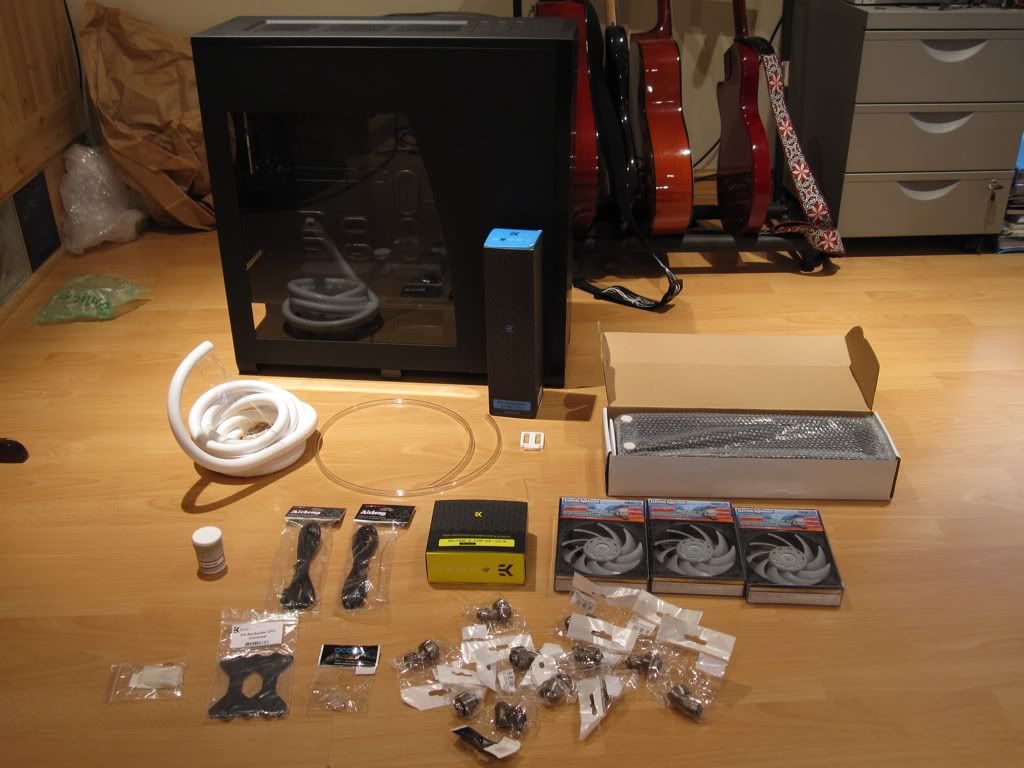
Lotsa Compressions")
XSPC RX360 and my 2850rpm Gentle Typhoons
.O.k. so back in January I decided to watercool my Lancool K62 rig (Project: Cool Dragon) and I had a bit of a nightmare. Leaks all over the place and broken 5850. Also, when I fired up the rig, I had the GPU temps I wanted but my CPU temps were actually higher than my Venomous-X I had had before
Therefore I have learned from my mistakes and have put my partial failure down to a few things. 1) I rushed it. I tried to do the whole thing on my own in 1 day and for a first time watercooler this was a bad move. 2) Lack of research. I thought a 280 slim rad would be fine for a CPU and GPU....I was wrong
Also in order to use a bigger rad I would either mount it externally or buy a new case. I opted for the latter as I want a clean looking exterior.Anyway, I did some thinking and earned a bit of money and have bought the following:
Corsair 800D (thanks to BringTheRain in the MM)
1x Black 1/2" compression fitting
3m White XPSC 1/2" tubing
2x black bitfenix 6 pin PCIe extensions
XSPC RX360 radiator
3x Scythe Gentle Typhoon 1850rpm
1x Silver Kill Coil
EK Multioption 250 Reservoir V2 Advanced
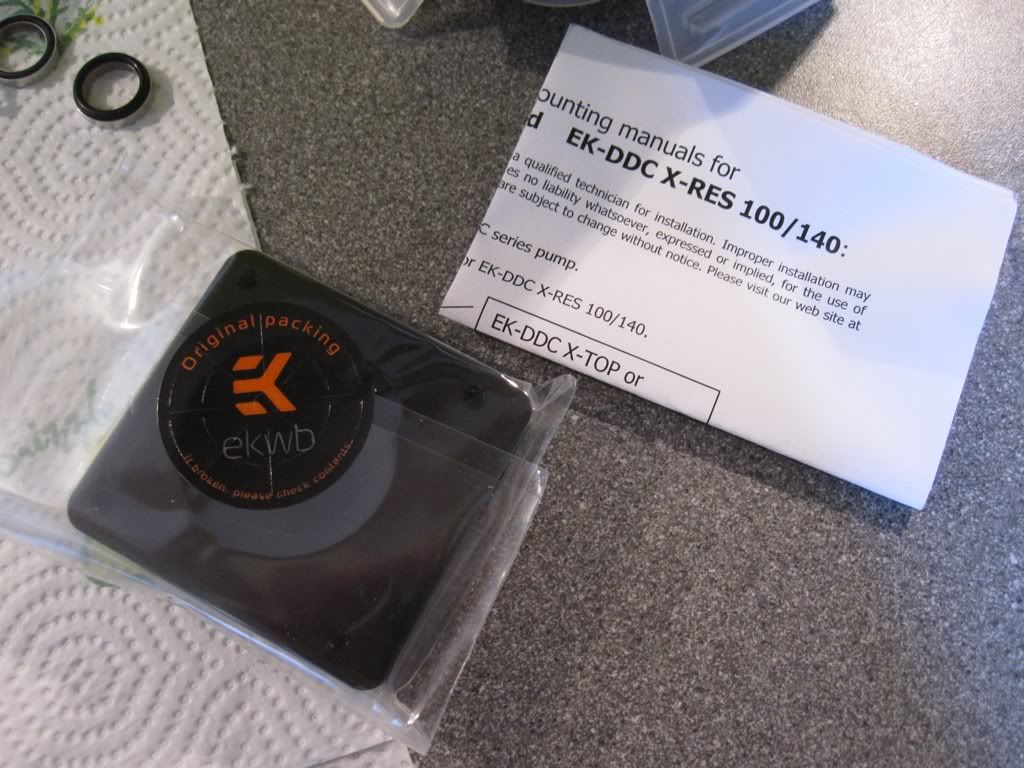
XSPC acetal pump top V3
LED Cap (basically a 1/4" plug but with space for an LED so I can use it in the res)
9x 45 Degree black 1/2" compression fittings
1x EK Anti-cyclon
PSU bridge Fpug (for jumpstarting the PSU as I find the paper clip really annoying
)8mm Tubing (for draining my current system)
CPU Backplate (my EK block never came with one so I have made do with my custom one. This was cheap so I though I might as well throw it in to my order )
90 degree 1/2" compression fitting.
This will be used with my EK Plexi Copper 5850 full cover block, my Laing DDC-1T and my EK Supreme LT AMD CPU block.
I will most likely start ripping my PC apart this weekend but here are some pics to get this going
Lotsa Compressions
XSPC RX360 and my 2850rpm Gentle Typhoons


")