BitFenix Pandora - Silent Oak

Associate
Joined
15 May 2015
Posts
66
Location
Hamburg
Hi everyone,
I want to show you my latest mod.

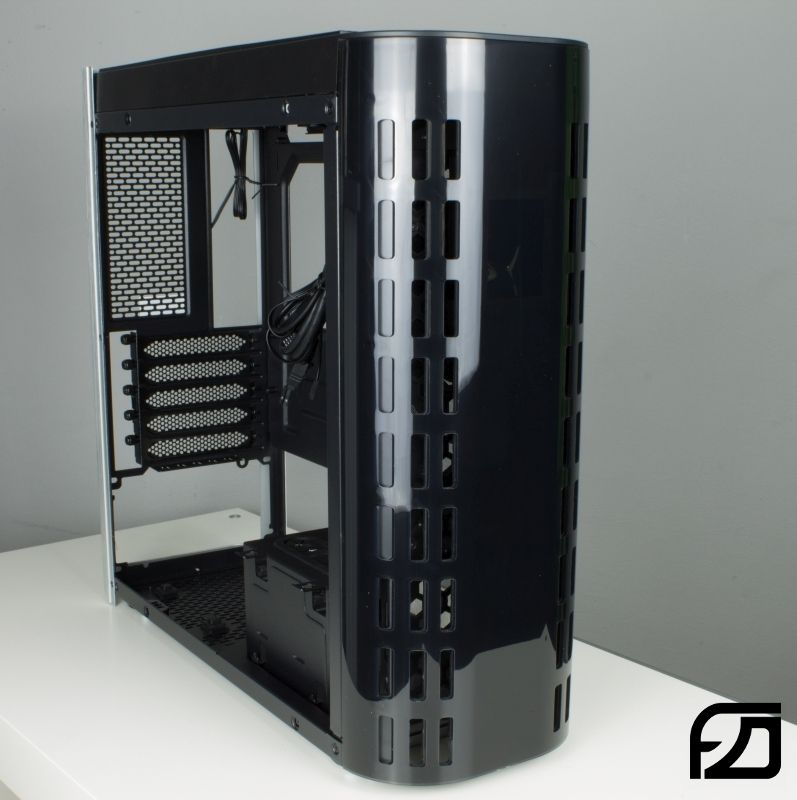
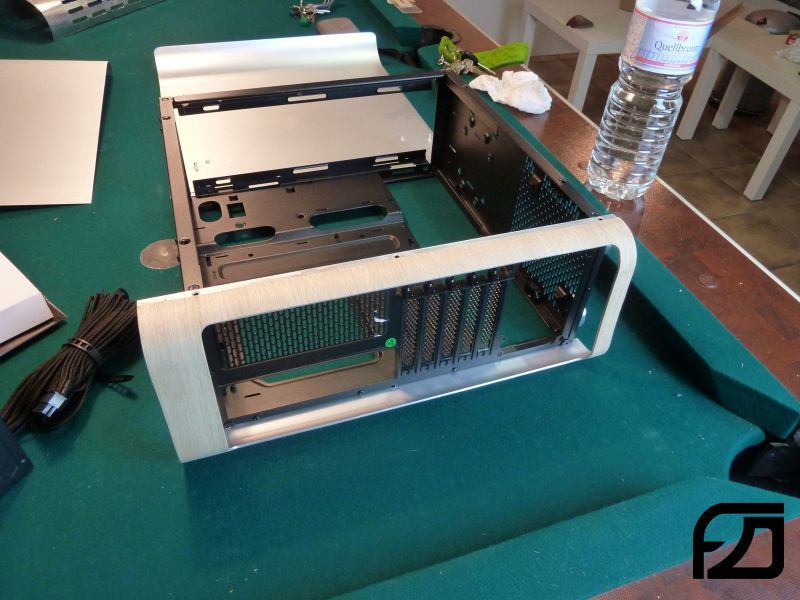
This project is based on a BitFenix Pandora.
I really like the shape of that case. Anyway... I will do a lot of modding. :rock:

- the oriantation of the case will be changed

- the sidepanels will get a veneer

- make a new top and botten for the case

- the front will get a second revision out of aluminium


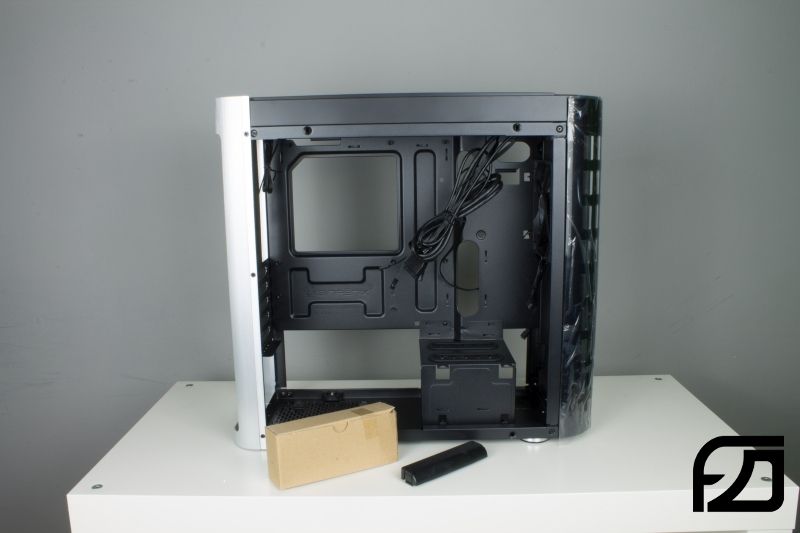
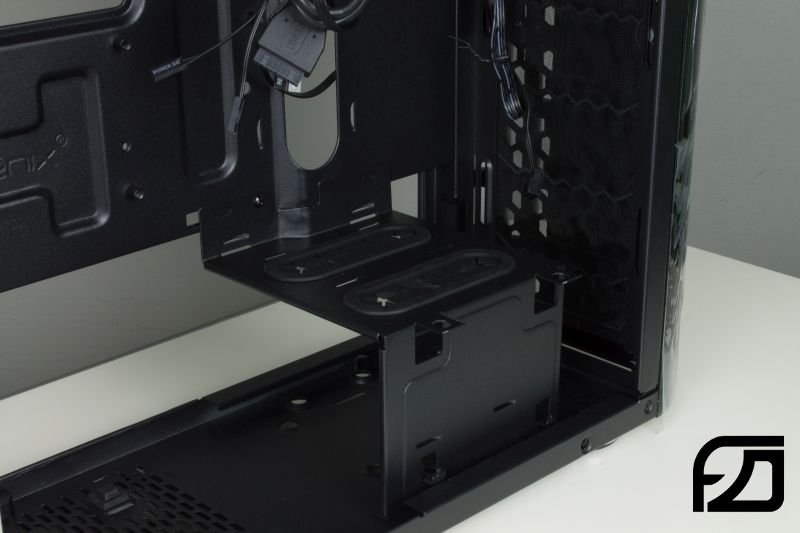
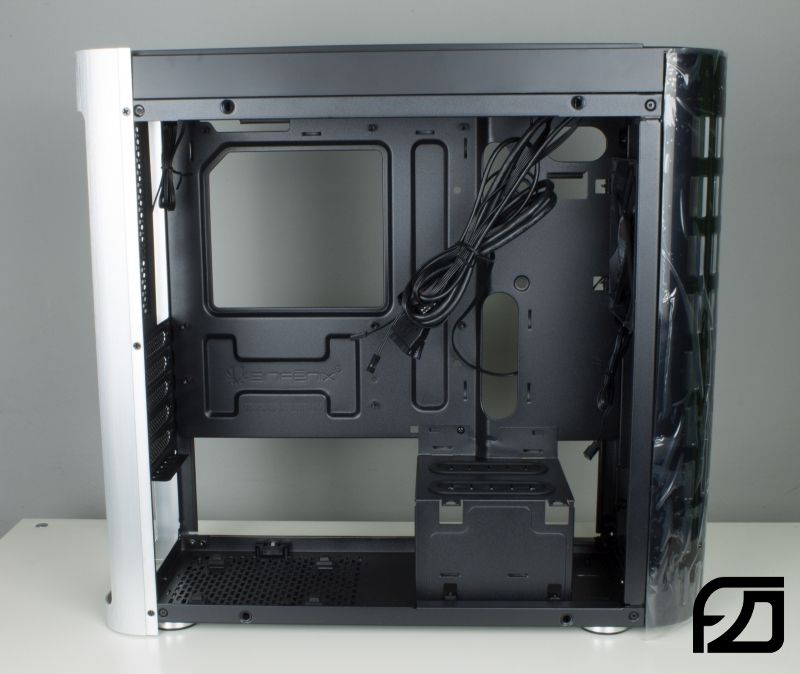
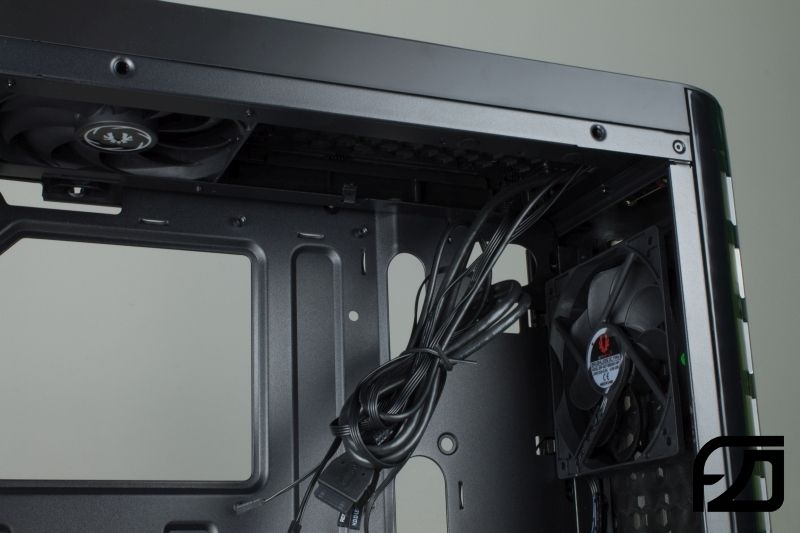
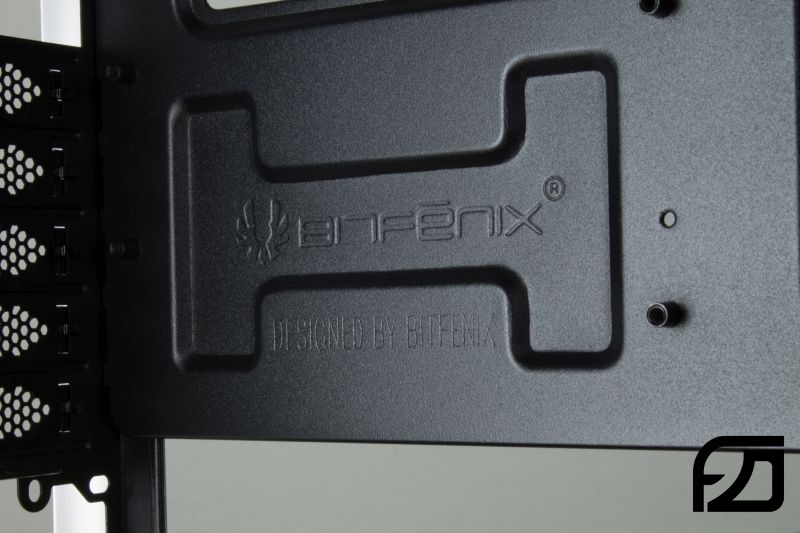
The project starts by taking closer look over the case.

Pandora_HW025.jpg


Pandora_HW022.jpg


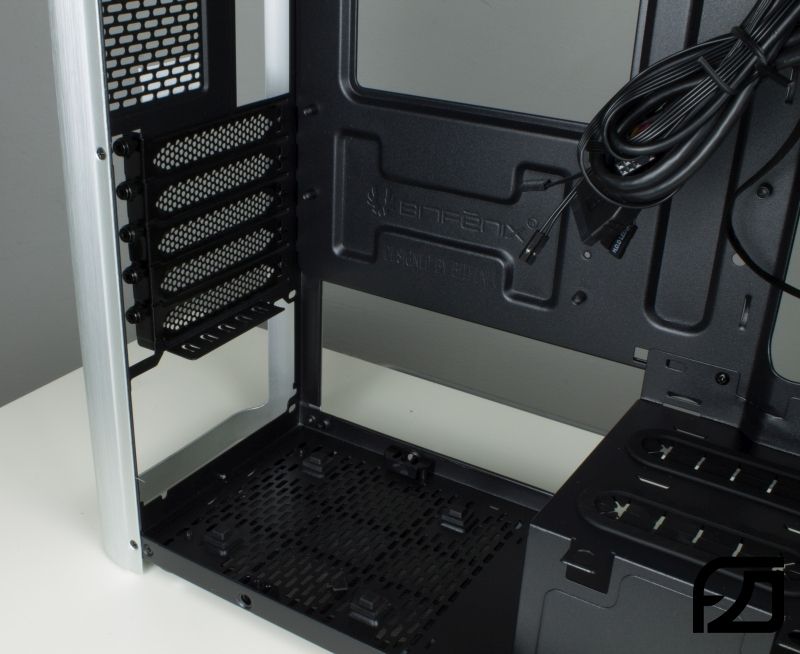
Not a perfect finish on the sidepanels. Some scratches are visible.

Pandora_HW023.jpg


Pandora_HW002.jpg


Pandora_HW003.jpg


Pandora_HW008.jpg


Pandora_HW018.jpg


Pandora_HW009.jpg


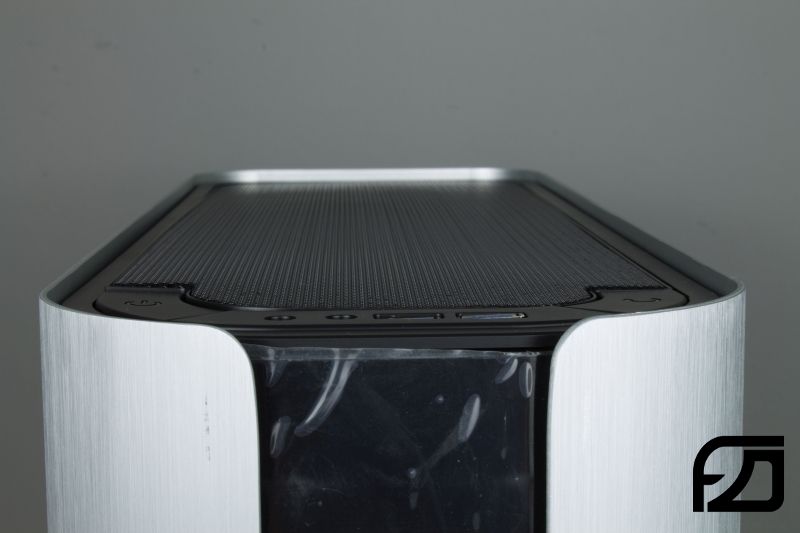
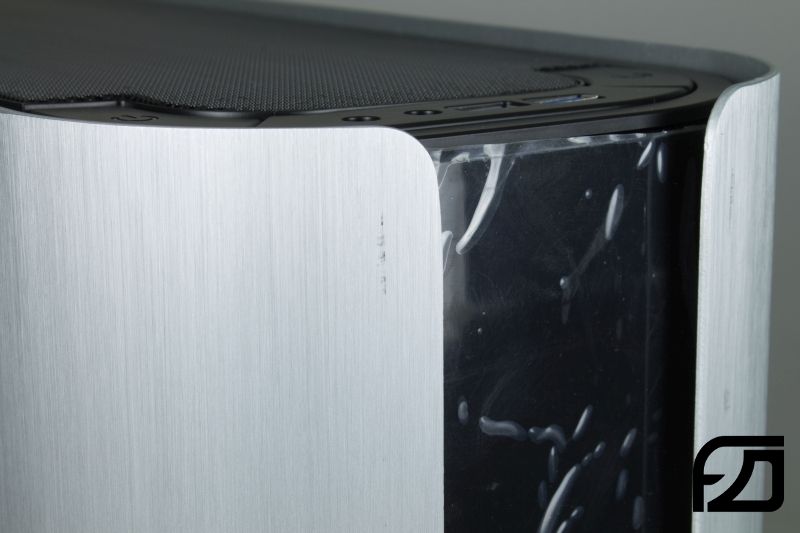
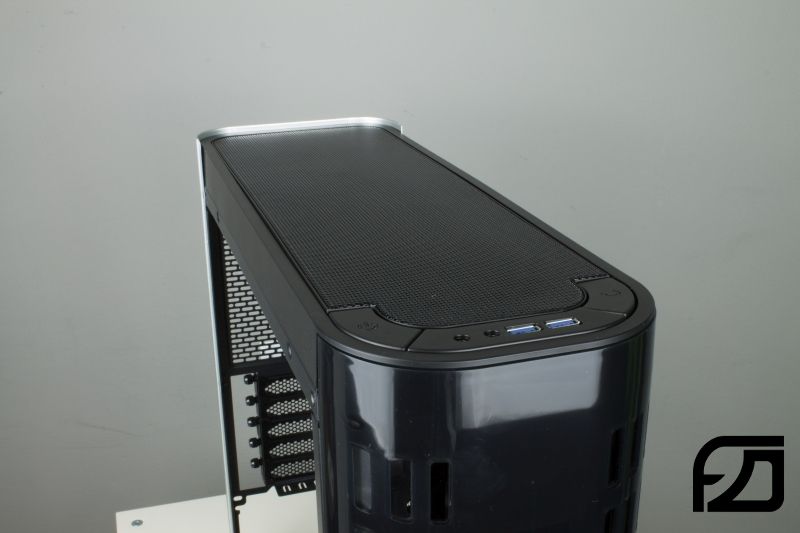
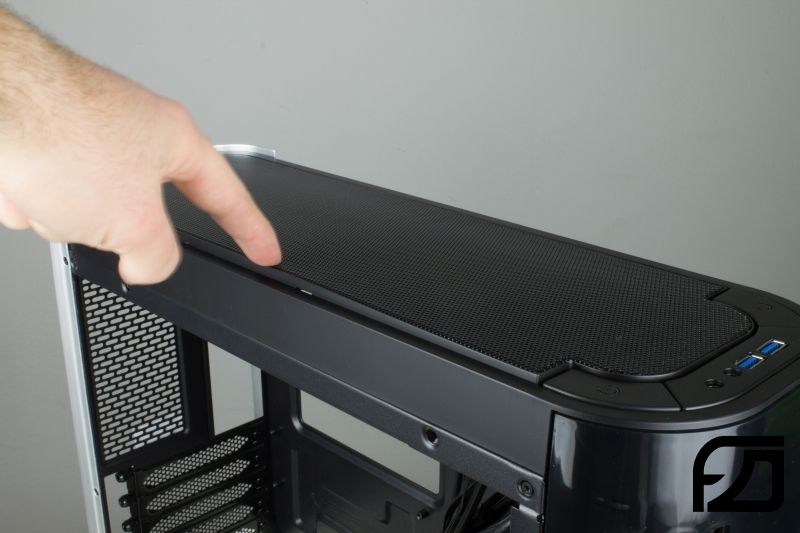
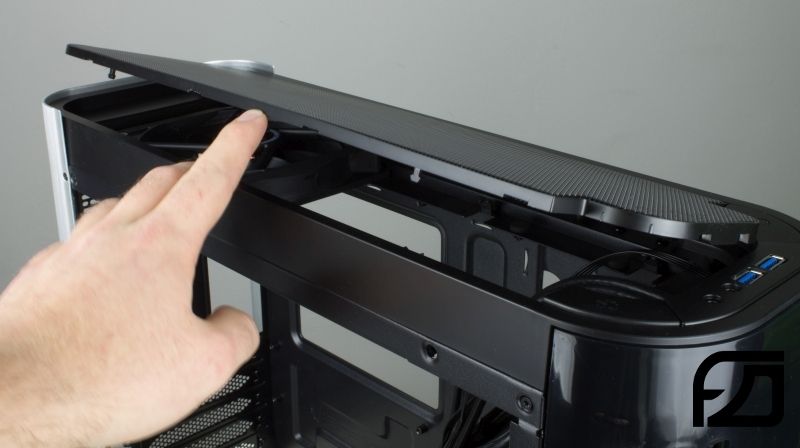
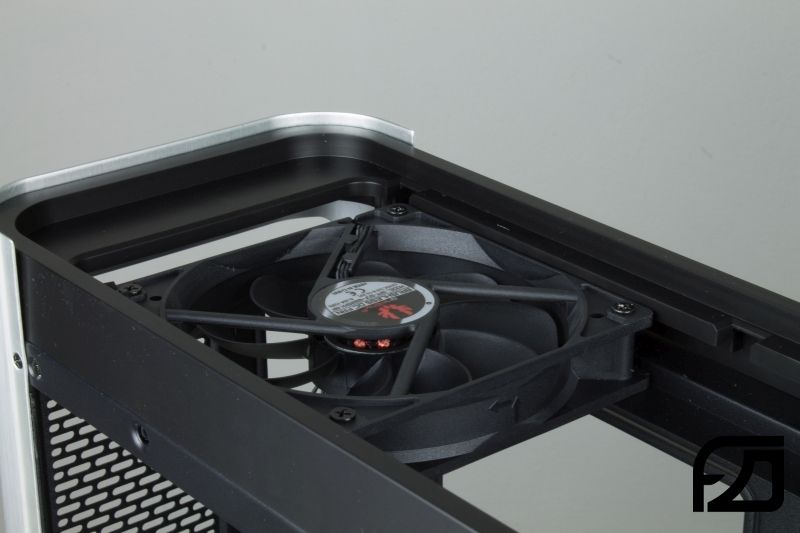
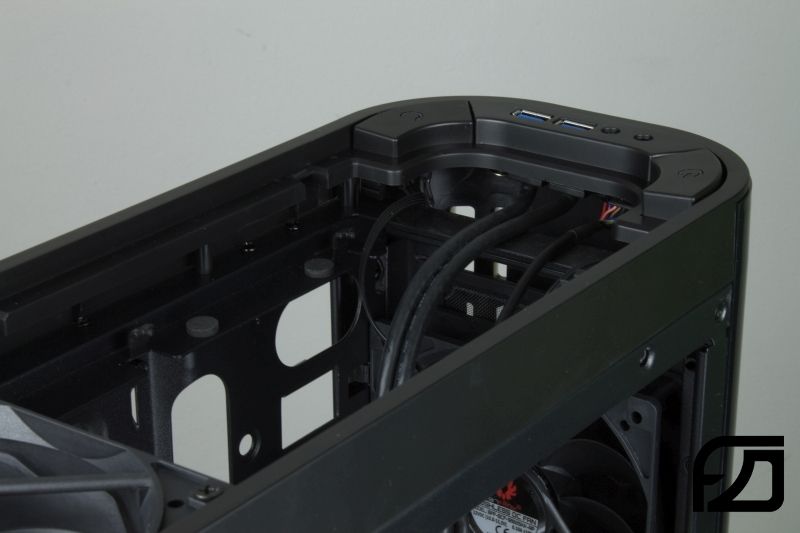
The Top Panel is really cool. You can remove it toolless.

Pandora_HW014.jpg


Pandora_HW010.jpg


Pandora_HW020.jpg


Pandora_HW012.jpg


Pandora_HW013.jpg


Pandora_HW016.jpg


Pandora_HW017.jpg


Pandora_HW019.jpg


Pandora_HW011.jpg


I wanted to start with the most difficult part: the front.
I hate to bend sheets without the right tools.

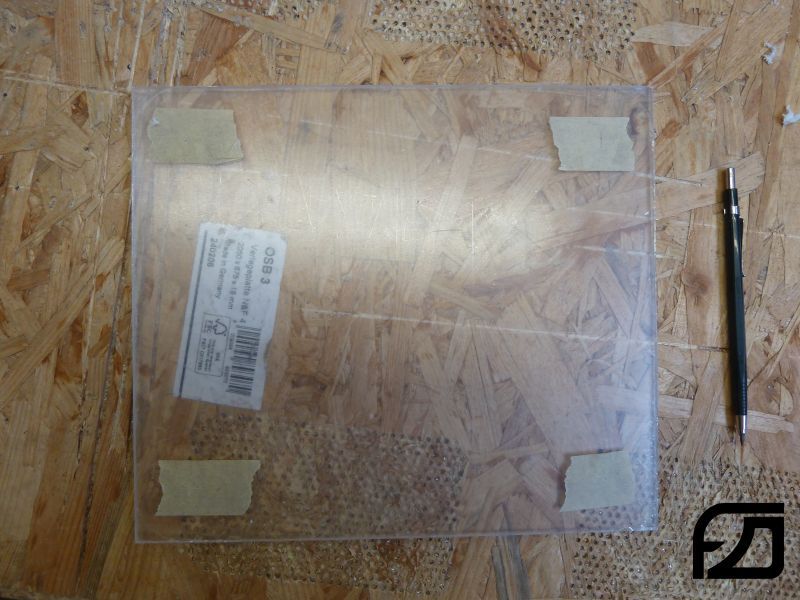
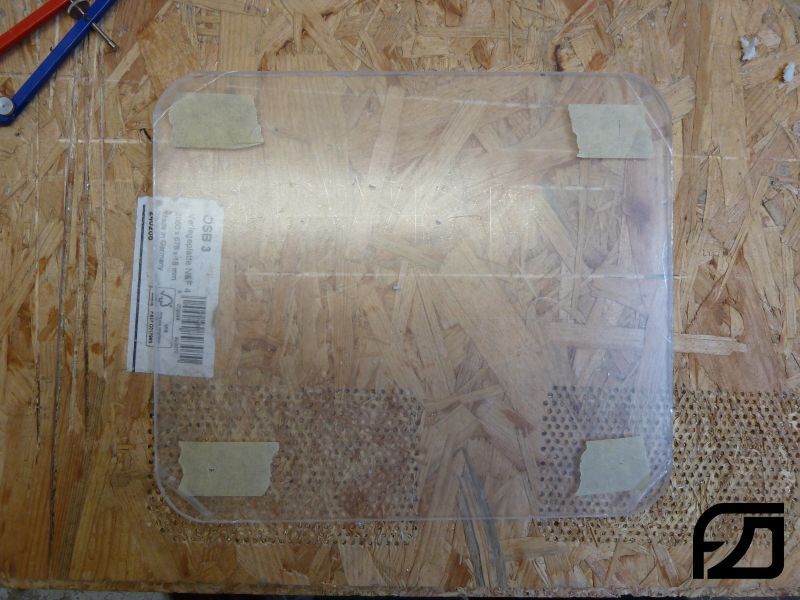
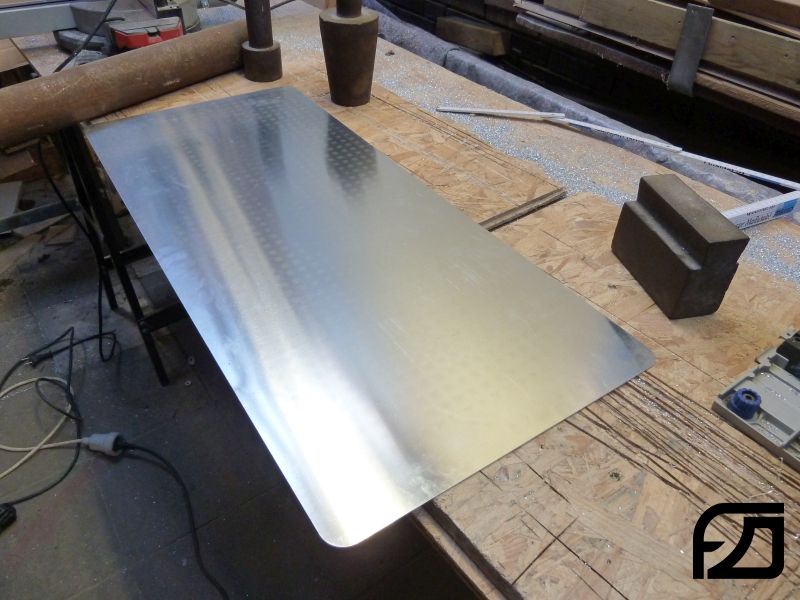
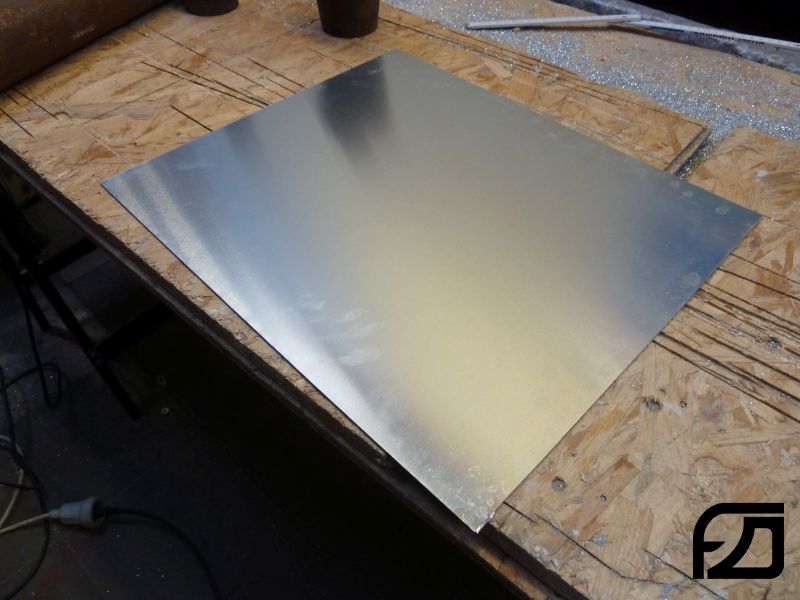
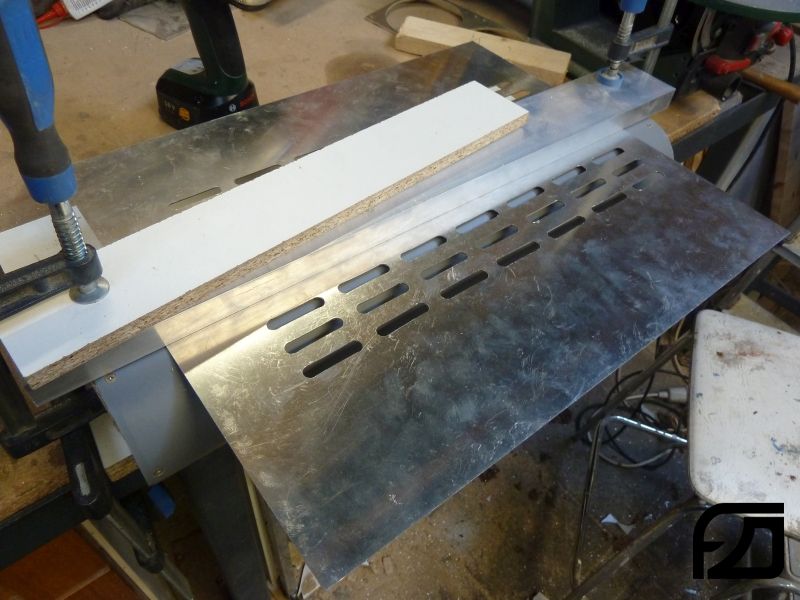
Cutted a sheet of aluminium to the right size:

Pandora_WiP001.jpg


Pandora_WiP002.jpg


The first bending try was a big fail, it was not possible to do an even bend.

Pandora_WiP003.jpg


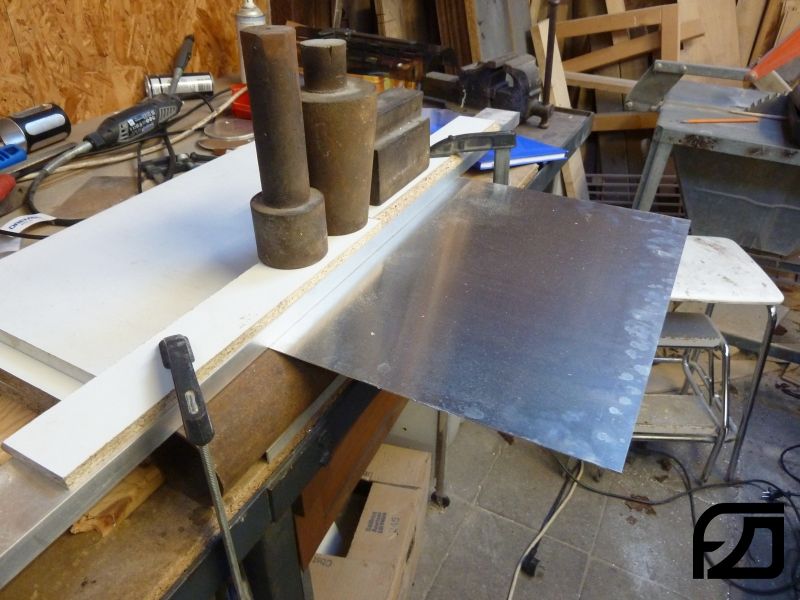
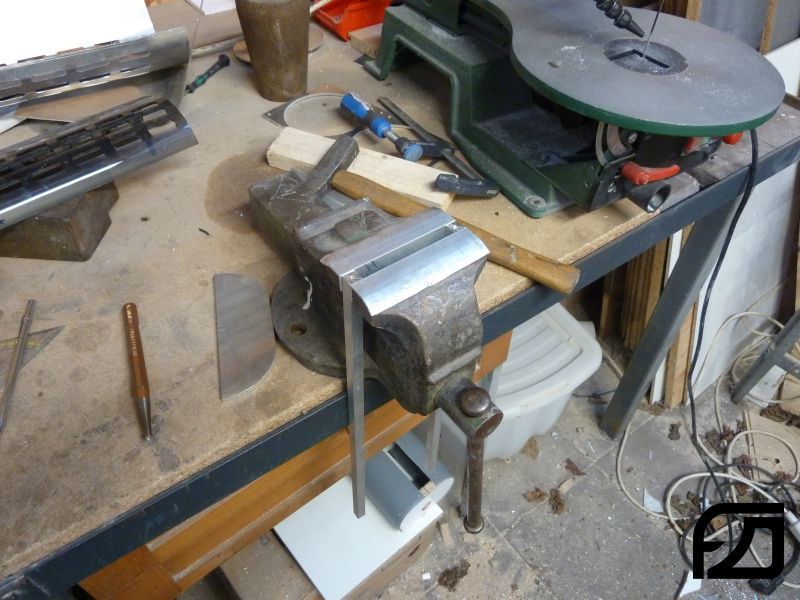
So I went to the hardware store an bought some materials for a new bending "tool".

Pandora_WiP004.jpg


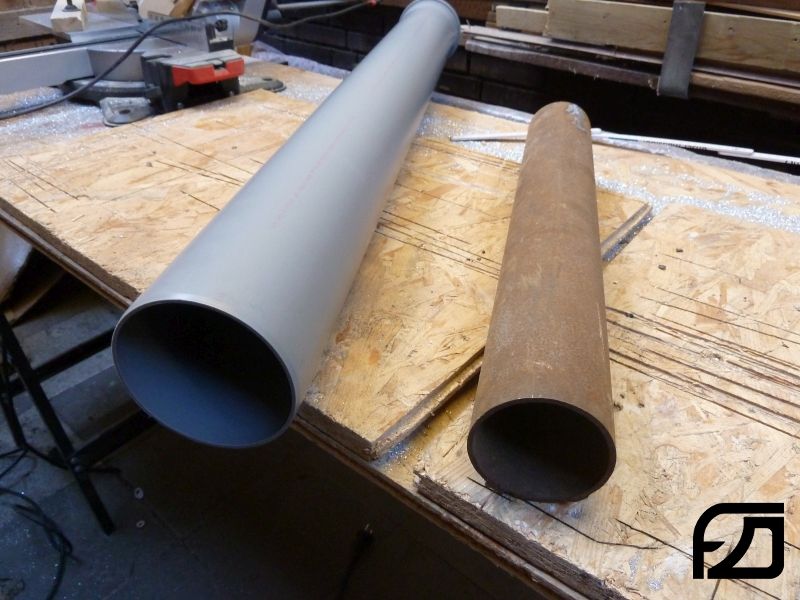
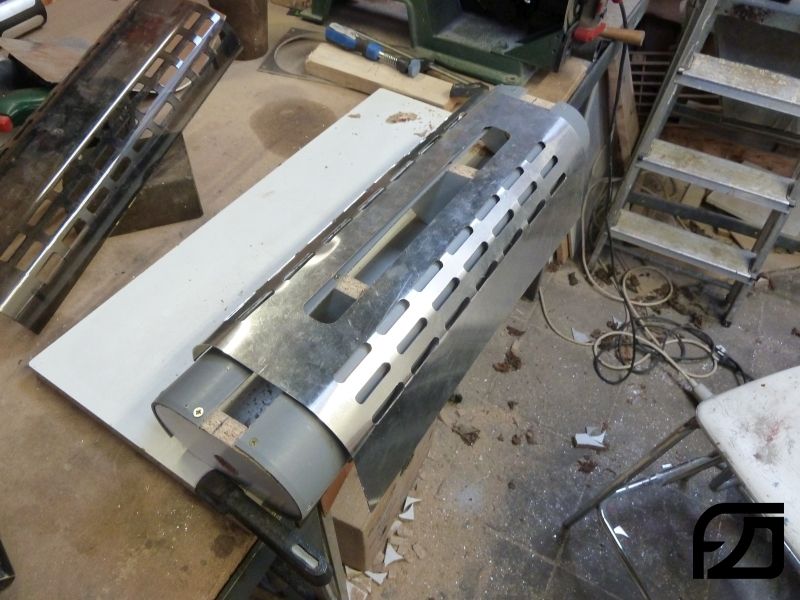
Cutted a waste-pipe into two halfs...


Pandora_WiP006.jpg


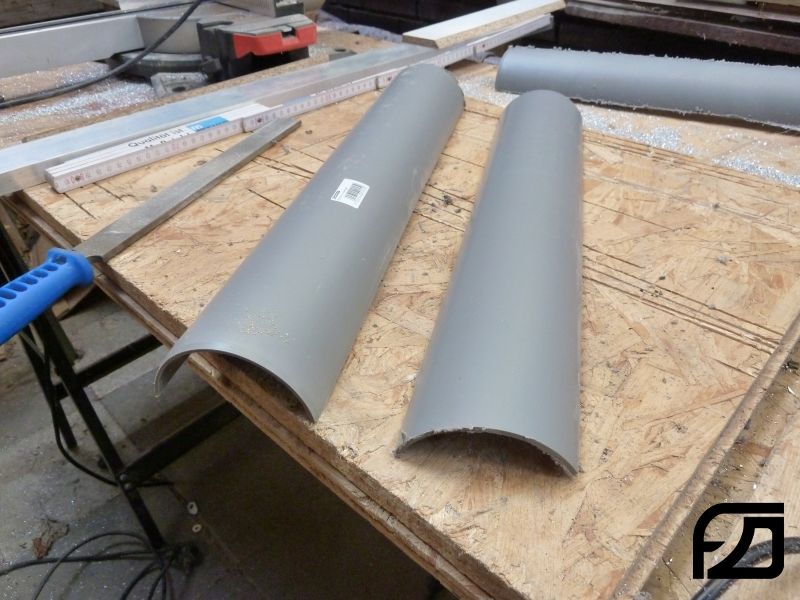
... and bolt it on some pieces of wood.


Pandora_WiP005.jpg


Pandora_WiP007.jpg


Pandora_WiP008.jpg


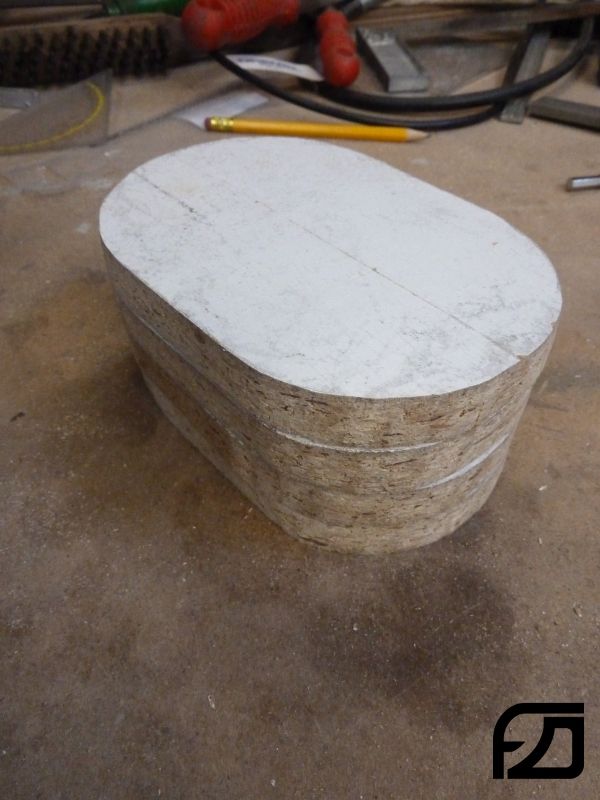
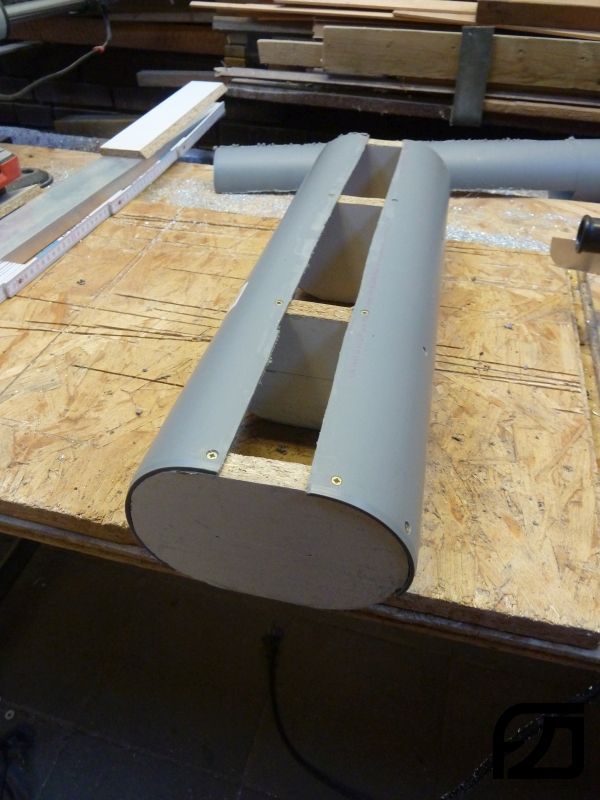
This attempt was also foredoomed, the diameter was wrong.
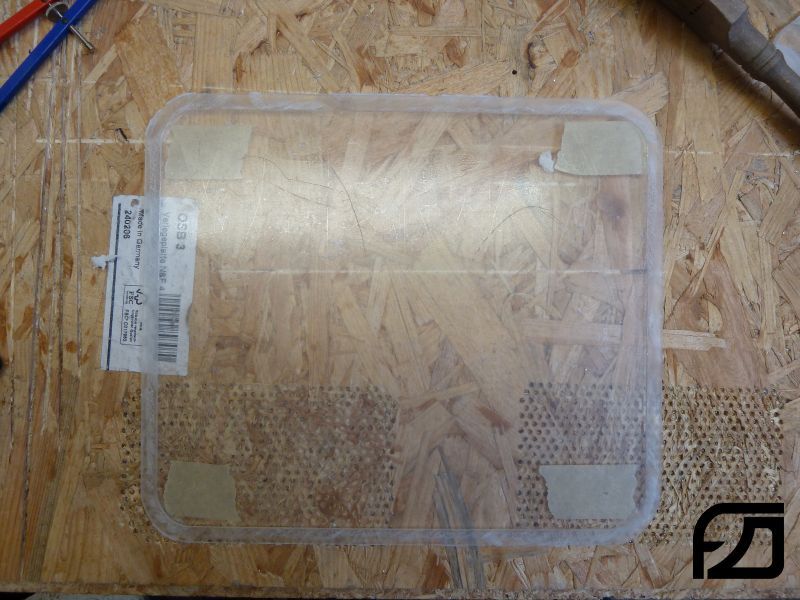
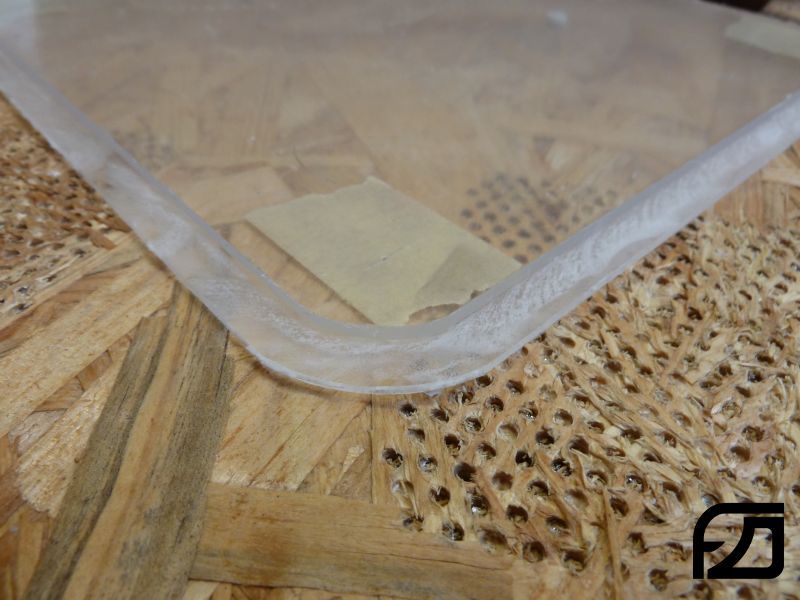
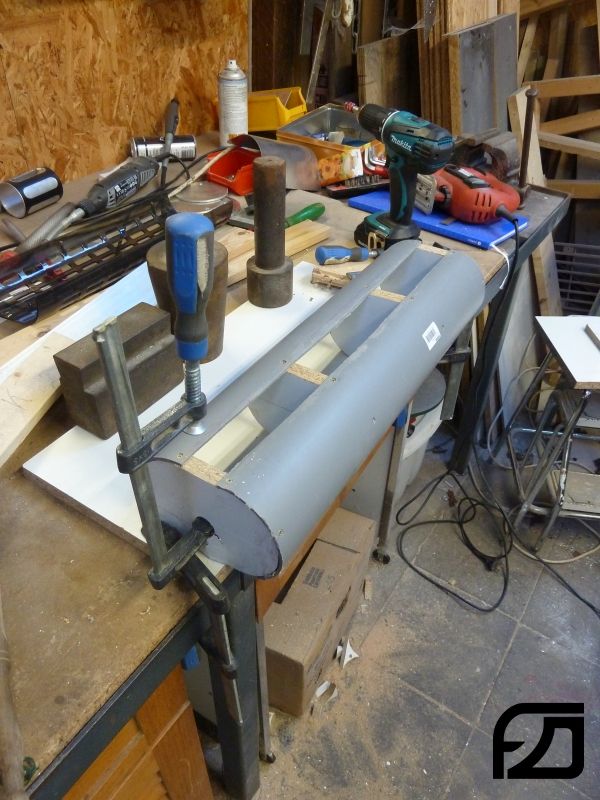
But with the thrid attempt it works great. :)

Pandora_WiP009.jpg


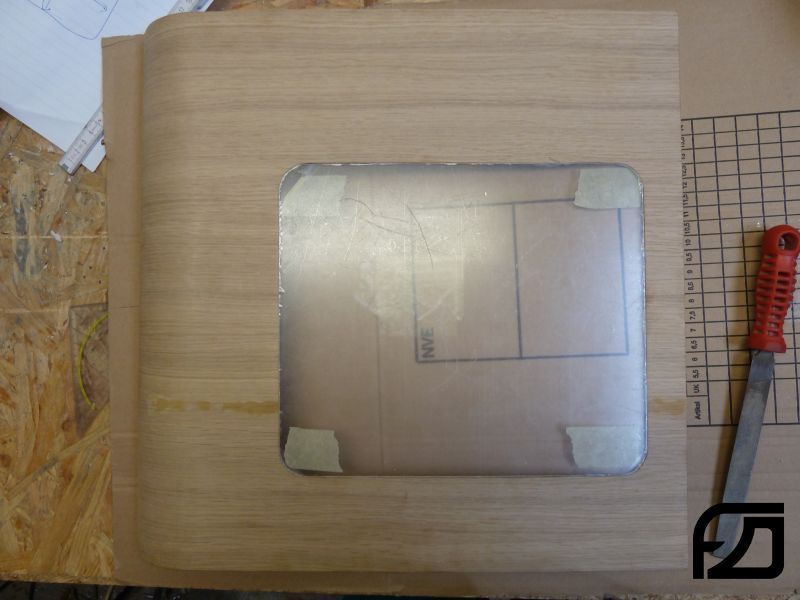
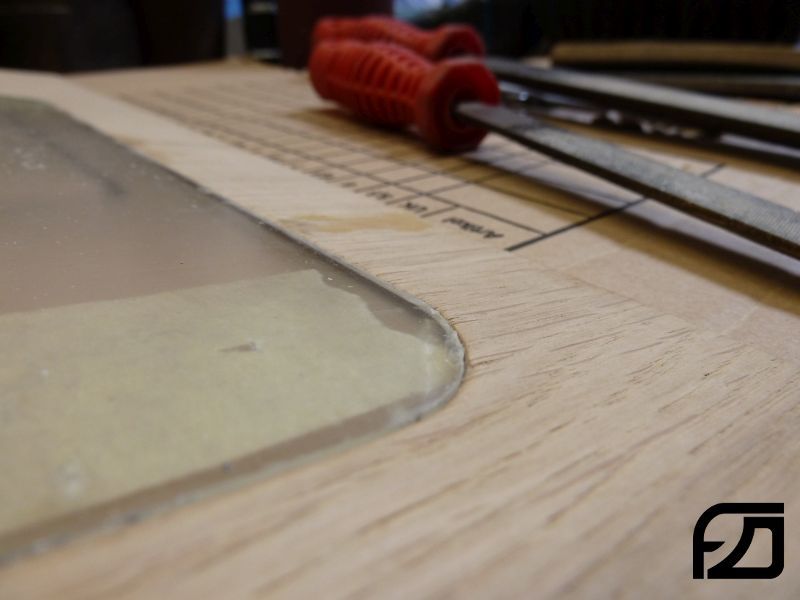
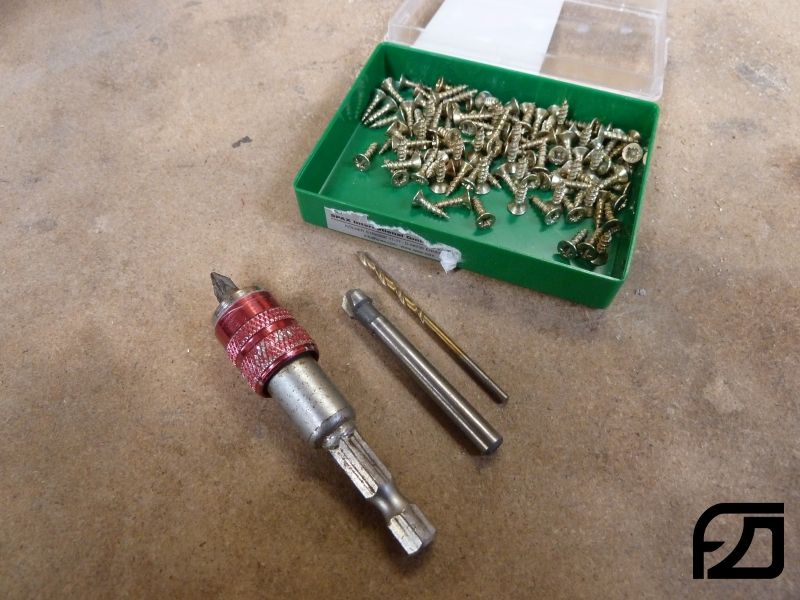
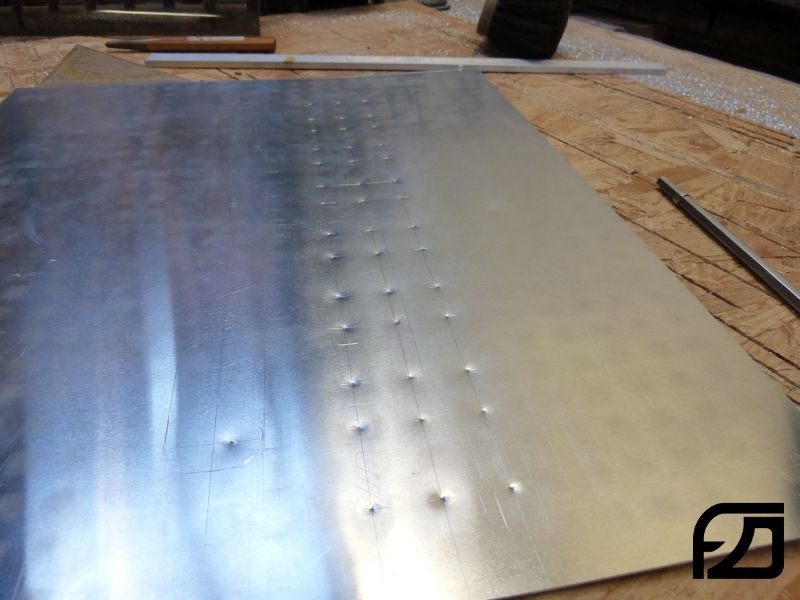
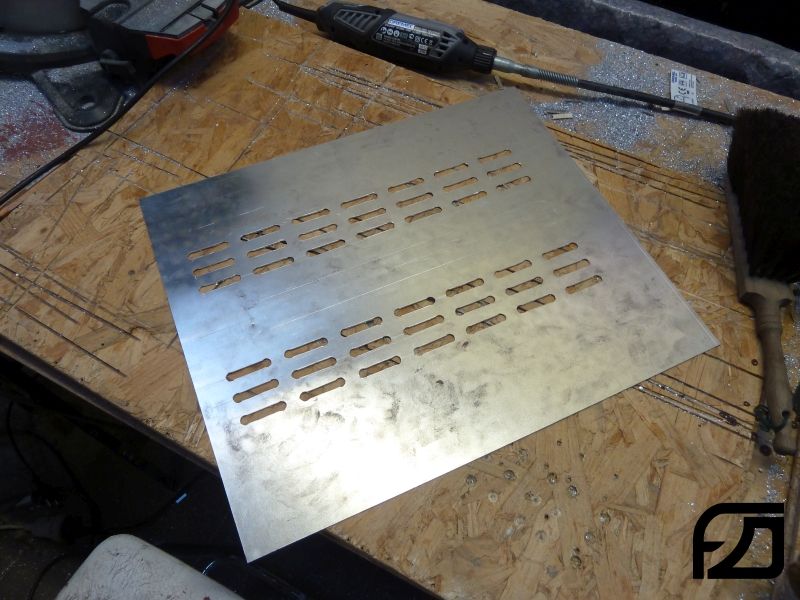
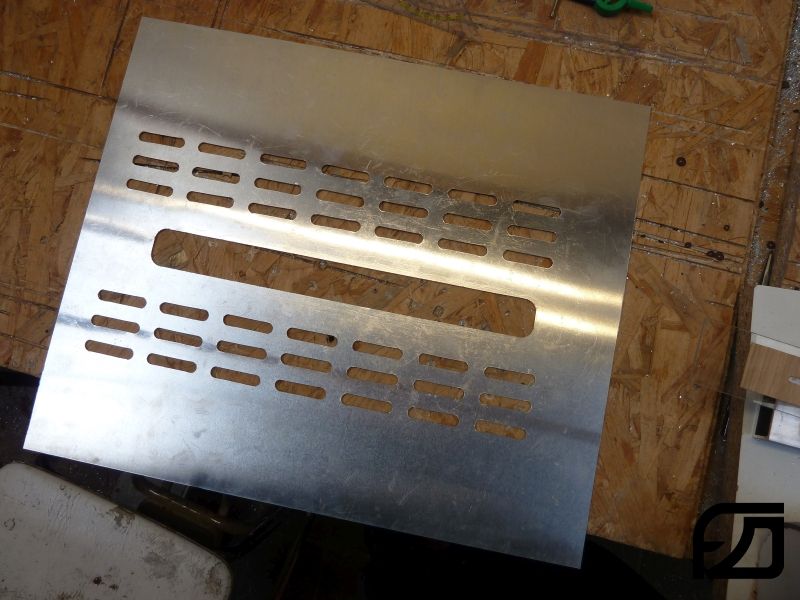
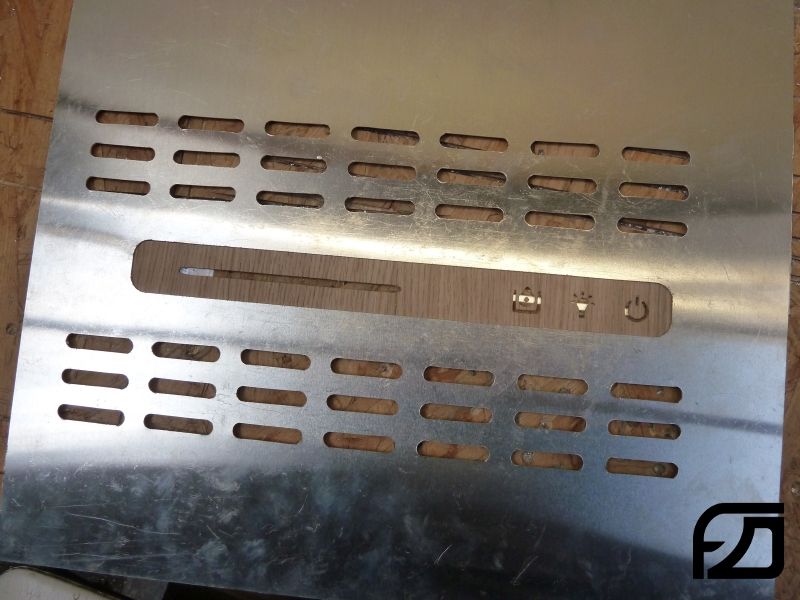
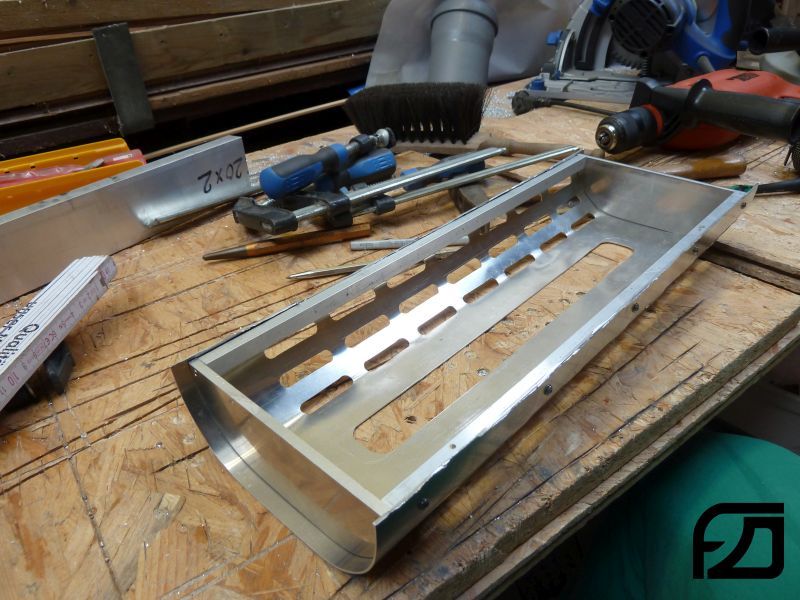
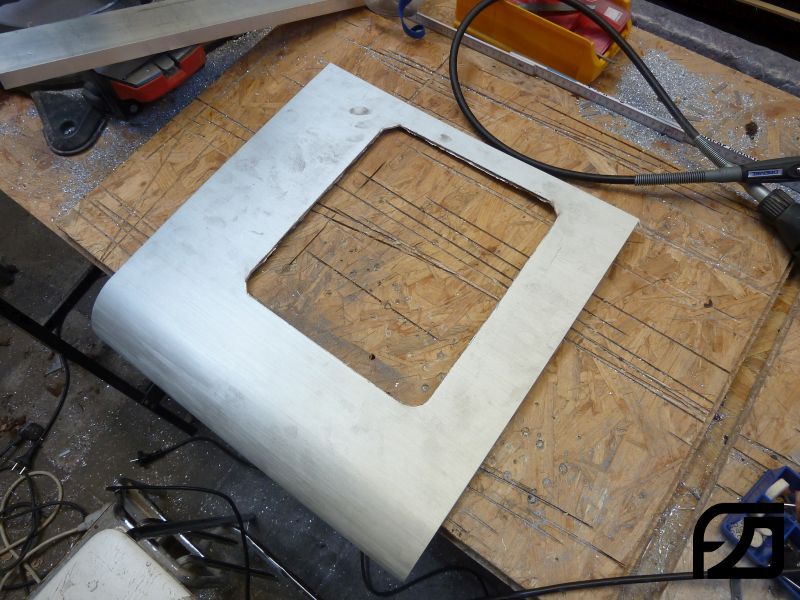
So I continued with the metal sheet for the front:

Pandora_WiP010.jpg


Pandora_WiP011.jpg


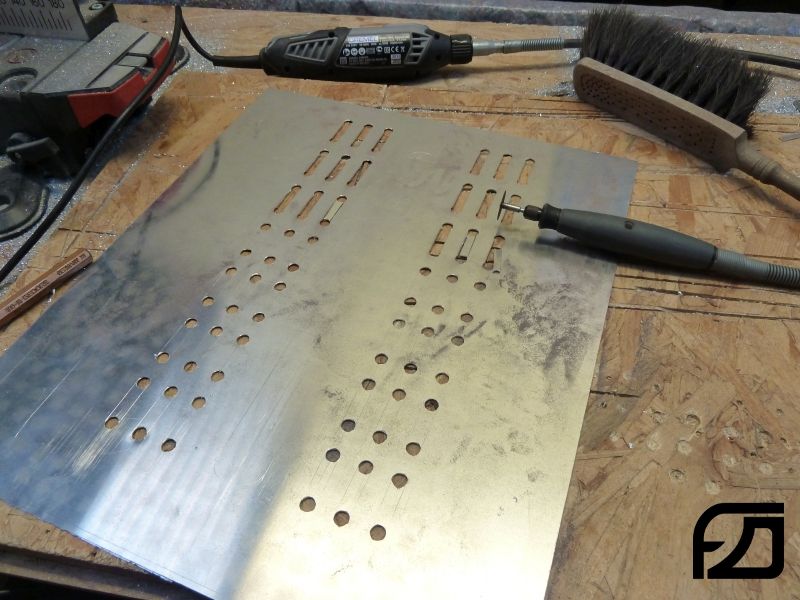
After drilling I take a Dremel to make some more cuts.

Pandora_WiP012.jpg


Pandora_WiP013.jpg


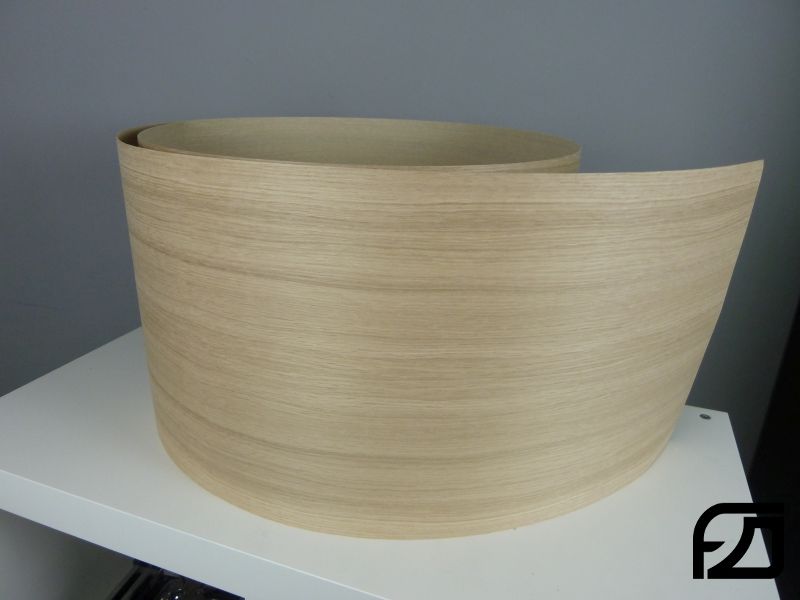
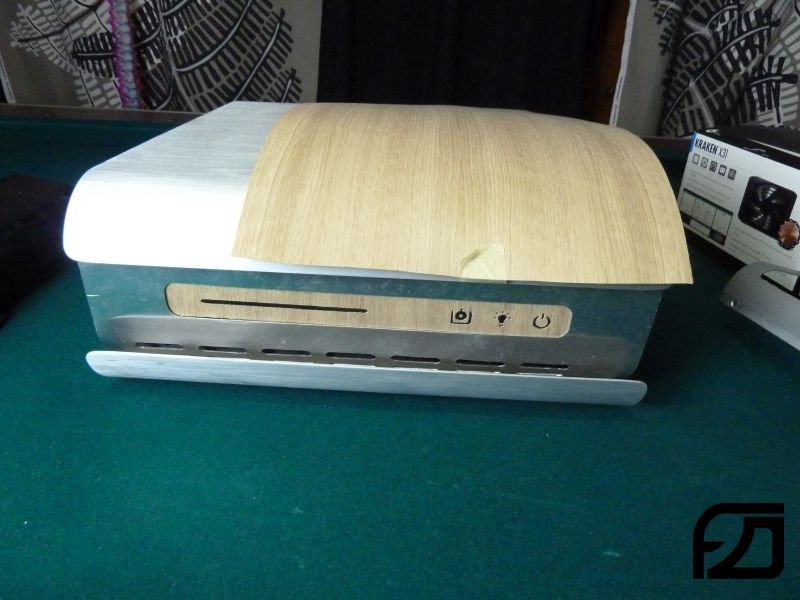
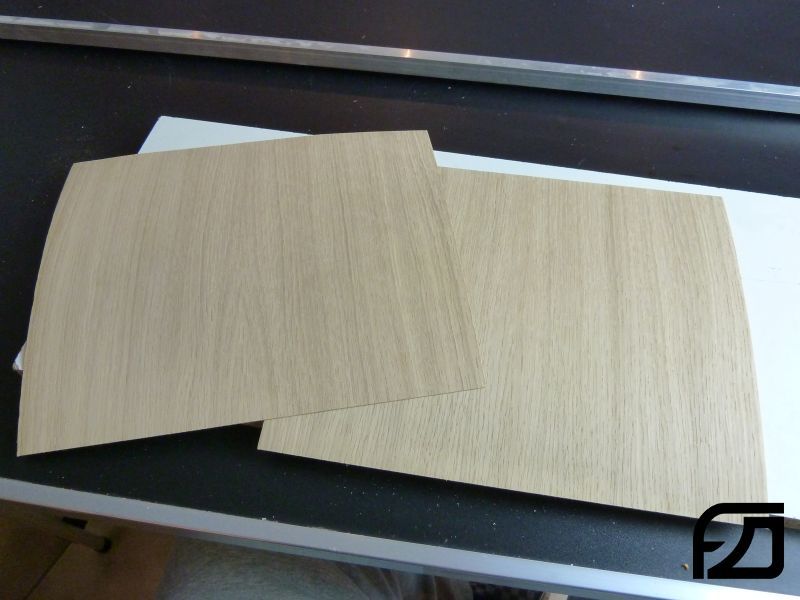
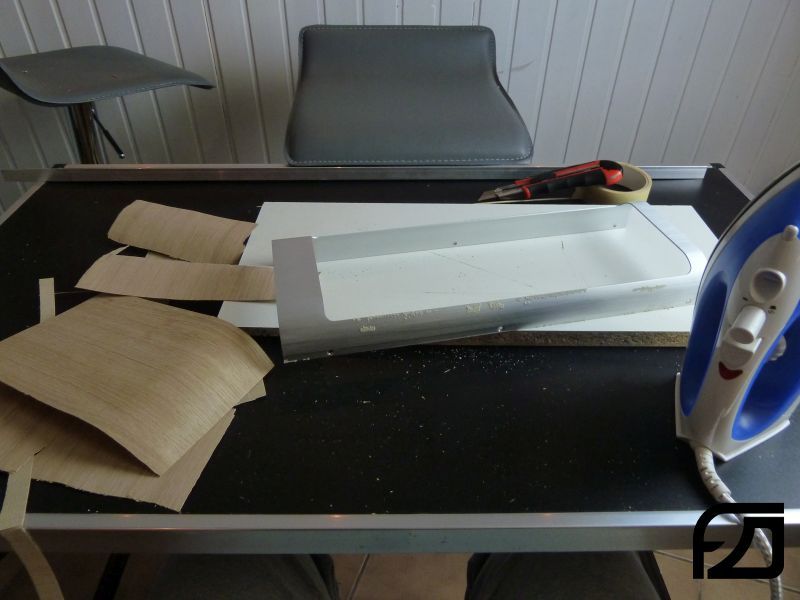
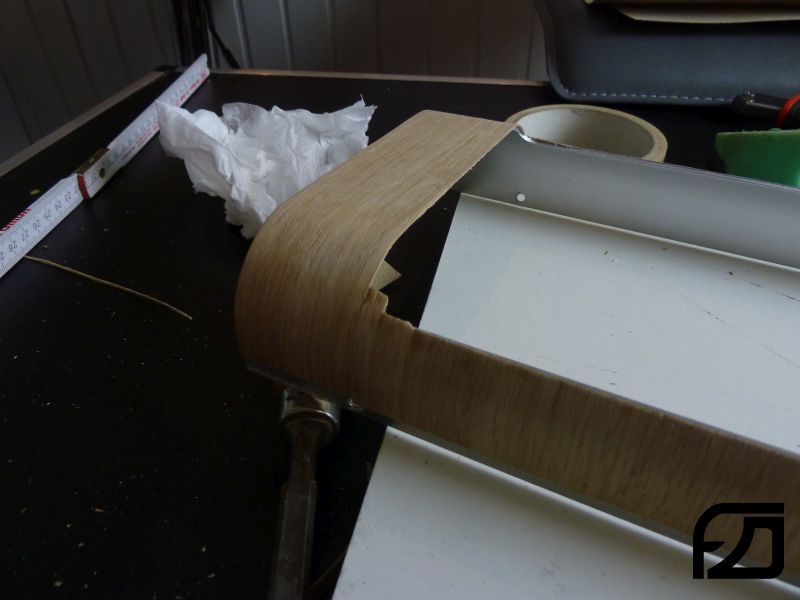
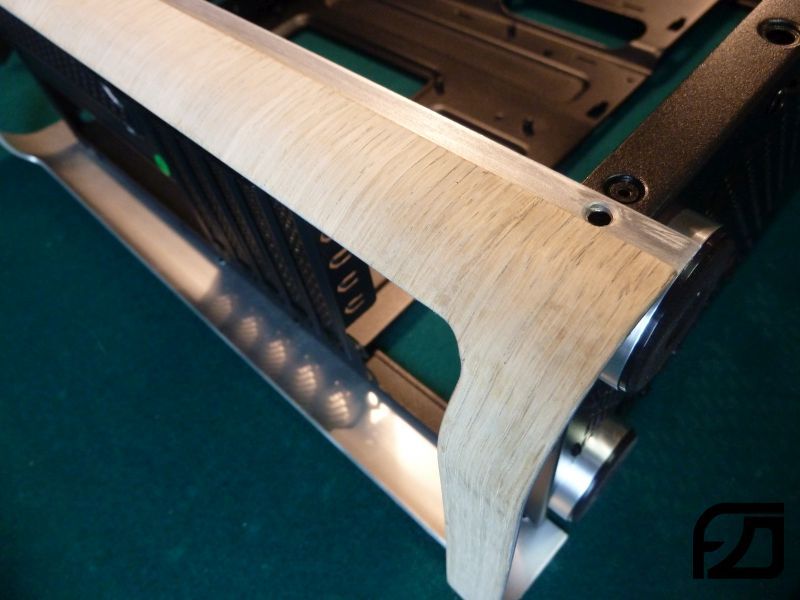
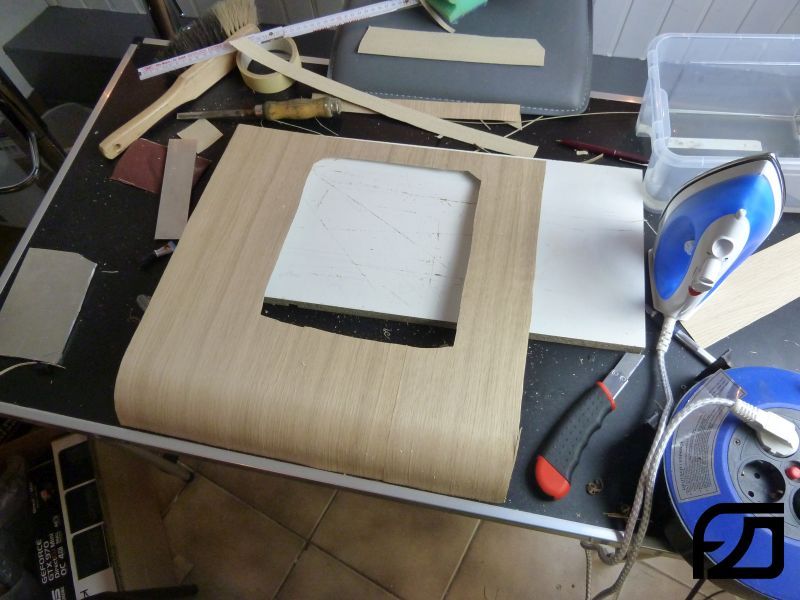
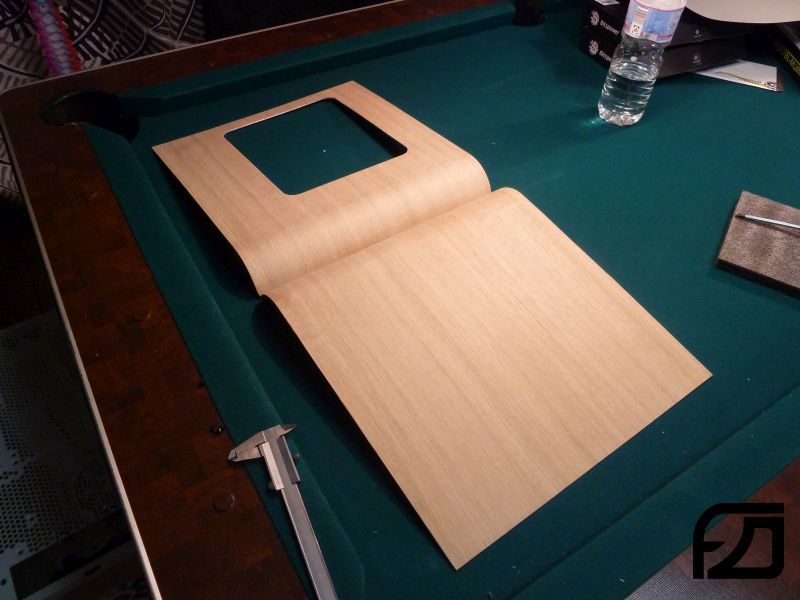
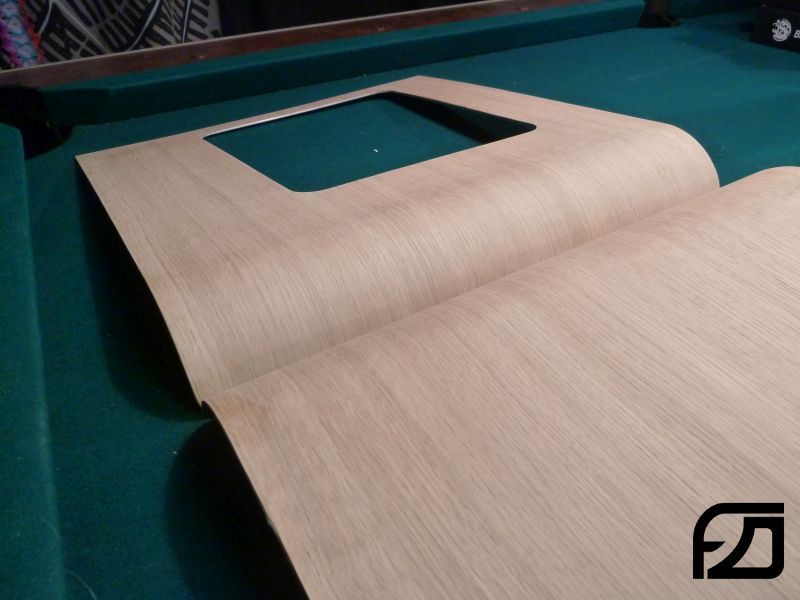
In the meantime the veneer arrived, I thin it looks great. :)

Pandora_WiP014.jpg


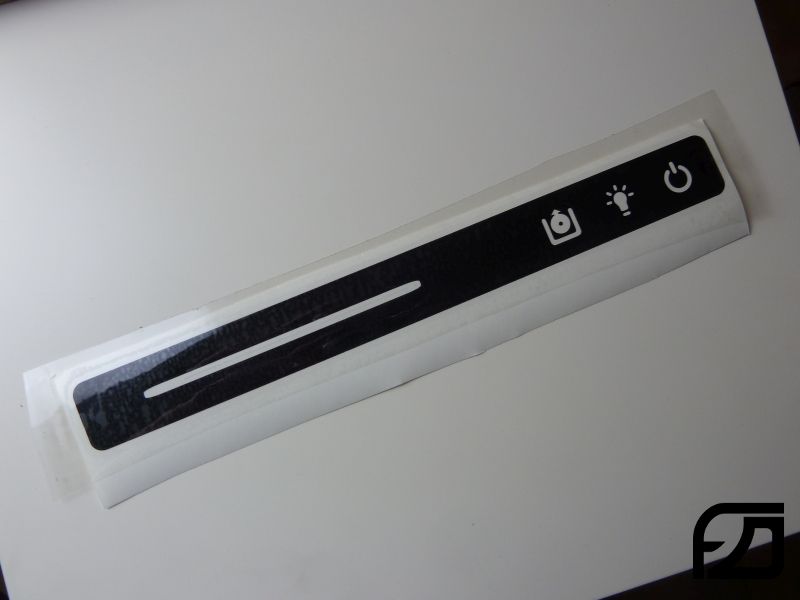
For continuing with the front I had to to the frontpanel.
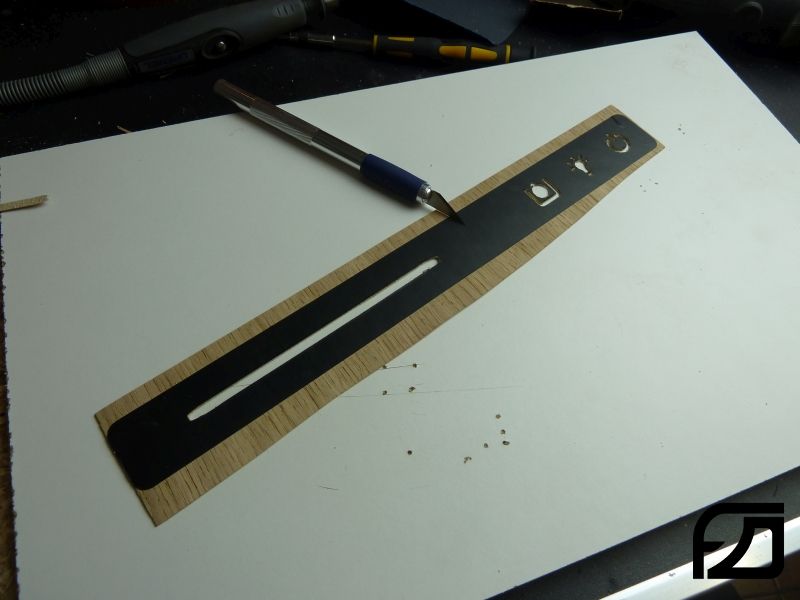
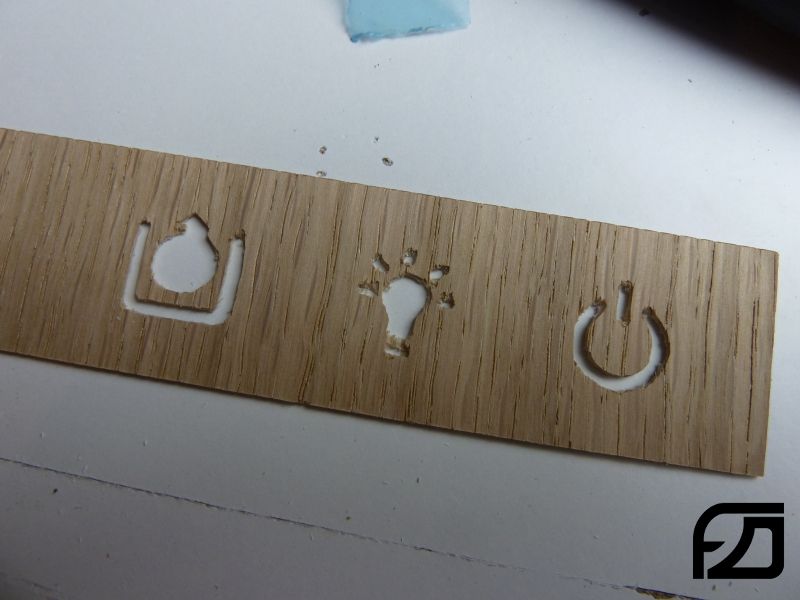
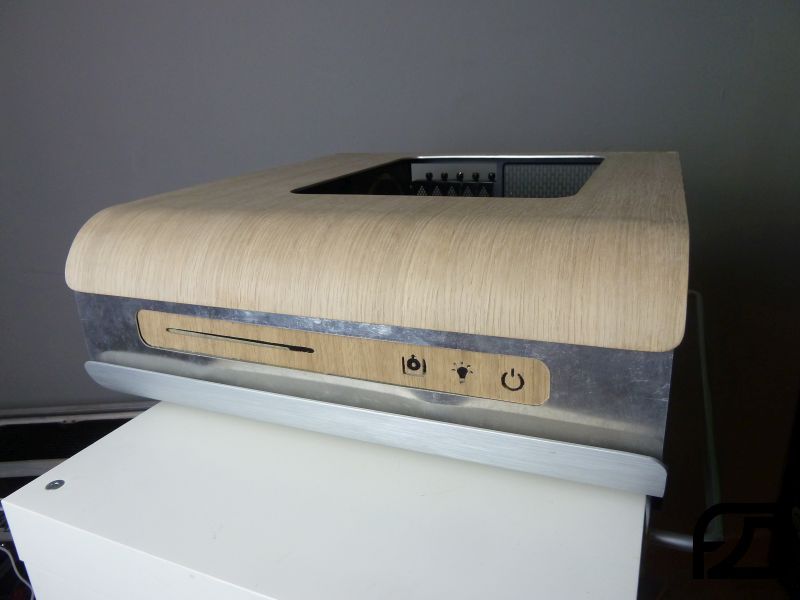
So I designed some symbols, behind them there will be some capazitive switches.


Pandora_WiP015.jpg


Pandora_WiP016.jpg


Pandora_WiP017.jpg


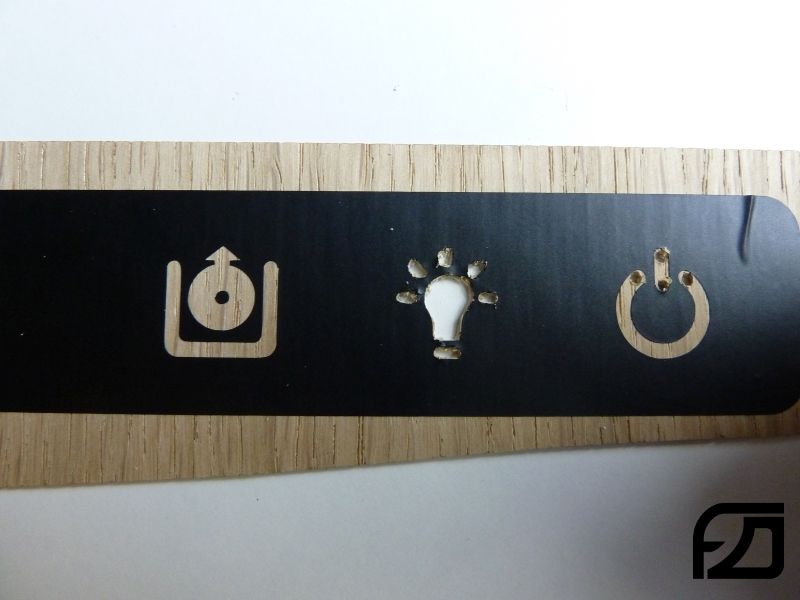
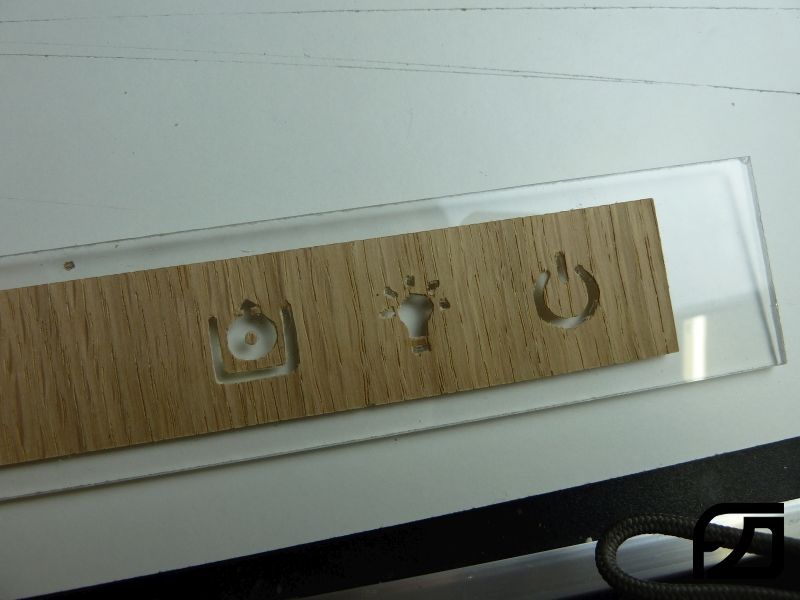
It doenst work perfect but I think I can fix it.

Pandora_WiP018.jpg


Pandora_WiP019.jpg


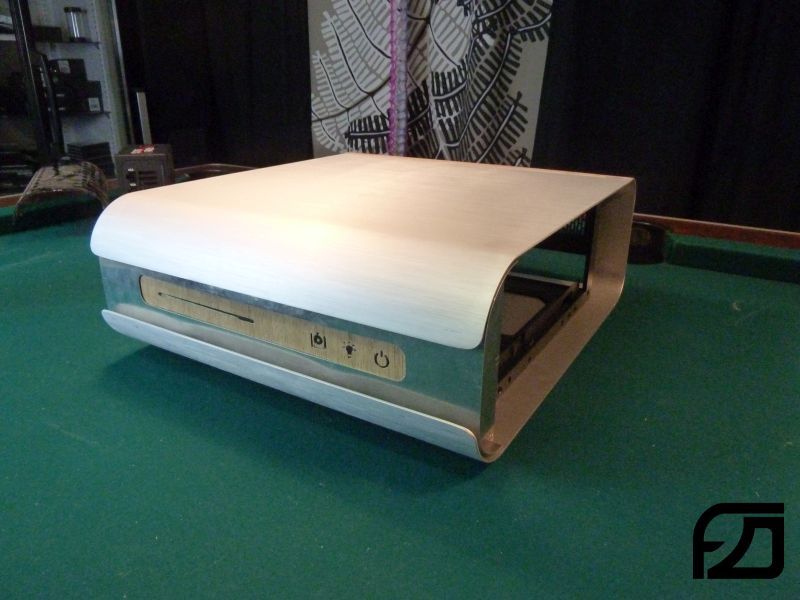
Continued with the front.

Pandora_WiP020.jpg


test fit of the frontpanel:

Pandora_WiP021.jpg


After all of this work was done, I started with the critical work. I the bend went wrong all the drilling, dremeling and filing was for nothing.

Pandora_WiP022.jpg


But it works. :)


Pandora_WiP023.jpg


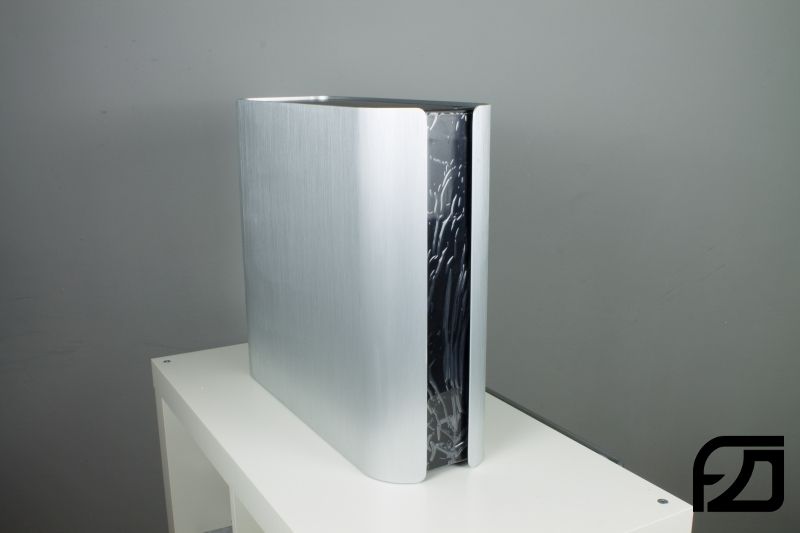
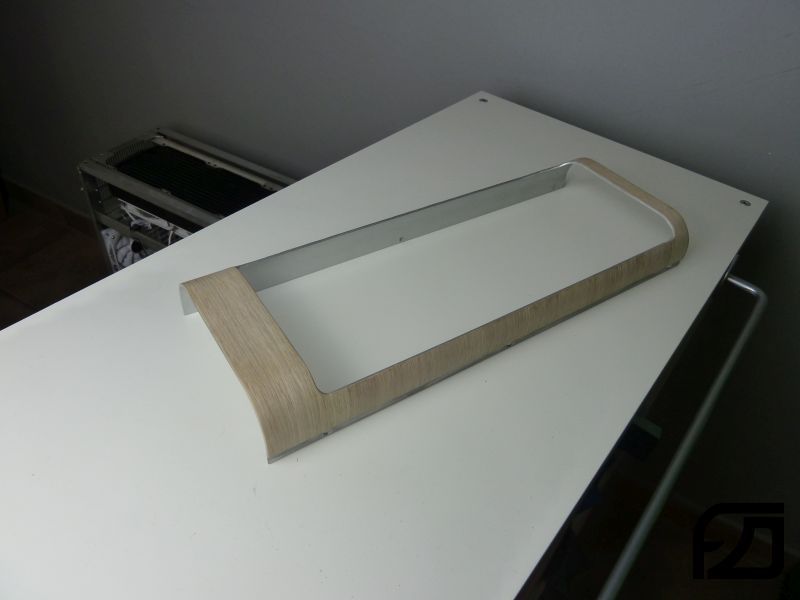
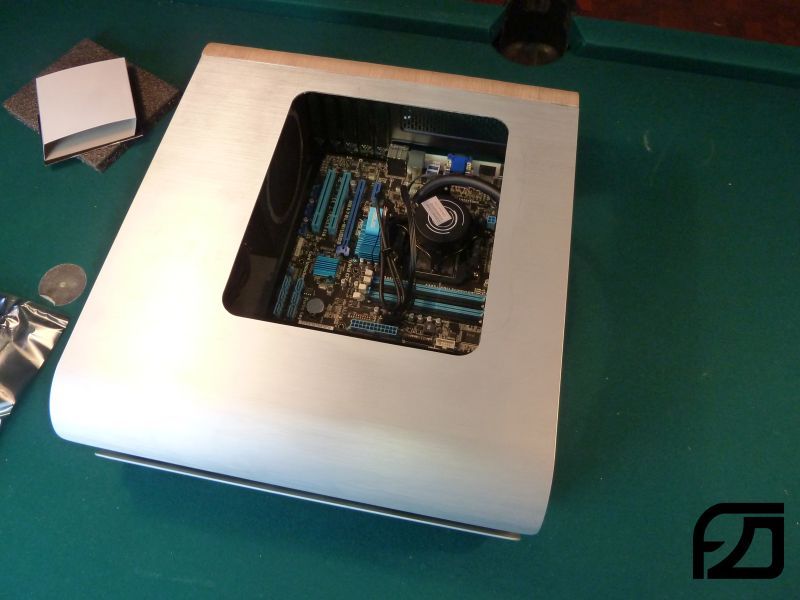
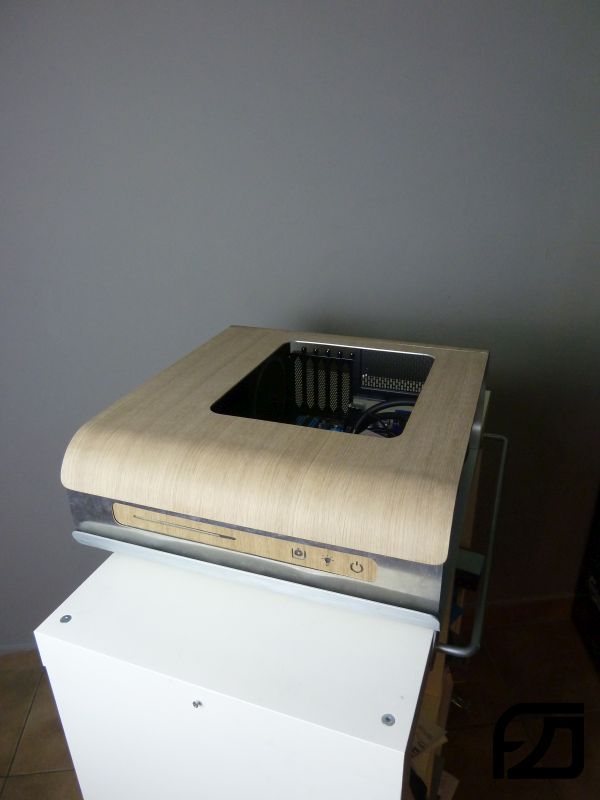
First test fit on the case

Pandora_WiP024.jpg


Pandora_WiP025.jpg


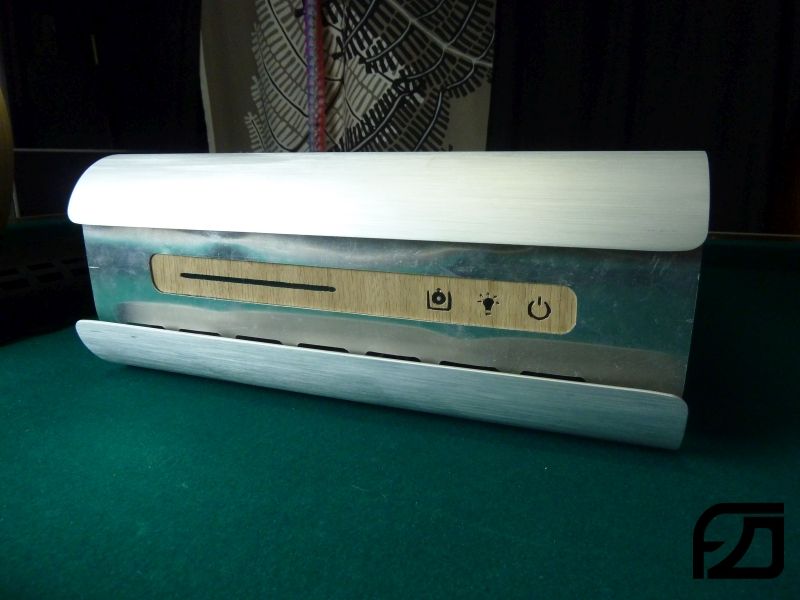
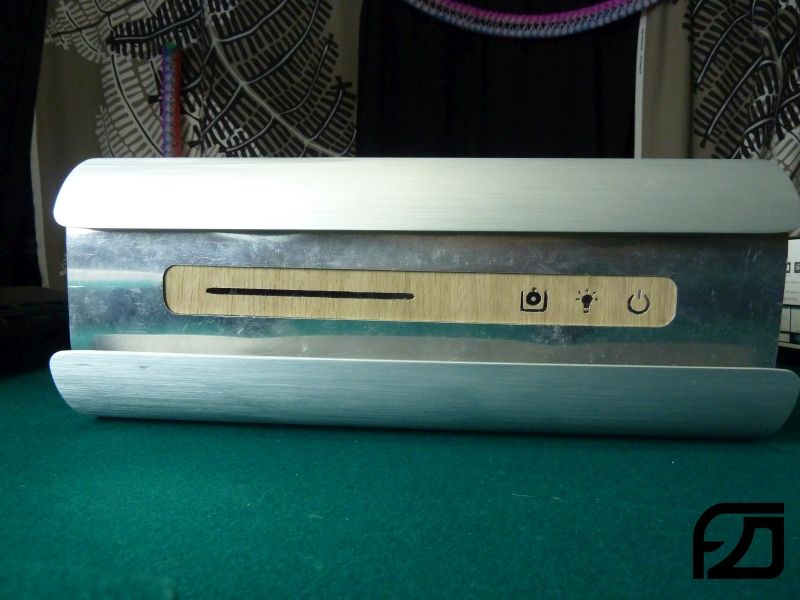
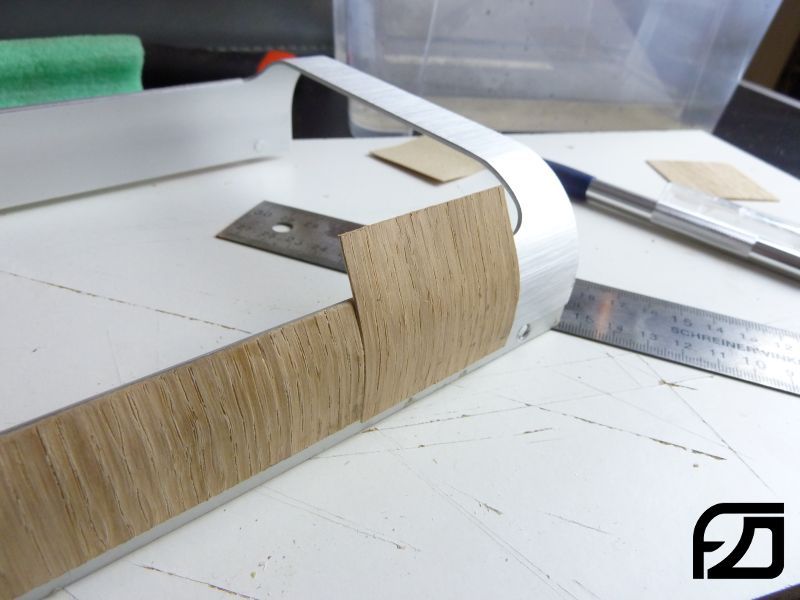
in combination with the veneer:

Pandora_WiP026.jpg


Thats it for now, what do you think?
 
Associate
Joined
29 Dec 2014
Posts
2,333
Location
The "North"
This is definitely an interesting project, probably a look I'd quite like for a HTPC or one that would be located in the living room. I'm quite surprised at the vaneer fitting in so well with the metal design but I bet it'll look great when it's all finished (Like the original Bang and Olufsen where it's like a piece of furniture) :)

Keep up the great work and I can't wait to see the build progress :)
 
Associate
OP
Joined
15 May 2015
Posts
66
Location
Hamburg
Looking interesting,well done so far :)
Thank you. :)

This is definitely an interesting project, probably a look I'd quite like for a HTPC or one that would be located in the living room. I'm quite surprised at the vaneer fitting in so well with the metal design but I bet it'll look great when it's all finished (Like the original Bang and Olufsen where it's like a piece of furniture) :)

Keep up the great work and I can't wait to see the build progress :)
Yes, this was also my first intention, but at the end I realized that this case is to big for the living room. It doesnt fit into my furniture. :rolleyes:

Like the idea and the creativity to go with the natural accents.

Also, full respect for your tenacity with the aluminium bending.
Thank you. I also think that the veneer + aluminium will be a great combination. Bending aluminium without the right tools isnt fun... but I'm very satisfied with the result now.

I think this is going to be great!
Thank you :cool:


Update:

With every project I'm working on I have the same problems. Finding a matching name is the most difficult part of modding, I think.
But this time I found a name for this project. I think "silent oak" will match the concept of this build very well. What do you think?


The first part I want to put the veneer on, was the backpart.

At first disambled that part:

Pandora_WiP027.jpg


cut two parts of veneer to match the whole width:

Pandora_WiP028.jpg


No pictures from my first try... that looked completly crappy....
I removed my first try and started the second attempt.

Pandora_WiP029.jpg


at the first try I want to use two parts, it was really difficult to agglutinate the parts cause of the curves. At this attempt I started with 6 parts and it worked much better:

Pandora_WiP030.jpg


Pandora_WiP031.jpg


cleaned the edges:

Pandora_WiP032.jpg


Pandora_WiP033.jpg


Pandora_WiP034.jpg


See you soon. :)
 
Associate
OP
Joined
15 May 2015
Posts
66
Location
Hamburg
Looking forward to seeing how this goes, great so far! :)

Thank you.

Gotta love a Pandora build

These Pandora cases are really great. I also have a Pandora ATX here to mod it soon. :D

That wrapping (If that's what it's called) looks great, the pieces blend in perfectly with no marks or blemishes. It also curves around perfectly with no issues at all :)

Thank you Sir. :)

Update:

To mount the new front a skeletal structure must be build, I cutted some aluminium into the right dimensions and cutted some threads.

Pandora_WiP035.jpg


assambled all the parts for a test fit. The alu sheet must be filed down later.

Pandora_WiP036.jpg


Test fit on the case:

Pandora_WiP037.jpg


Continued on the sidepanel.
For a nice layout of the window I putted a mainboard in the case an measured the corect dimensions.
After that the contours were marked at the sidepanel and cutted with the angle grinder and dremel.

Pandora_WiP039.jpg


After filing down the edges it looks much better.. :)

Pandora_WiP040.jpg


Later I will make an inlay window for it.

That it for now. :)
 
Associate
Joined
29 Dec 2014
Posts
2,333
Location
The "North"
You have achieved a good cut when cutting for the case window as it looks smooth and perfectly shaped (No waved lines etc). I bet it must have taken awhile to file down the edges and makesure they were perfect :)
 
Associate
OP
Joined
15 May 2015
Posts
66
Location
Hamburg
You have achieved a good cut when cutting for the case window as it looks smooth and perfectly shaped (No waved lines etc). I bet it must have taken awhile to file down the edges and makesure they were perfect :)

Thank you. Meanwhile I have a lot of exyperiences with nice edges.
Yes, It takes a while but if you are pationt its easy to achieve that.

I like how unique this build is! :cool:

Thank you, that was my intention. :cool:

Update:

Going on with the sidepanels.
At first i roughly cutted the veneer to the right size and took my iron the fuse the veneer on the panels.

Pandora_WiP041.jpg


after that, a lot of detail work must be done by using a scalpel and some sandpaper

Pandora_WiP043.jpg


Pandora_WiP042.jpg


second panel

Pandora_WiP044.jpg


Pandora_WiP045.jpg


Thats it for now. ;)
 
Associate
OP
Joined
15 May 2015
Posts
66
Location
Hamburg
Thank you a lot. :)
Thats really motivating. :)

Update:

Going on with the window.
For a sleeker look, I wanted to make an inlayed window. That wasnt that easy, but finally it comes out great.

Starting with cutting some acrylic panel to the right size and added some curves to the corners.

Pandora_WiP078.jpg


Cutted and filed down:

Pandora_WiP079.jpg


For the milled edge I used a miller with a spacer disk.

Pandora_WiP080.jpg


Pandora_WiP081.jpg


The first fit wasnt perfect but after some sanding it fits very well.
For making it by hand, I'm really satisfied. :)

Pandora_WiP082.jpg


Pandora_WiP083.jpg


Pandora_WiP084.jpg


See you :cool:
 
Back
Top Bottom