

Associate
CORE MISC - FINISHED PHOTOS

Here is a list of the specifications:
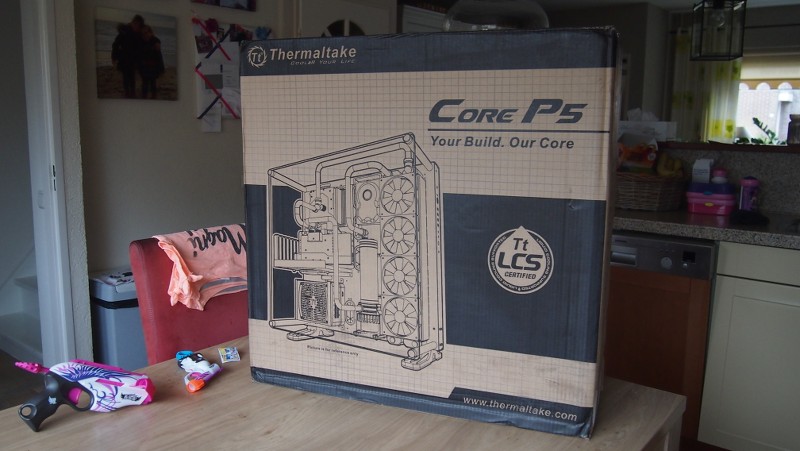
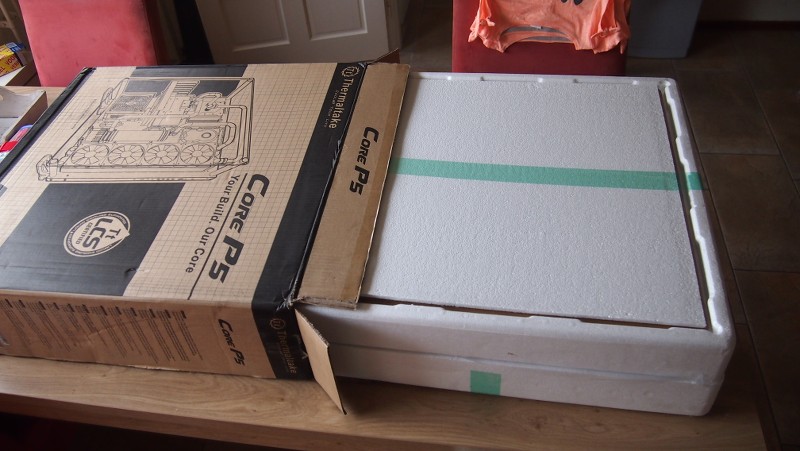
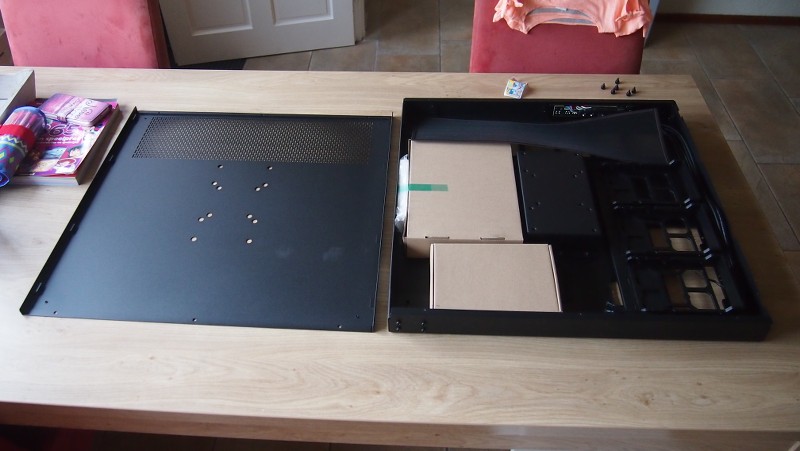
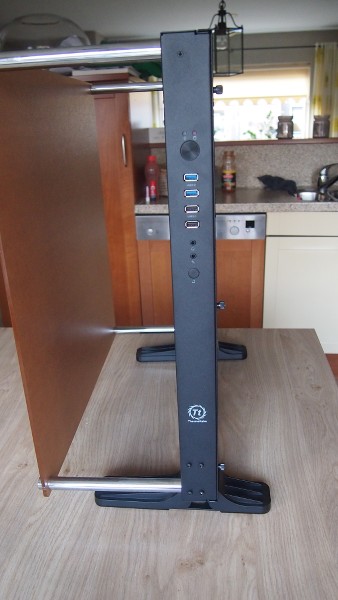
Thermaltake Core P5 chassis
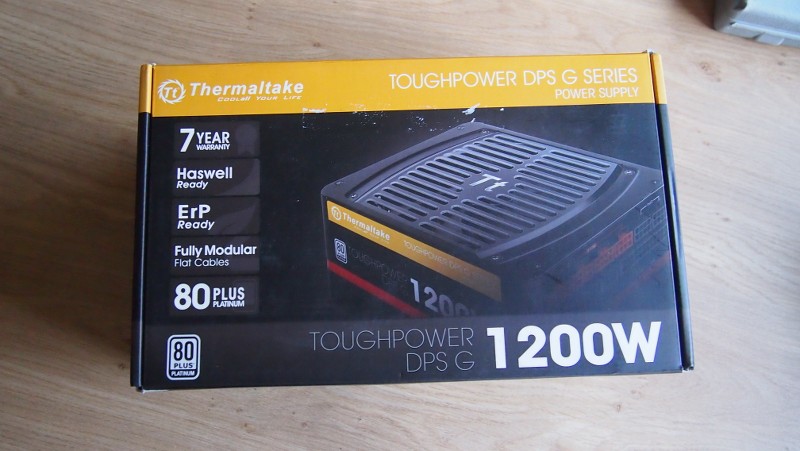
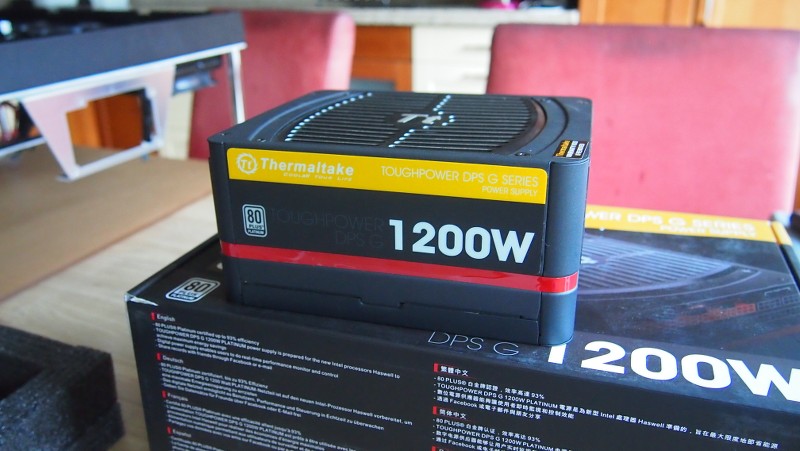
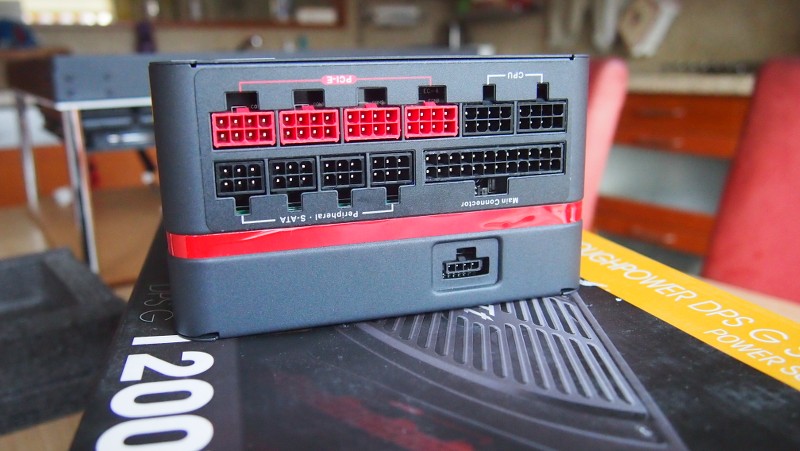
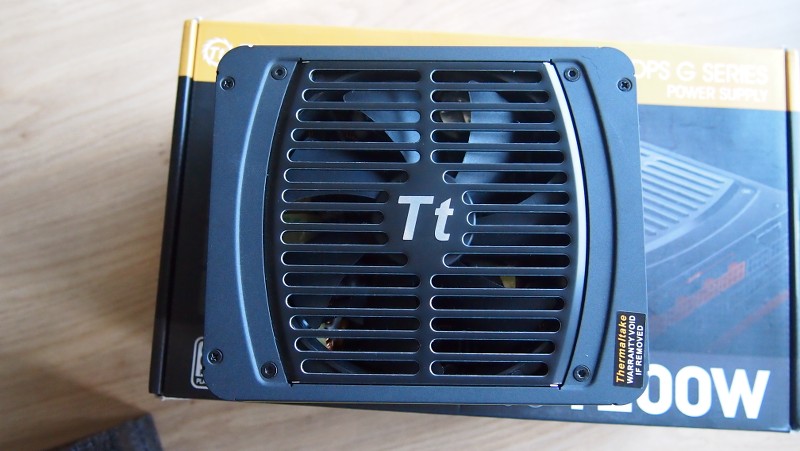
Thermaltake Toughpower DPS G 1200W
Thermaltake Commander FT fancontroller
Thermaltake Riing fans 120mm x12
Thermaltake full custom DUAL watercooling loop
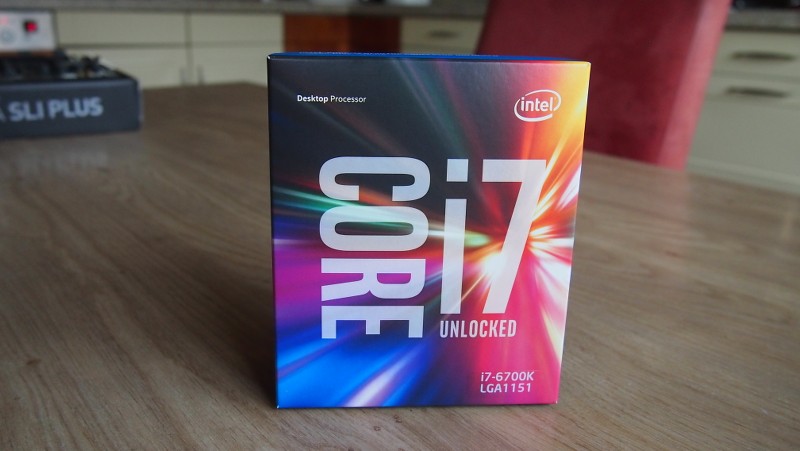
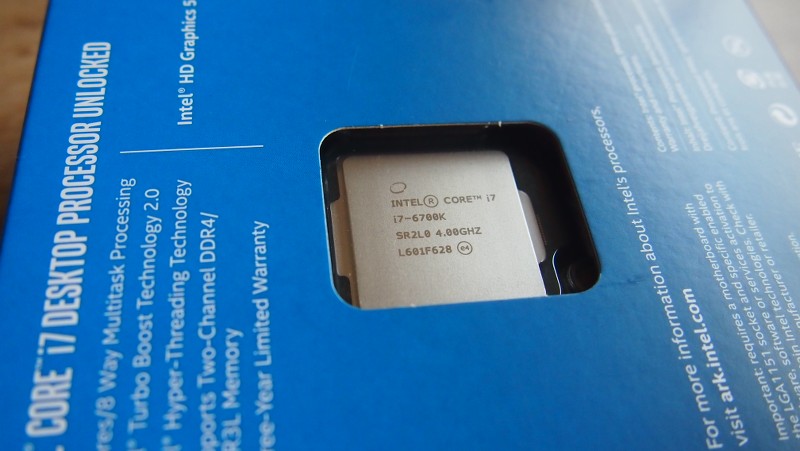
Intel i7-6700K
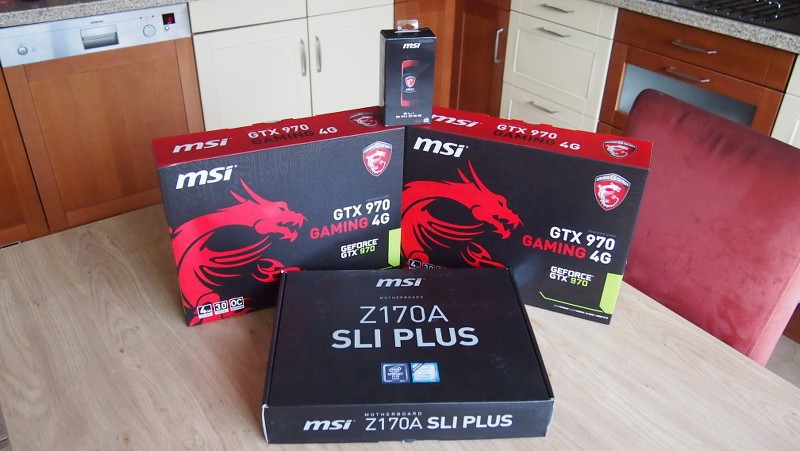
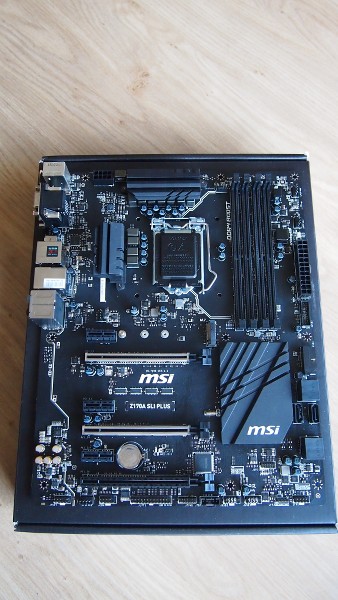
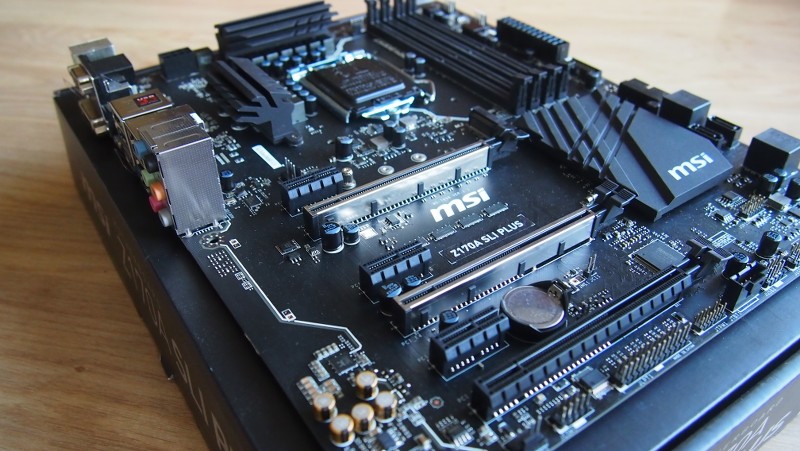
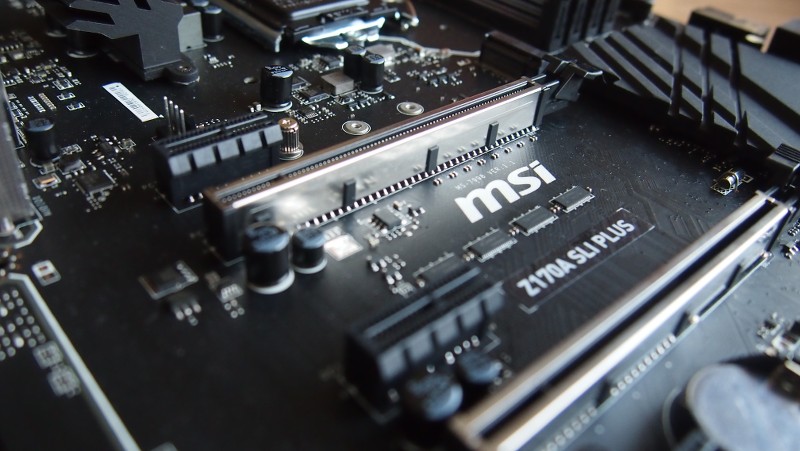
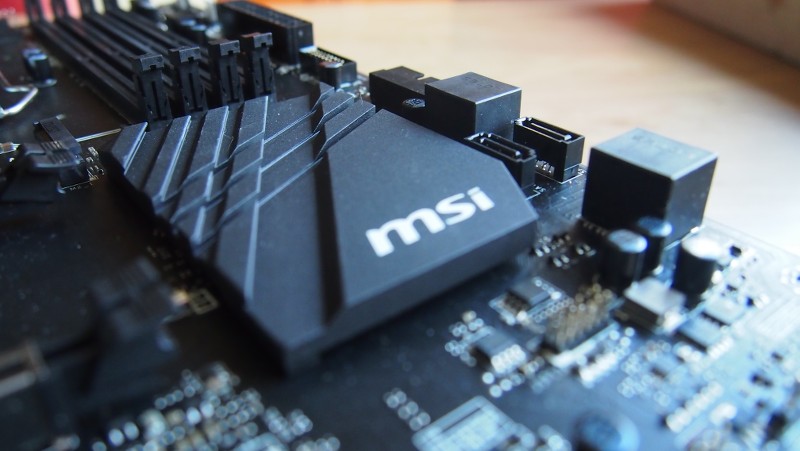
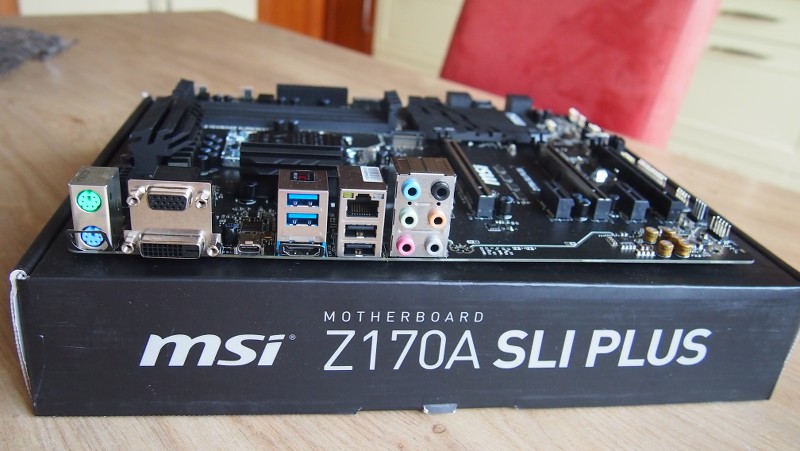
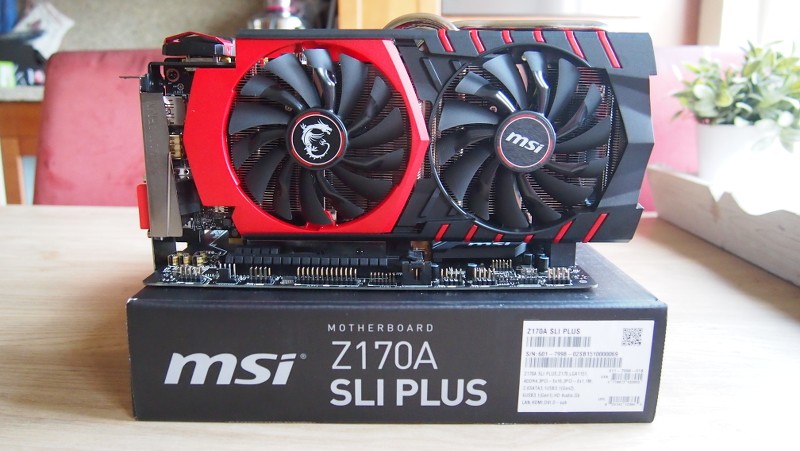
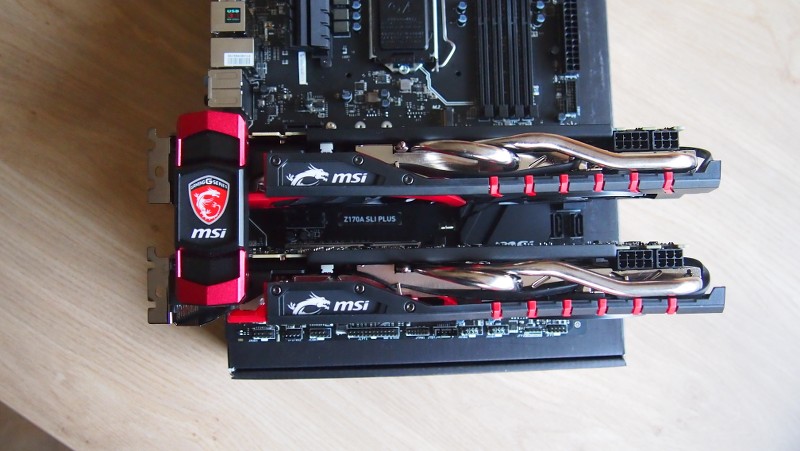
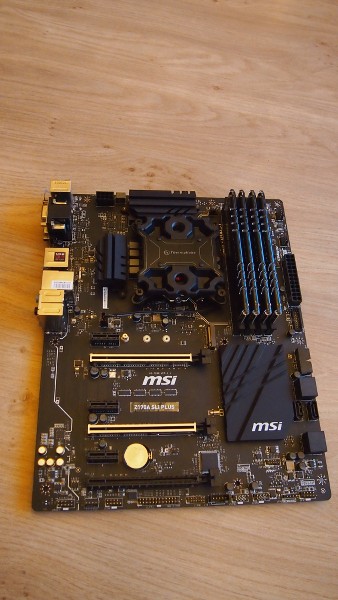
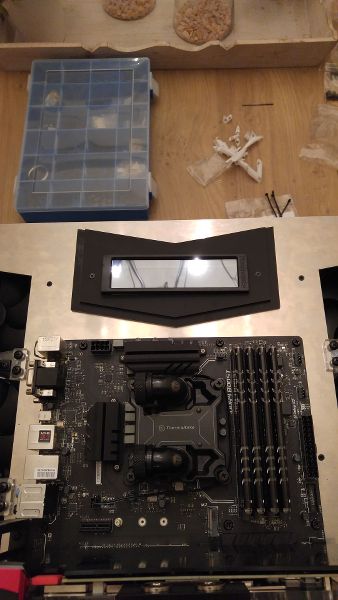
MSI Z170A SLI PLUS
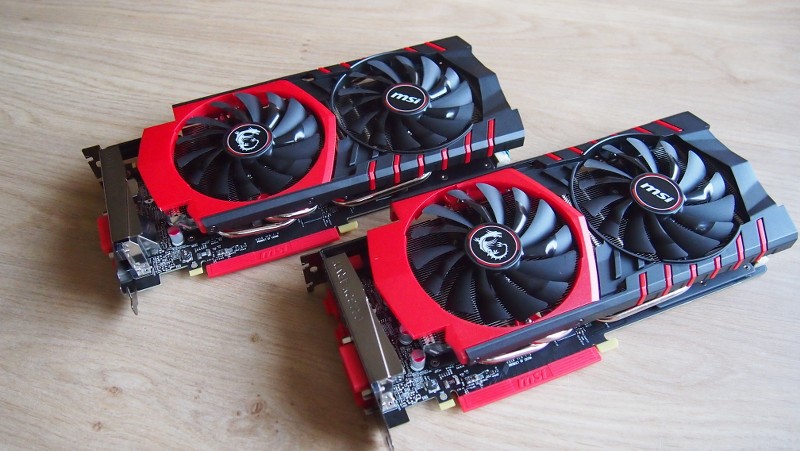
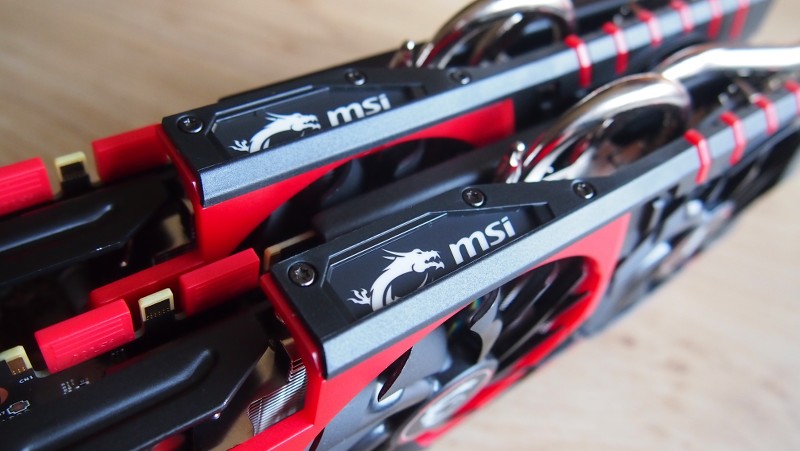
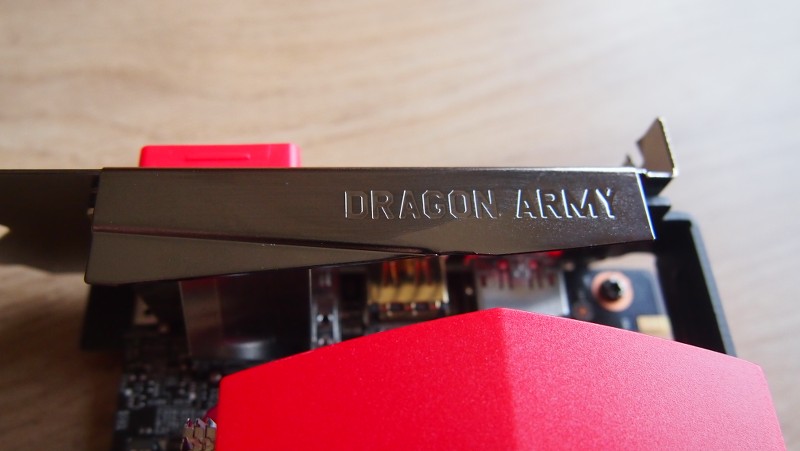
MSI Nvidia GTX970 Gaming 4G
MSI Nvidia GTX970 Gaming 4G
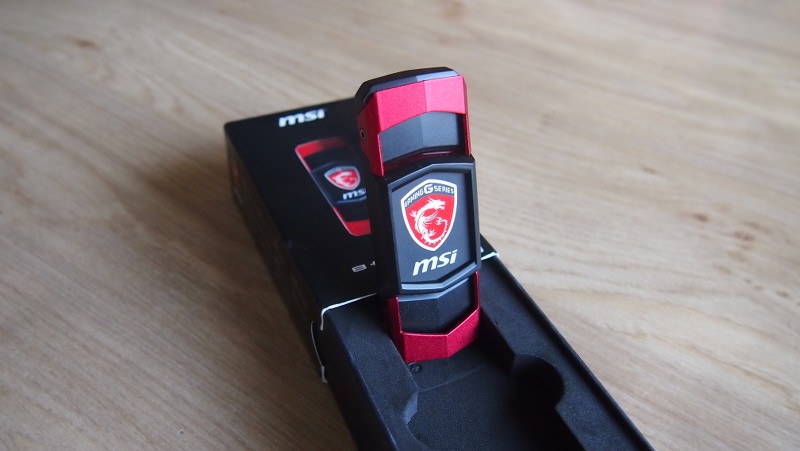
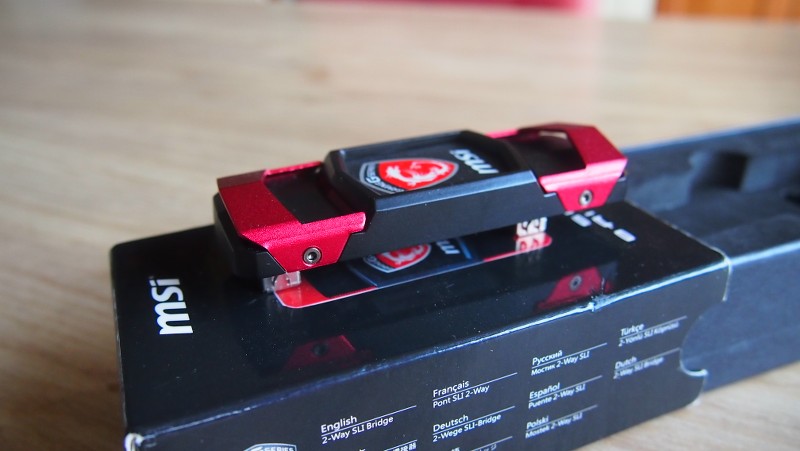
MSI Gaming Series SLI bridge
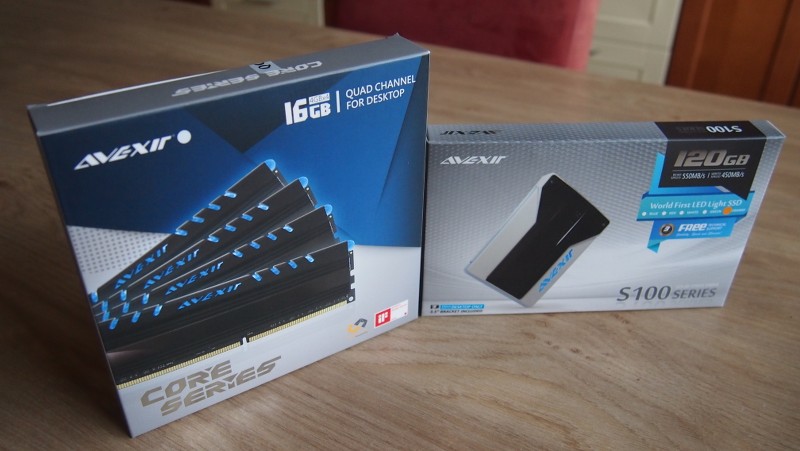
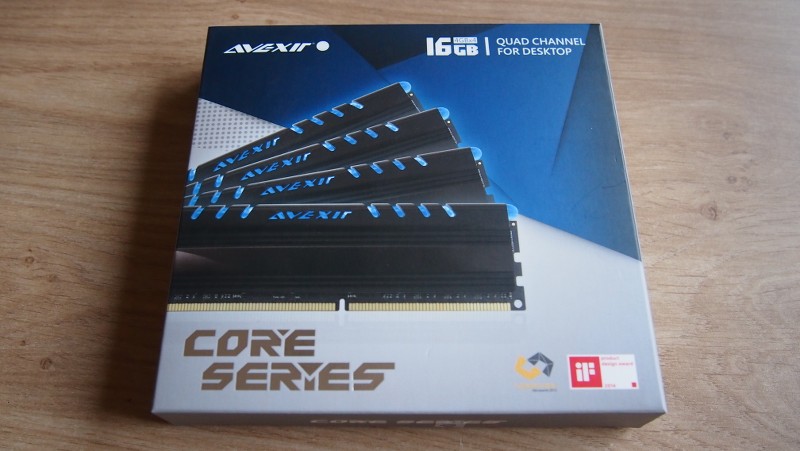
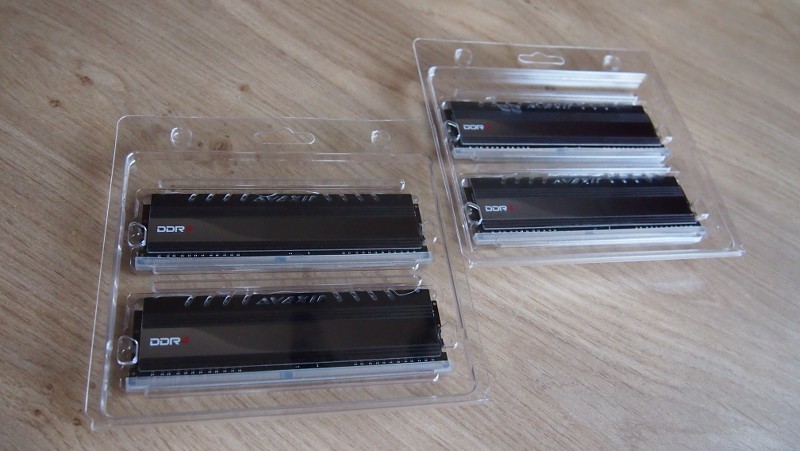
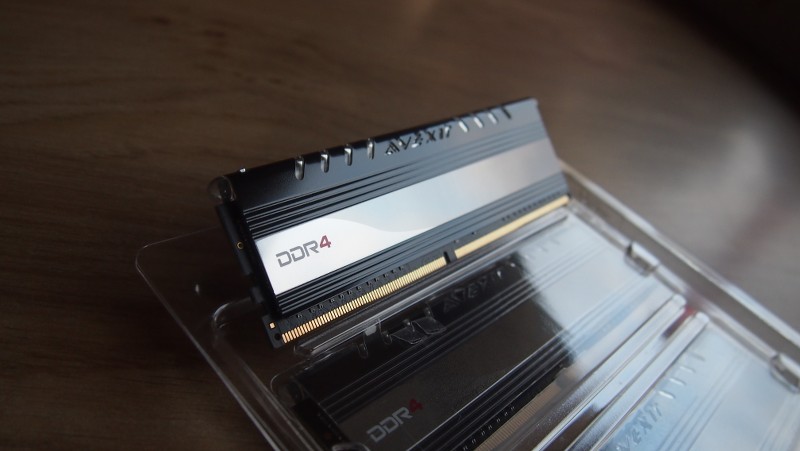
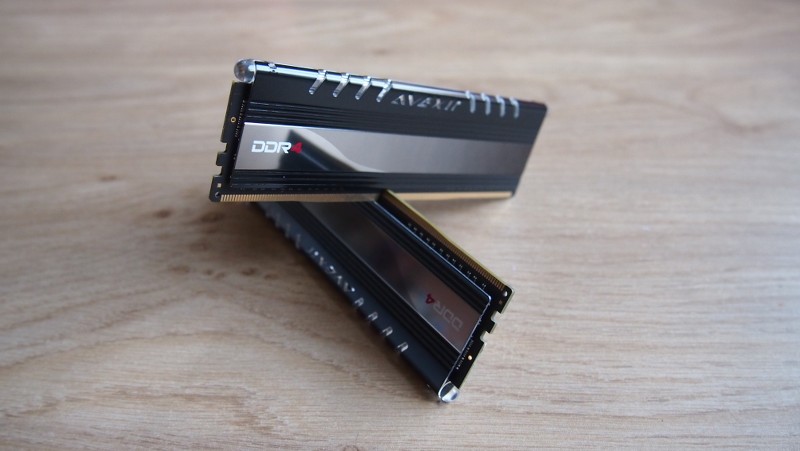
Avexir Blitz 4*4GB DDR4
Avexir S100 SSD 120GB
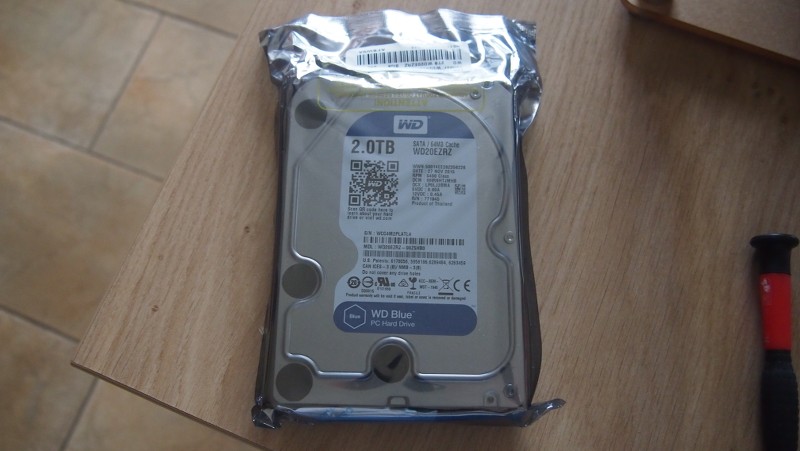
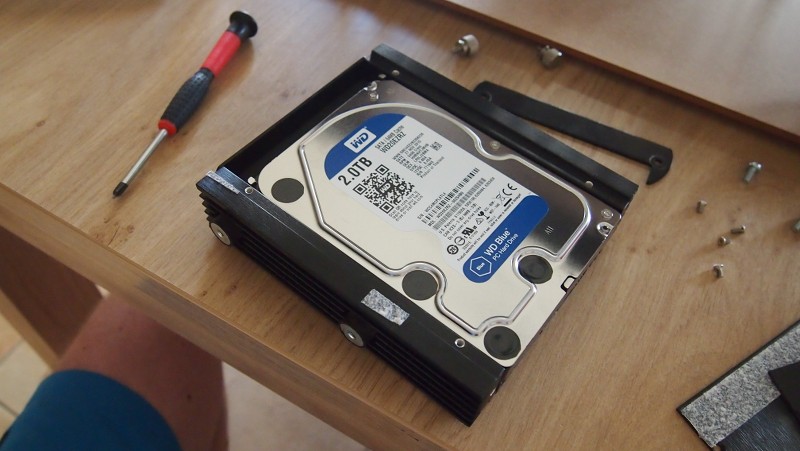
Western Digital 2TB HDD
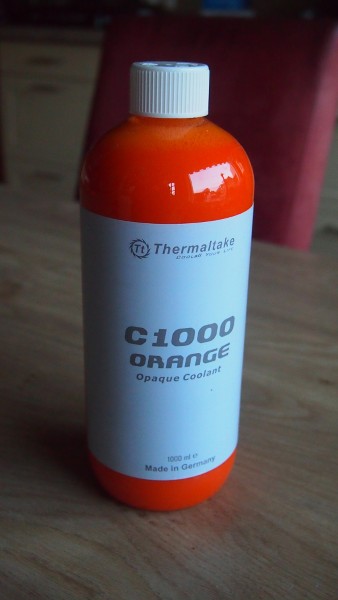
The theme for the project is Star Citizen, specifically design elements of a ship by the MISC company. With colours being grey, black, orange and white.
Thank you to all partners for having faith in my work and giving me the opportunity. :rock:
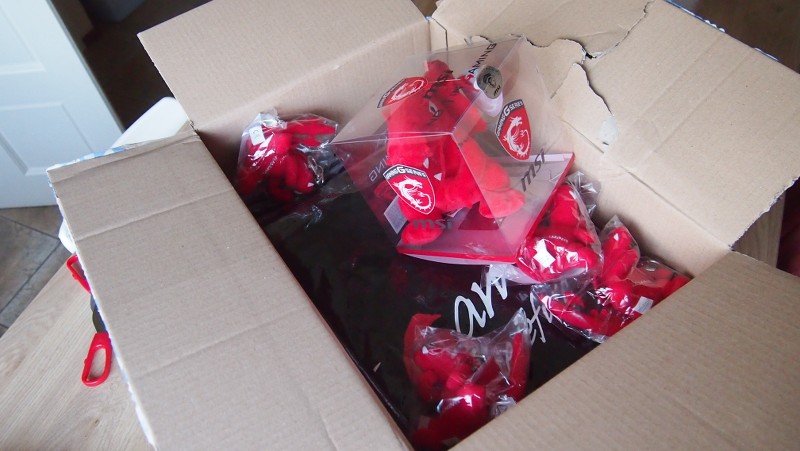
This first post will be MASSIVE with pictures of all the hardware and in the end the first steps of modding the chassis.
Enjoy! :dremel: :thumb:
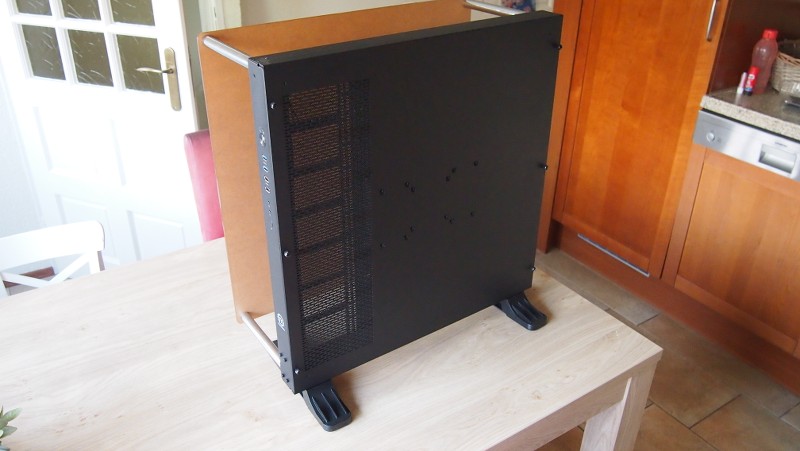
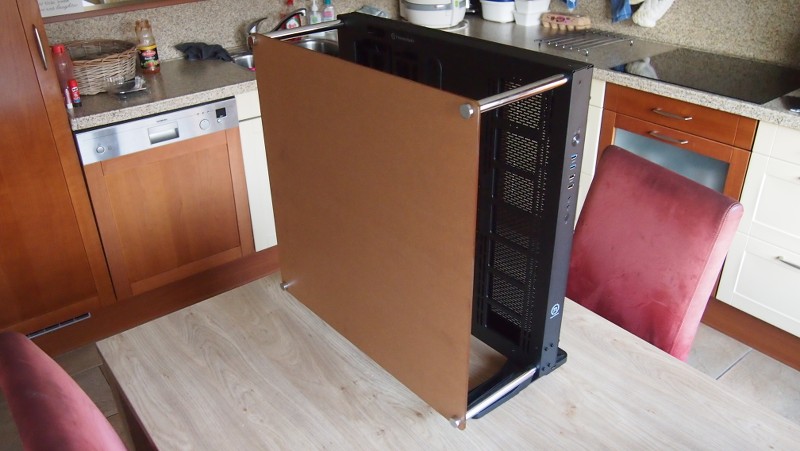
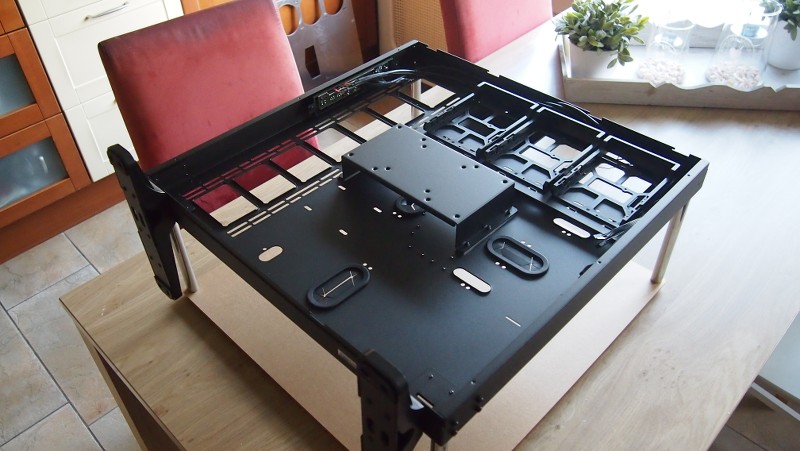
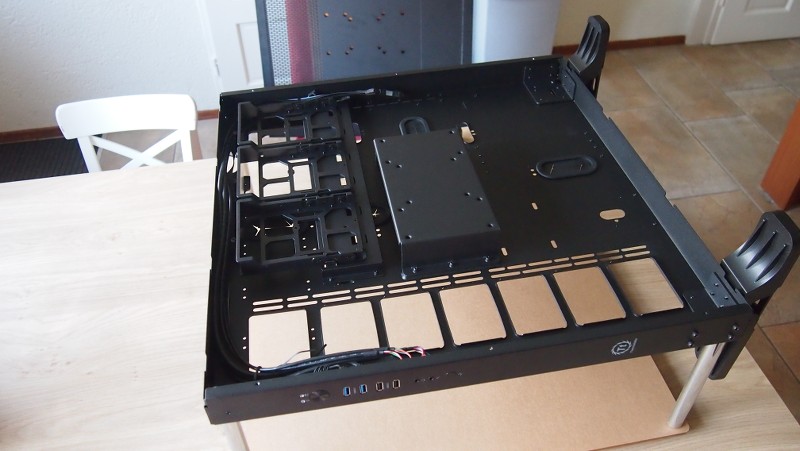
Core P5 Chassis
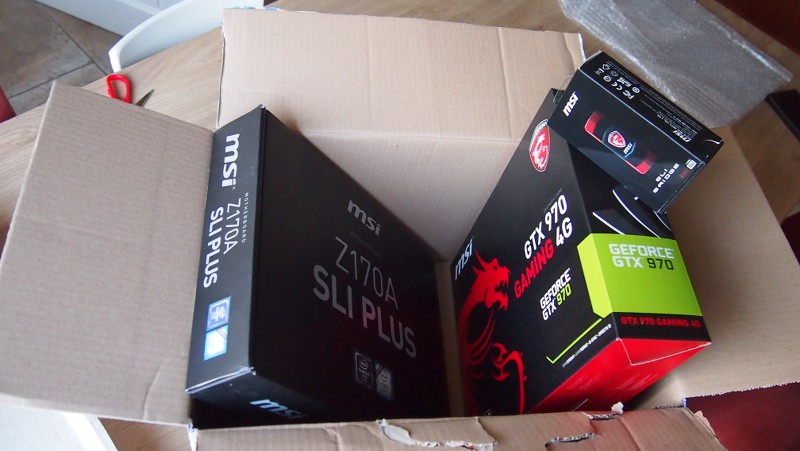
The MSI hardware

Our CPU for this build
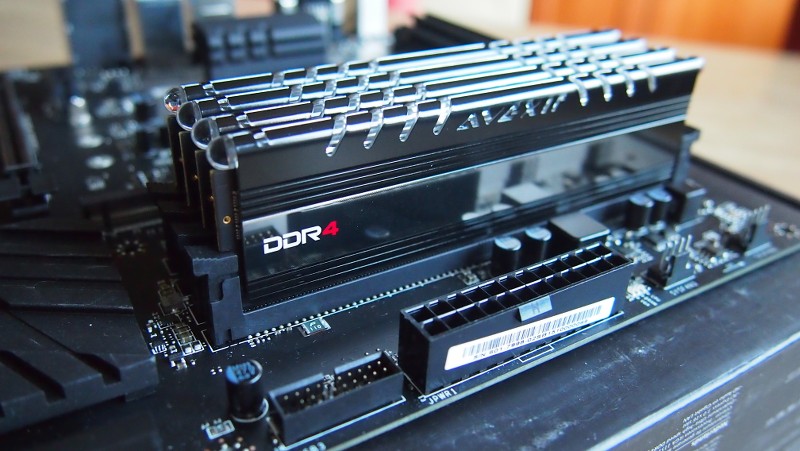
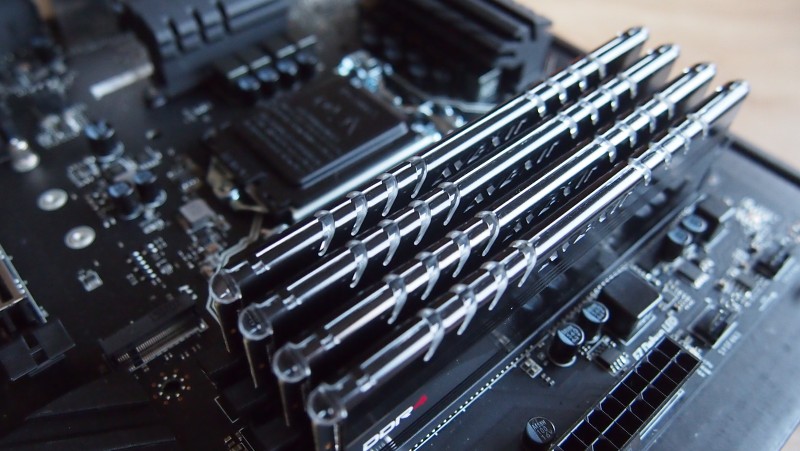
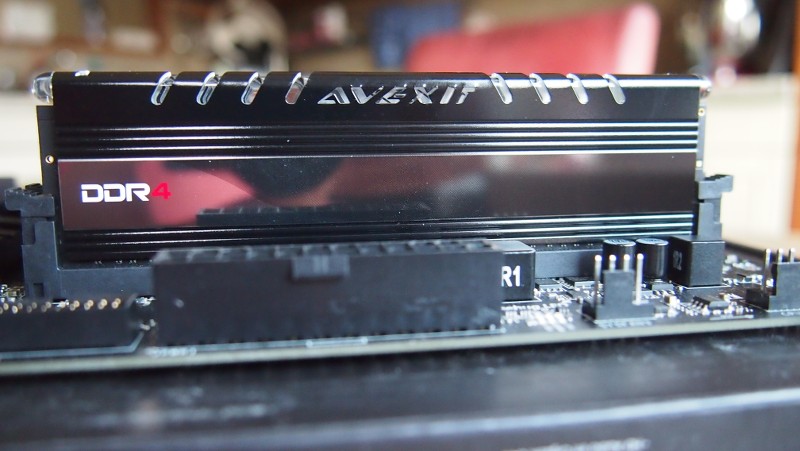
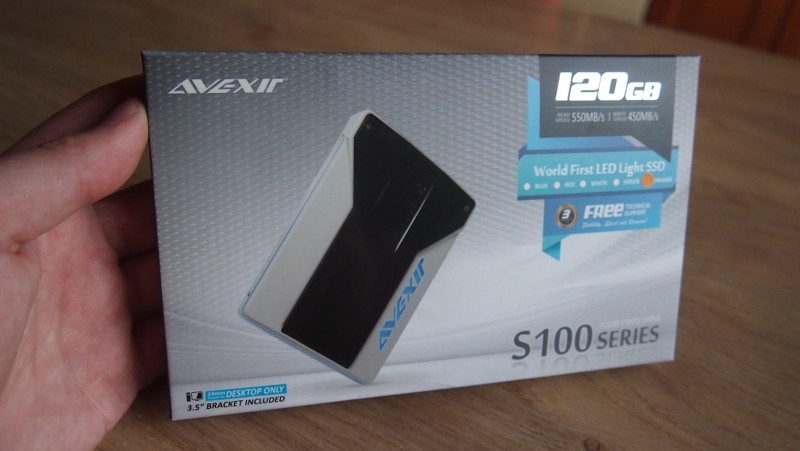
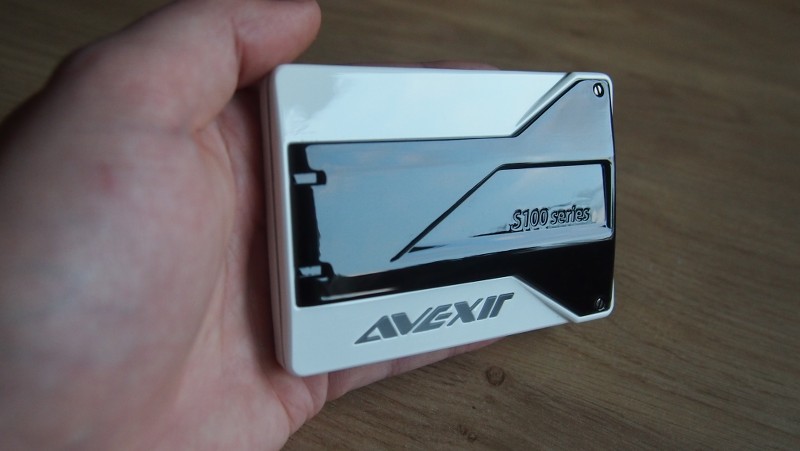
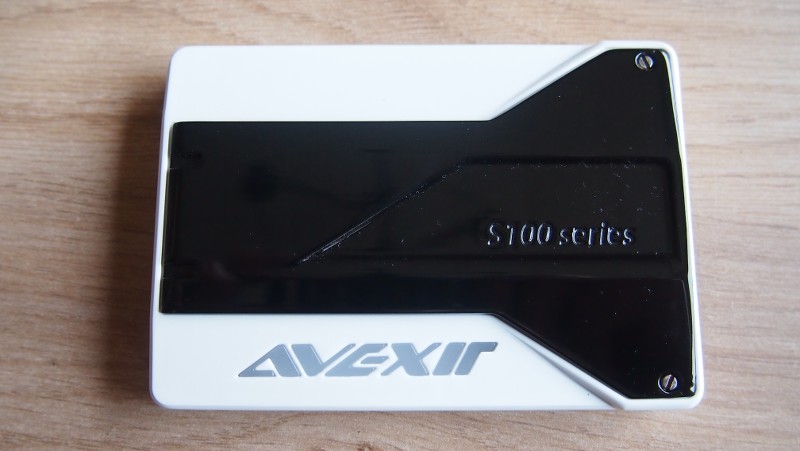
AVEXIR hardware
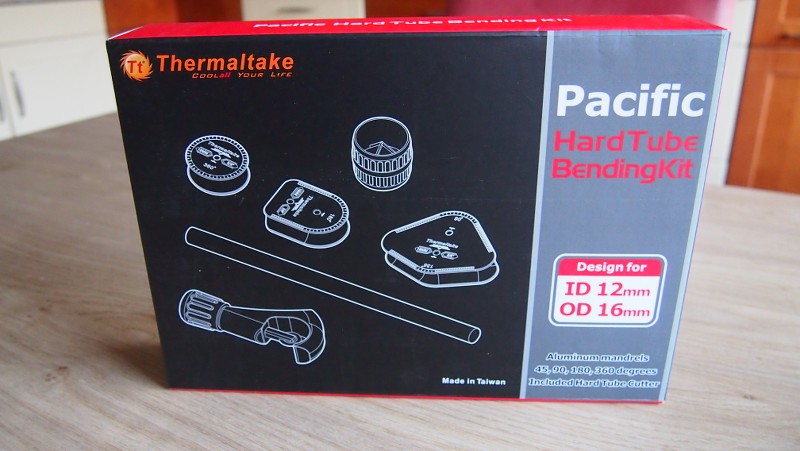
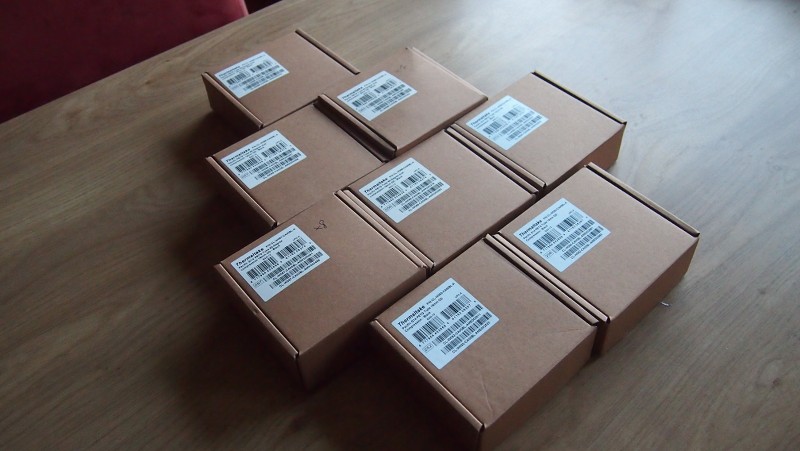
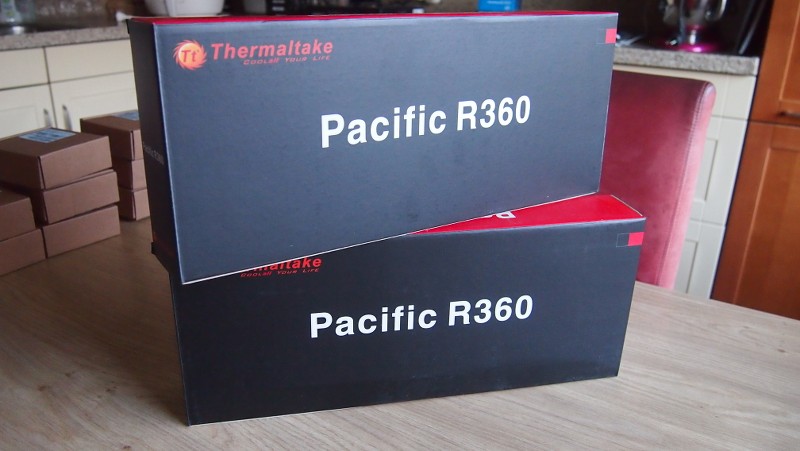
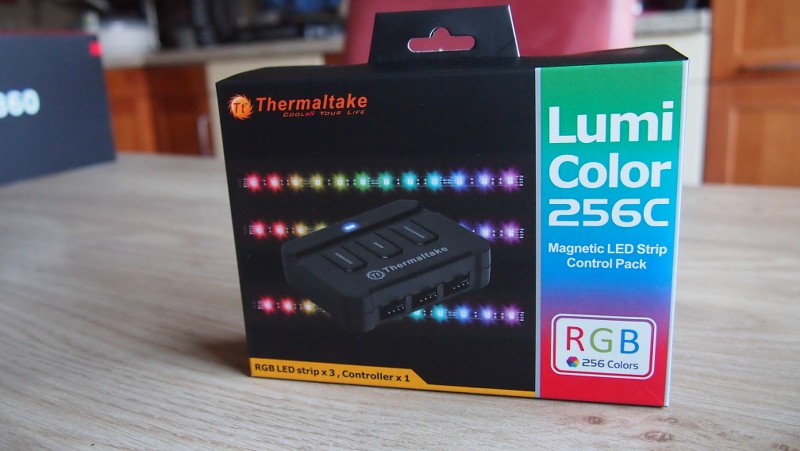
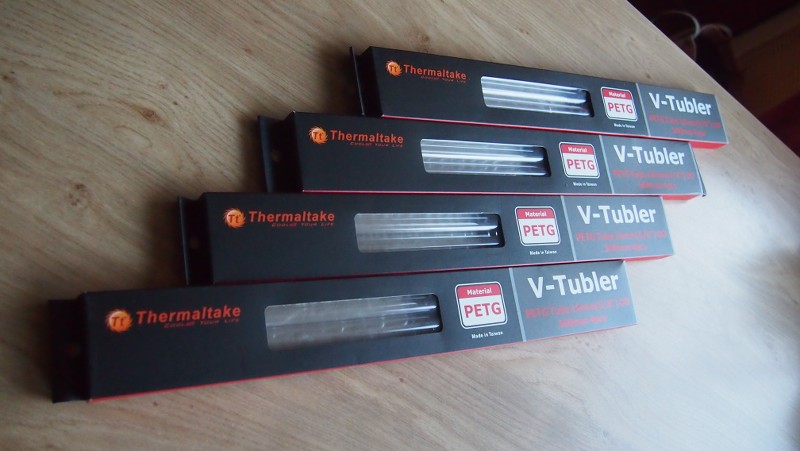
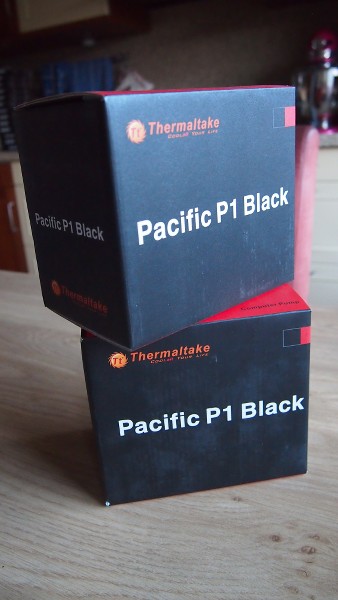
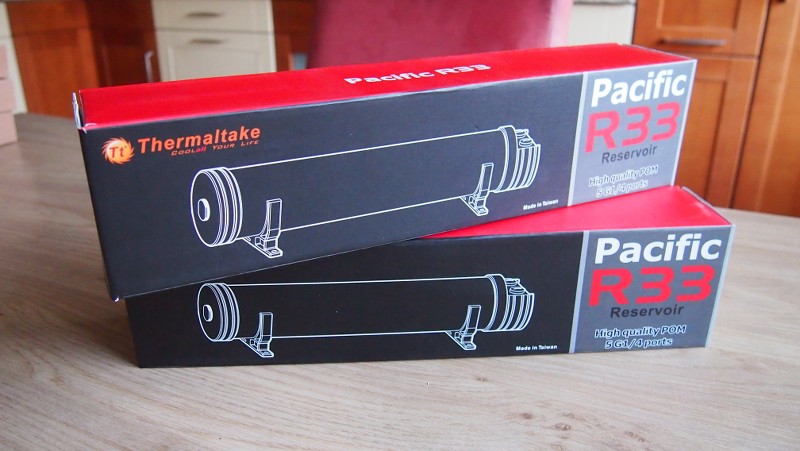
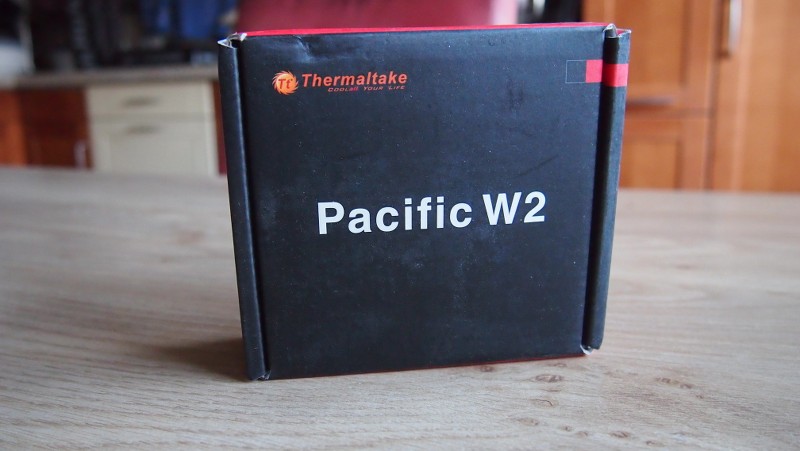
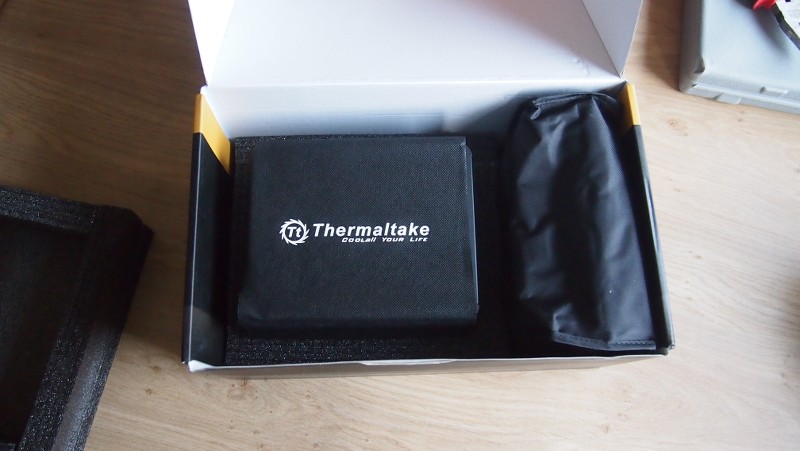
Thermaltake hardware and watercooling


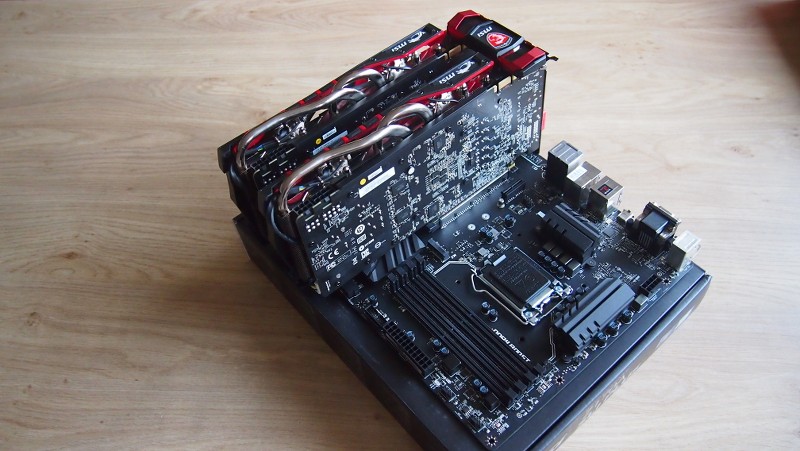
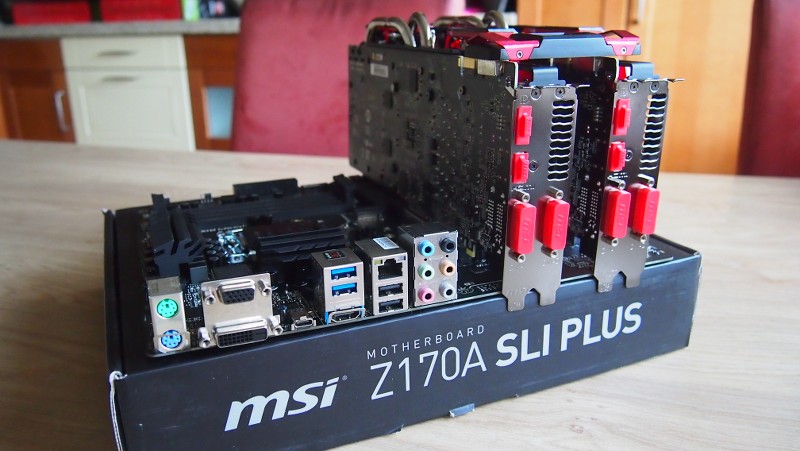
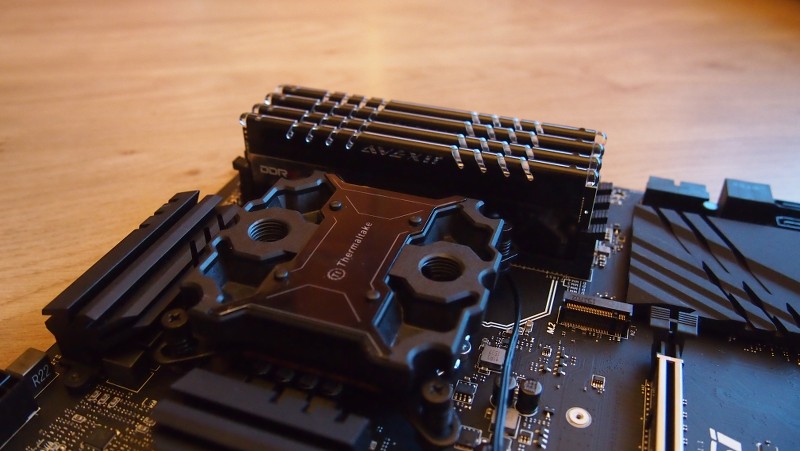
Fitting the hardware on the motherboard
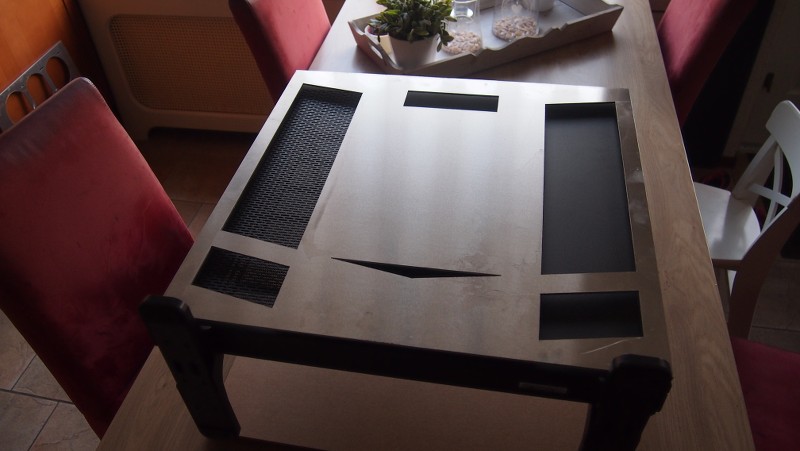
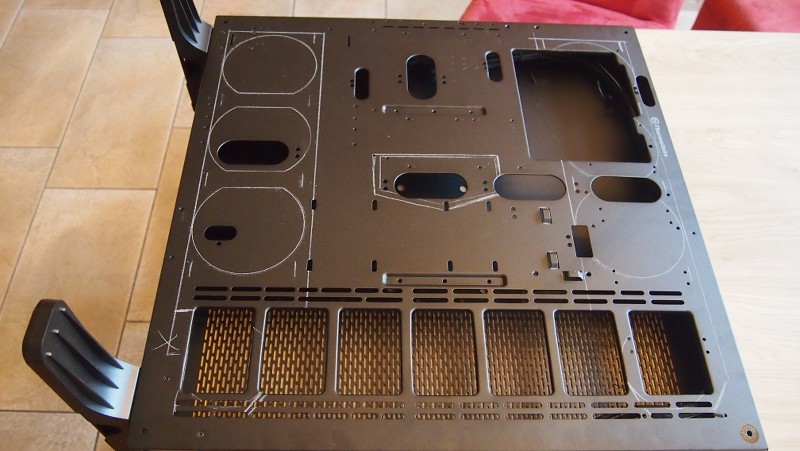
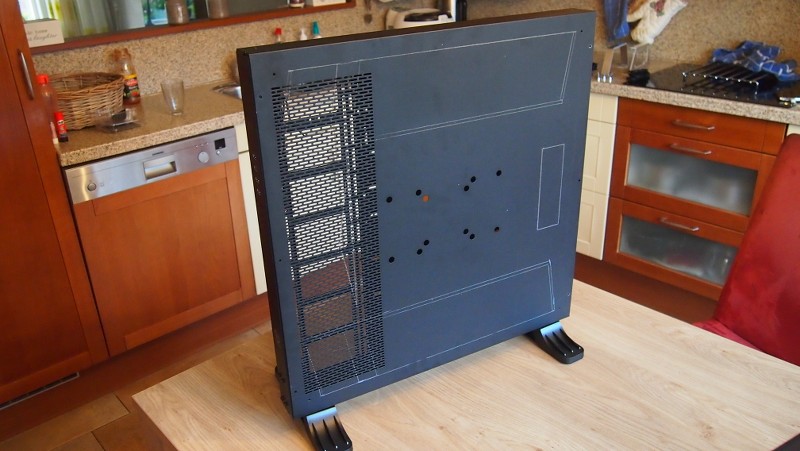
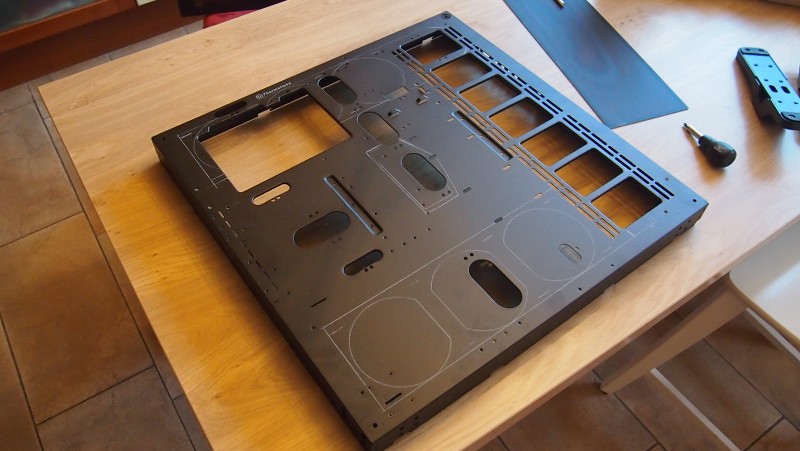
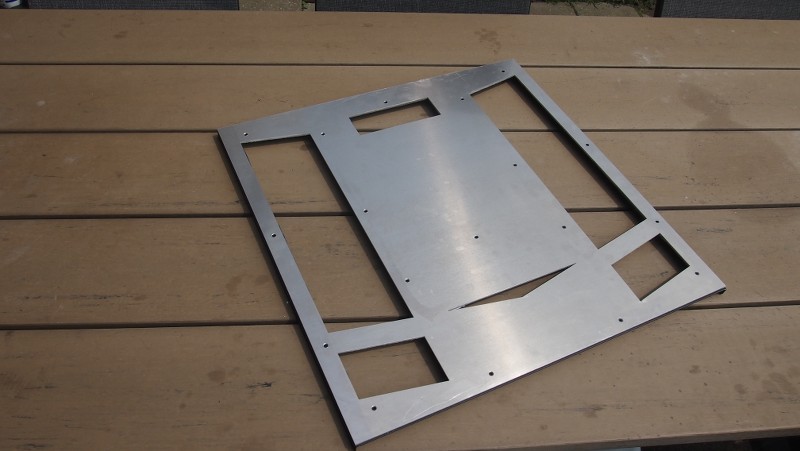
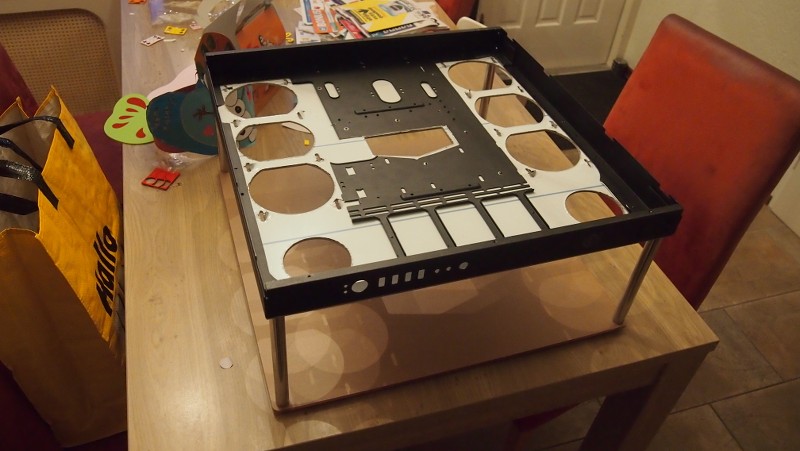
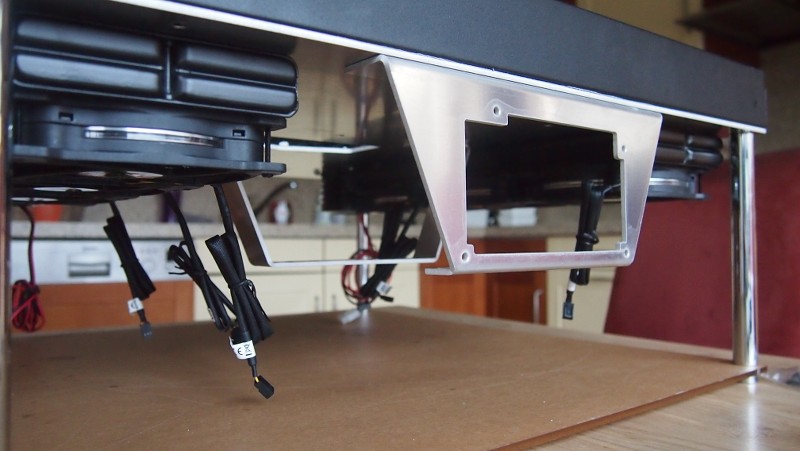
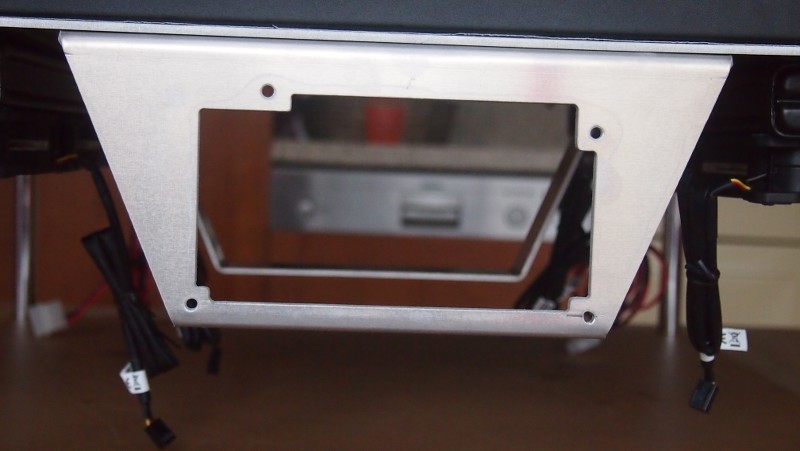
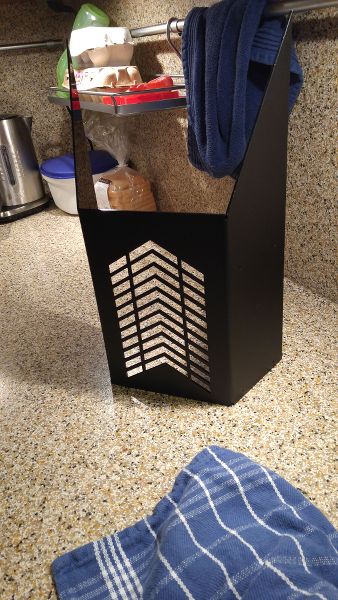
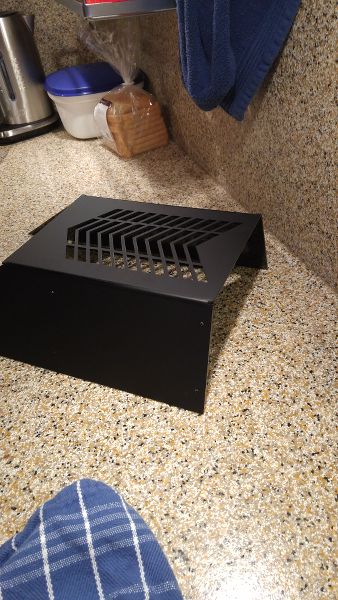
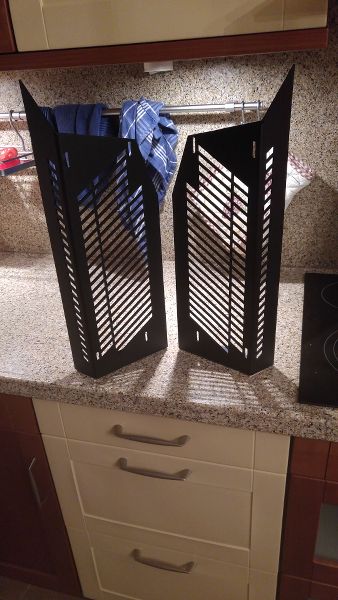
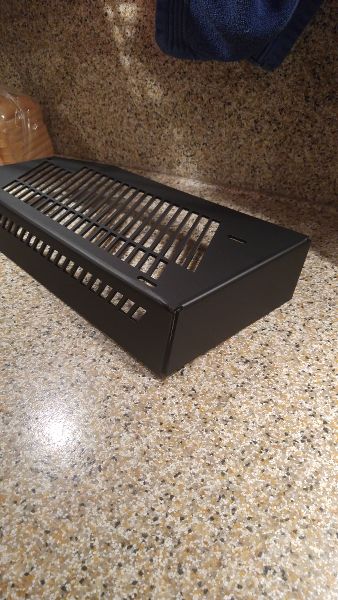
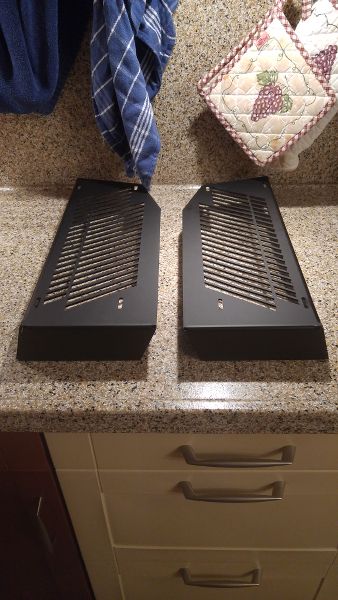
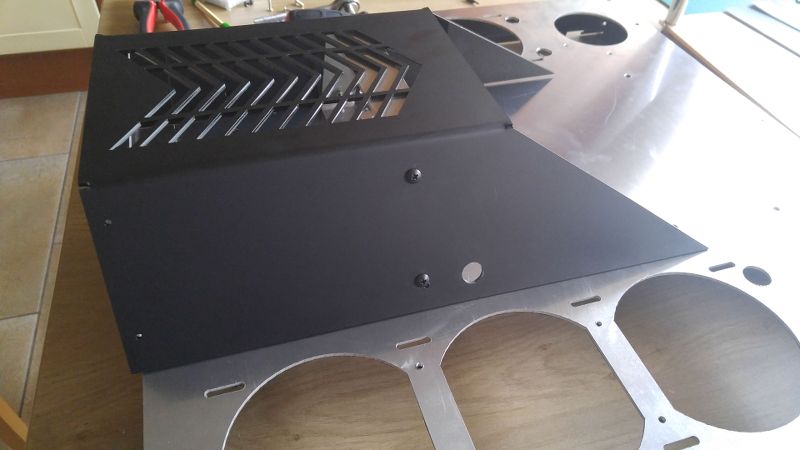
I went onto Skype with my buddy Django Soeterboek and we drew up some custom panels for the Core P5. I wanted to make a mod with it that no one has done until now. You see a LOT of Core P5 mods and watercooling builds. And I wanted it to be different persé. So a custom front and rear panel to accommodate the new lay-out I have in mind. And to hang the PSU under the case. Yes under the case.
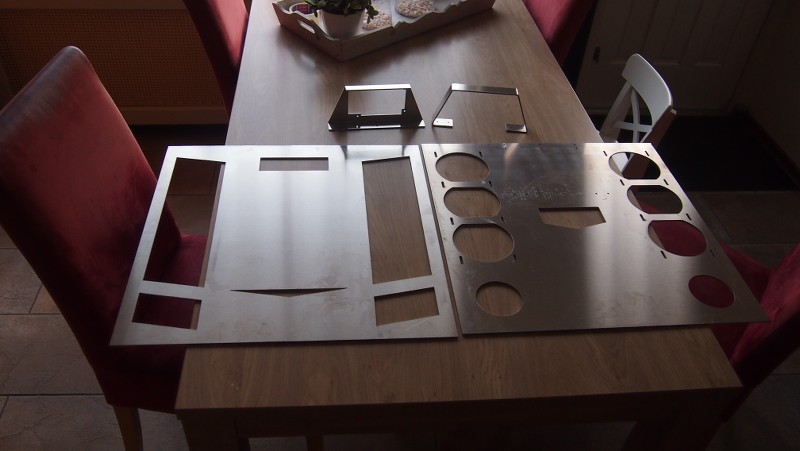
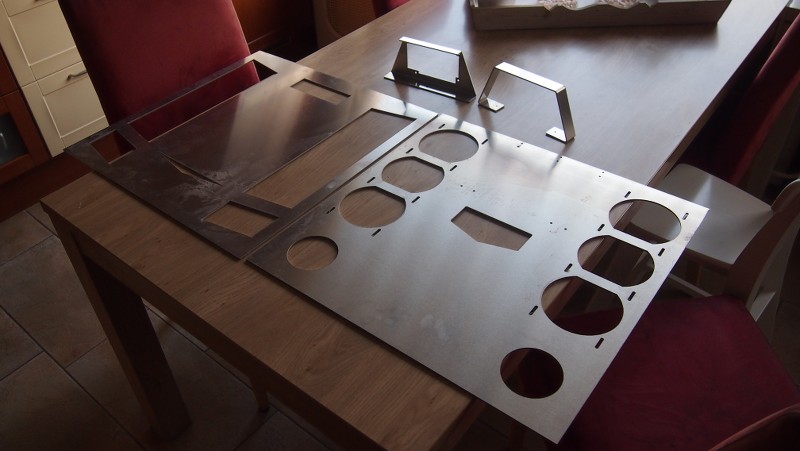
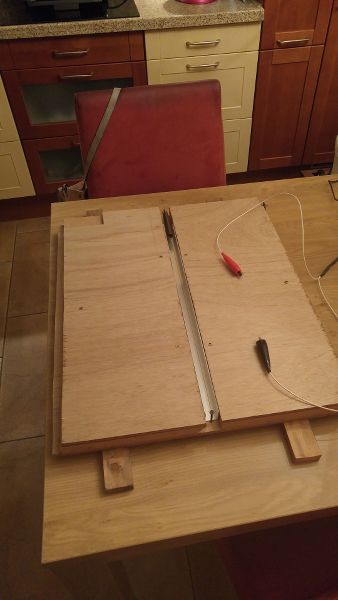
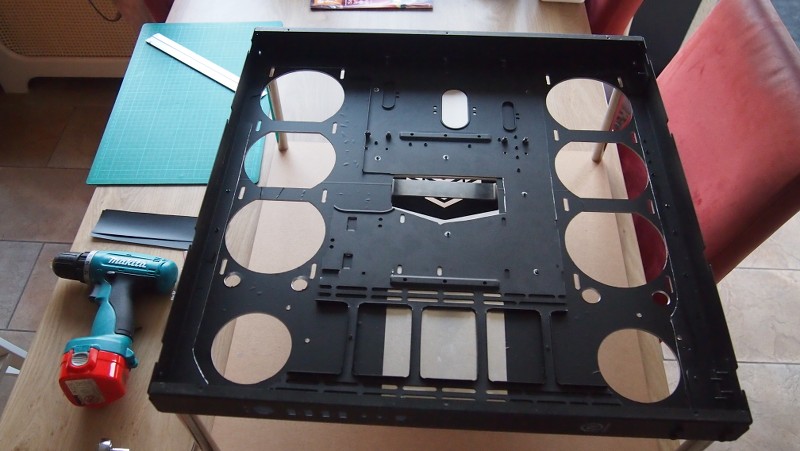
I had to put the jigsaw to use to make sure the openings of the new panels were also in the case.
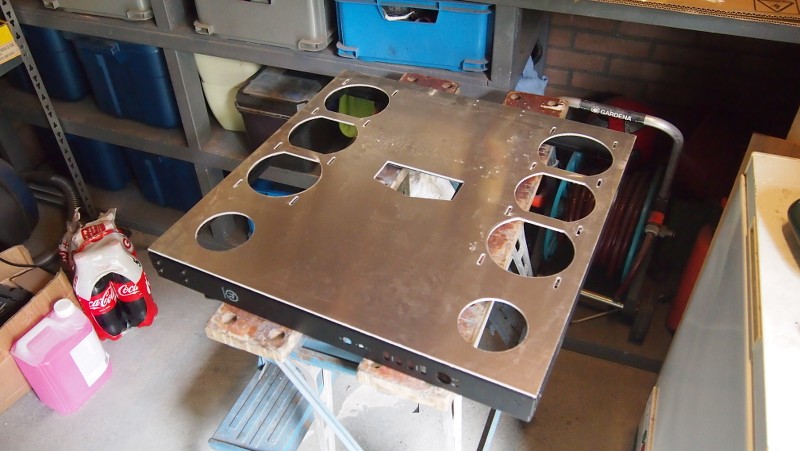

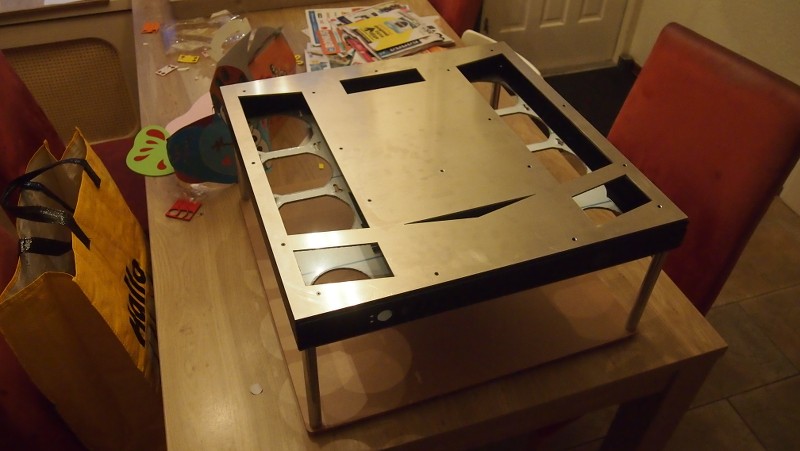
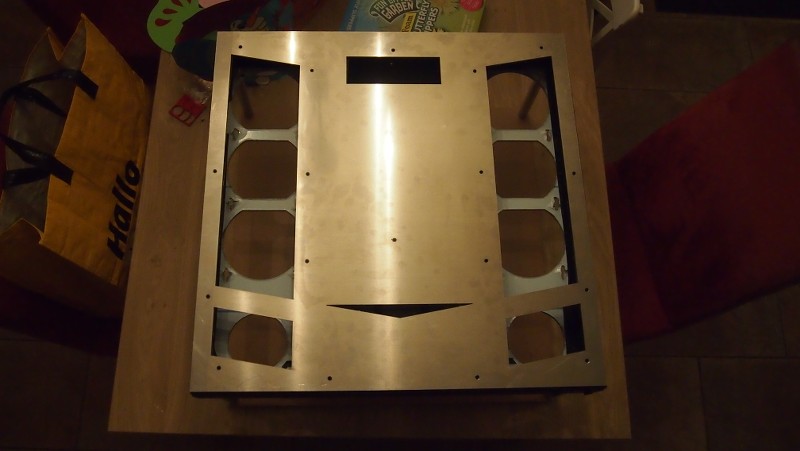
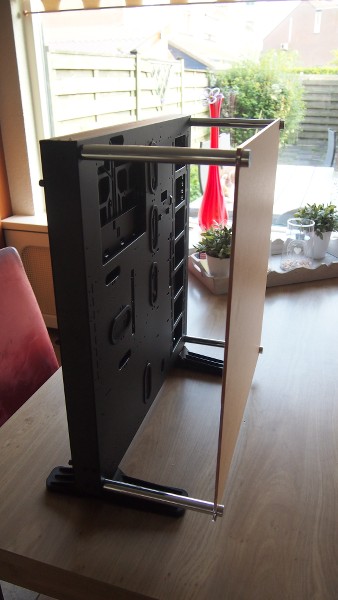
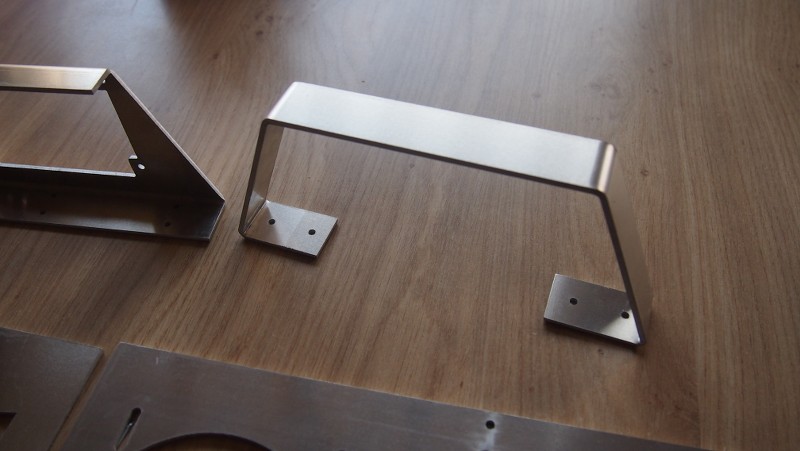
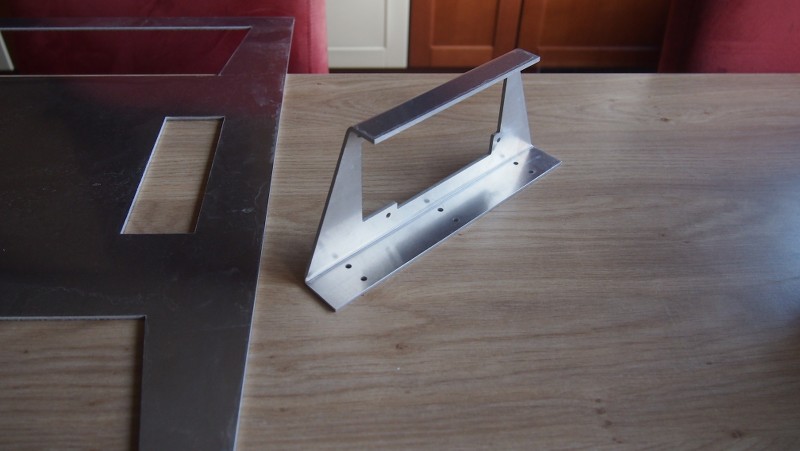
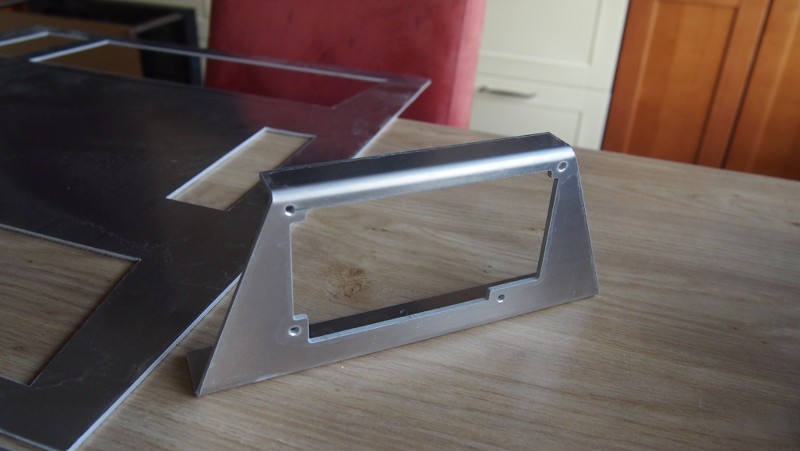
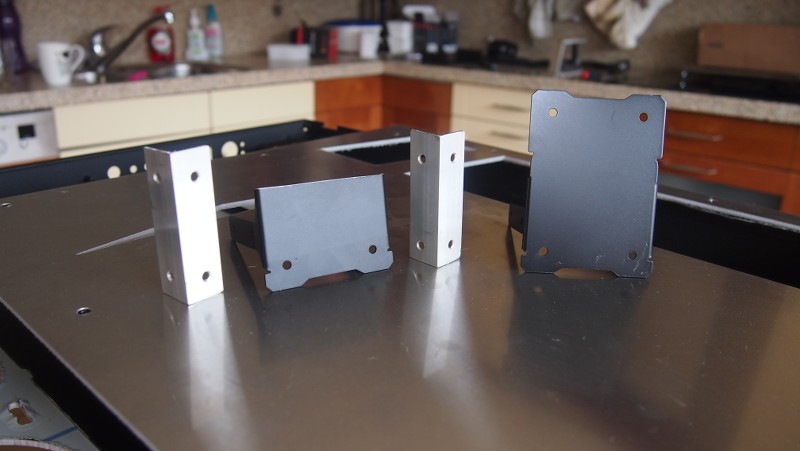
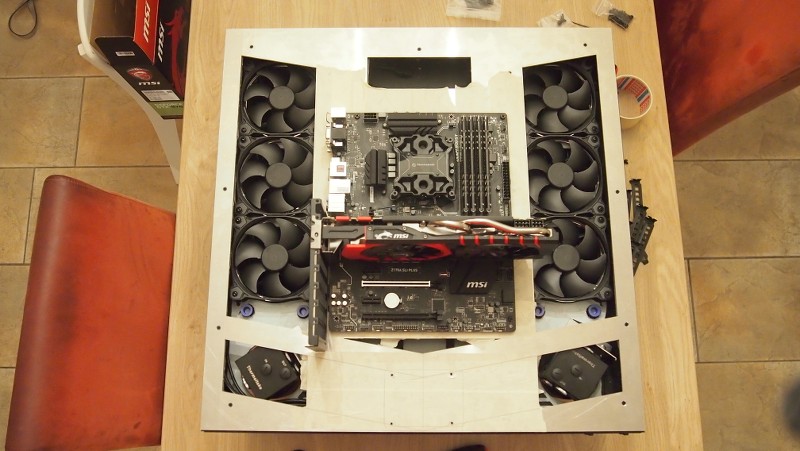
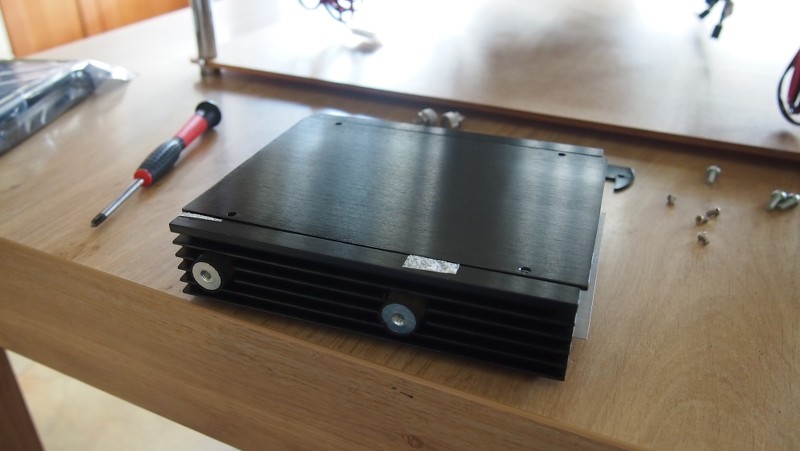
I then made some brackets and modified the standard pump brackets to make sure the pumps would fit into the case the way I wanted. Which is upright with the pump hanging through the bottom plate.
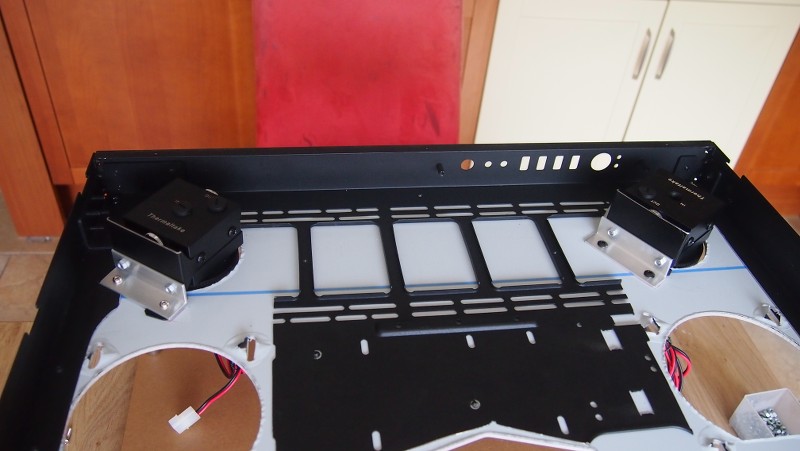

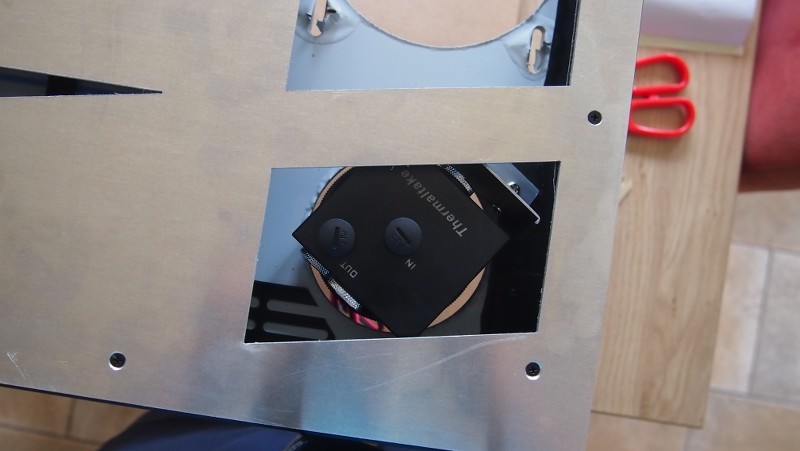
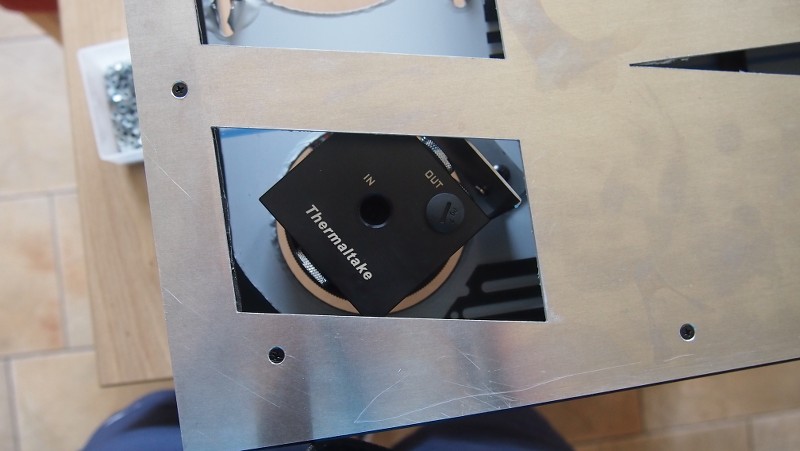
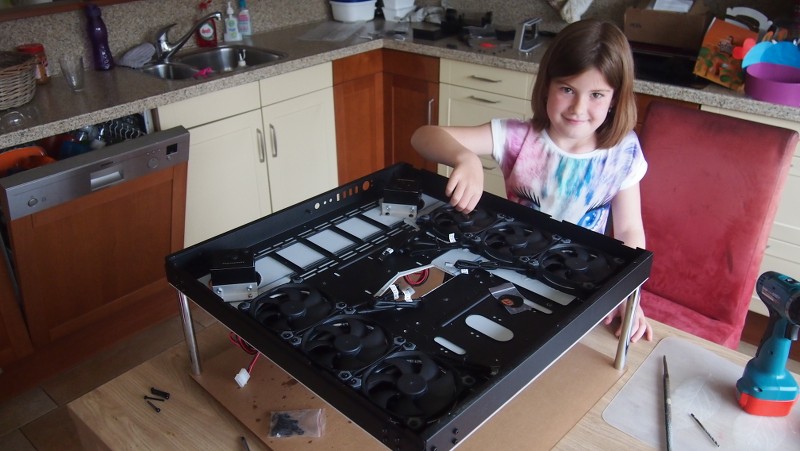
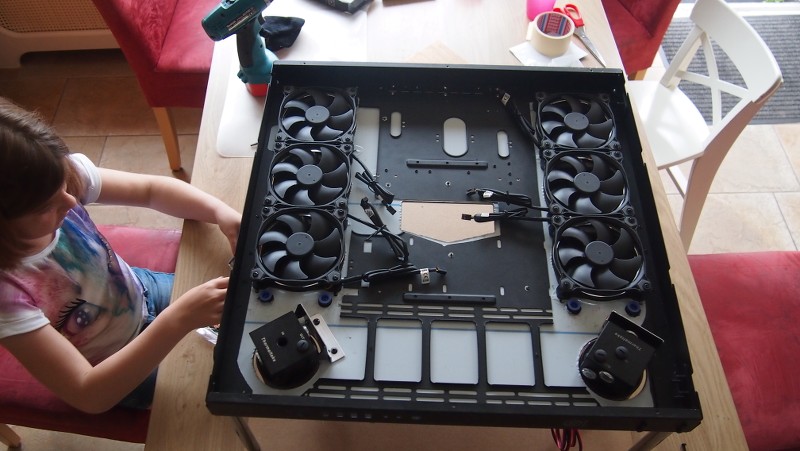
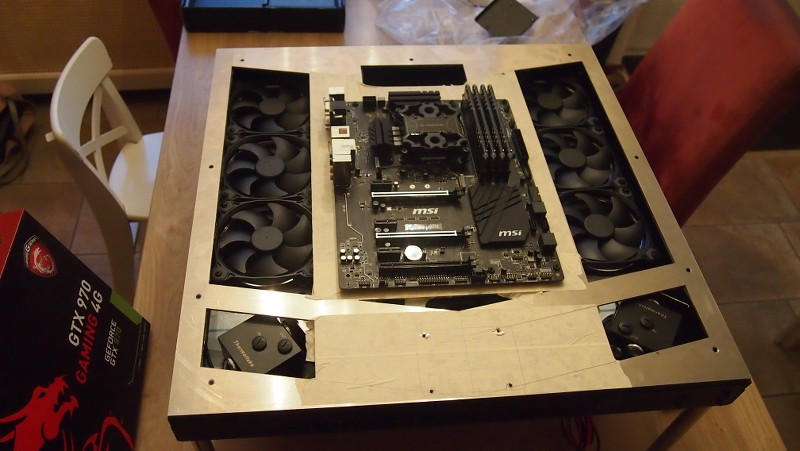
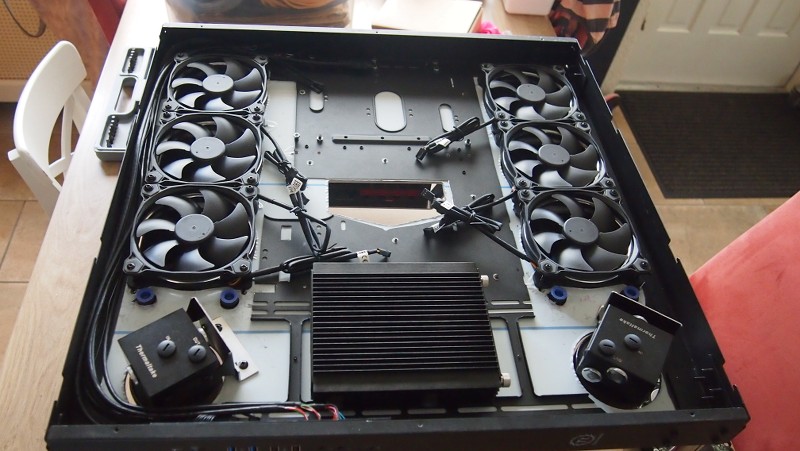
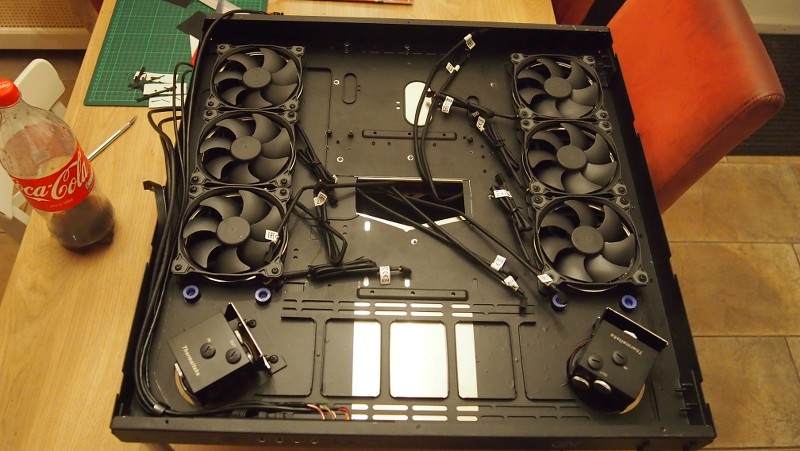
I then fitted the radiators and fans to the chassis. The rads basically hang on the rear panel. Which is 3mm thick aluminium so holds fine. I had to drill 2 extra holes in the plate so the in- and outlet ports would also be accessible xD
This is my oldest daughter that likes to help her daddy build and mod. This makes a daddy a very very very very happy daddy. <3
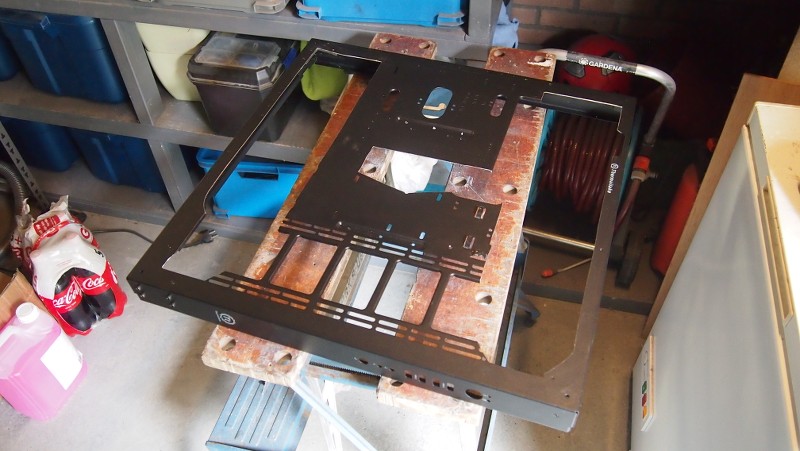
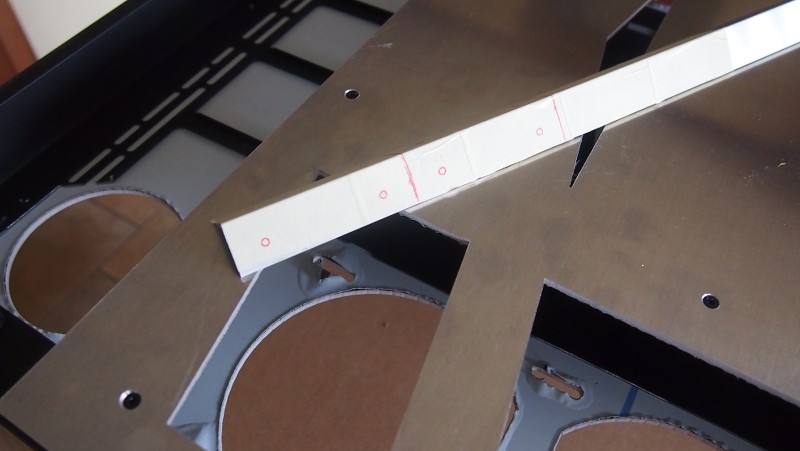
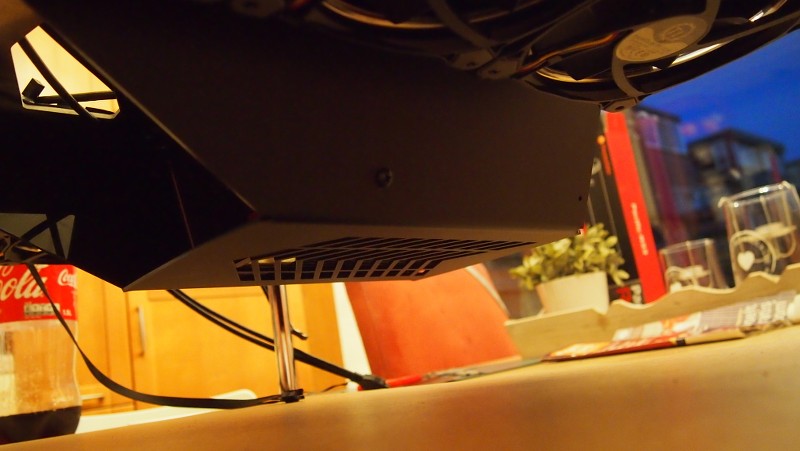
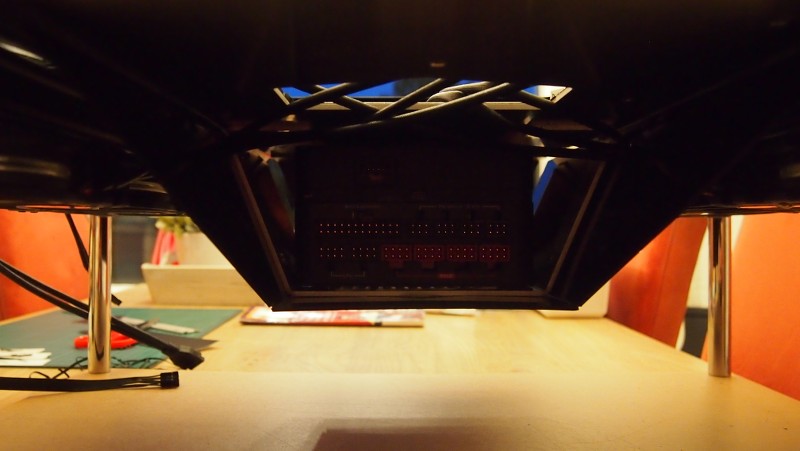
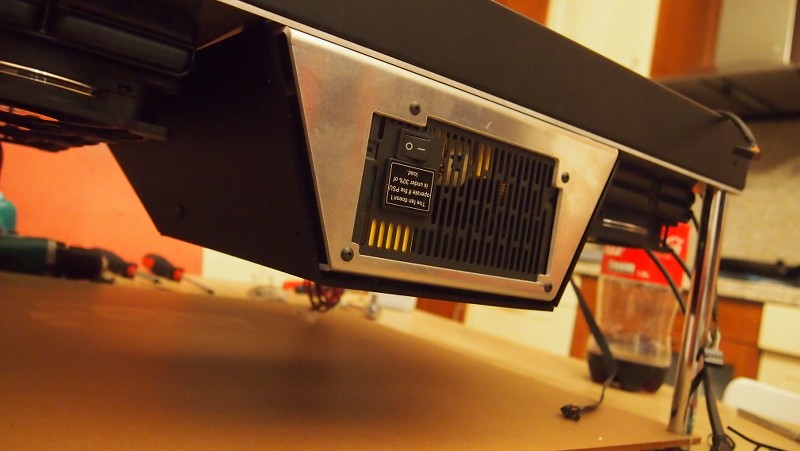
Now making sure the power supply can hang under the case with the new brackets.
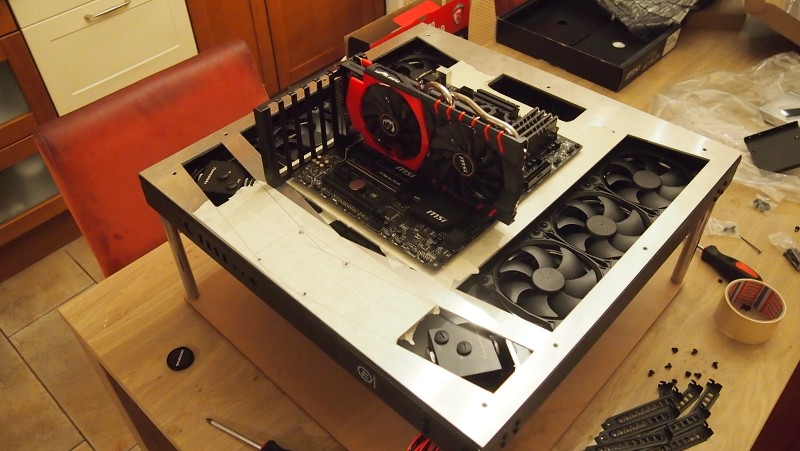
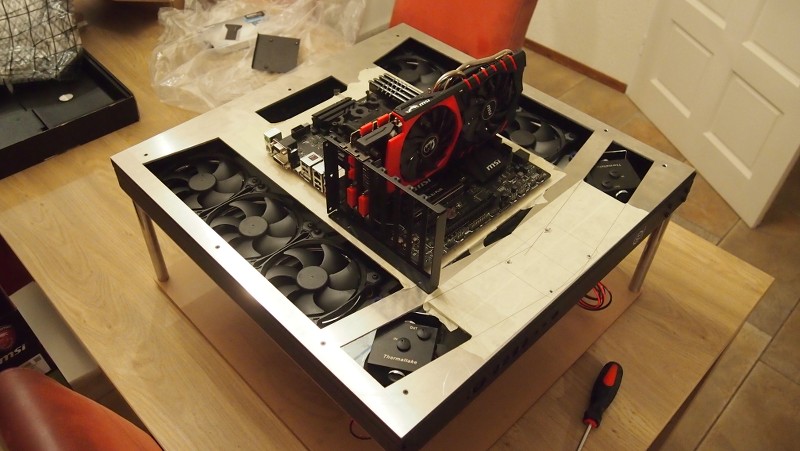
After this making holes in the top panel and tapping them so the standoffs could be places. Then making holes for the GPU to be placed and the standard Core P5 IO shield so the gfx cards won’t fall off xD. They have to be very secure because it will be getting shipped to Dreamhack on Monday the 13th of june. Otherwise it won’t make Dreamhack Summer 2016in time
And that is all so far for the update. I hope you are enjoying it. See you at the next update!
Here is a list of the specifications:
Thermaltake Core P5 chassis
Thermaltake Toughpower DPS G 1200W
Thermaltake Commander FT fancontroller
Thermaltake Riing fans 120mm x12
Thermaltake full custom DUAL watercooling loop
Intel i7-6700K
MSI Z170A SLI PLUS
MSI Nvidia GTX970 Gaming 4G
MSI Nvidia GTX970 Gaming 4G
MSI Gaming Series SLI bridge
Avexir Blitz 4*4GB DDR4
Avexir S100 SSD 120GB
Western Digital 2TB HDD
The theme for the project is Star Citizen, specifically design elements of a ship by the MISC company. With colours being grey, black, orange and white.
Thank you to all partners for having faith in my work and giving me the opportunity. :rock:
This first post will be MASSIVE with pictures of all the hardware and in the end the first steps of modding the chassis.
Enjoy! :dremel: :thumb:
Core P5 Chassis
The MSI hardware
Our CPU for this build
AVEXIR hardware
Thermaltake hardware and watercooling
Fitting the hardware on the motherboard
I went onto Skype with my buddy Django Soeterboek and we drew up some custom panels for the Core P5. I wanted to make a mod with it that no one has done until now. You see a LOT of Core P5 mods and watercooling builds. And I wanted it to be different persé. So a custom front and rear panel to accommodate the new lay-out I have in mind. And to hang the PSU under the case. Yes under the case.
I had to put the jigsaw to use to make sure the openings of the new panels were also in the case.
I then made some brackets and modified the standard pump brackets to make sure the pumps would fit into the case the way I wanted. Which is upright with the pump hanging through the bottom plate.
I then fitted the radiators and fans to the chassis. The rads basically hang on the rear panel. Which is 3mm thick aluminium so holds fine. I had to drill 2 extra holes in the plate so the in- and outlet ports would also be accessible xD
This is my oldest daughter that likes to help her daddy build and mod. This makes a daddy a very very very very happy daddy. <3
Now making sure the power supply can hang under the case with the new brackets.
After this making holes in the top panel and tapping them so the standoffs could be places. Then making holes for the GPU to be placed and the standard Core P5 IO shield so the gfx cards won’t fall off xD. They have to be very secure because it will be getting shipped to Dreamhack on Monday the 13th of june. Otherwise it won’t make Dreamhack Summer 2016in time
And that is all so far for the update. I hope you are enjoying it. See you at the next update!
Last edited:
")


 nice to see you have an extra set of hands to help out, all i get is the missus telling where to go if i ask for help lol
")