Hello and welcome to my project log for ''Toxic Green''
TOXIC Green was something i've longed to do, a real black,green and silver build with some real work behind it.
Dripping Toxic waste, burnt holes, sparking wires. (i want to show you but until mind projection works i'm afraid you'll just have to use your imagination)
I'm probebly more excited about this than you are.
Where do i plan to go with this?
With custom made PSU Shroud, Front inter shroud and custom loop i plan to make sure this build stands out.
Hopefully it'll be traveling to Taiwan this year to computex 2016 to be showcased if Avexir like what they see.
Fingers crossed they like it.
Here's a quick look at what i want this build to look like (Before all the little details are added)
i wish i was good with rendering, but you'll have to imagine toxic waste dripping from them CPU block, off the end of the GPU, Hold burnt out of the PSU Shroud.
Bare wires showing with little led's on them flashing to give a sparking effect.

Specs
Intel i7 6700k
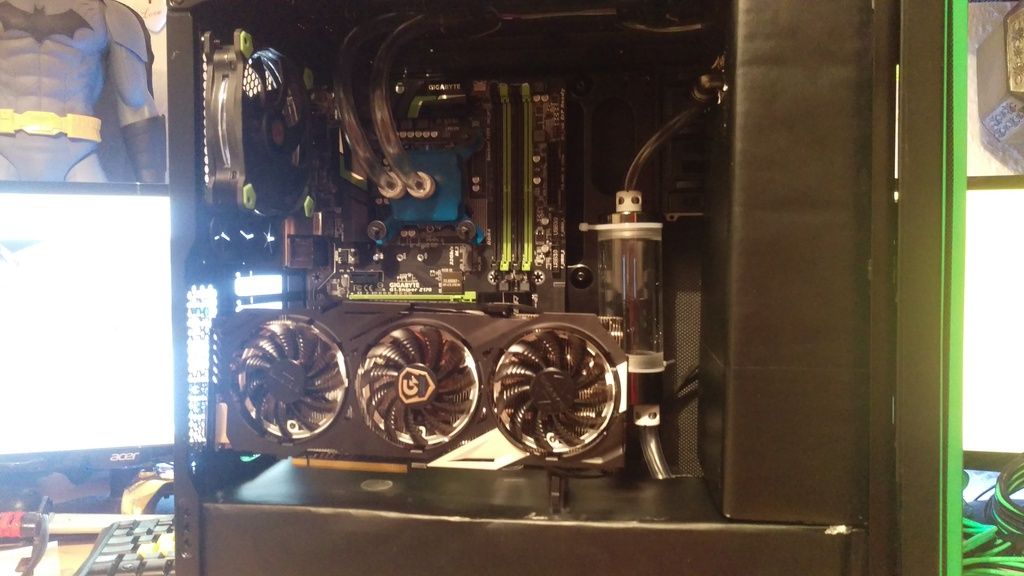
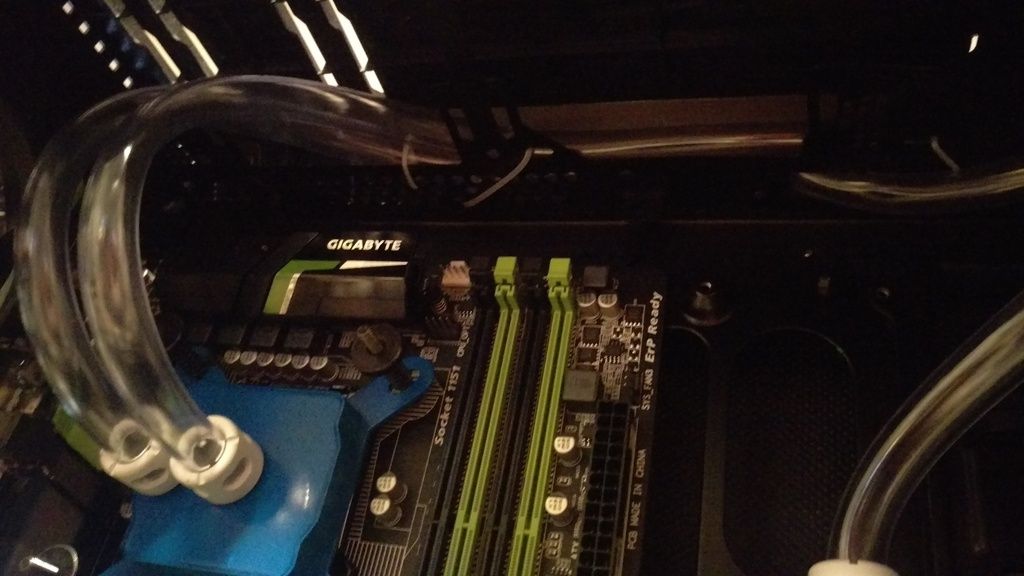
Gigabyte G1 Sniper Z170
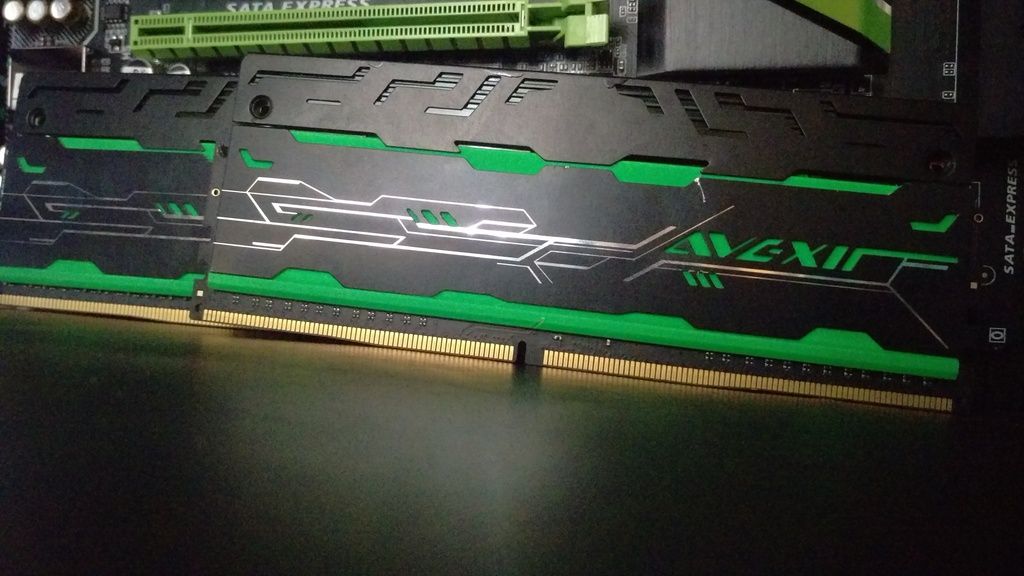
Avexir RAM - Avexir Raiden Tesla Green
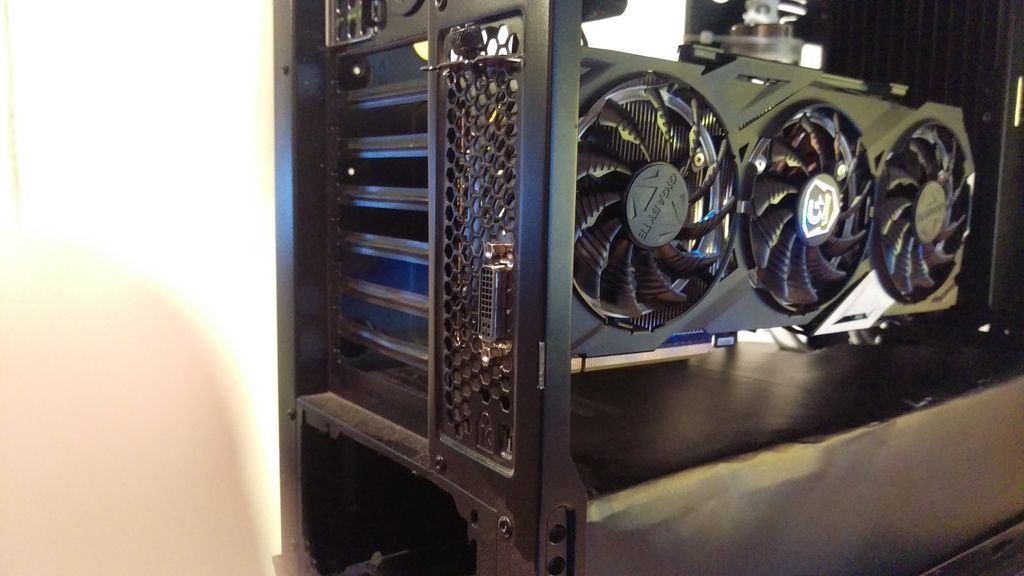
Gigabyte Xtreme gaming GTX 970
SSD - Avexir S100 Green LED SSD
Thermaltake Riing fans - Green
be quiet! Straight power 10 - 800w
Phobya Performance watercooling
be quiet! Silent Base 800
Sponsors!
I'd like to thank all of my sponsors, for without them, this project wouldn't exist.
Thank you to
Gigabyte
Avexir
and
be quiet!
Let's begin with Pictures!
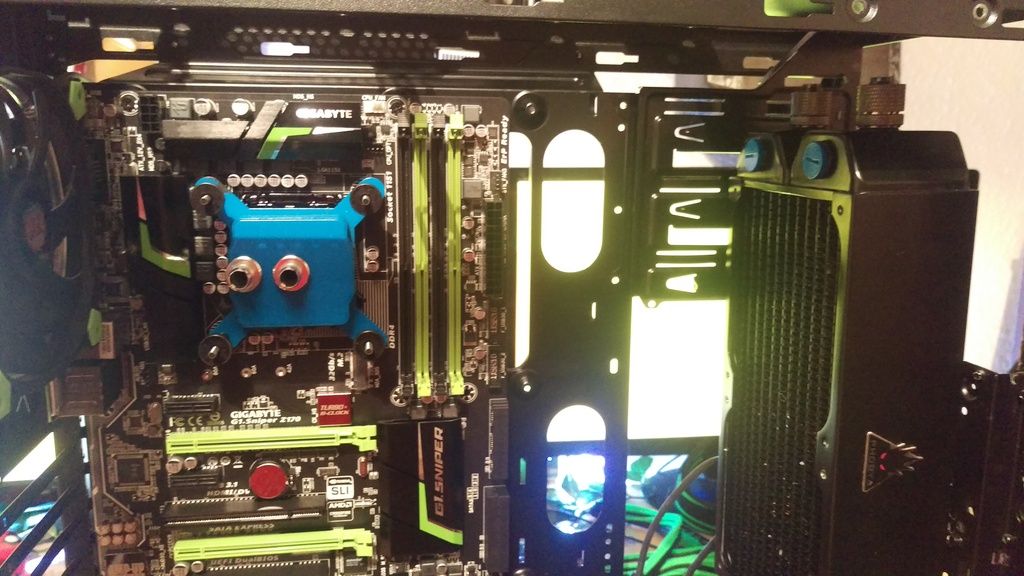
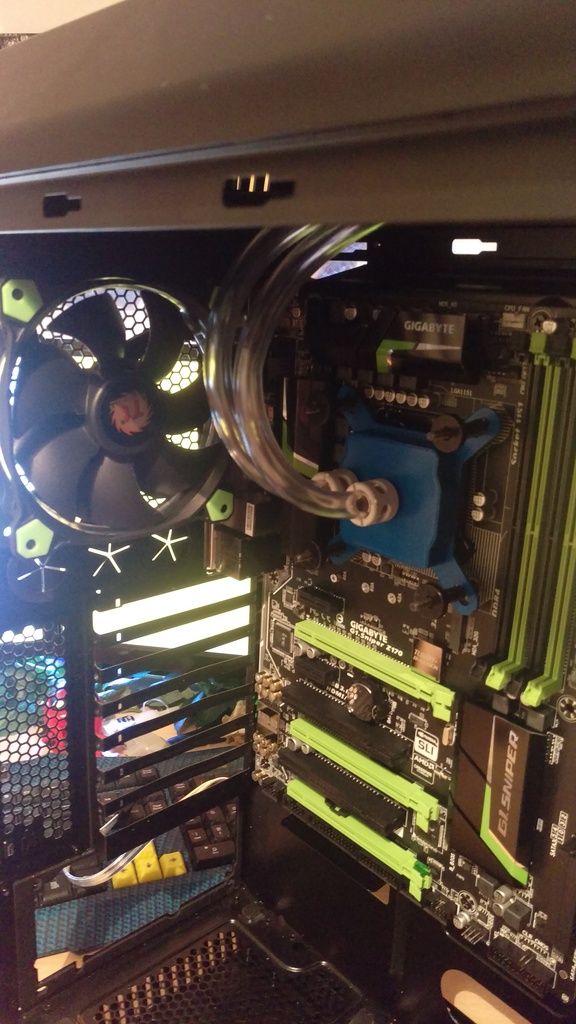
All the parts together

Parts have been arriving every other day and here's our first one.
Gigabyte G1 Sniper Z170


Description
There's no other green motherboard on the market for intel's 6th gen CPU's available in most parts of the world.
Gigabyte offers this sleek and monstrous G1 Sniper at a really really good price!
Boasting:
USB 3.1 up to 10GB/s
USB 3.0 up to 5GB/s
2 way SLI / 3-way CrossFire
Fast onboard storage with 32GB/s M.2
USB Type-C connector
Duel channel DDR4
Durable gold plated CPU Socket
Ambient green trace path lighting
This motherboard not only looks great, but performs without fault!
Not to mention the green on-board lights flash in time to the music wink emoticon
Check out more details over at overclockersUK
https://www.overclockers.co.uk/giga...cket-1151-ddr4-atx-motherboard-mb-537-gi.html
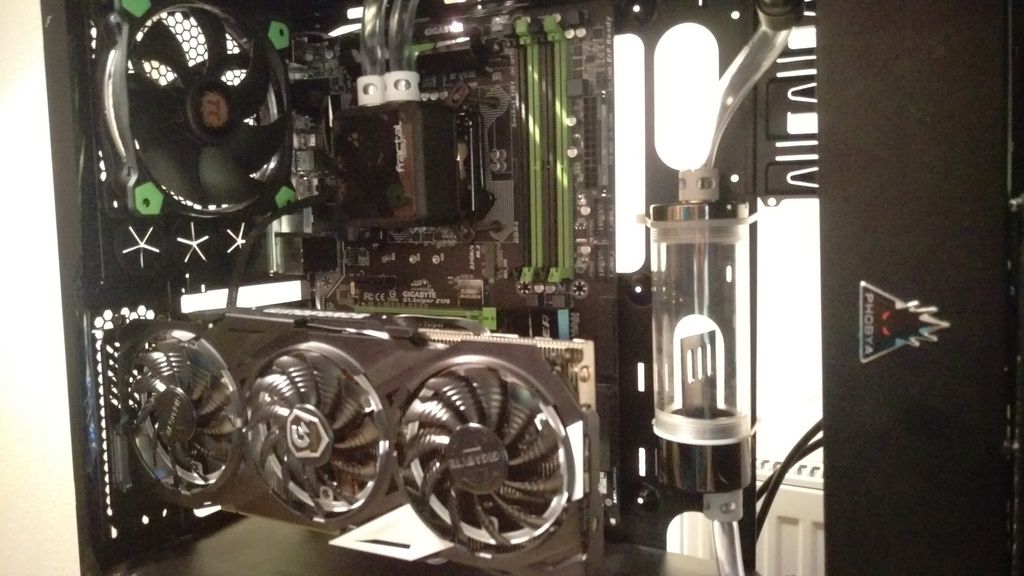
Gigabyte Xtreme Gaming GTX 970


Description
It comes as no surprise that GIGABYTE would want me to utilize their new Xtreme gaming line. I mean, who wouldn't want one of these ?
Sporting sleek design, looks and Devastating power.
First of all you have those unbelievable full RGB fans and RGB WINDFORCE logo. Any color your heart desires this baby will deliver. Make it pulse, breath or double flash. You can also set it to cycle the colors any way you want.
Next up is the fact that these GPU's are hand picked, factory overclocked monsters delivering much higher performance than a reference 970. In fact the one i have right now has a higher base close than a GTX 980 at 1190mhz.
with a boost clock of a massive 1342mhz. The 980 base clock is 1126 and boost close of 1226. (reference model)
INSIDE AND OUT Protection. Yup you get aerospace grade coating reinforced with a metal backplate. Spill something on your GPU ? Damaged ? Not here. The spillage simply rolls off no harm done!
It's also worth noting that these xtreme gaming cards are made using Titan-X components with 12 power phases backed by highest-grade chokes and capacitors for extreme durability.
More information here: https://www.overclockers.co.uk/giga...ddr5-pci-express-graphics-card-gx-175-gi.html
Thermaltake Riing Fans


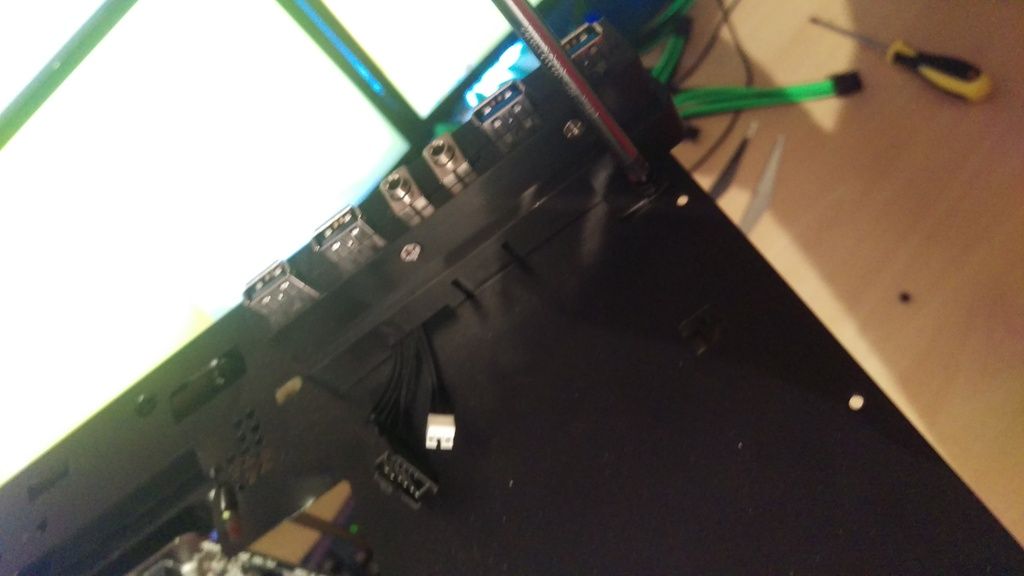
Home Made Cables

be quiet! Straight Power 10 - 800W Gold


be quiet! Silent Base 800
Ignore the Dark power pro 11. That's not supposed to be there


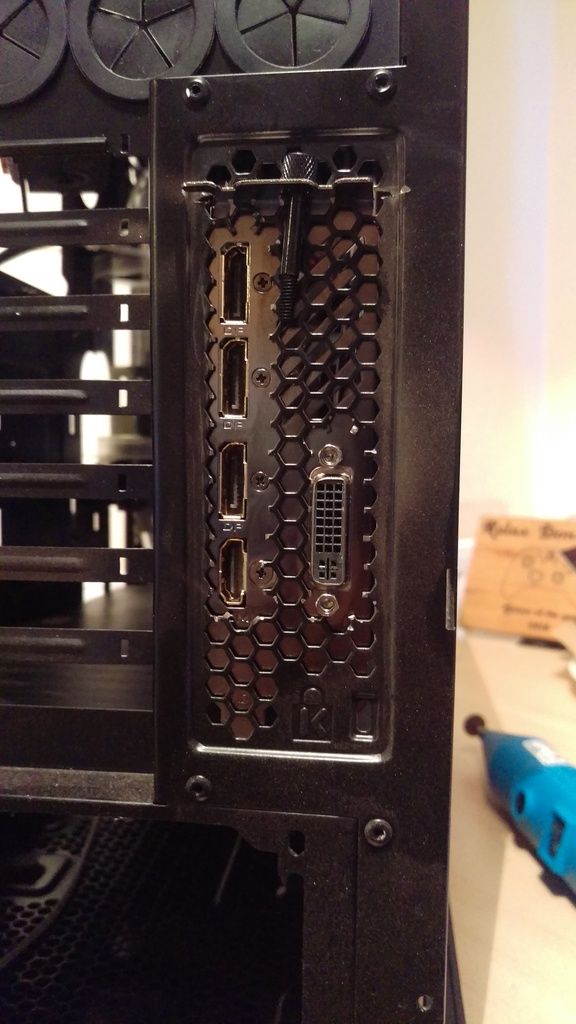
On to the modding
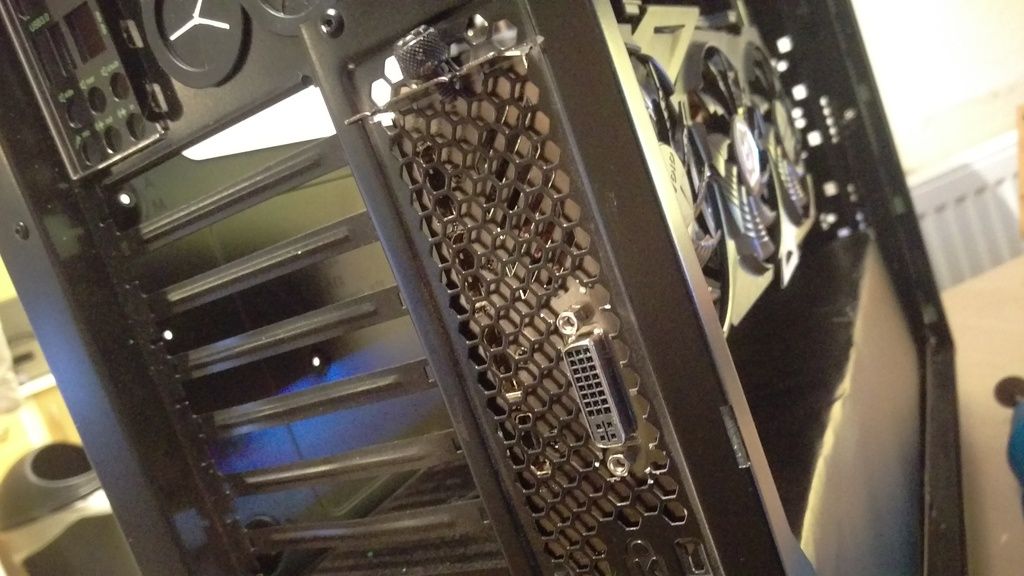
First thing i done was re-spray the black around the air vents on the front of the case to a nice green.

re-sprayed the PCIE Slot covers green.

i then cut the front new grill i'll be making using mirrored acrylic

And fitted them to the front (partially)

i then thought... nah. Lets cut out the drive bays using a dremel and fit 3 front fans.

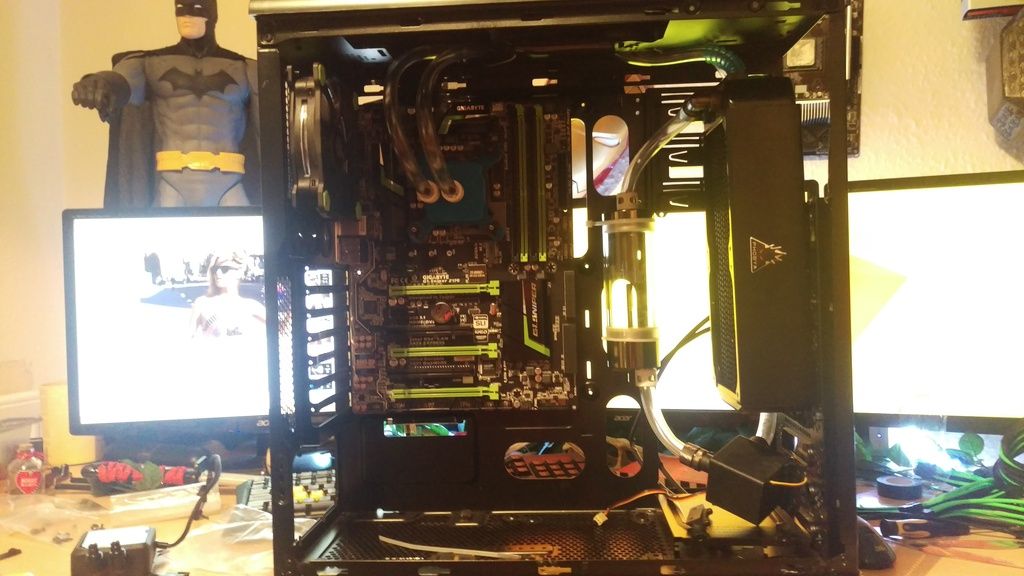
I've also started work on the Toxic stuff. Basically silicon that will be dipped in green dye for 24 hours and then backlit.


As you can see the PSU Shroud etc is in the picture, this is made from cardboard just now, i test the looks and try to get perfect measurements using cardboard. It's cheap and if you screw up, grab another bit.
Planning is everything in a project, however it never goes exactly how you want it.
There will always be something you want / need to change.
I will keep this updated throughout the project.
All constructive opinions and feedback is welcome. i won't chew your head off.
Last edited:

")