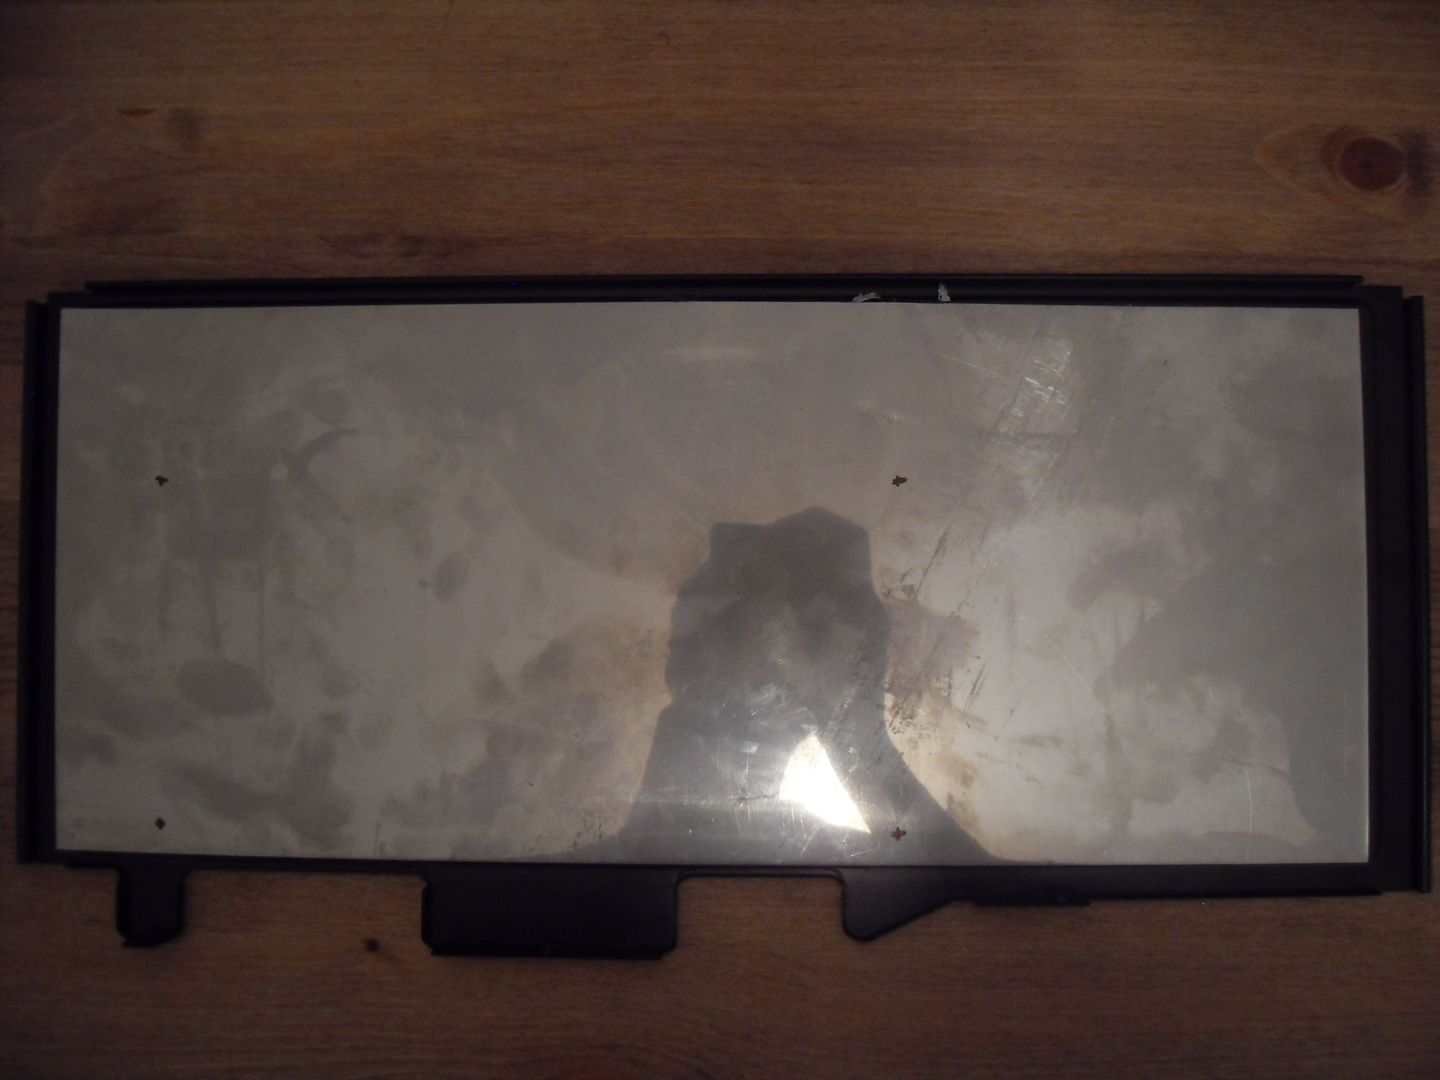
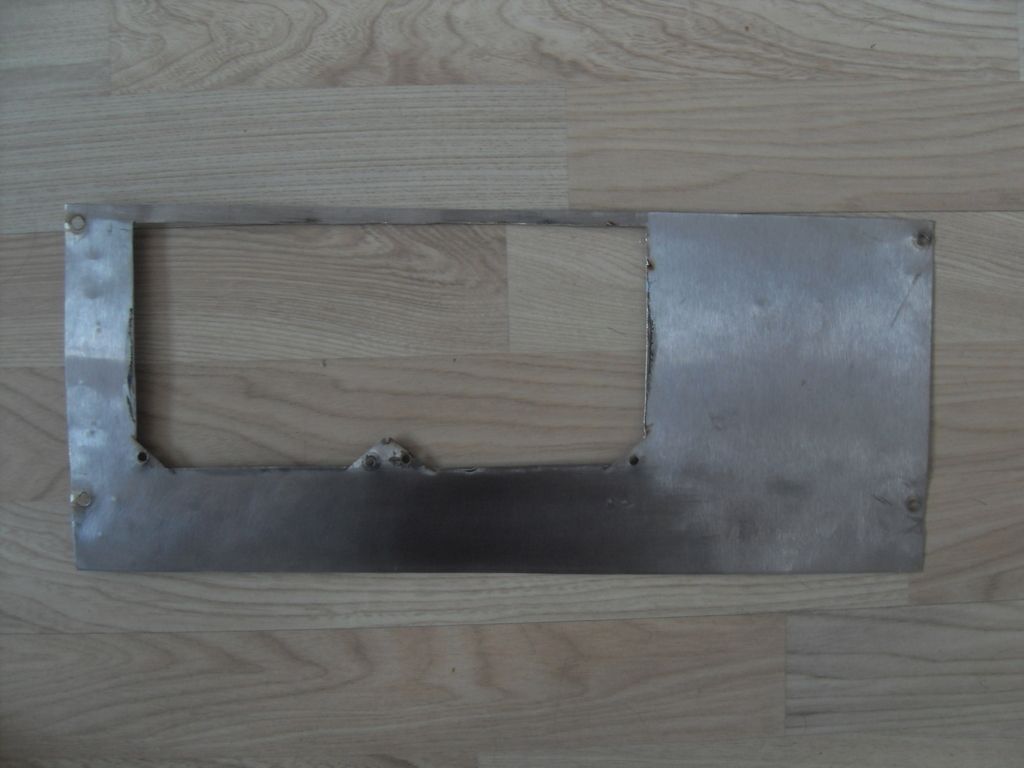
I finally got around to the metal plate!
I originally wanted holes drilled for every fan screw (instead of just sandwiching the plate between the rad and the fans) with 4 screws for the corners of the plate. After losing count of the number of minutes it took to drill the first 4 fan screw holes (I believe it was in the tens of thousands, though I'm not sure) I decided to have the other half of the plate sandwiched between the rad and the fans haha.
This plate was seriously tough and I really wasn't expecting it so I busted out the angle grinder to cut the main hole. It made short work of it!
This is the semi-final product, it still needs polishing up and a bit more filing:
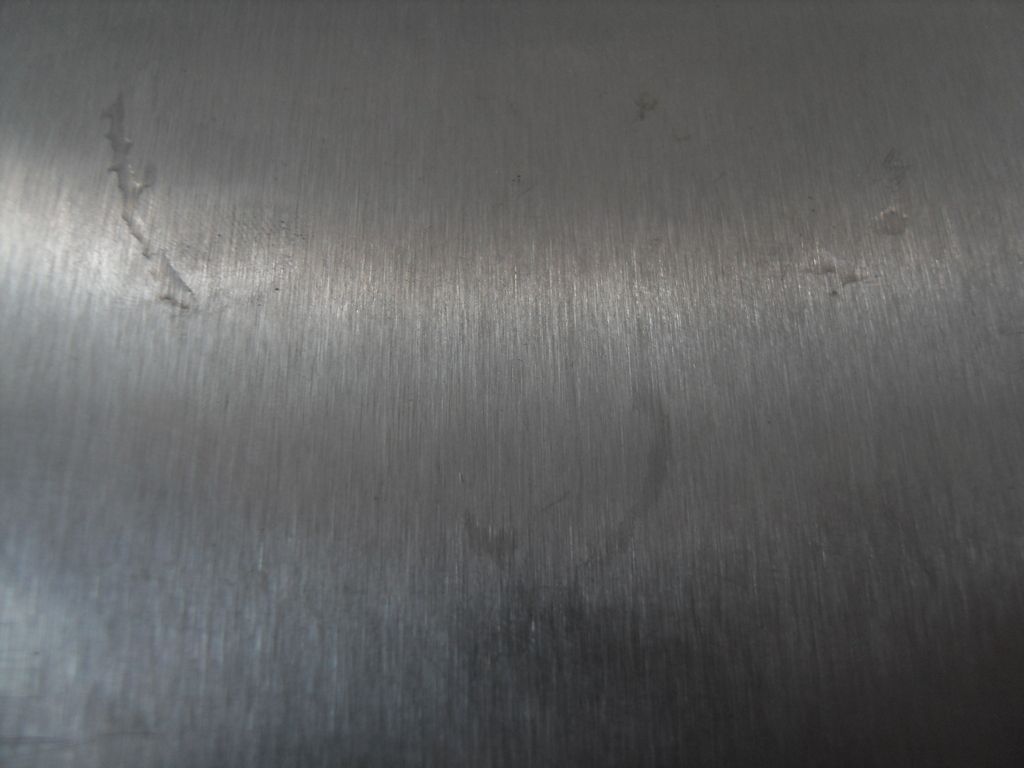
One thing I did notice that bothered me greatly was that although one side of the plate is nice and shiny, the other, which was covered in protective plastic, is brushed. I want it to be beautifully shiny so I had a go at removing the brushing.
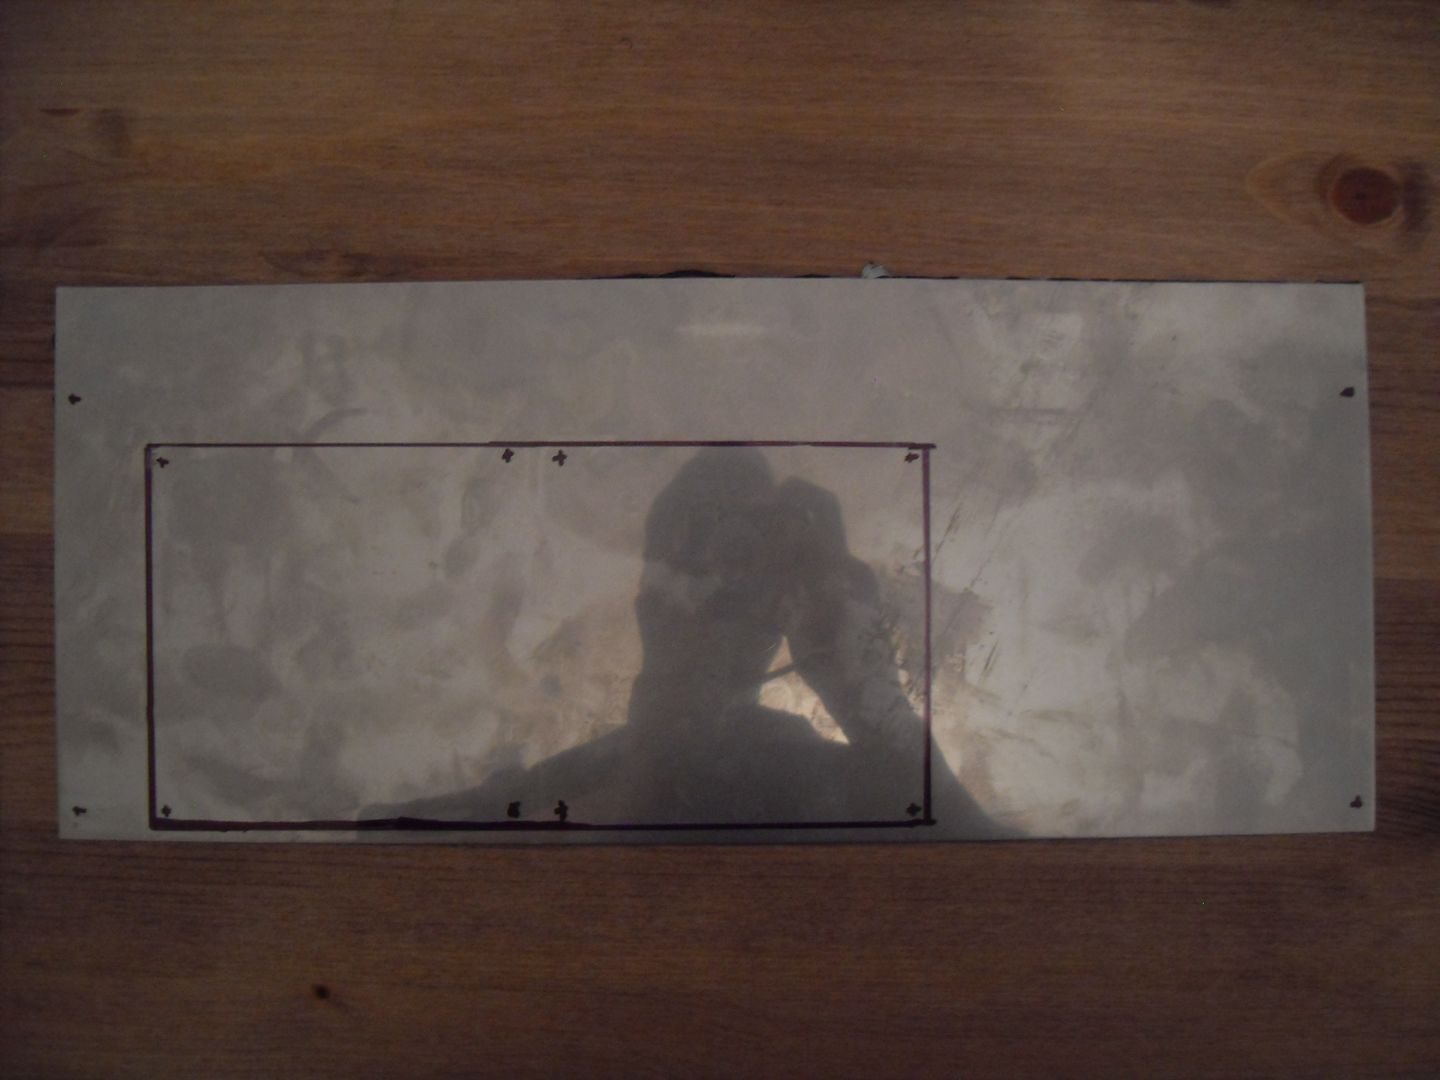
I would have just flipped it, but I didn't remove the film until I had already cut the holes (Ironically to stop the it from getting scratched...) and since the holes aren't symmetrical I can't flip it

Here is my attempt at polishing out the brushing:
I started with sand paper and then used a metal polish paste. I would have used a few different sand papers of increasing grit, but I didn't have them. And as you can see, the result shows it. I may take it out and polish it more at a later date, but now it is installed I doubt it. I'll explain later with an installation picture that I am yet to take


")
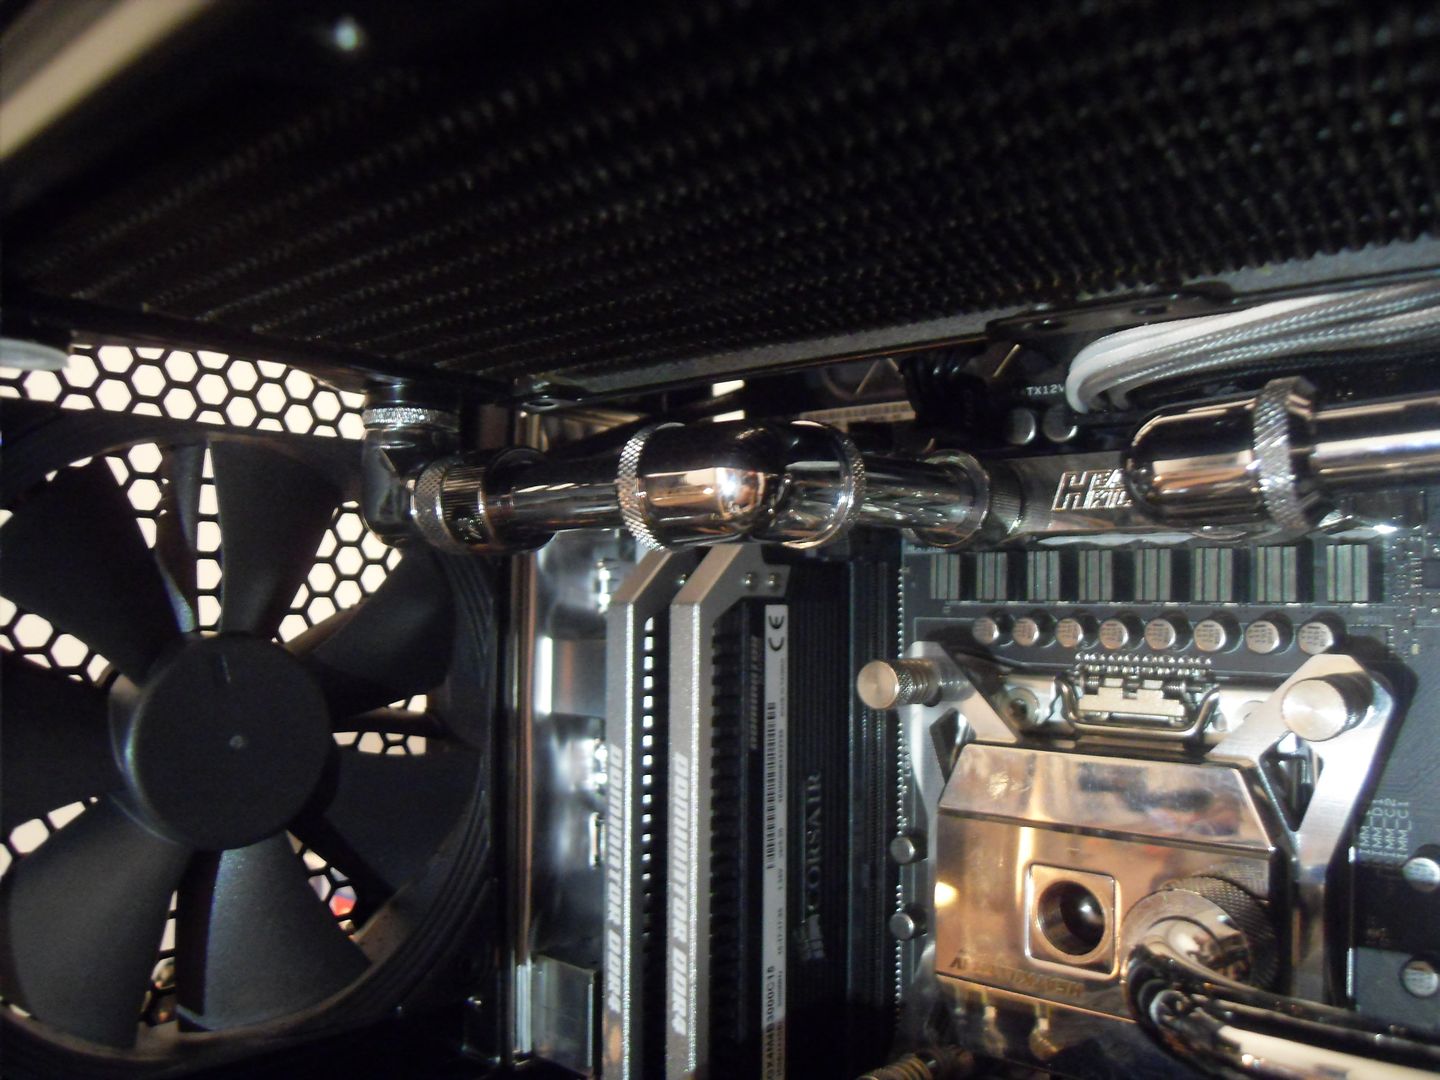
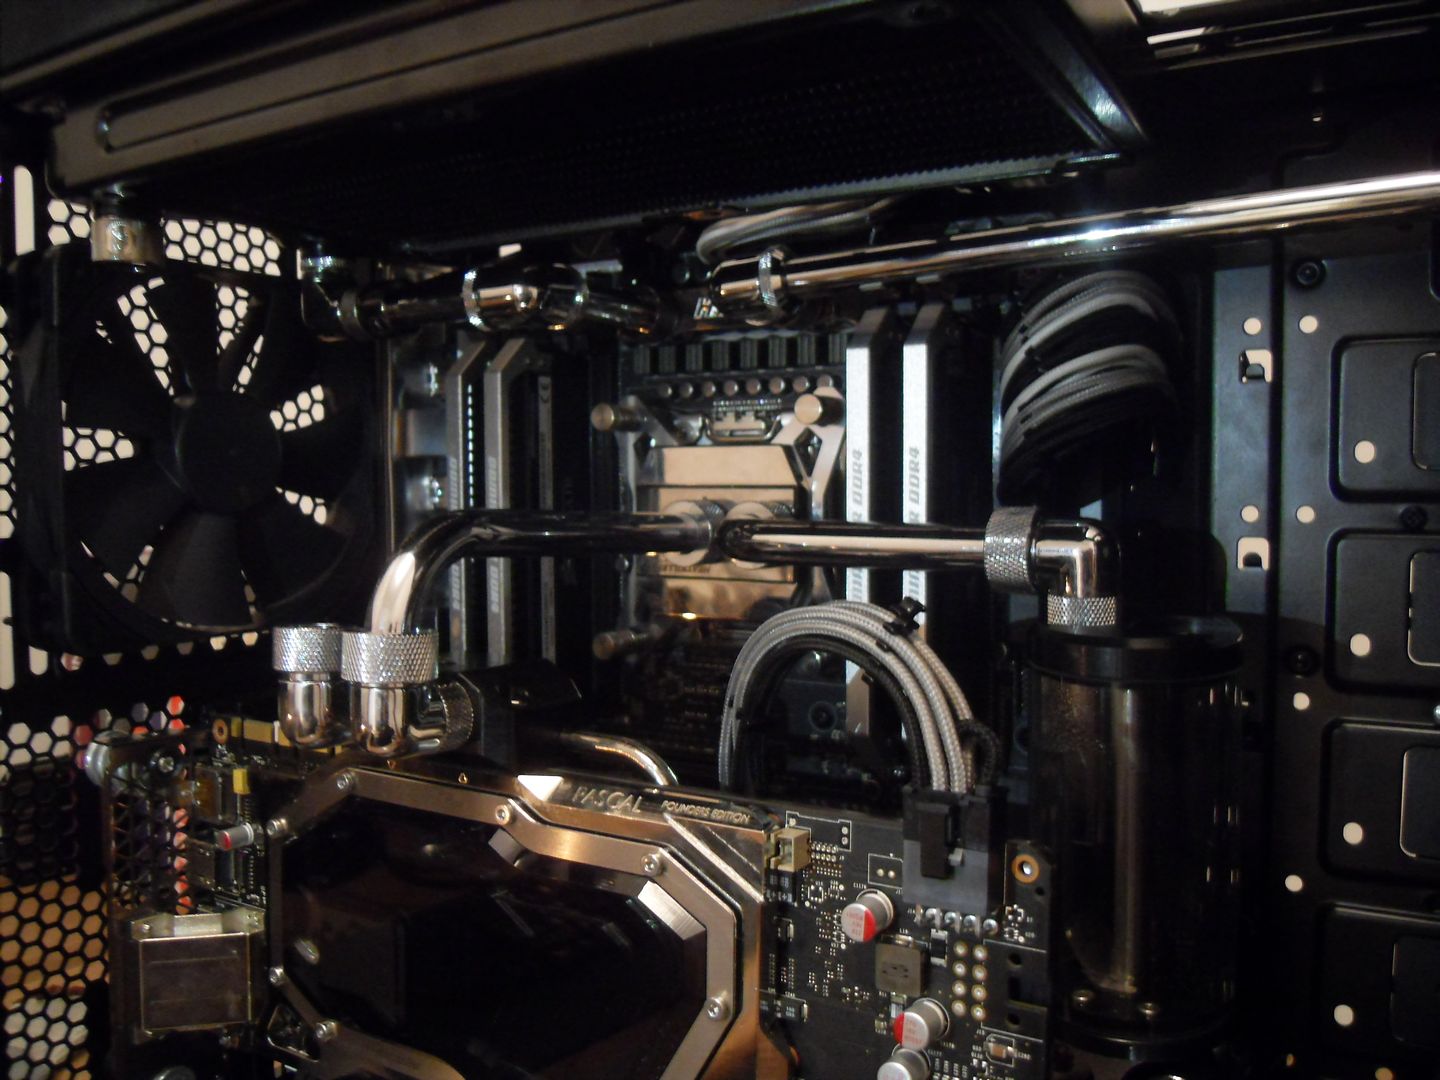


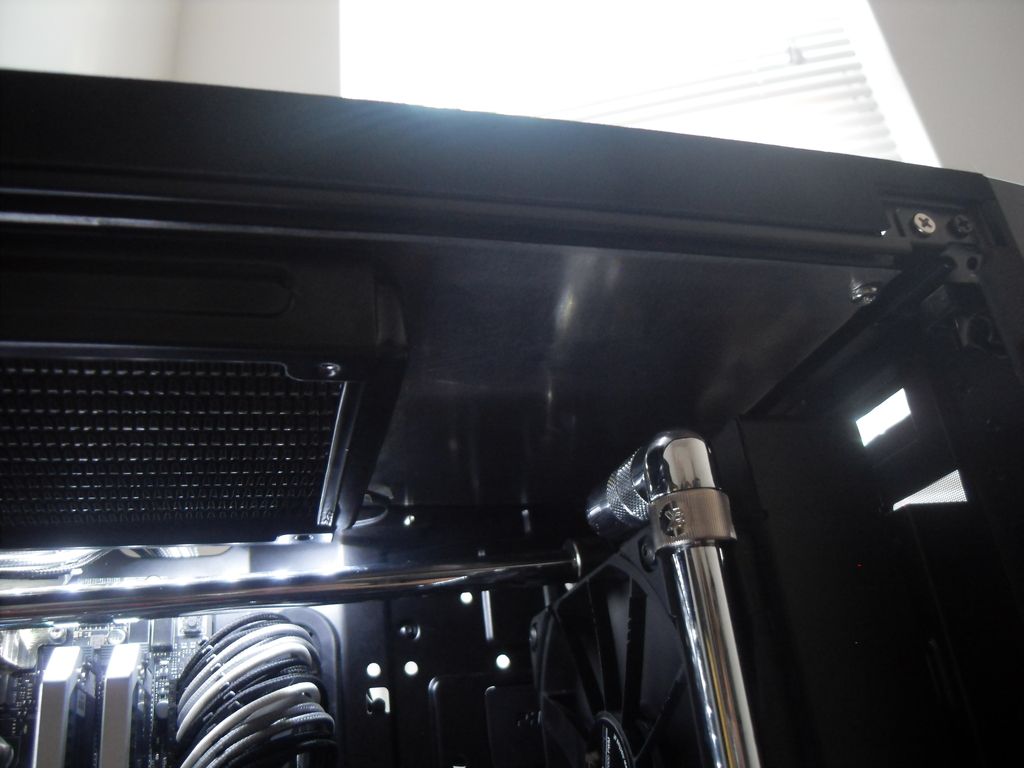
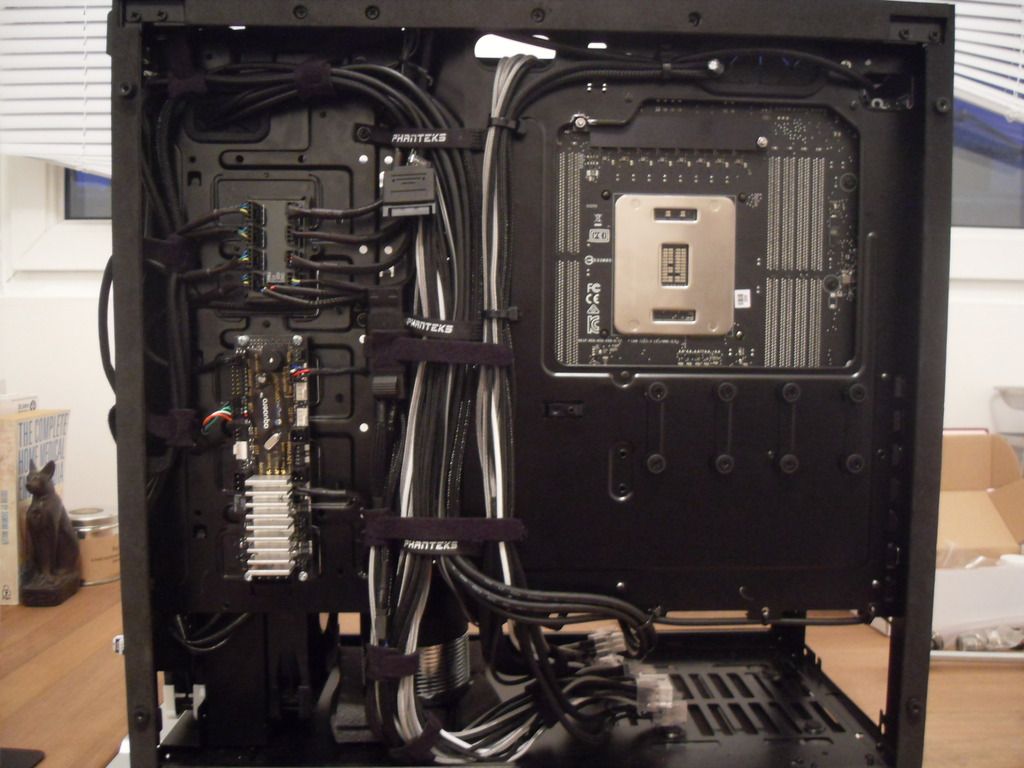
") I'm surprised there's enough space to let the air in/out between your fans and the roof though - unless they've changed things between the ATX and the ATX Glass edition.
I'm surprised there's enough space to let the air in/out between your fans and the roof though - unless they've changed things between the ATX and the ATX Glass edition.