

You are using an out of date browser. It may not display this or other websites correctly.
You should upgrade or use an alternative browser.
You should upgrade or use an alternative browser.
PARVUM LIGHTNING
- Thread starter JR23
- Start date
More options
Thread starter's postsAssociate
Any updates?
Any updates?
Lots of updates inbound! The black and grey panels for the case have been cut and a few more parts have arrived, it will be completed for insomnia 56 so progress will be rapid now. I'm taking a few more pictures right now and should have an update ready tomorrow.
JR

After several days of finalizing the 3d models now most of the parts are here it was time to start cutting the case!
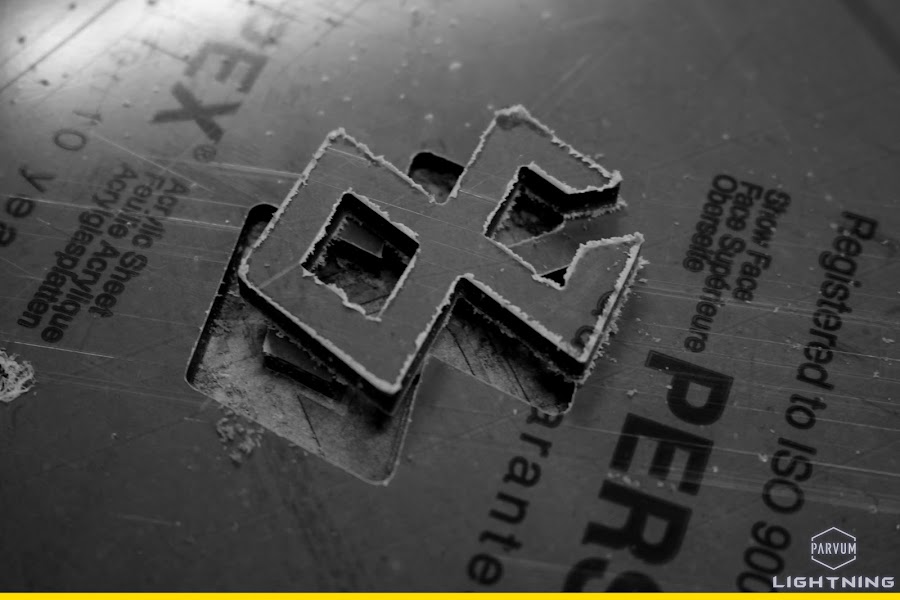
Whats this?

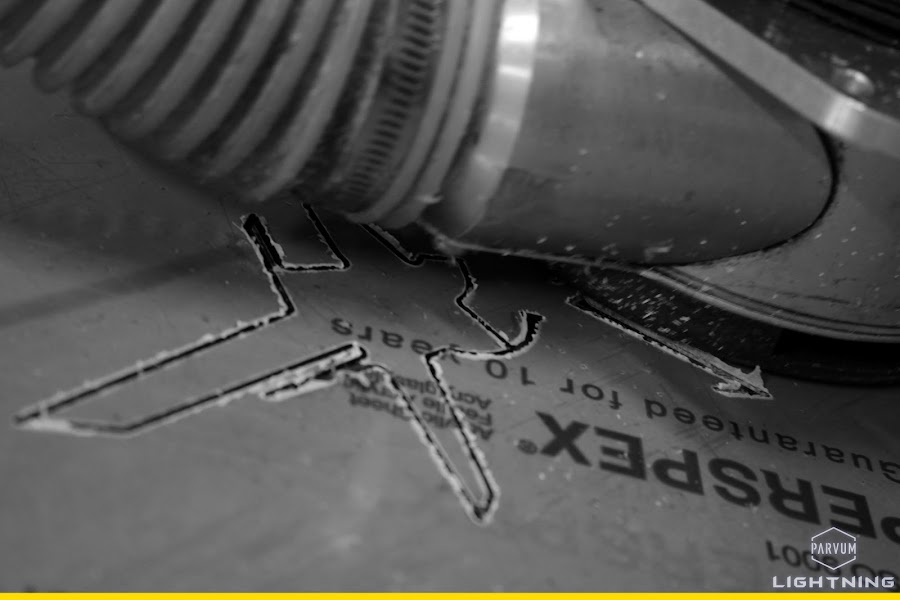
You really can't have enough drain ports...

...or a big enough window.


We got very close to losing the edge of a panel trying to squeeze this huge irregular case onto a sheet of black.
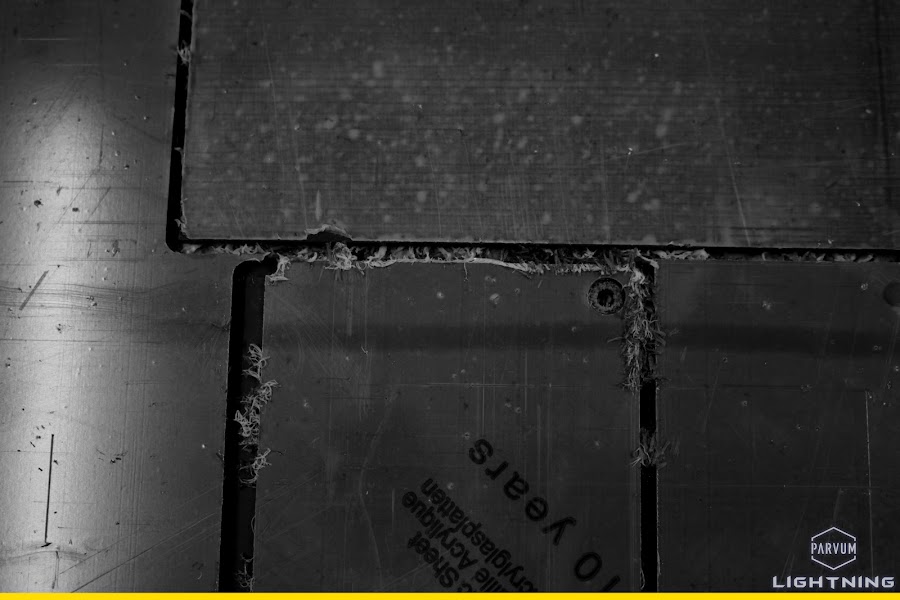
No idea what this was about.

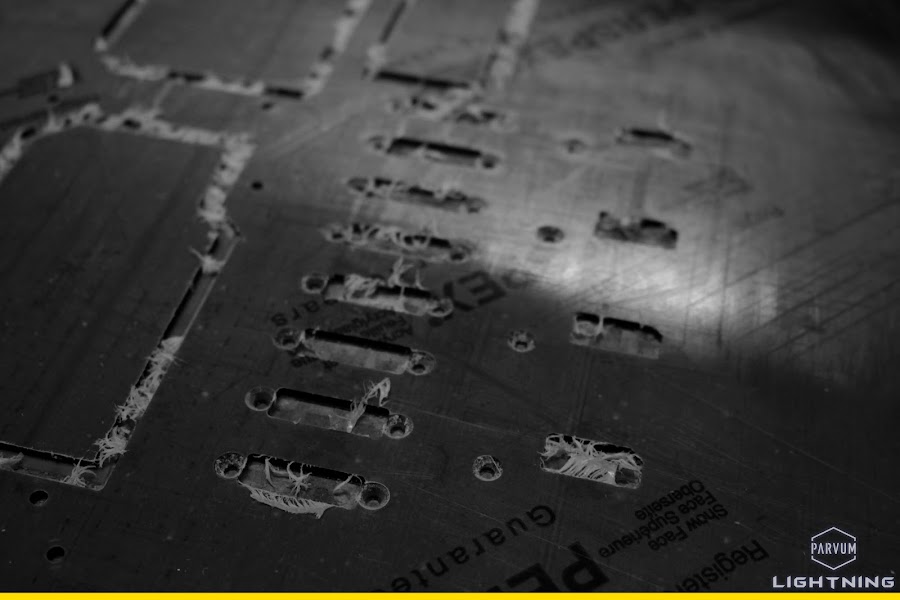
Aquaero mounting in the midwall taking shape.


Much power, much Lightning!


I guess it's difficult to tell, even if the photographs were in full colour that this is a frosted grey sheet, kinda like the Shade 19 of acrylic. Also trying out countersunk everything for the first time including all of the PSU mountings and rather unorthodox GPU mounting interface.
That's all of the acrylic cutting we found time for and we're now waiting on the 5mm yellow to arrive, luckily in the mean time some lovely toys arrived for me to play with!


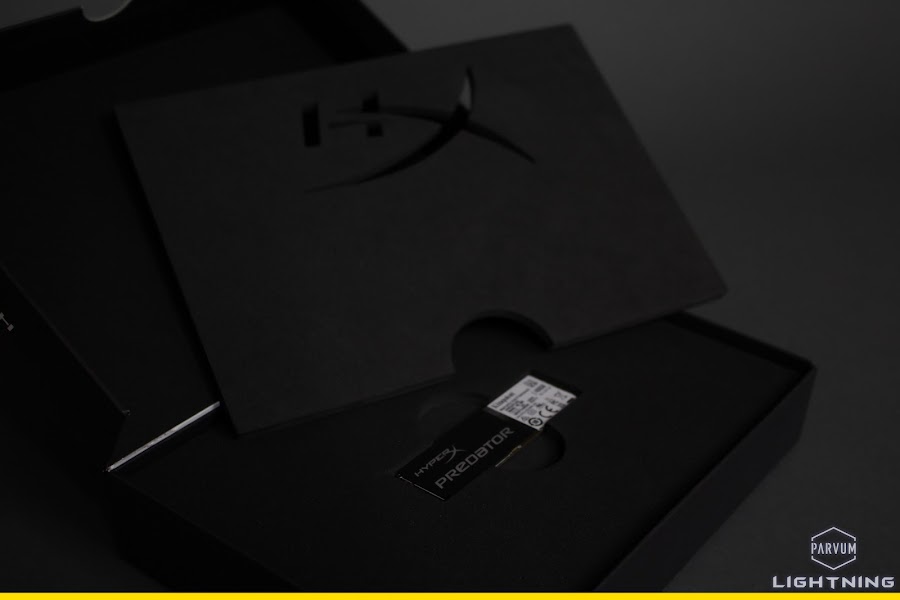
I've been excited for a long time to get my hands on an M.2, the prospect of RAID0 speeds with no wires or extra things to mount is insane and thankfully we no longer have to suffer green PCB's.
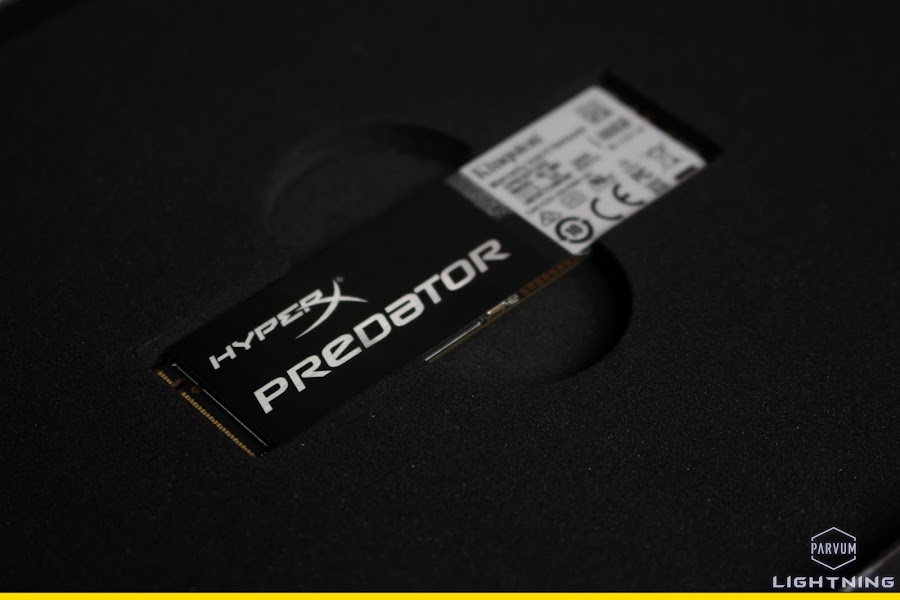

No idea what these tiny chips do but they sure look like they mean business and the size really is astounding.


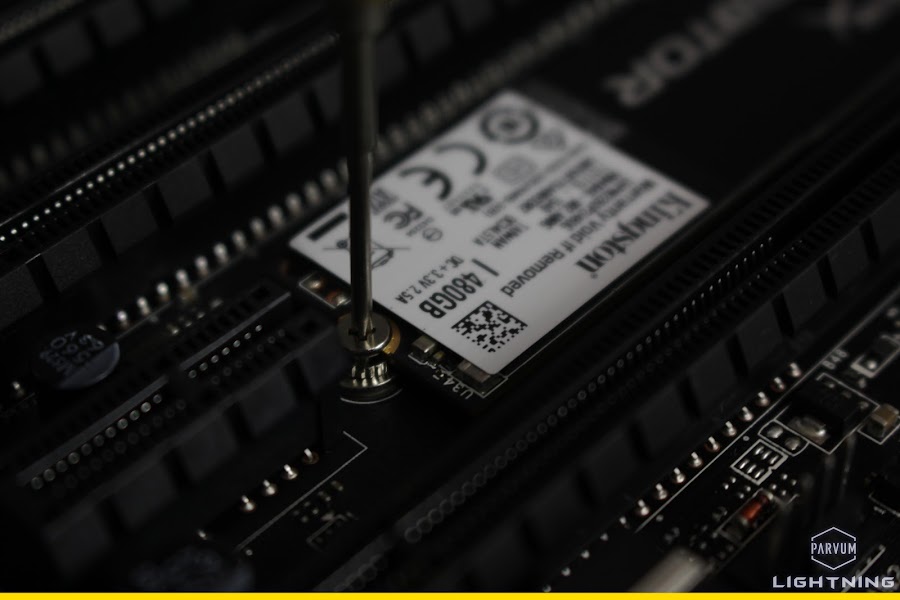


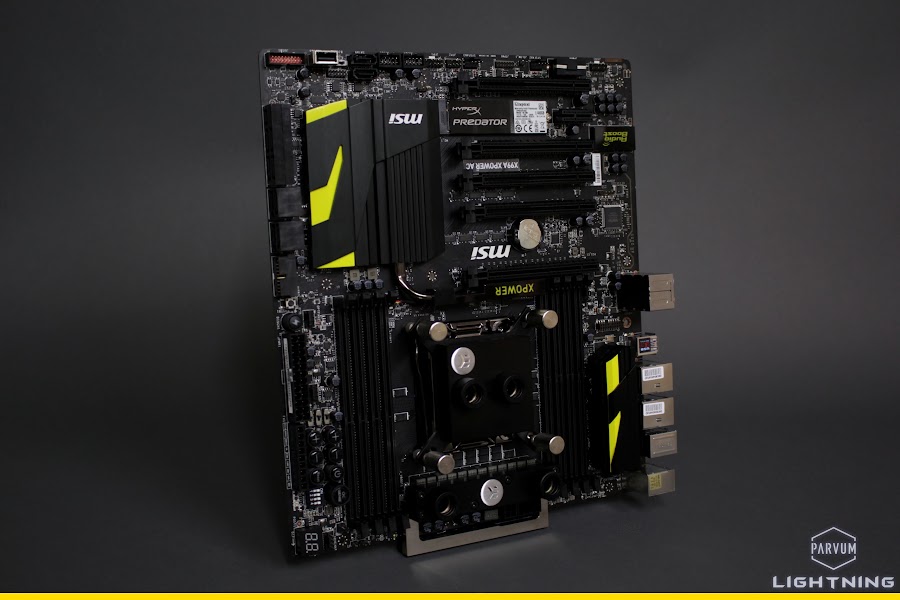
Very happy with how it looks on the board and I can't wait to see how it performs even though it will most likely be held back by the PCIe lanes. According to the motherboard manual the cards will be able to run at PCIe3.0 x16, x8, x8, x8 while the M.2 still has PCIe2.0 x2 directly from the chipset, which should still make it a decent amount faster than SATA III.
JR
Associate
Looks great, can't wait to see the rest of the case cut and it assembled
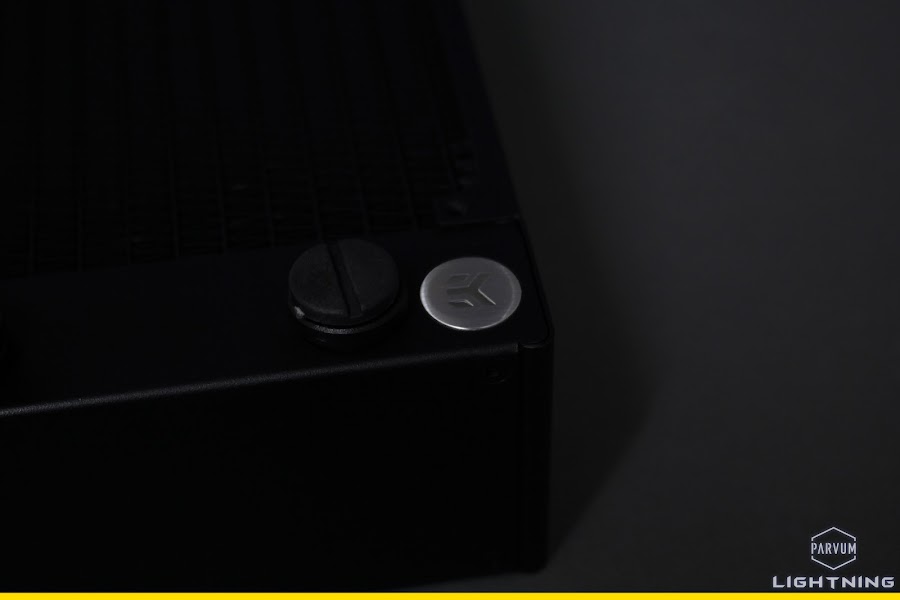
Just a baby update with some more kit from EKWB. Three of their recent CoolStream XE radiators, i've noticed them dominating a fair few performance charts and they certainly look the part too.

Quad rad for quad SLI, that's a thing right? Just incase it's not a thing the 4 Lightnings will have two XE 480's in their loop.


Loving a little more of the new packaging and definitely the detailing on the rads. The paint finish is more durable than i've seen on other CoolStreams, handling them without gloves is now a possibility, excellent.


I thought I would try the F12's on for size... 16 screws later....
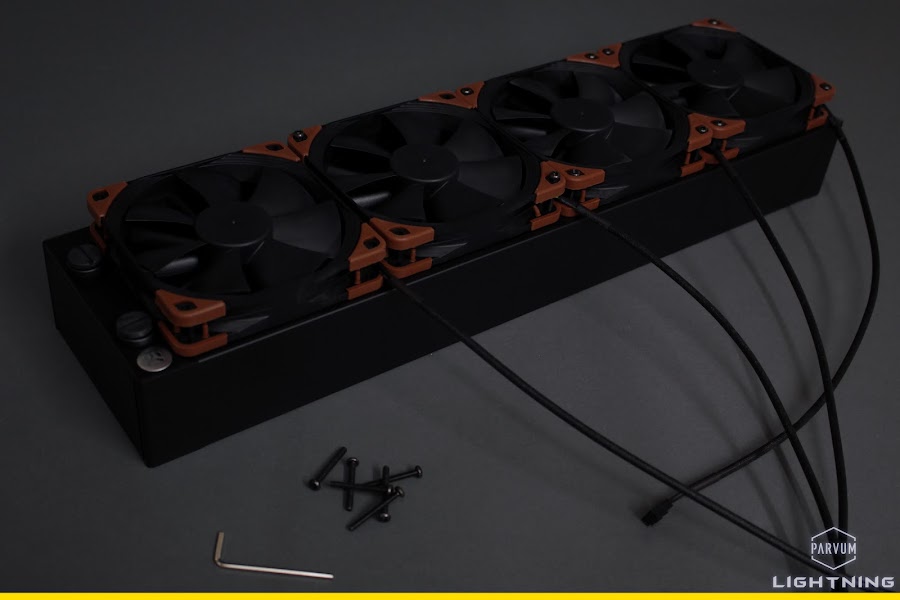
Popped one on without the corners just for comparison too, still smart but a little incomplete without them, don't fear Noctua have a solution for this compromise between brown and acoustic performance and it's inbound!

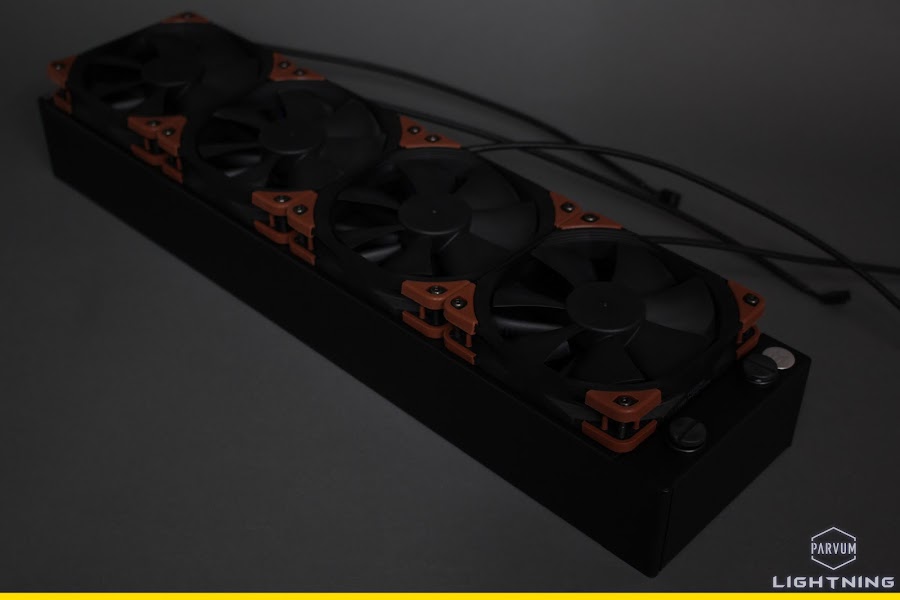
Still a great classy look, if it wasn't for a yellow build I would be ecstatically pleased with that!

Tomorrow i'm going back to Parvum HQ to finish the rest of the case and collect another HyperX filled package! Can't wait to start putting this together.
JR
Hey guys, something a little different in the form of a video update, rather than another series of machining pictures I decided to get some footage while the CNC was doing it's thing in Parvum HQ! My friend kindly edited them into an epic montage along with some pictures from the next update.
Right now I am flat out working on this project and as insomnia is so close (10th Dec) it's unlikely I will be making any big picture based updates until the weekend. So far all is going well despite running out of fittings and the immense amount of sleeving to get done.
JR
Soldato
you, sir, are mental. I love it
Well this is a weirdly difficult update to make, with insomnia closing in immensely fast last week making posts or even taking photographs was impossible for me if I was going to get it finished on time. Consequently the log will have to be slightly unorthodox, the build was completed last Thursday, but the 3 days of sleeving, day of tubing and 2 days of assembly will have to go undocumented.
I'll show everything I never had chance to post a week ago now and then try to show how it all went together in the coming days. I haven't had much chance to consider how i'll do the final photographs just yet but it's epic size is going to warrant a different approach!
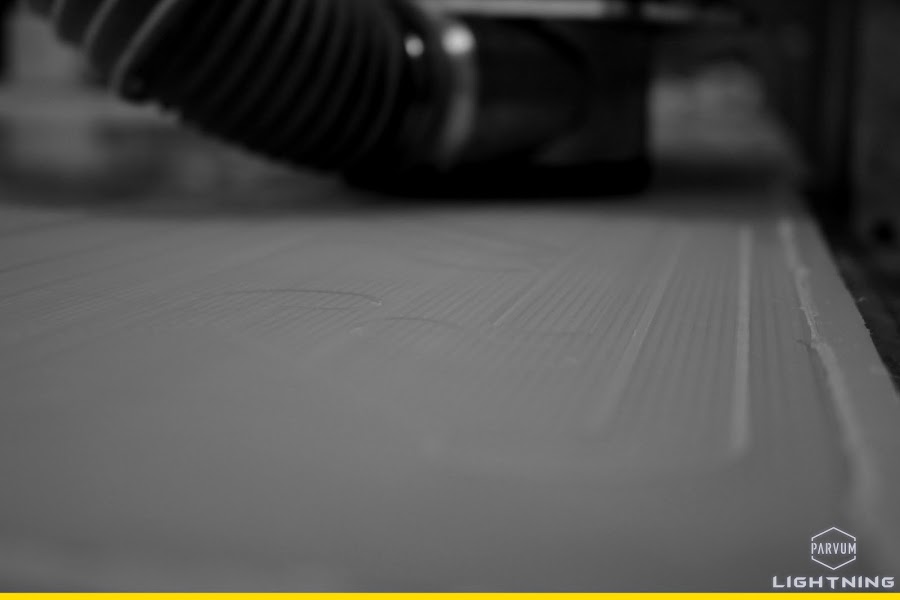
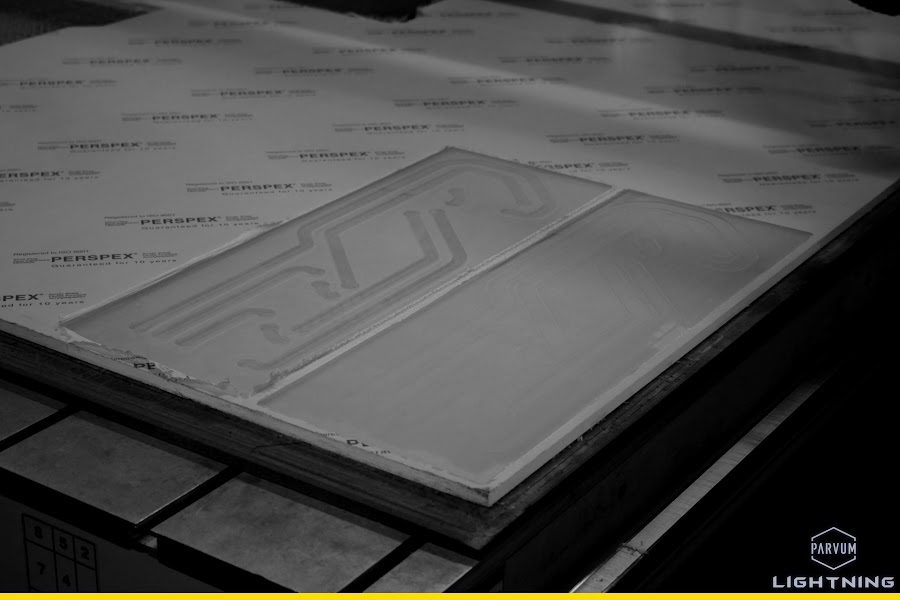
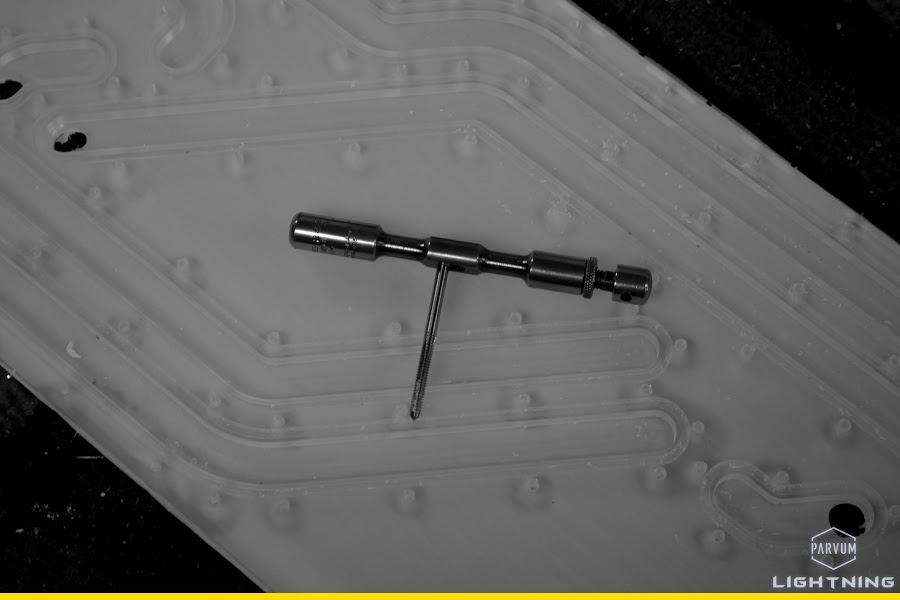
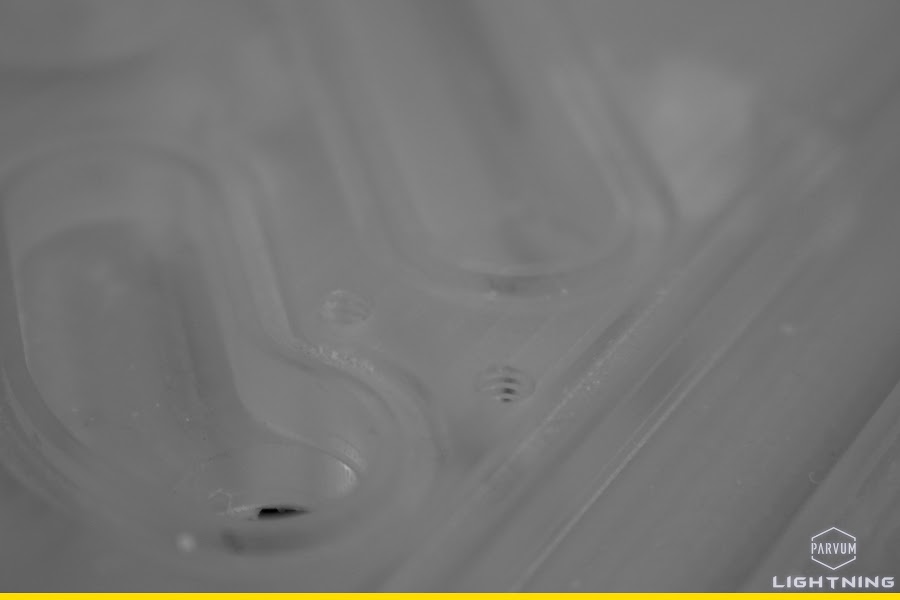
The first few photographs are from cutting the pass through plate, here you can just catch a glimpse of the tool making o-ring channels. As they require the finest tolerance they are cut first any mistakes here could cost the part so getting it out of the way before investing further machine time makes sense.


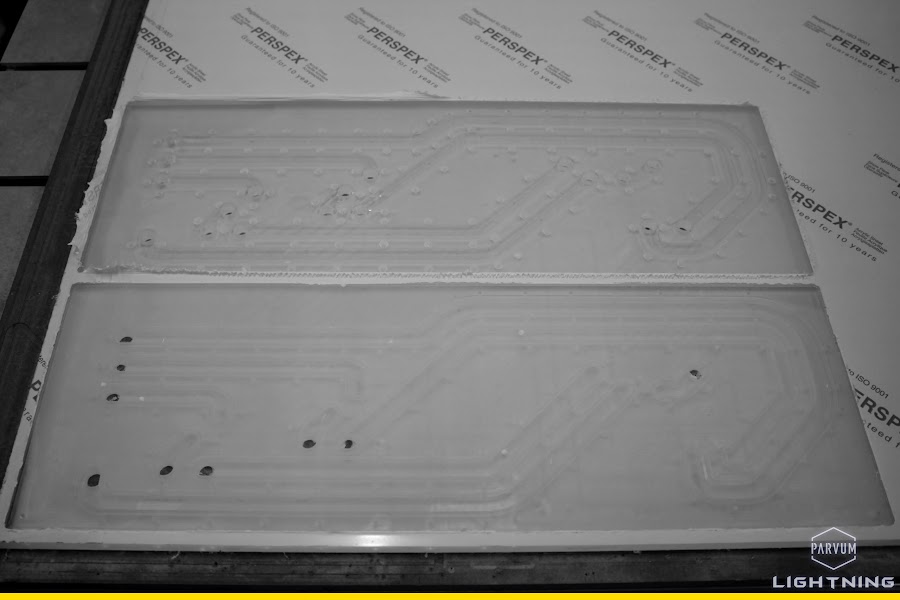
Next the areas covered by the black shroud were cleared as they were also depth critical, this part forms the lid sealing the pass through channels and accepting the fittings for the loop.


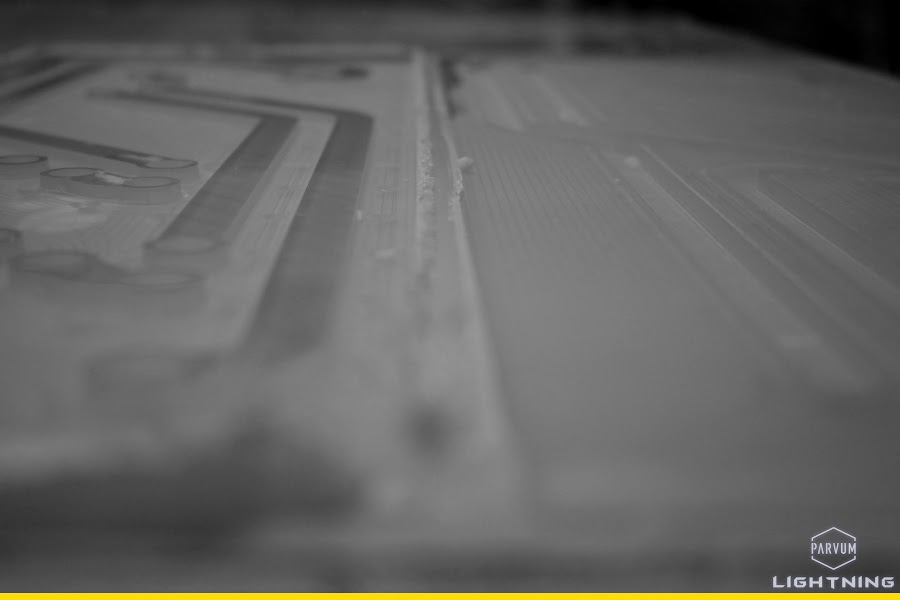
The tricky parts went well, especially considering how big these parts are.
Following that all of the holes and countersinks were drilled in both the lid and block itself.


Cutting the coolant channels was a comparatively quick task for the 6mm tool.

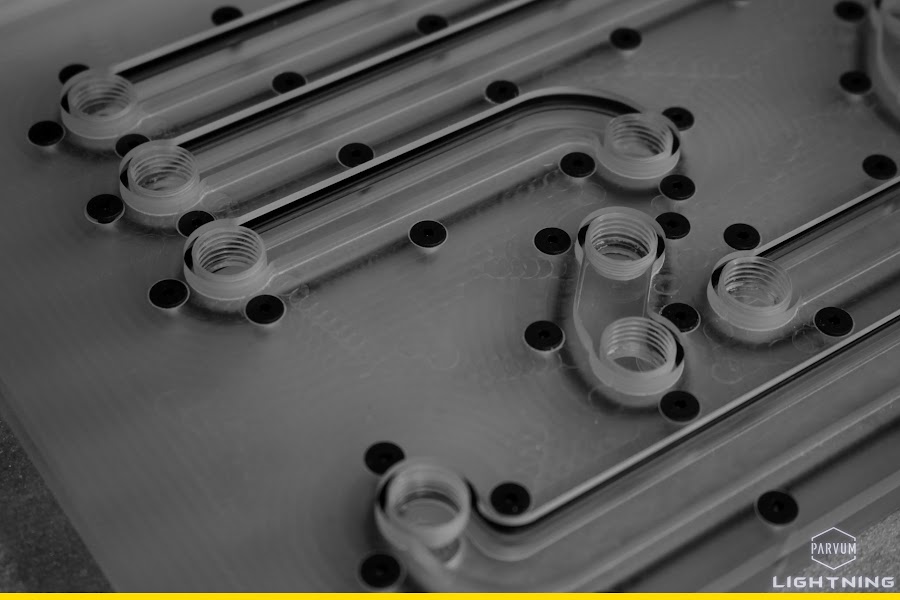
That just left the final cut out of the sheet and the large 11.7mm holes later to be threaded with 1/4" BSPF. Plenty of drain ports were added to the block itself, running pastel yellow I didn't want to take any chances!


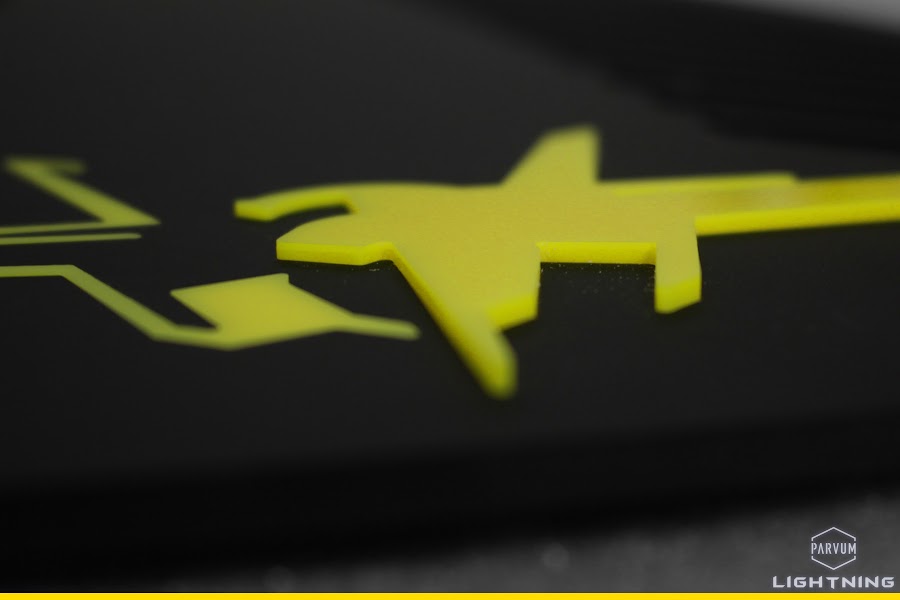
With all of the machining on the block complete it was time for a little inlay work. It would have been rude not addorn the symmetrical roof panel with MSI's impossibly delicate Lightning logo.


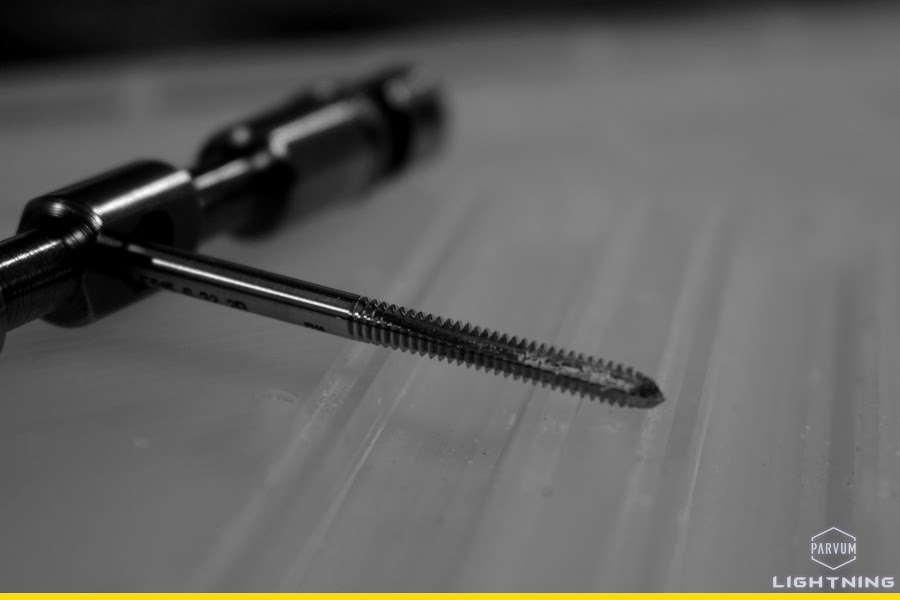
Lots and lots of hand finishing on the block tapping the tiny 6-32 UNC holes.
After days and days of waiting and eventually impatiently delivering the gloss yellow acrylic to Parvum HQ myself the 3 accents were cut, waiting for this really held up the build and put an insane amount of pressure on the final week.


With just 6 days remaining until insomnia the case was finally completed!


Once I got home the first task was to finish, assemble and test the pass-through block. After tapping the 1/4" BSPF ports into both plates a lot of o-ring cord and a lot of screws were called for.


Lots and lots of drain ports, 9 should be sufficient!


Just a little teaser as the motherboard went in, bolted straight through both 5mm midwalls.

I was quite anxious to see that the GPU mounting was succesful so that was the first thing to be tested once the case was assembled. Luckily they aligned perfectly and each of the 4 cards was secured in place by an M3 and 4x 2BA screws which threaded into the ports. A unique approach that really paid off, the cards sit beautifully true within the case and it looks extremely clean with no IO plates from the rear, just the DP's have been left exposed.

Well that pretty much gets you guys up to the 6th December and buys me some time to figure out the next update where it goes from parts to completely finished and tested!

JR
Associate
Excellent work and judging from the photo on KitGuru, you made it in time! I love those new Noctua coloured anti-vibration pads. Finally, they make their fans look good!
The build was finished on 10th December in time for insomnia and spent the weekend alongside APIS and αclass 2.0. It got a huge amount of attention from the public, gamers, fellow builders and mostly the staff on the Overclockers UK stand popping up on various social media and news articles from the event.

JR

Associate
I haven't checked this part of the forum in over a year and the first thing I see is this.
This is some masterclass stuff here well done!
This is some masterclass stuff here well done!
Associate
- Joined
- 13 Jul 2012
- Posts
- 163
This is absolutely awesome!! Very original cooling arrangement, masterfully implemented...
I doff my hat
I doff my hat
Associate
More updates please! dying to see the rest of this
dying to see the rest of thisAssociate
- Joined
- 25 Aug 2013
- Posts
- 390
More updates please!
Agreed!
I want to see some glamour shots from every angle!
")
Lots of glamour shots to come guys once i've found a location which can handle it and figured out how to get it there! Not the easiest of tasks.
There are quite a few pictures of it from the weekend in this album on the OCUK main site.
Thanks all, I can't wait to get it set up on my desk some place, I just need a huge Christmas bonus for a U3216 and a custom Ducky now
JR
There are quite a few pictures of it from the weekend in this album on the OCUK main site.
Thanks all, I can't wait to get it set up on my desk some place, I just need a huge Christmas bonus for a U3216 and a custom Ducky now
JR
Associate
As always, fantastric work JR23. I love the manufactured water channels in the actual case as it looks much cleaner by removing a lot of potential piping from the system. Also the fact that there is two loops in a relatively small ATX case with four GPUs is quite brilliant as many would struggle to design and build such a loop in a Primo so something like this is quite rare. ")
Smashing work
Smashing work