Soldato
Well, you can see the internally threaded parts I've used so far (well, mostly not see them if I'm honest) in my log at the bottom of page 3. These are ready-made ones by Barrow and come in various lengths. Search for "Barrow Rigid Hard Tube Female to Female Threaded Adaptor".
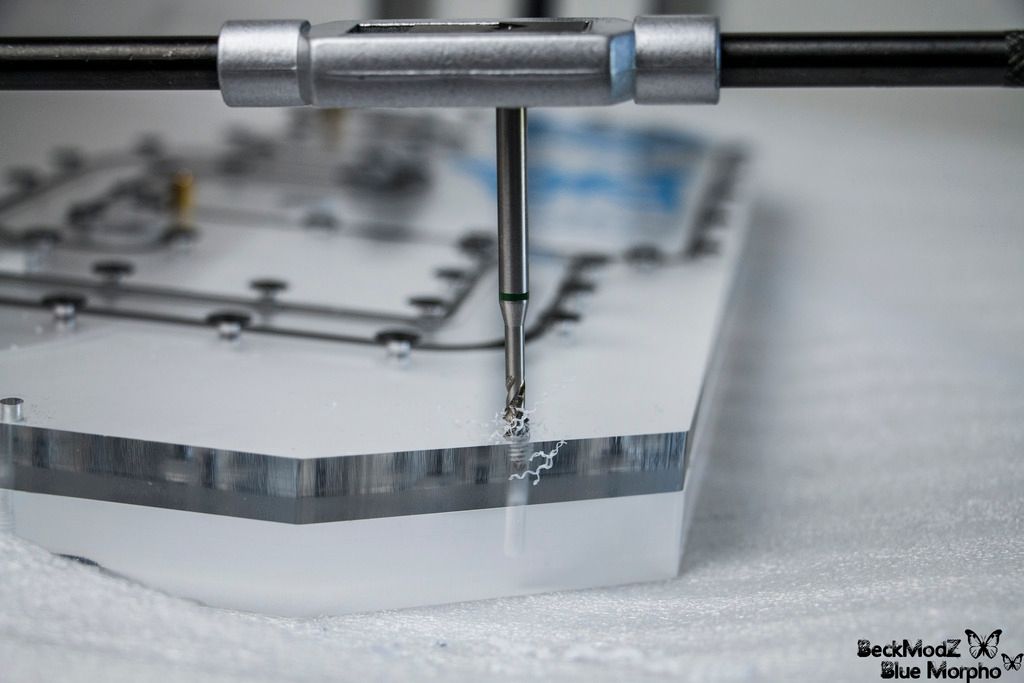
You can see some outer threaded 12/10 in this pic (clickable for larger):
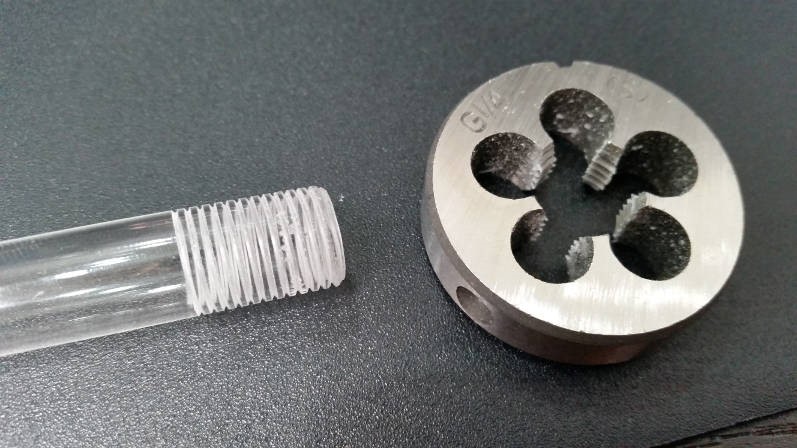
I think that 13/10 would be better though as 12 is a bit narrow - you can see the untouched acrylic that isn't threaded. Also, 13/10 would be a bit thicker so would have more of an end for the o-ring to sit on.
You can see some thread chipping lower down the threads in the pic. I'm not sure if that is because I wasn't reversing direction every quarter of a turn or because the die wasn't completely straight at first. Also, the end of the tube is chamfered because it went into a compression fitting first - have to test all the toys
Edit: FYI the Barrow pre-tapped tubes are 18/11 which matches up (roughly) with the OD of the fittings but doesn't seem to be available anywhere. Presumably 16/11 should work as long as there's enough space for the o-ring to seat.
Last edited:
")

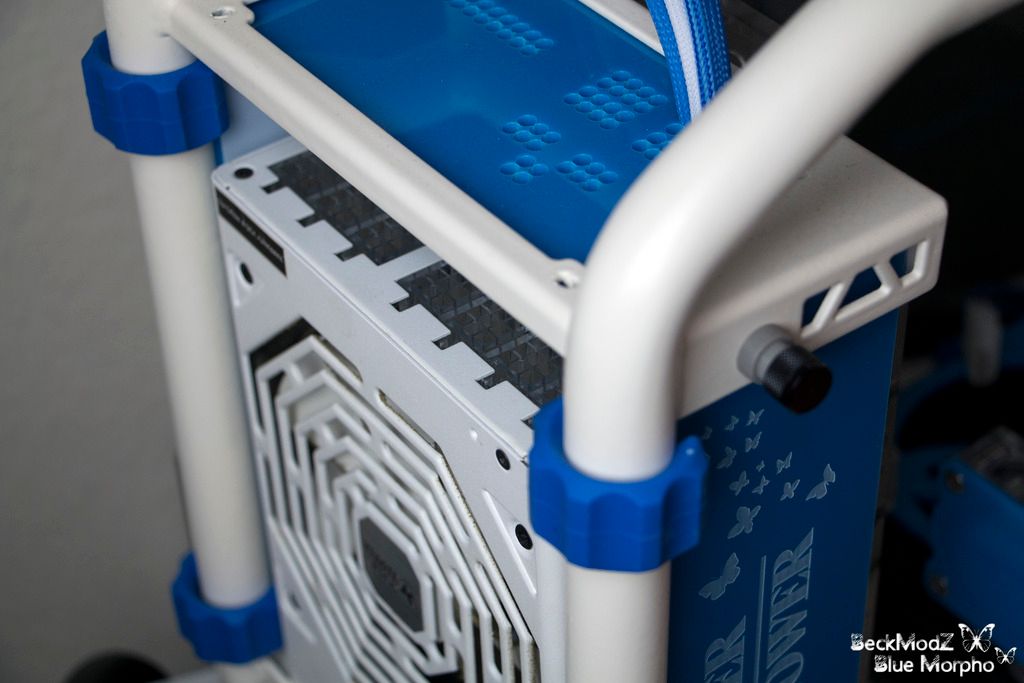
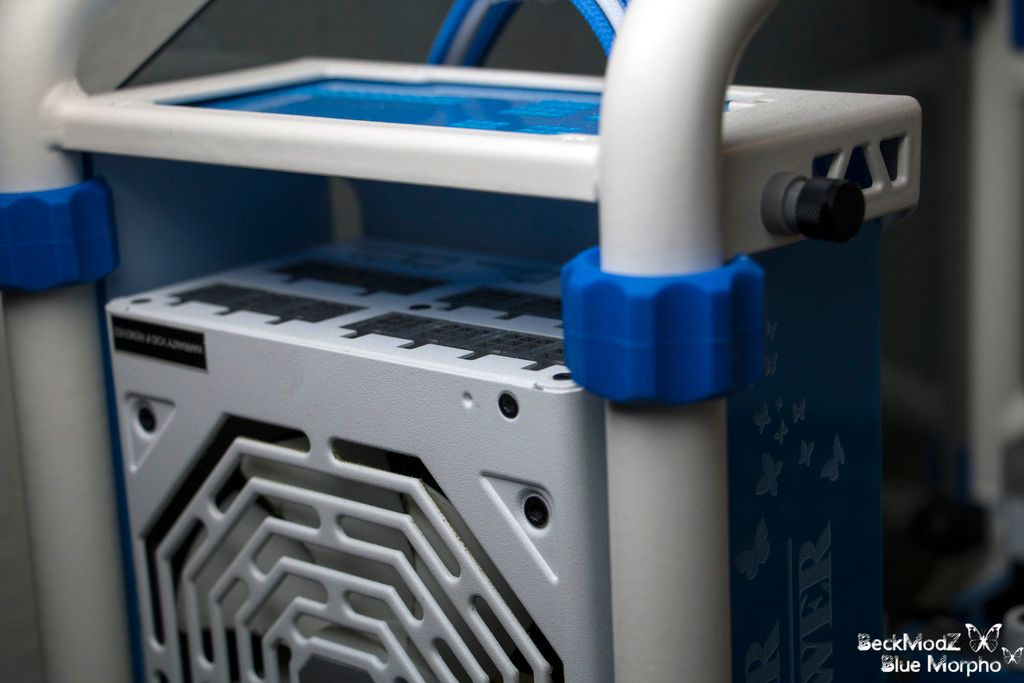
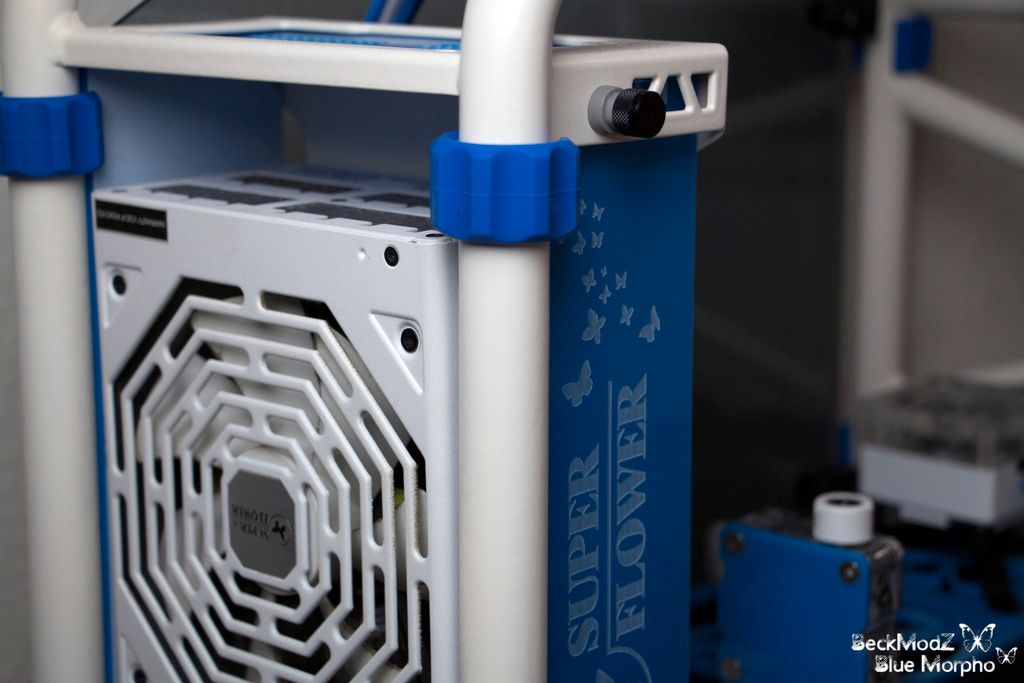
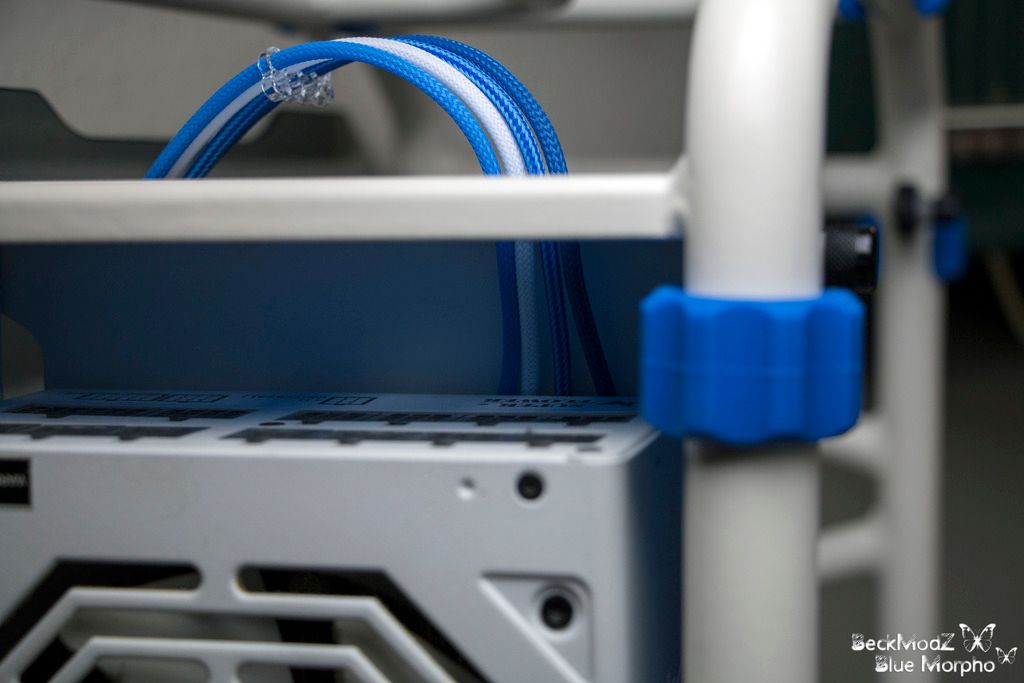


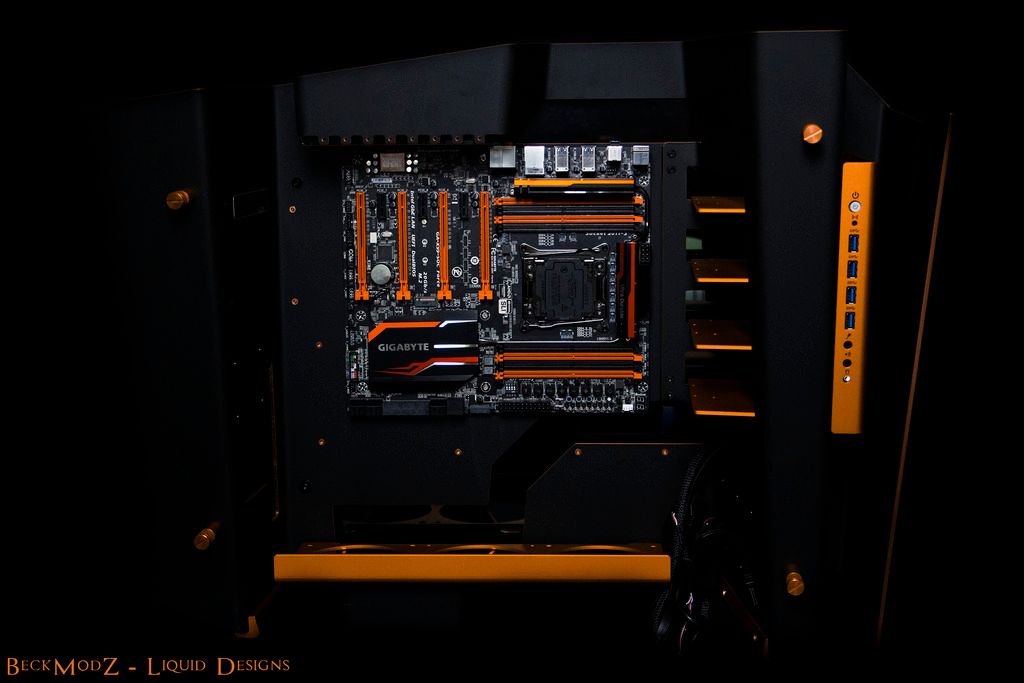

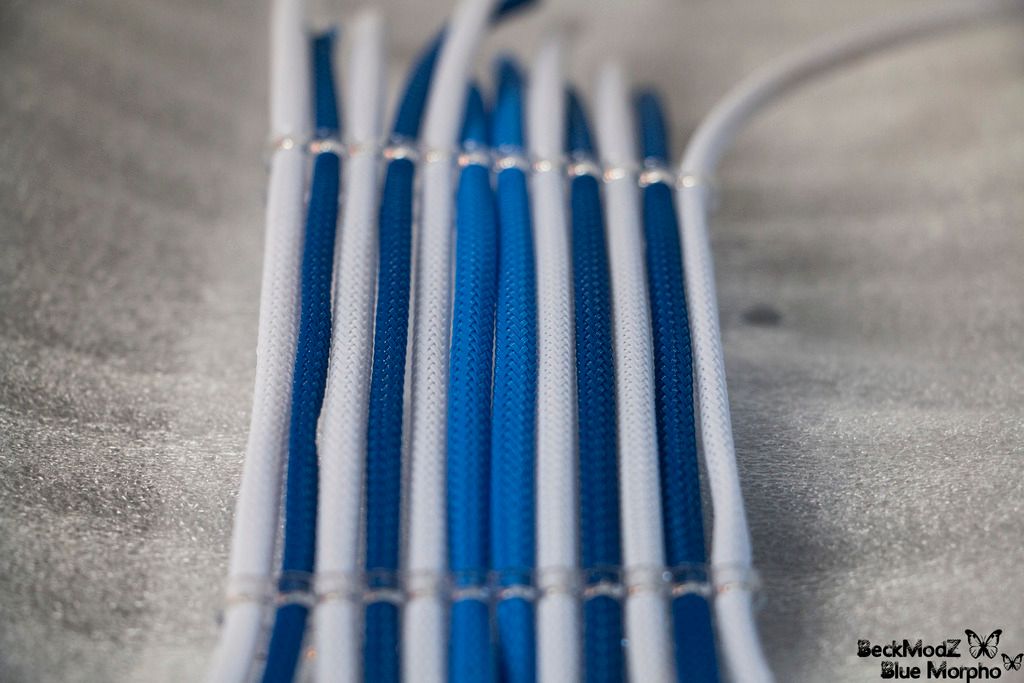
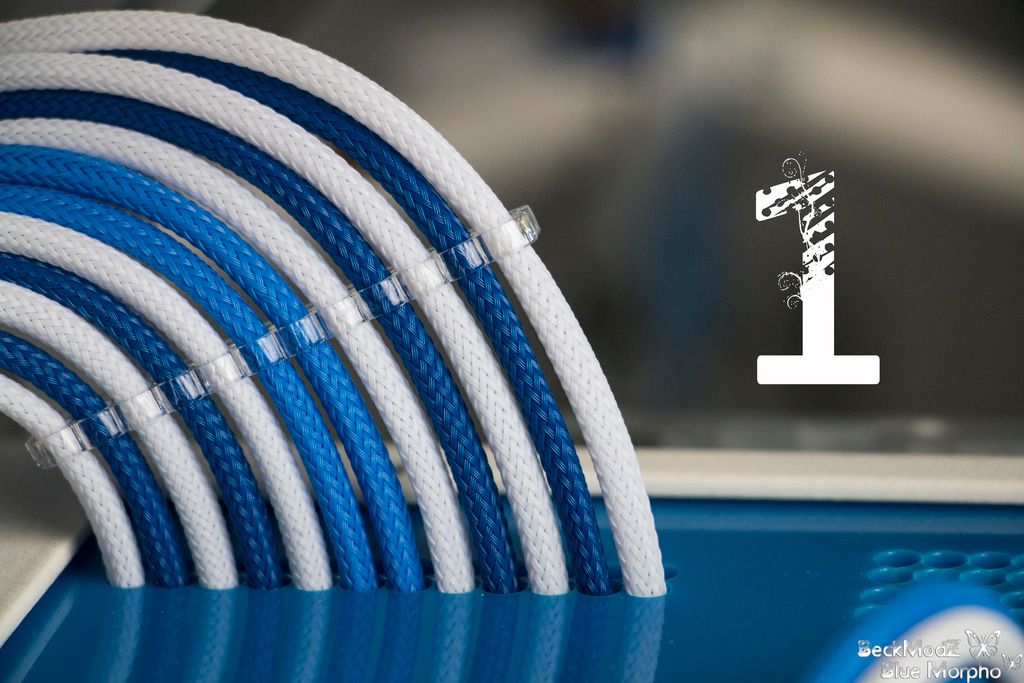
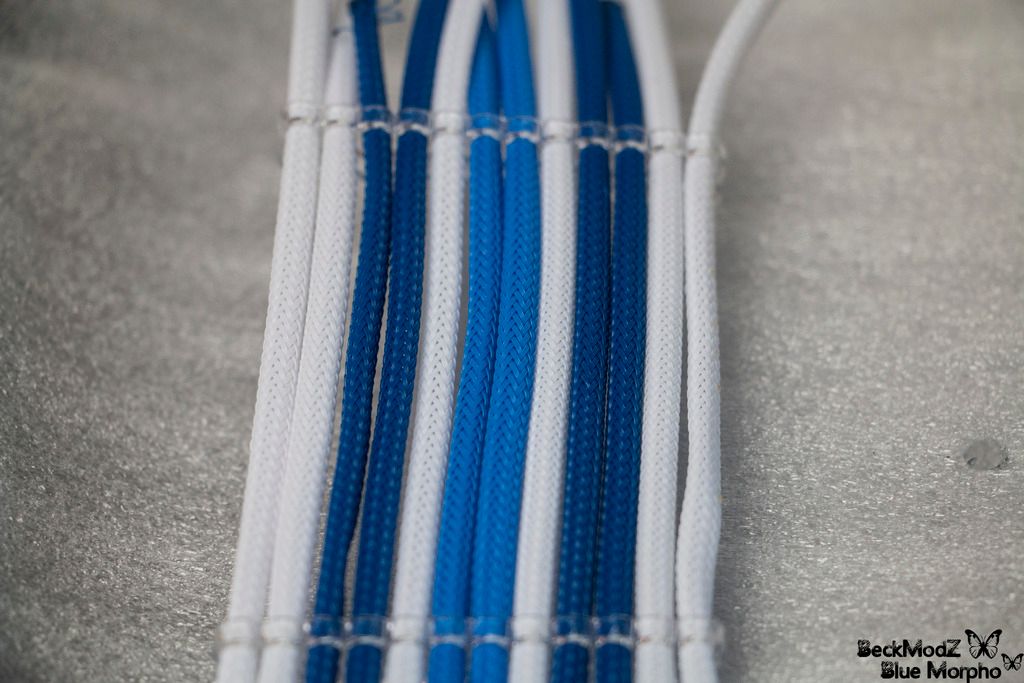
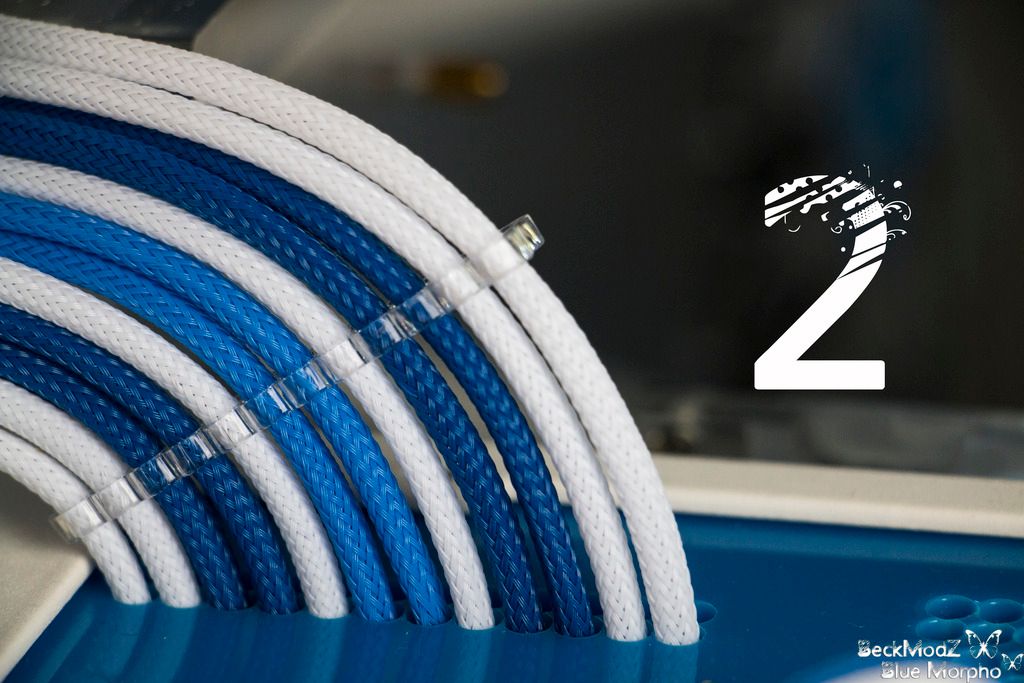
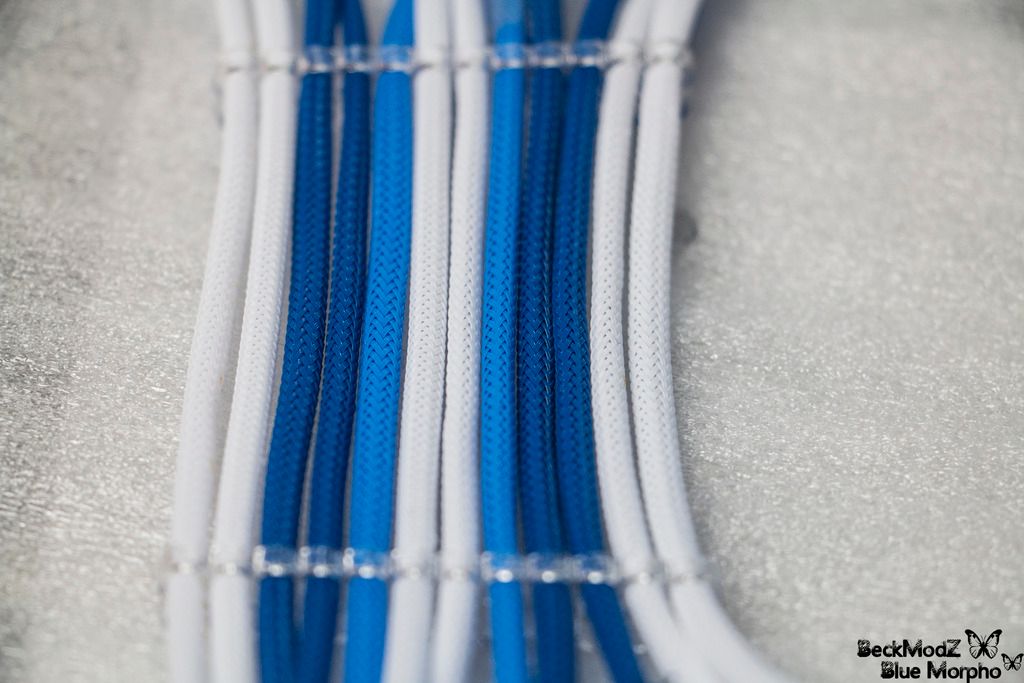
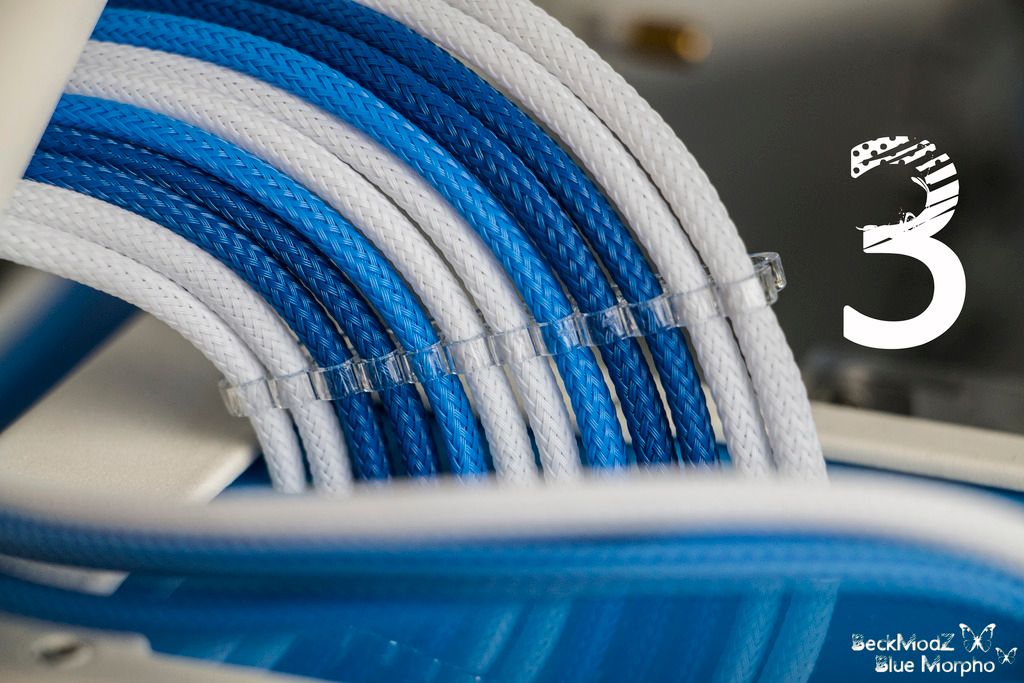
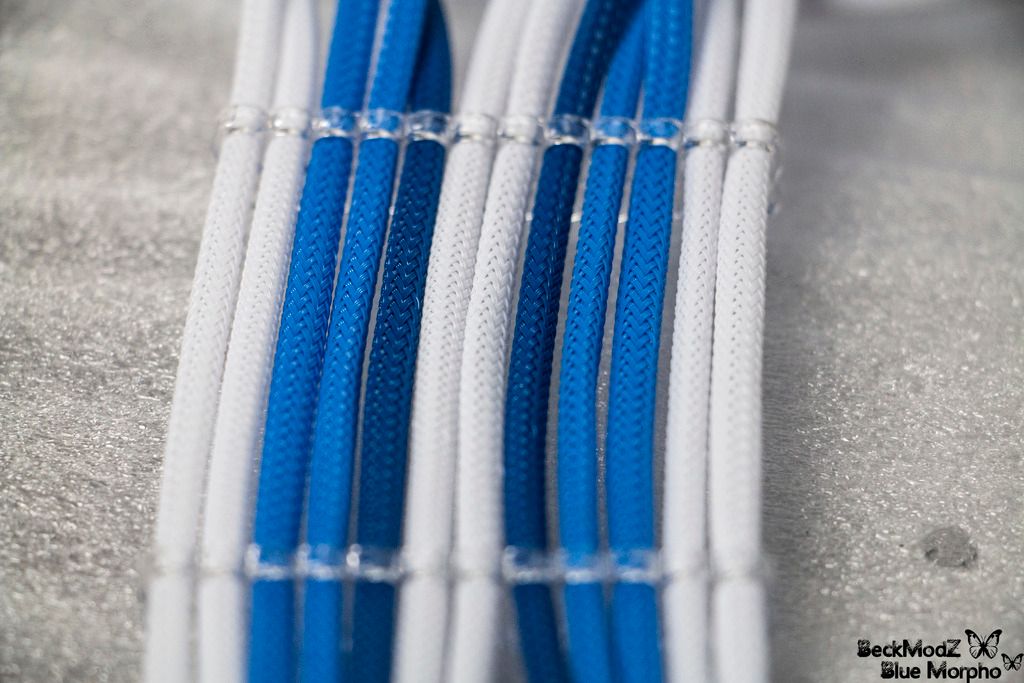
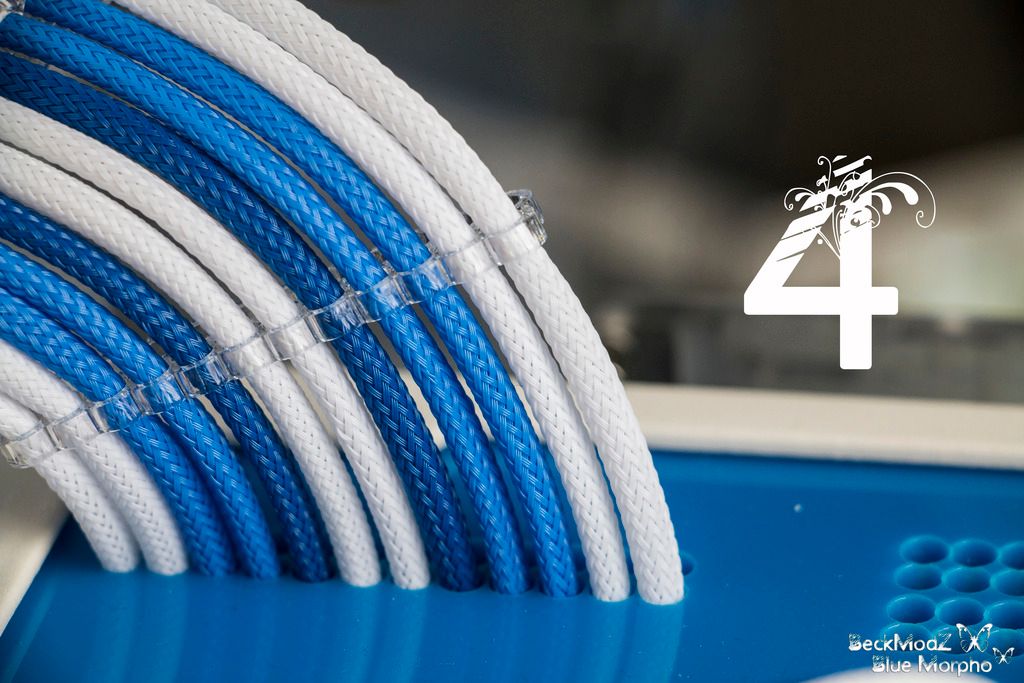
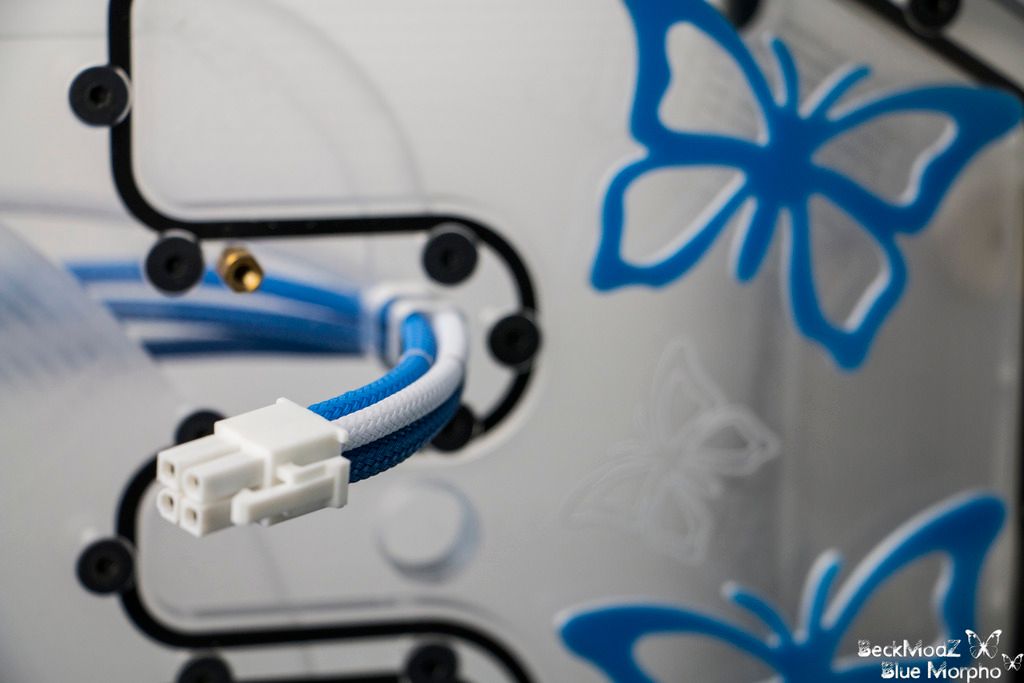
 Even sleeved the front panel cables while I wait
  Nowhere to run to, nowhere to hide and all that. Good luck with that! Cabling channels in the blockwork maybe?