Green Squadron

Associate
Joined
27 Sep 2012
Posts
593
Location
Netherlands


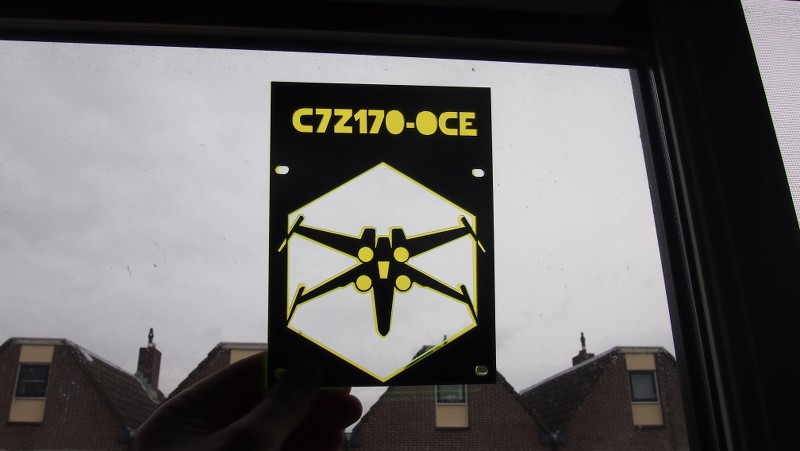
After the finish of The First Order ( http://forums.bit-tech.net/showthread.php?t=300608 ) Supermicro launched their top tier Z170 motherboard. The C7Z170-OCE. This is, in my opinion, a huge step up by them. It has big improvements in just about every section. Especially appearance of the motherboard and BIOS are just as good as anyone elses in my opinion. Plus this motherboard uses a PLX chip. Not so much you can add as much gfx cards are you wish, but also because you can use all gfx card lanes AND all storage lanes at the same time. I really wanted to do a mod with one since it looks great as well so we decided on a new project. Where we covered a bit of the dark side of the Star Wars universe in the previous mod we cover a bit of the good side :clap:

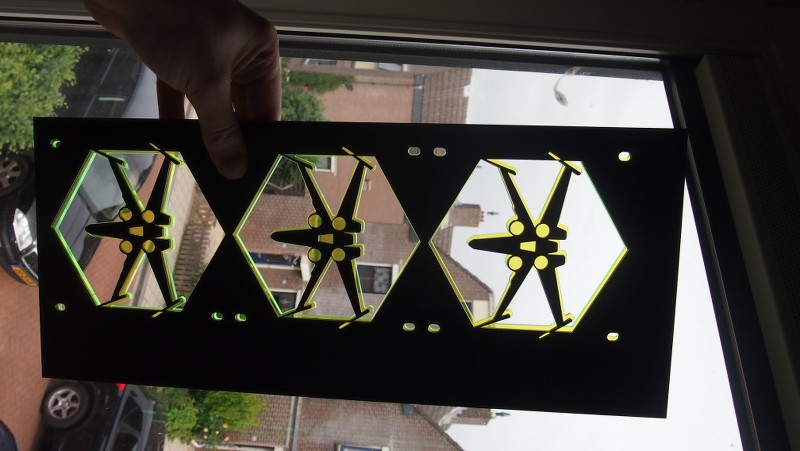
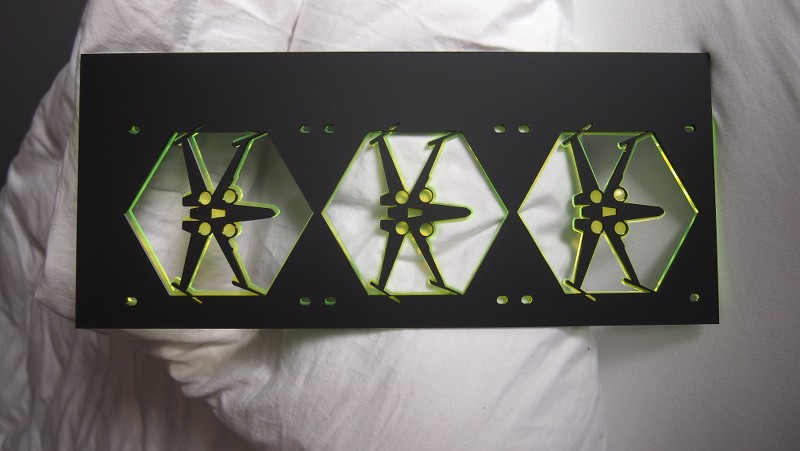
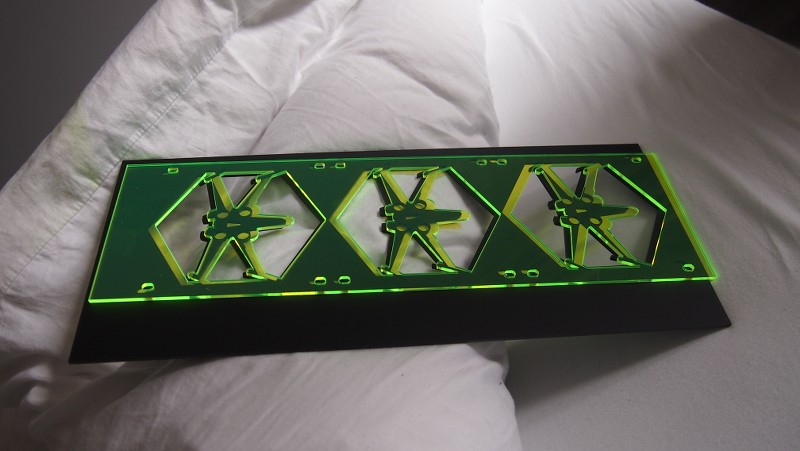
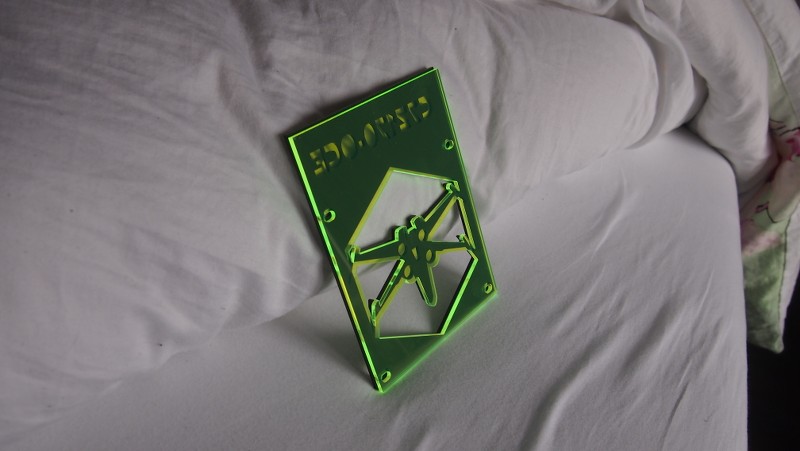
I chose to use a theme with an Xwing squadron which I named the Green Squadron. It applies to the colour of the motherboard, the fact that is it the good side and the fact we are using an Nvidia gfx card.

So lets get to work on the first batch of photos.

First of all again a big thanks to Supermicro for having the faith in me and my work and having me do this


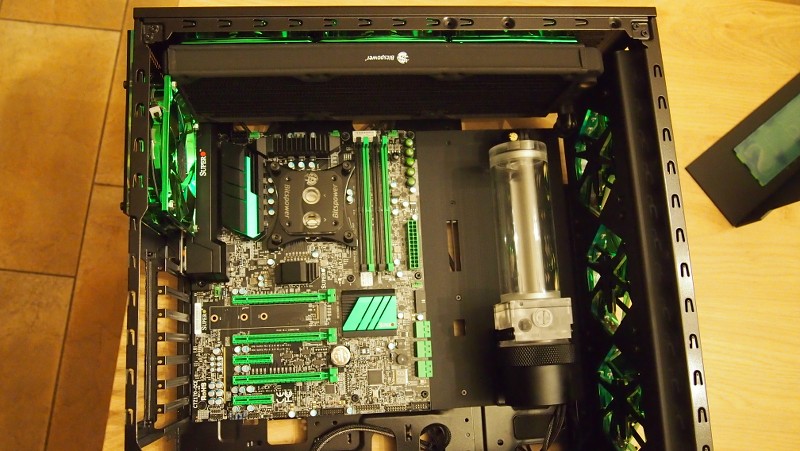
The supplied me with their Gaming S5 chassis (that for the occasion had a green front!!!) and their newest C7Z170-OCE motherboard.


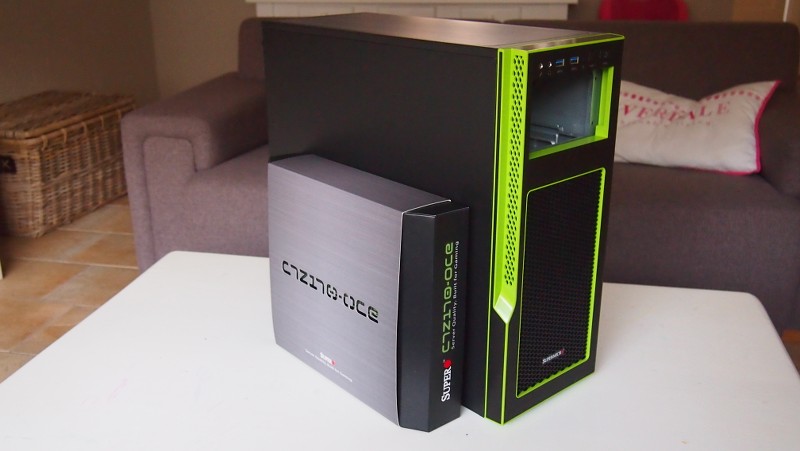
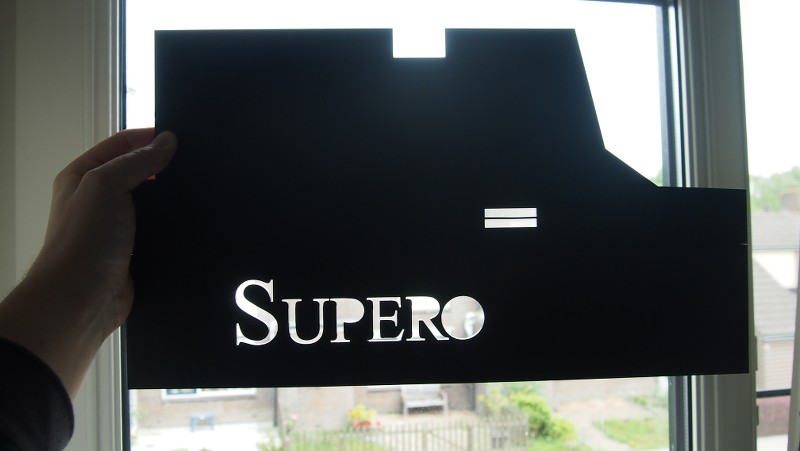
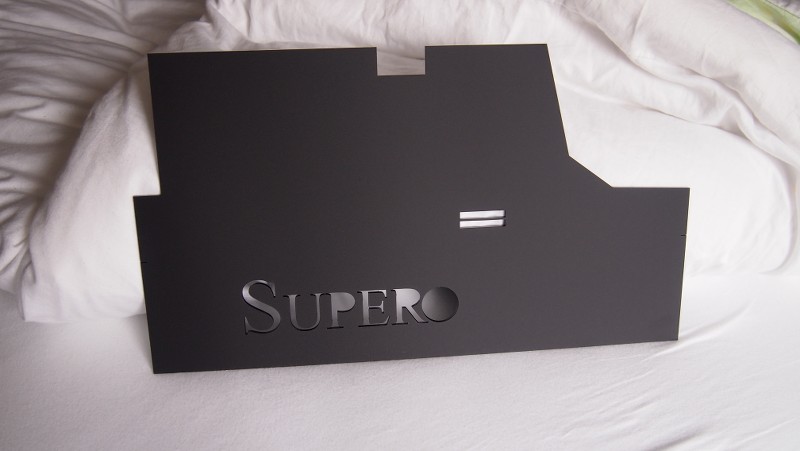
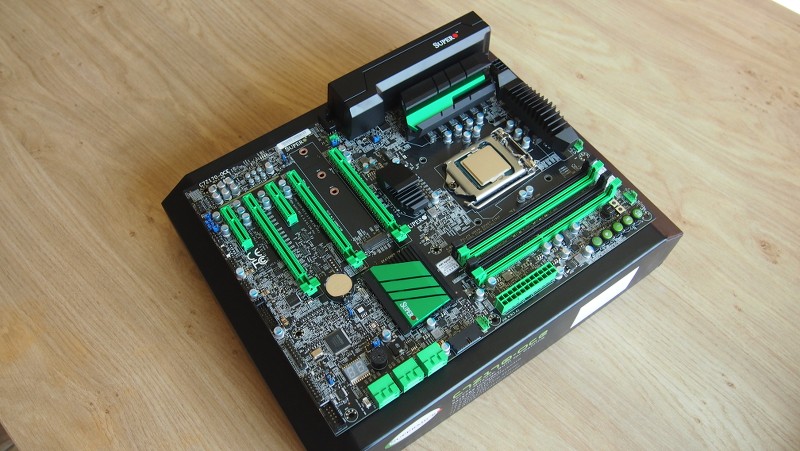
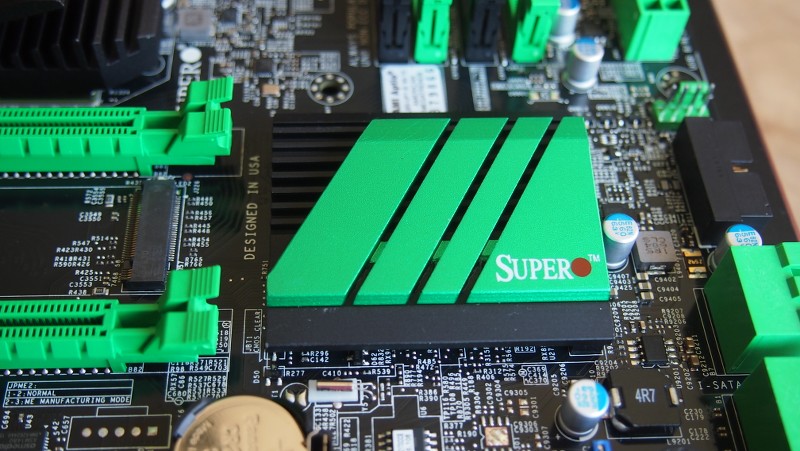
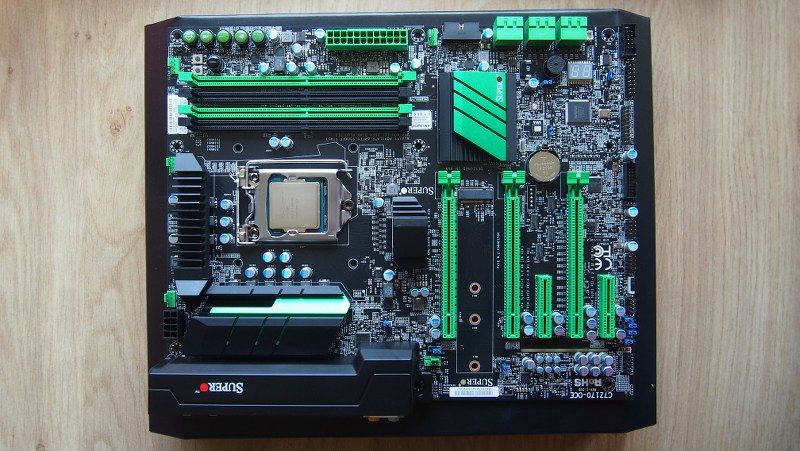
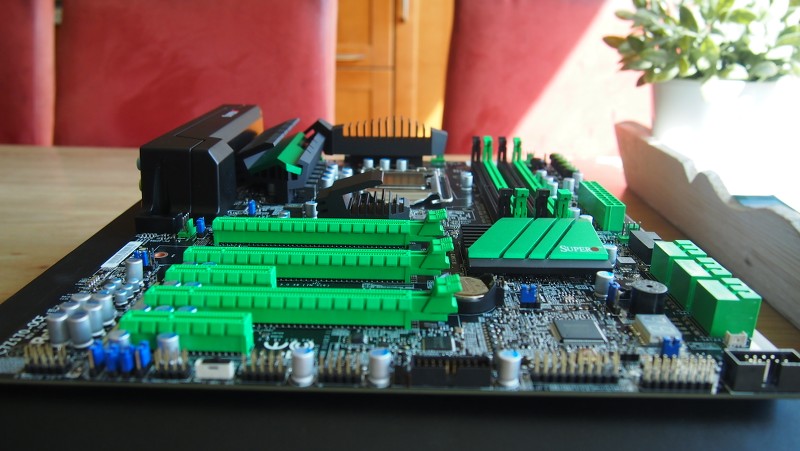
Since I have gone over the chassis quite big in the previous thread I am not doing that again. Next to this for this mod is the motherboard. I would like to show it off a bit as probably 95% of you guys have never seen it.


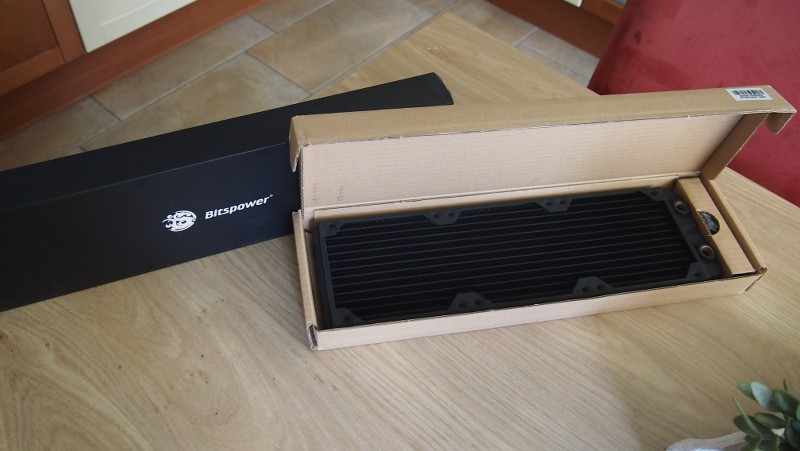
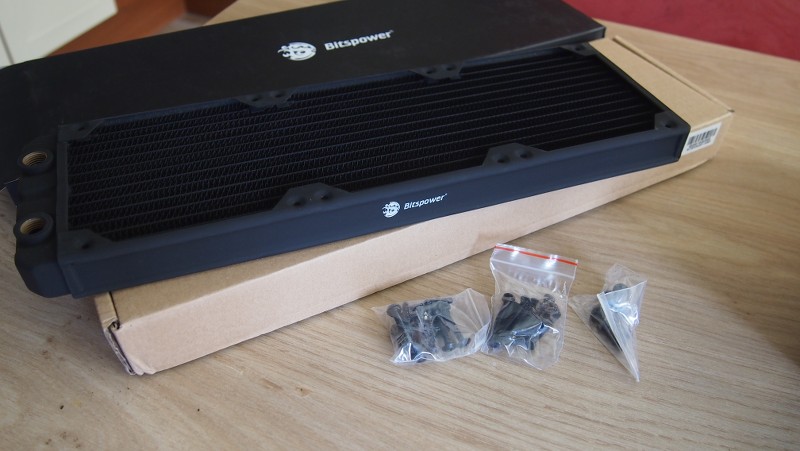
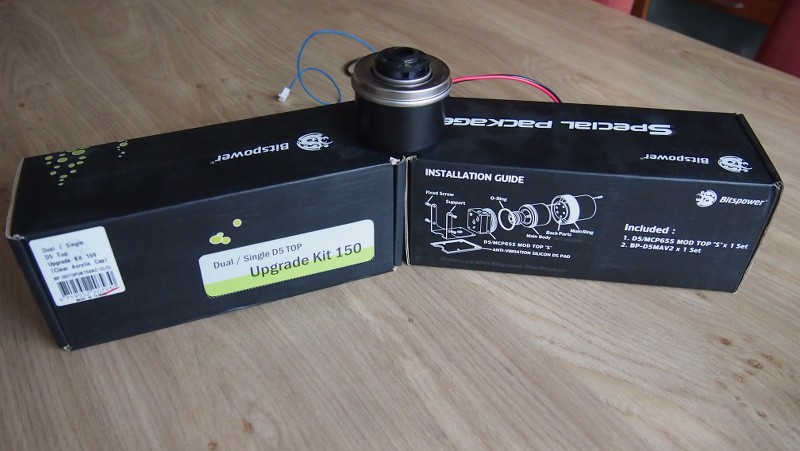
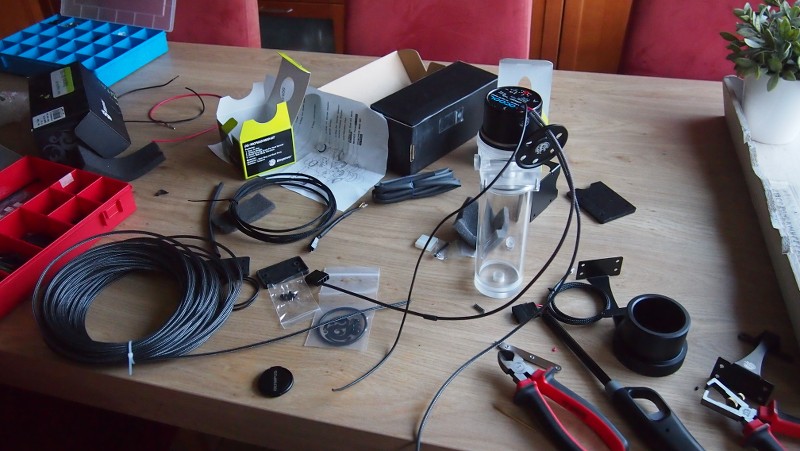
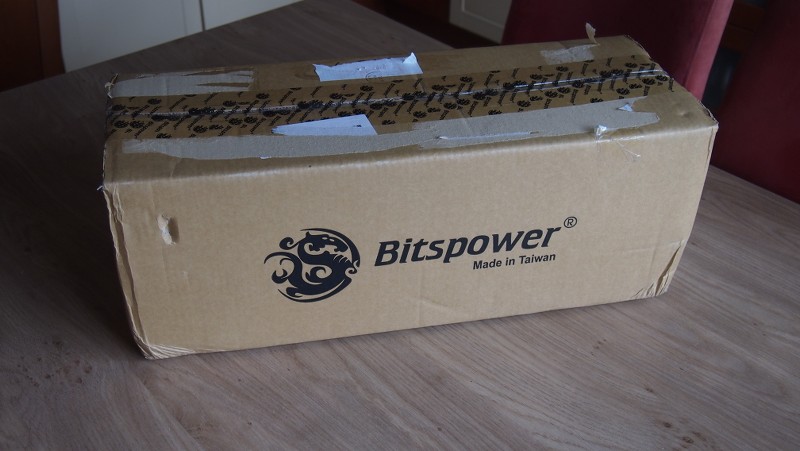
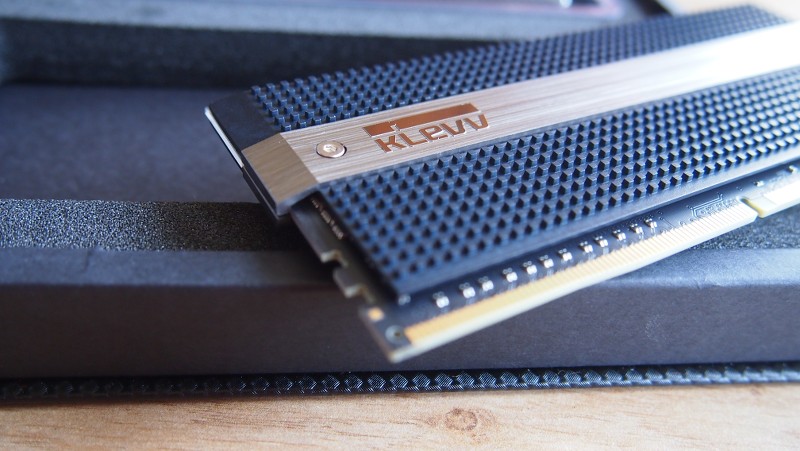
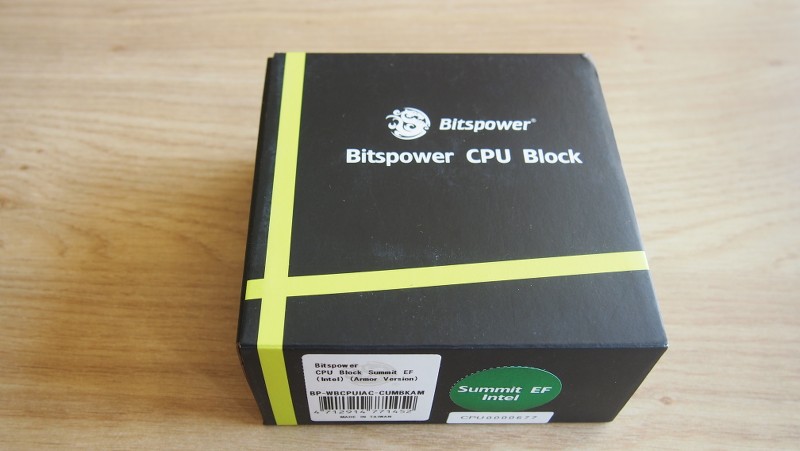
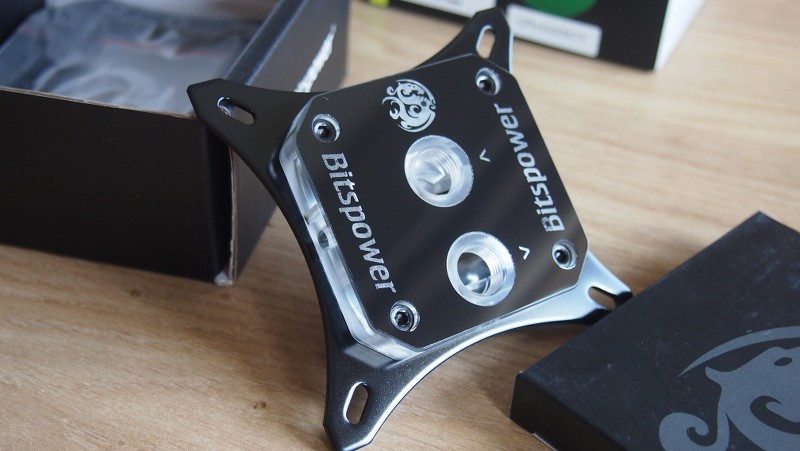
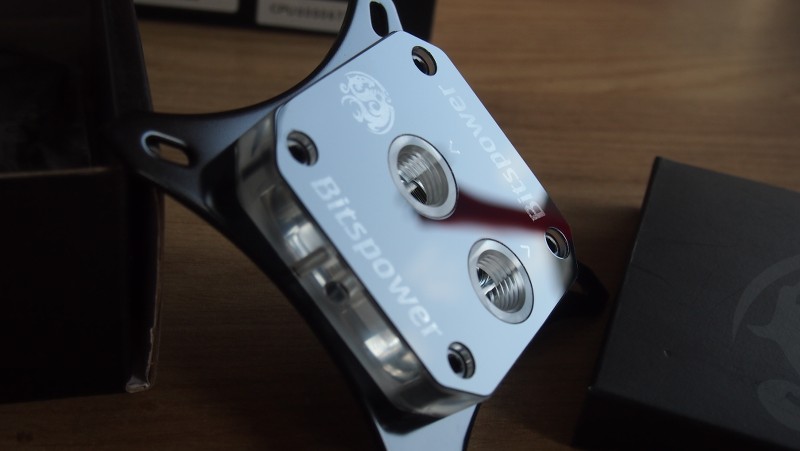
Just like last time Bitspower was kind enough to supply the project with watercooling equipment. Thank you very much again Bitspower


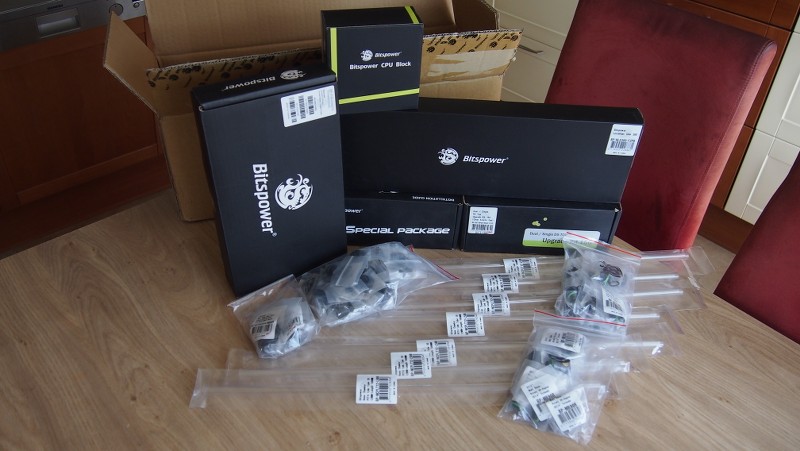
I will show more when I install the products.

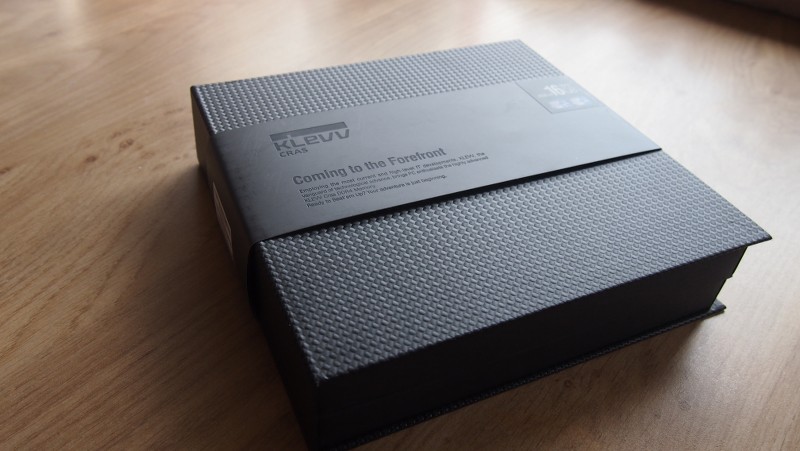
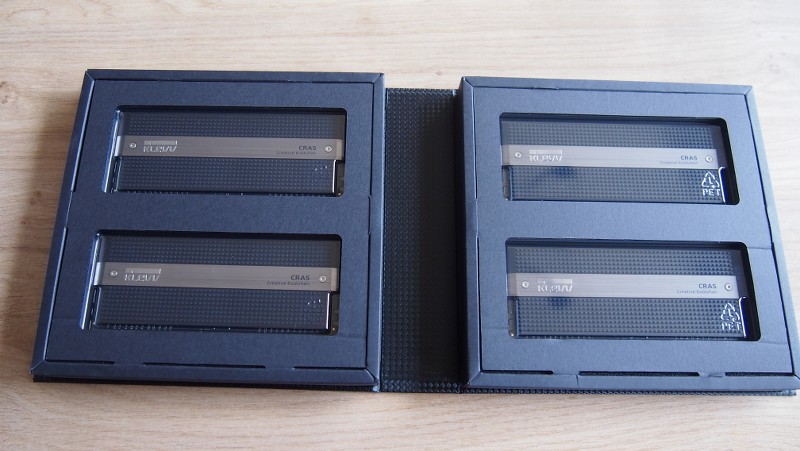
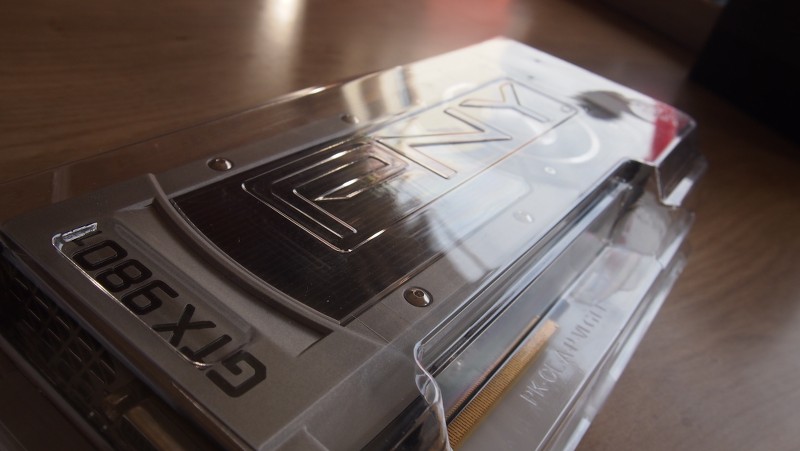
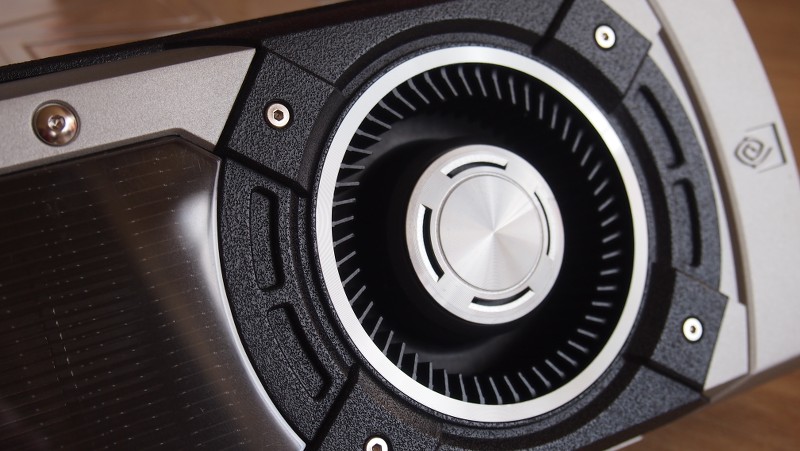
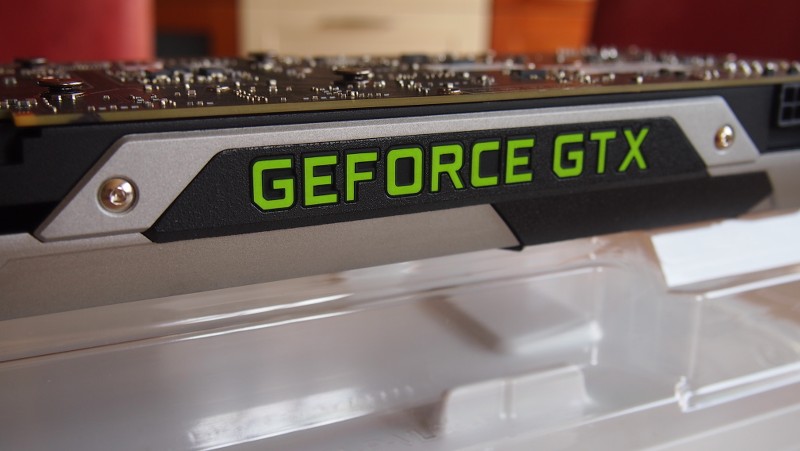
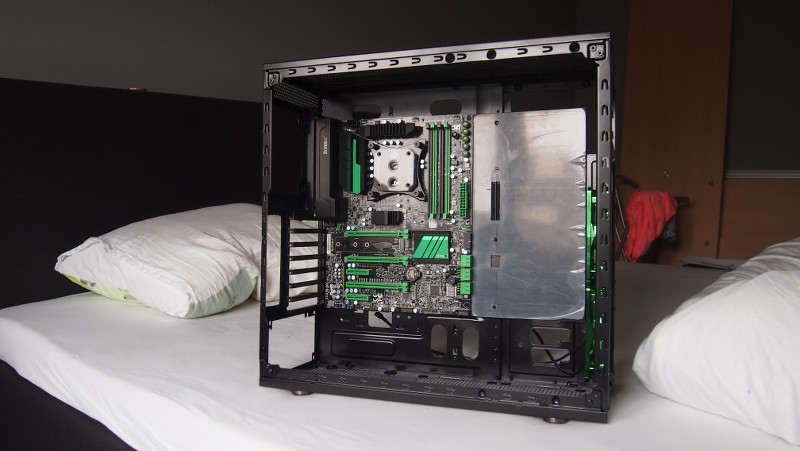
We then proceeded to add some more hardware to the build.


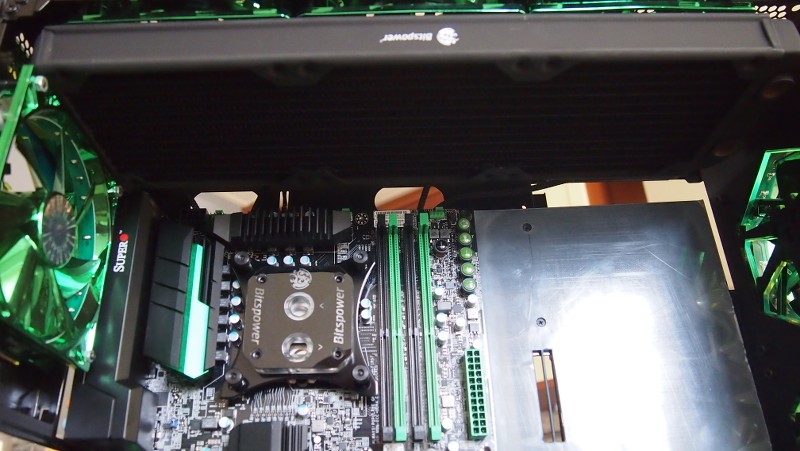
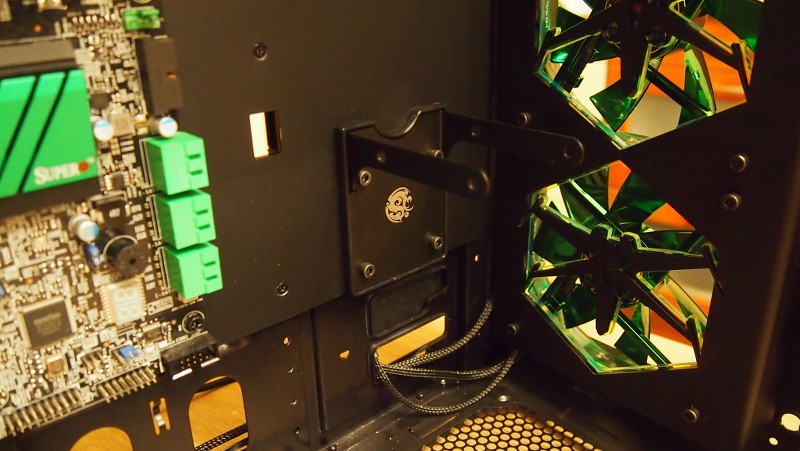
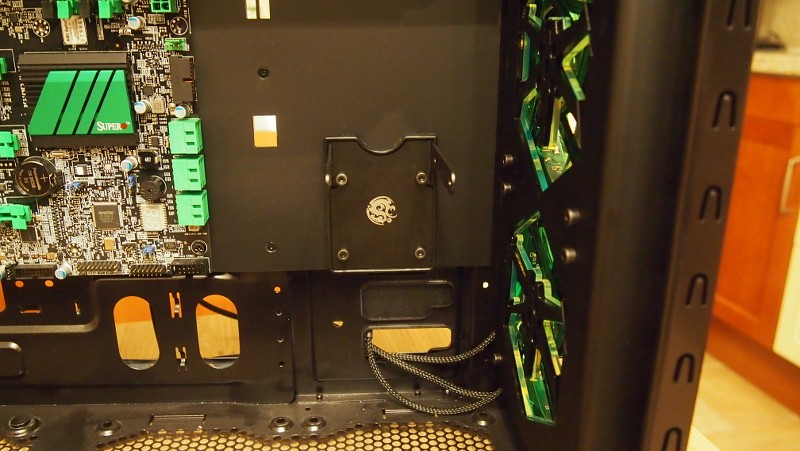
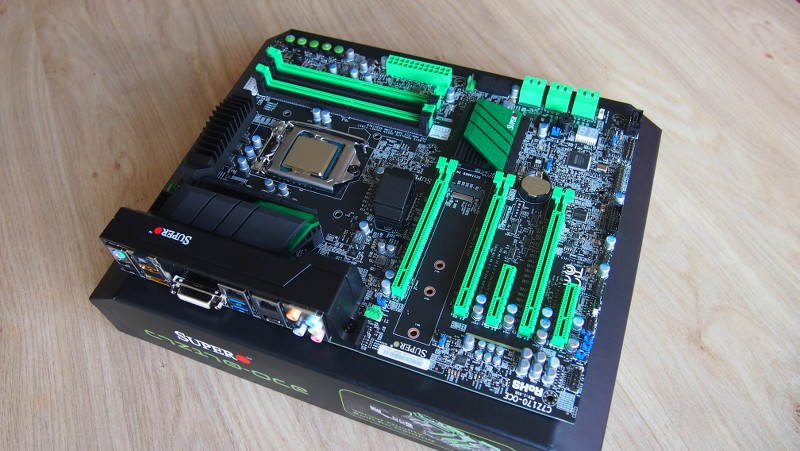
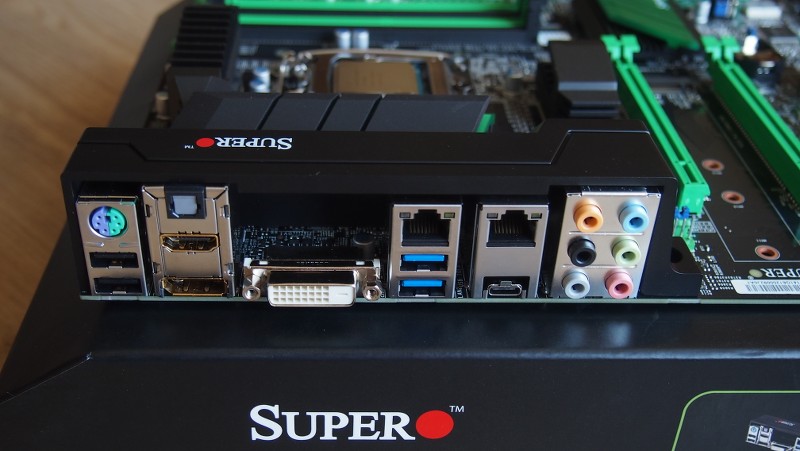
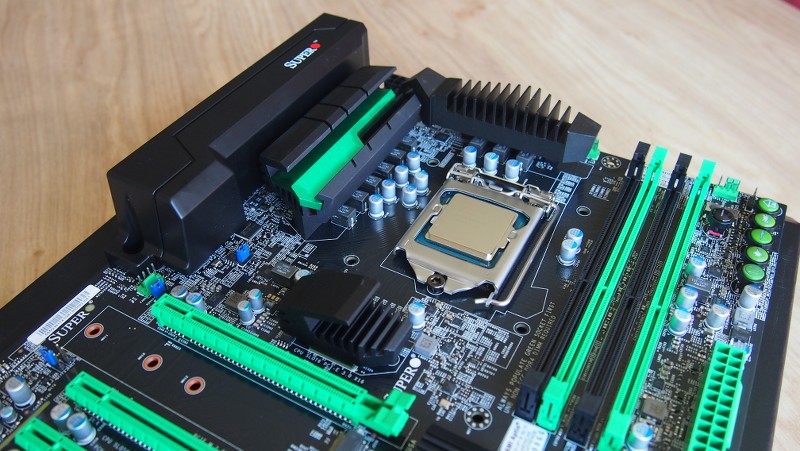
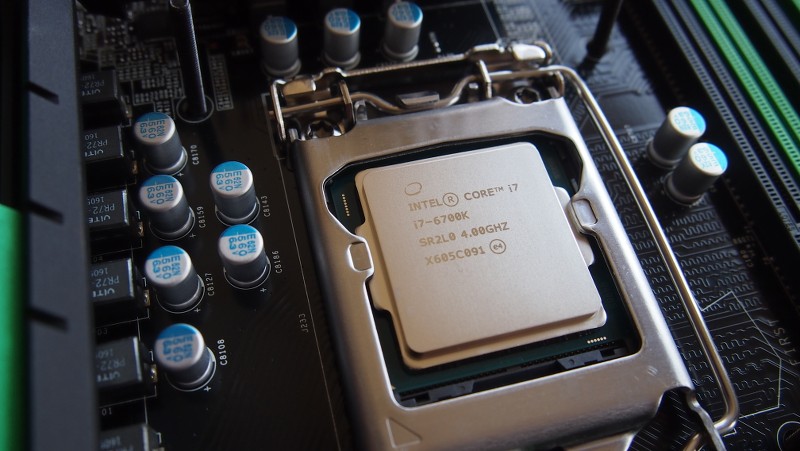
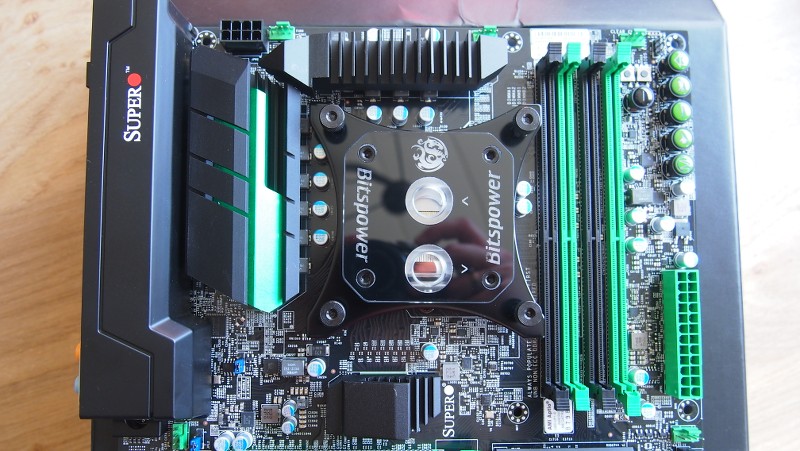
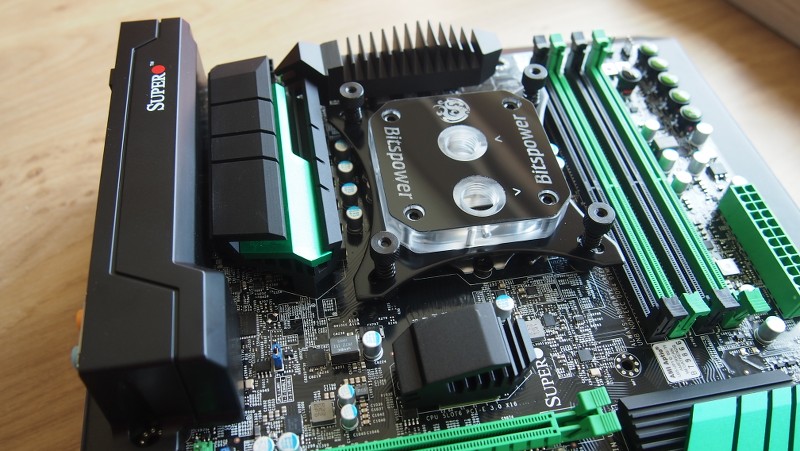
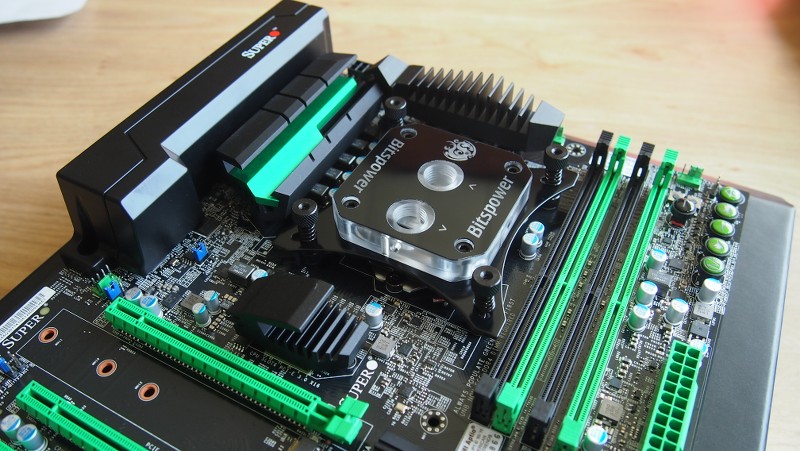
Since I couldn't wait I proceeded to install the CPU block to the motherboard.
It fits the black motherboard nicely I think.


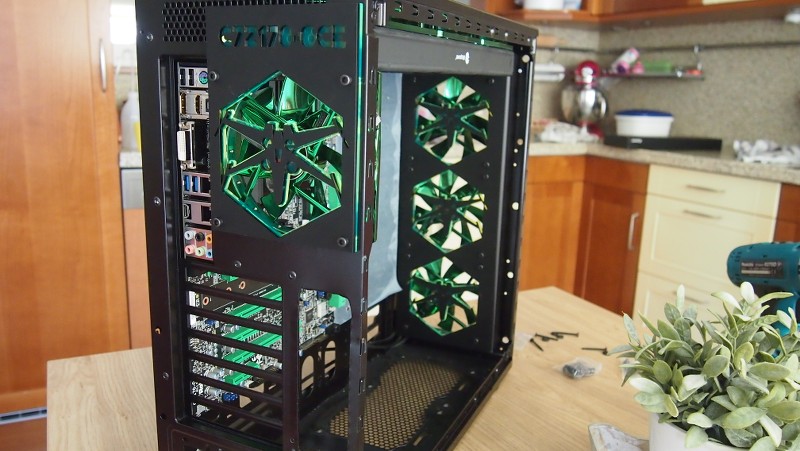
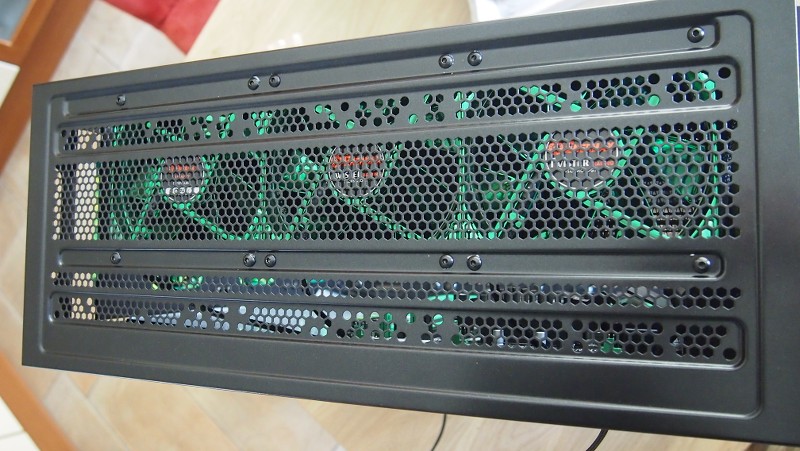
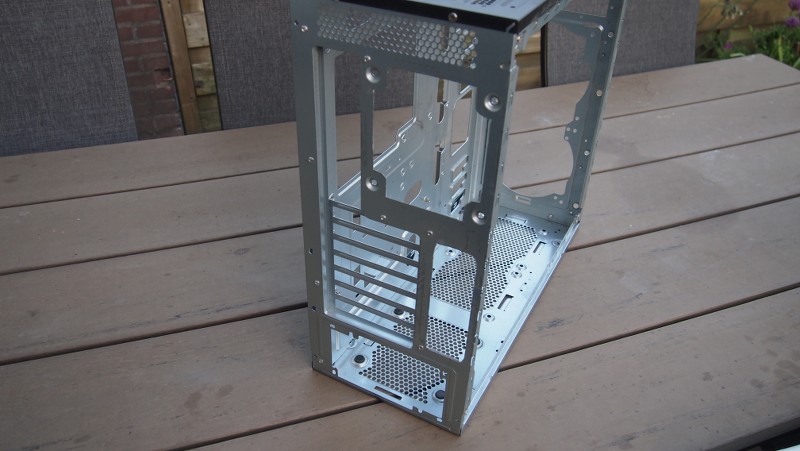
I then proceeded to take apart the case to paint it. As I wasn't going to build in a silver workstation chassis.


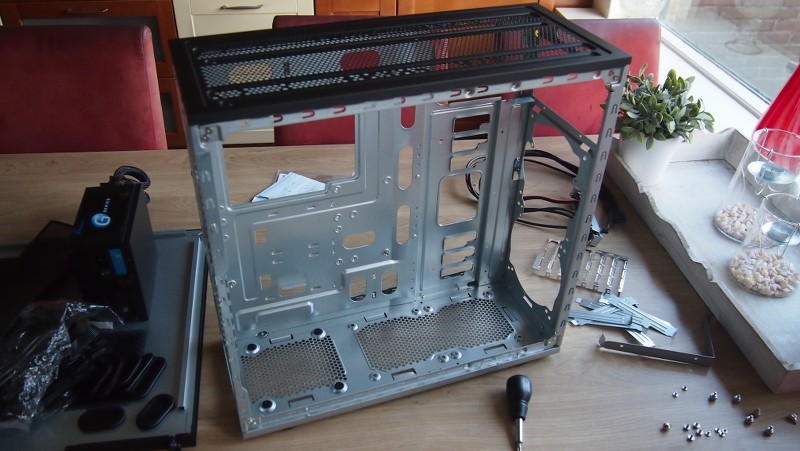
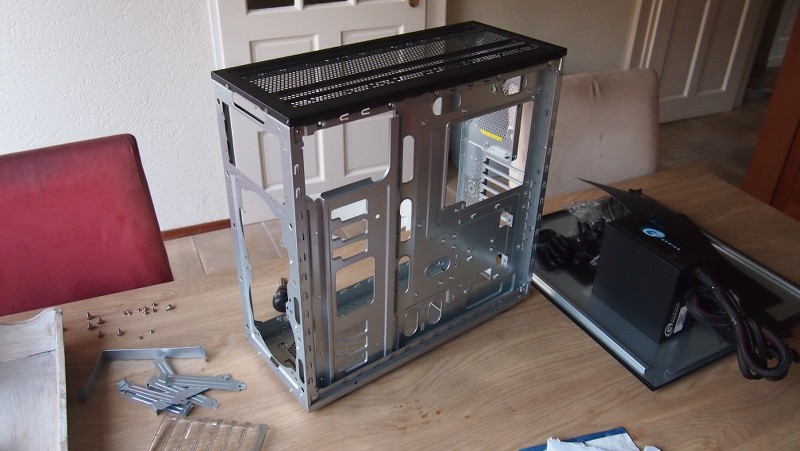
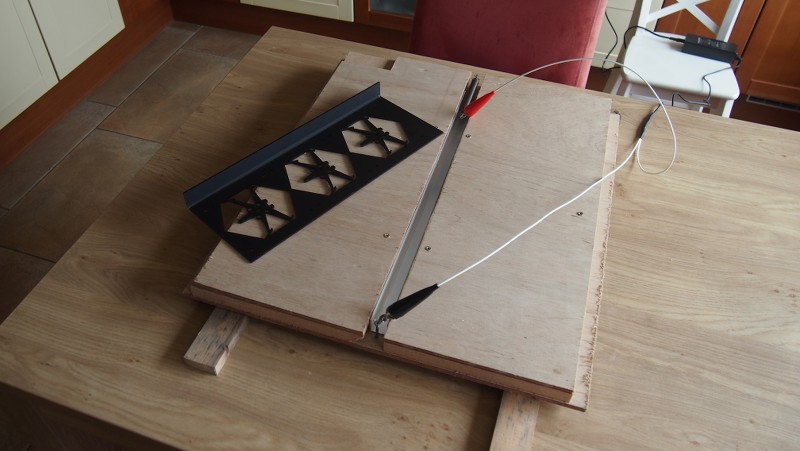
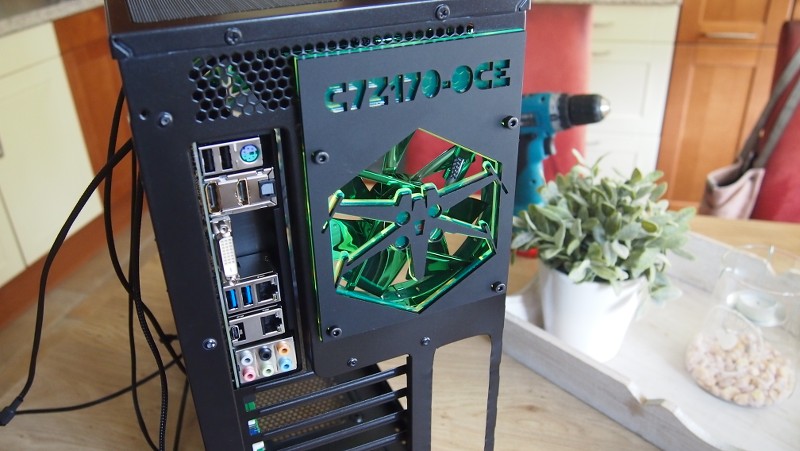
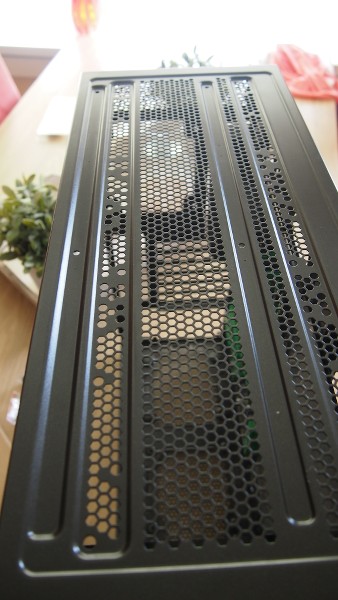
I first cut out the rear fan mesh and the mesh underneath it as I have plans for that.


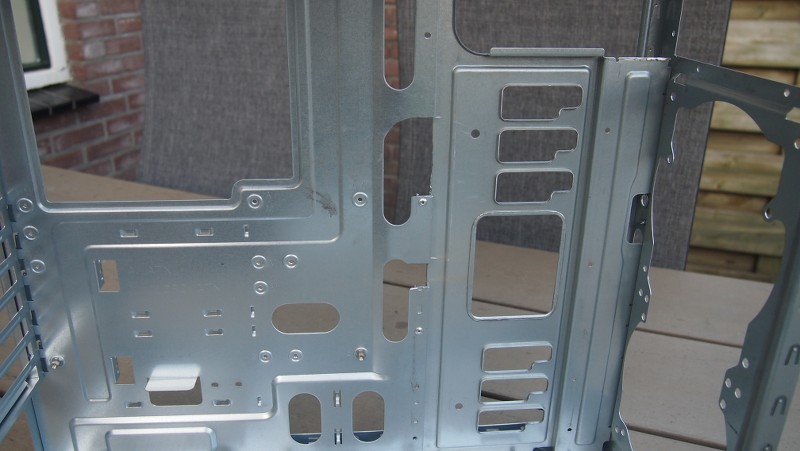
And then sanded, cleaned and primed it.


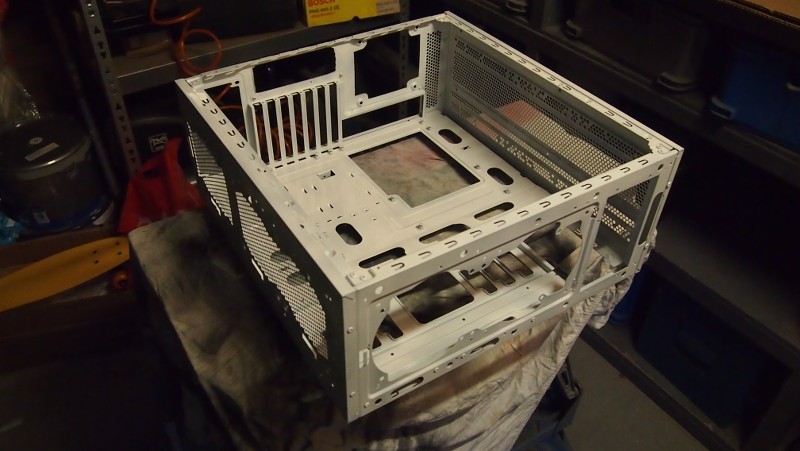
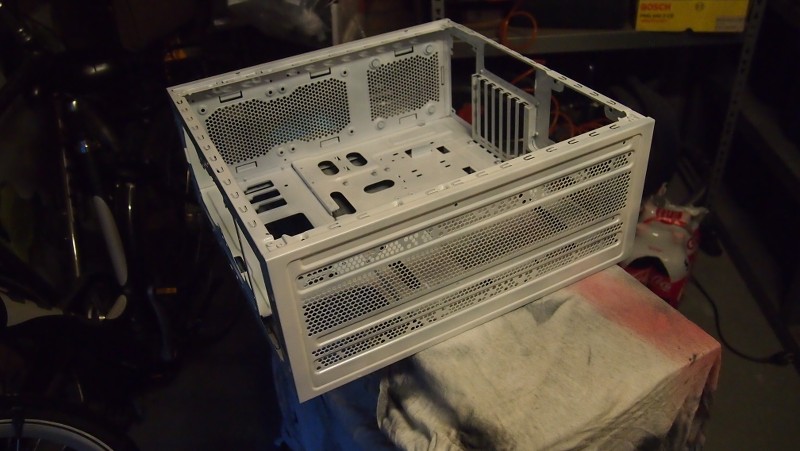
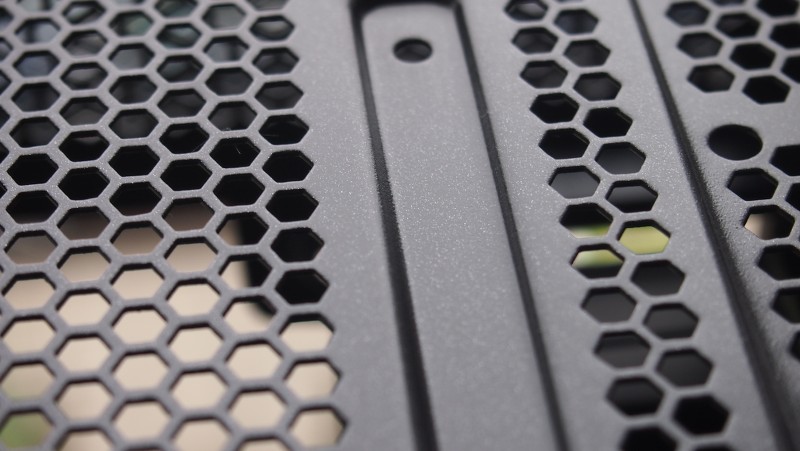
And we have a chassis very lichtly metallic black with some clearcoating over it.


That is all for this update.
 
Associate
OP
Joined
27 Sep 2012
Posts
593
Location
Netherlands
This looks like a really nice build, green really looks great

Thank you Keaneo.

Looking good Tim ! I'm a sucker for a green and black build :D

Thanks Andy. Then you will love this build :)

Cant wait to see this one progress. Black and green :)

Thank you Lewis.

--------------------------------------------------------------

A Green Squadron project without a green squadron is not done of course.

Dual layer on the grills. UV green and matt black. The mobo tray cover is matt black (see previous post) and the PSU cover is also matt black. Because I am using the same chassis I could reuse those last 2 drawings and adjust them a bit.


Associate
Joined
17 Mar 2009
Posts
2,474
Location
Scotland
Oh just what I needed this week, a build log by you. Thanks mate you've made my week, love the theme and it's looking like another great build.
Subbed
 
Associate
OP
Joined
27 Sep 2012
Posts
593
Location
Netherlands
Looking good - especially the X-Wing grills.

Not heard of the Klevv ram before, but like the look.

Nice to see a supermicro board as well :)

Thank you very much :) I like that it offers you new hardware to see :)

Looking brilliant, great colour choices

Thanks!

Awesome work with those fan grills. Can I borrow your skills and tools :D

haha sadly I don't have a lasercutter at home. But if you need specific grills done let me know man. You know how to contact me :)

Oh just what I needed this week, a build log by you. Thanks mate you've made my week, love the theme and it's looking like another great build.
Subbed

Hey buddy :)
Good to see you here as well.
Glad you like them.
Hopefully you will like the entire log.
 
Associate
OP
Joined
27 Sep 2012
Posts
593
Location
Netherlands
I am re-using these fans. Enermax doesn't sell them anymore.
They were used on a previous big Supermicro mod: Opteron Prime.
Love them so much I will use them again for his one.


Using my trusty home built bending wire to bend the 3mm thick panels.
So happy I built one of these. Makes bending not only easier but the bends are just better. More straight and less wide.


And this is how it looks fitted. Really happy with it.


Associate
OP
Joined
27 Sep 2012
Posts
593
Location
Netherlands
Time to fit the radiator in the top.
The case is standard not equiped to fit a 360 in the top as the 5,25 inc bays are there.
But the basis of the case is perfect for it. Fit nicely.

This is the Bitspower radiator.
I think they source them from Hardwarelabs as they look very identical and also make use of M4 screws. Which is a good thing. The only downside is that the 1/4 in and outlets are on one side only. Which makes the Bitspower logo half of the time end up upside down xD


Time to run a few 4mm holes through the fresh paintjob.
The case has the option for 240 mm radiators to fit closer to the doorpanel so the motherboards stays clear. So I just added a few holes et voila.


I fitted the top fans on top of the radiator as I didn't want the inside to be lit up too much by them. The radiator also gives a nice stealth look to the top.


Permabanned
Joined
8 Jan 2010
Posts
10,264
Location
UK
Those RAM modules look gorgeous. Must look into that brand as I've never heard of them. :eek:

Edit - Just saw it on Tom's Hardware review and not surprised they are very expensive. They illuminate though, nice!
 
Last edited:
Soldato
Joined
26 Sep 2010
Posts
7,157
Location
Stoke-on-Trent
Loving the progress, however I'd be very interested to hear more about your bending wire. I'm about to make a metal brake to bend up new internals for my project, but yours looks like it could be a bit more versatile than mine.
 
Associate
OP
Joined
27 Sep 2012
Posts
593
Location
Netherlands
Those RAM modules look gorgeous. Must look into that brand as I've never heard of them. :eek:

Edit - Just saw it on Tom's Hardware review and not surprised they are very expensive. They illuminate though, nice!

They do look nice in person. Feels heavy and quality.

Loving the progress, however I'd be very interested to hear more about your bending wire. I'm about to make a metal brake to bend up new internals for my project, but yours looks like it could be a bit more versatile than mine.

Thank you very much.

I will do a video on it shortly on my Facebook page so everyone can make one.
 
Associate
OP
Joined
27 Sep 2012
Posts
593
Location
Netherlands
Of course I cannot live with wiring with all kinds of colours in a project no sir.
So before mounting the reservoir with pump setup I am going to sleeve the power and rpm cable.


Sleeving is a dirty job but someone has got to do it.


Fitting the reservoir only by the pumptop mounting system. The top side will be fitted to the radiator with quite a small pipe. So it will be updright.
What the pictures show is that I used a black metal plate behind the mobo tray where all 4 screws go through to fortify the setup. It will travel with Supermicro and I do not want the res to be torn from a plexiglass mobo tray during travel.


I think it looks splendid :)
 
Back
Top Bottom