

Soldato
Please note this project is not sponsored by any one.

Hello every one and welcome to my next project. I know my other one is not complete yet but that is because I am waiting on two cables in order to be able to spend the hour or so needed to assemble all of the modded parts. In work terms the other project is finished, so it was time to make sure I had all of the stuff I needed for my next project.
Some of you will notice this is not a PC I am building and you would sort of be correct. Whilst it does not perform computing functions it uses PC parts. I figured some of you may want to see what I am up to")
Projects like this are very good for me as they keep my mind from going to the dark side, where it permanently likes to reside. So having something to do and keeping physically busy are two good ways of alleviating that. Well, that and lots of pills.
Any way, time for the back story. If you want to skip along please do so but you won't really know what is going on if you do. Your call, I don't make videos I'm still very old fashioned and like a good read myself
OK, so before I go into pics and what this is going to look like the idea of the project was relatively simple. A long time ago now I built a cinema surround system and me typically being me it was different and much more convoluted. I could have bought one receiver, one box full of speakers and just did what everyone else did or I could have done it differently, viva Asperger Syndrome !
The story goes that back then my wife sent me some money as a gift and asked me what I wanted to do with it. I said that since I'd arrived back home from the states I'd always wanted a nice stereo hifi system, so started buying it. However, I got pulled off course and ended up building a cinema surround system instead. Viva Asperger's !.
OK so what I am doing here is building a stereo system. But, as usual with me I could not just walk into Currys or what not and buy one, I have to do it myself. From the ground up. Using parts not meant for the purpose. Viva Asperger's !
The thing is I wanted something that could perform multiple functions. The main functions (obs) were playing CDs, MP3, WMA etc. I also wanted it to be Bluetooth so that I could play FLAC files on my phone and send them to the stereo. I also wanted a radio, as I have not had one in years and so on.
So, I started looking at my old hunting grounds, car audio. I found this.
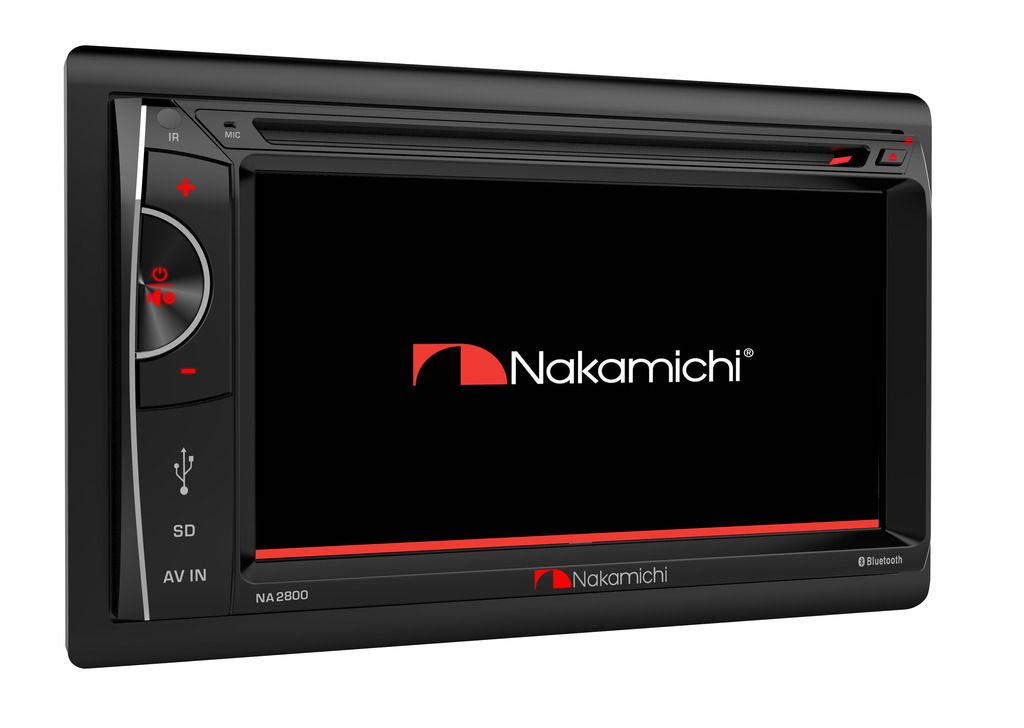
At the lower than the floor price of £129. It literally plays everything you can throw at it, has USB, MicroSD, Bluetooth DVD etc etc. So once I had found that I started thinking and making lists of everything else I would need. Obviously I need a decent 12v power supply and then I remembered I have one of these sitting in a box.
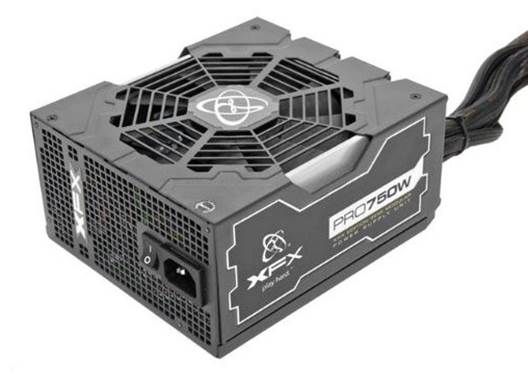
It's been braided black and white but I will be gutting pretty much every wire out of it any way and replacing them with 8awg.
Now the chassis was difficult. Did I build my own out of MDF or just try and find a PC case to hold it? It turns out that after doing a lot of research this fits the bill almost perfectly.
It's 10mm wider than the head unit and should be more than tall enough to house the PSU lying flat on the bottom (needs modding) and the head unit in the front (needs severe modding).
So then I worked out what else I would need. Obviously because of the Nakamichi logo and the colour of the case I have gone for the red and black theme, so this was next to be ordered.

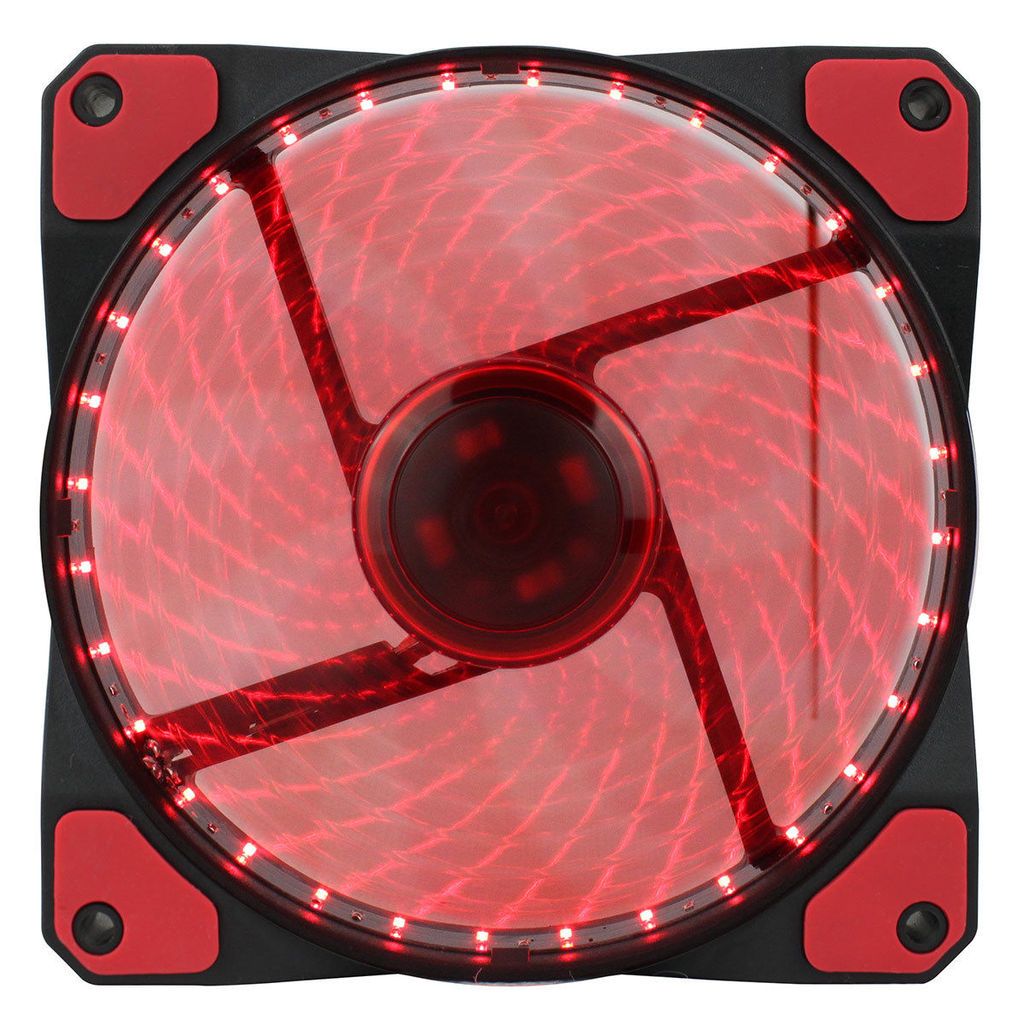
I also wanted it to have some lighting, so I ordered this to go in the back (32 LED, same sort of array as Enermax Vegas)
And I will be making some of my clear/solid/clear/solid etc feet with LEDs inside. They will be switchable of course, and all will be able to toggle between on or off.
Now obviously the top USB/headphone etc will need to be ripped out so I ordered these.

Caps for the audio jacks and these.
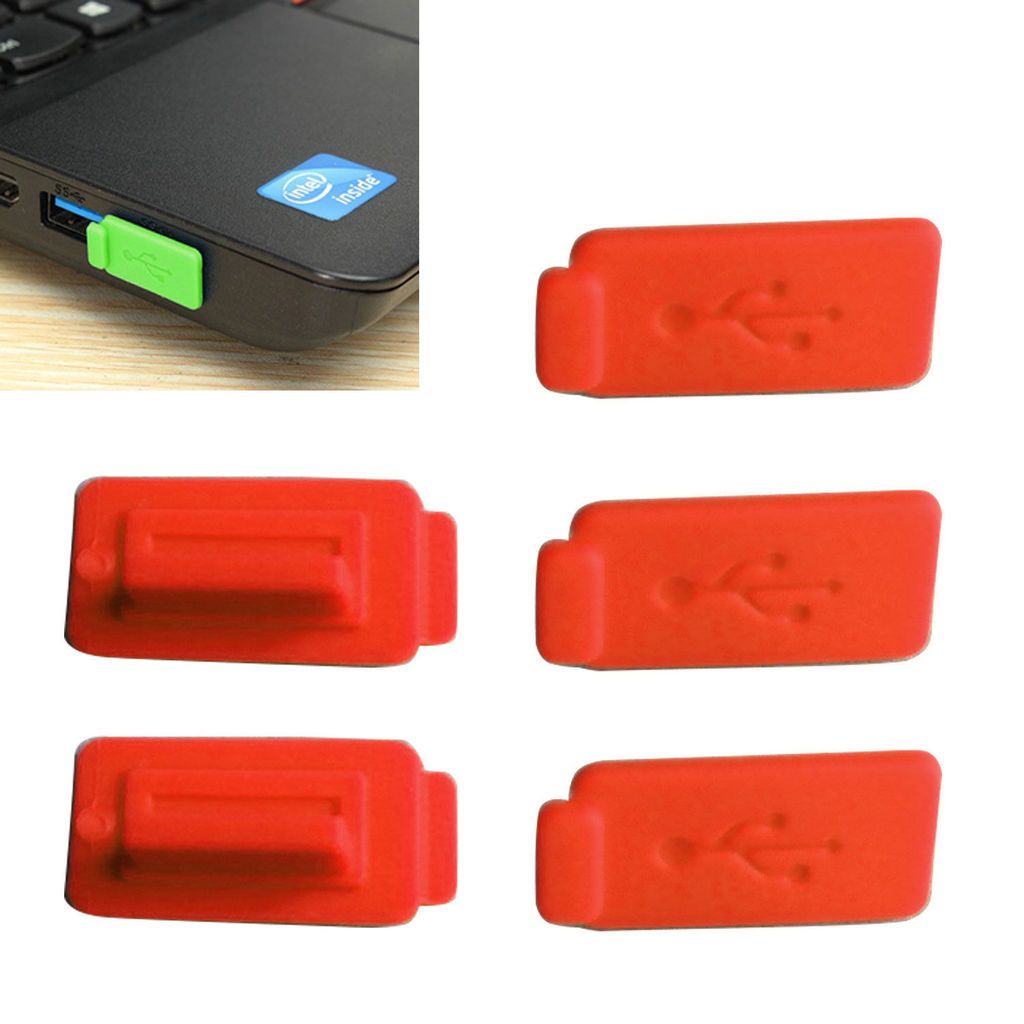
To hide the USB. Then I started planning out what I wanted to have on the back panel. Initially I was not going to bring the speaker terminals out as I don't need those (only the RCA out) but then I got nagged by my conscious telling me that one day I may want to use it somewhere else. So I ordered these (speaker bindings)

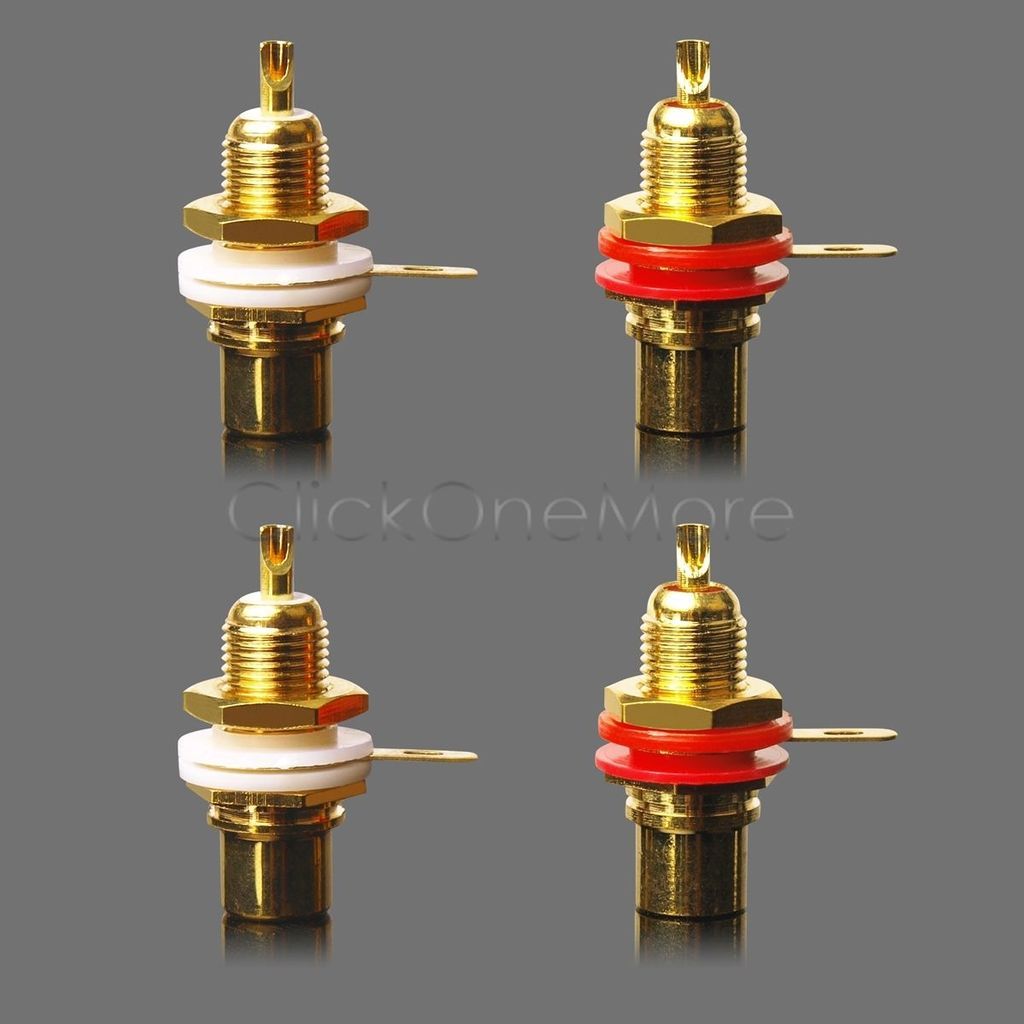
And these (RCA sockets)
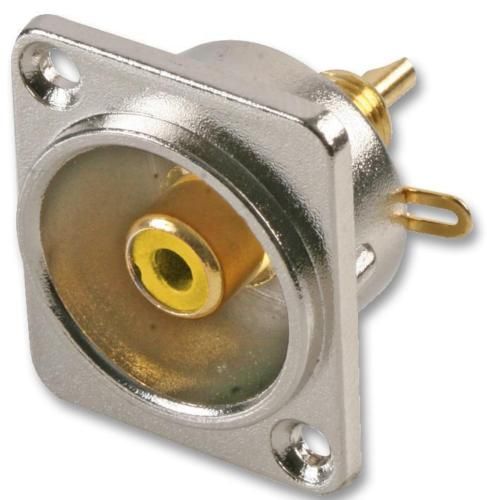
And finally this (video out socket)
At first I was not going to use the video out either, then I realised I could stick in a SD card or USB stick and play movies through the TV. Now obviously I could do this now with my Android console, but given this thing has a screen inside it it could easily be taken on holiday with us. So yeah, I figured it would be wise to include the video socket. Then I also realised we don't even have a DVD player in here so sorted.
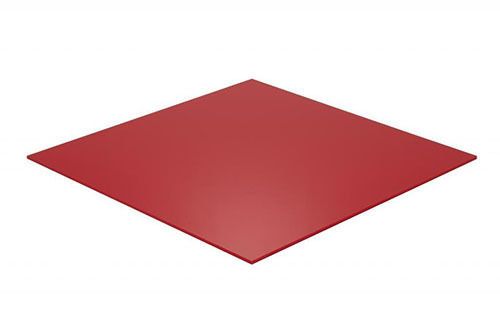
The idea is to cut a 5mm red acrylic panel to cover the back, but not all of it. I only want to cover the IO panel and the PCI plates. So I ordered an A4 sheet of 5mm gloss red acrylic.
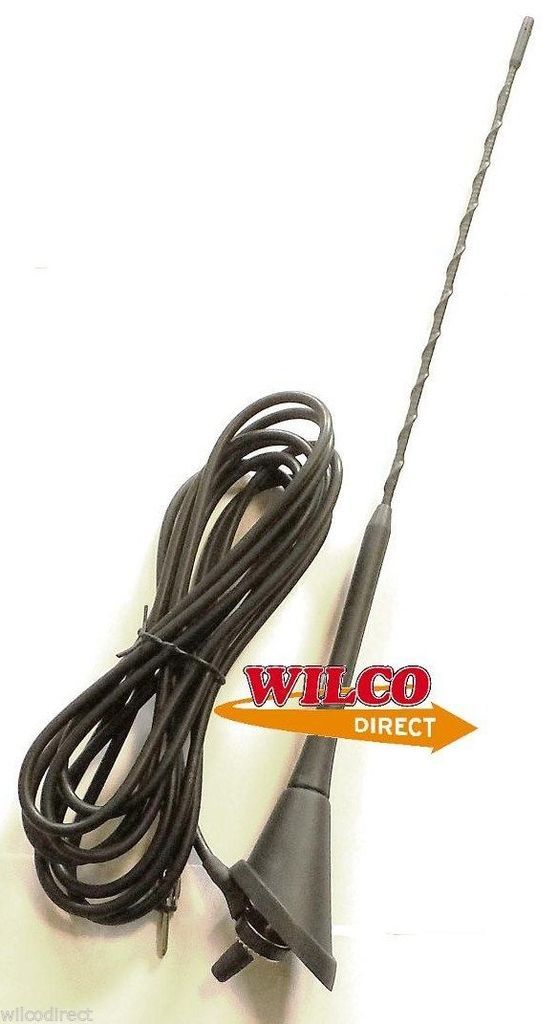
I also don't have a radio in here (yes I know I could use the PC but that defeats the purpose, I'm trying to get off the PC and onto the couch ) so an antenna was important. I ordered this (I need the screw in base only)
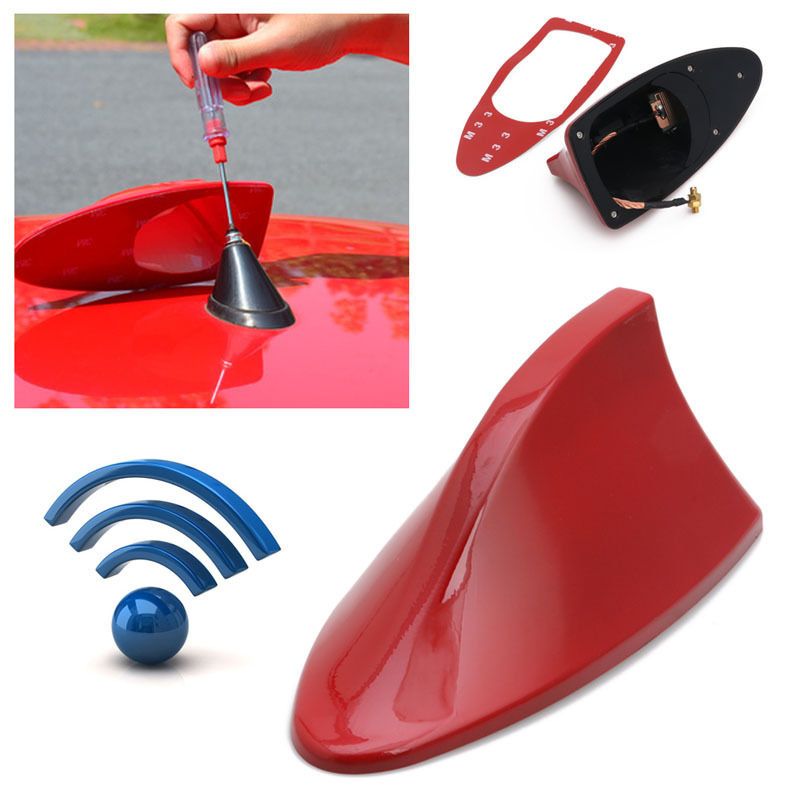
And then ordered this. I figured it would look cool on the top
So that should be about all of the parts I will need for this, as well as a custom order from Pro Bolt of course.

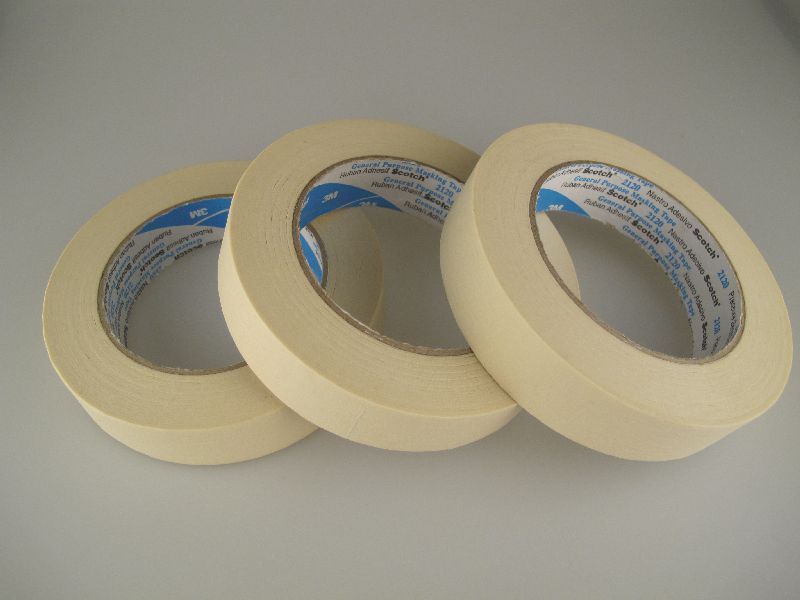
Lots of masking tape, as my PC project pretty much ate all of it.
And I'm good (I think, oh wait no..). I also need a power button or two, but I have no idea what size the actual button on the Metis is and no one seems to know. Once I know for sure I can order a couple from HK, as they're about 80% less buying from there. They will light up of course, in red
Hello every one and welcome to my next project. I know my other one is not complete yet but that is because I am waiting on two cables in order to be able to spend the hour or so needed to assemble all of the modded parts. In work terms the other project is finished, so it was time to make sure I had all of the stuff I needed for my next project.
Some of you will notice this is not a PC I am building and you would sort of be correct. Whilst it does not perform computing functions it uses PC parts. I figured some of you may want to see what I am up to
Projects like this are very good for me as they keep my mind from going to the dark side, where it permanently likes to reside. So having something to do and keeping physically busy are two good ways of alleviating that. Well, that and lots of pills.
Any way, time for the back story. If you want to skip along please do so but you won't really know what is going on if you do. Your call, I don't make videos I'm still very old fashioned and like a good read myself
OK, so before I go into pics and what this is going to look like the idea of the project was relatively simple. A long time ago now I built a cinema surround system and me typically being me it was different and much more convoluted. I could have bought one receiver, one box full of speakers and just did what everyone else did or I could have done it differently, viva Asperger Syndrome !
The story goes that back then my wife sent me some money as a gift and asked me what I wanted to do with it. I said that since I'd arrived back home from the states I'd always wanted a nice stereo hifi system, so started buying it. However, I got pulled off course and ended up building a cinema surround system instead. Viva Asperger's !.
OK so what I am doing here is building a stereo system. But, as usual with me I could not just walk into Currys or what not and buy one, I have to do it myself. From the ground up. Using parts not meant for the purpose. Viva Asperger's !
The thing is I wanted something that could perform multiple functions. The main functions (obs) were playing CDs, MP3, WMA etc. I also wanted it to be Bluetooth so that I could play FLAC files on my phone and send them to the stereo. I also wanted a radio, as I have not had one in years and so on.
So, I started looking at my old hunting grounds, car audio. I found this.

At the lower than the floor price of £129. It literally plays everything you can throw at it, has USB, MicroSD, Bluetooth DVD etc etc. So once I had found that I started thinking and making lists of everything else I would need. Obviously I need a decent 12v power supply and then I remembered I have one of these sitting in a box.

It's been braided black and white but I will be gutting pretty much every wire out of it any way and replacing them with 8awg.

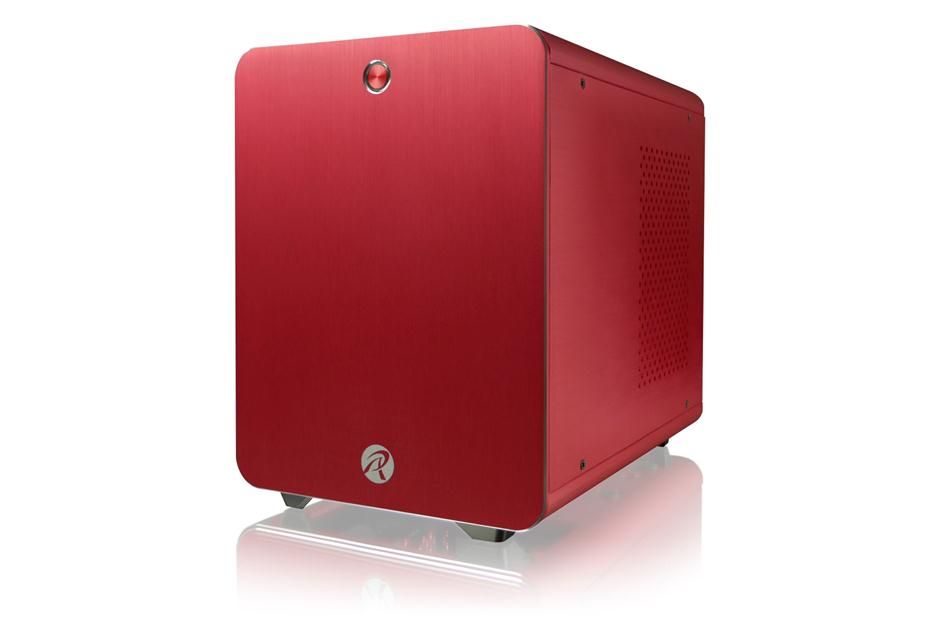
Now the chassis was difficult. Did I build my own out of MDF or just try and find a PC case to hold it? It turns out that after doing a lot of research this fits the bill almost perfectly.

It's 10mm wider than the head unit and should be more than tall enough to house the PSU lying flat on the bottom (needs modding) and the head unit in the front (needs severe modding).
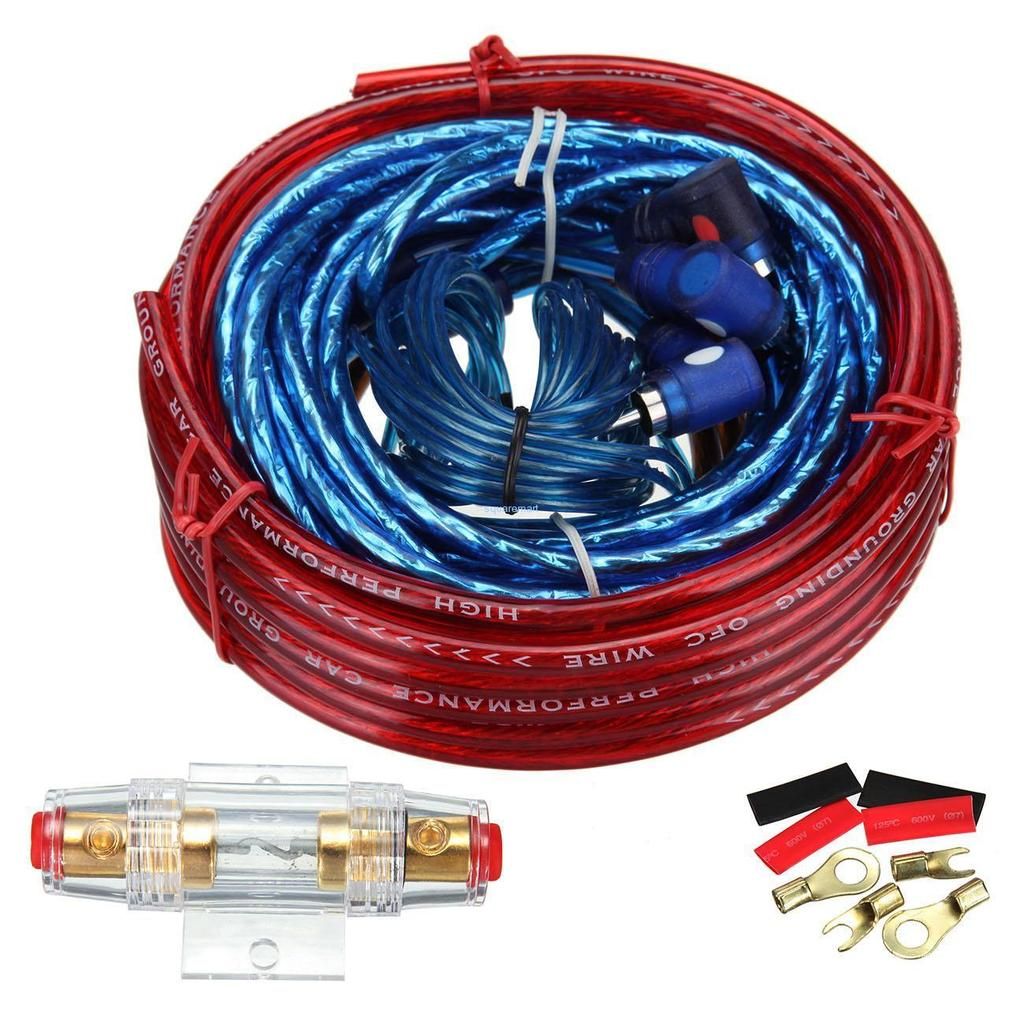
So then I worked out what else I would need. Obviously because of the Nakamichi logo and the colour of the case I have gone for the red and black theme, so this was next to be ordered.

I also wanted it to have some lighting, so I ordered this to go in the back (32 LED, same sort of array as Enermax Vegas)

And I will be making some of my clear/solid/clear/solid etc feet with LEDs inside. They will be switchable of course, and all will be able to toggle between on or off.
Now obviously the top USB/headphone etc will need to be ripped out so I ordered these.

Caps for the audio jacks and these.

To hide the USB. Then I started planning out what I wanted to have on the back panel. Initially I was not going to bring the speaker terminals out as I don't need those (only the RCA out) but then I got nagged by my conscious telling me that one day I may want to use it somewhere else. So I ordered these (speaker bindings)

And these (RCA sockets)

And finally this (video out socket)

At first I was not going to use the video out either, then I realised I could stick in a SD card or USB stick and play movies through the TV. Now obviously I could do this now with my Android console, but given this thing has a screen inside it it could easily be taken on holiday with us. So yeah, I figured it would be wise to include the video socket. Then I also realised we don't even have a DVD player in here so sorted.
The idea is to cut a 5mm red acrylic panel to cover the back, but not all of it. I only want to cover the IO panel and the PCI plates. So I ordered an A4 sheet of 5mm gloss red acrylic.

I also don't have a radio in here (yes I know I could use the PC but that defeats the purpose, I'm trying to get off the PC and onto the couch
) so an antenna was important. I ordered this (I need the screw in base only)
And then ordered this. I figured it would look cool on the top

So that should be about all of the parts I will need for this, as well as a custom order from Pro Bolt of course.

Lots of masking tape, as my PC project pretty much ate all of it.

And I'm good (I think, oh wait no..). I also need a power button or two, but I have no idea what size the actual button on the Metis is and no one seems to know. Once I know for sure I can order a couple from HK, as they're about 80% less buying from there. They will light up of course, in red


")


