Soldato
Code name ORCADE
I'm a massive C&C fan and the Orca chopper is my favorite unit.
Now that's out the way. Time for some images and details.
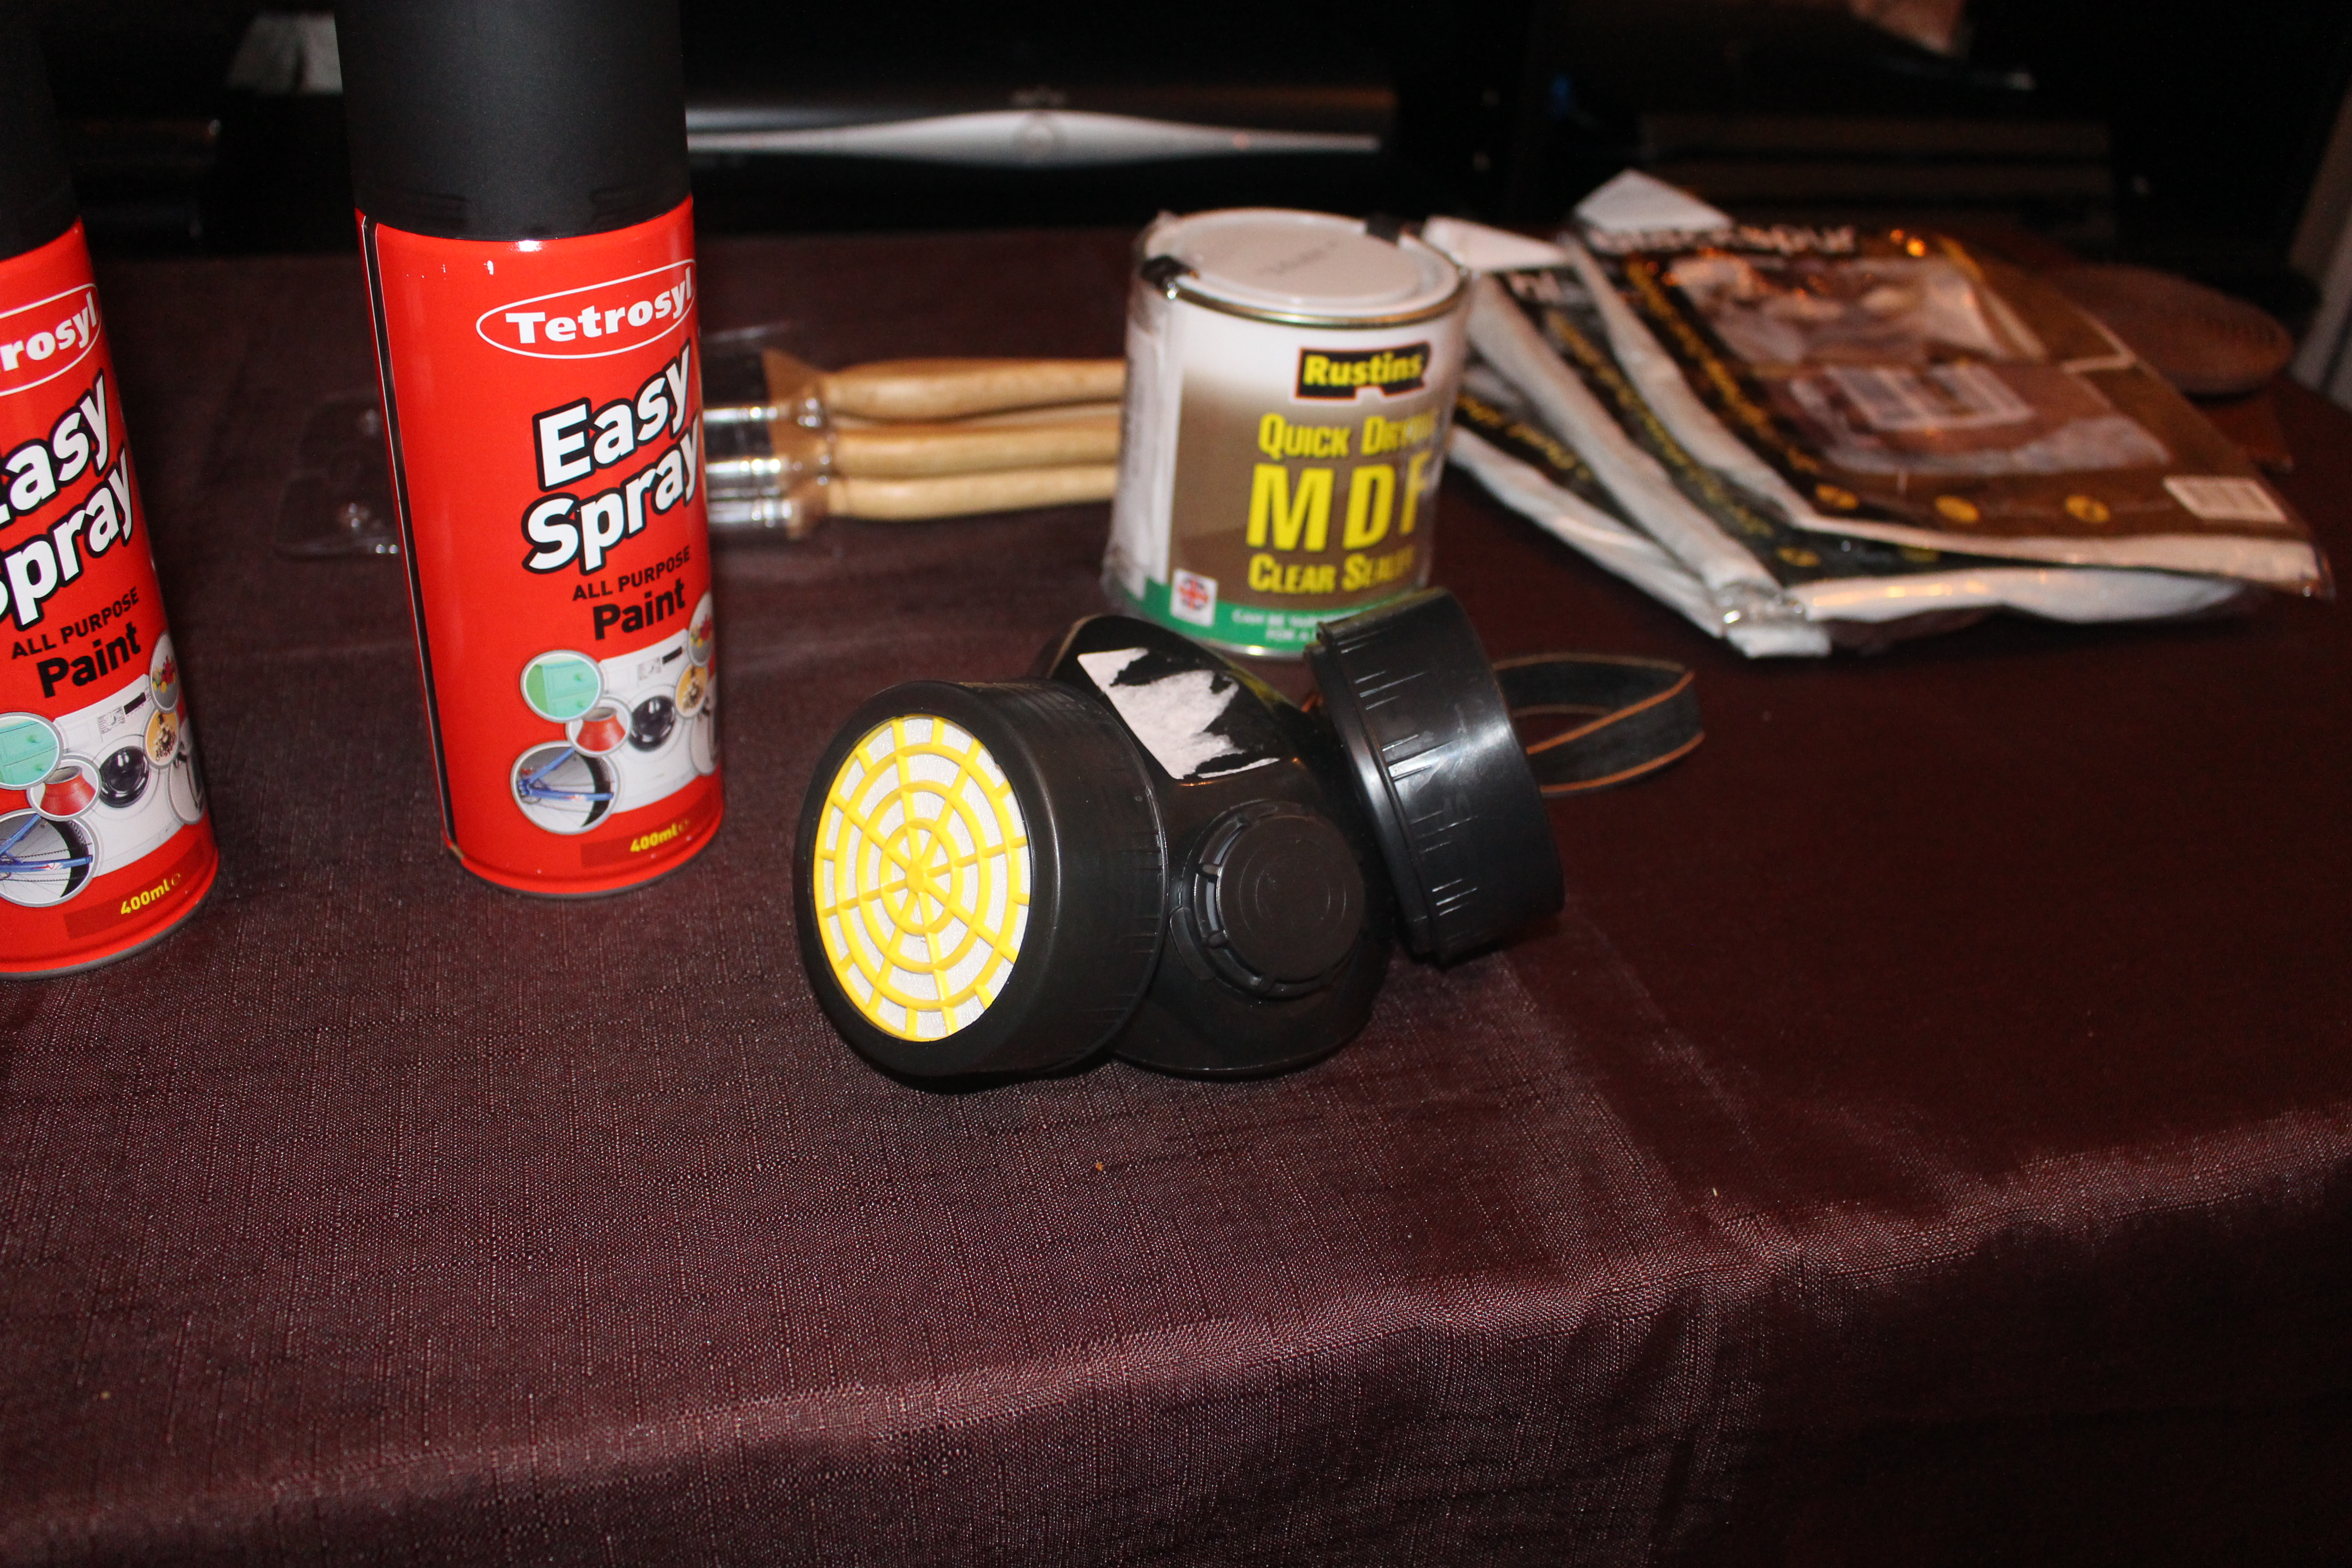
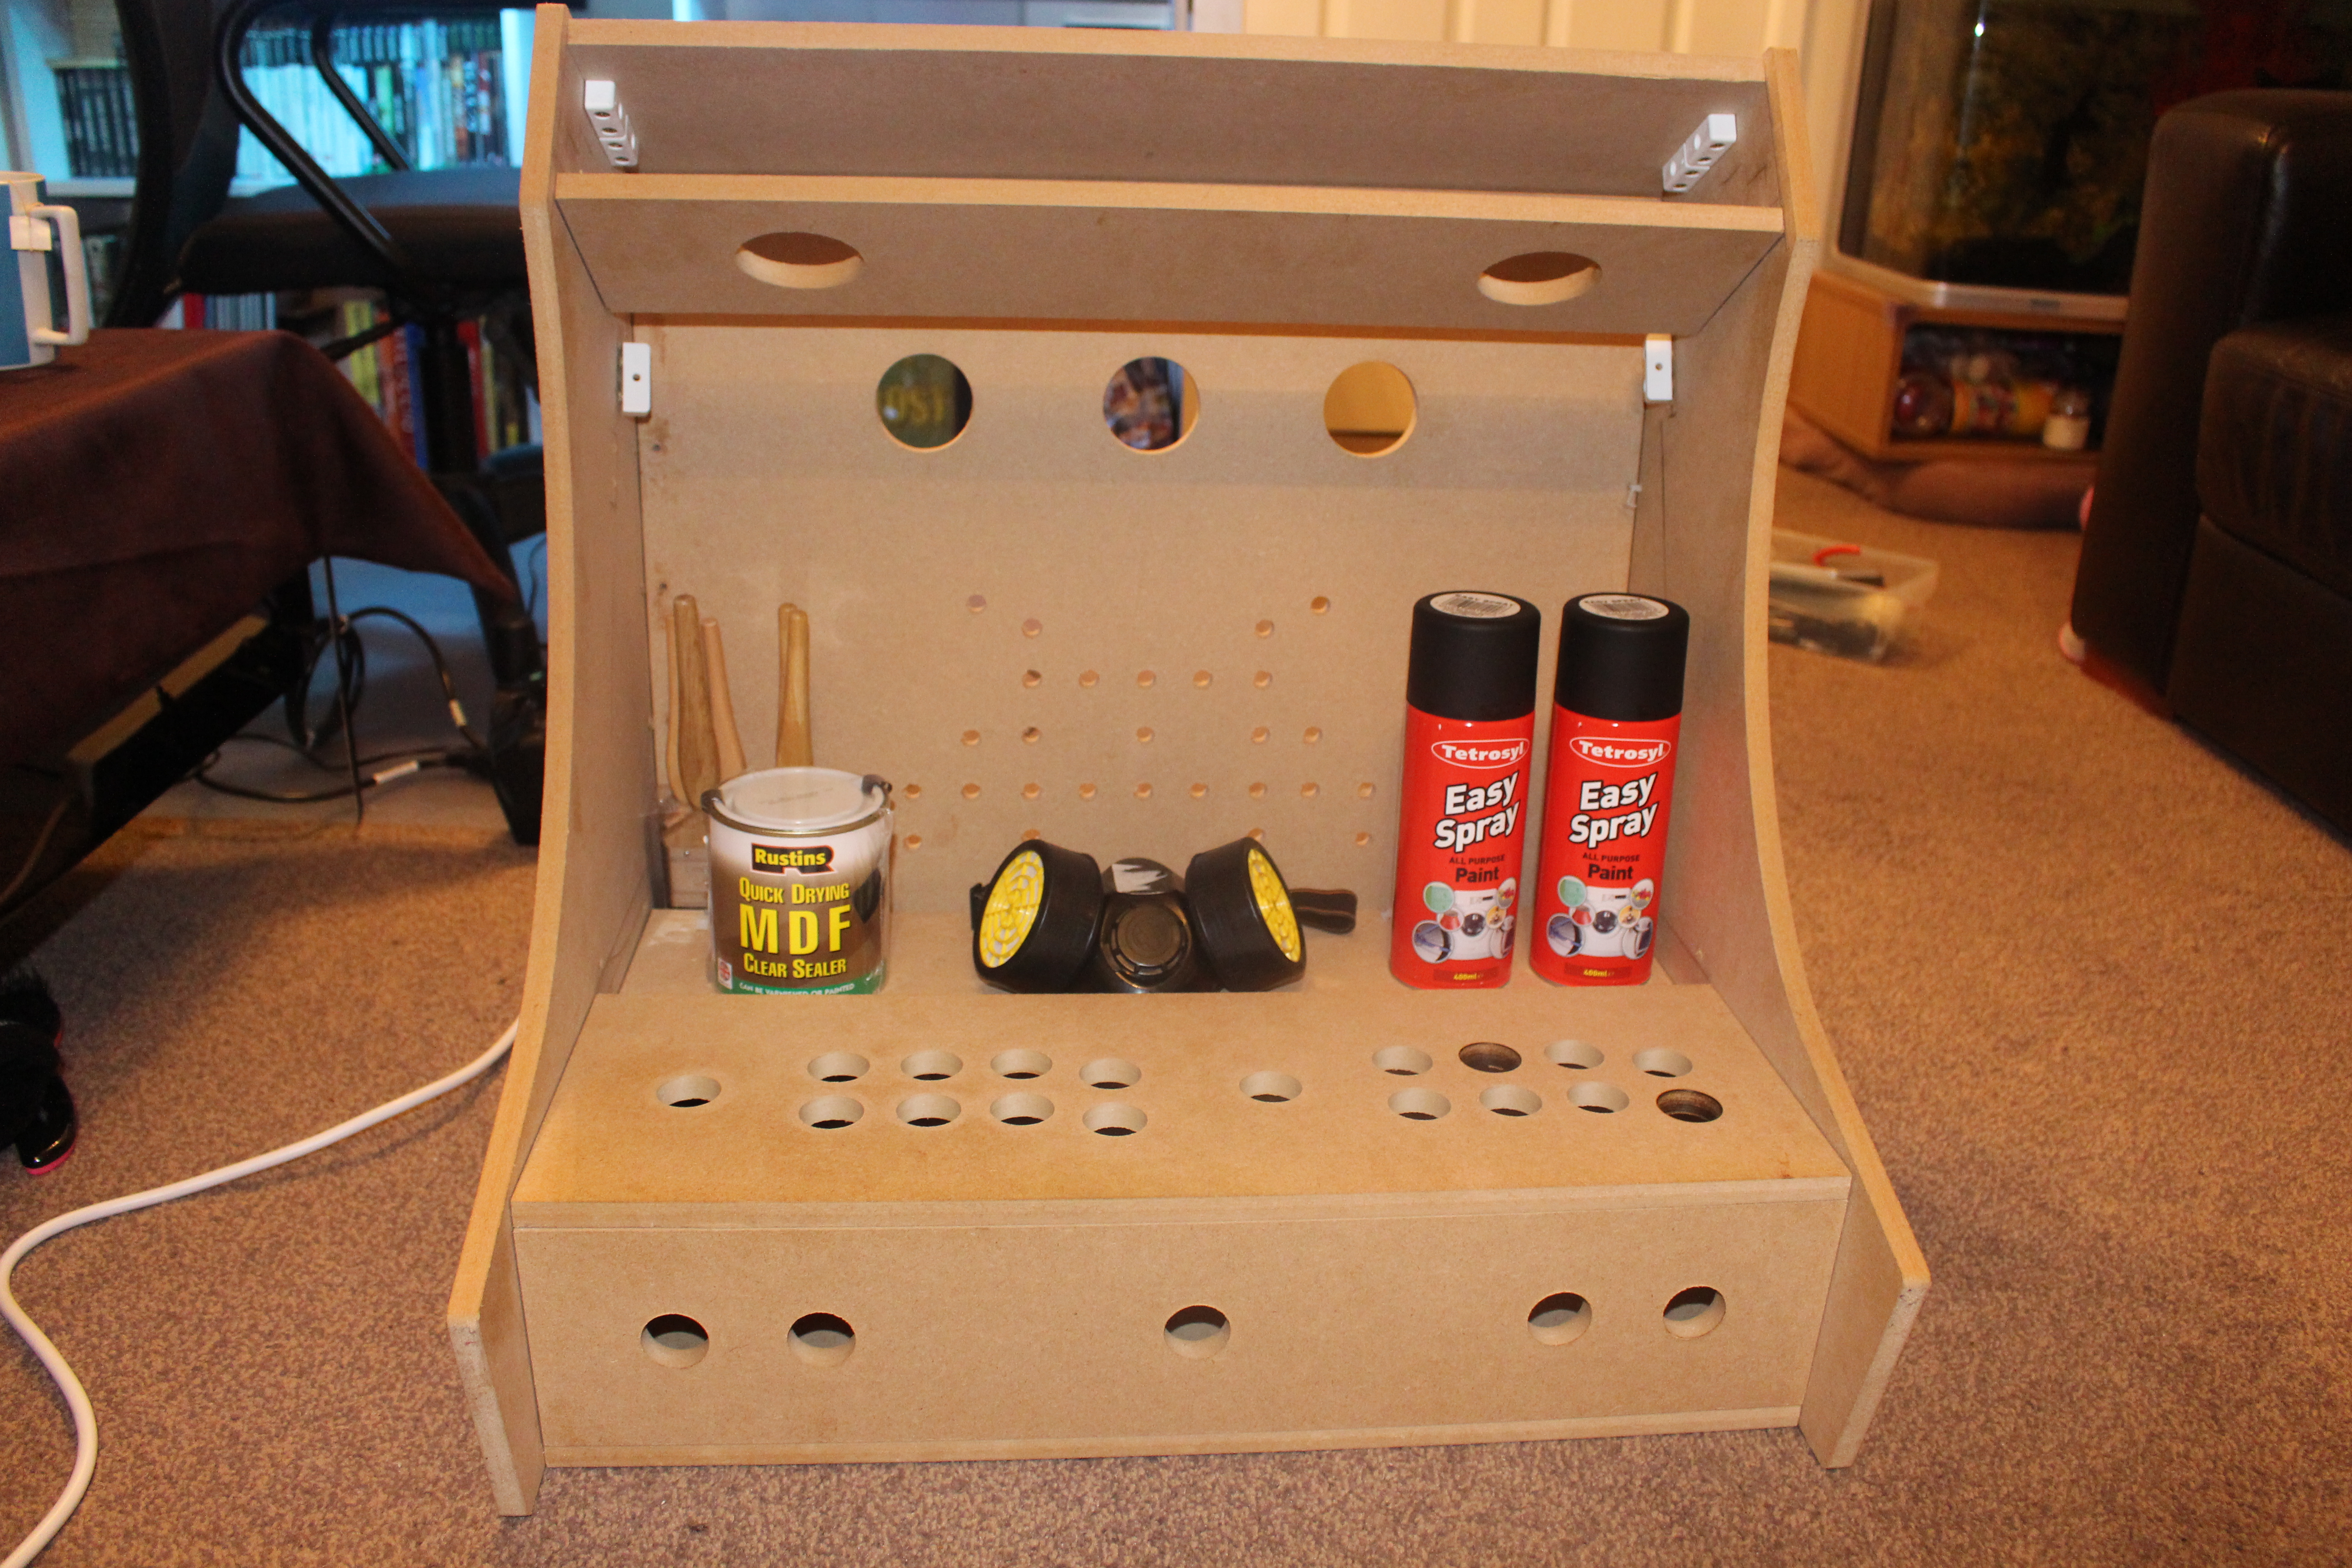
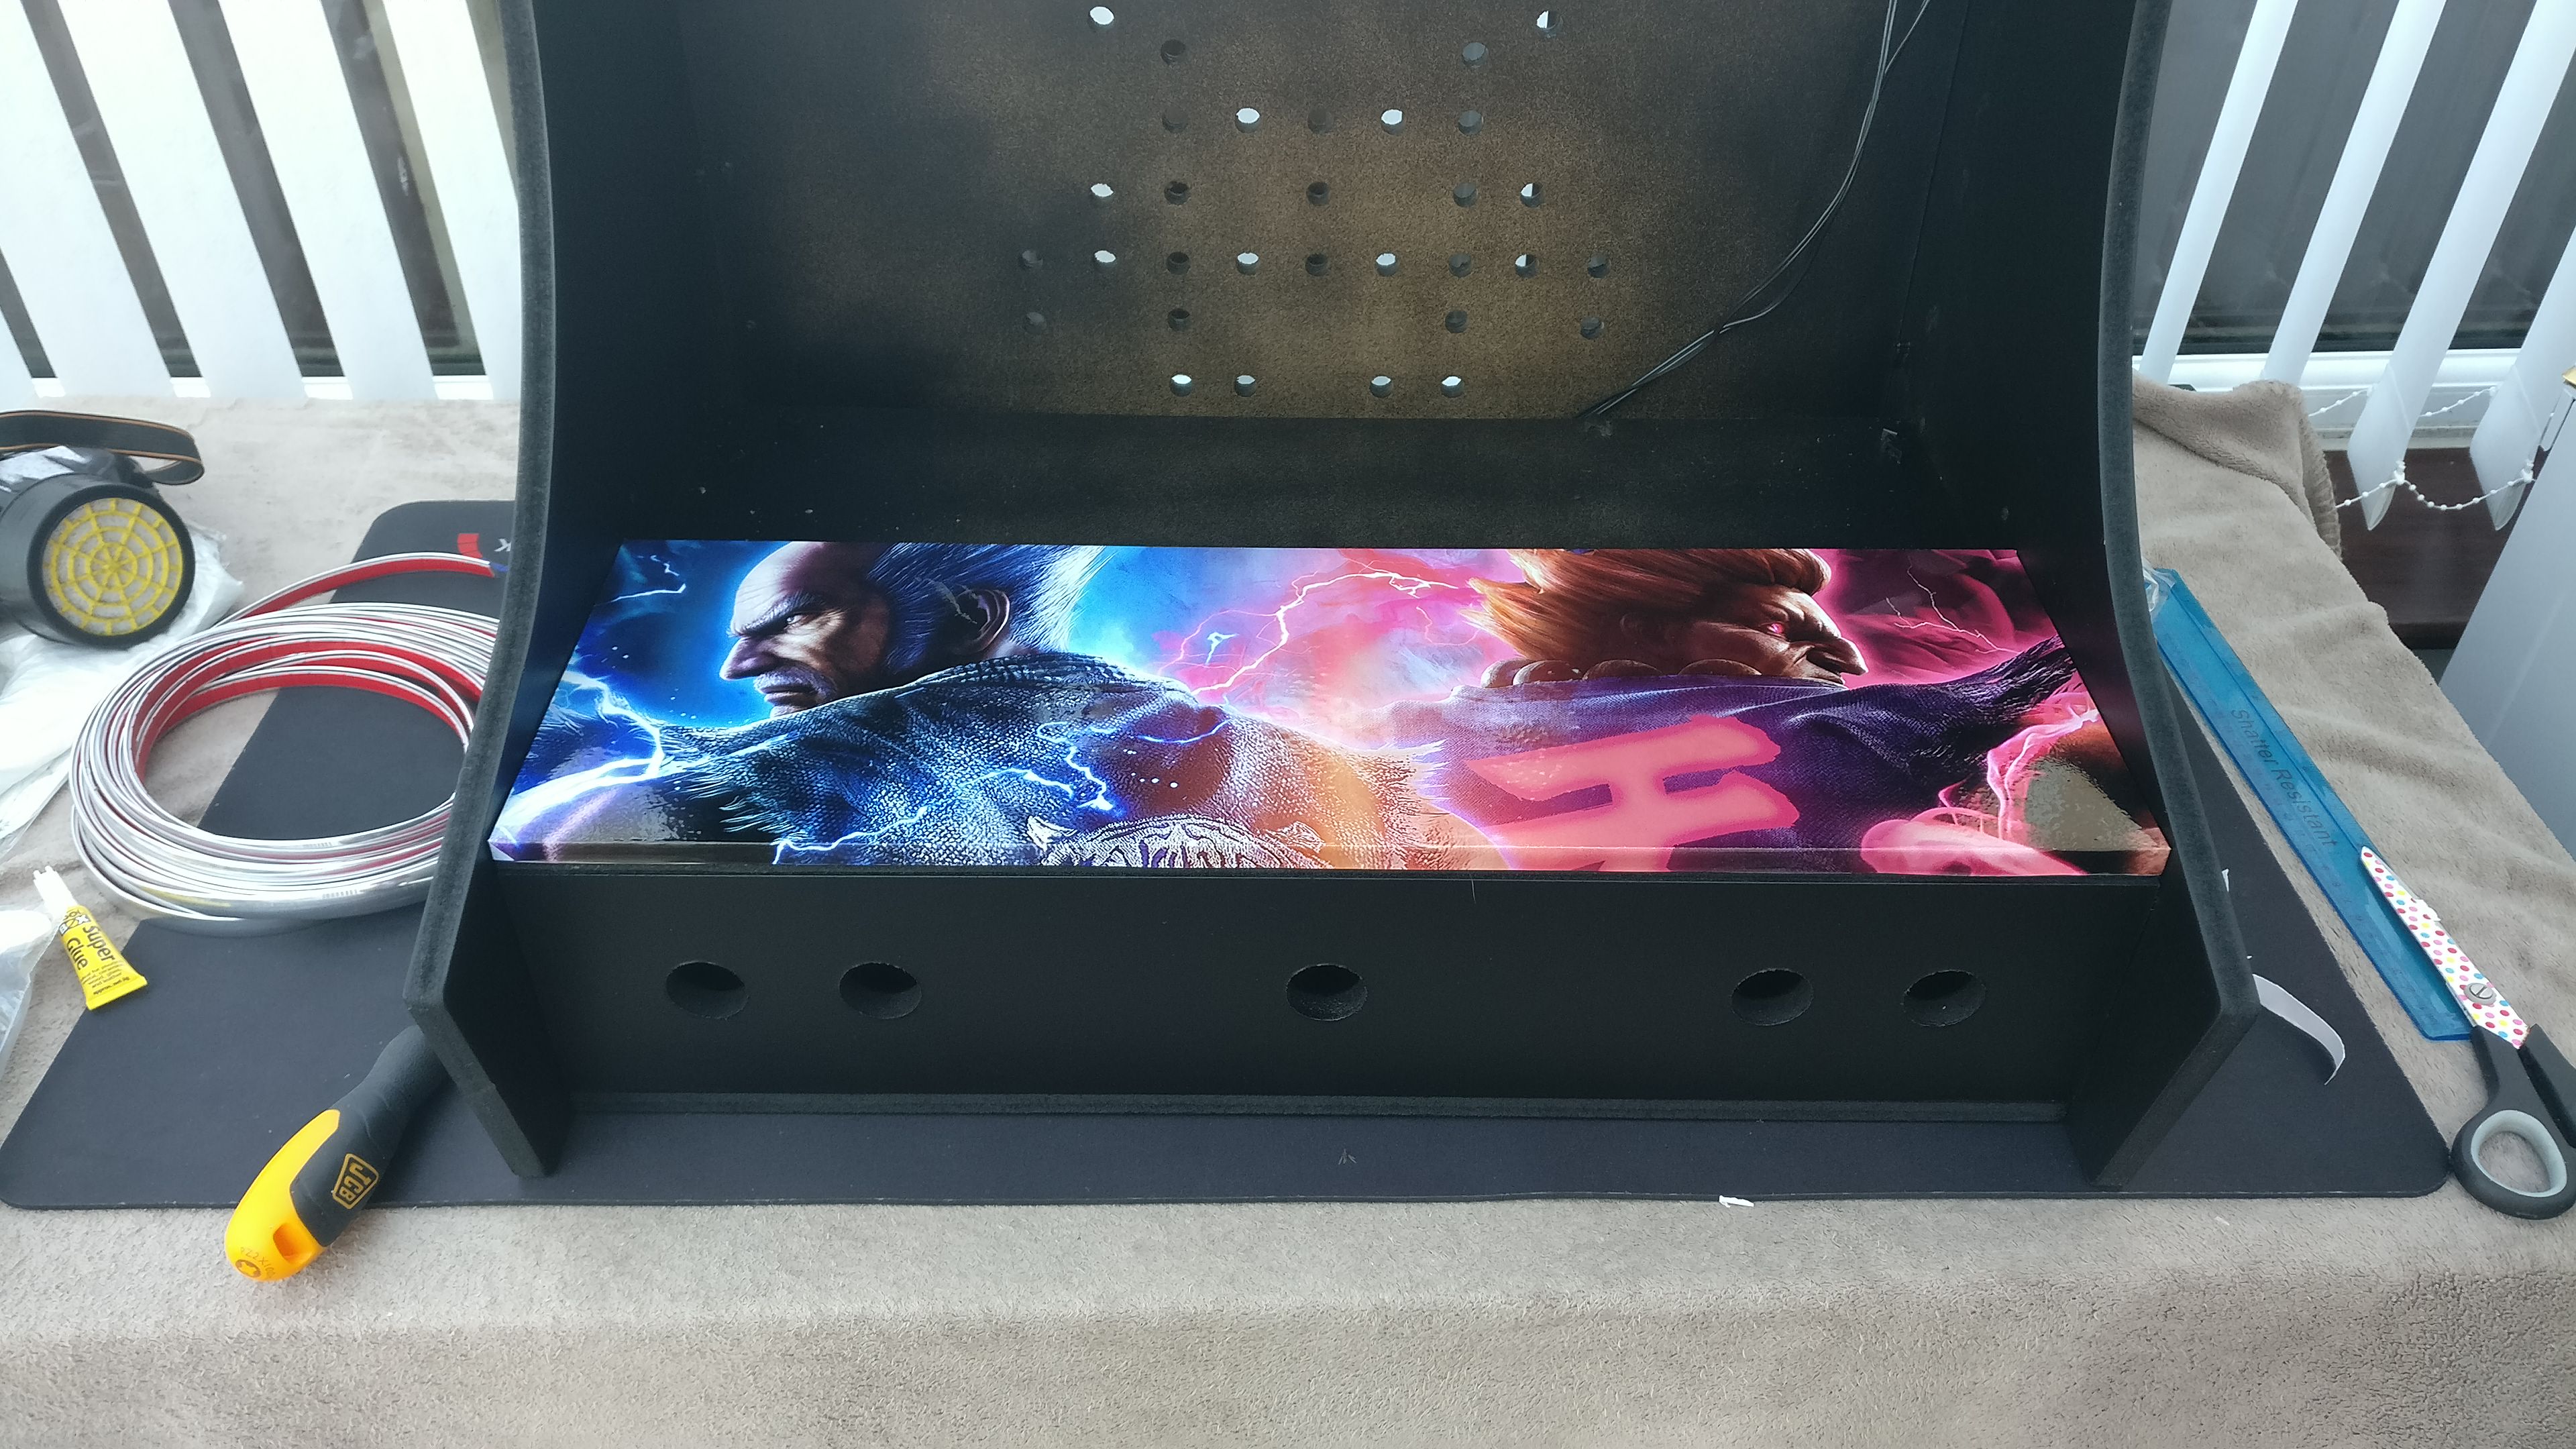
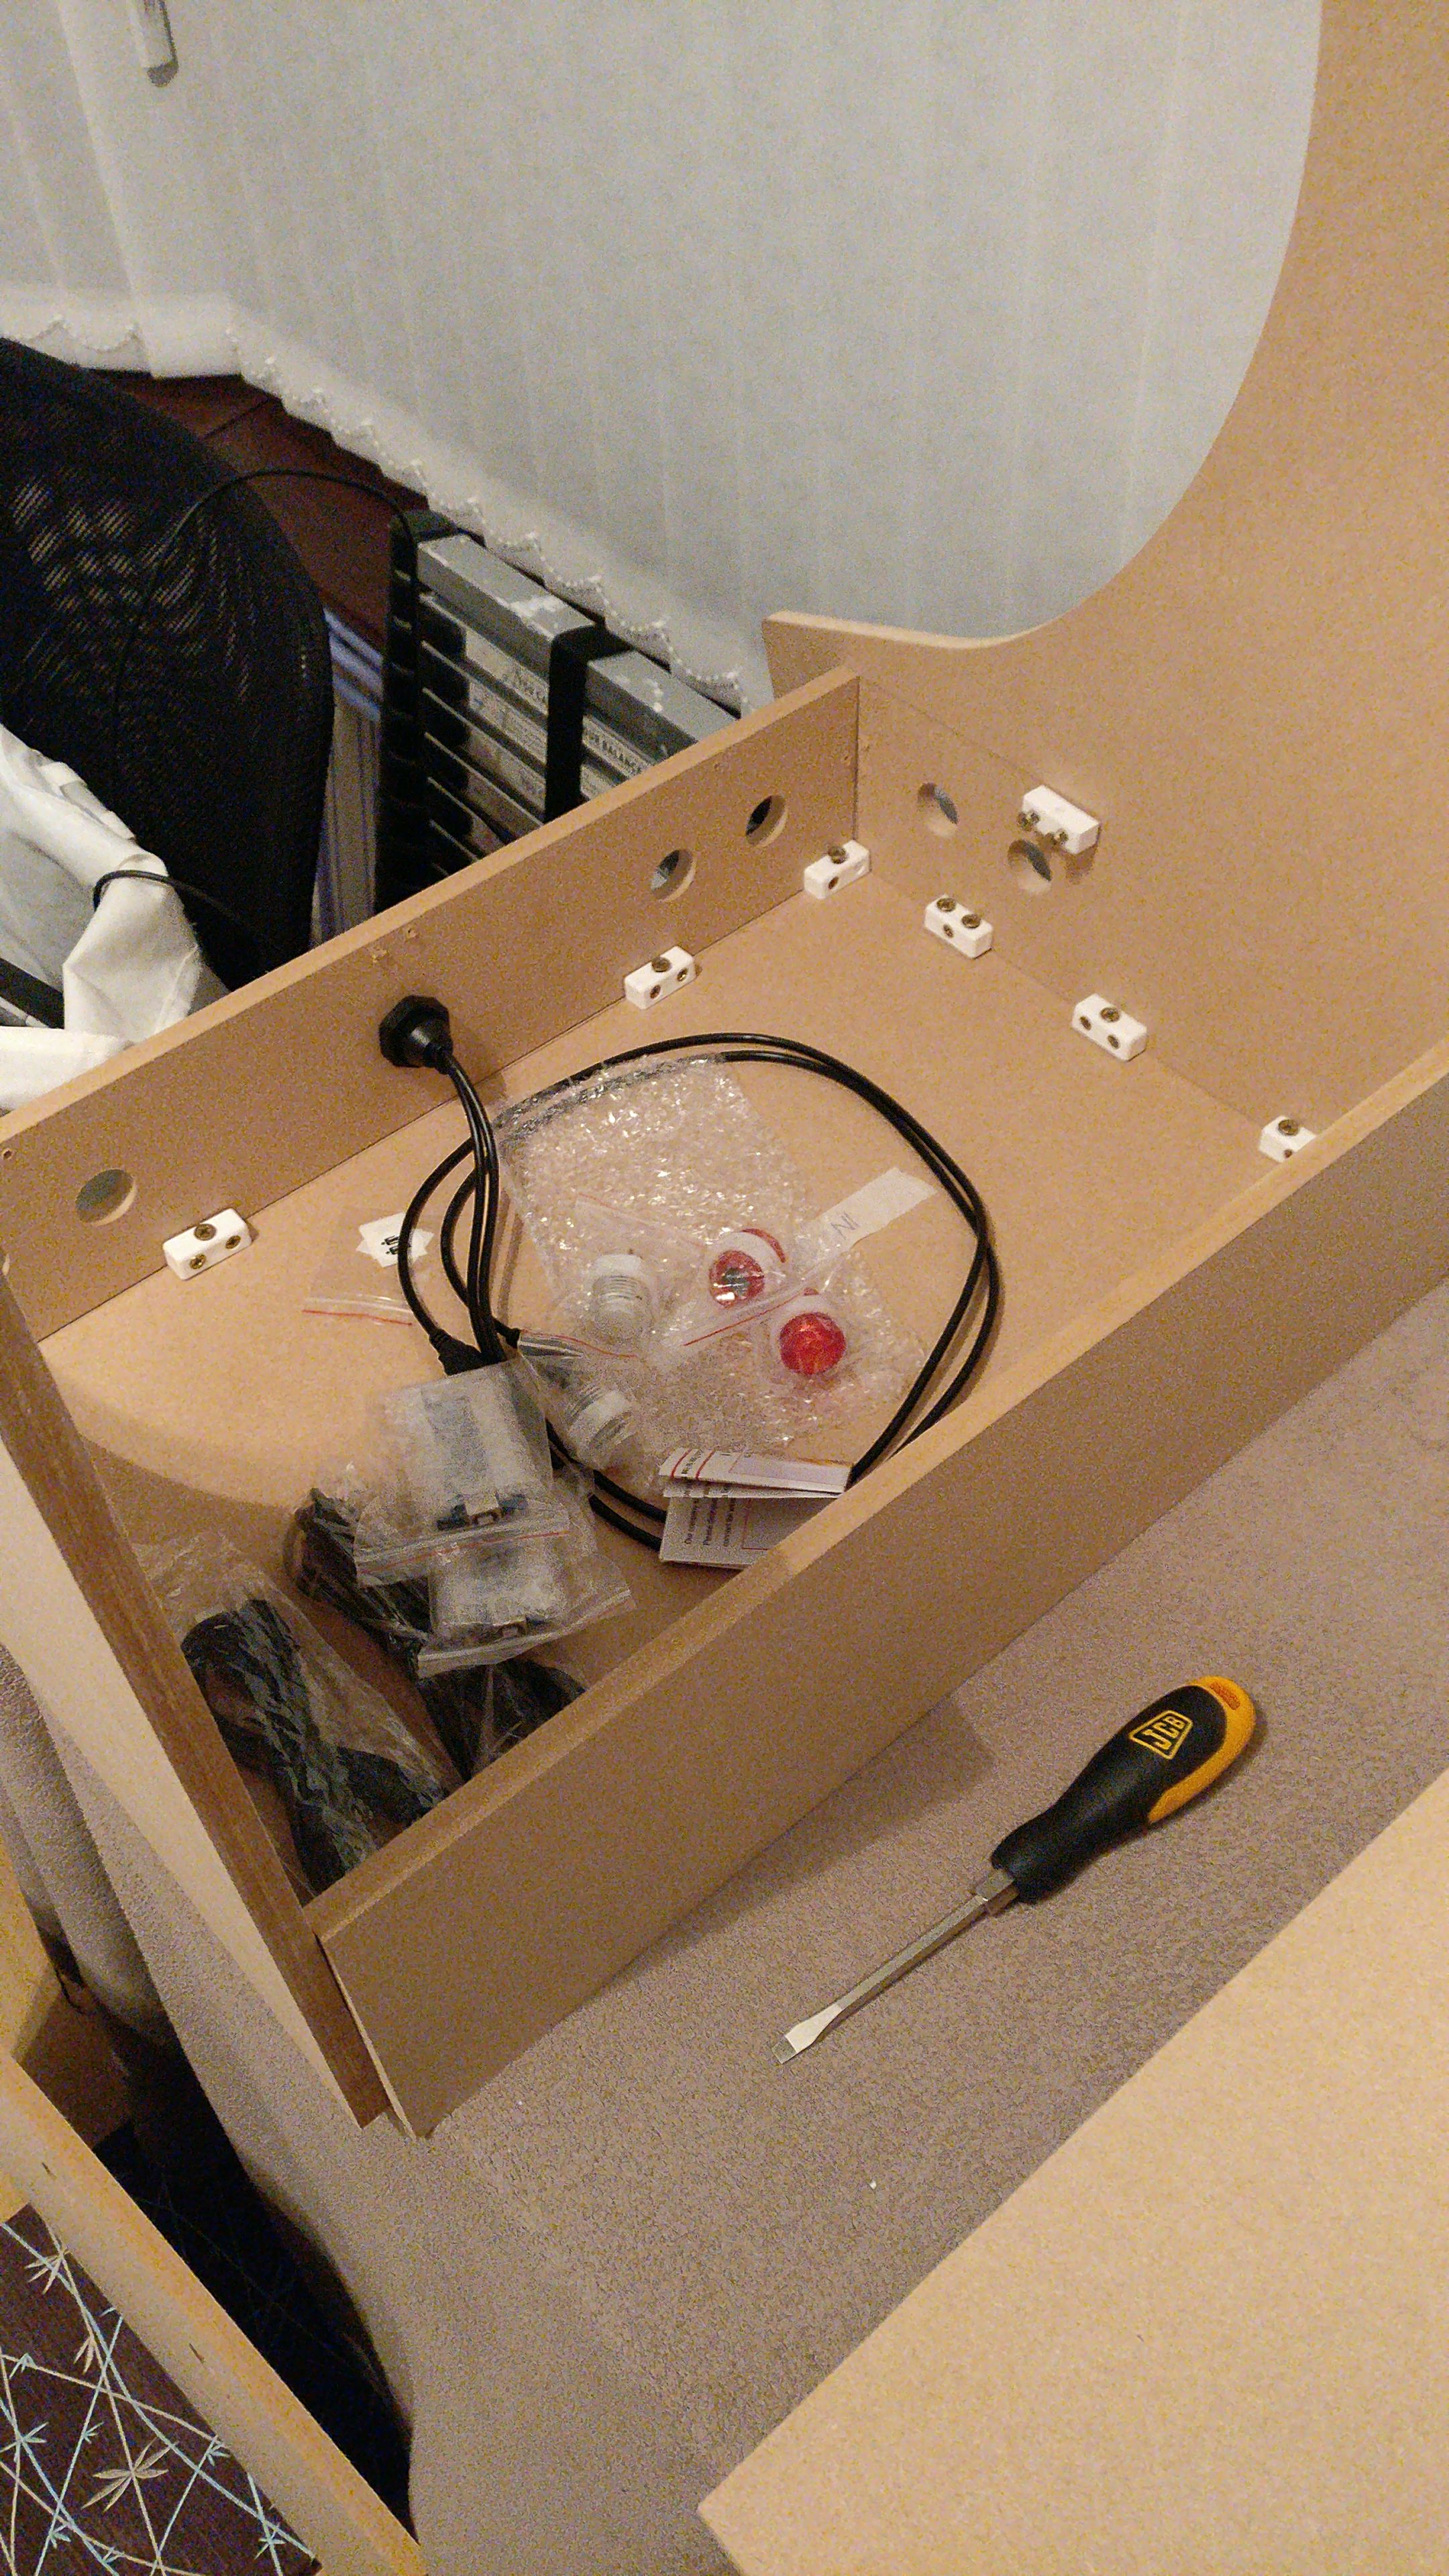
I'll be screwing everything down (I can't be trusted with glue, I'm very messy)
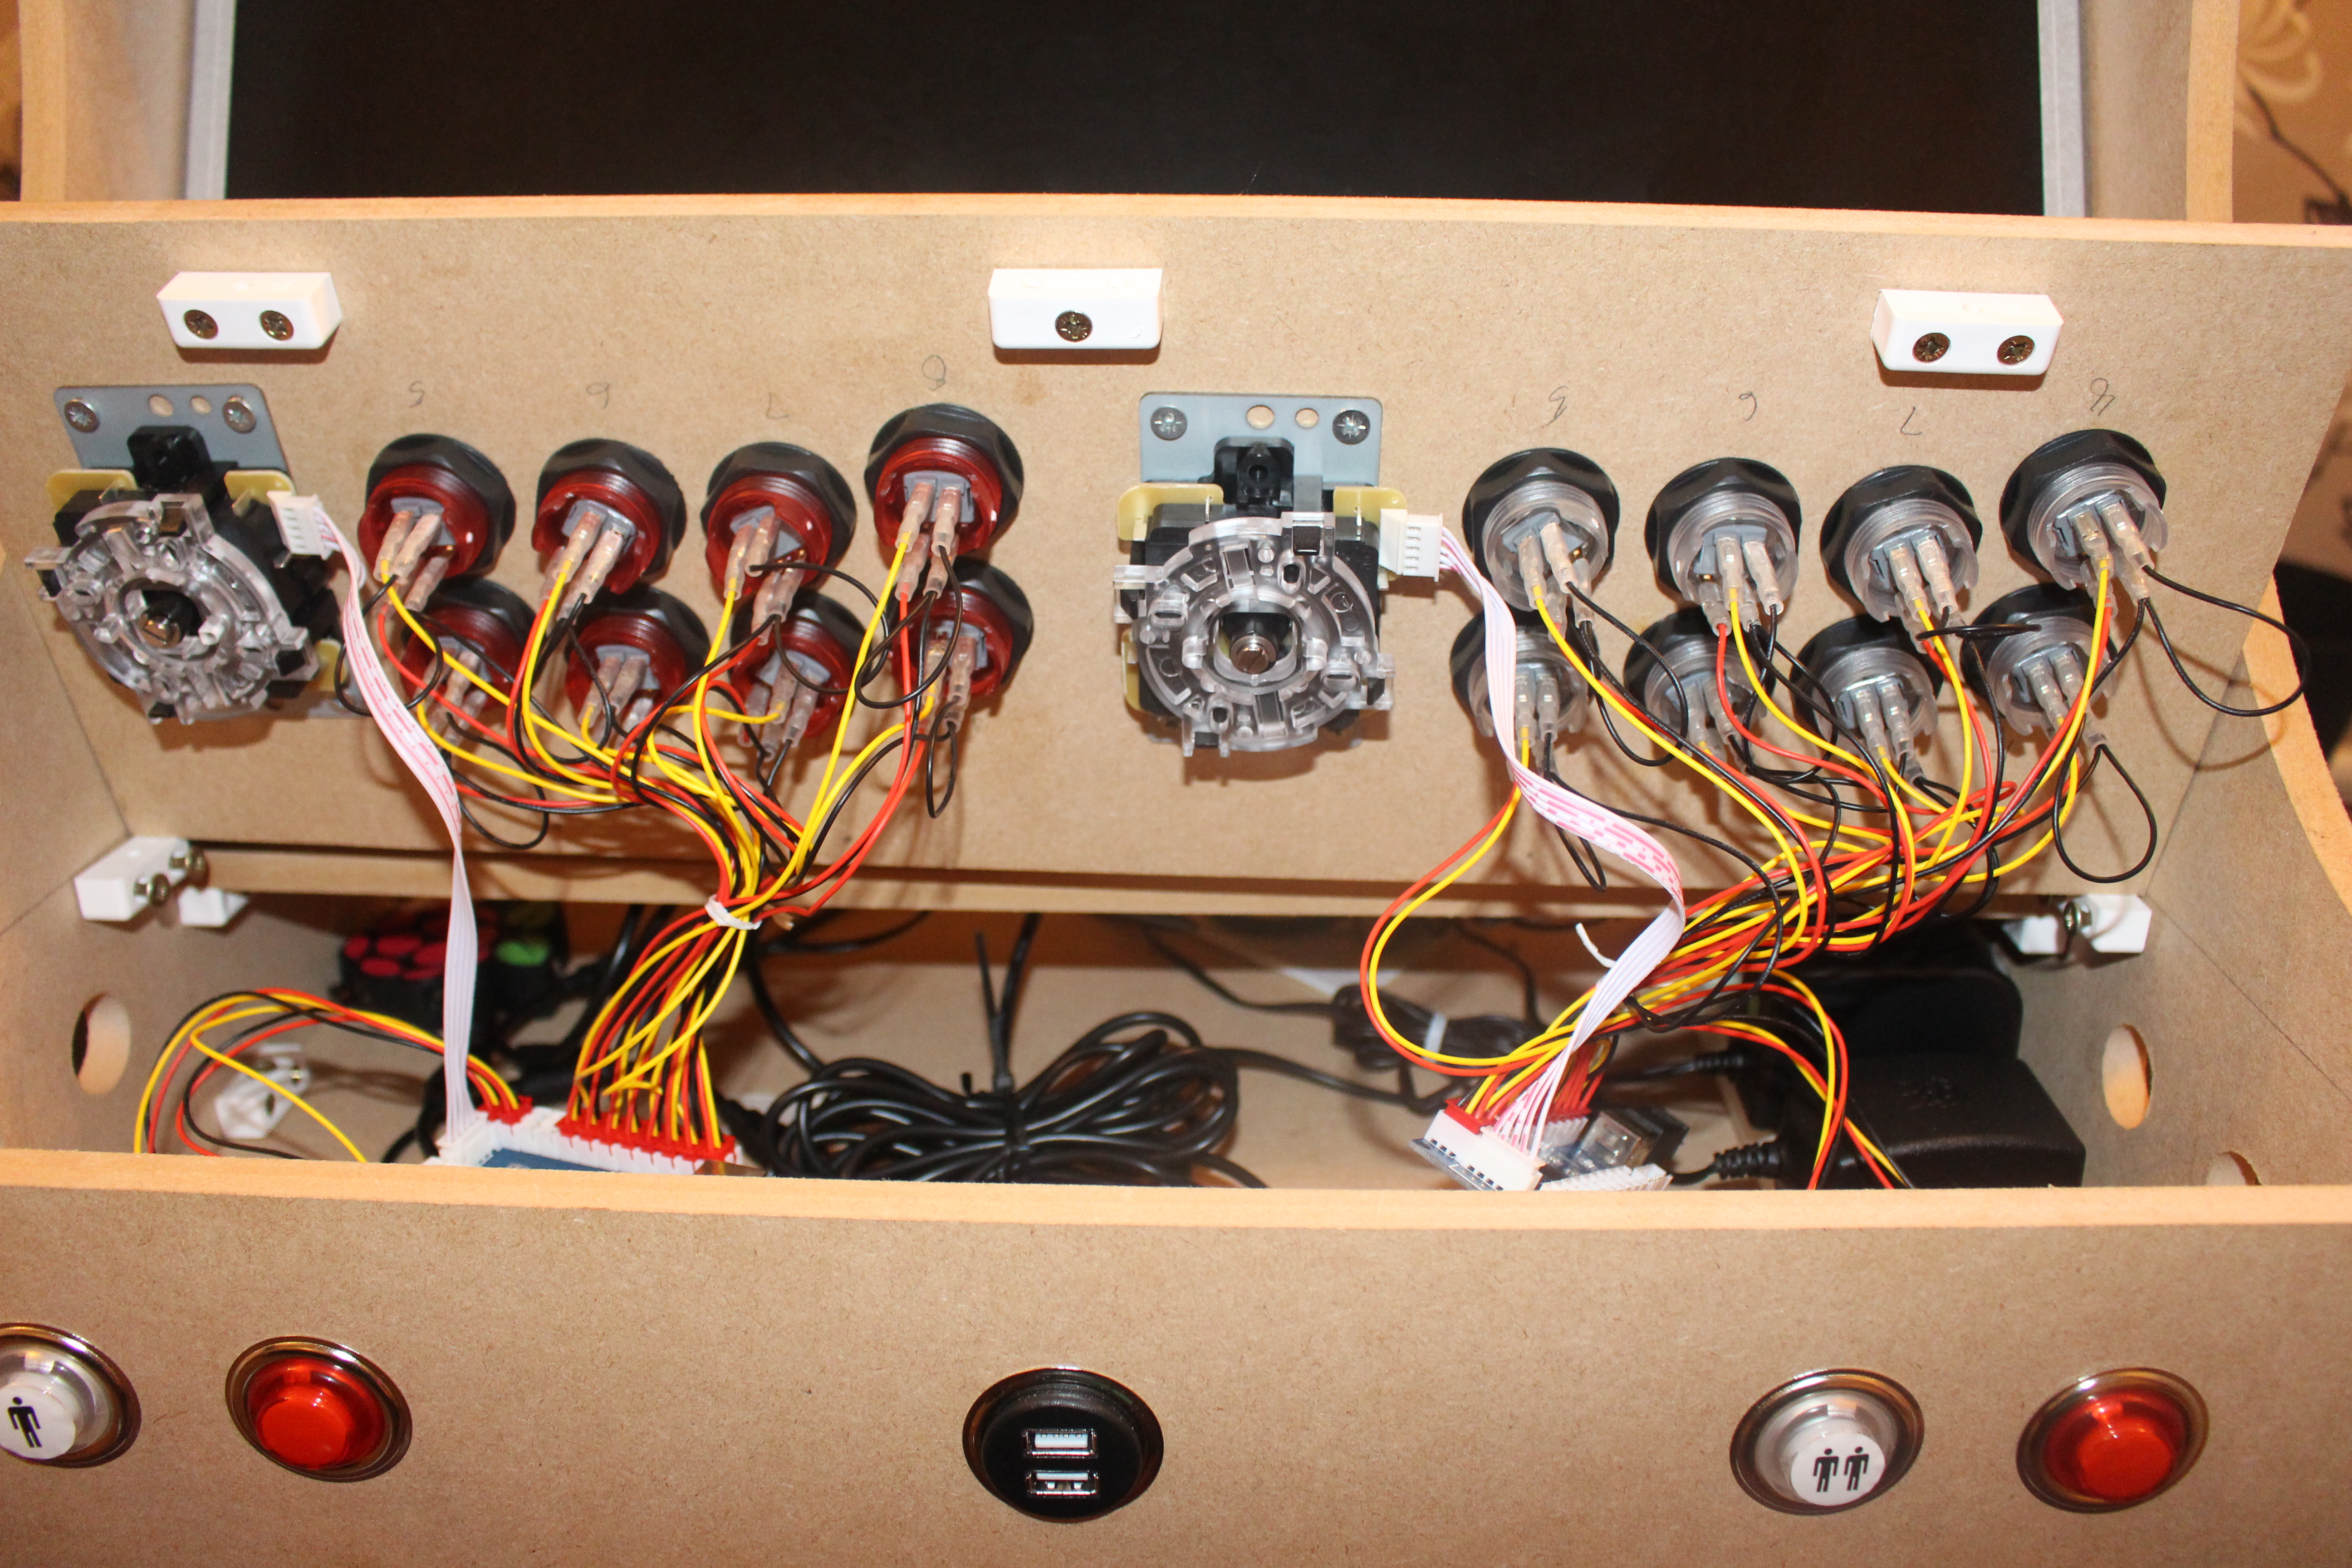
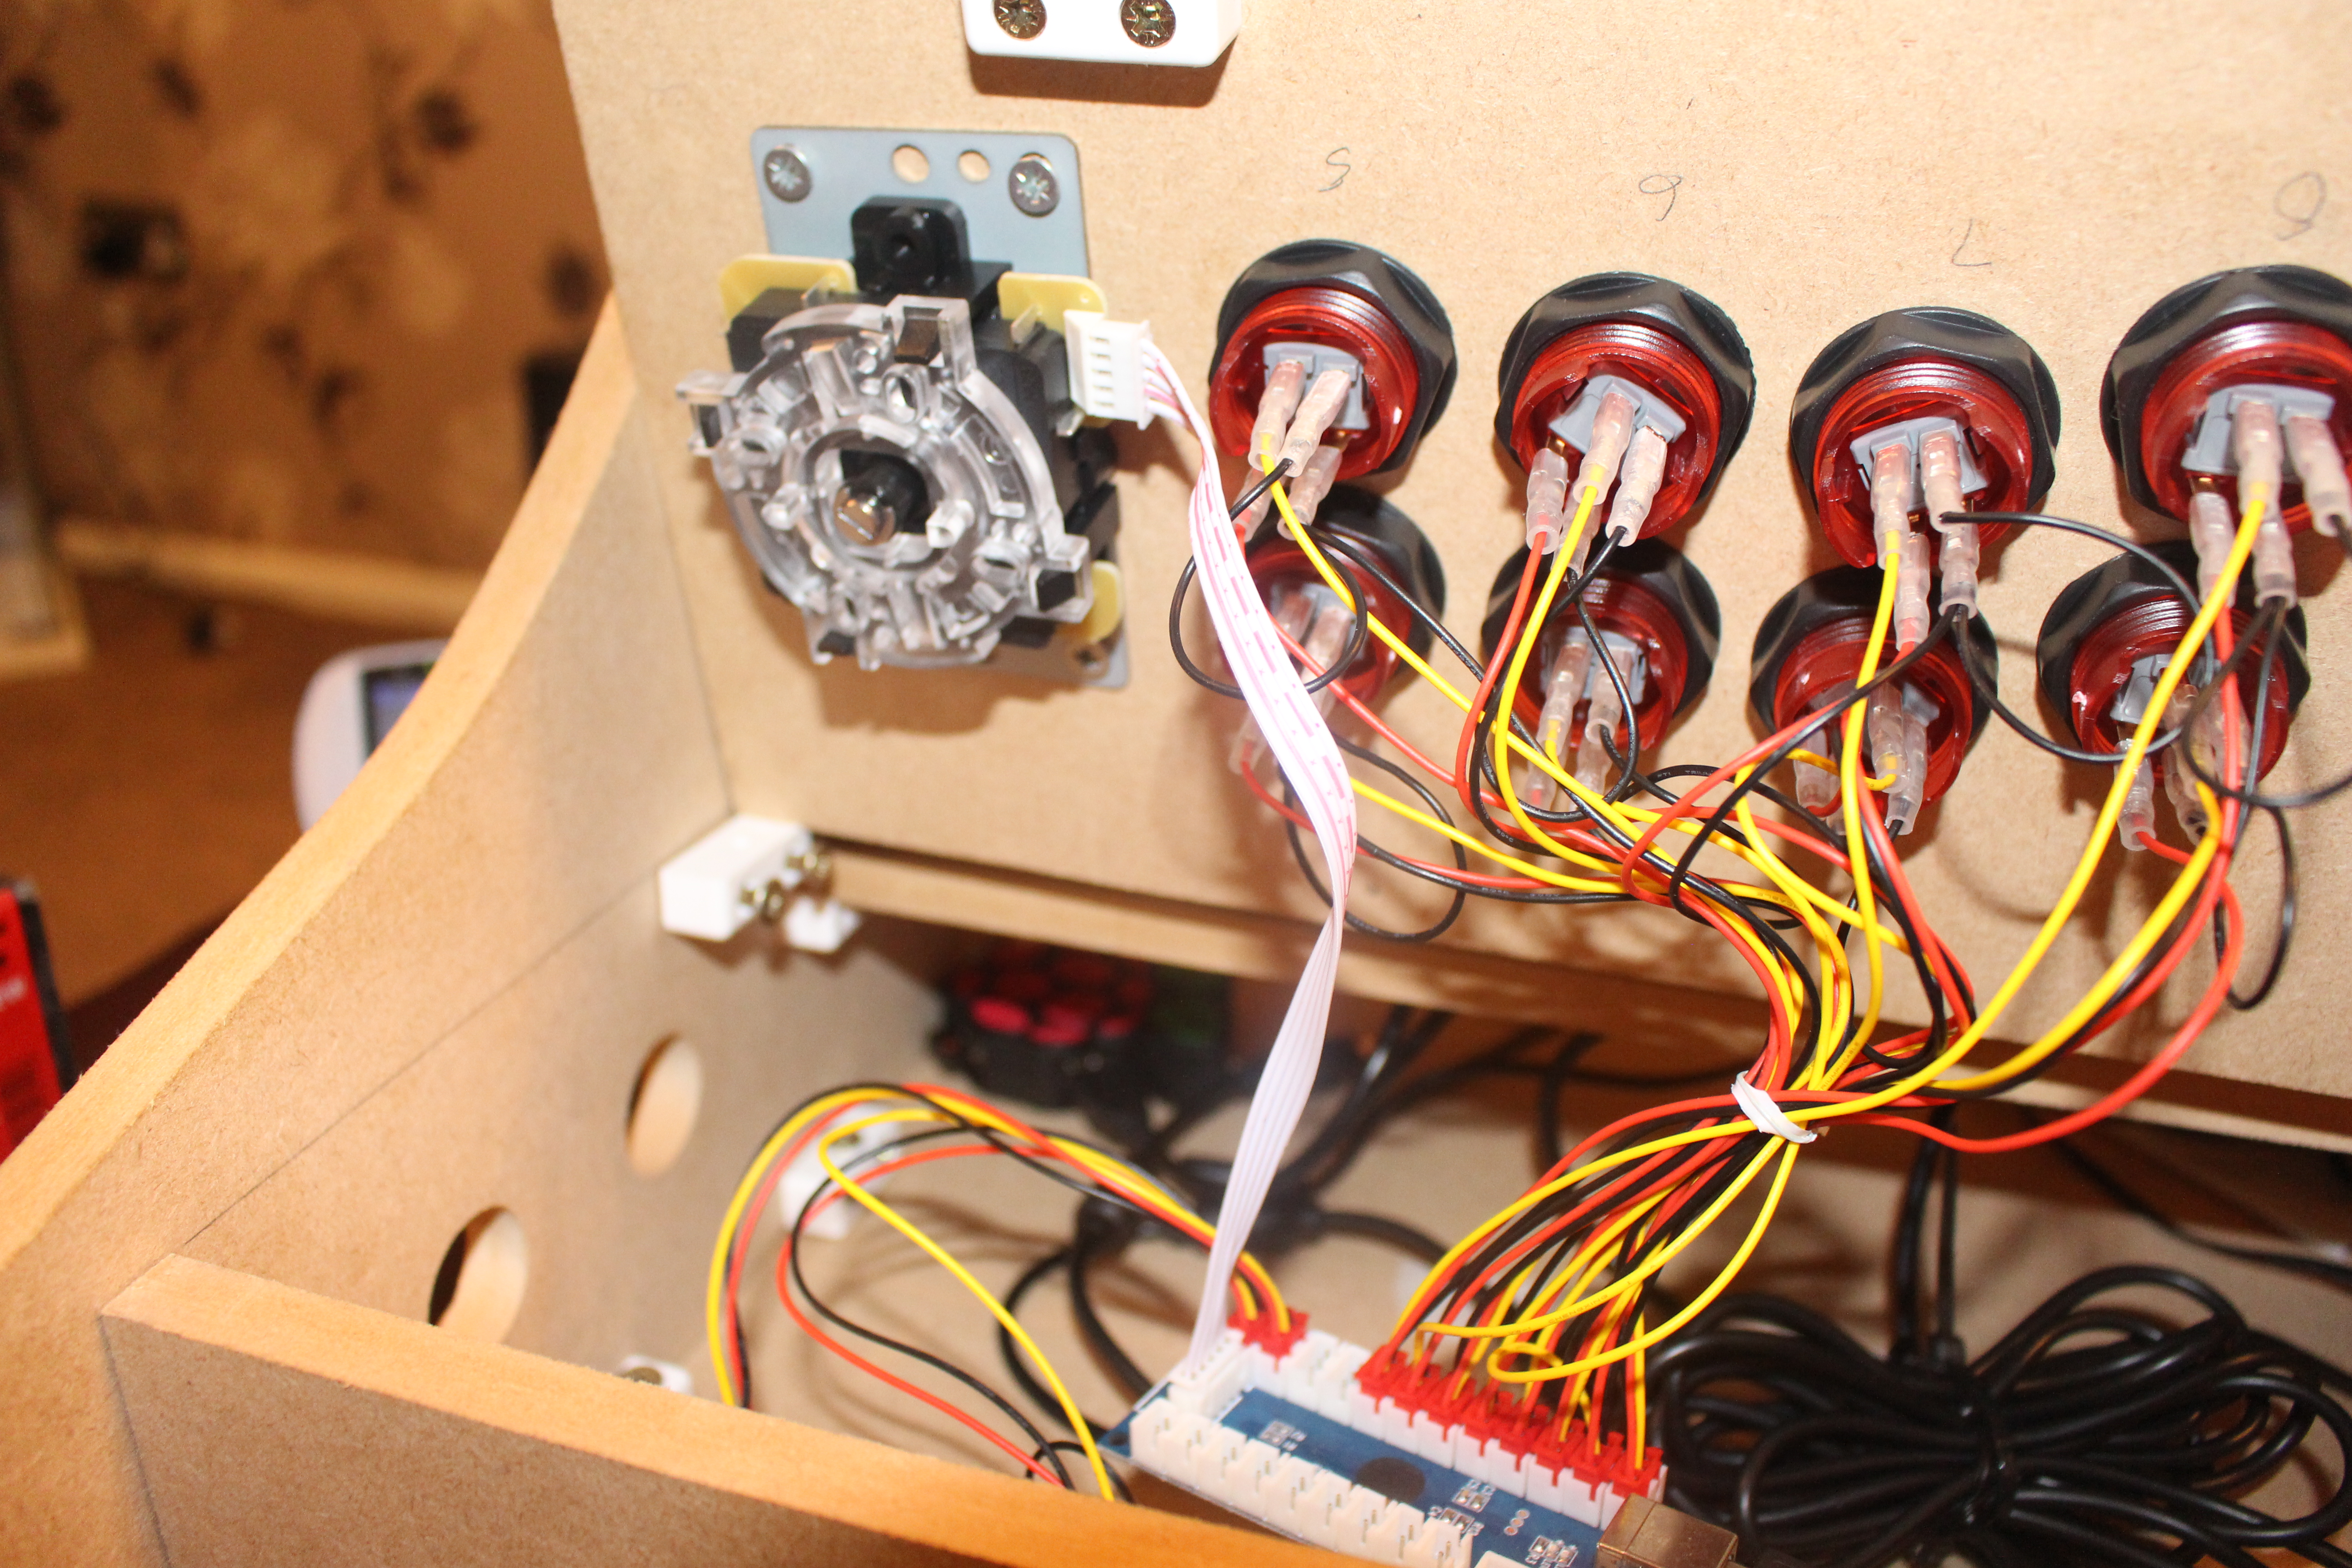
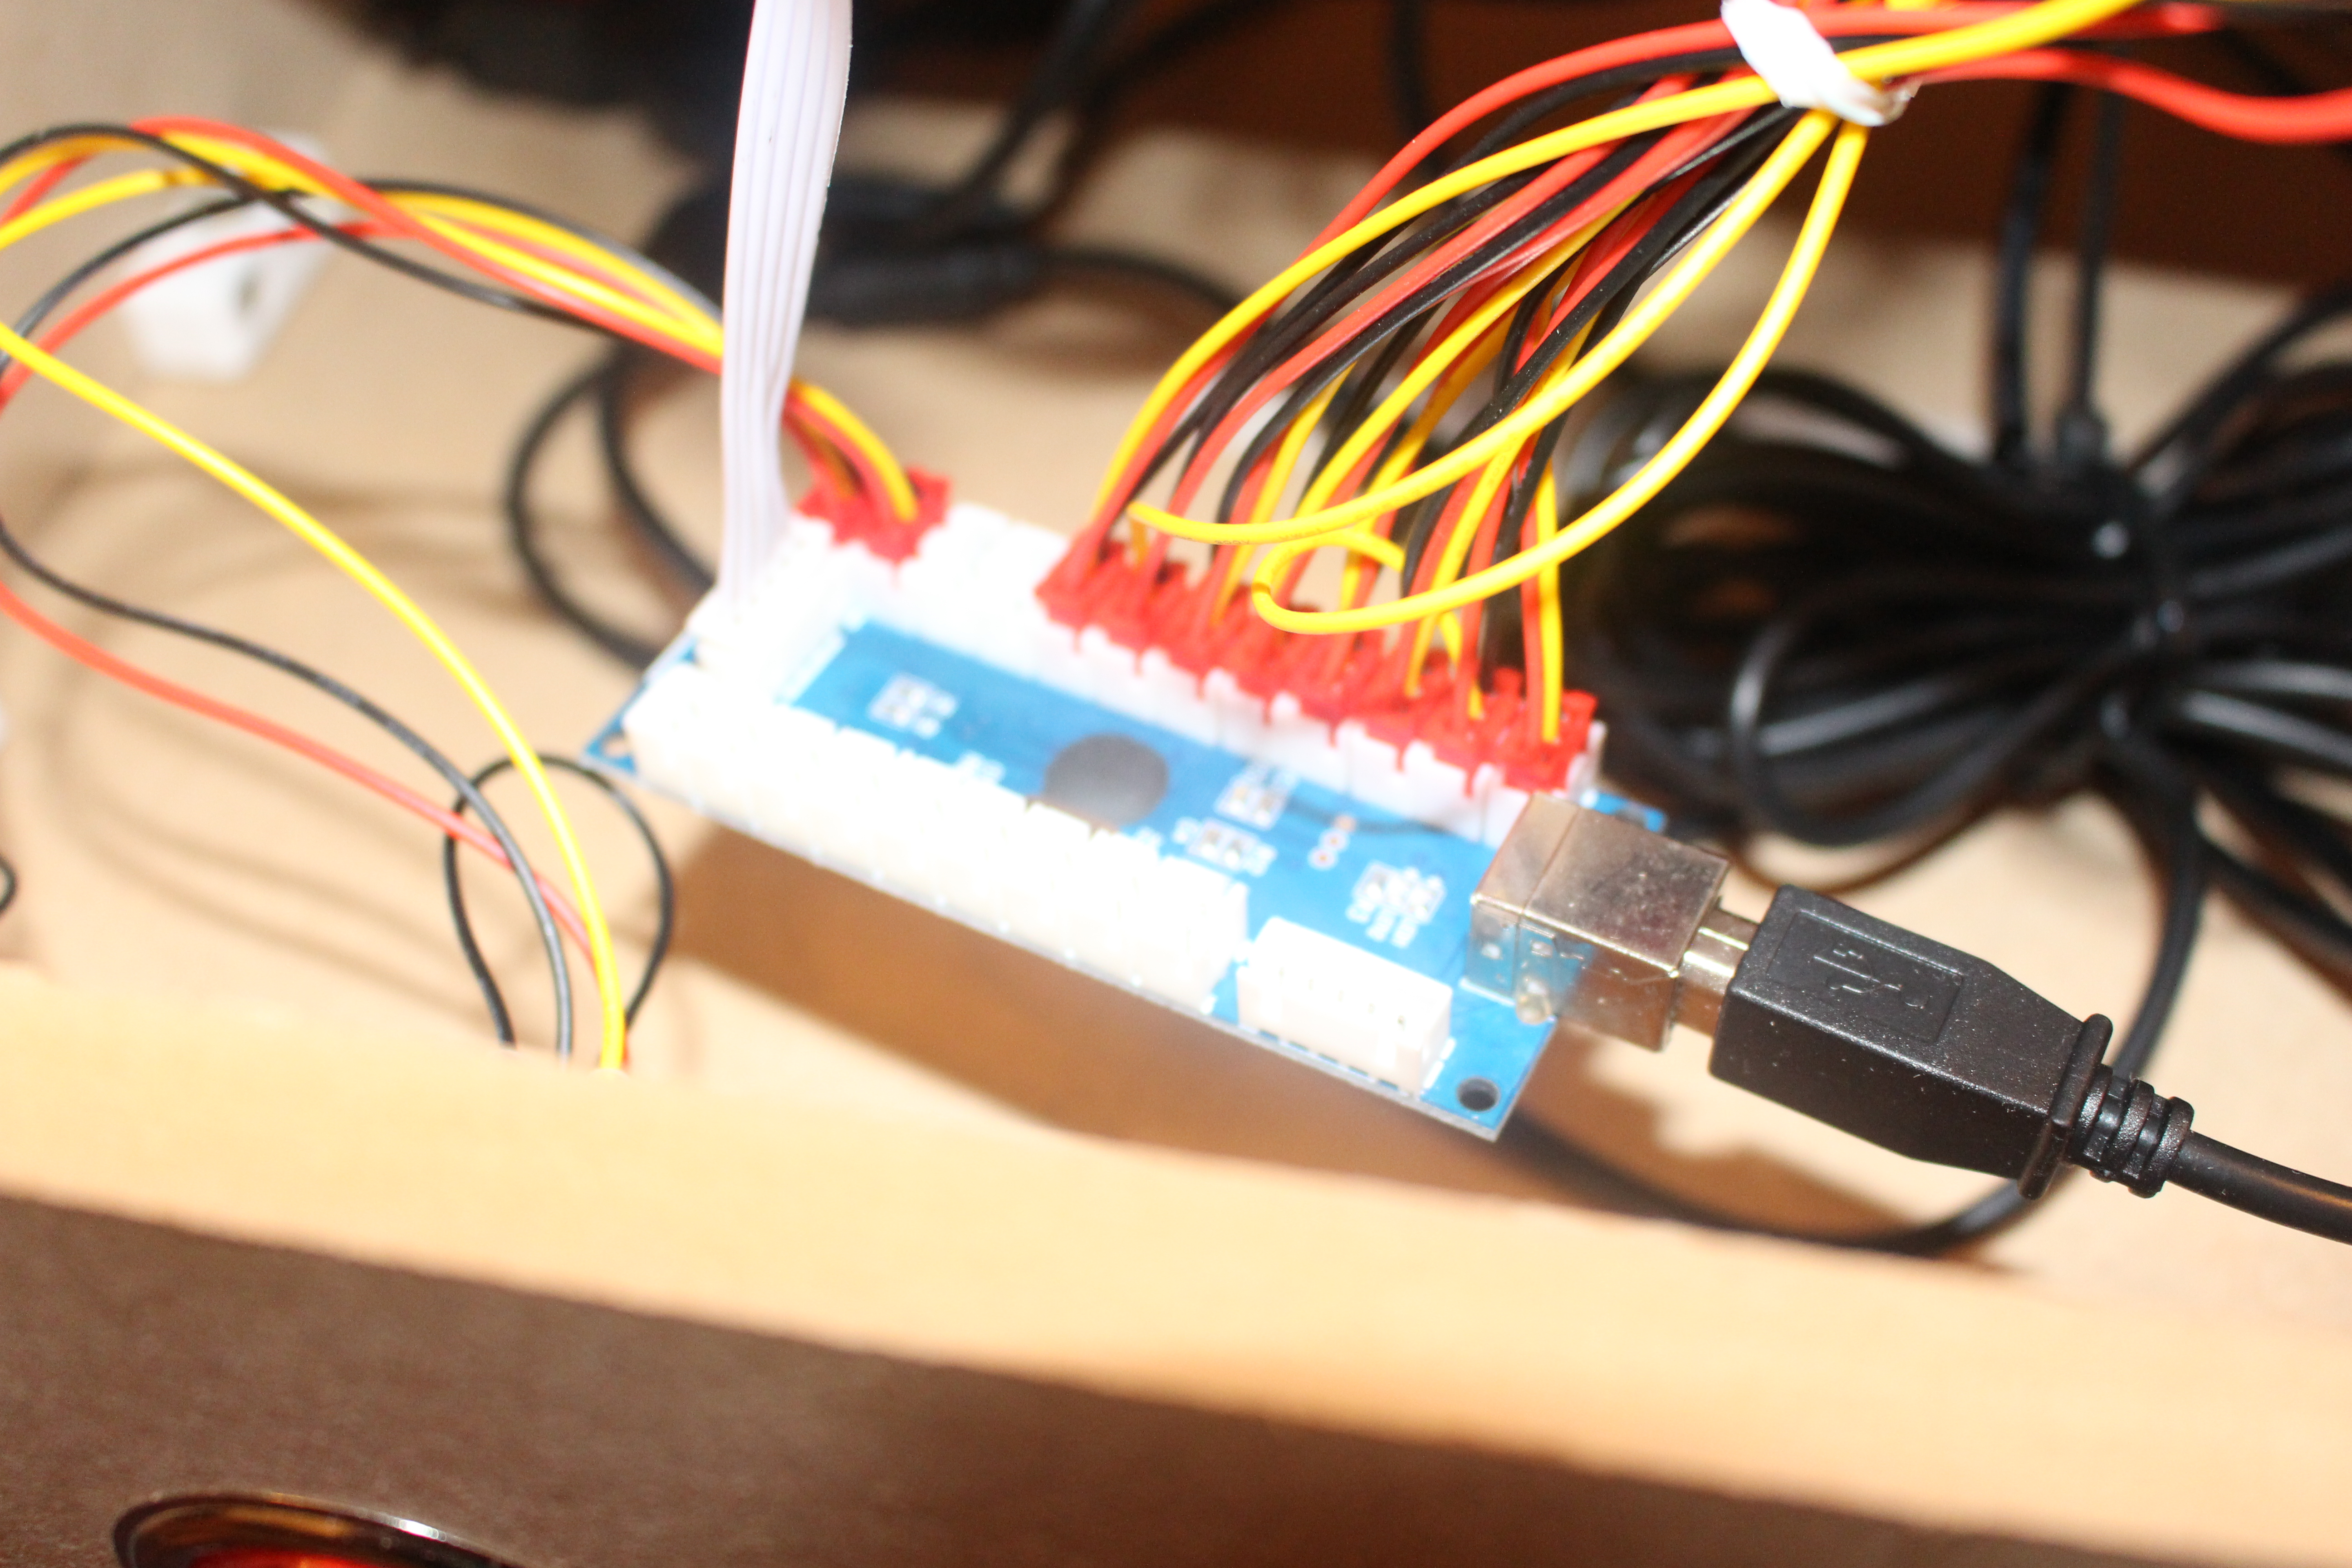
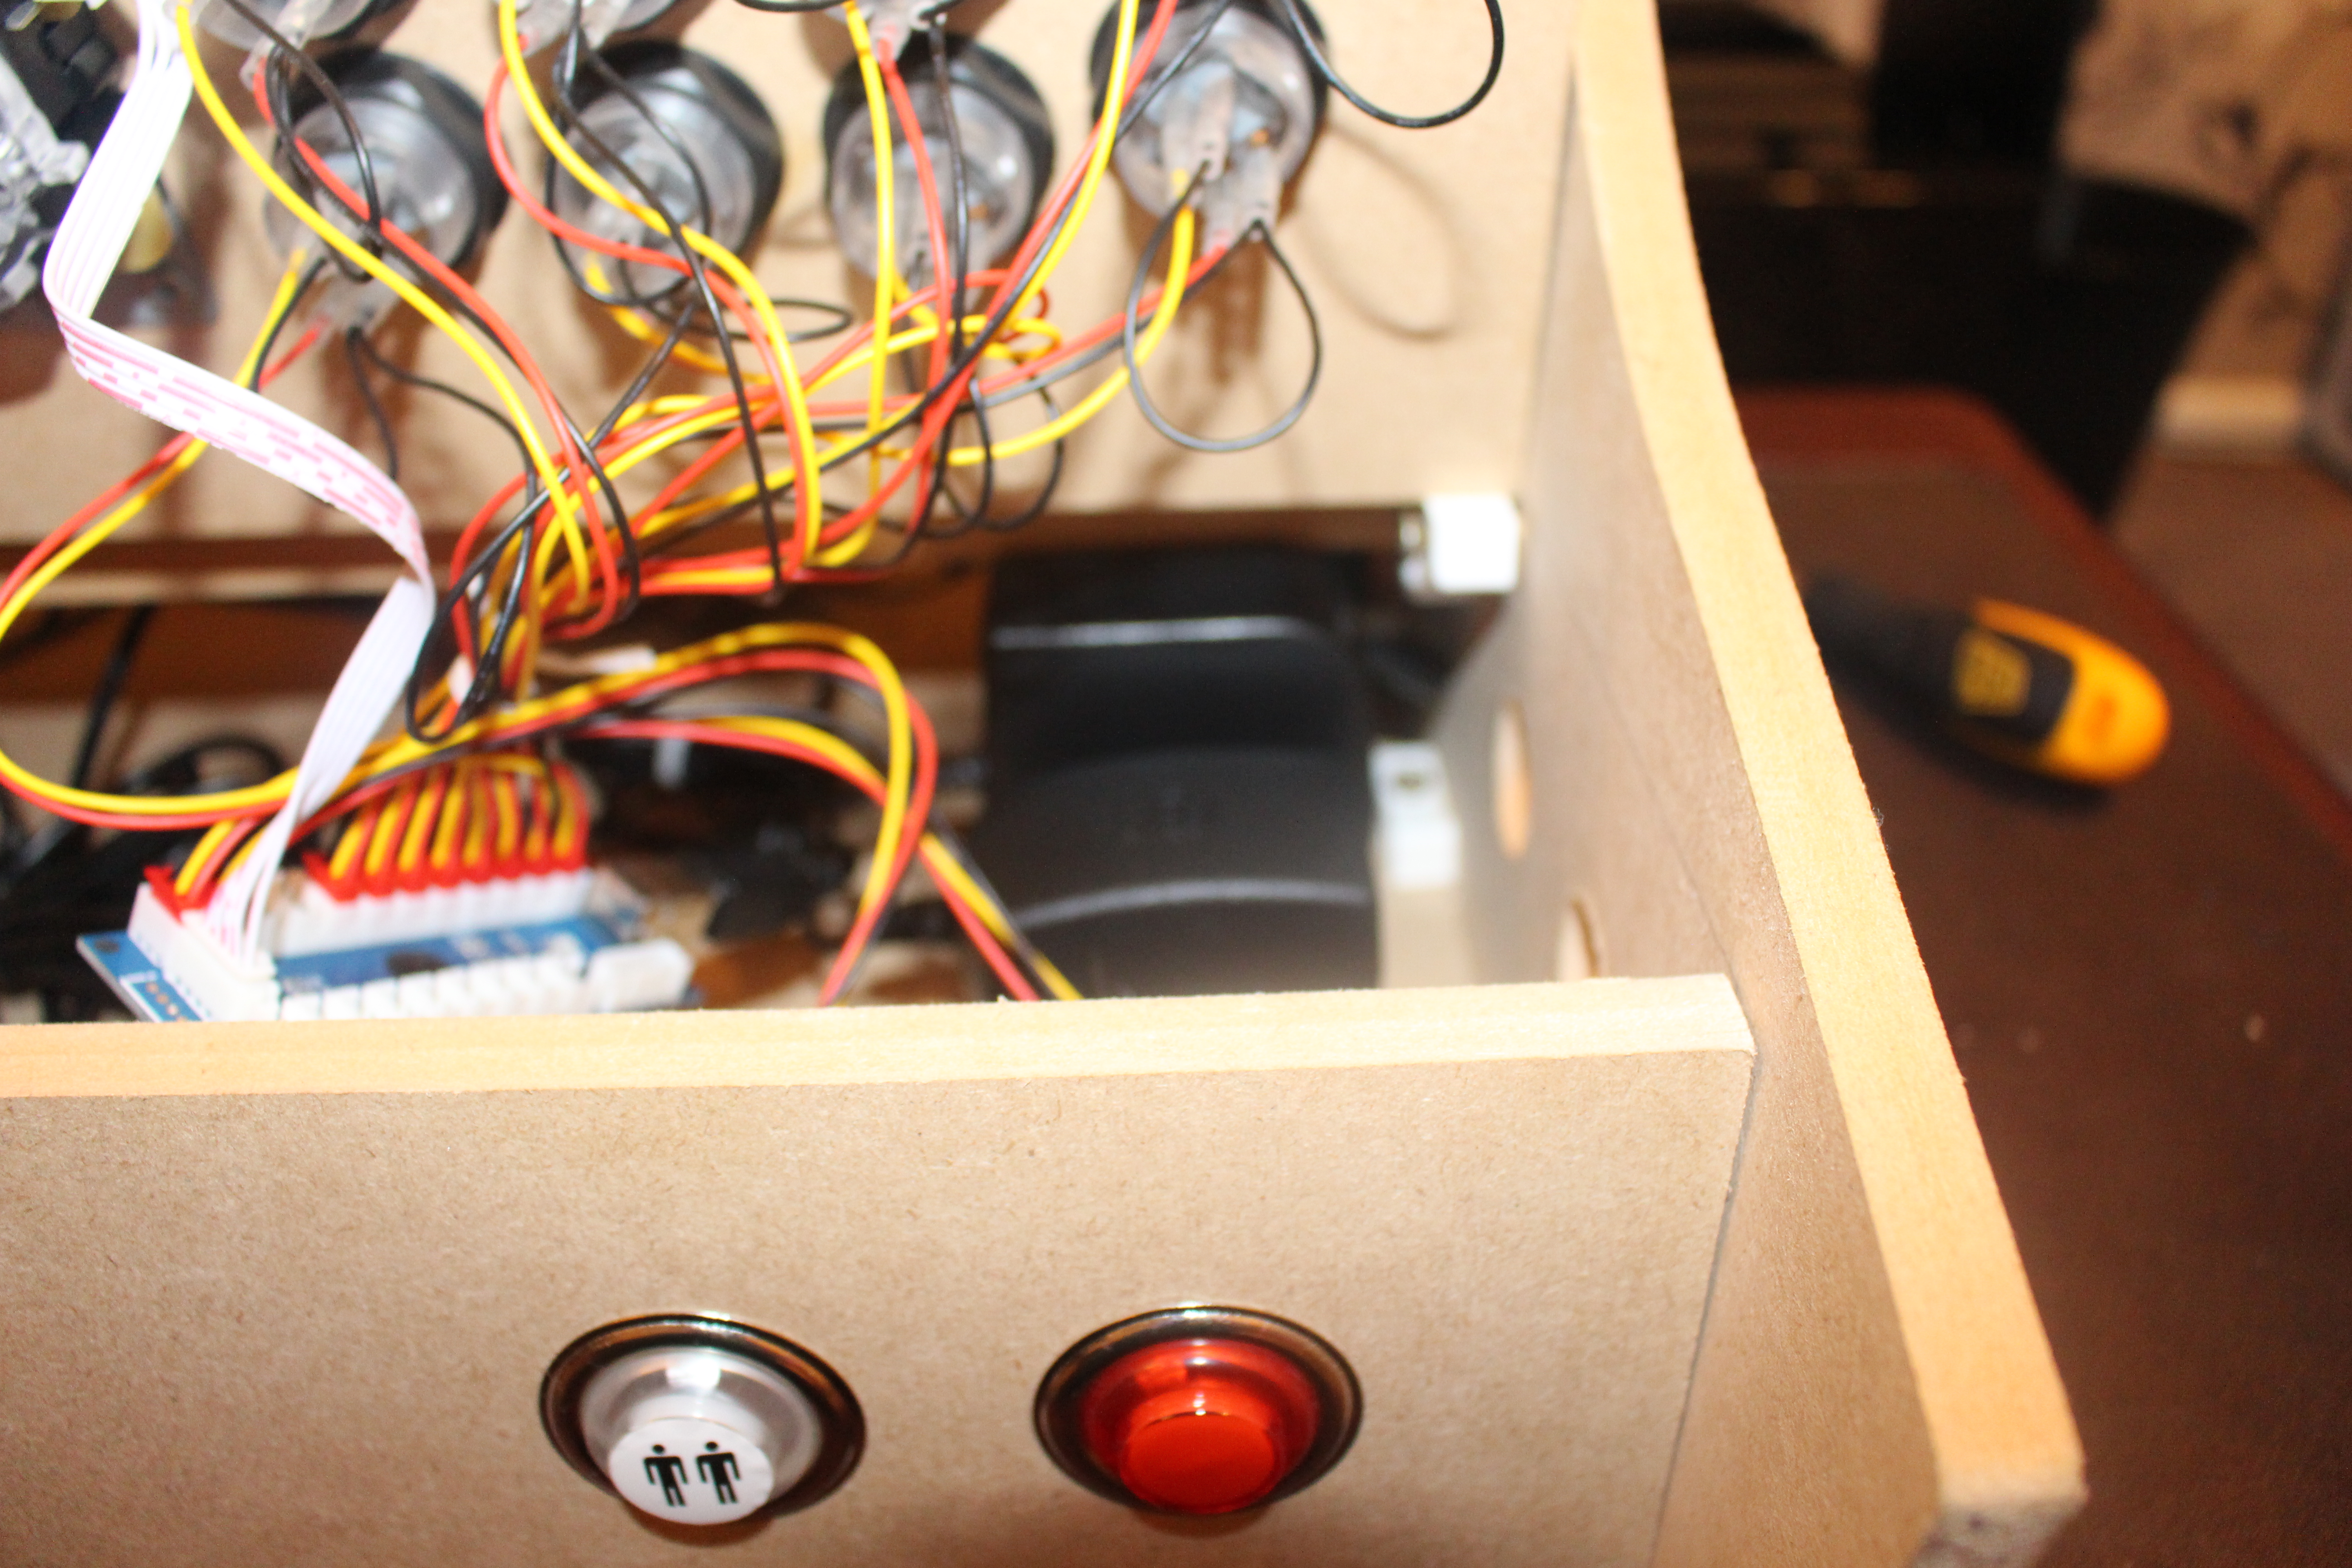
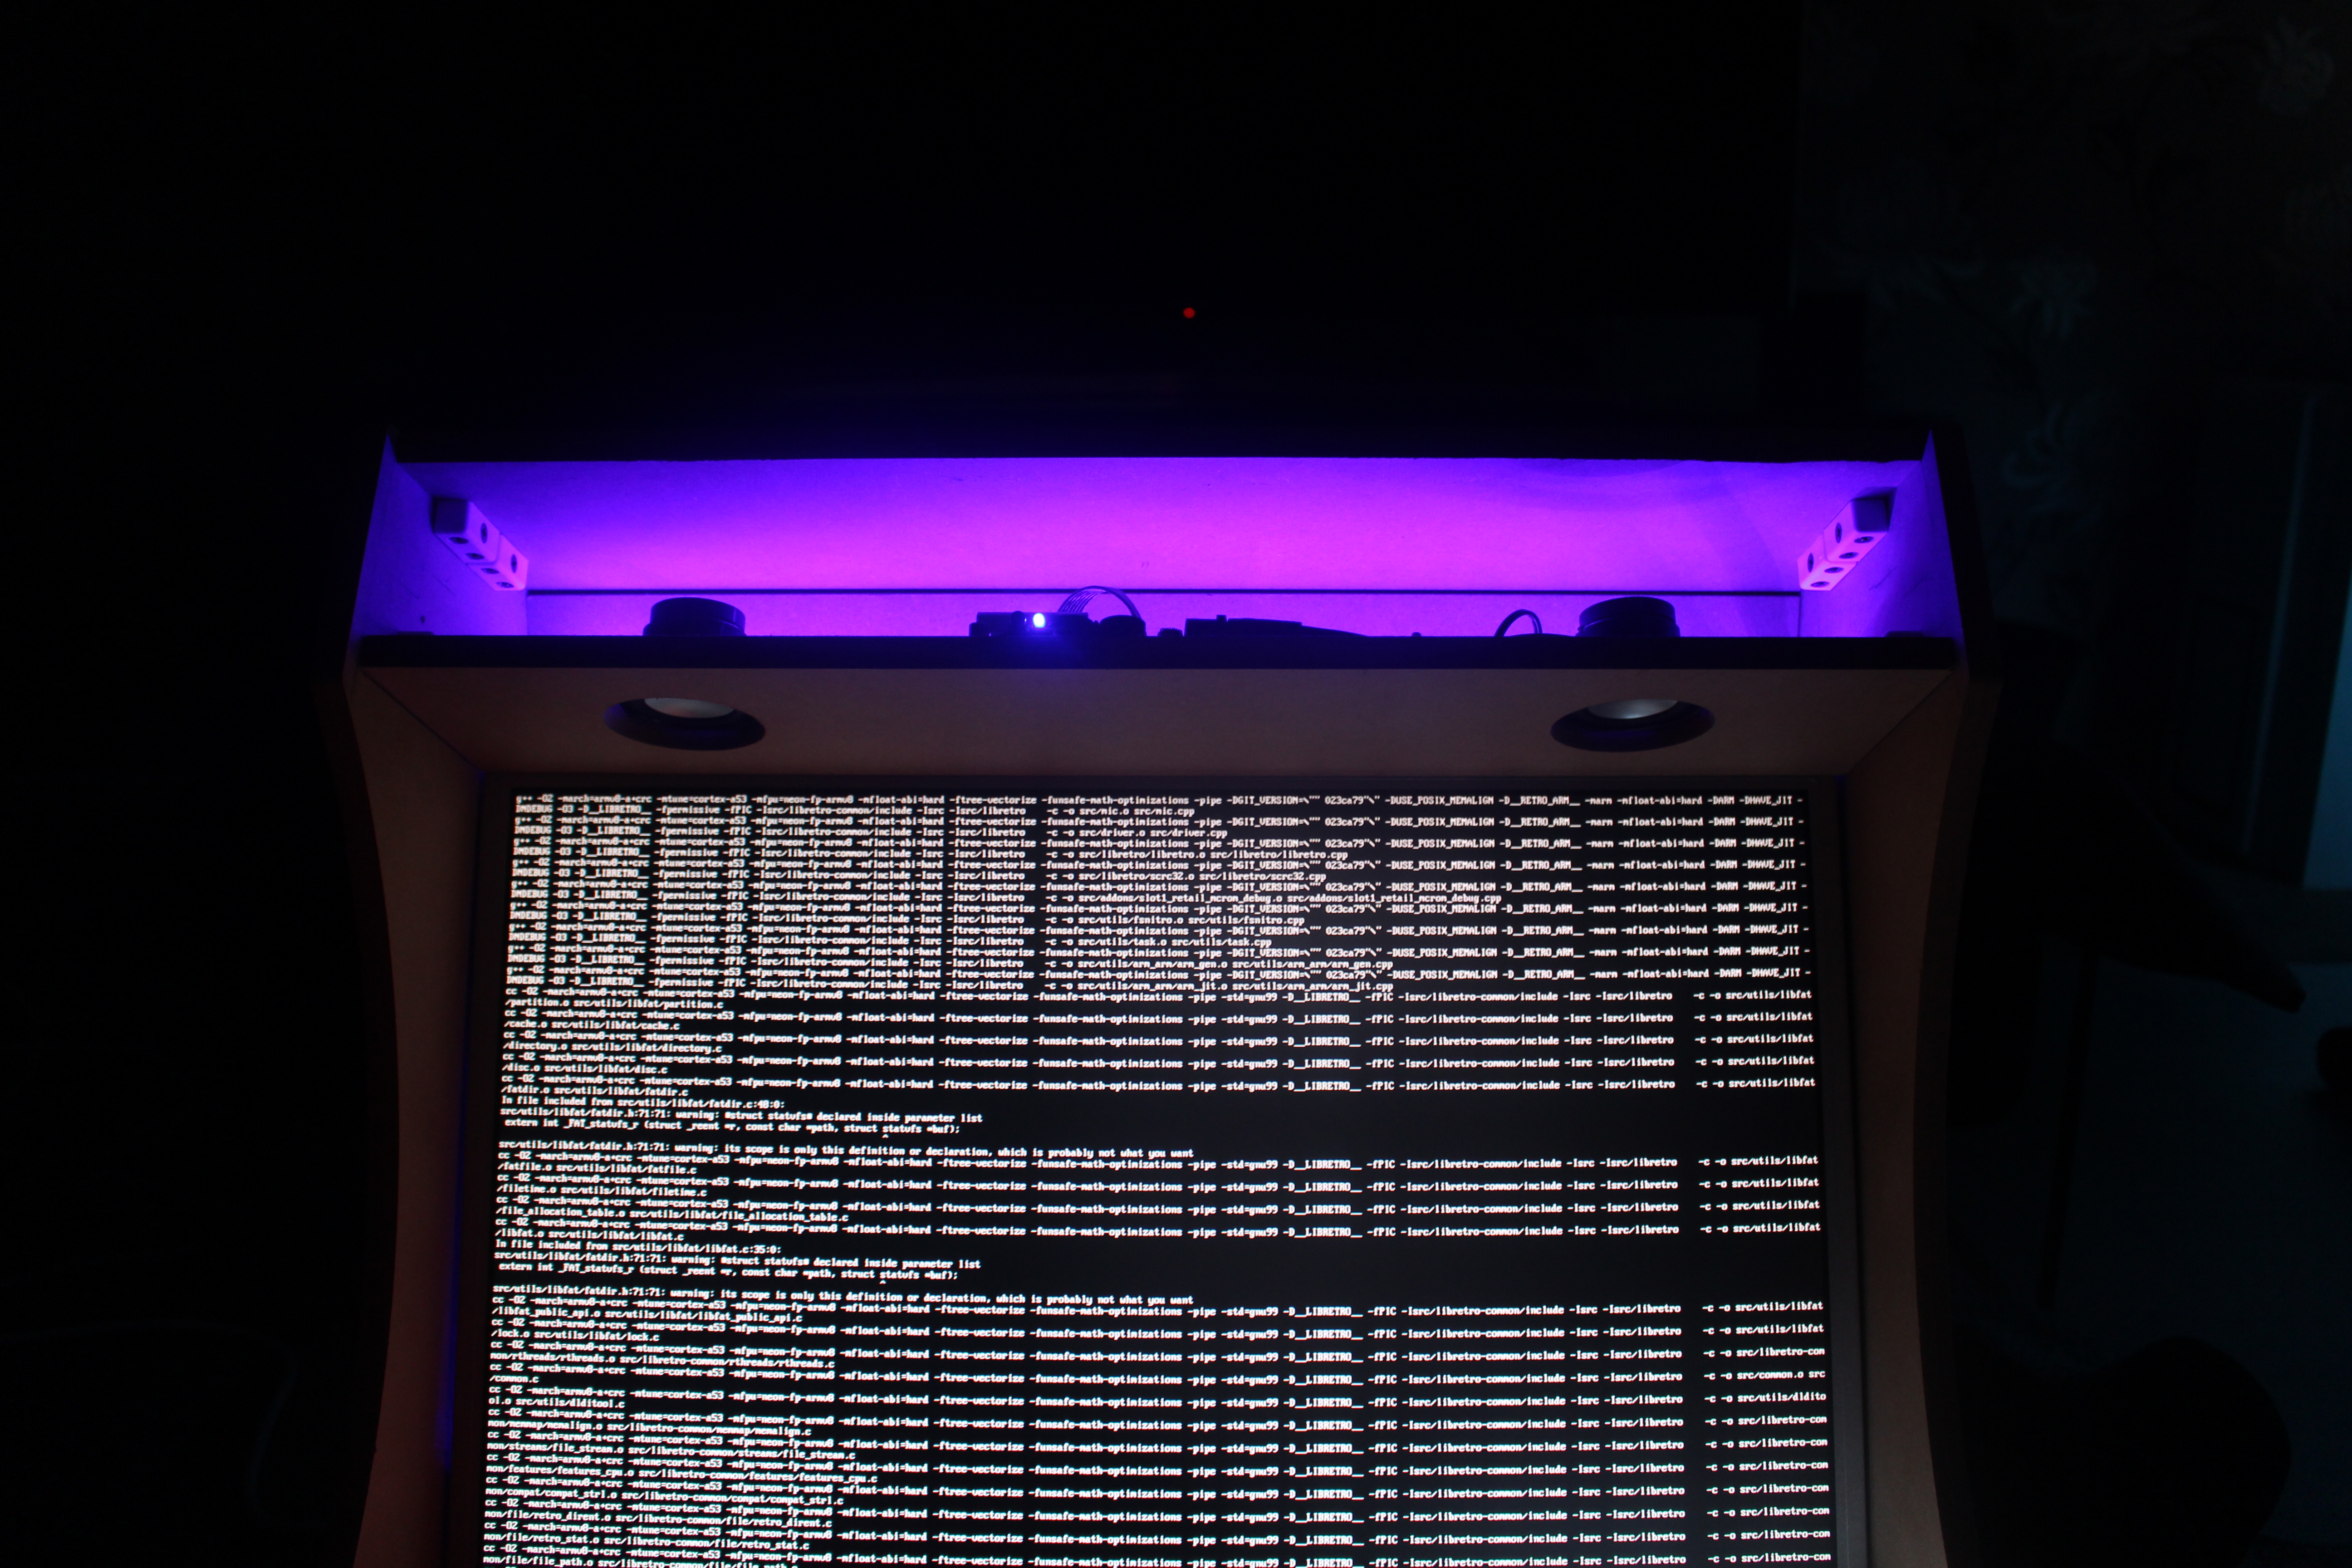
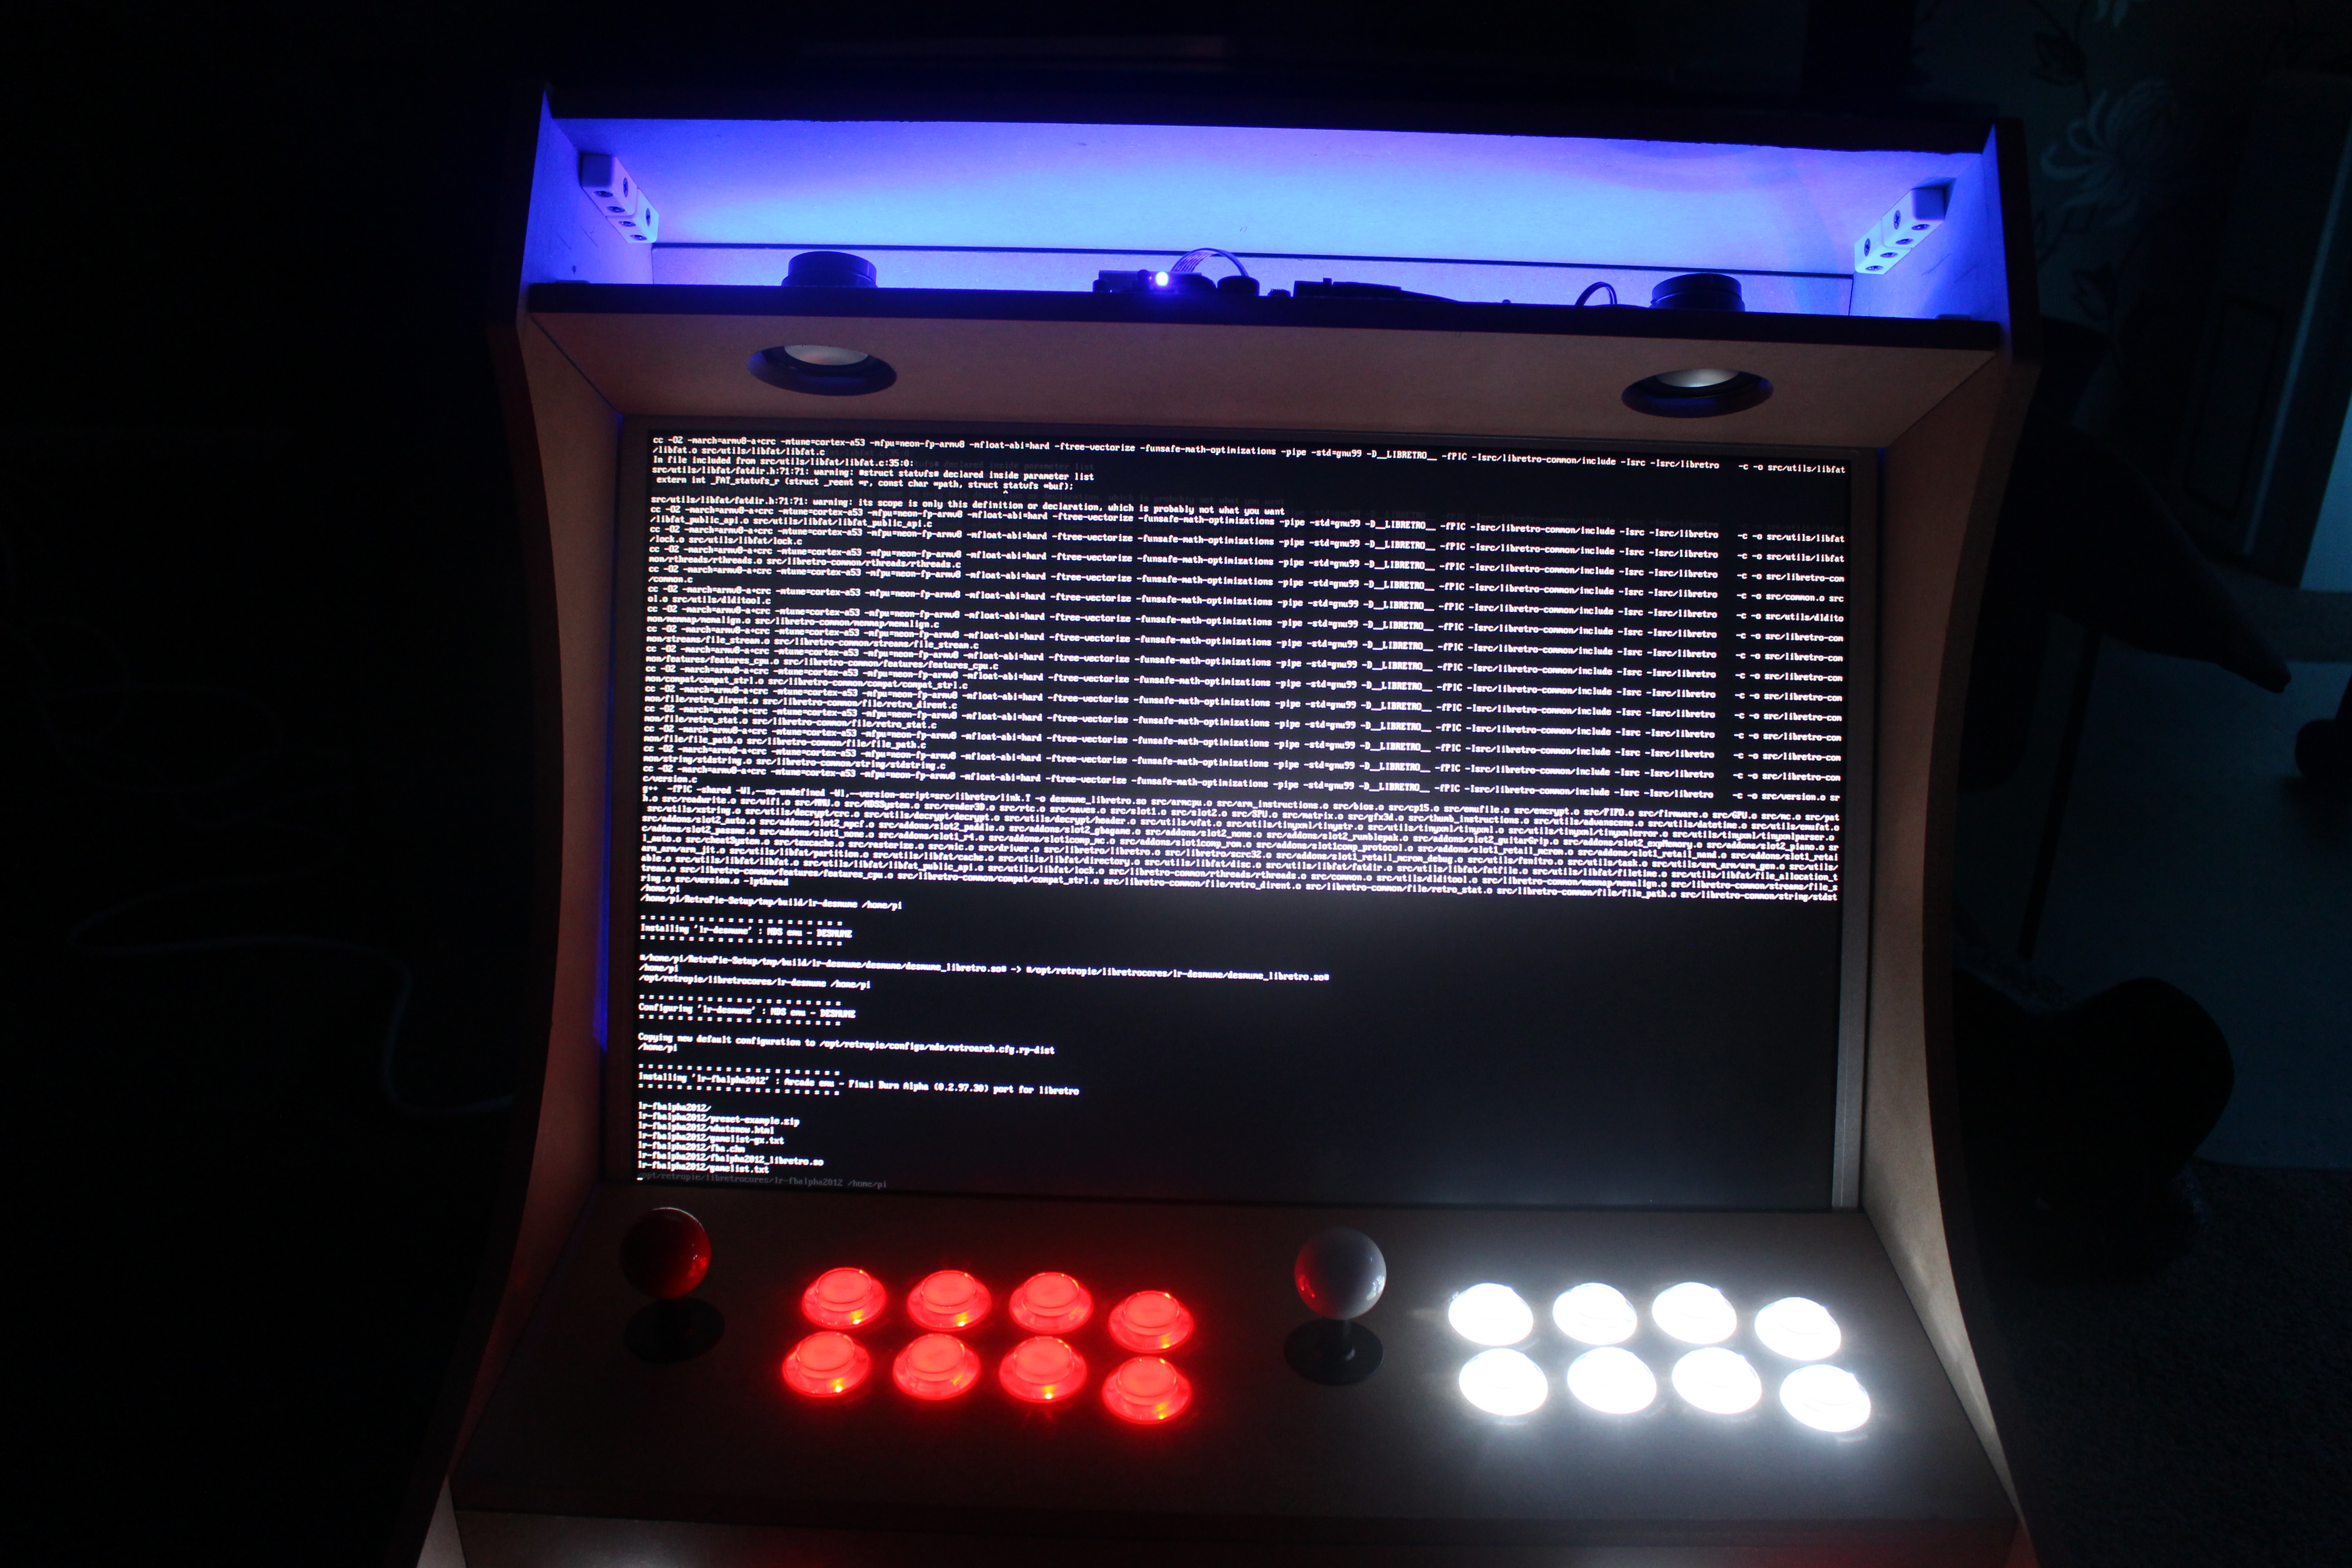
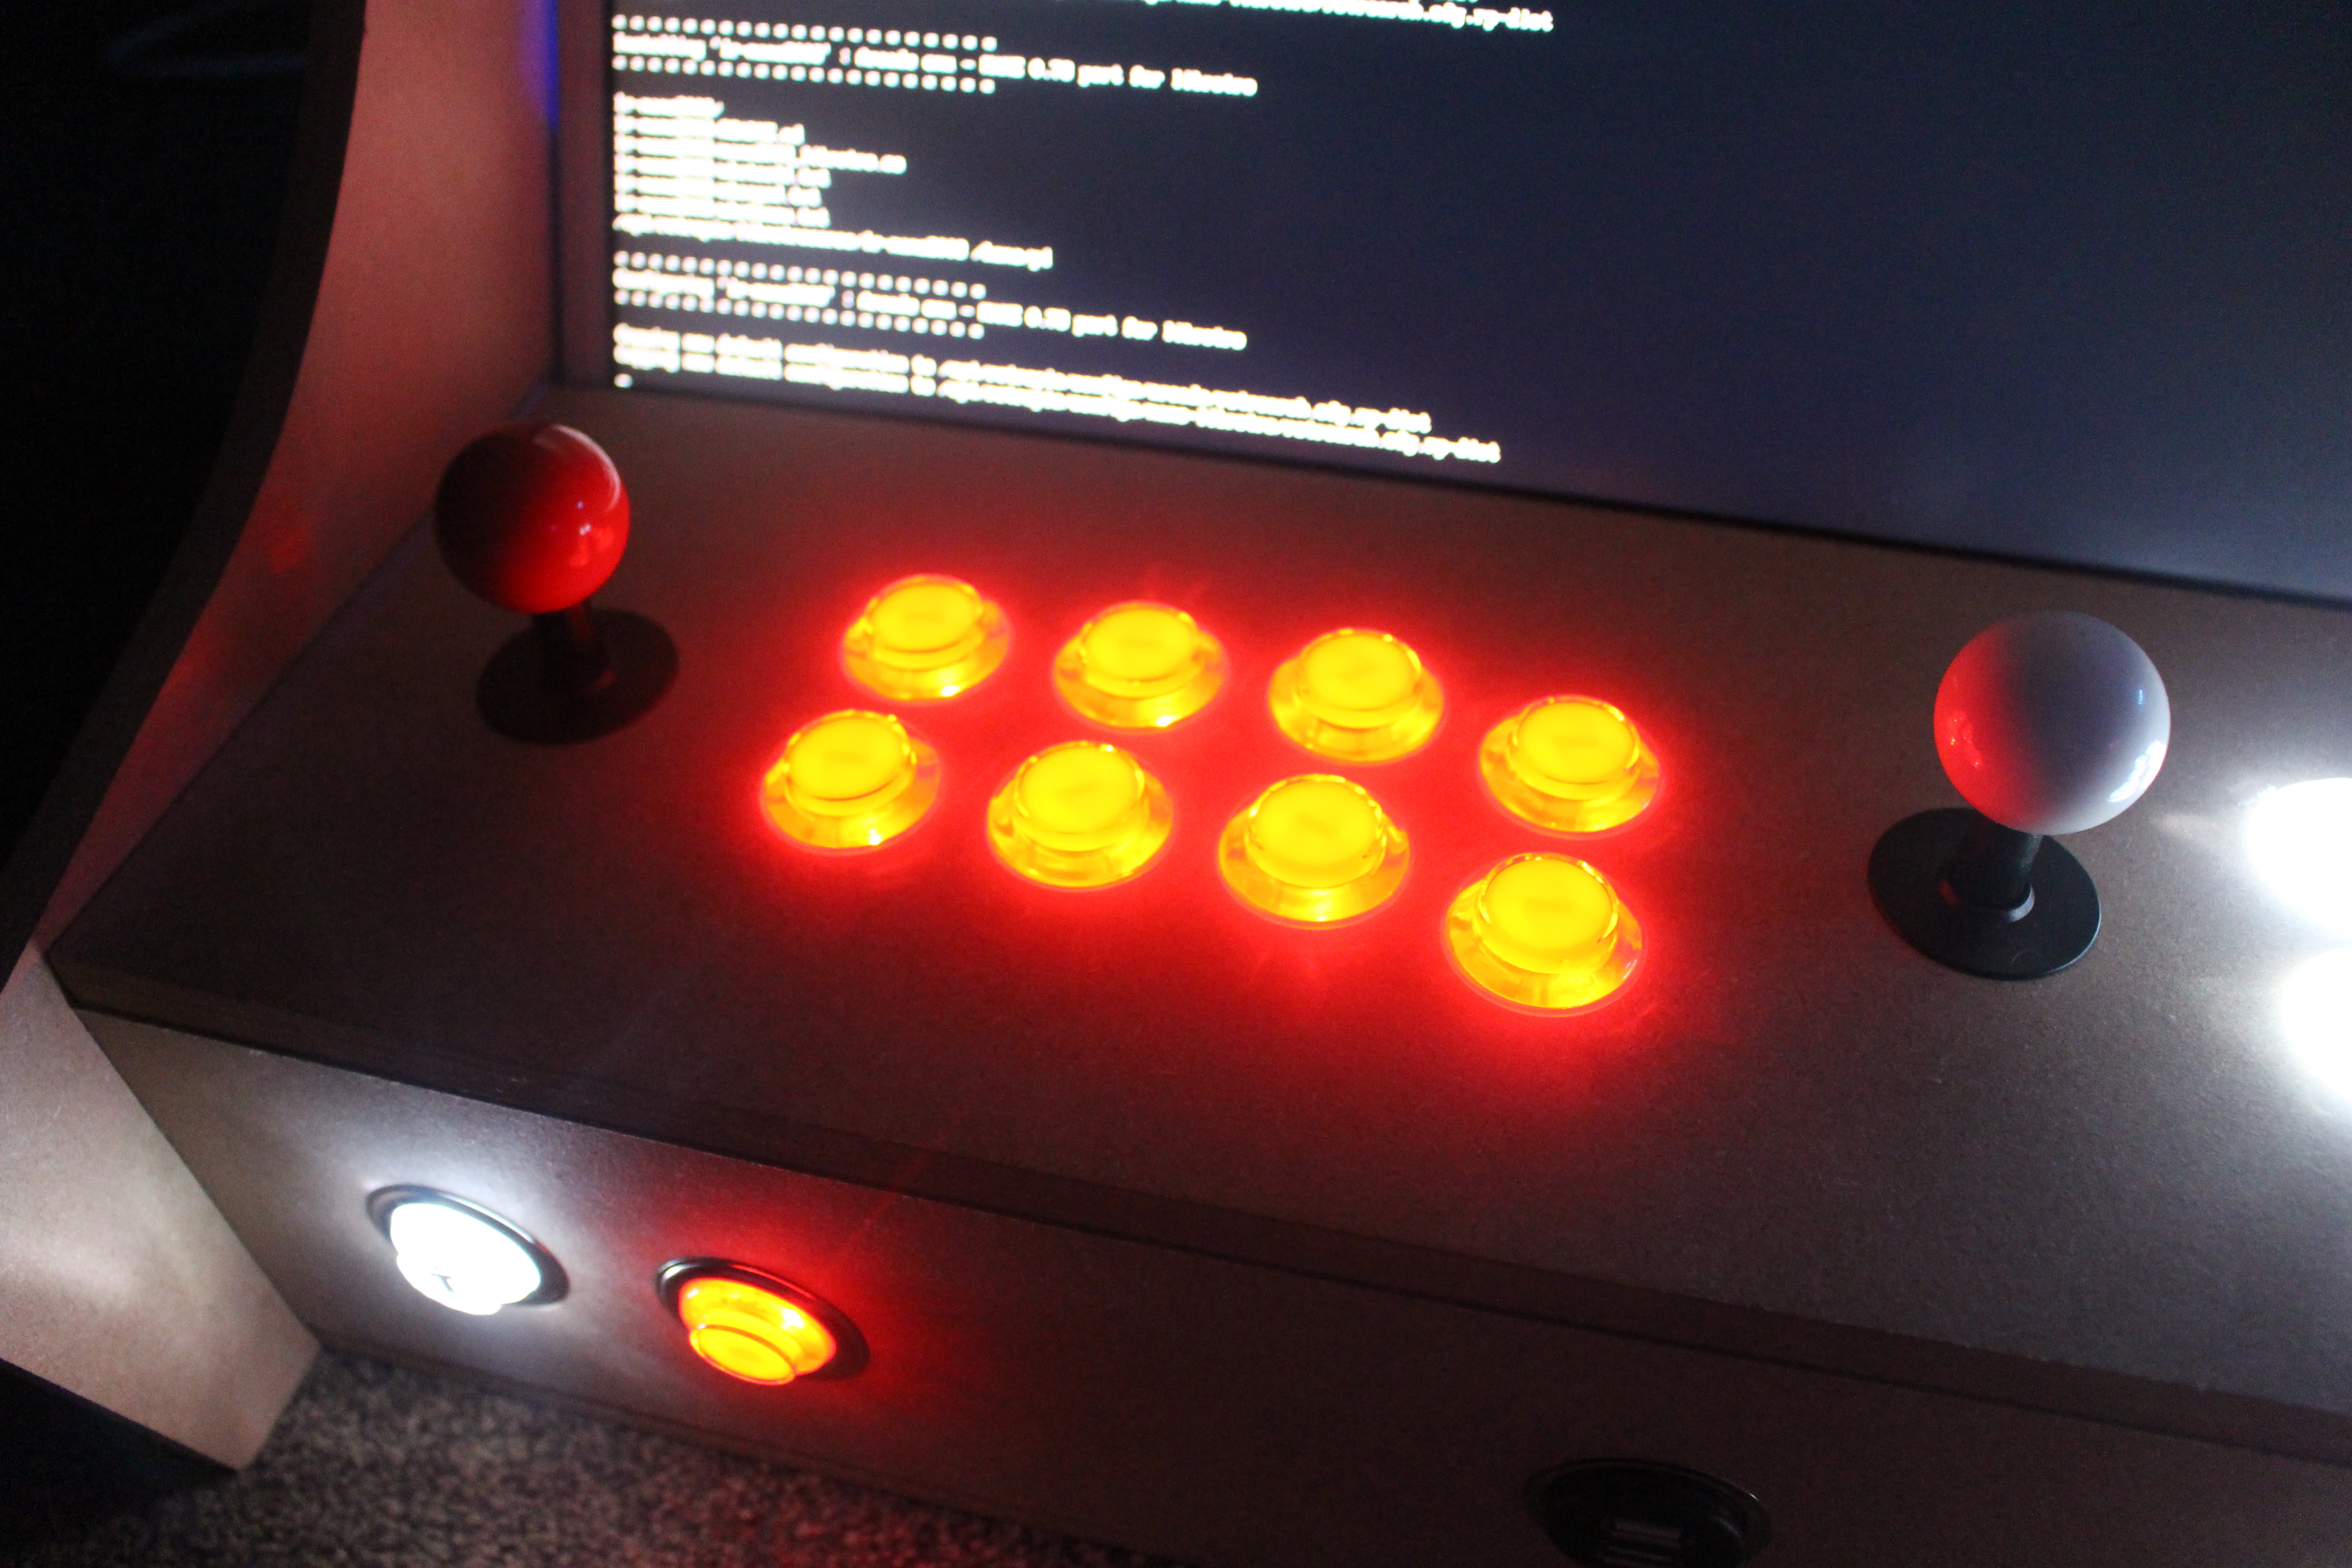
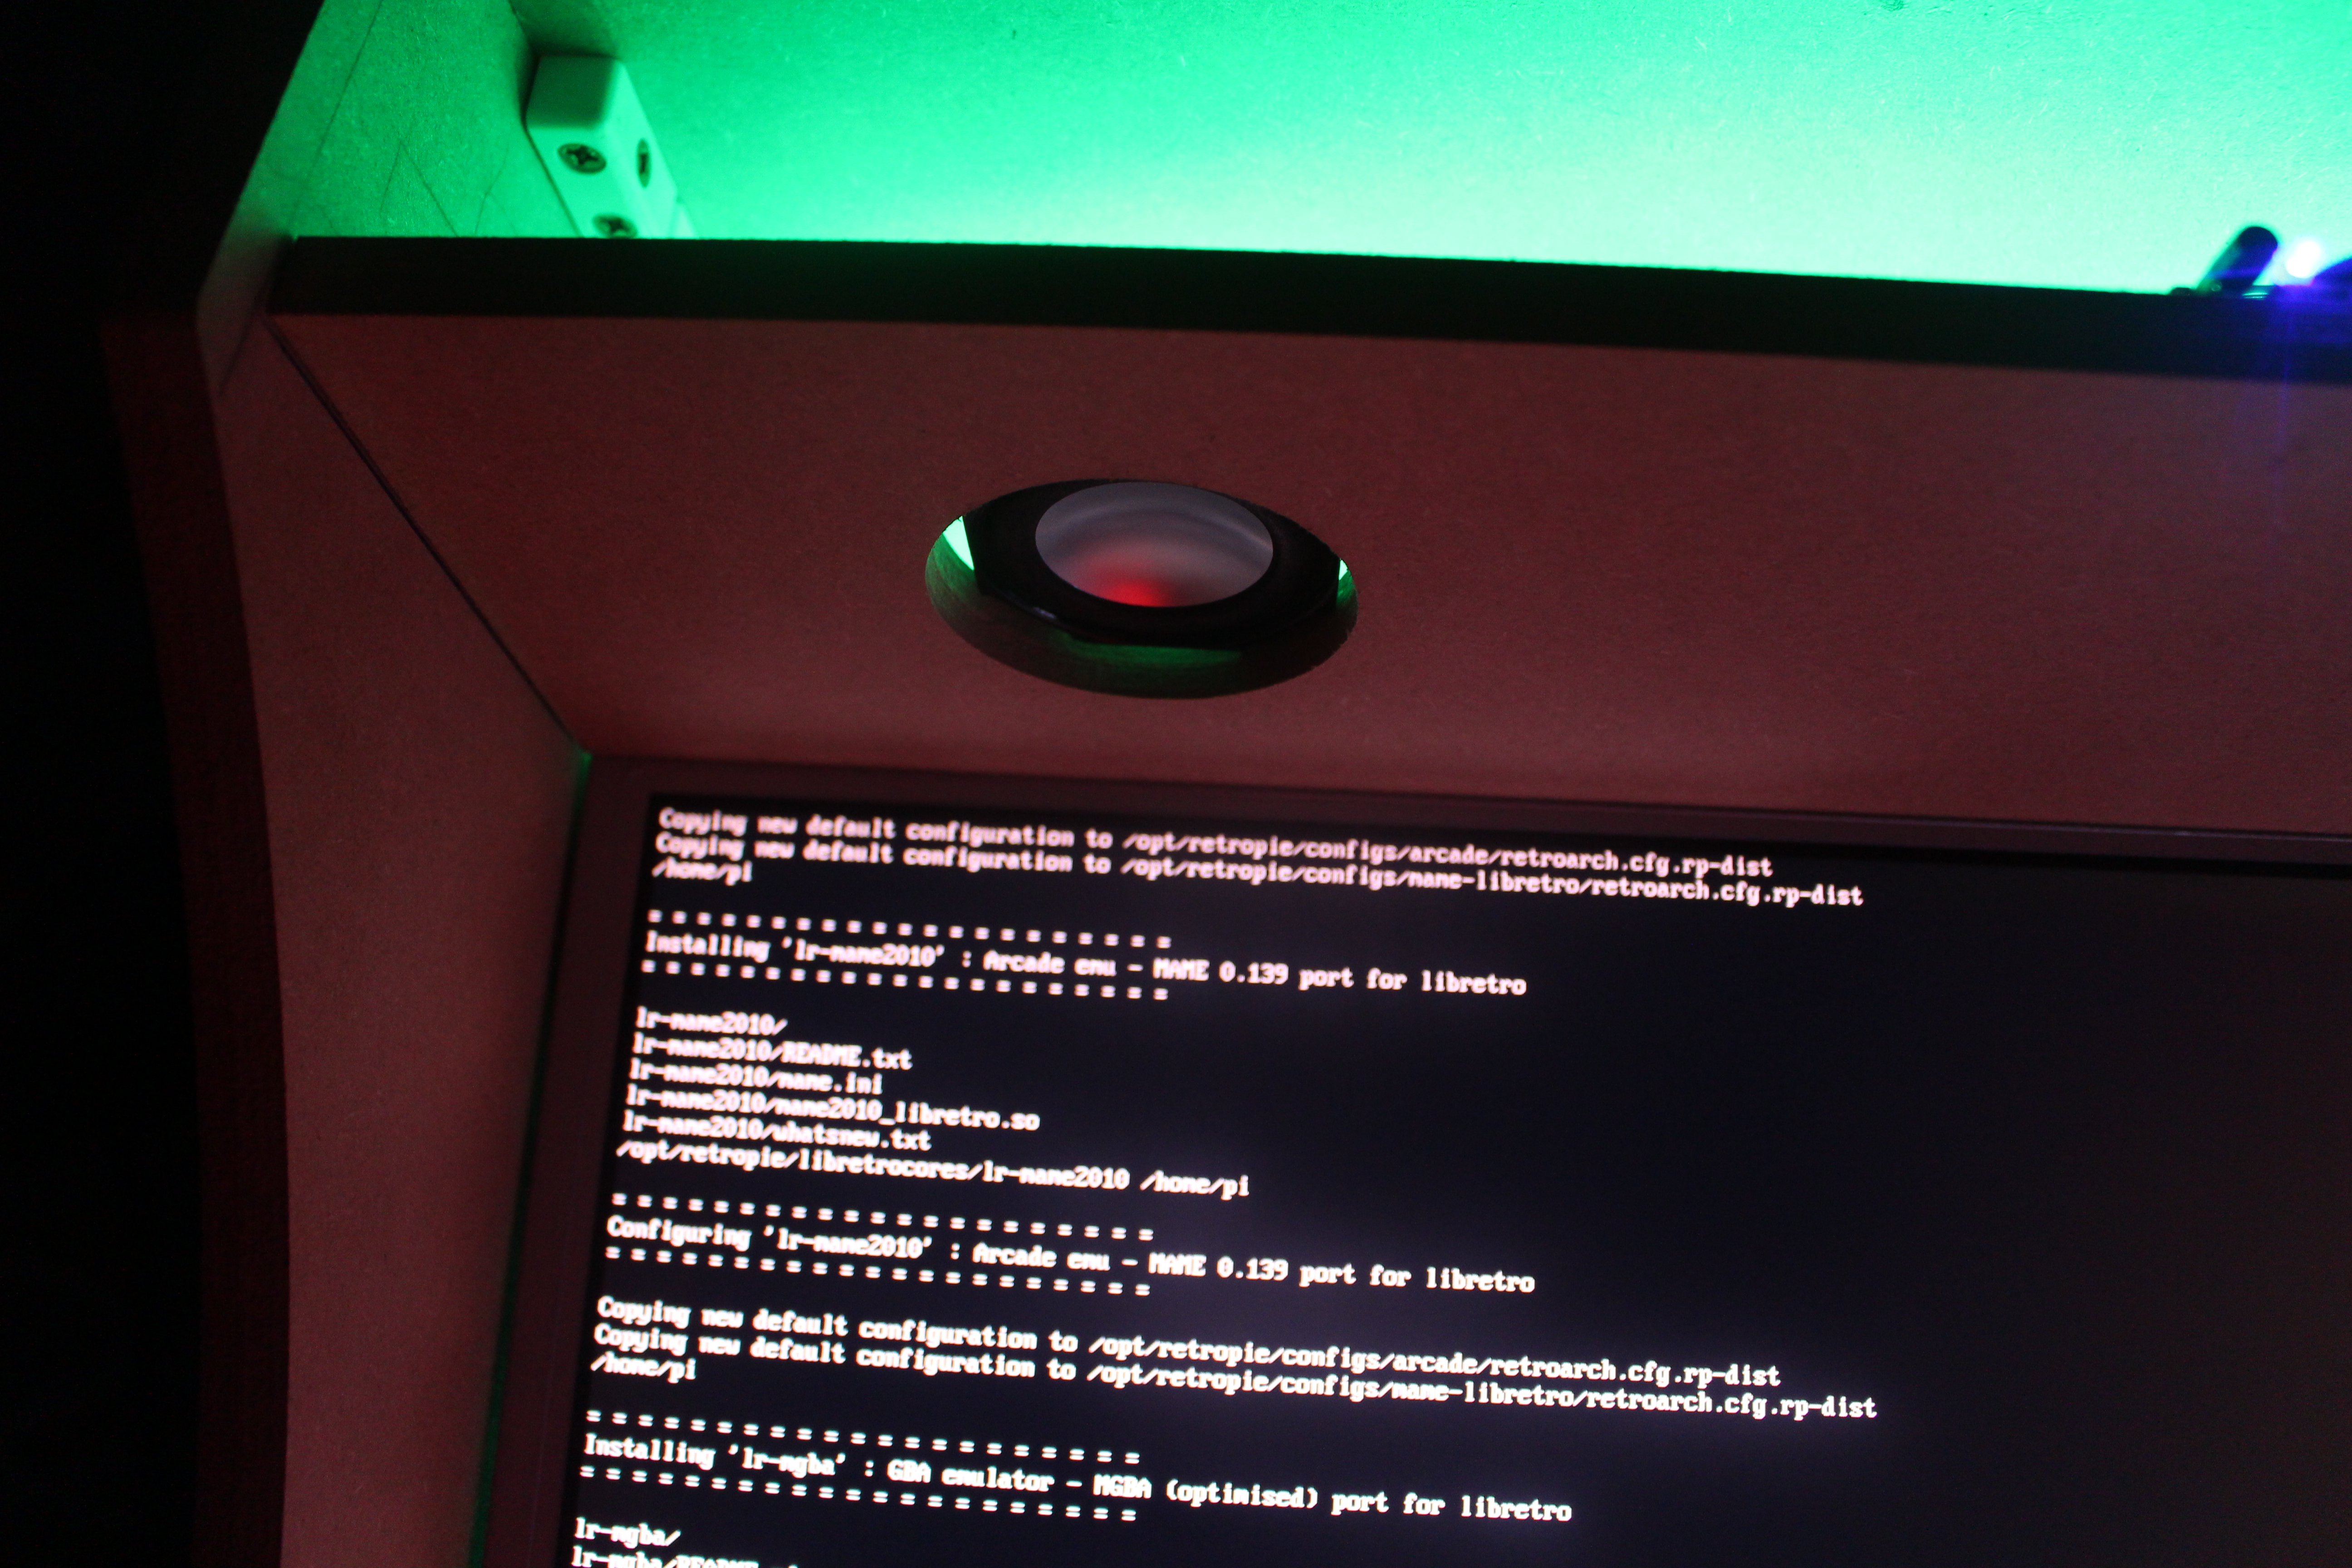
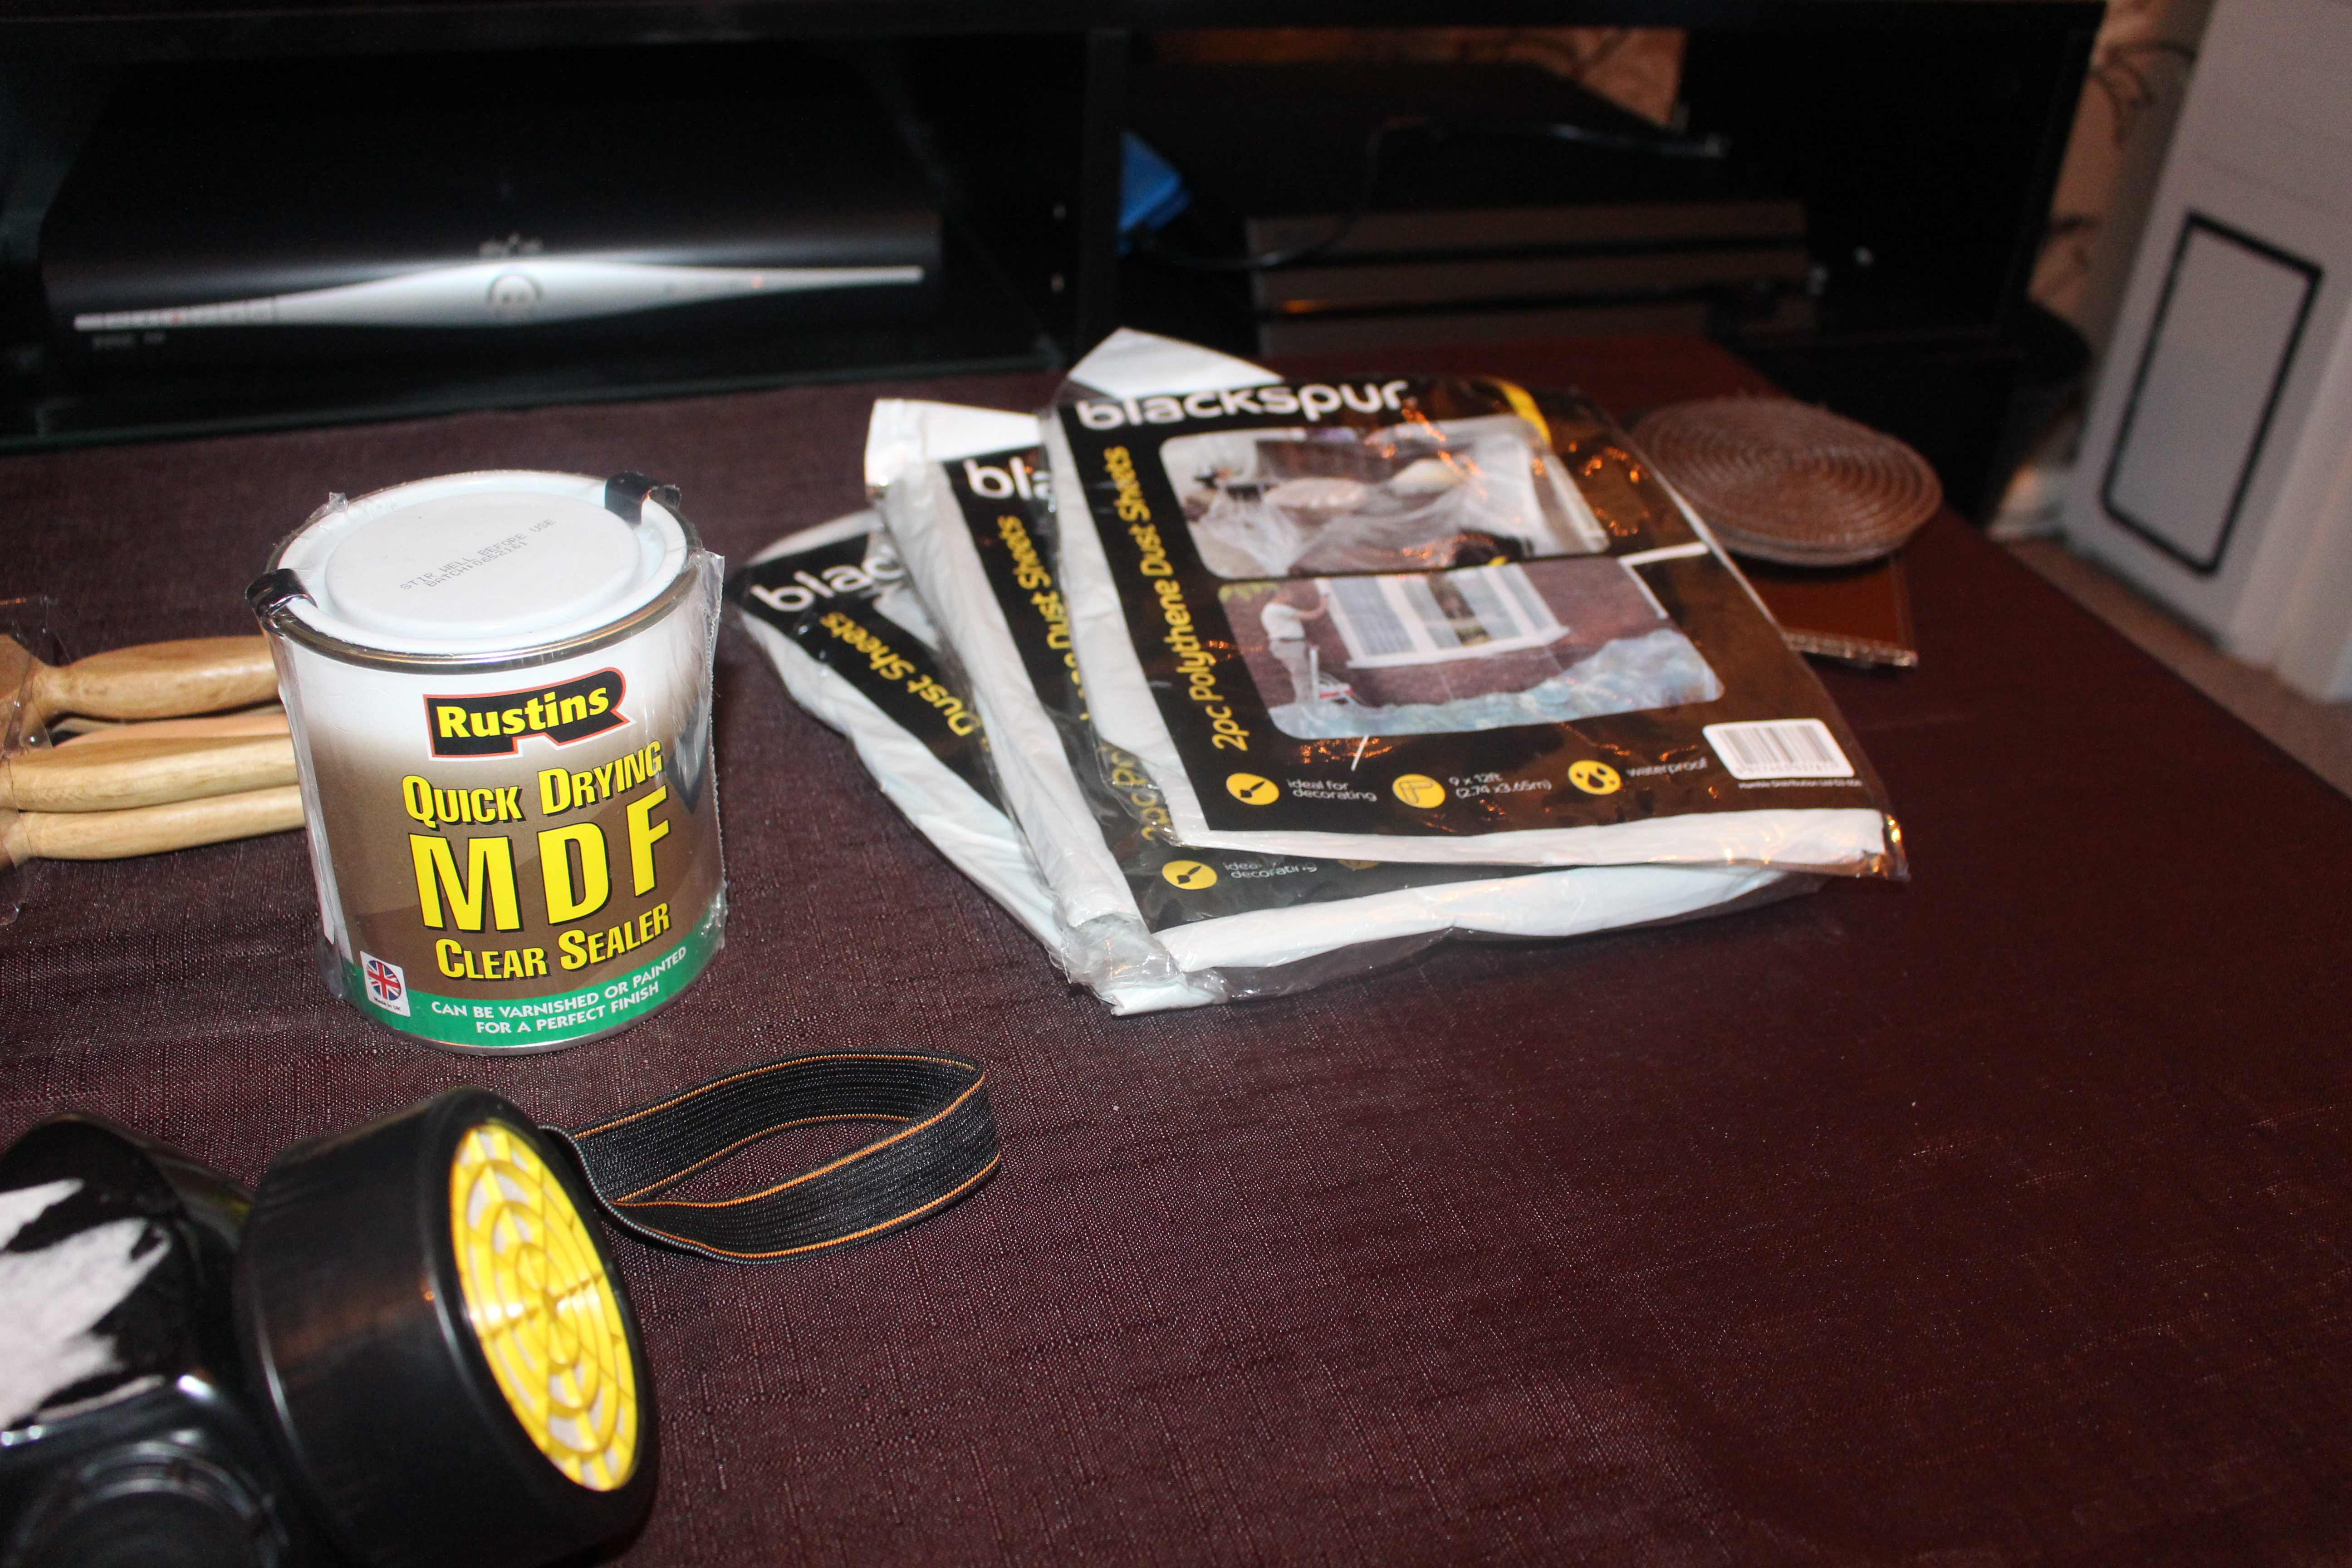
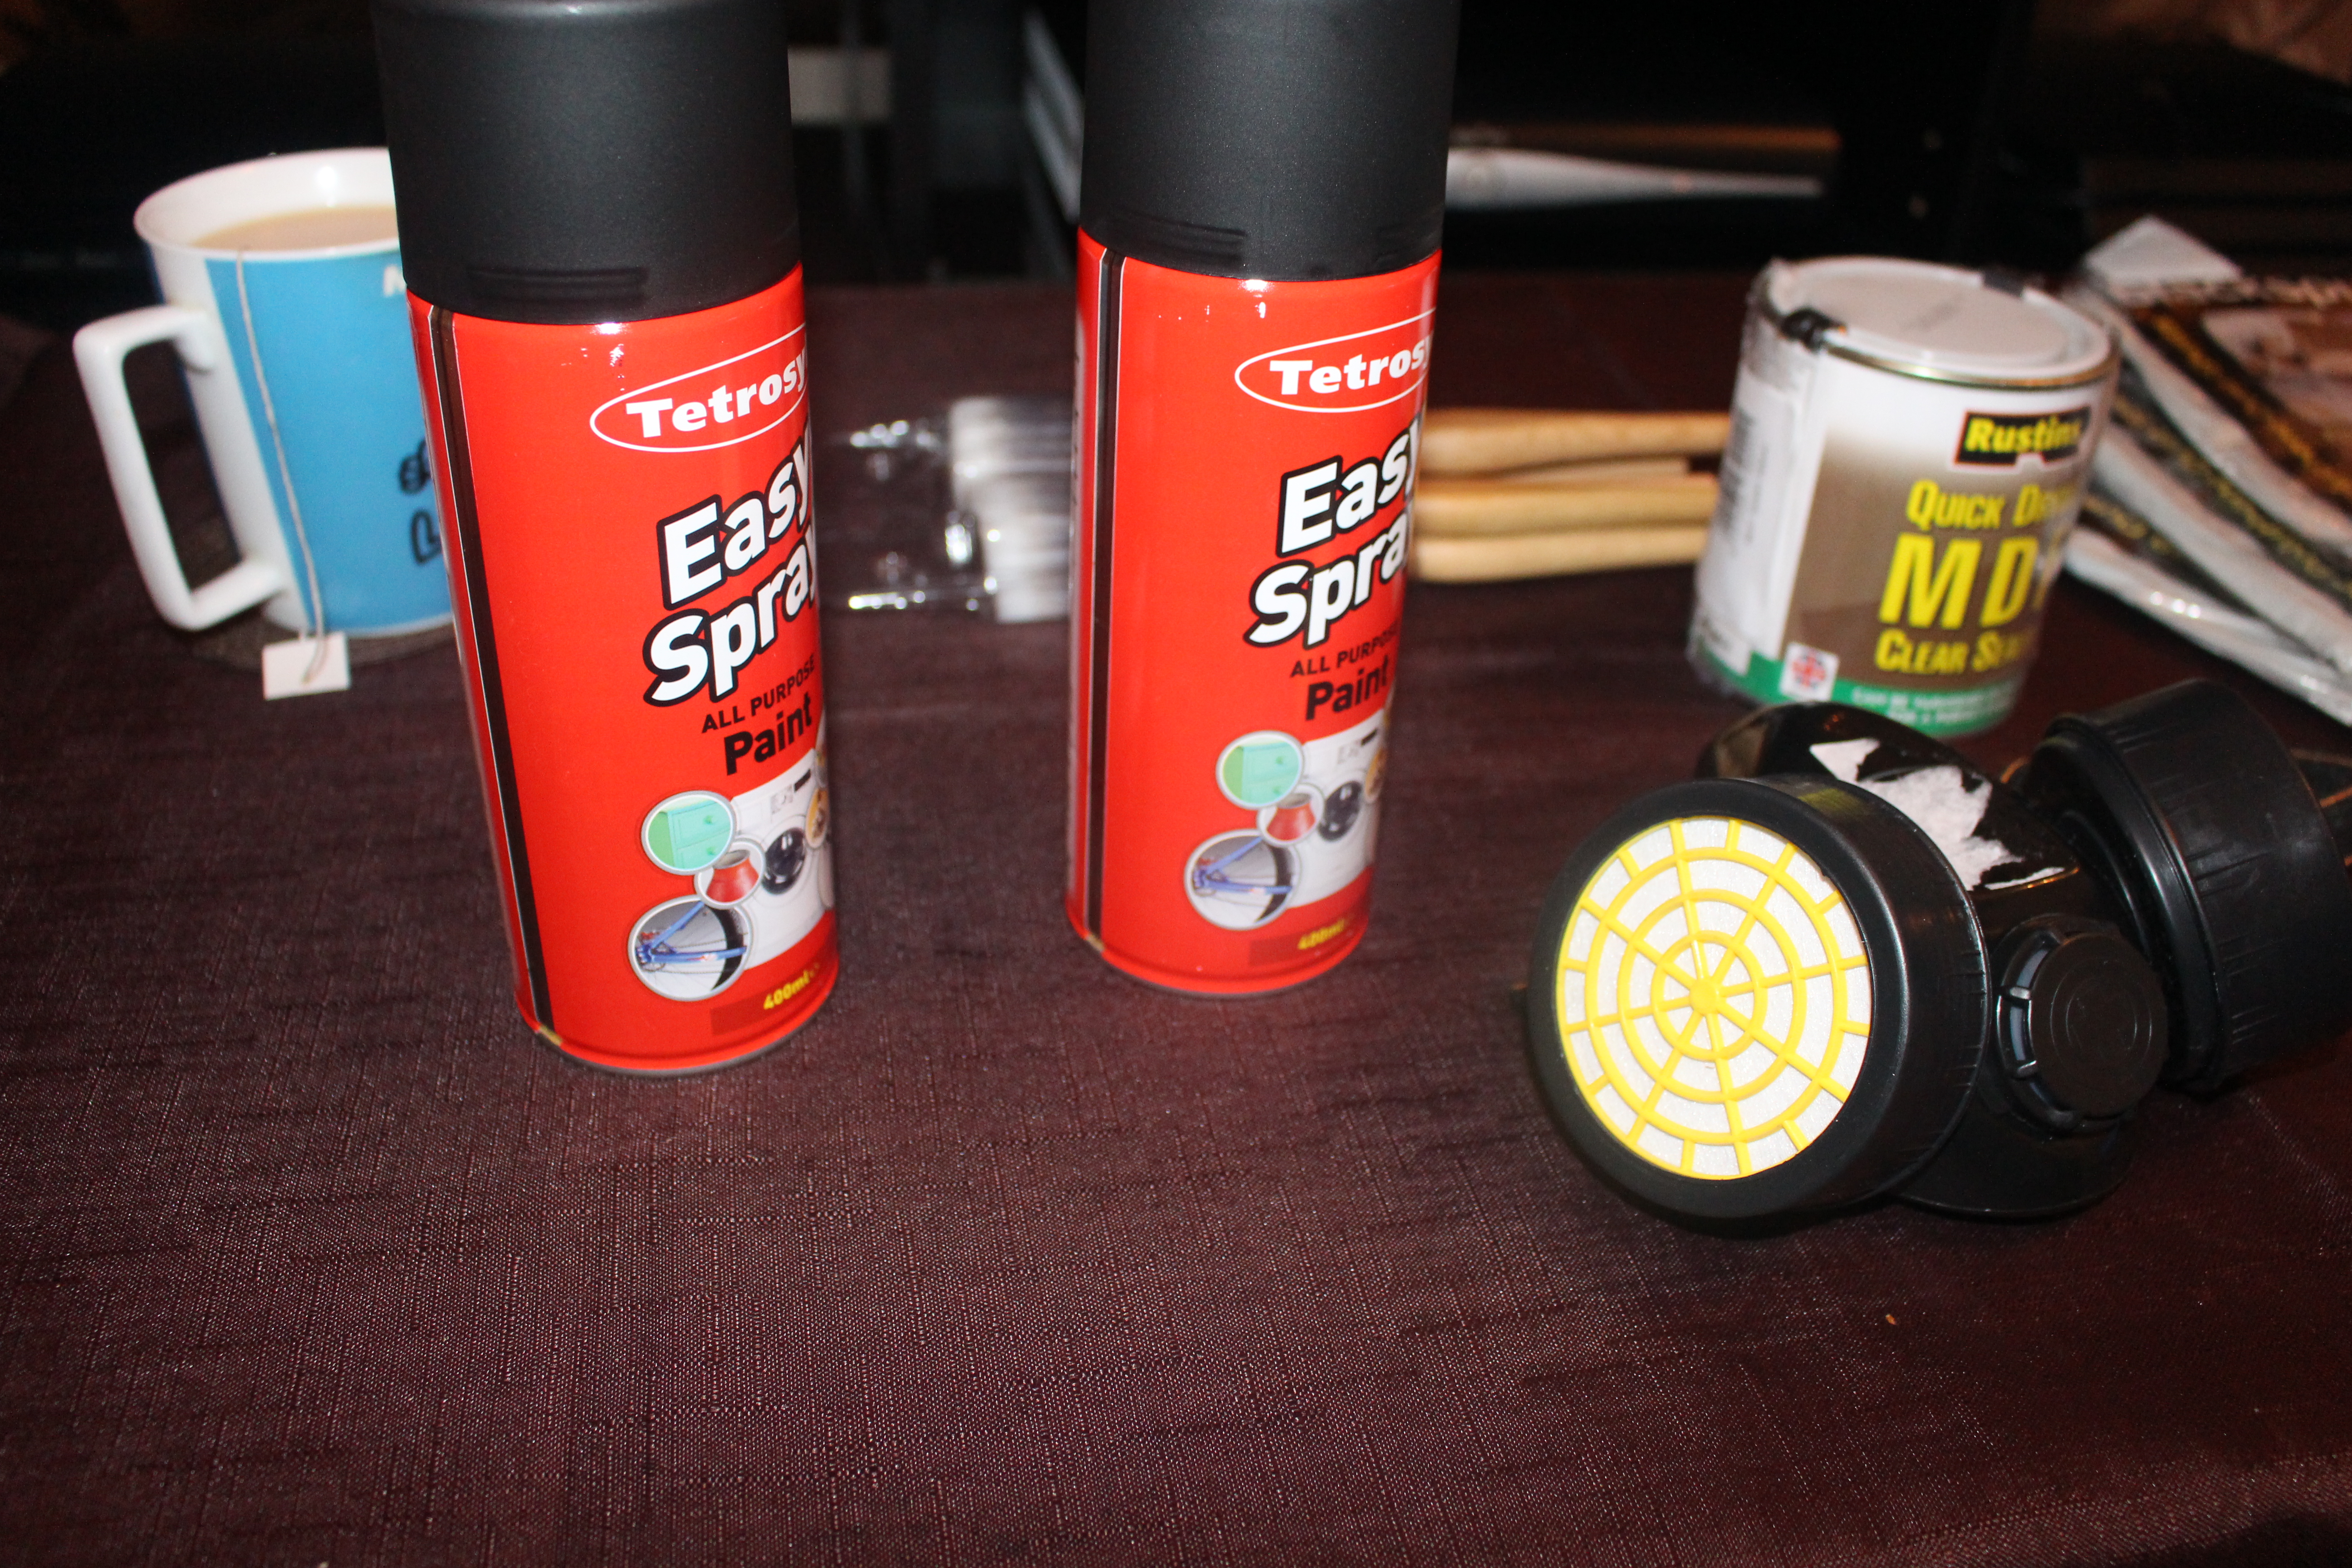
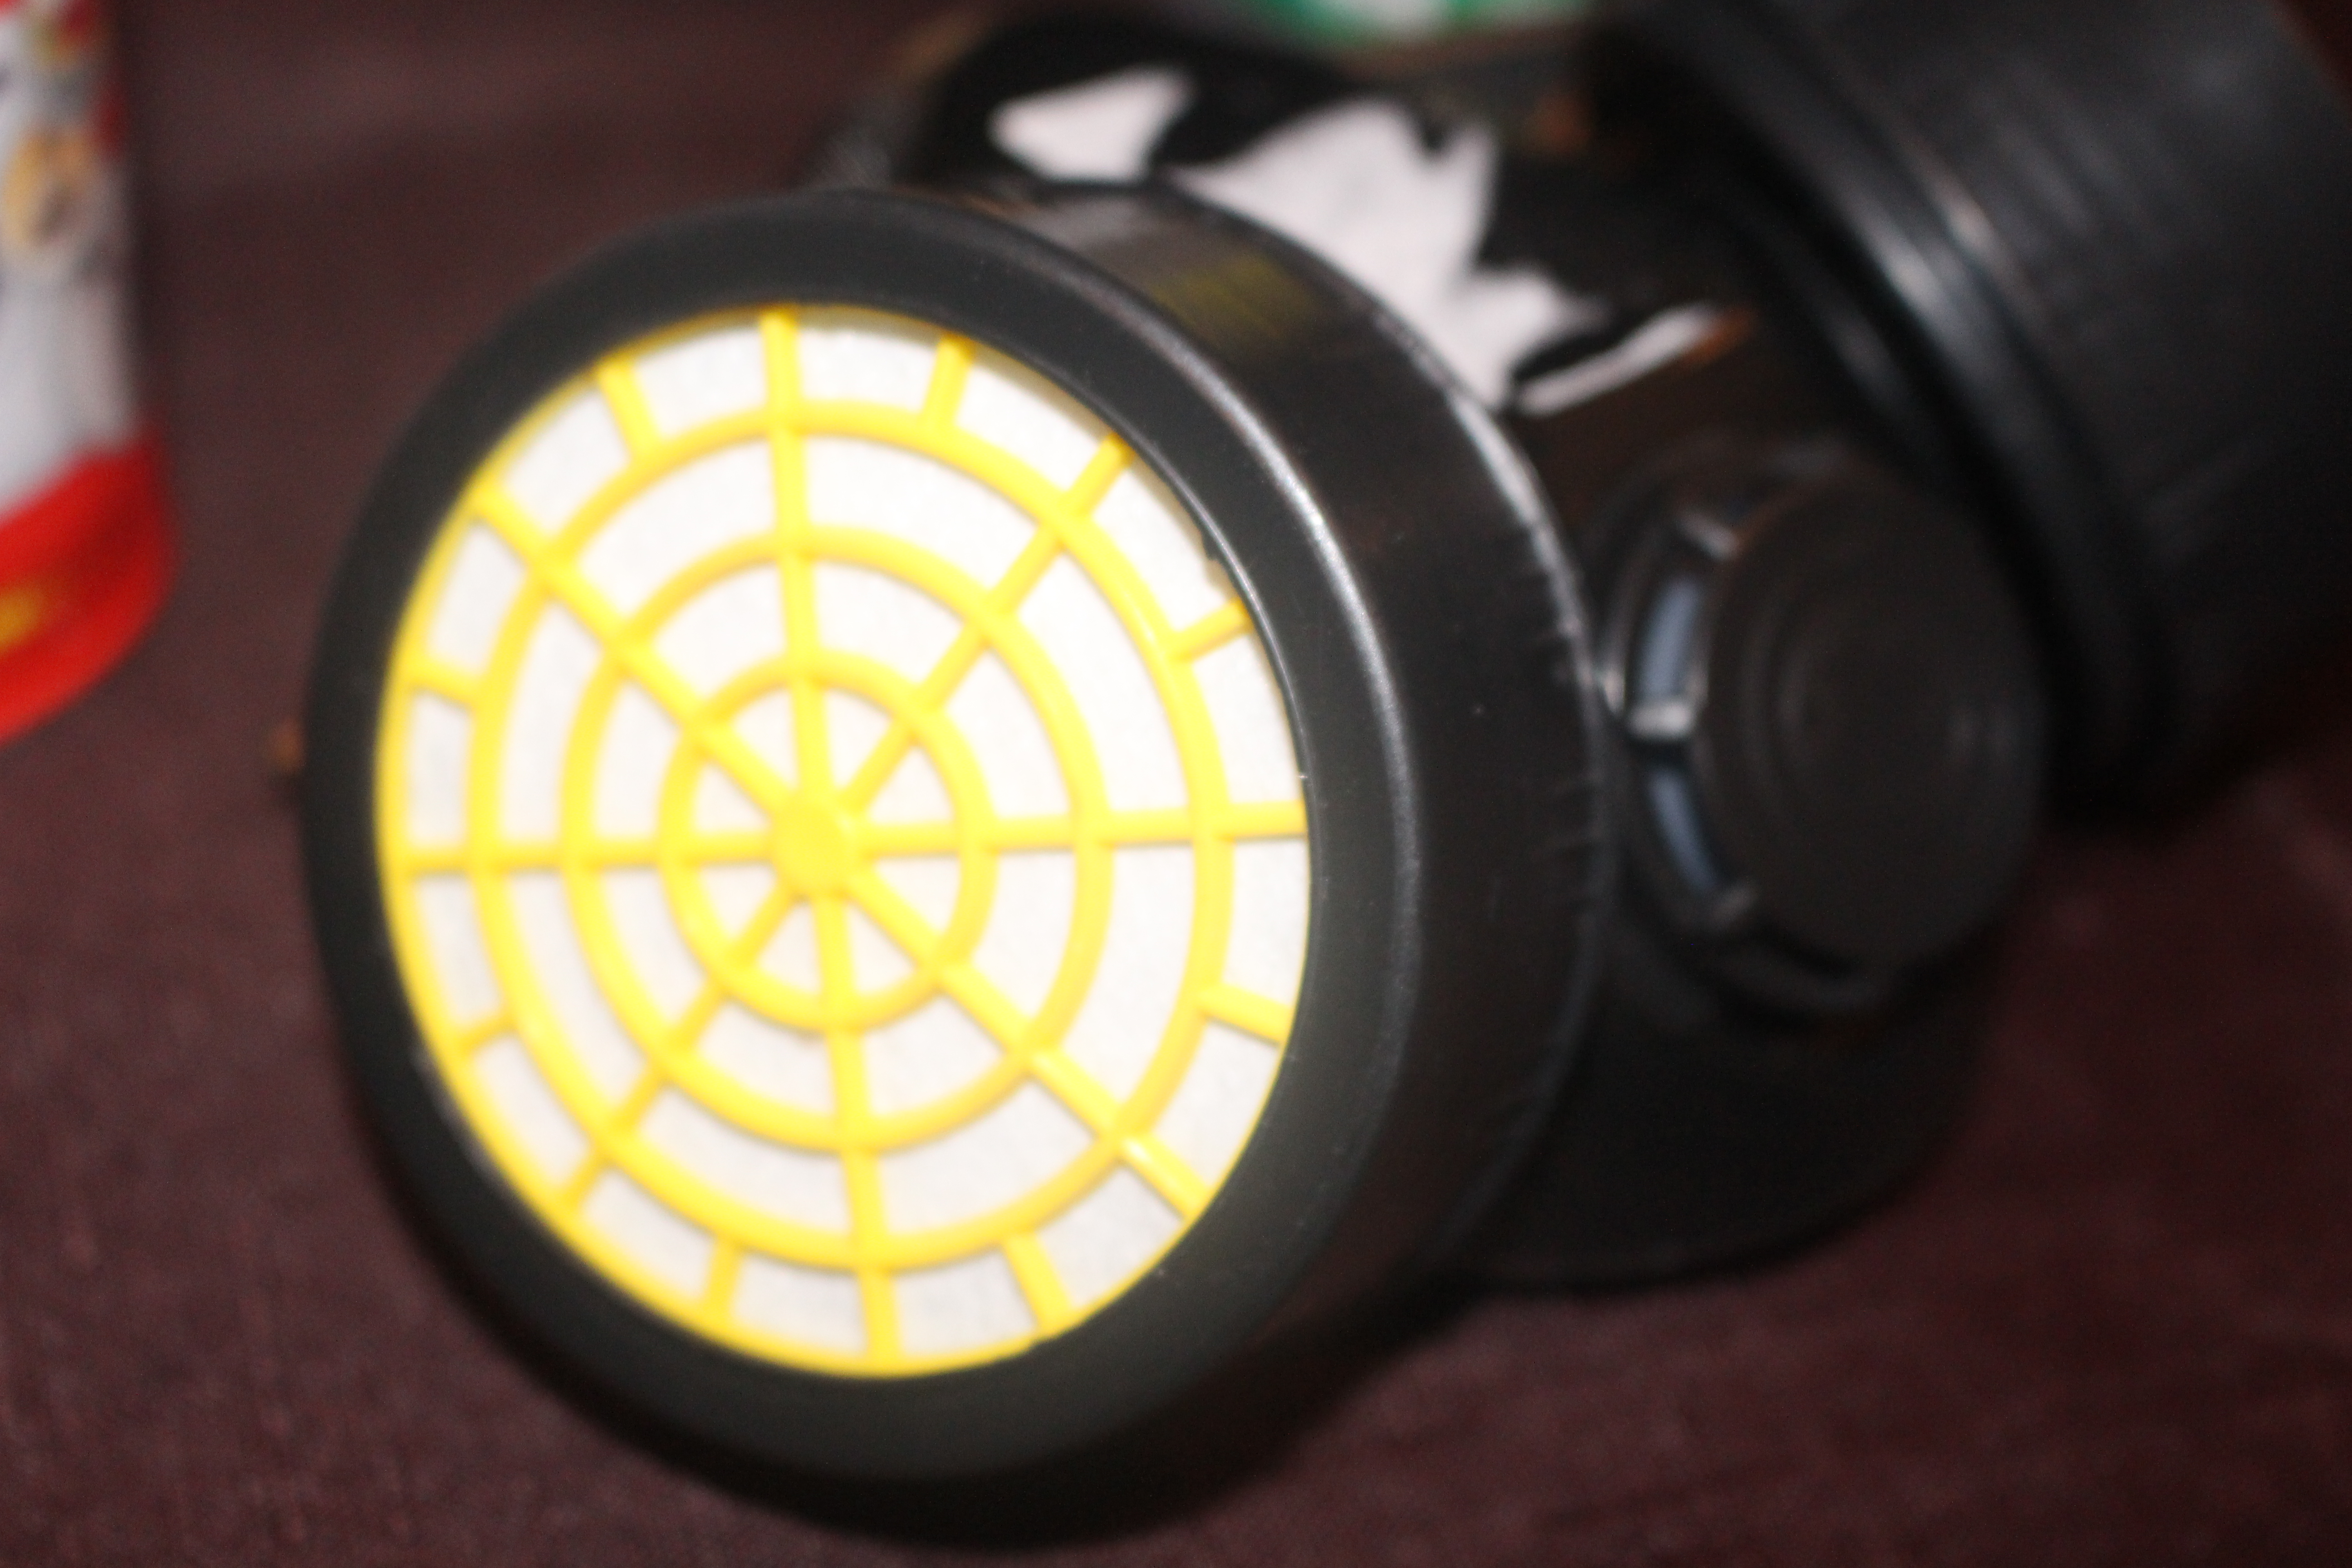
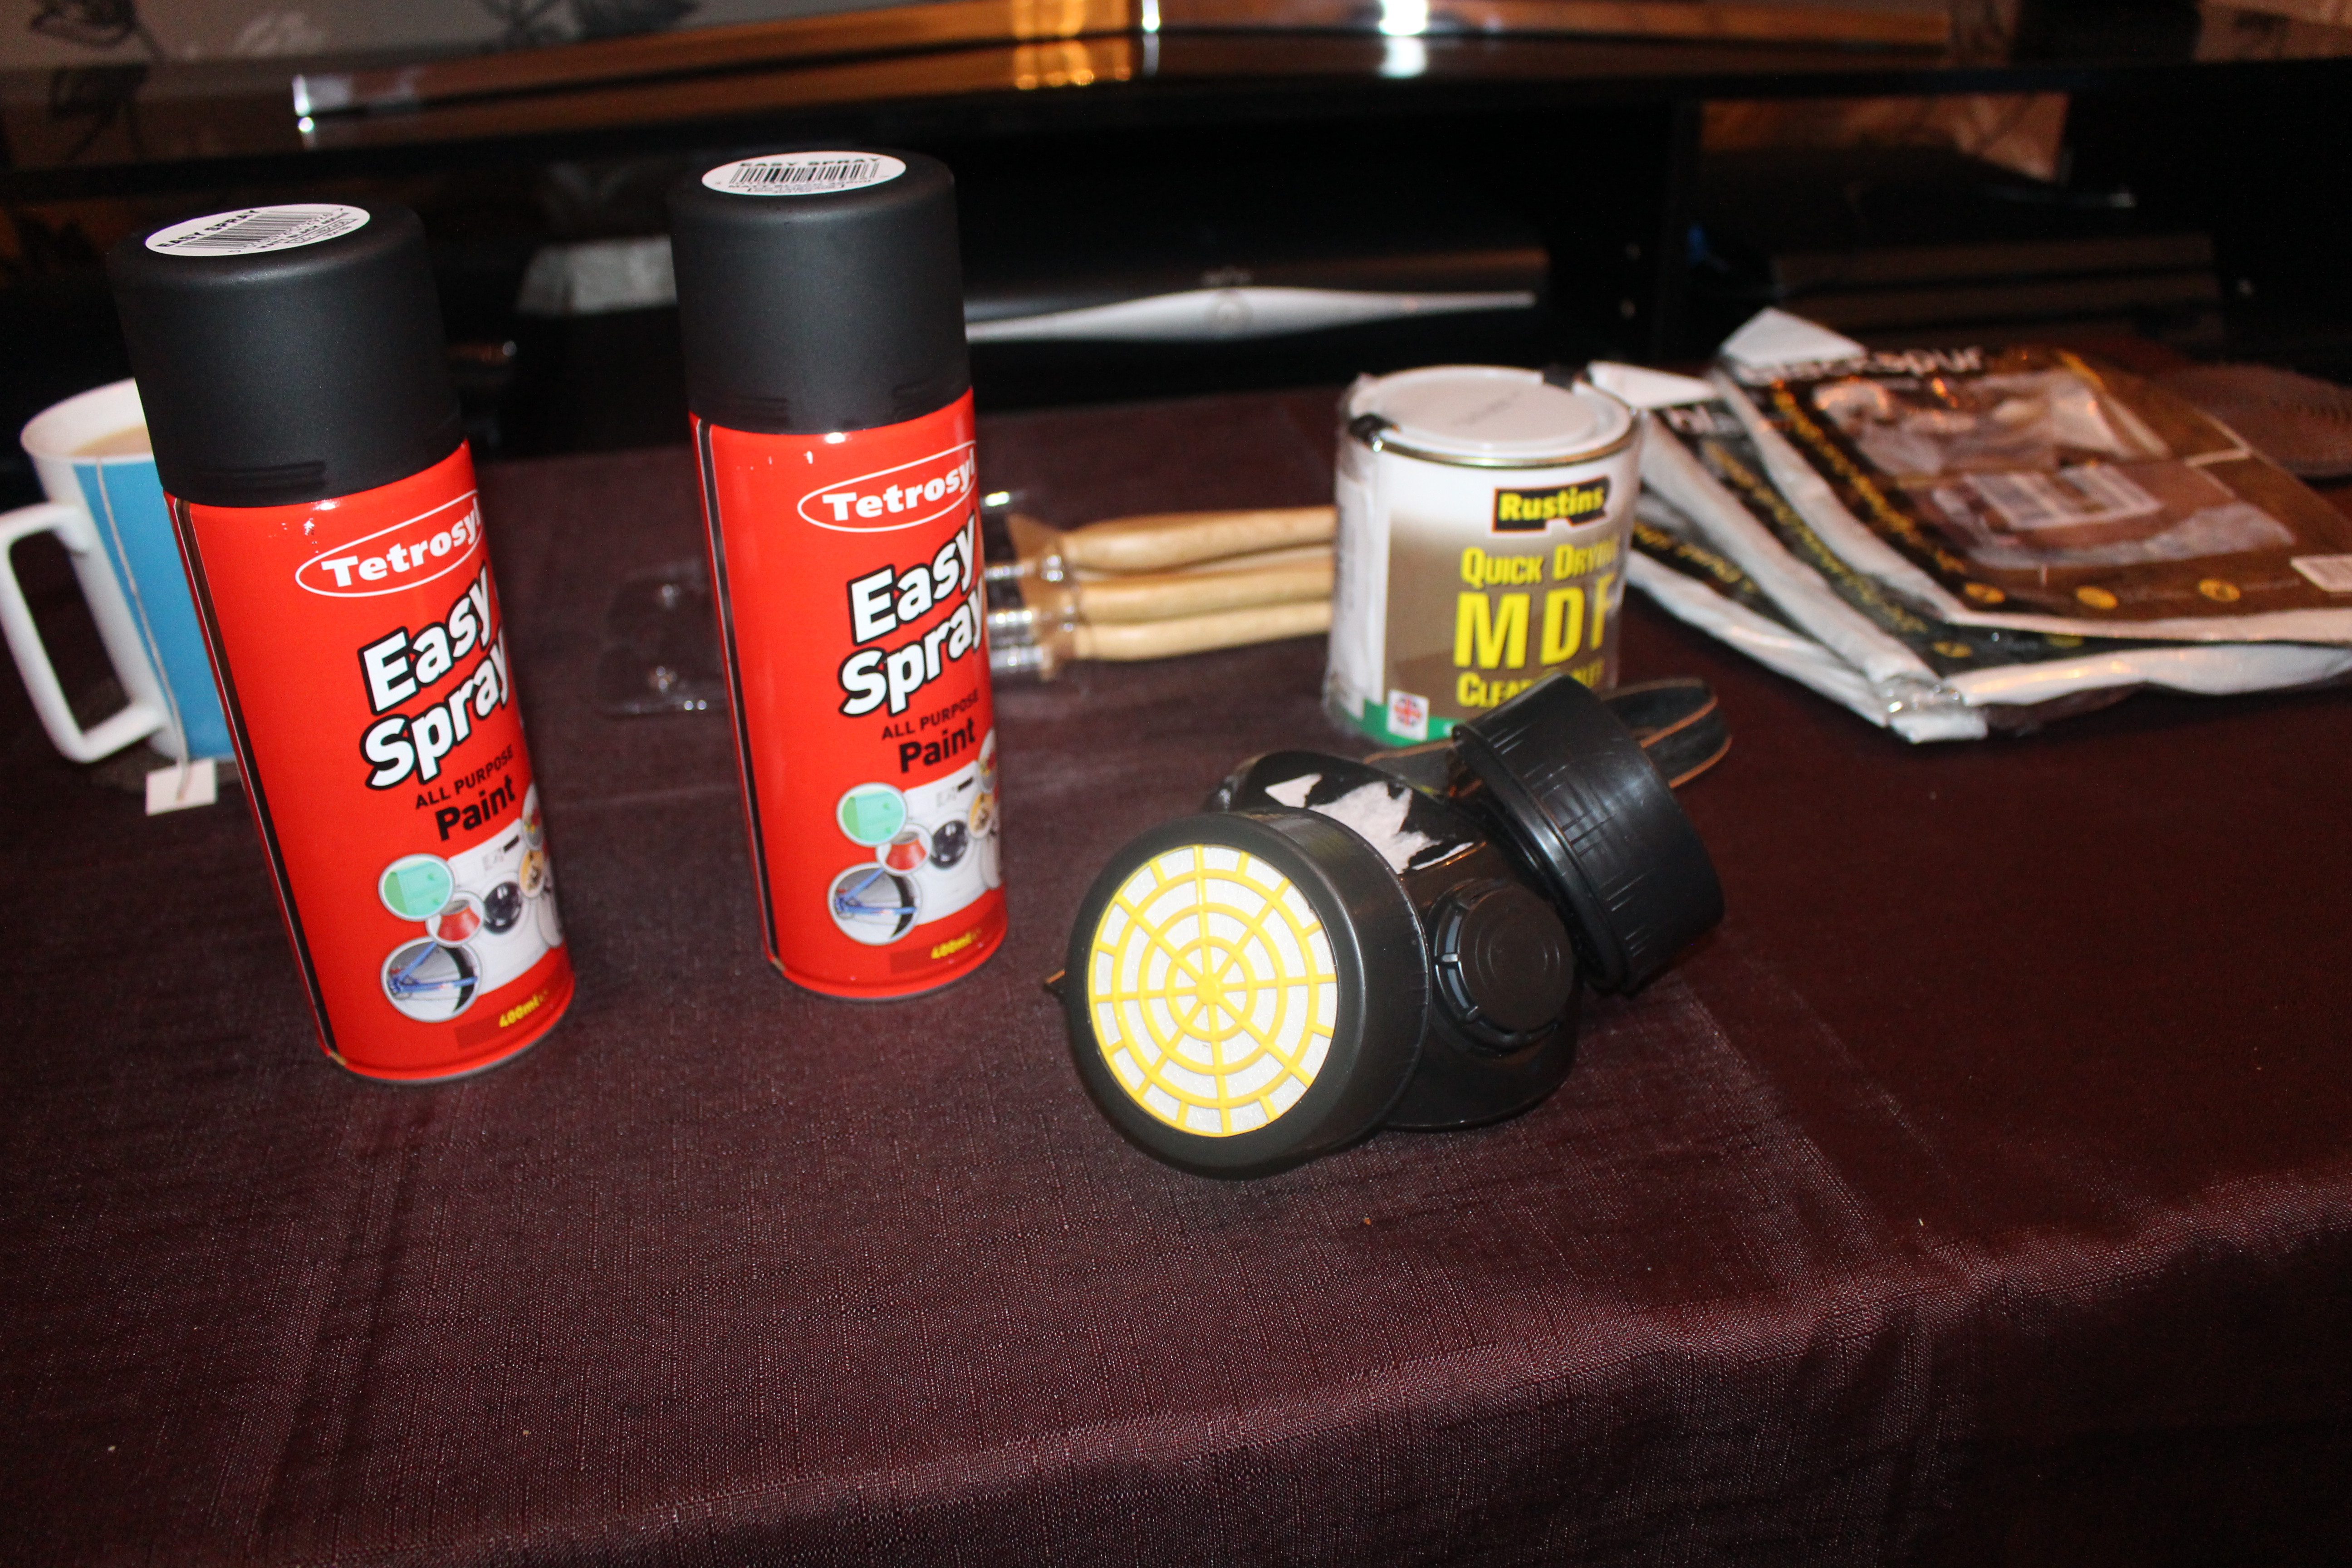
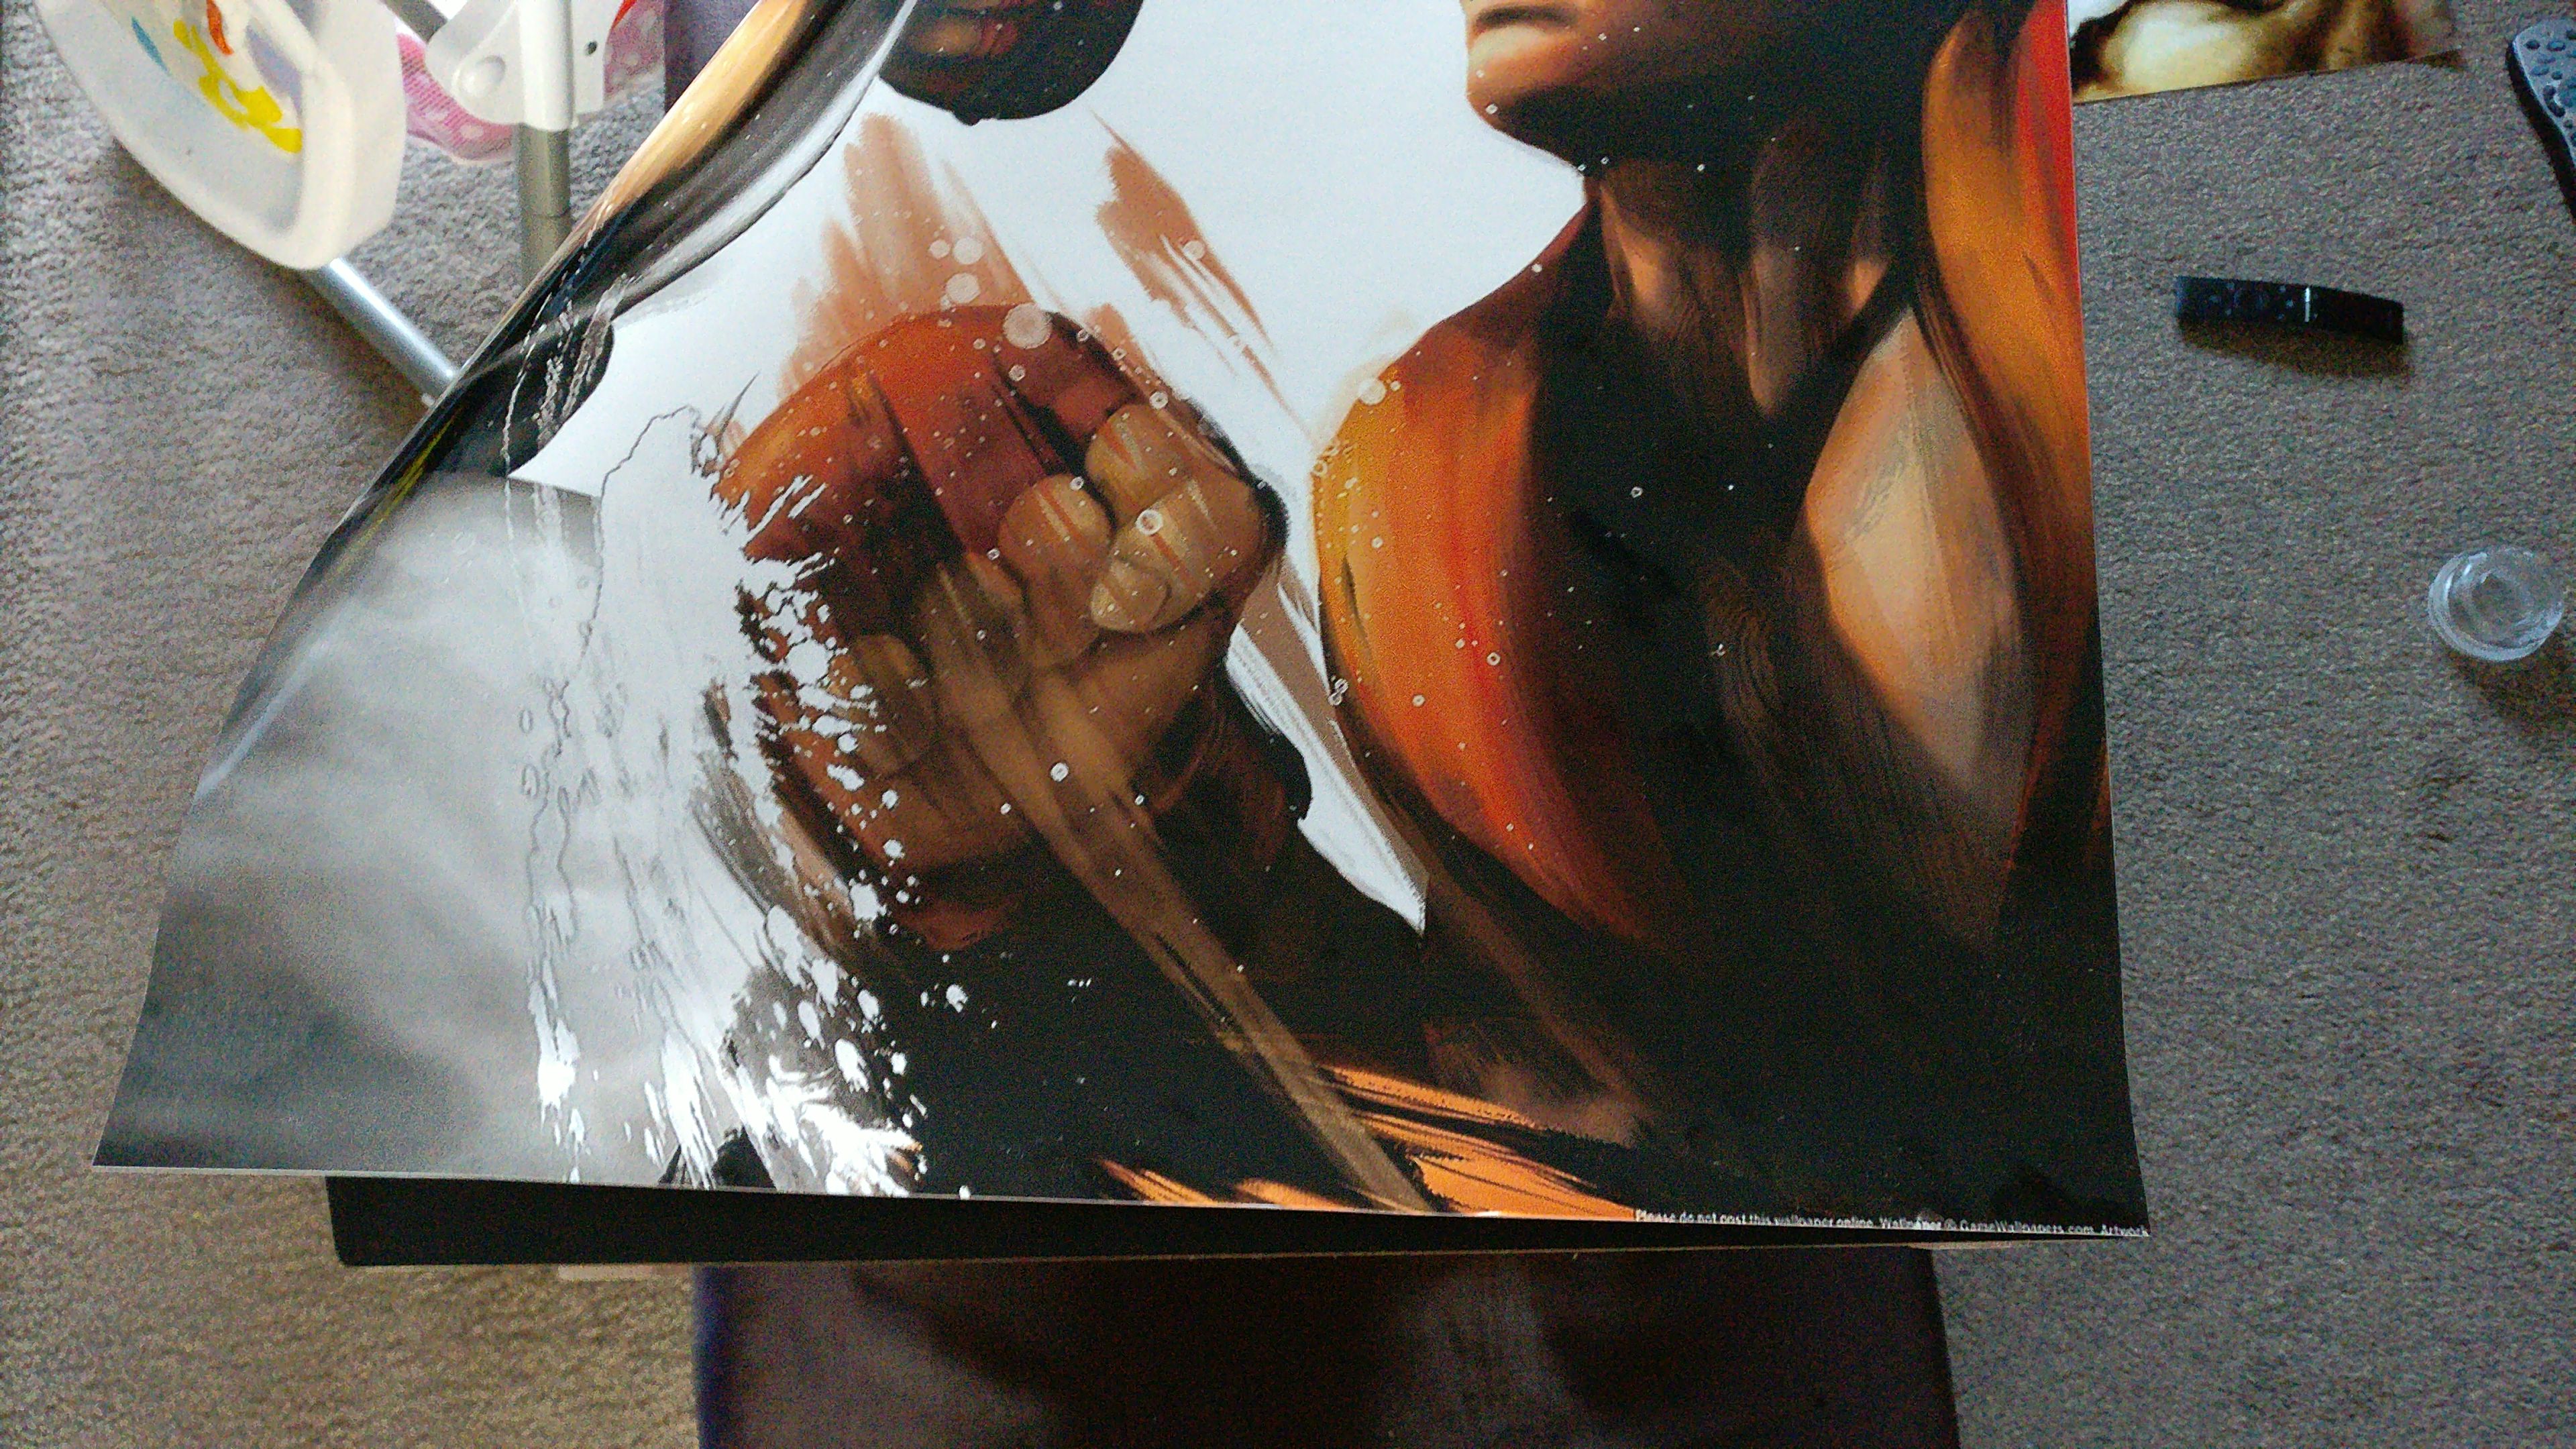
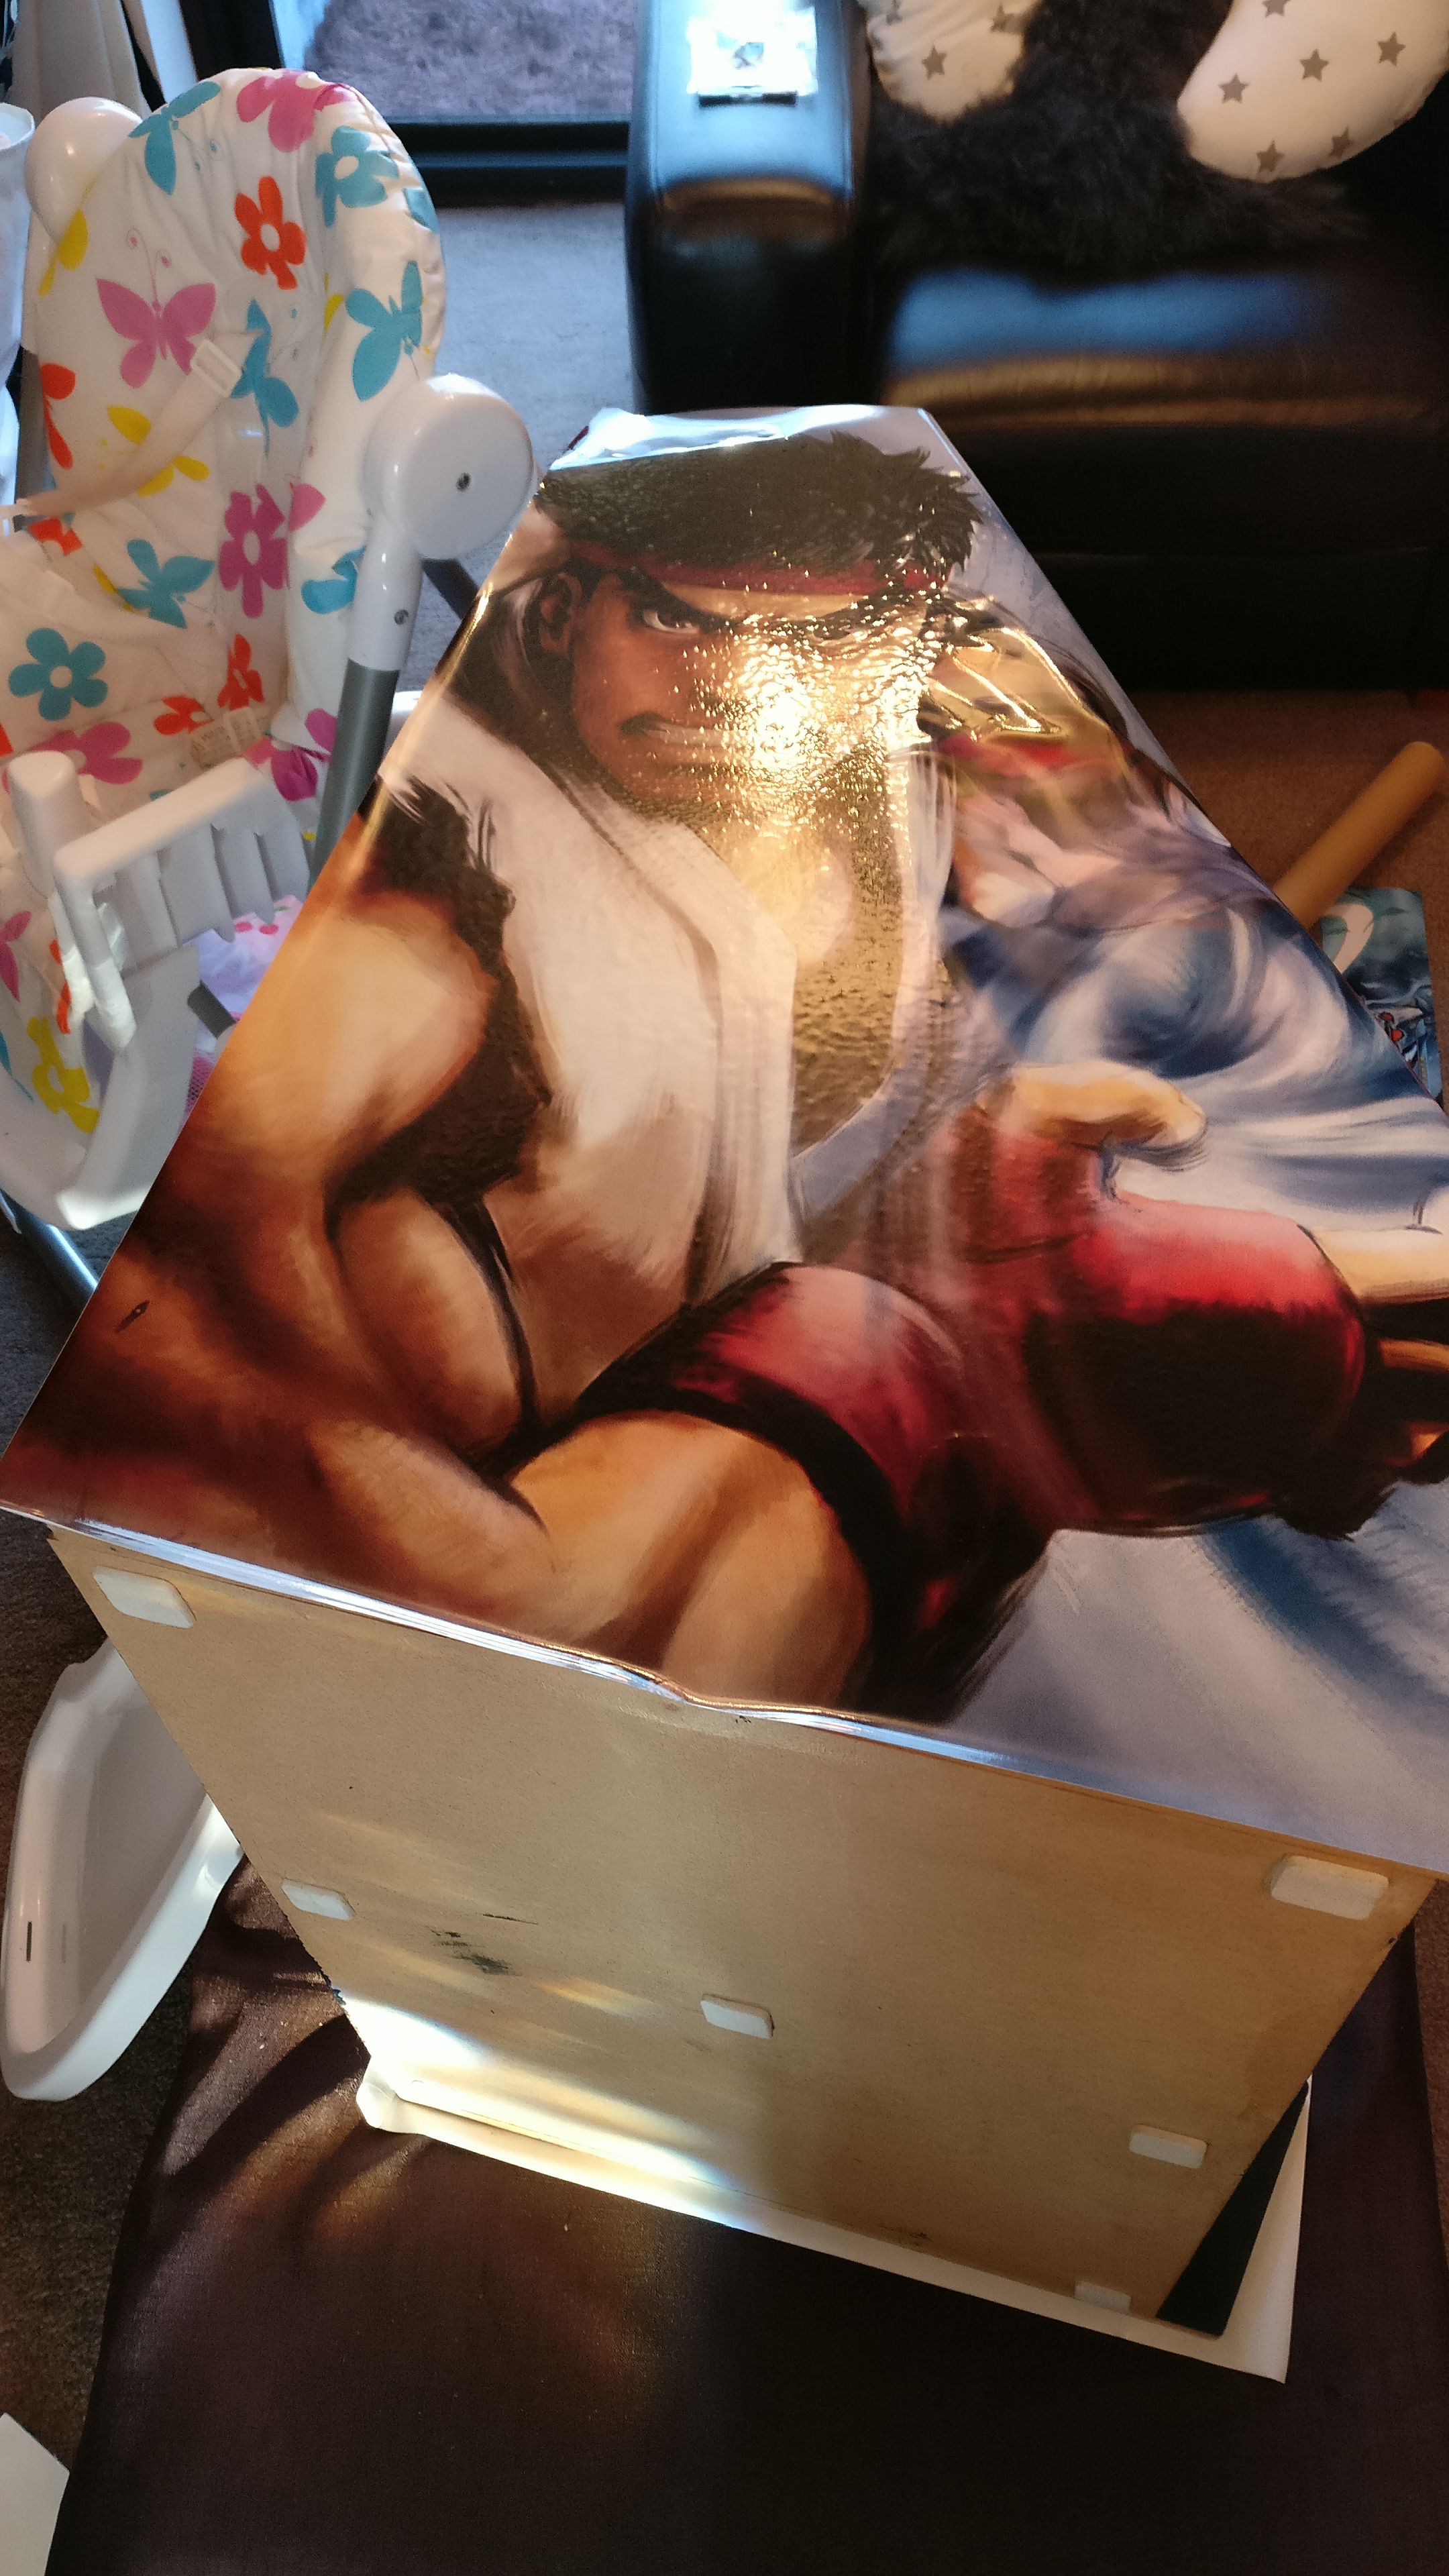
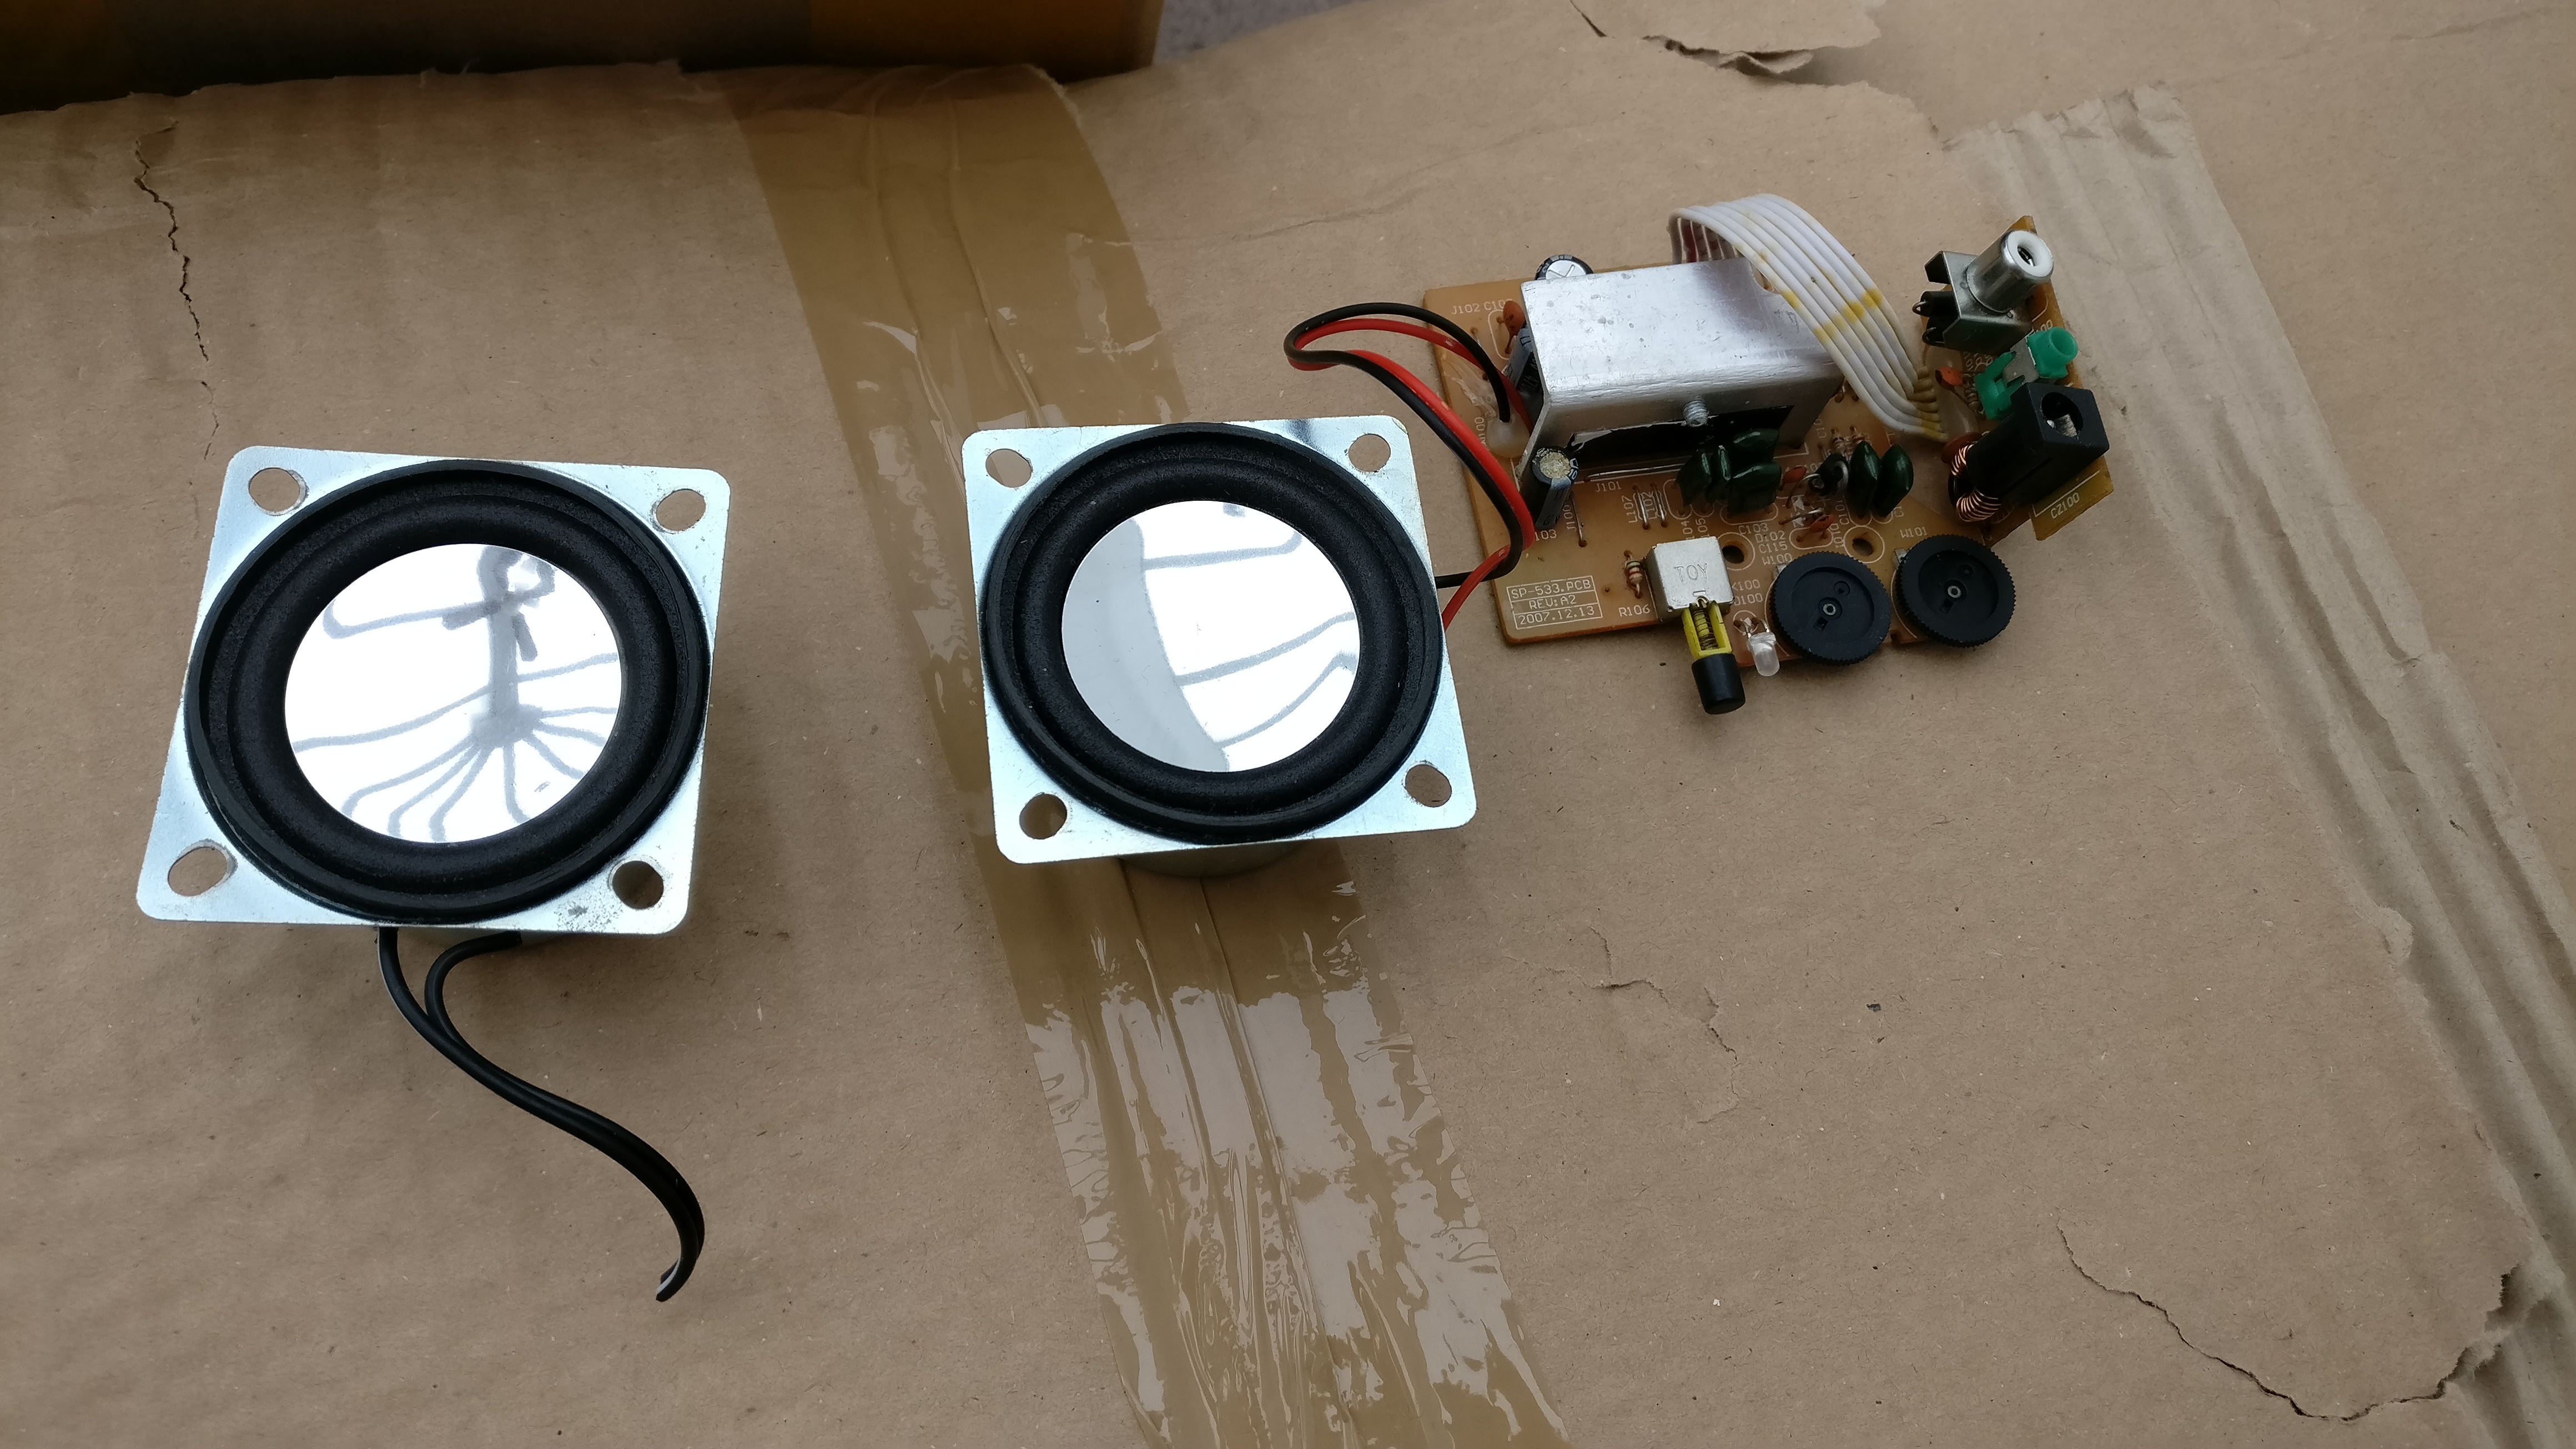
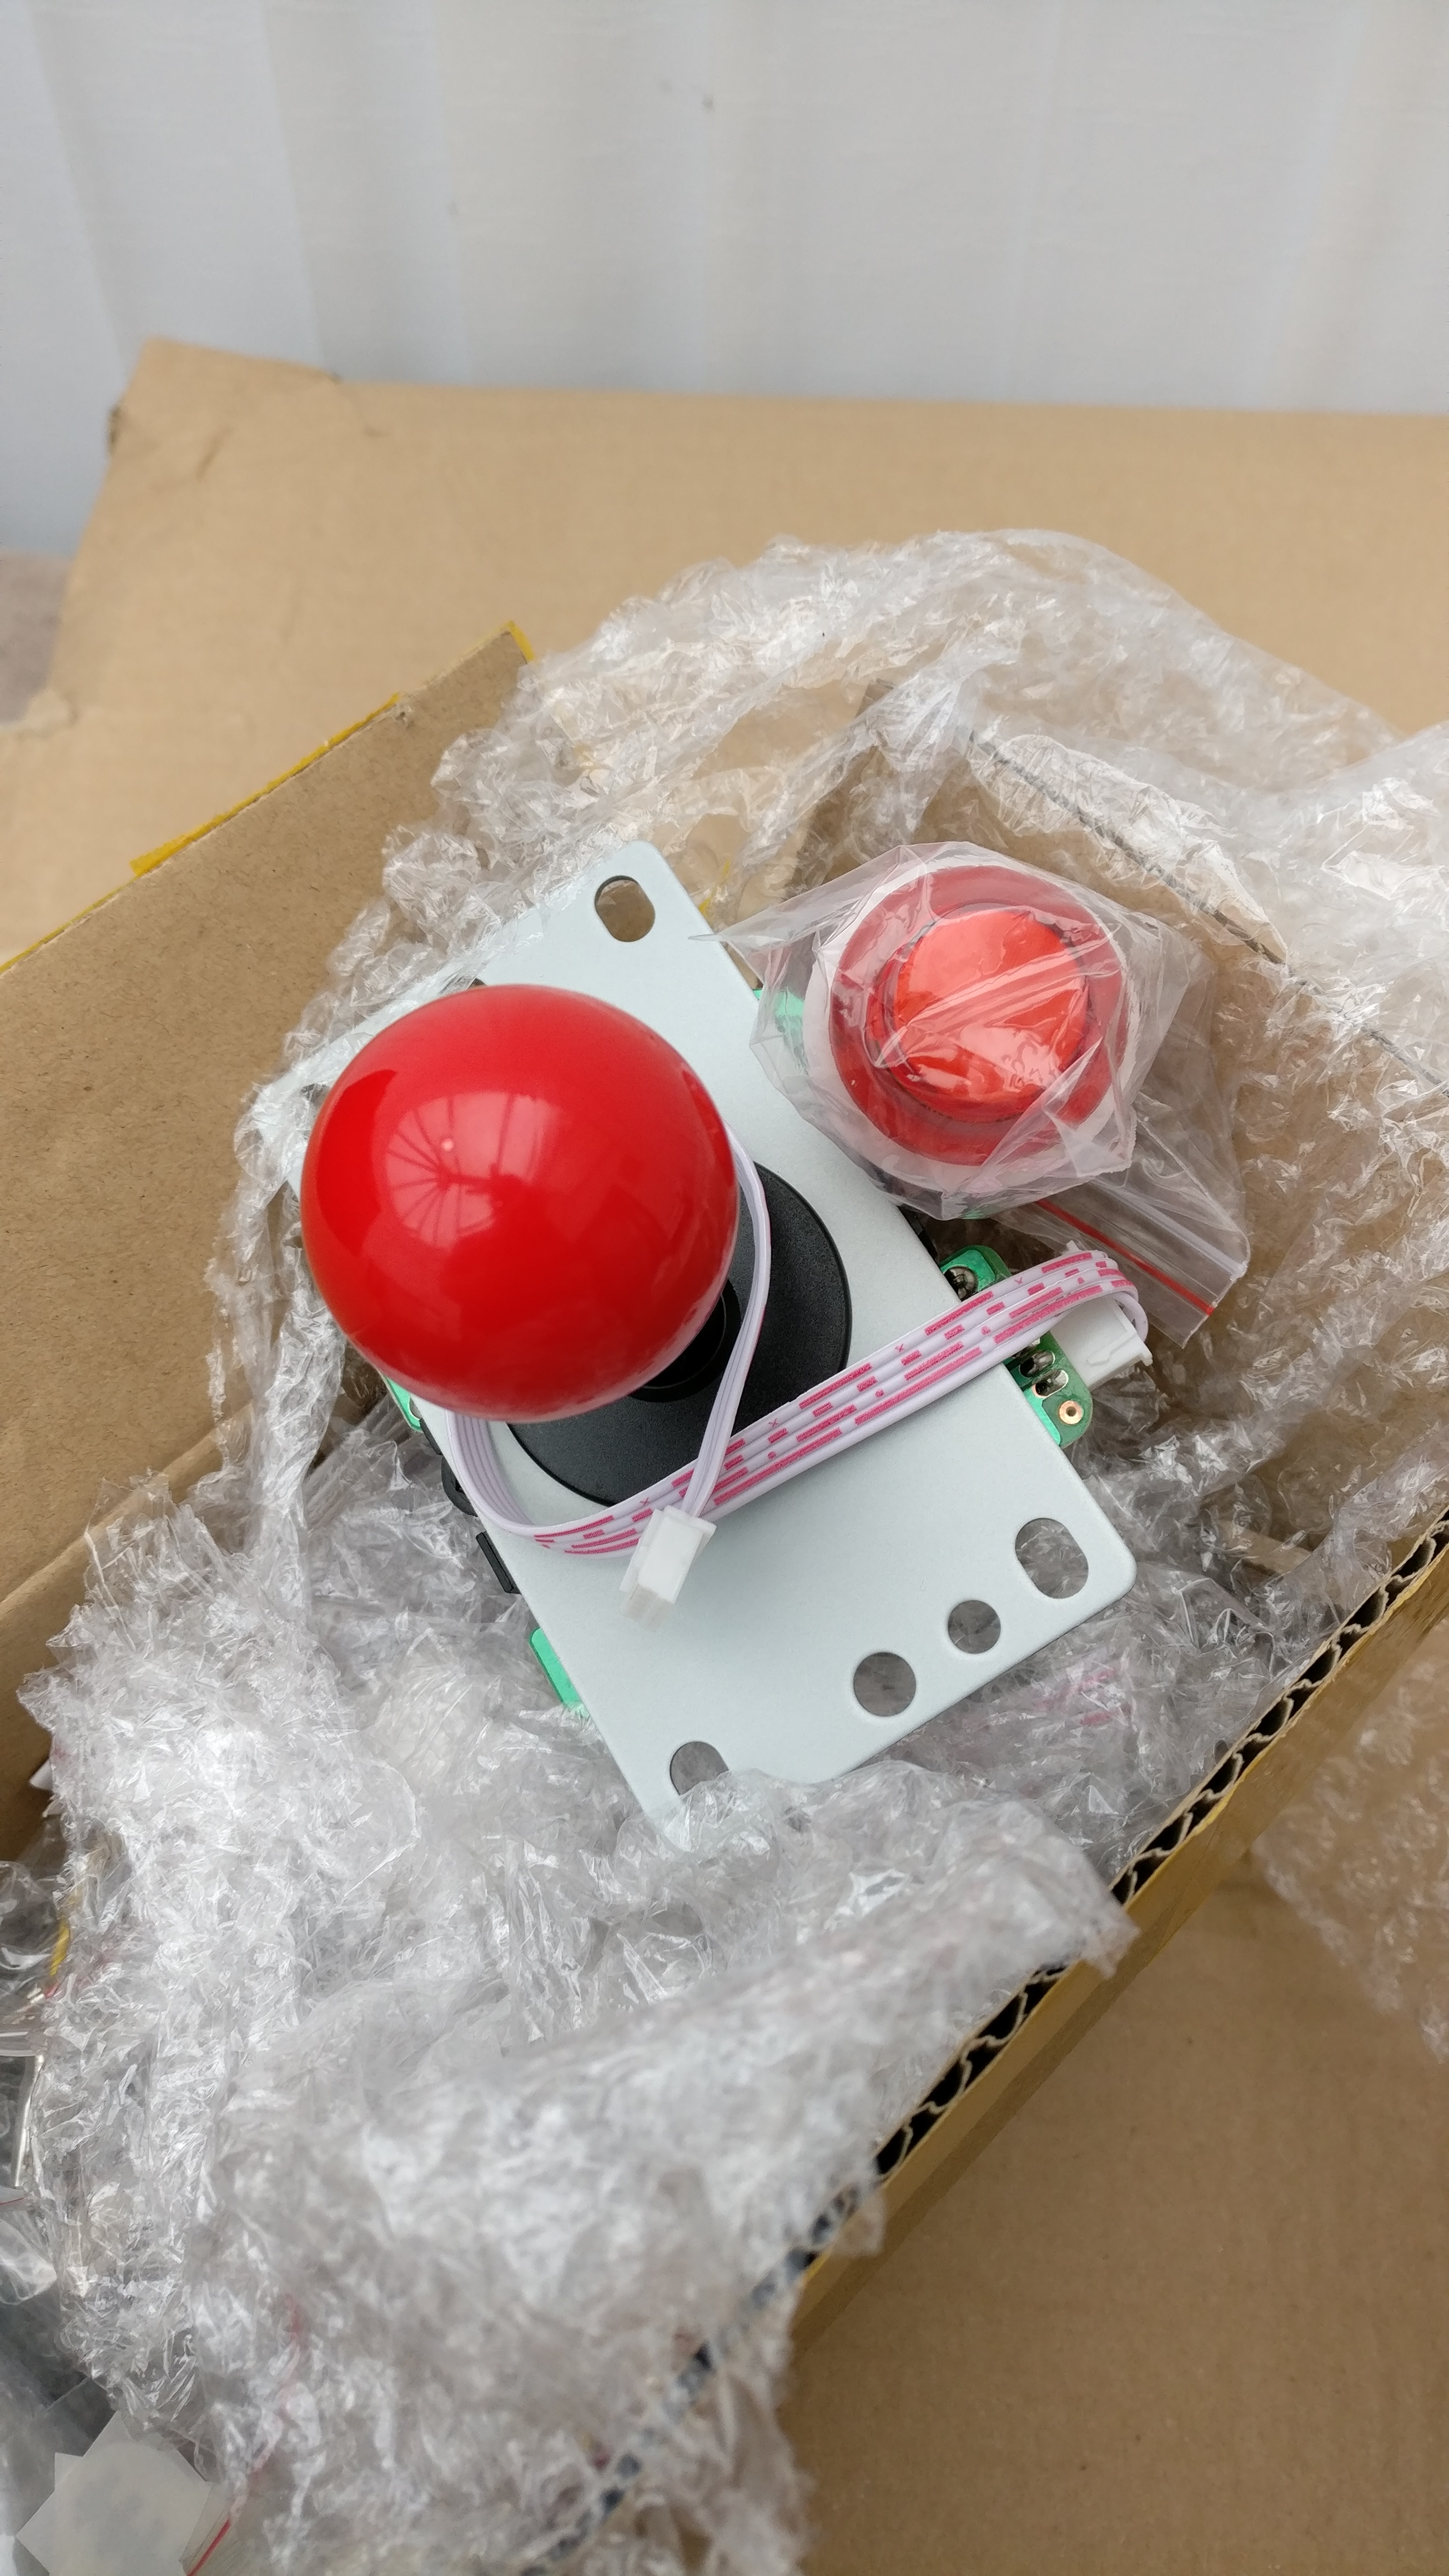
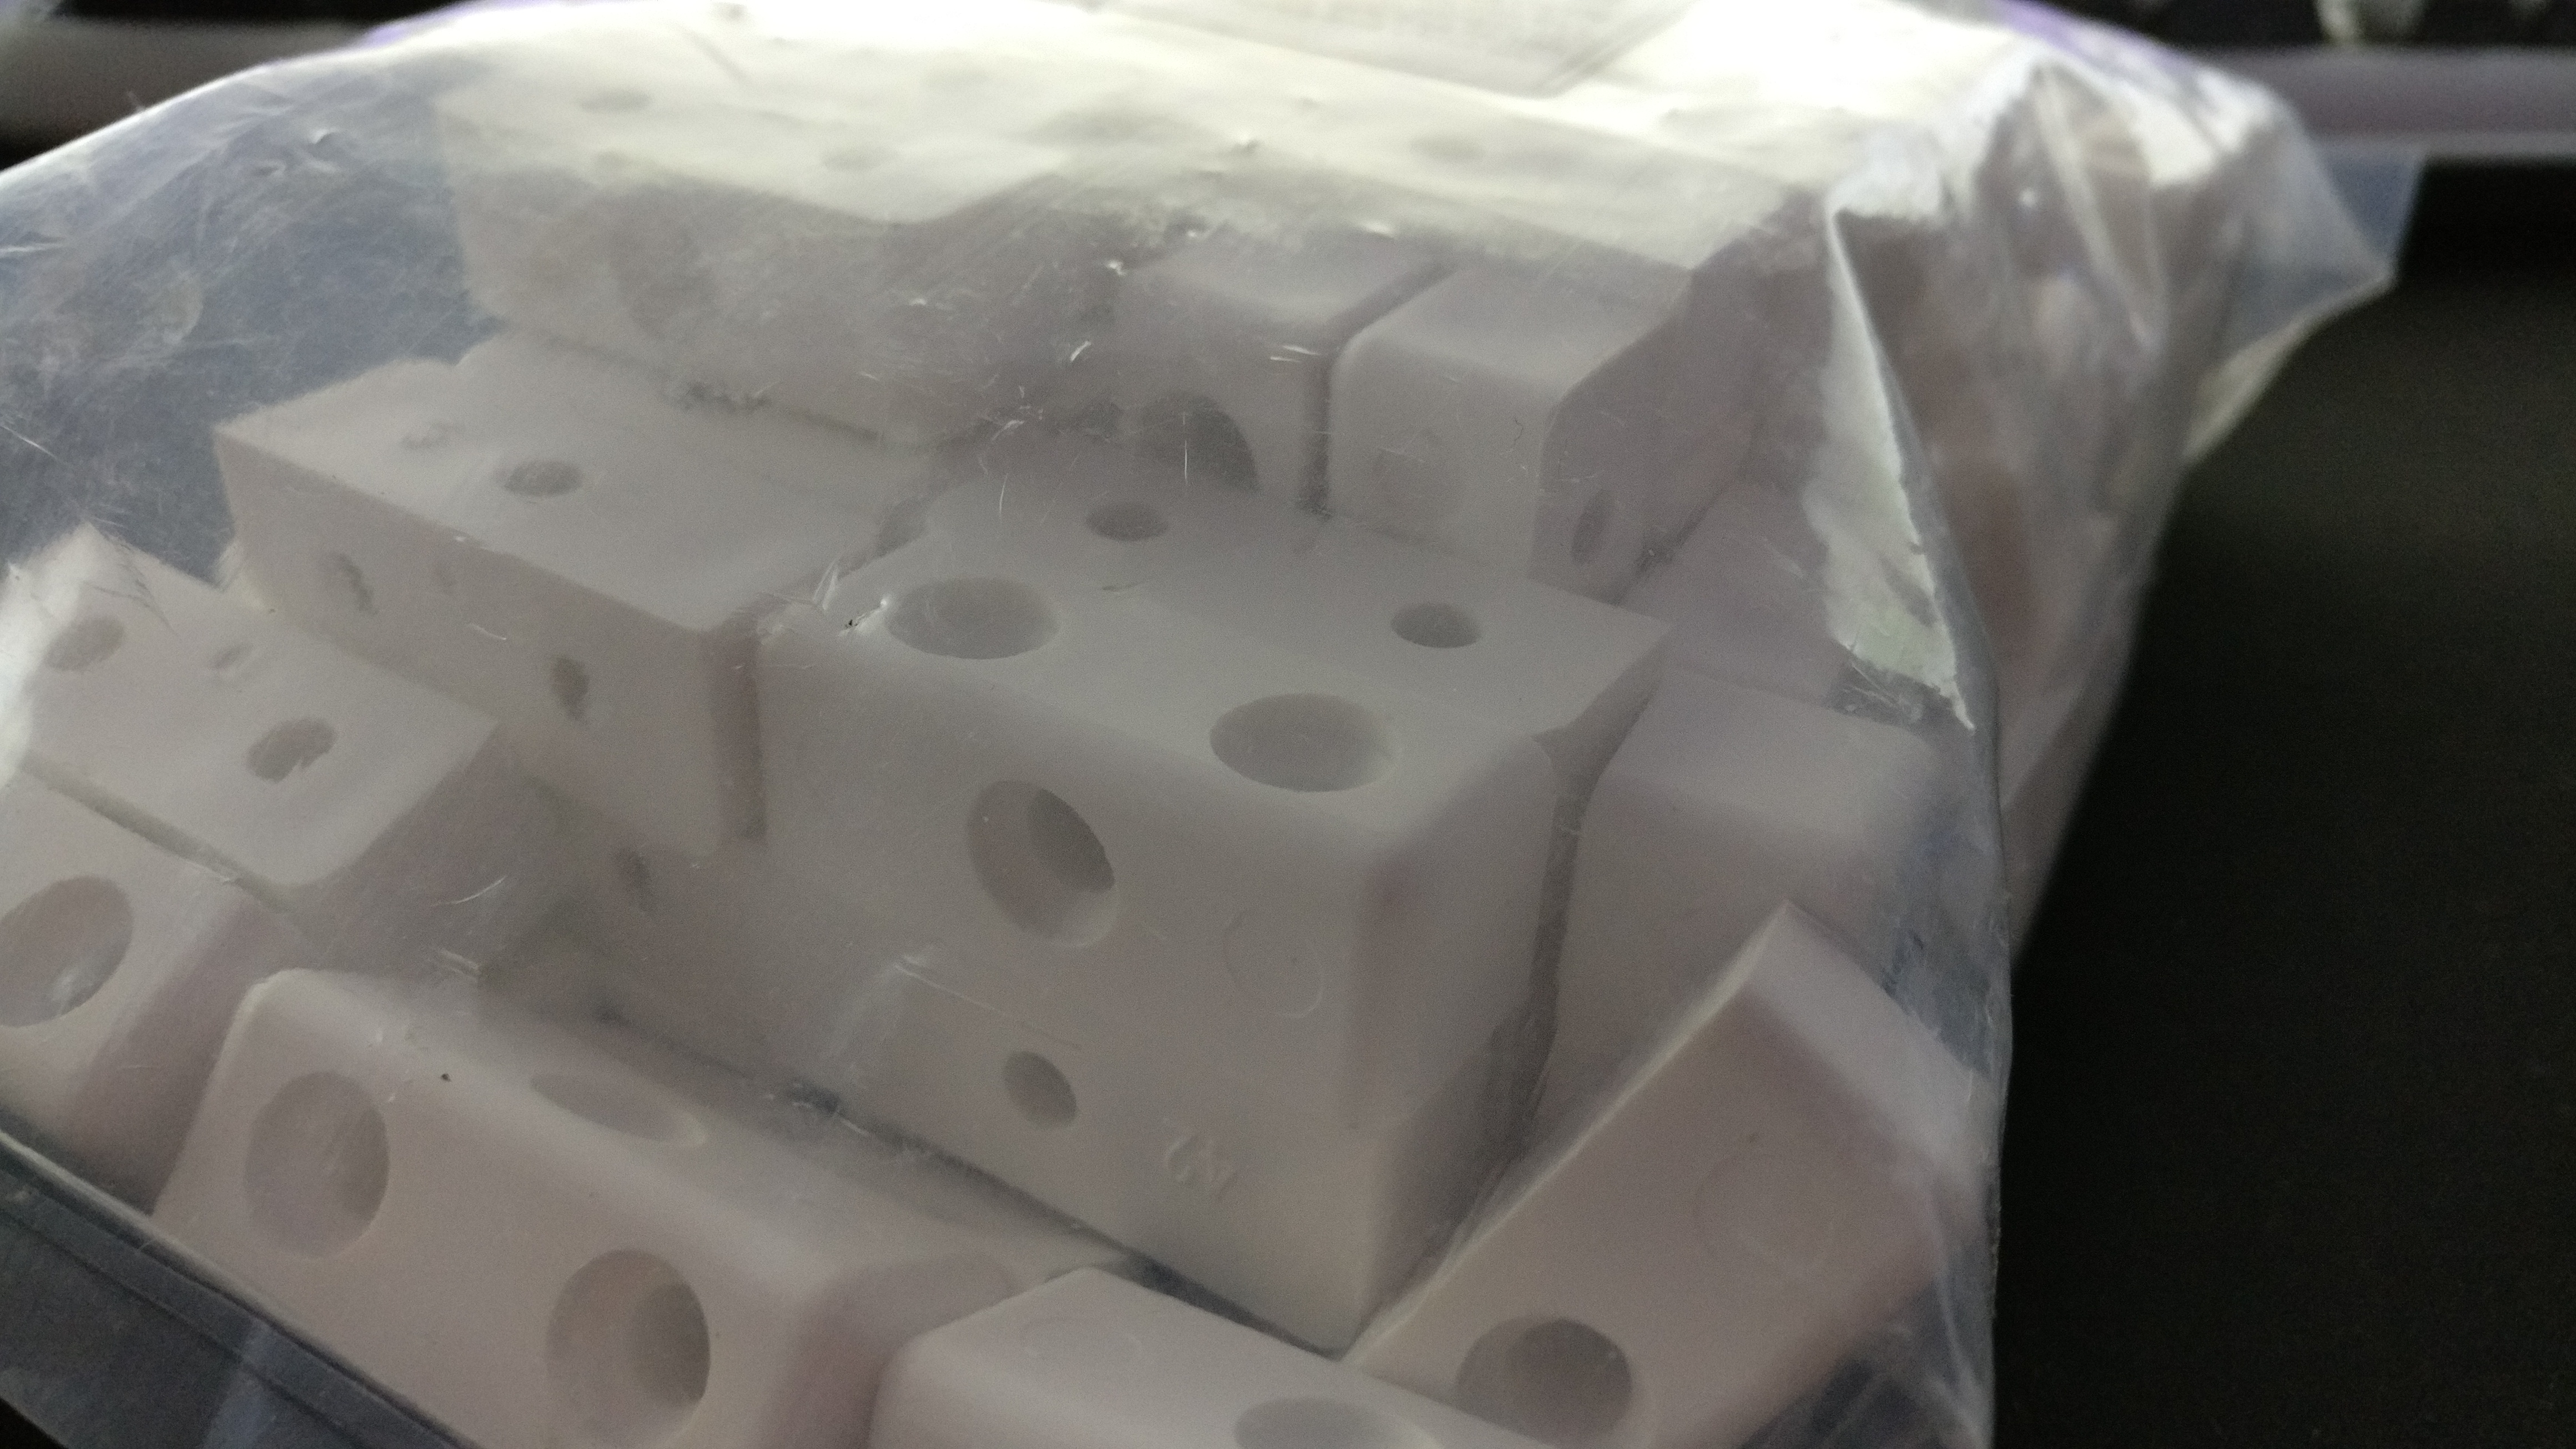
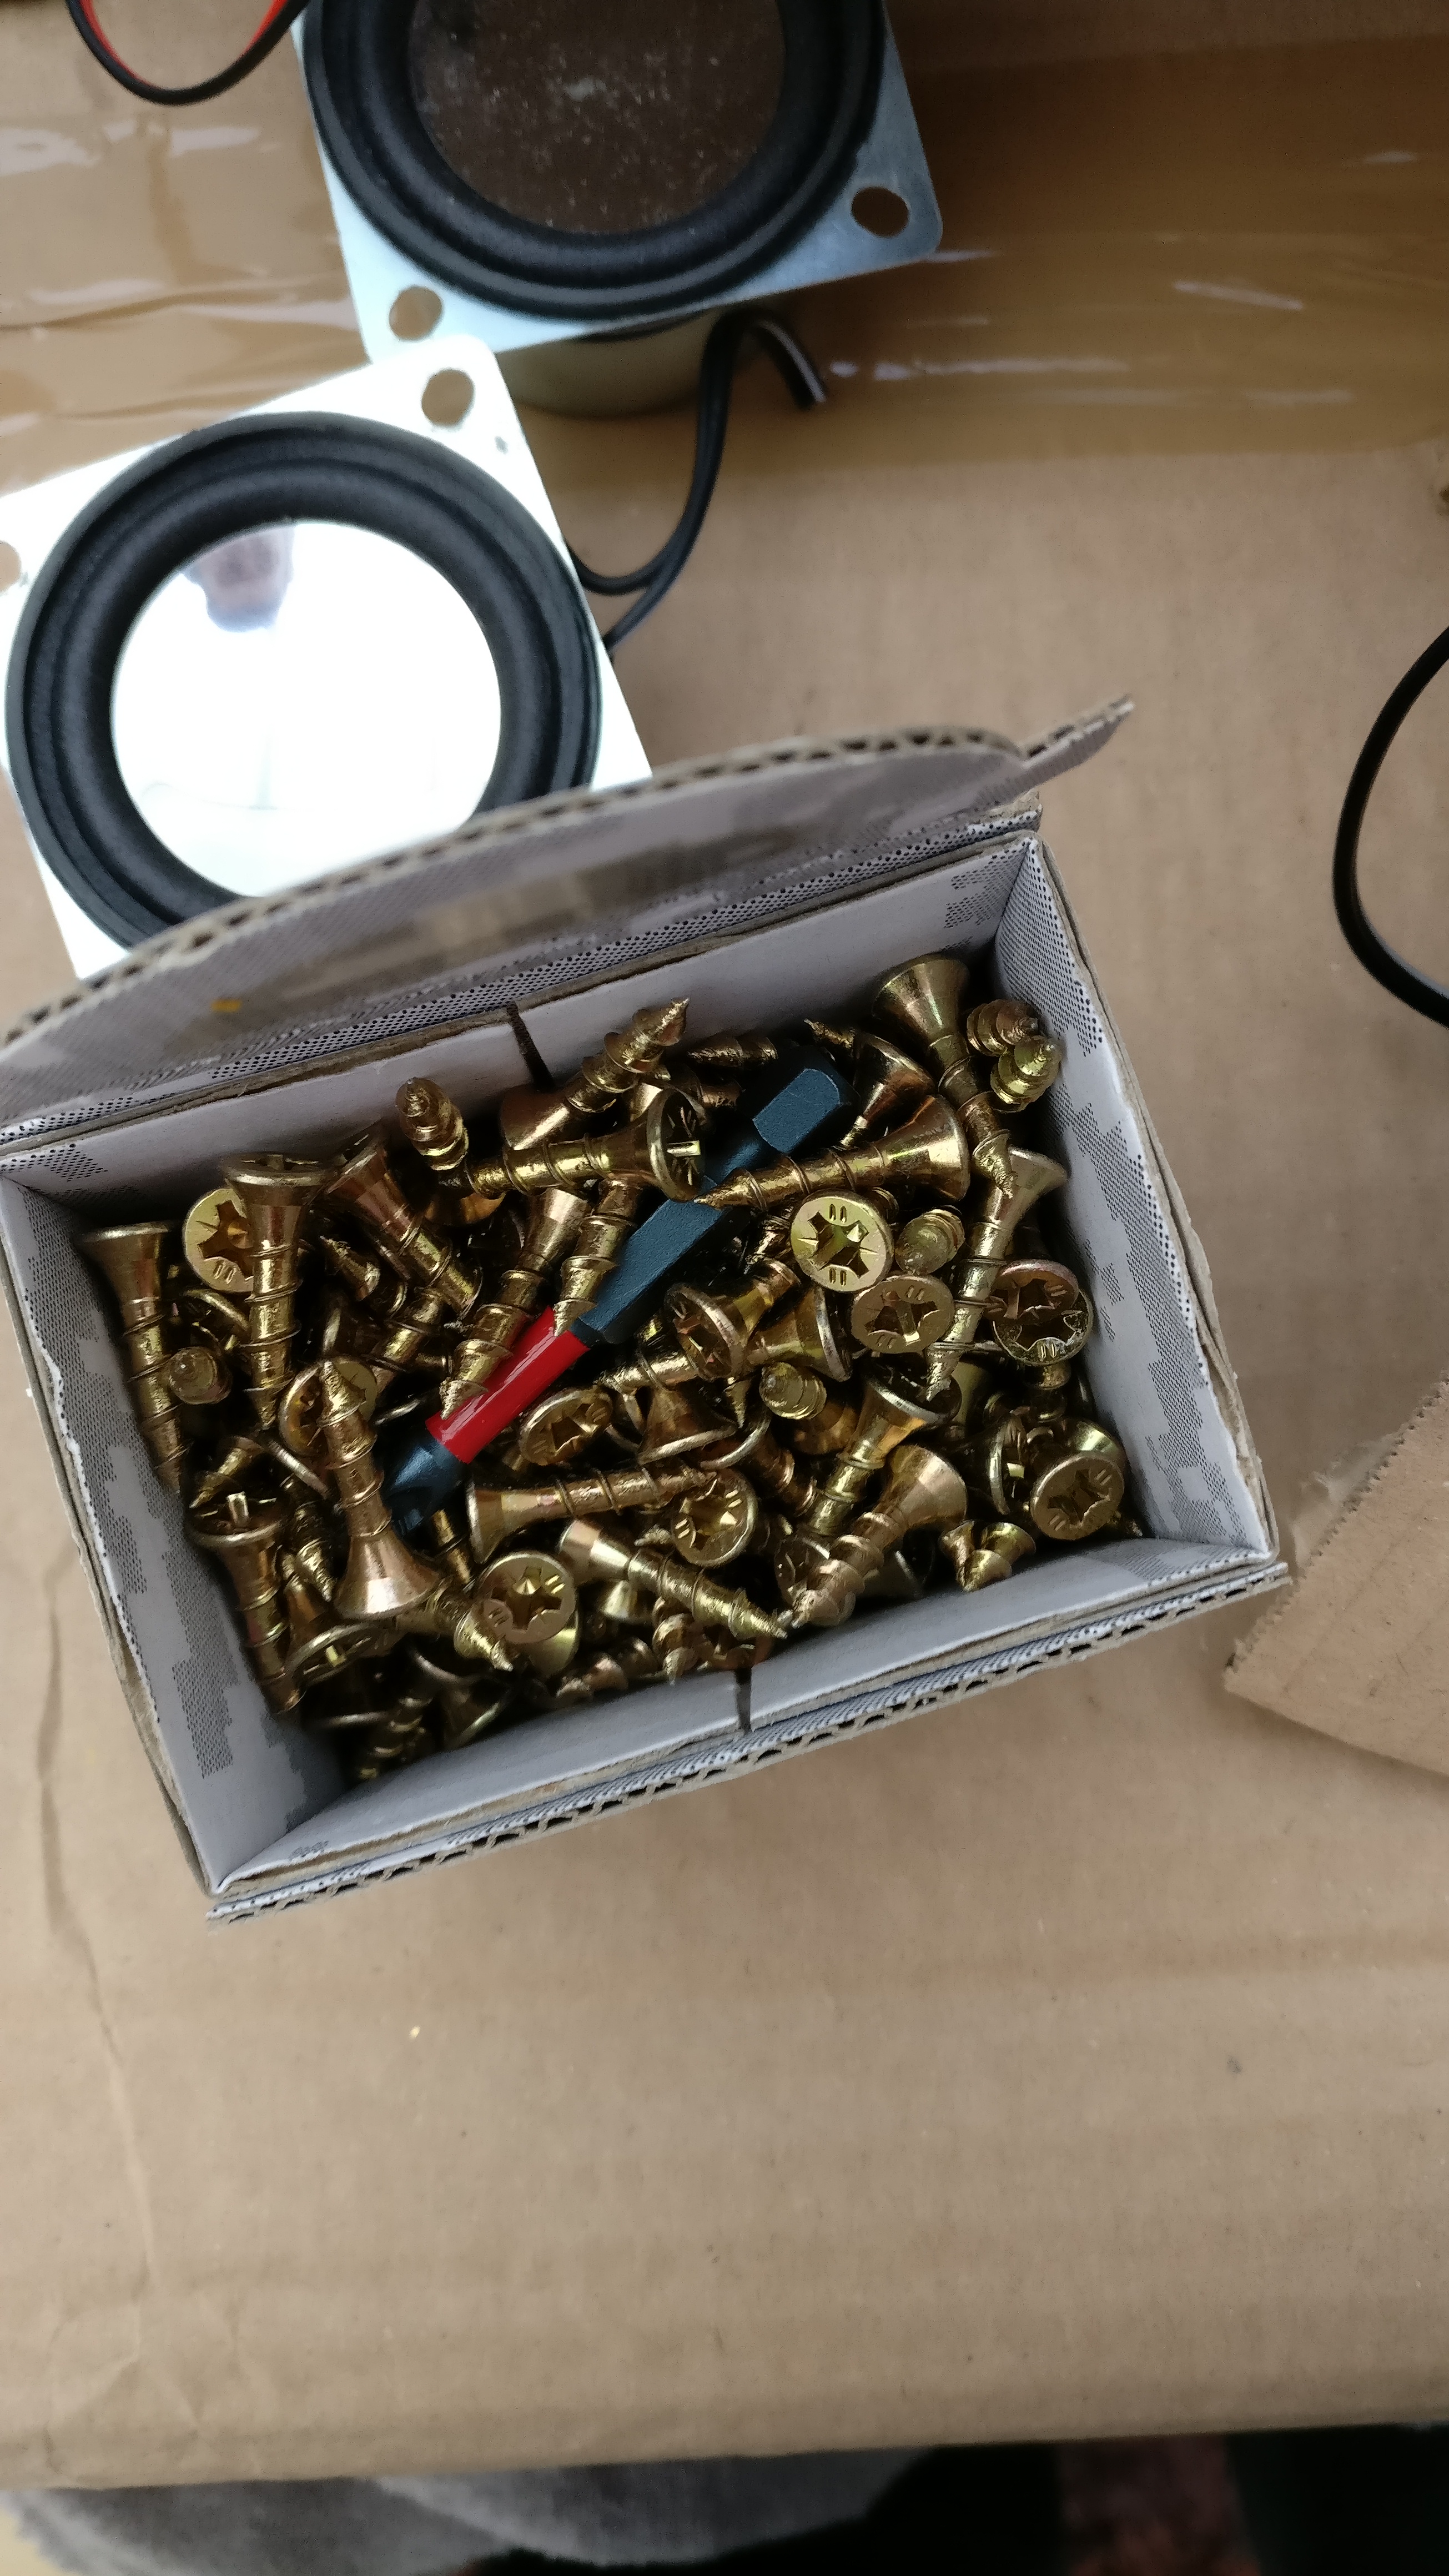
Pics - click for larger
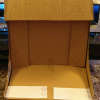


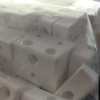
Waiting for a few more parts to arrive before I get going. Due to lack of tools and space I'm heading out to use a friends workshop for cutting the panels (maybe tonight)
I'm a massive C&C fan and the Orca chopper is my favorite unit.
Now that's out the way. Time for some images and details.
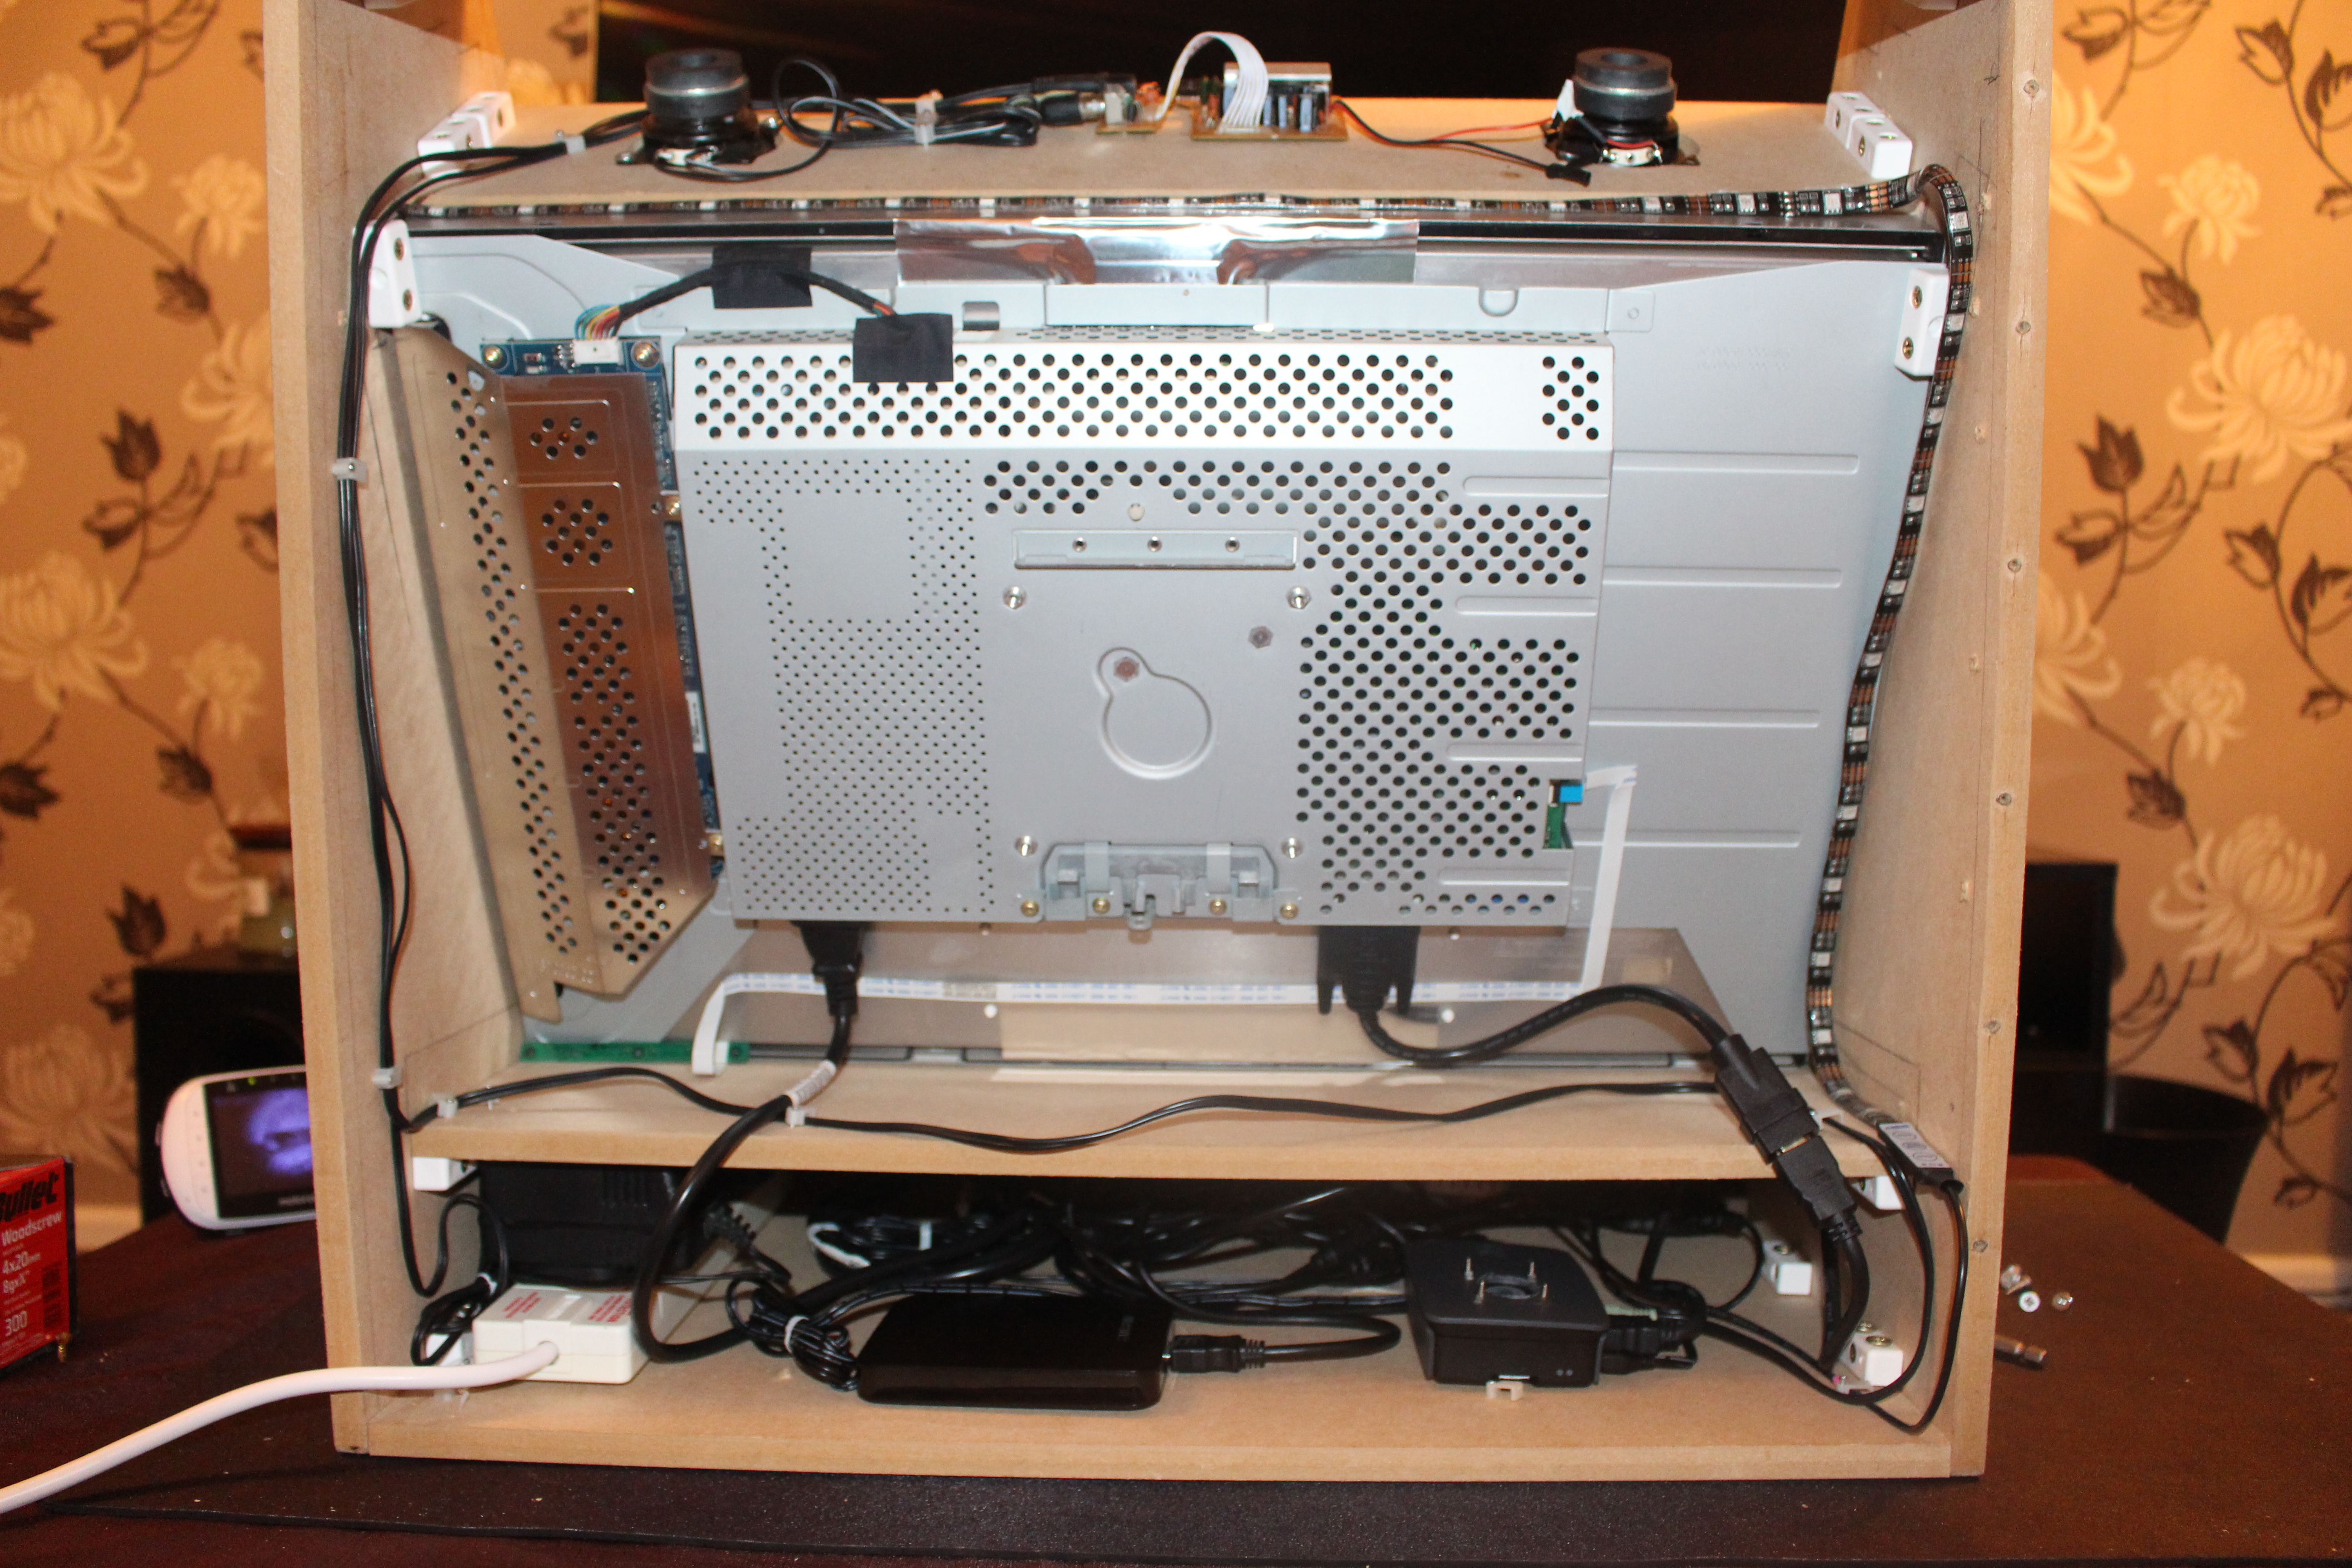
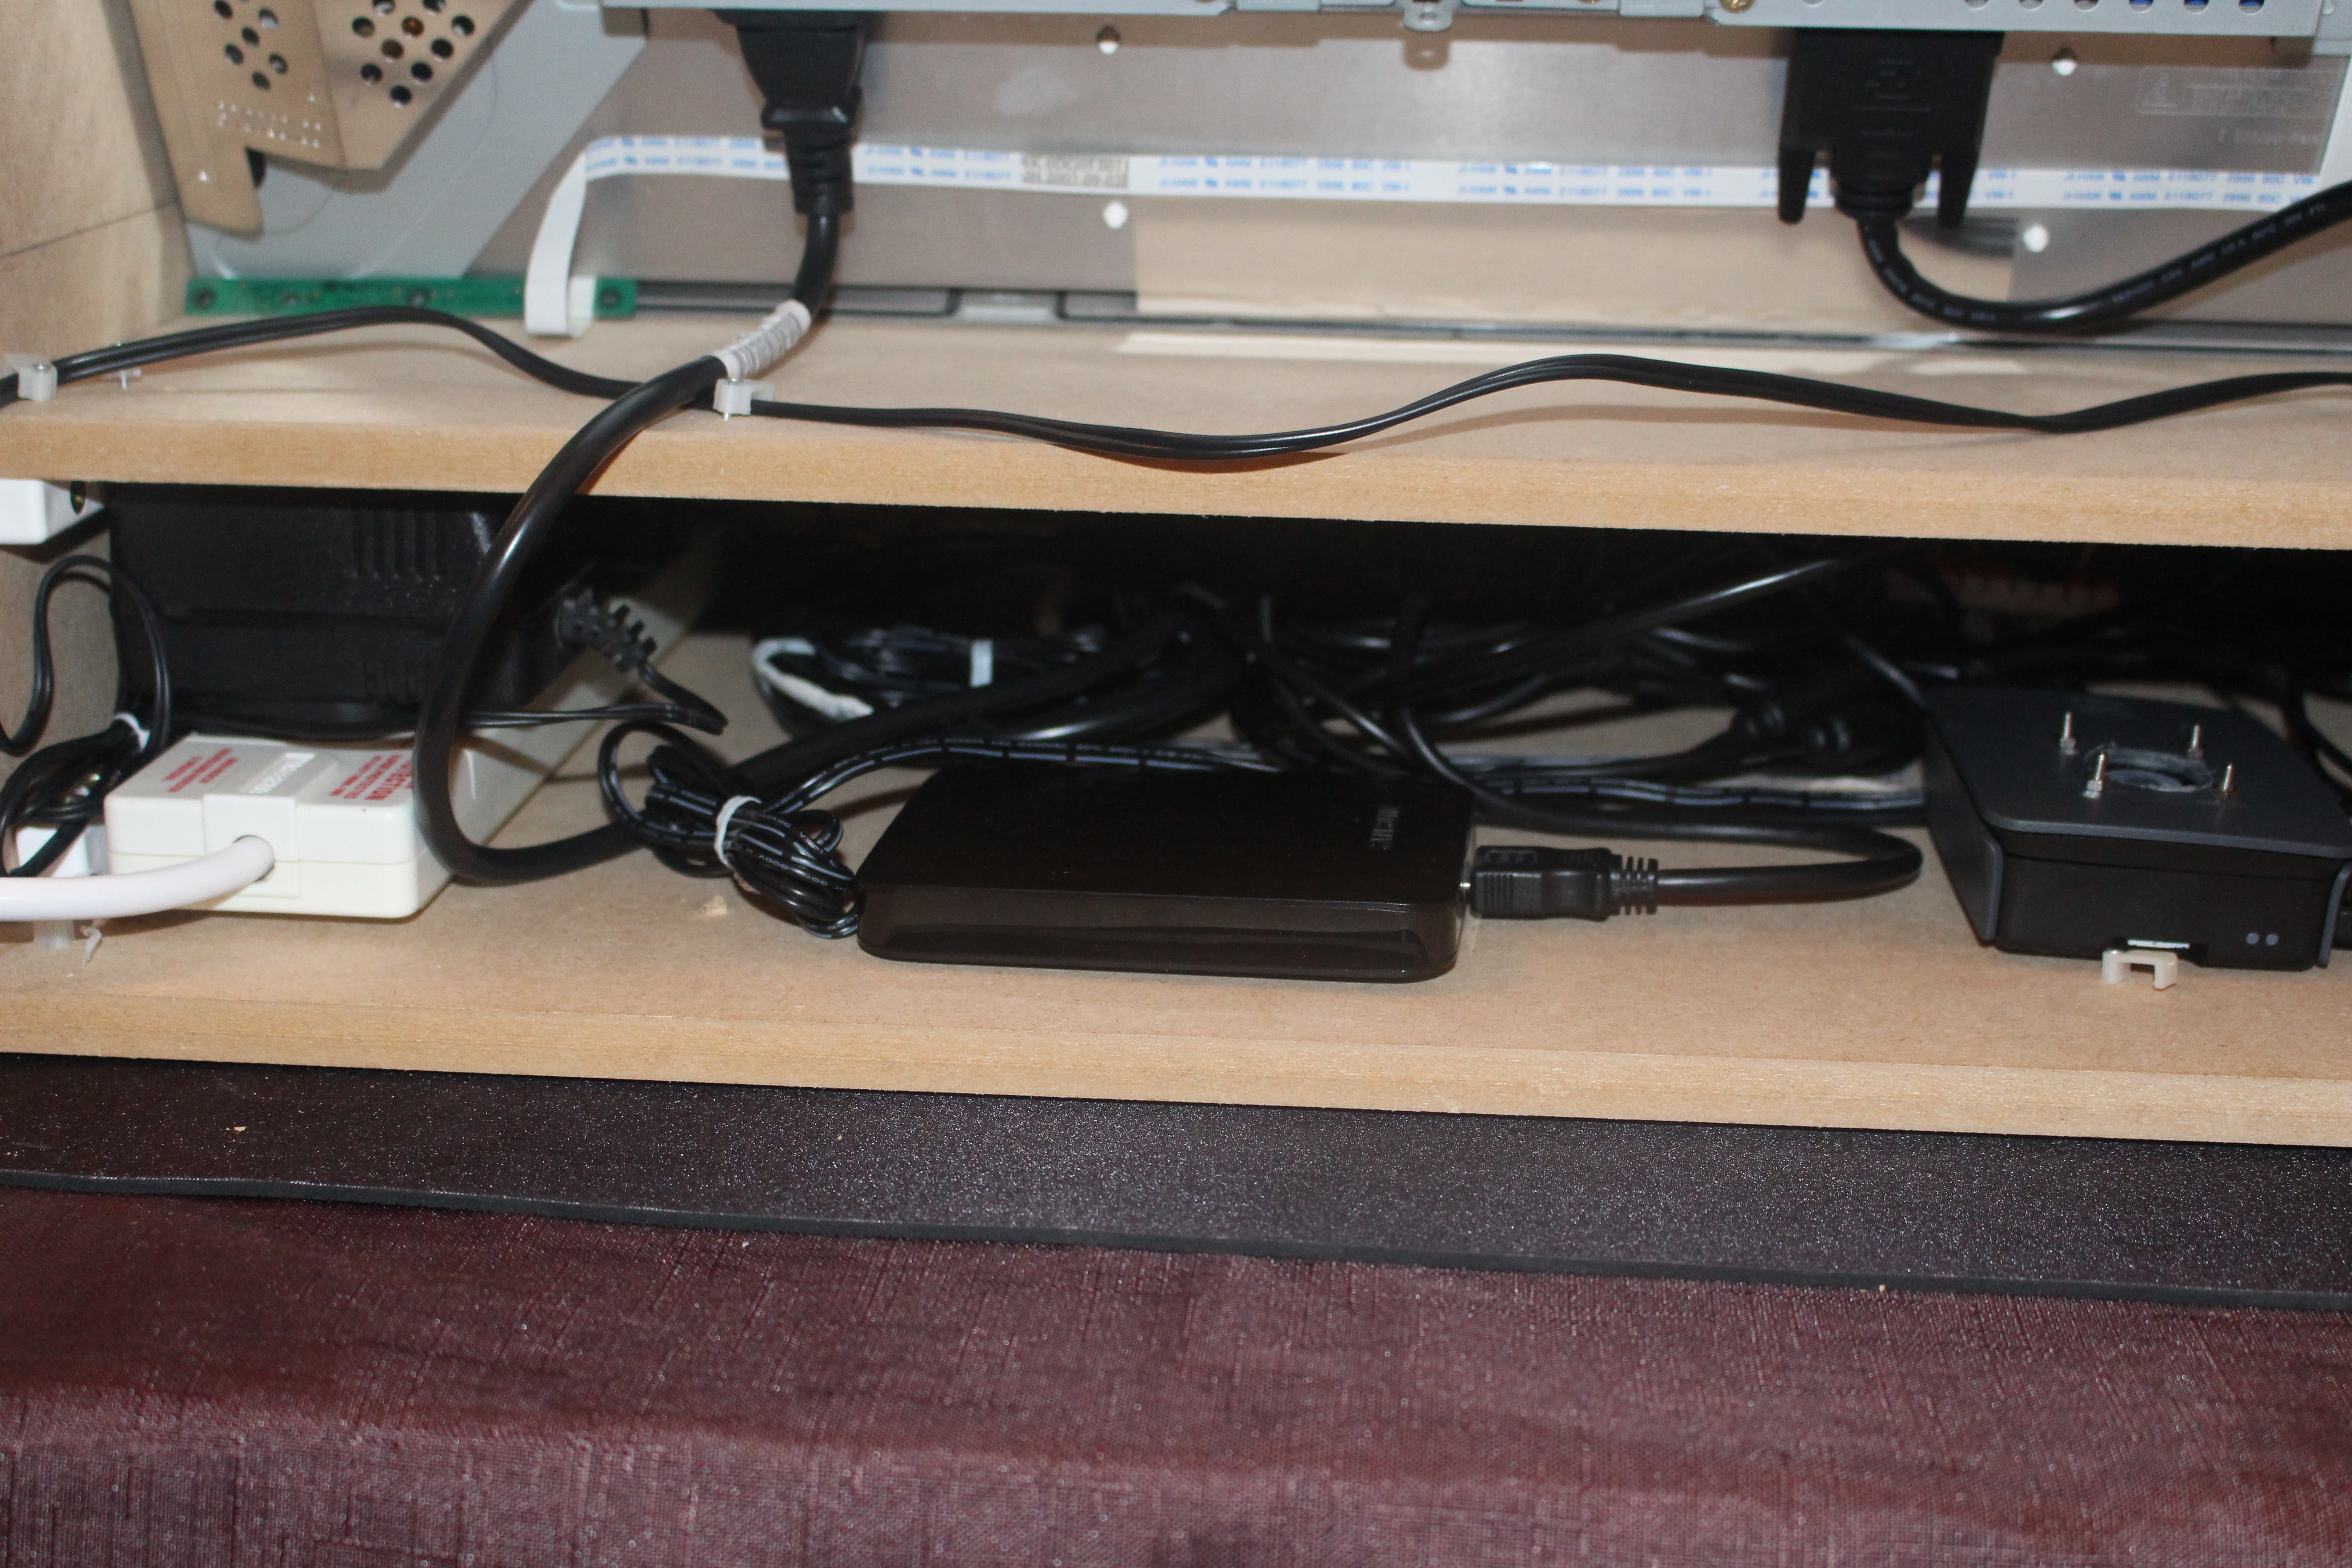
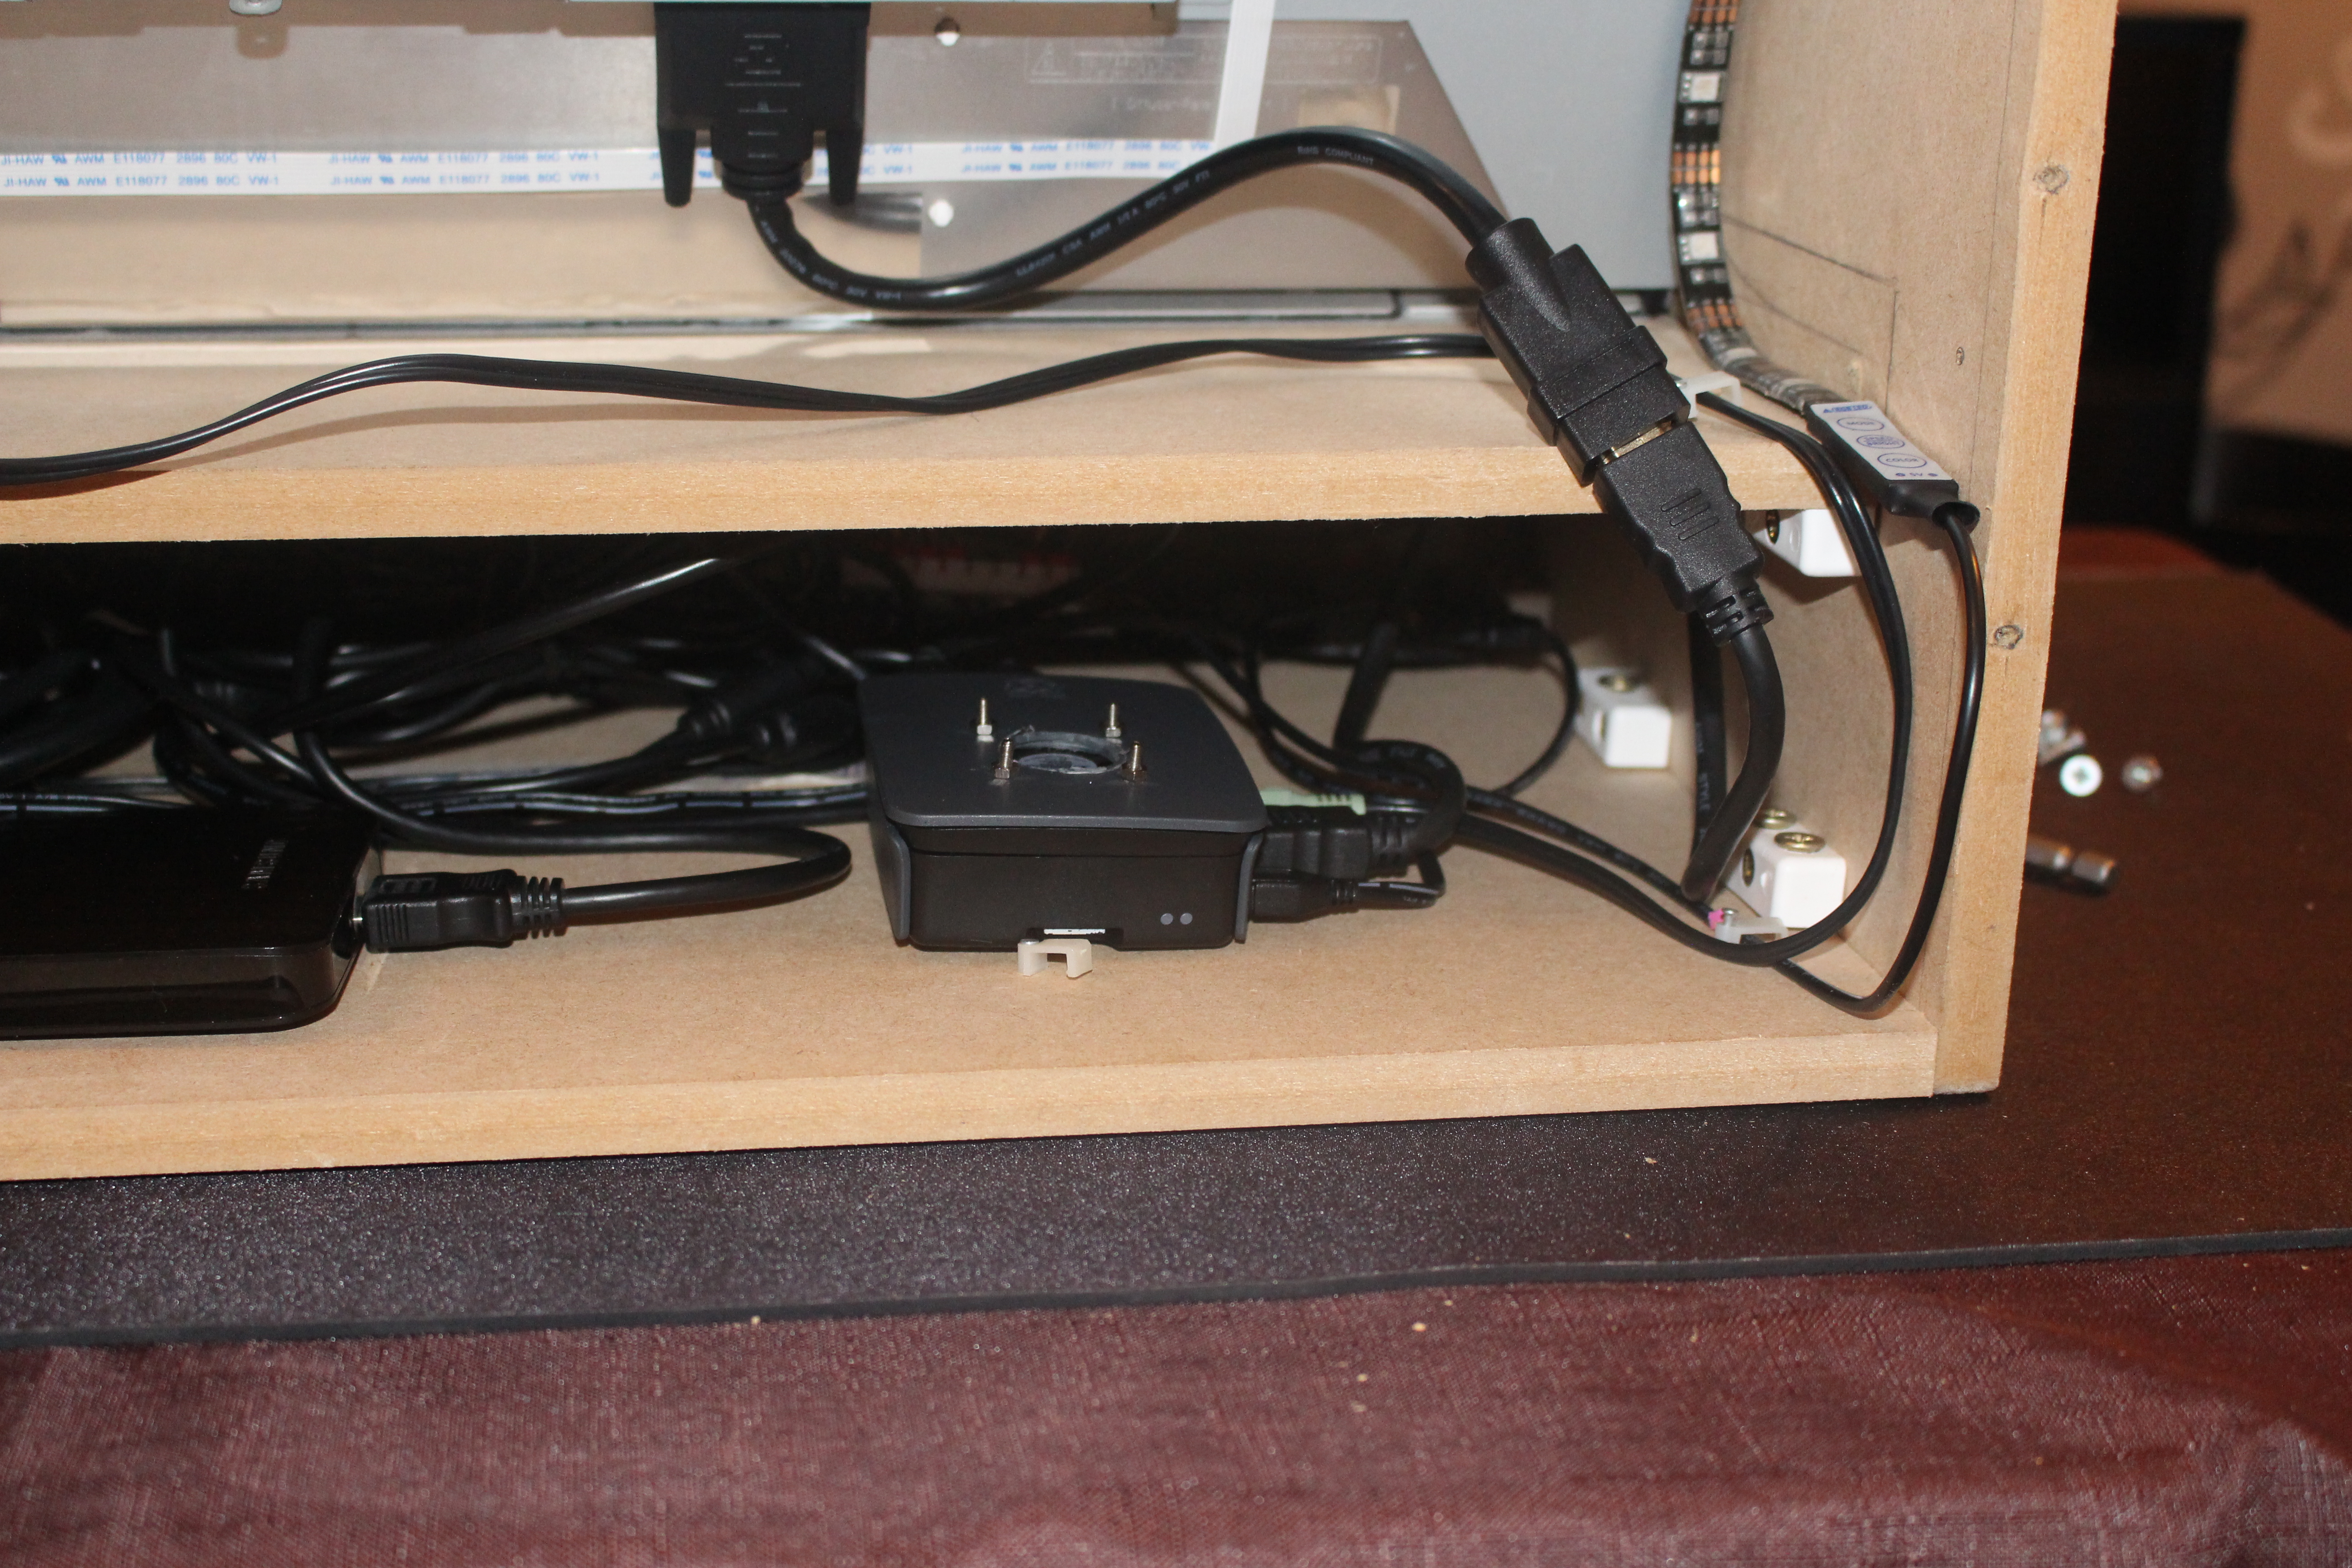
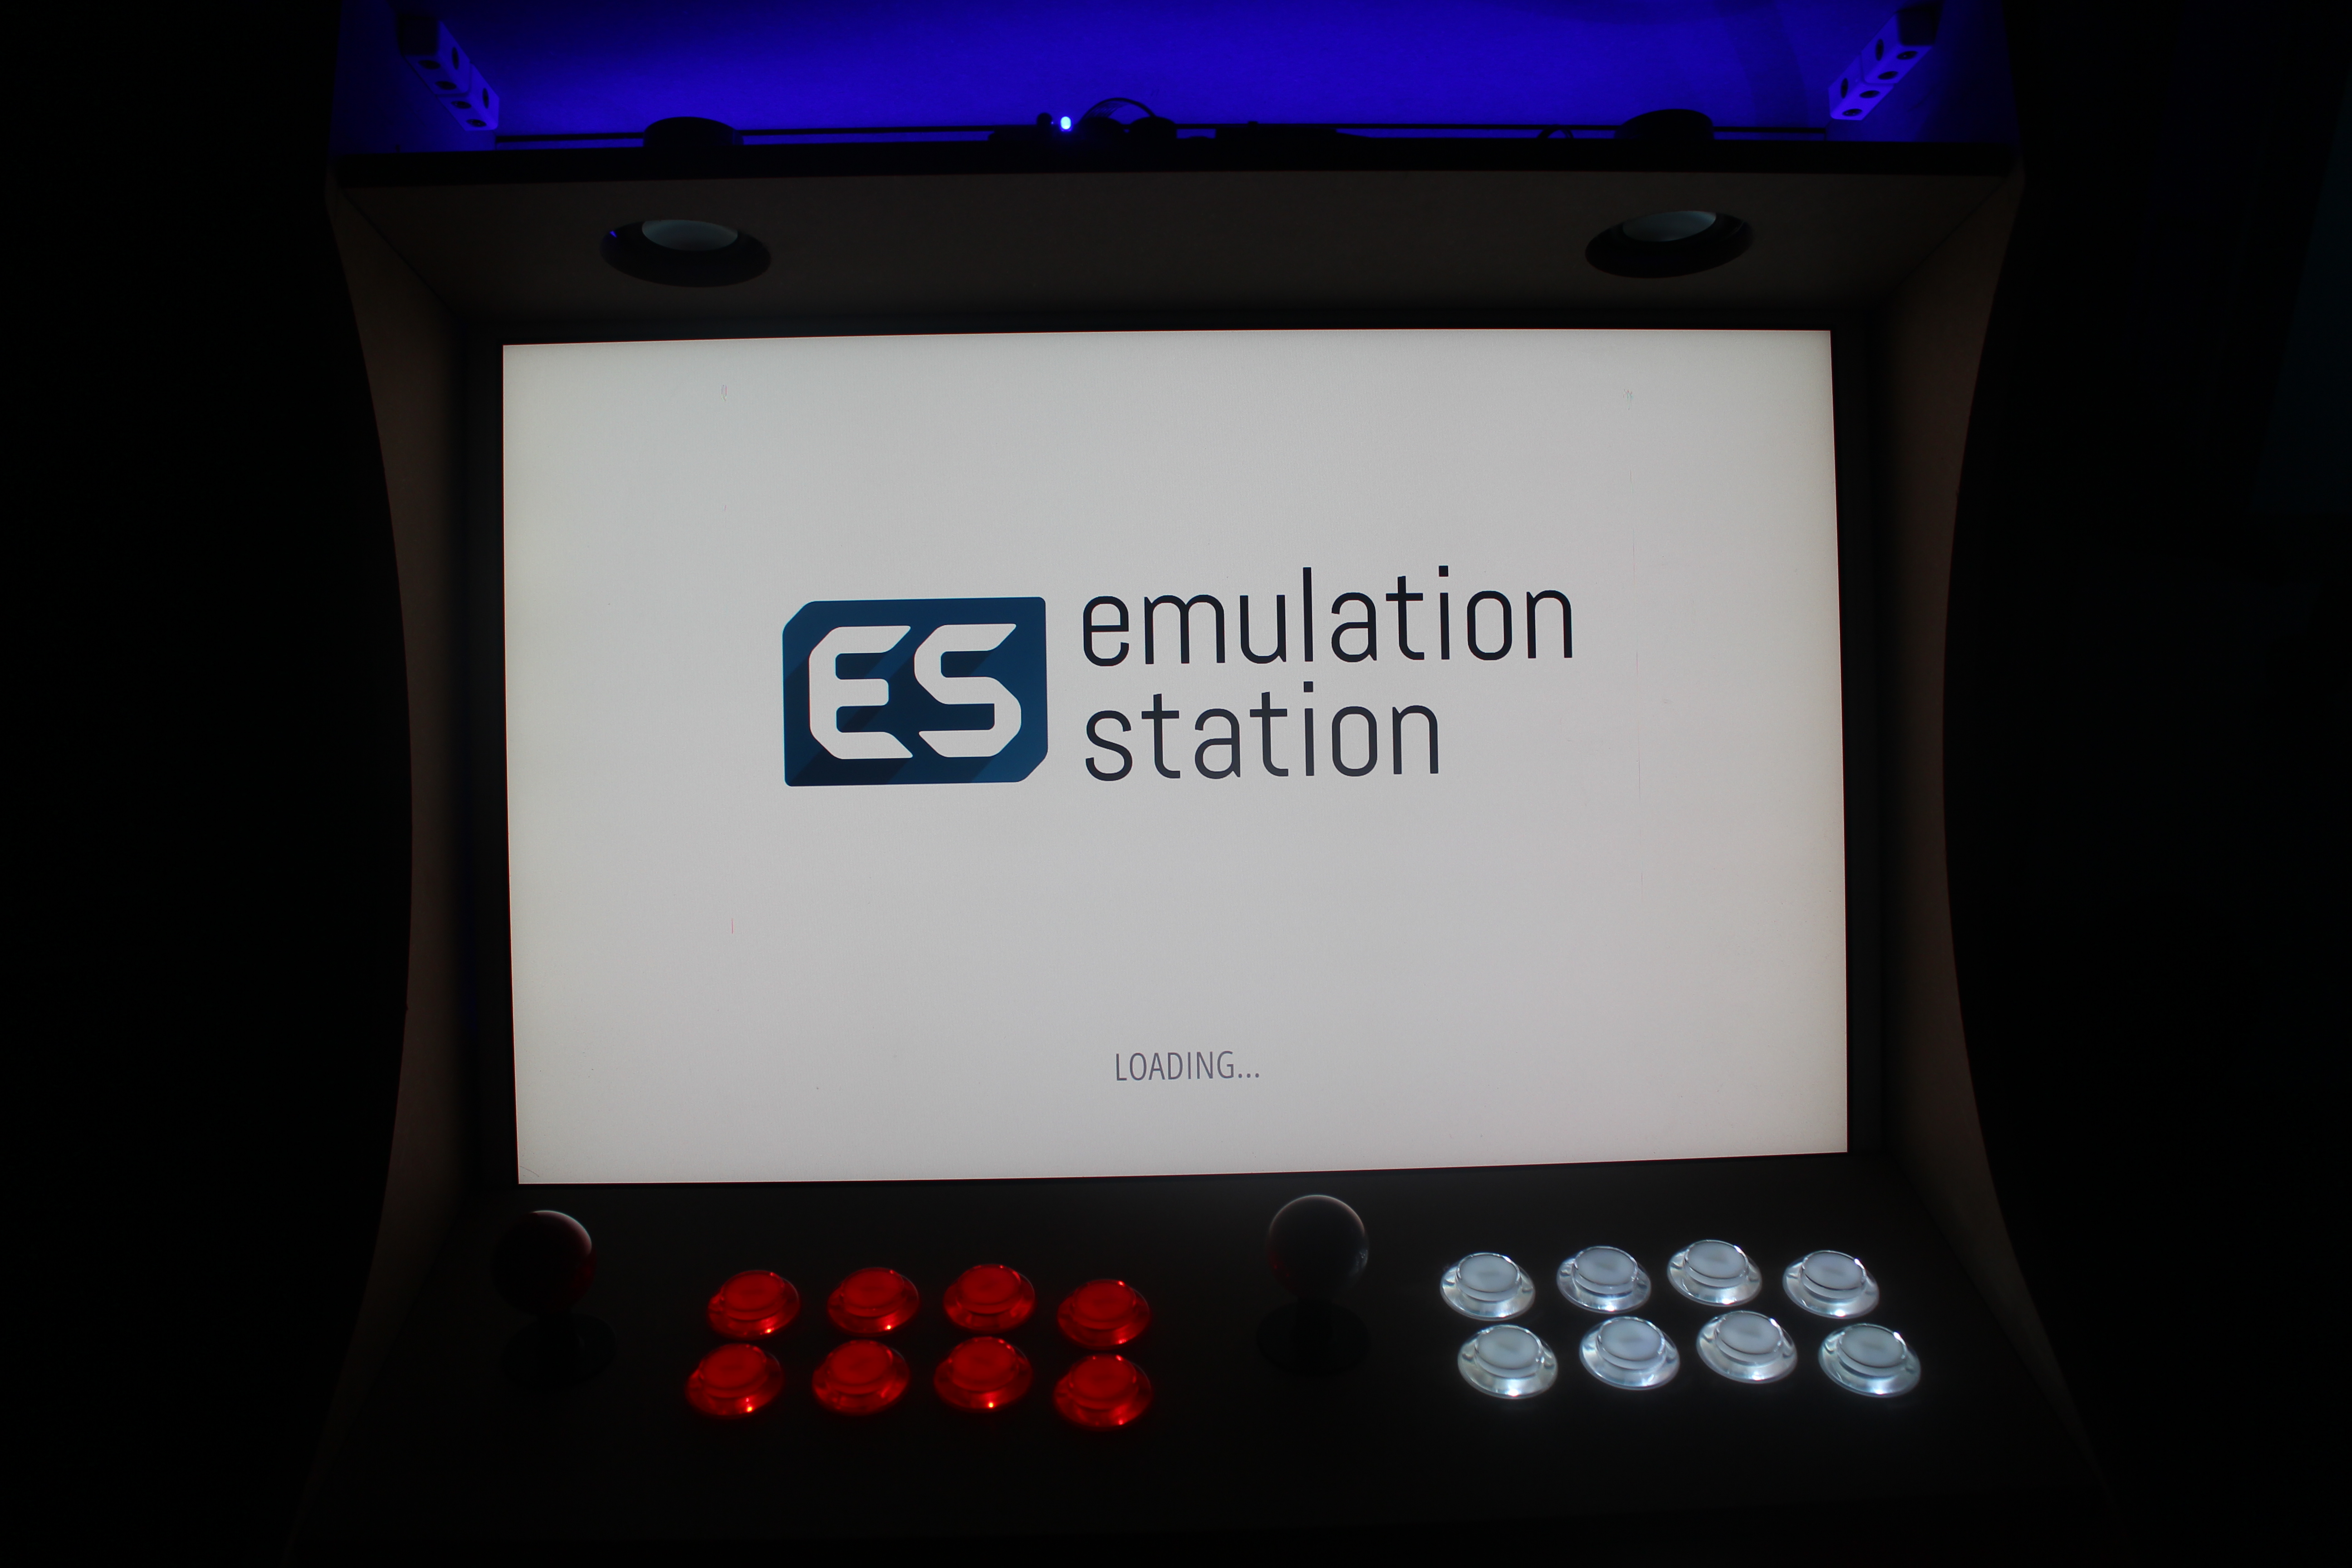
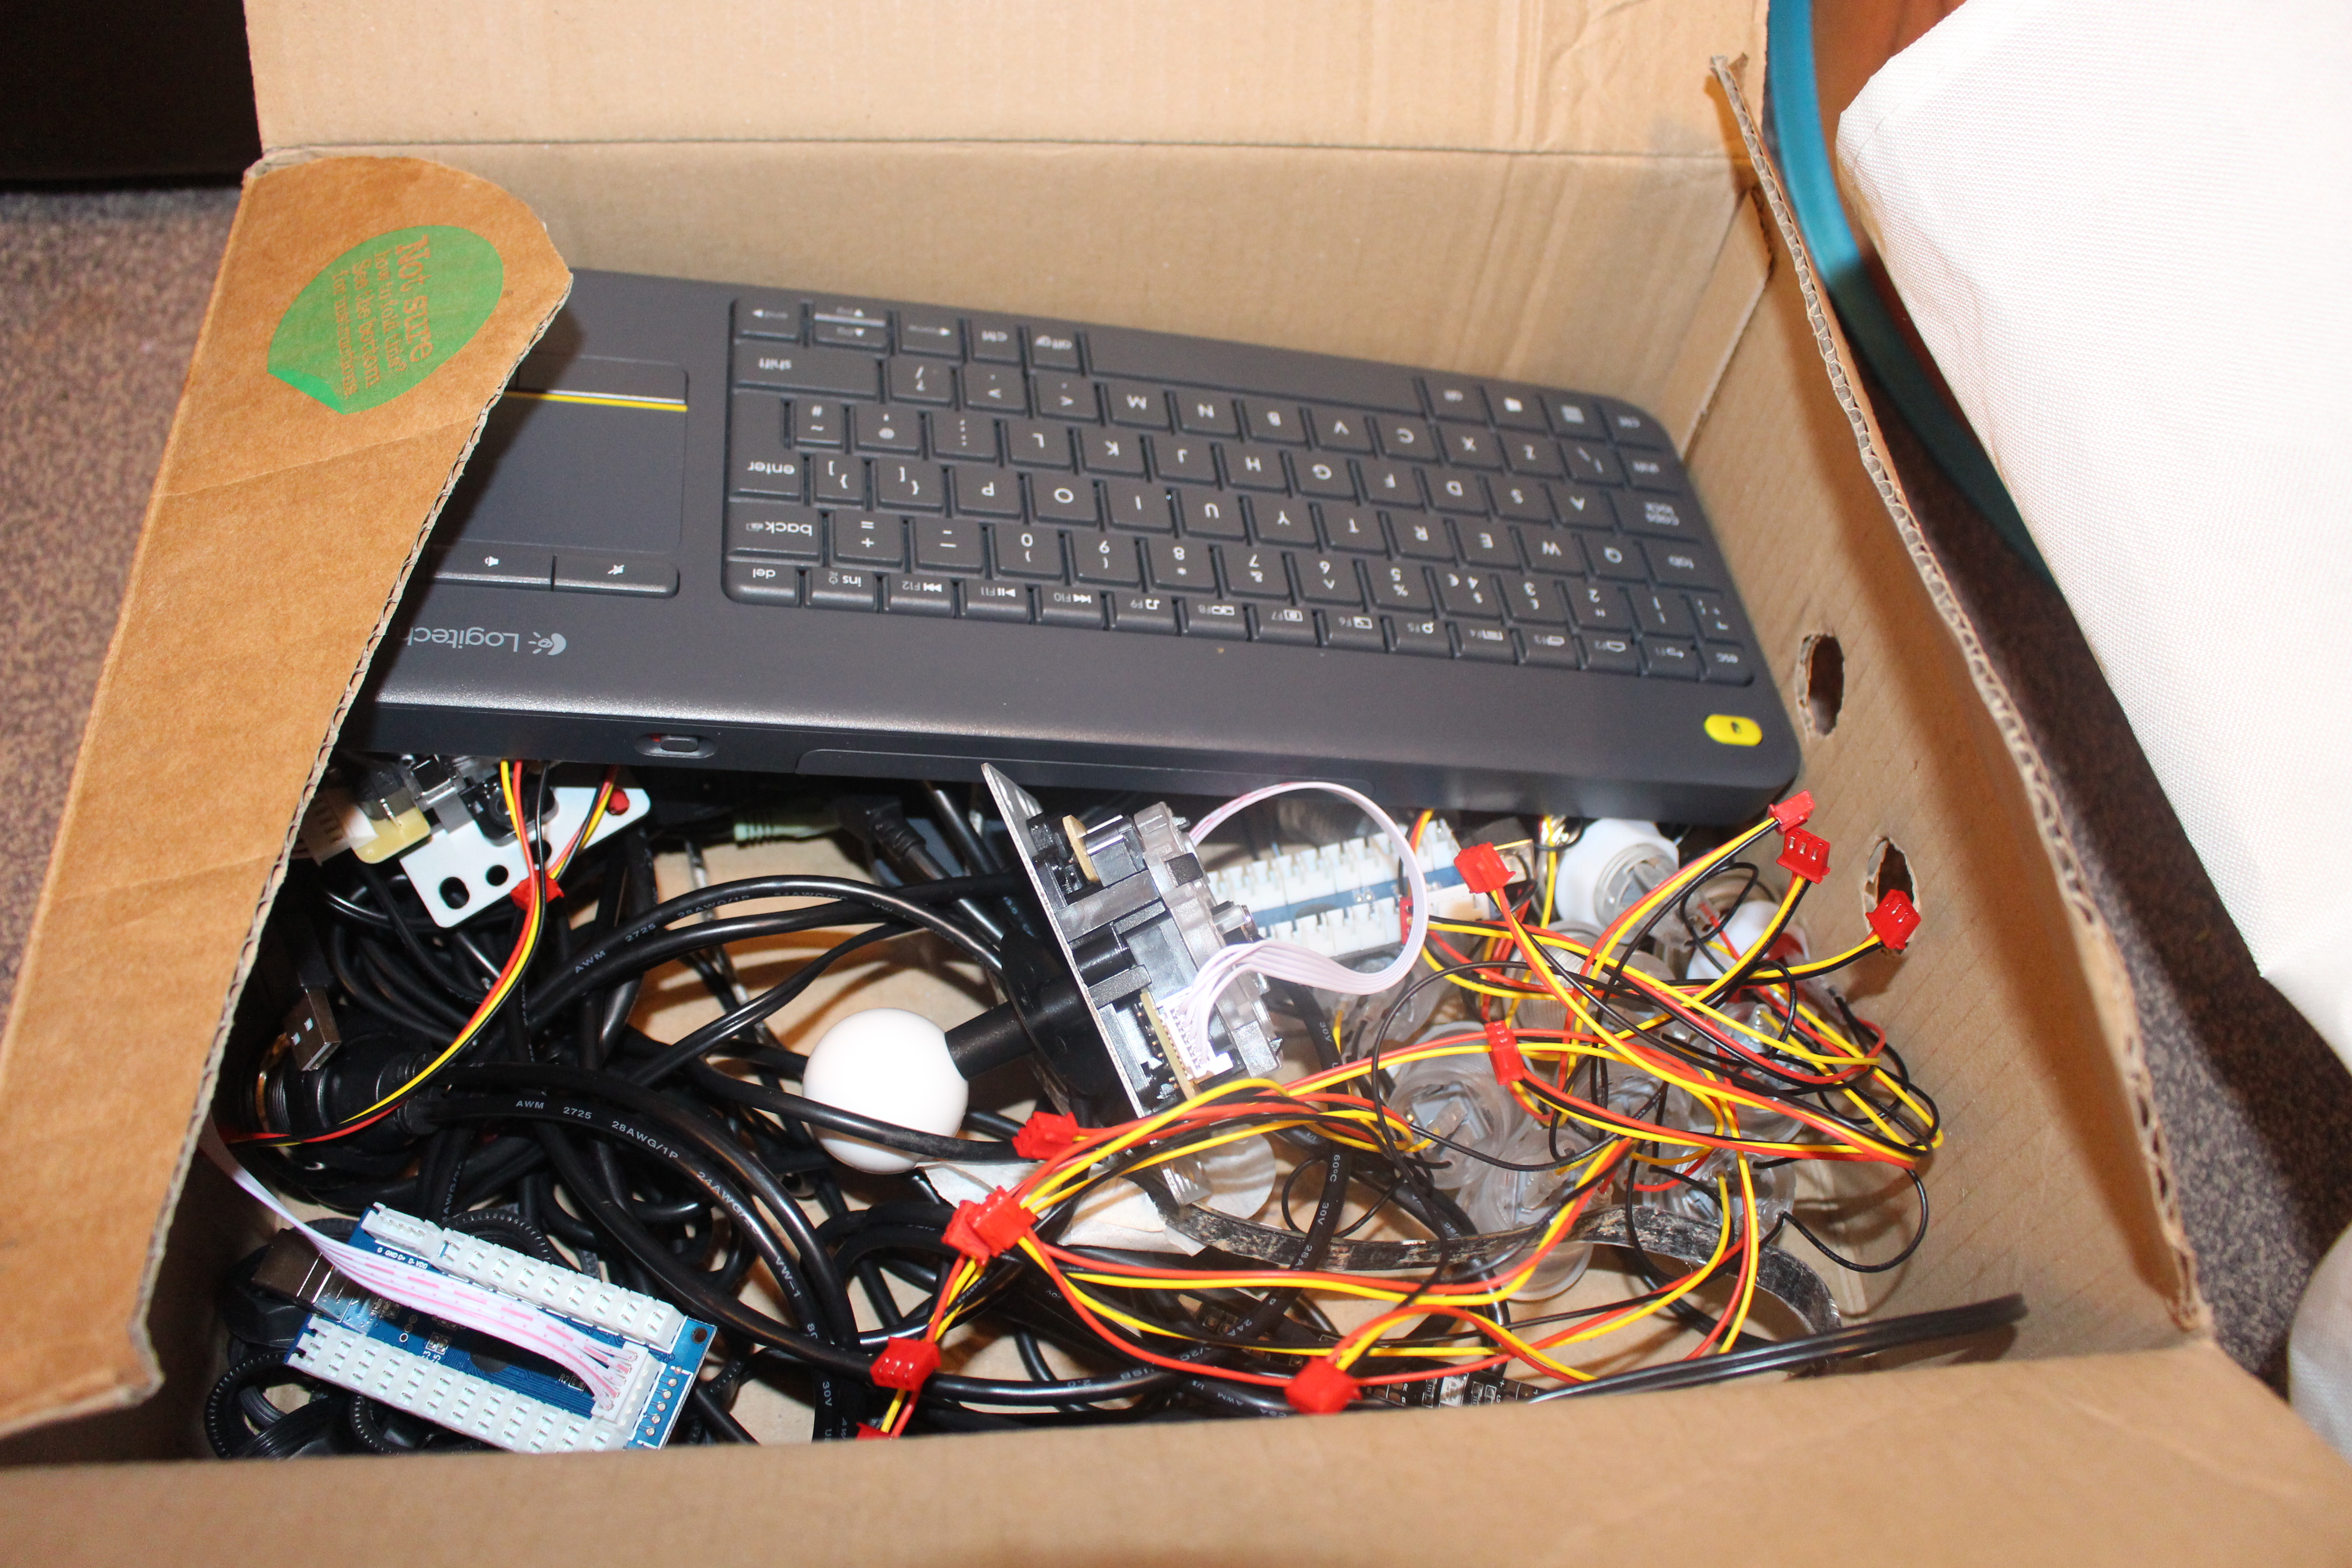
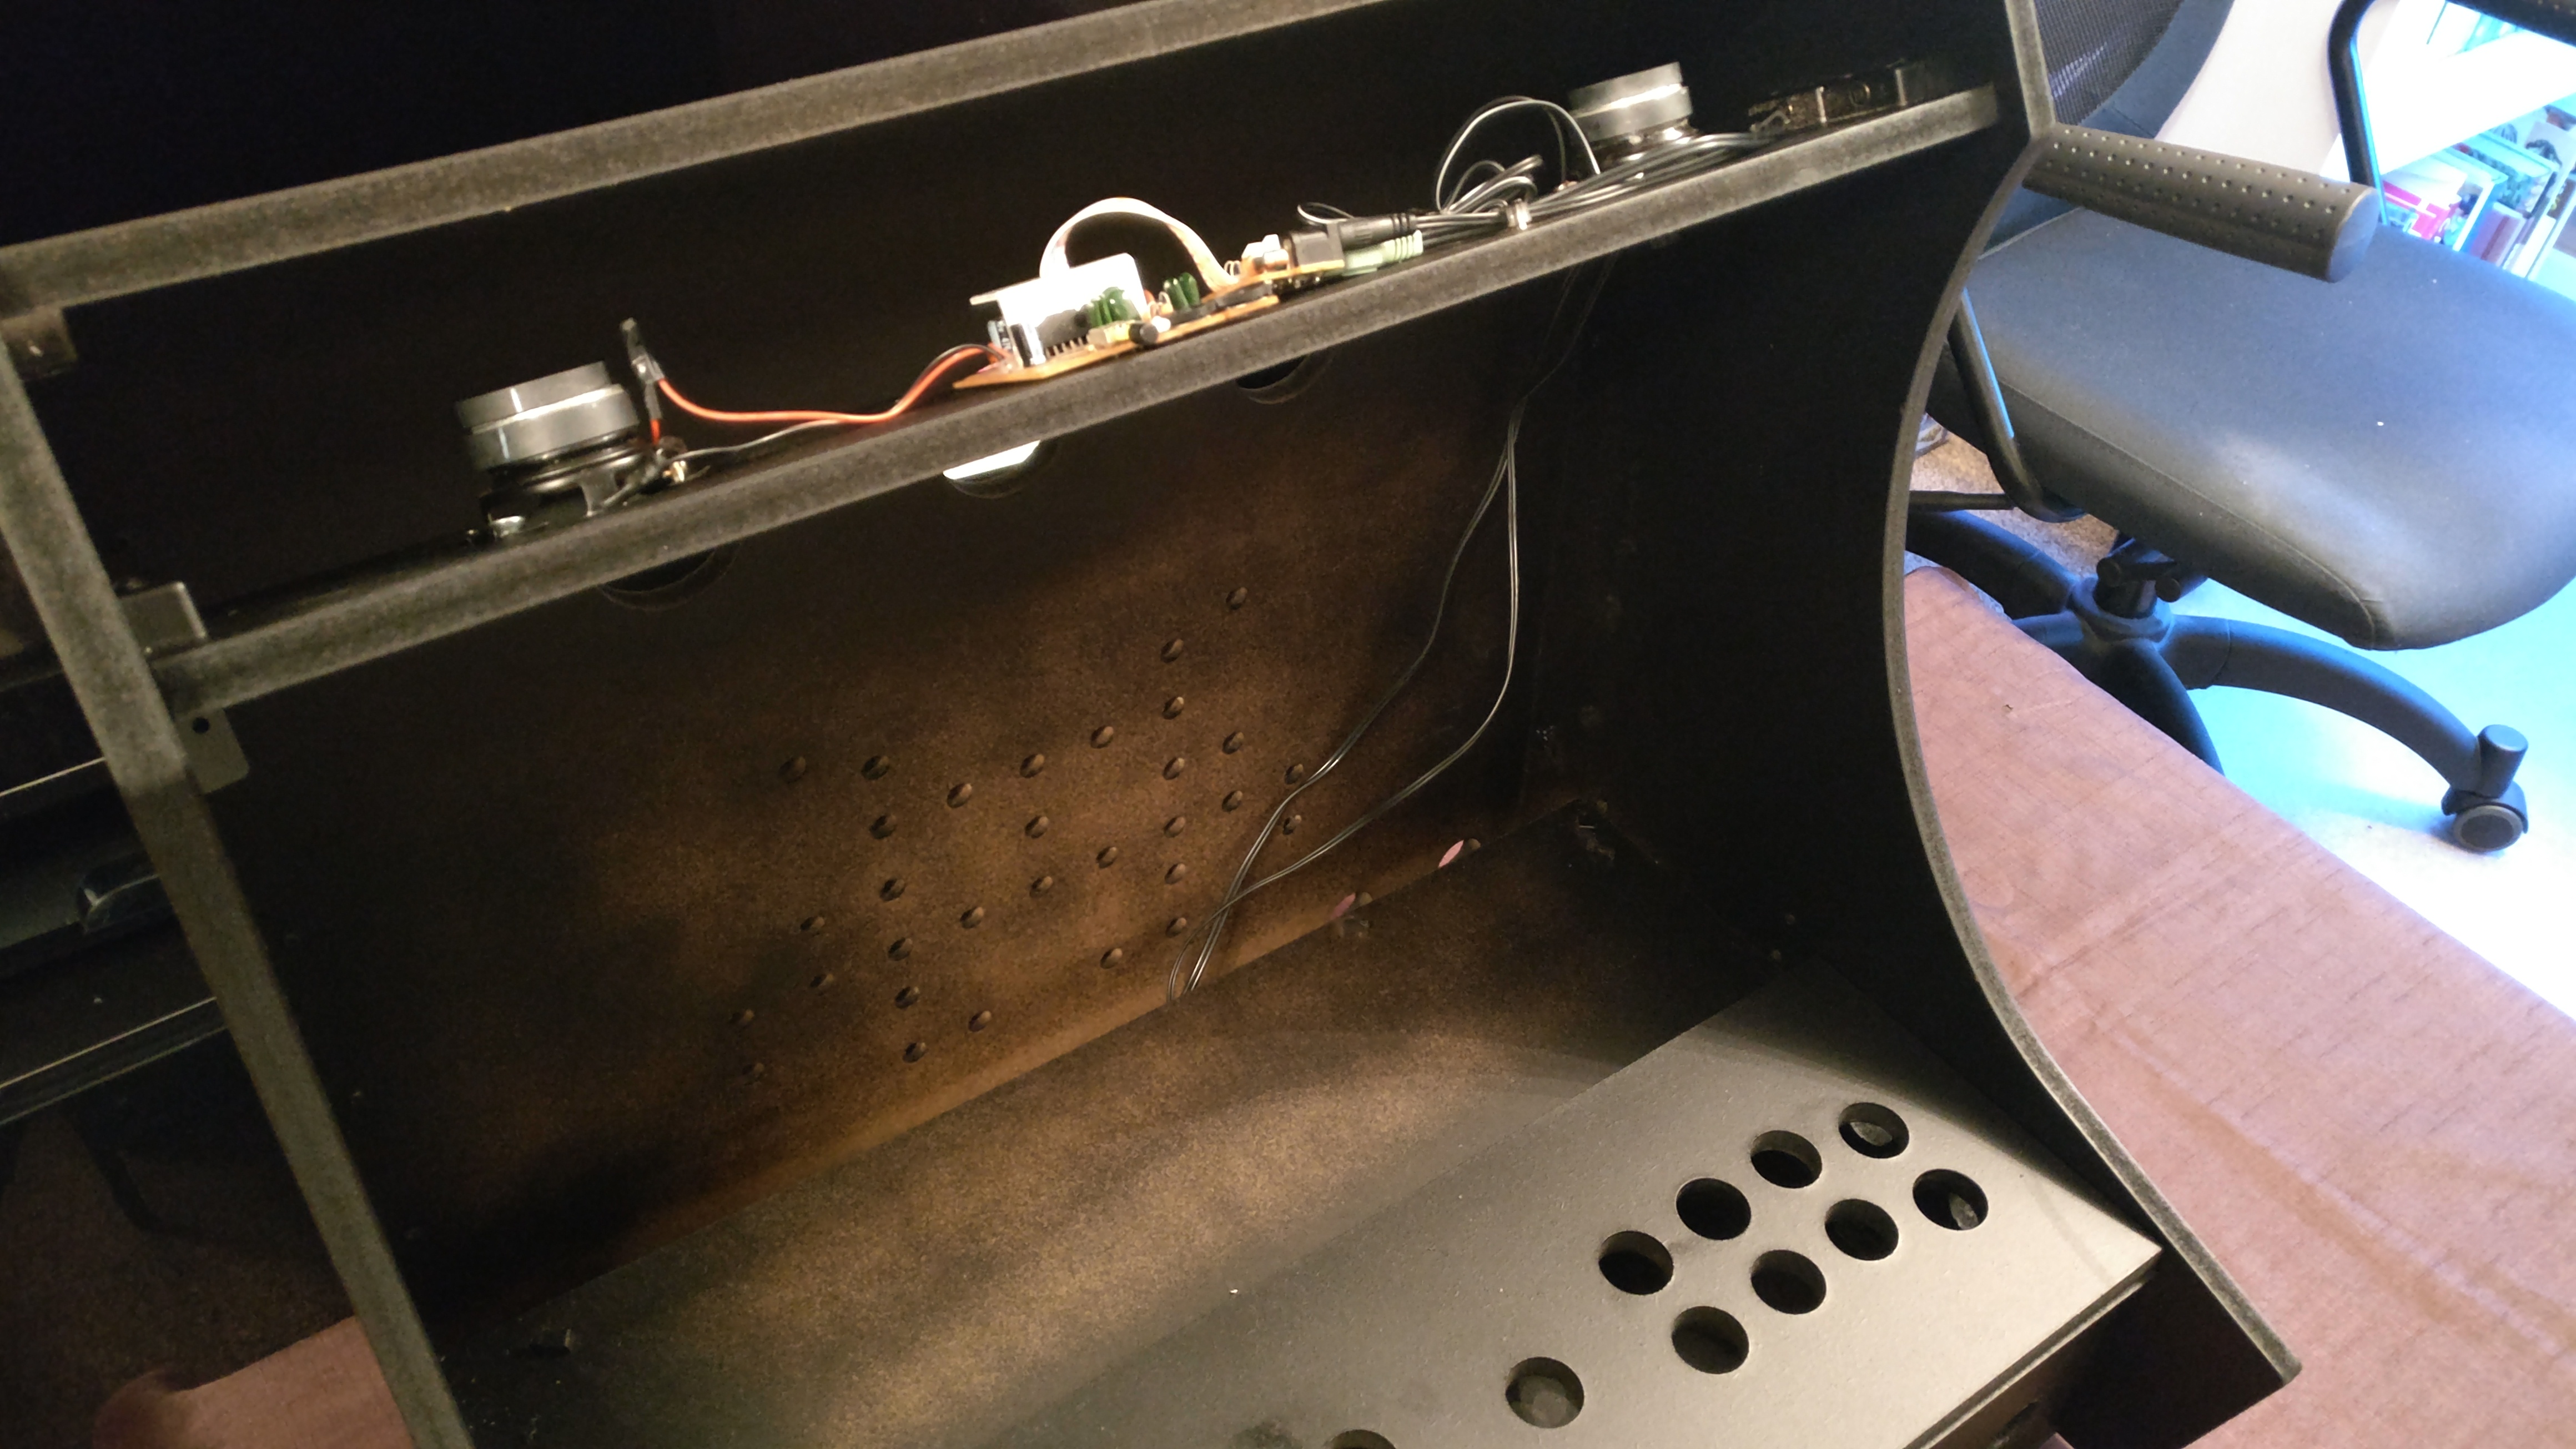
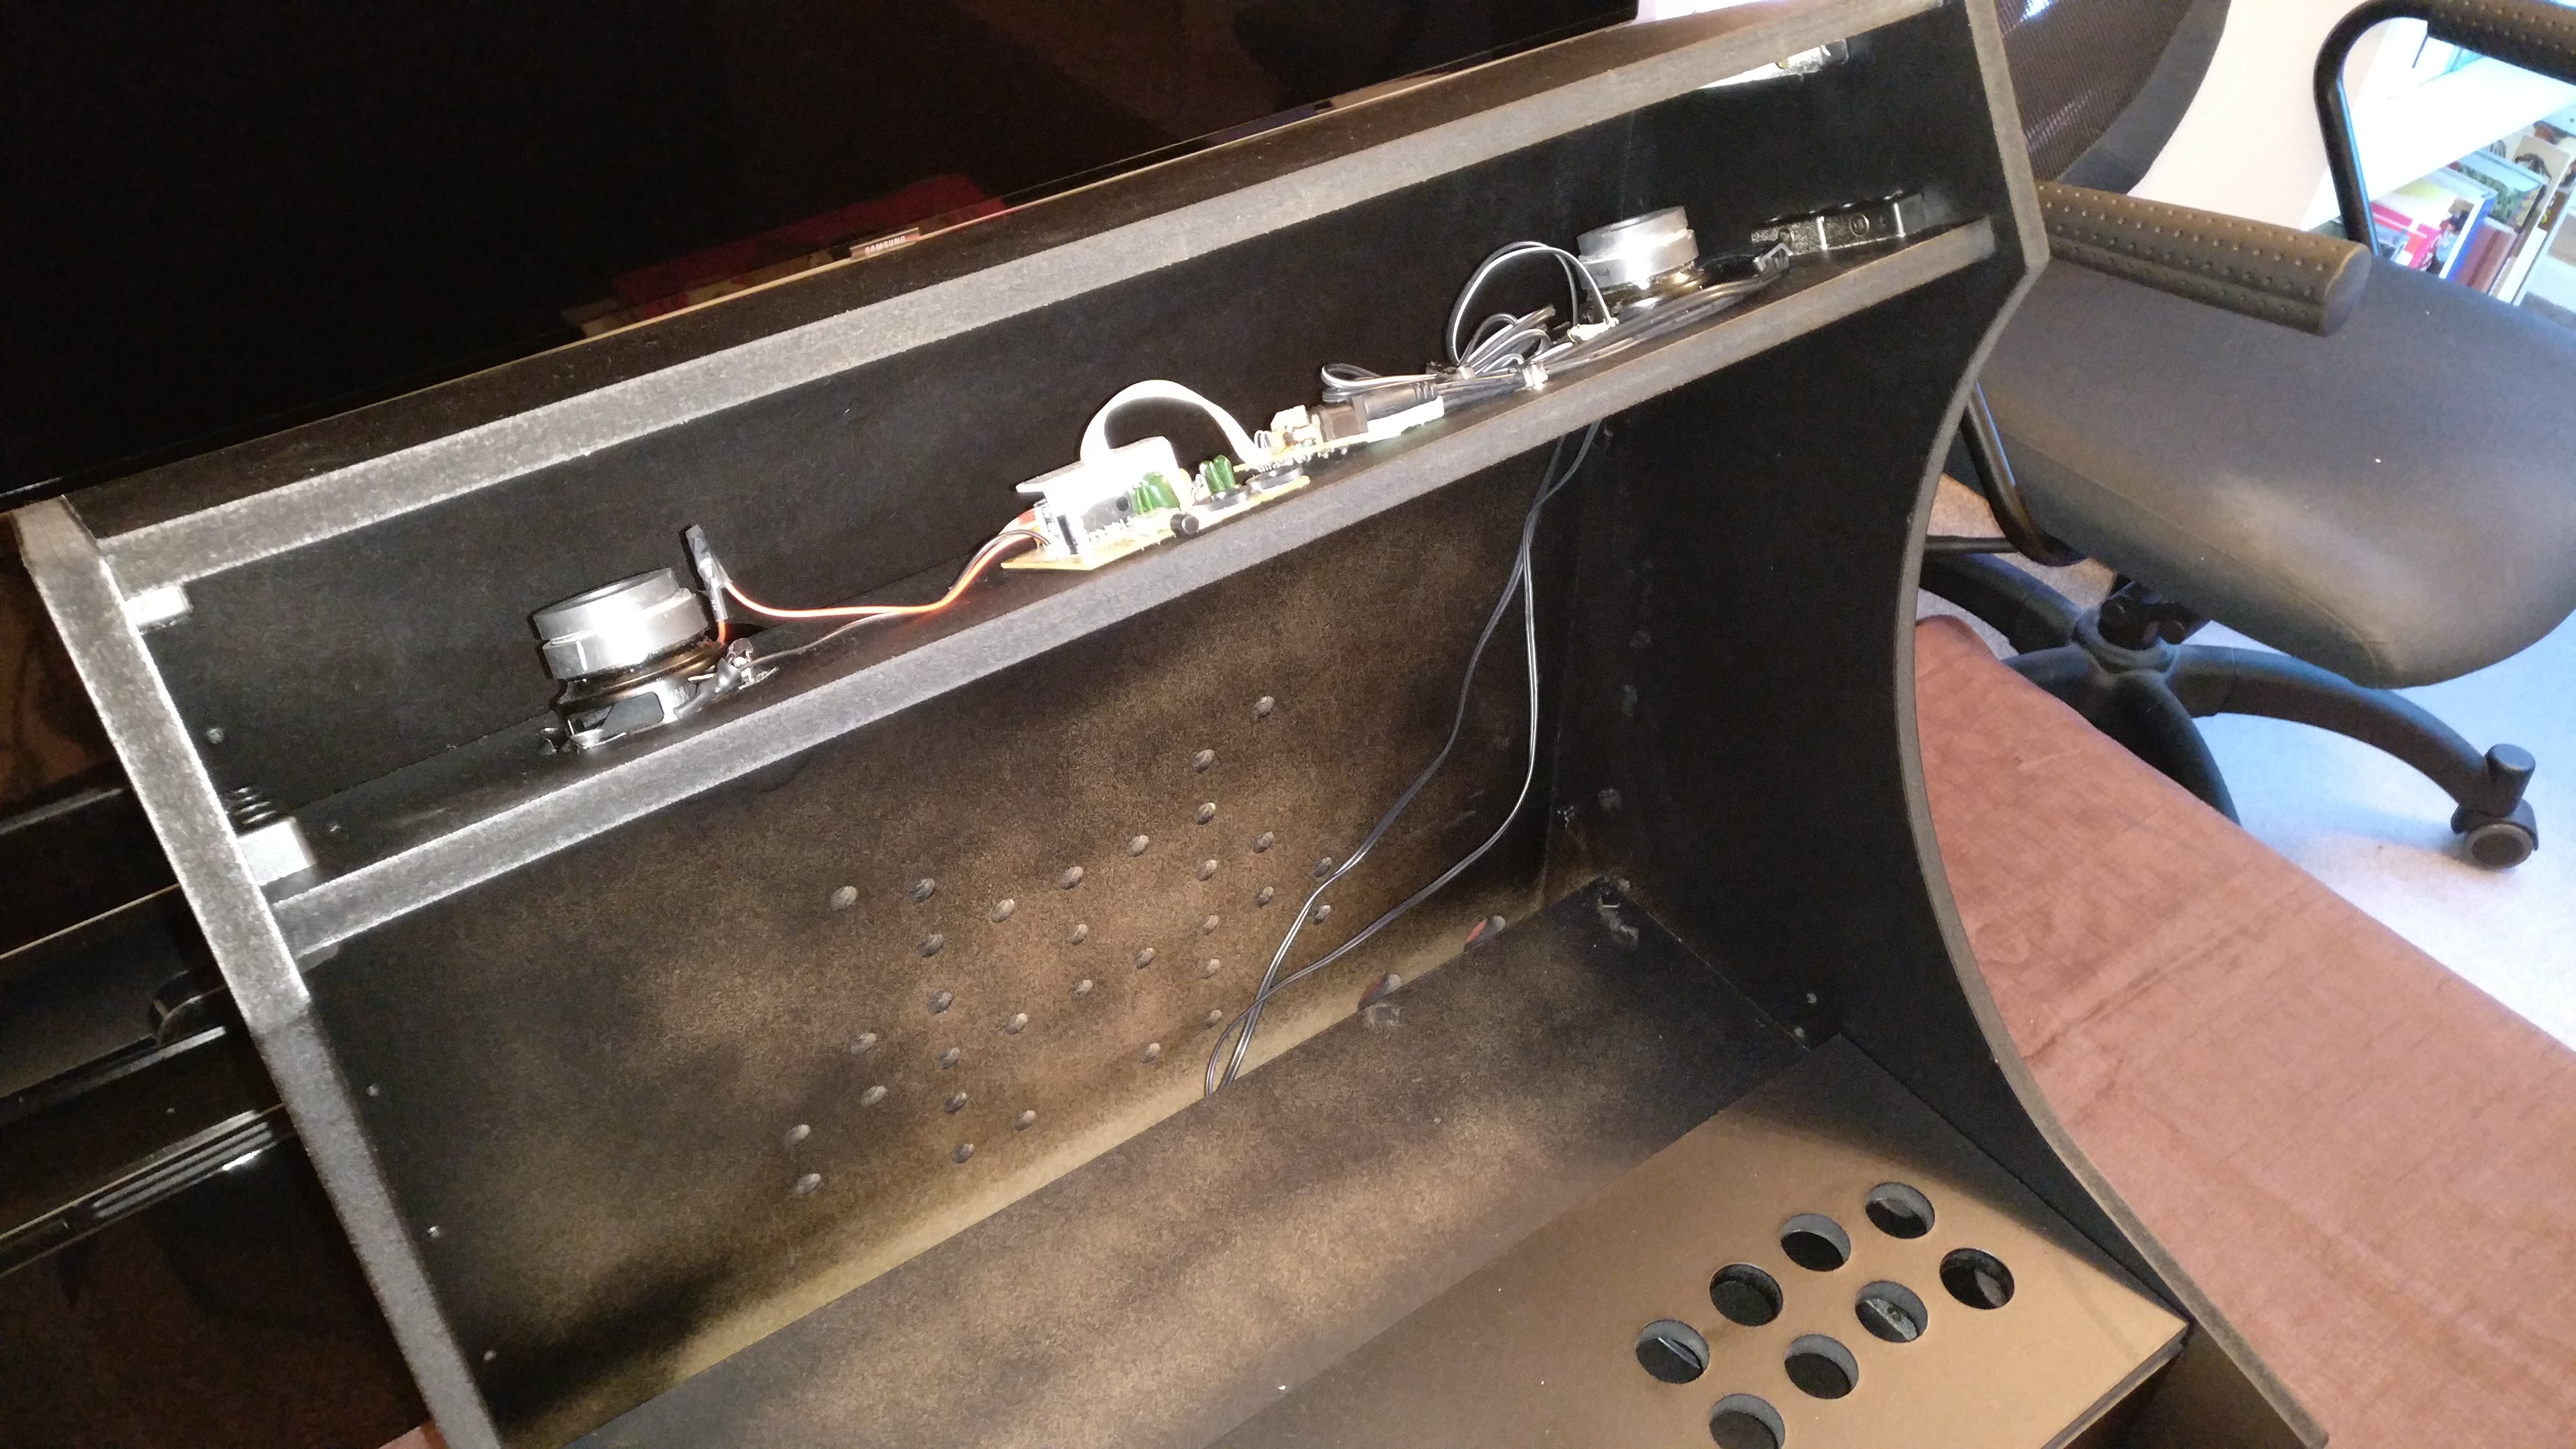
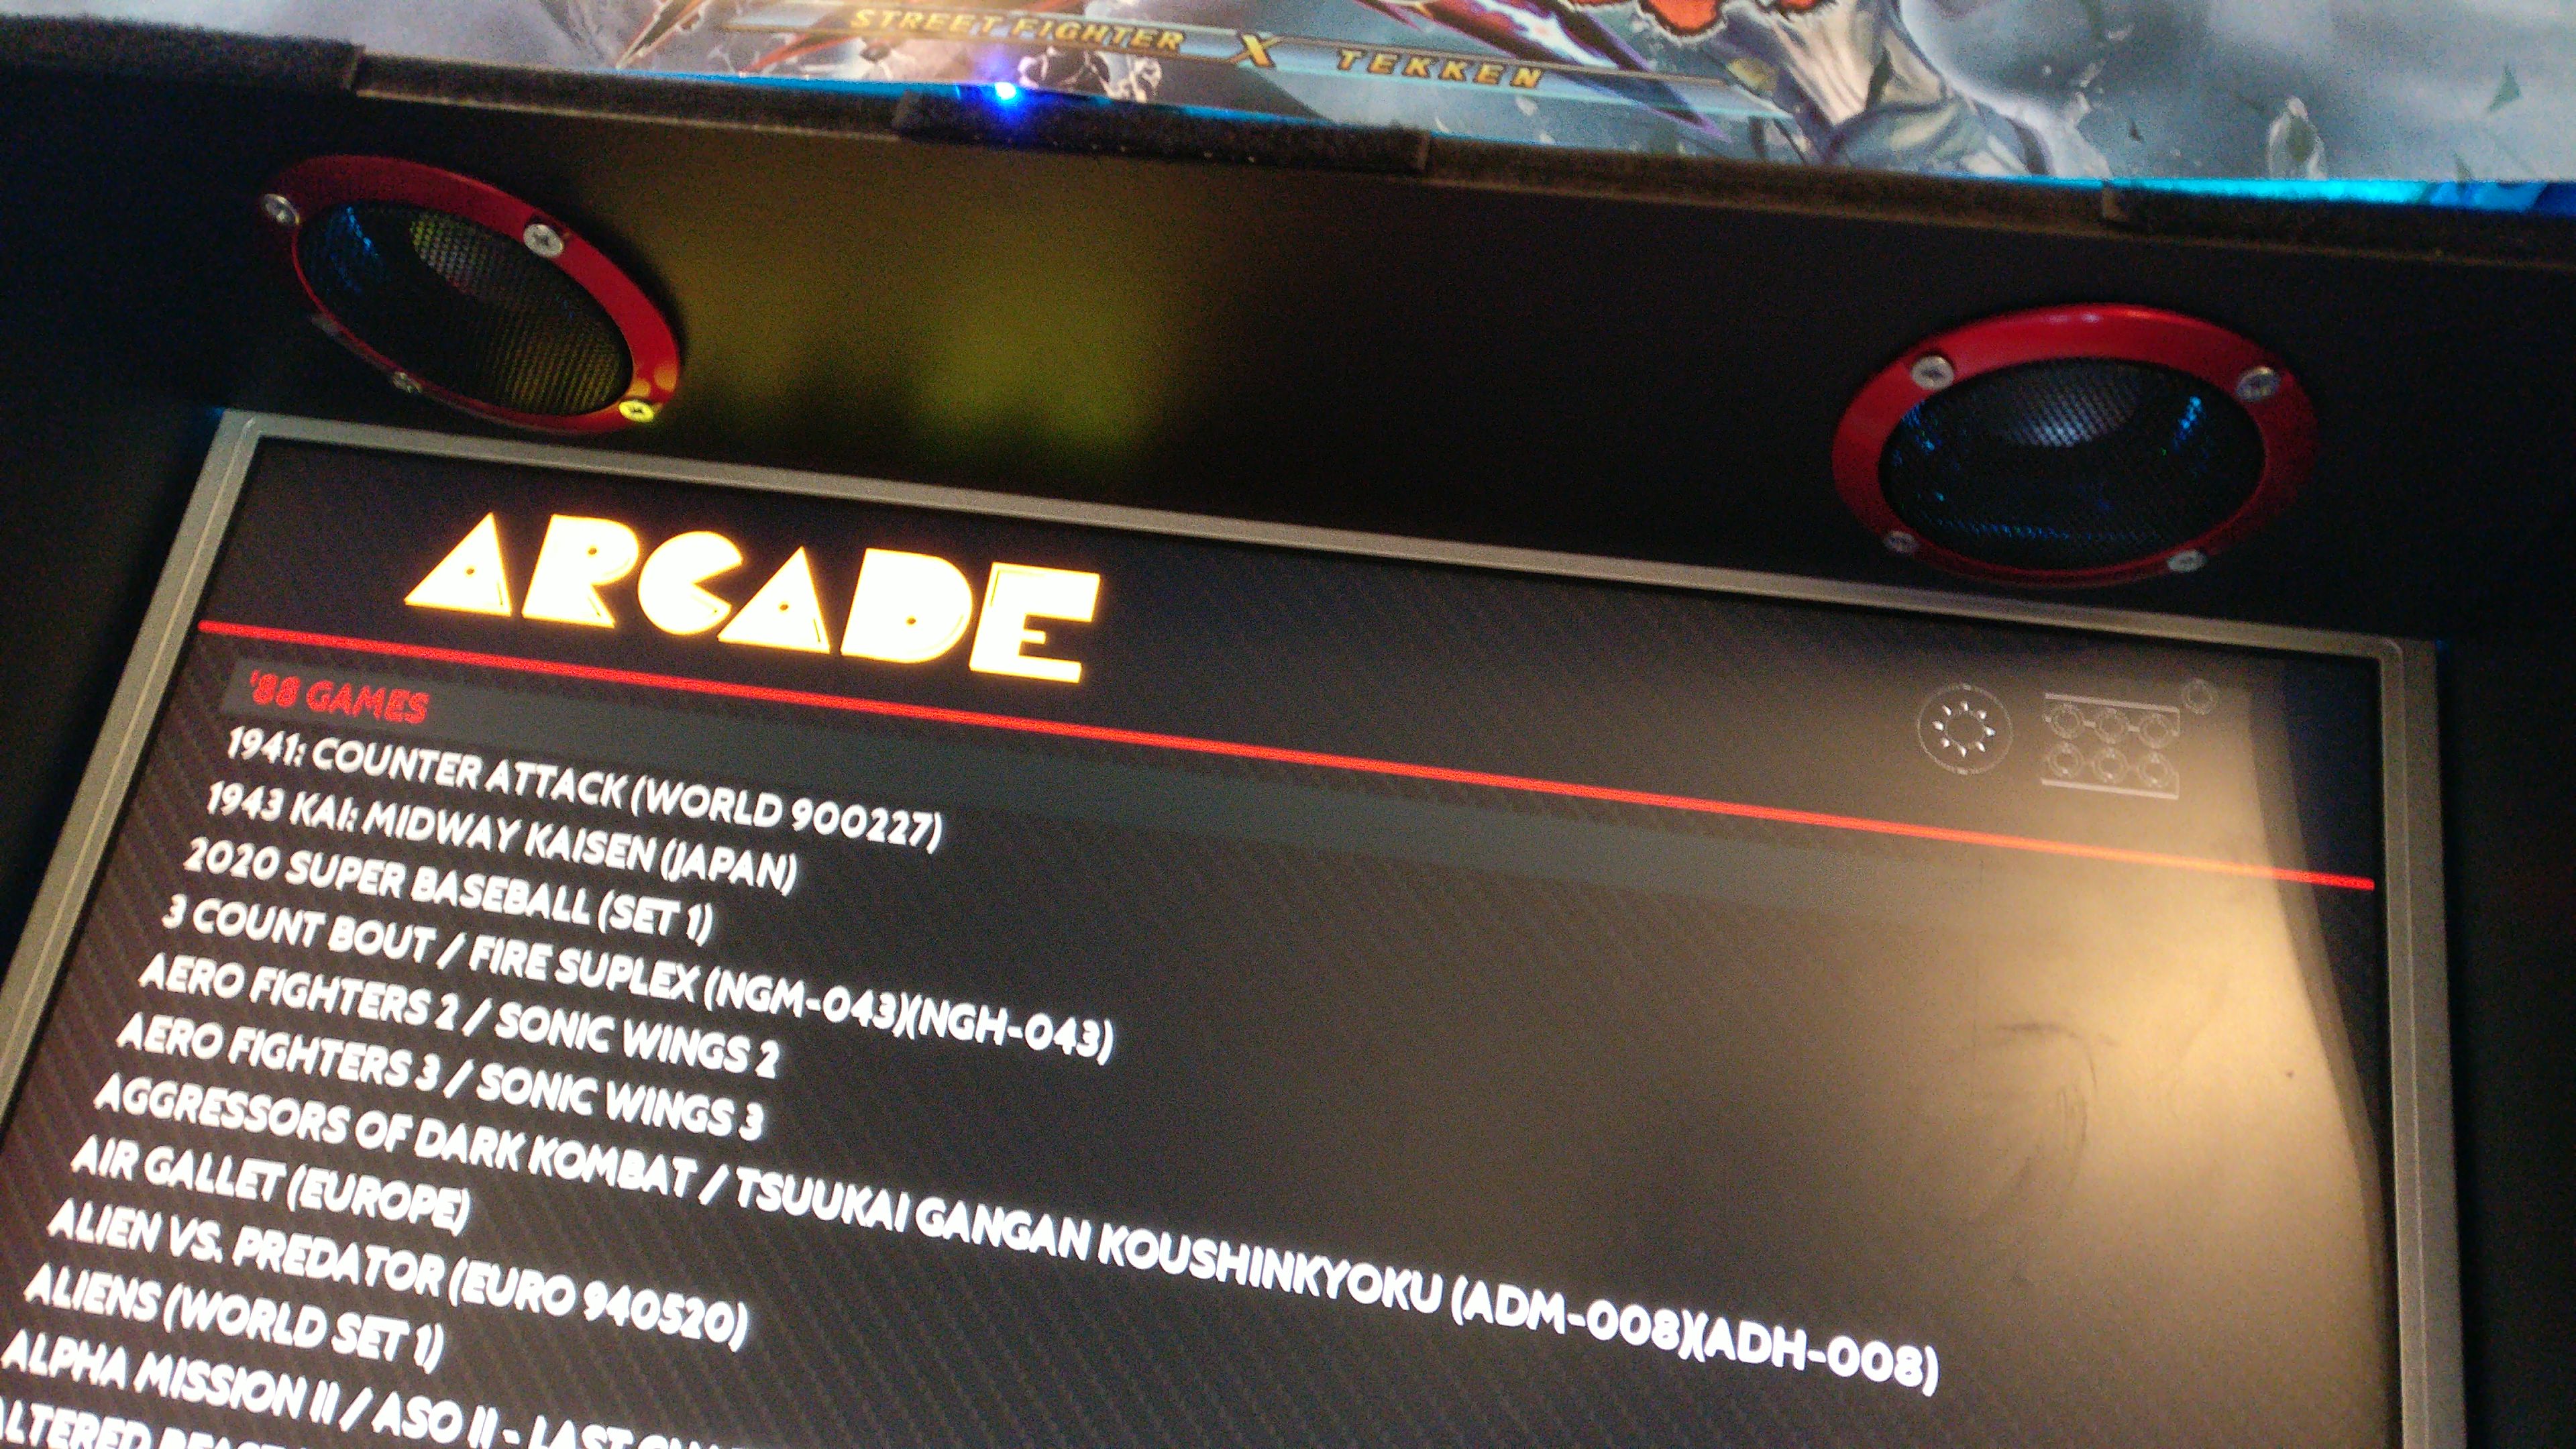
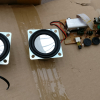
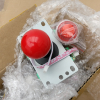
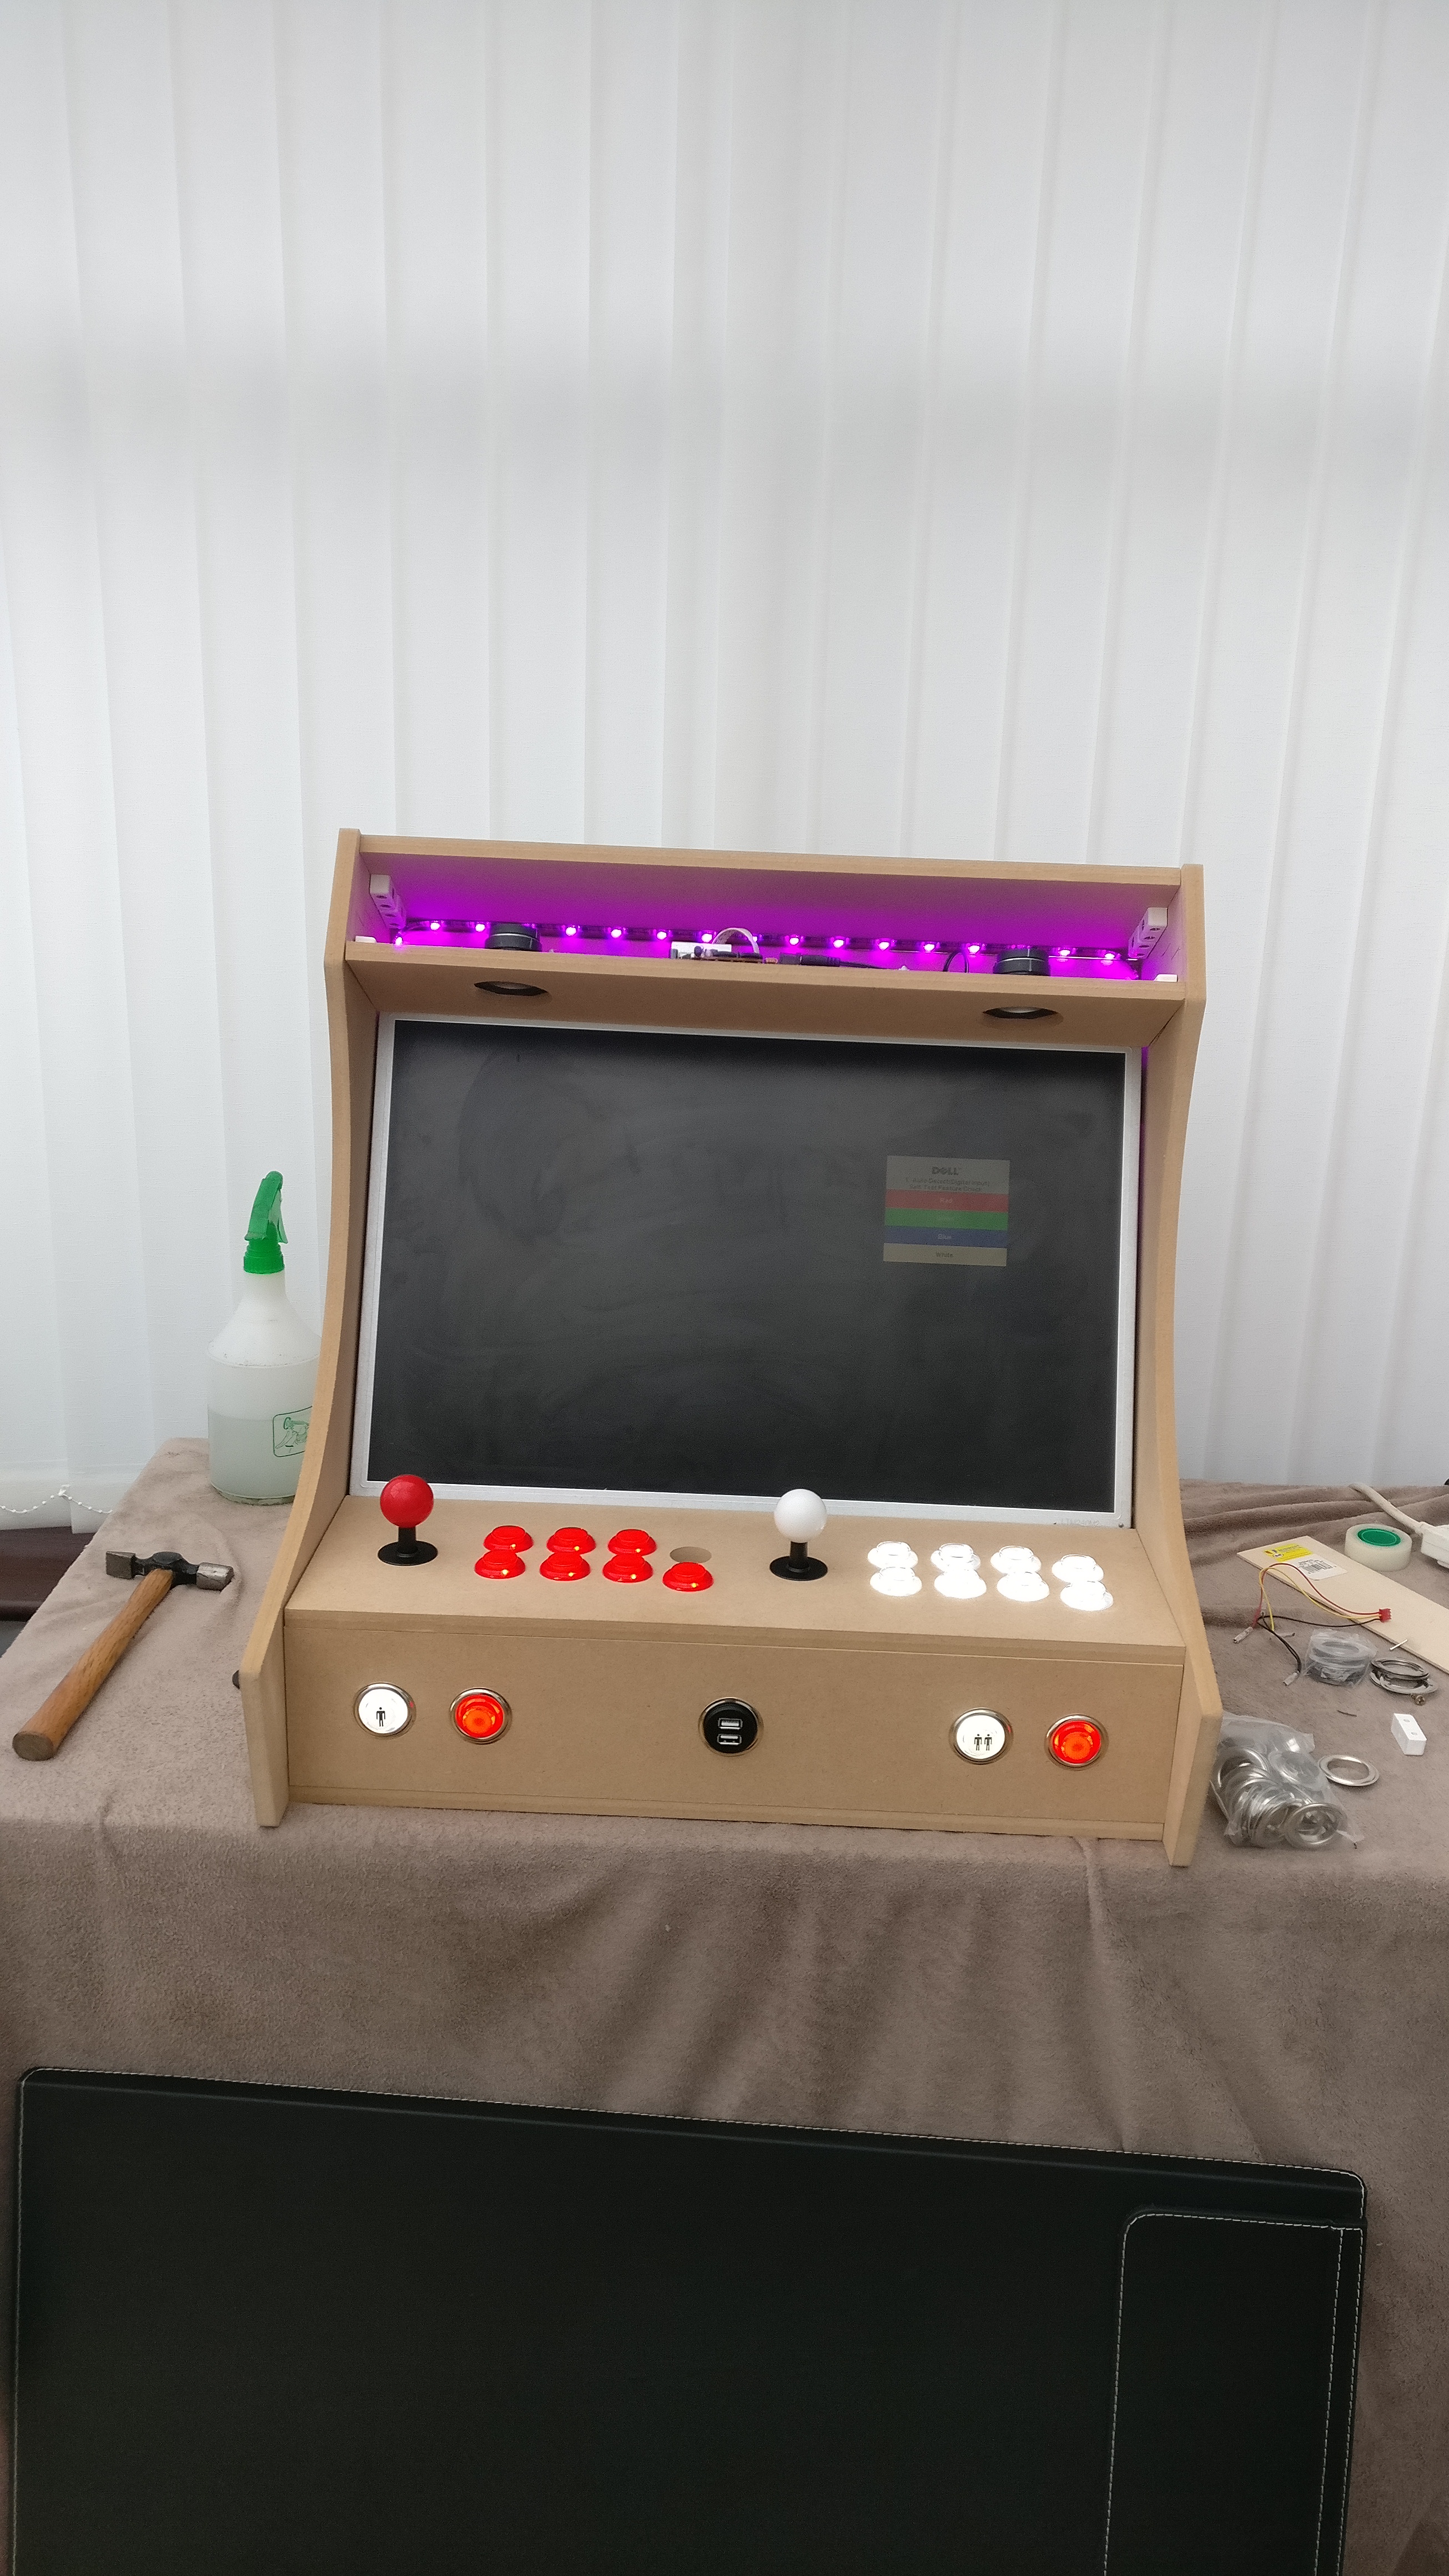
- Raspberry Pi 3
- 2TB External Samsung HDD
- Samsung 128GB Grade 1 Class 10 Memory Card
- Bluetooth KBM
- 4 Port PiHUB
- USB Lighting
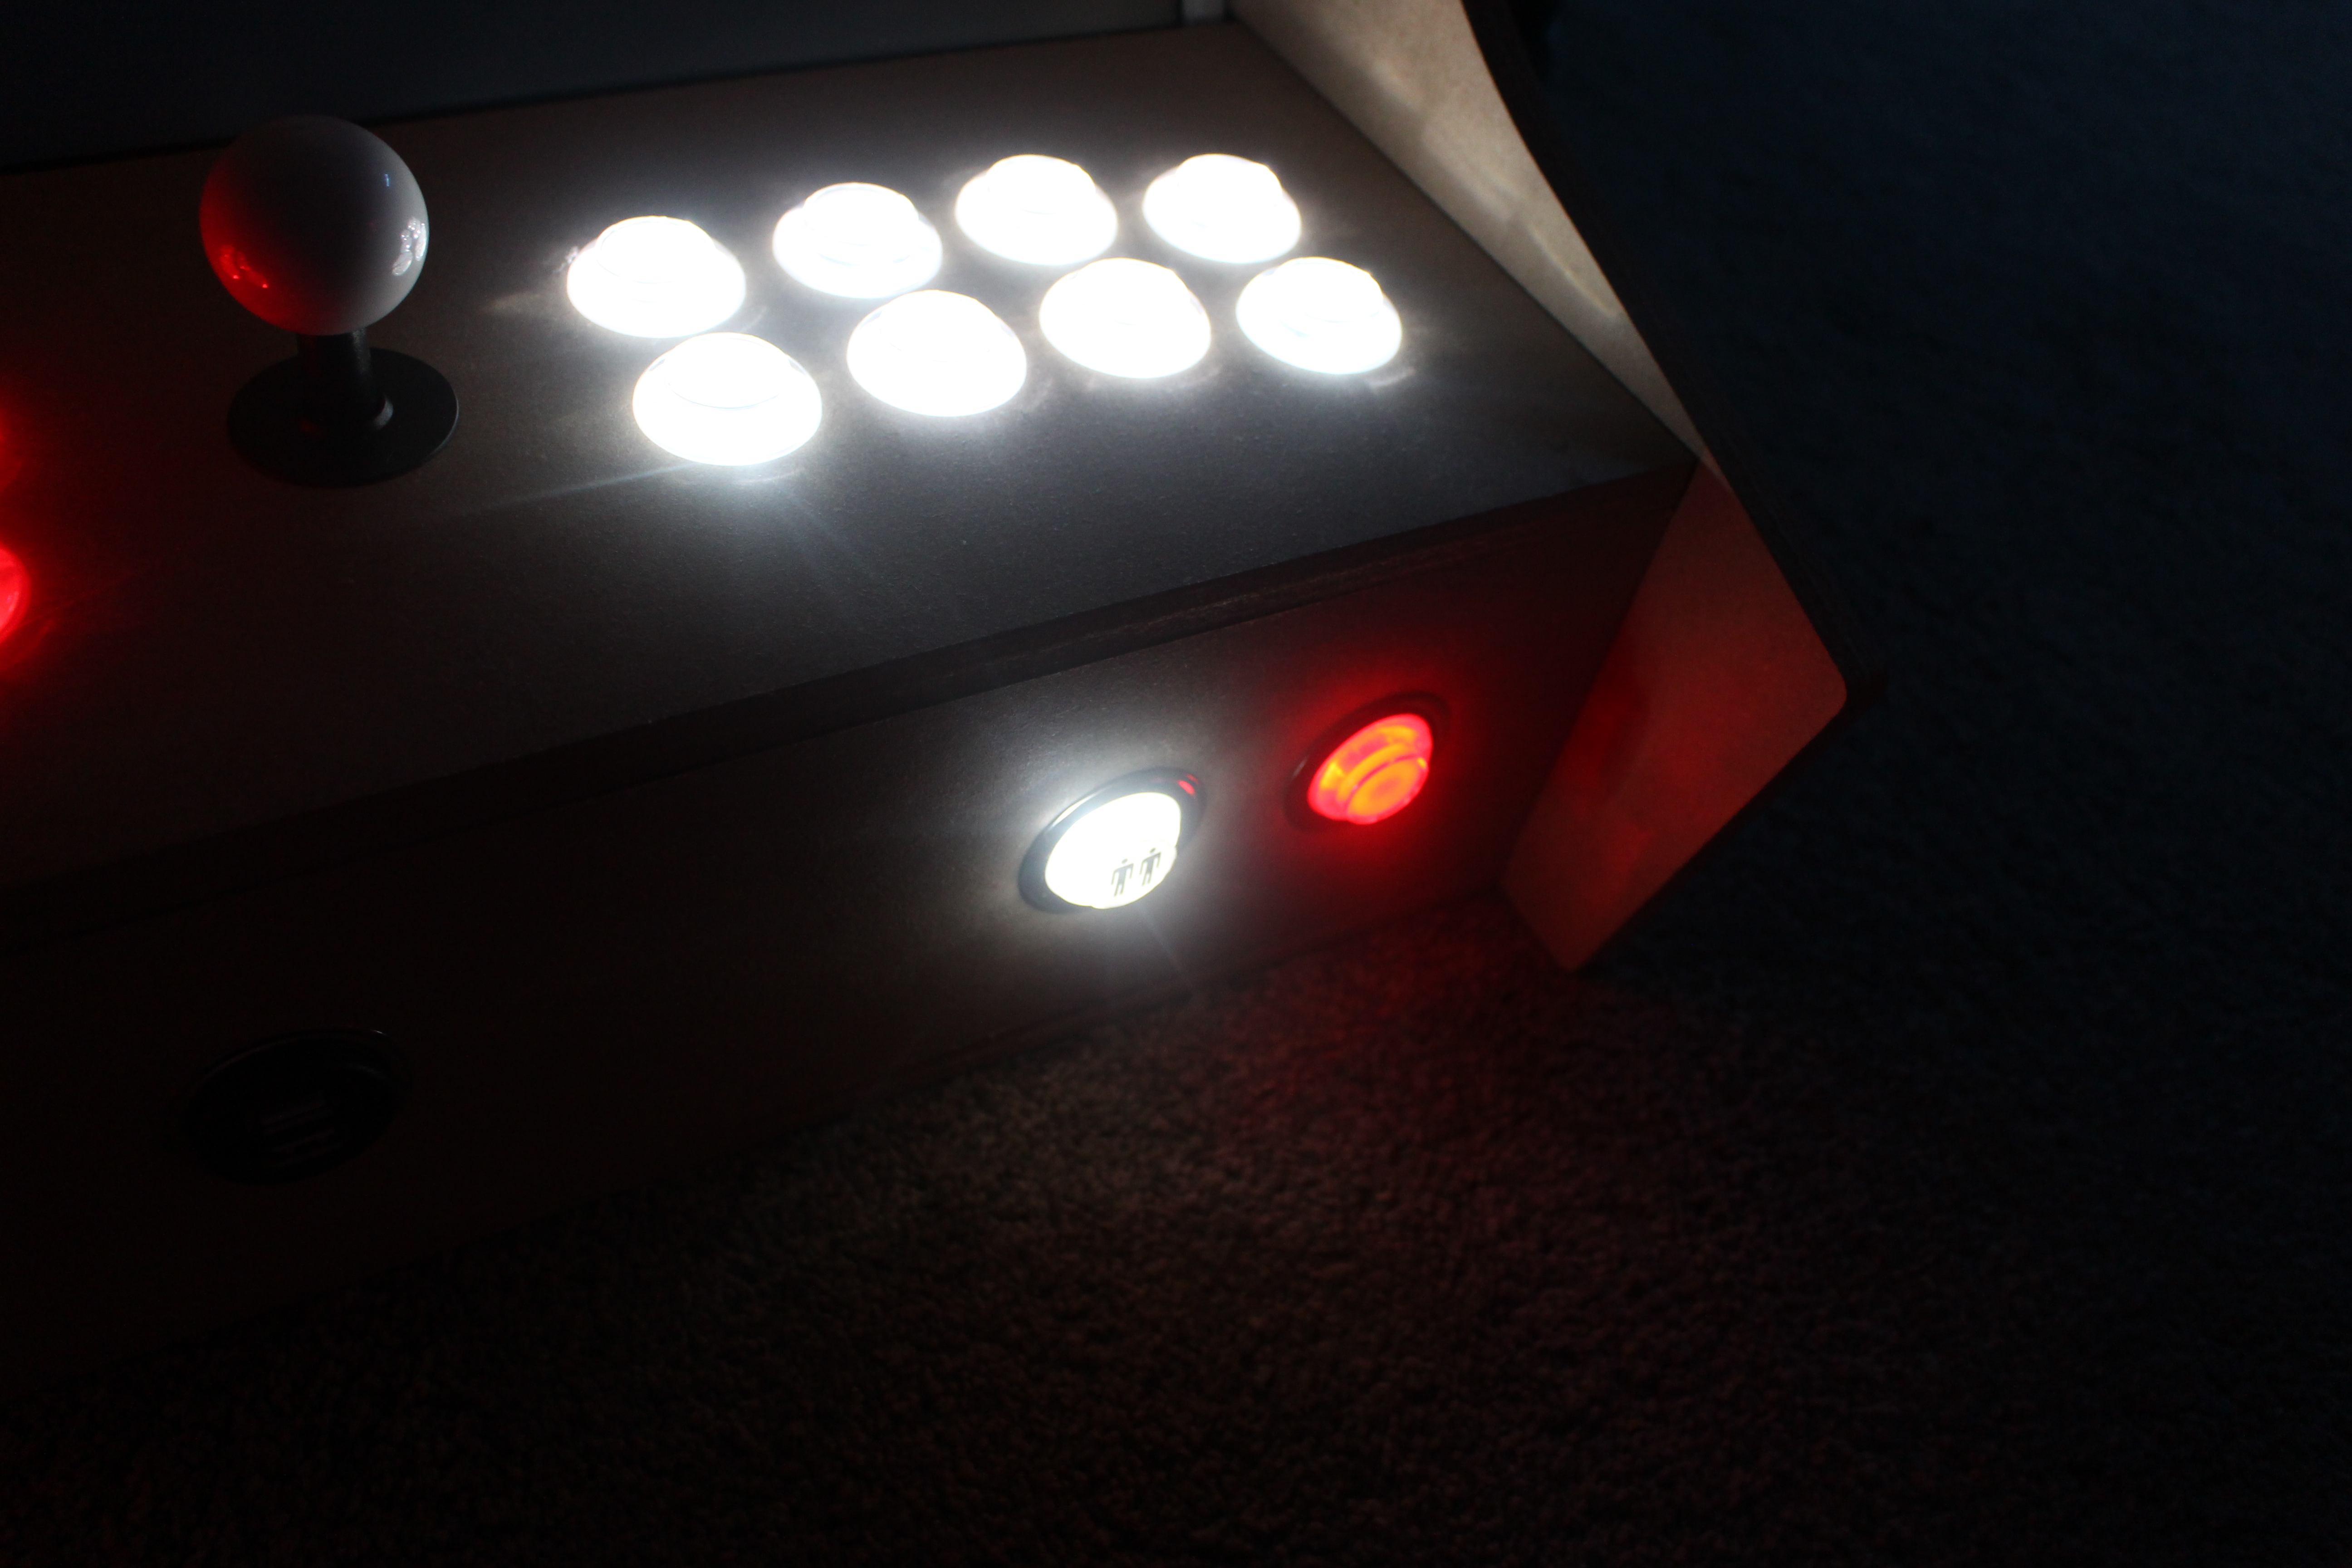
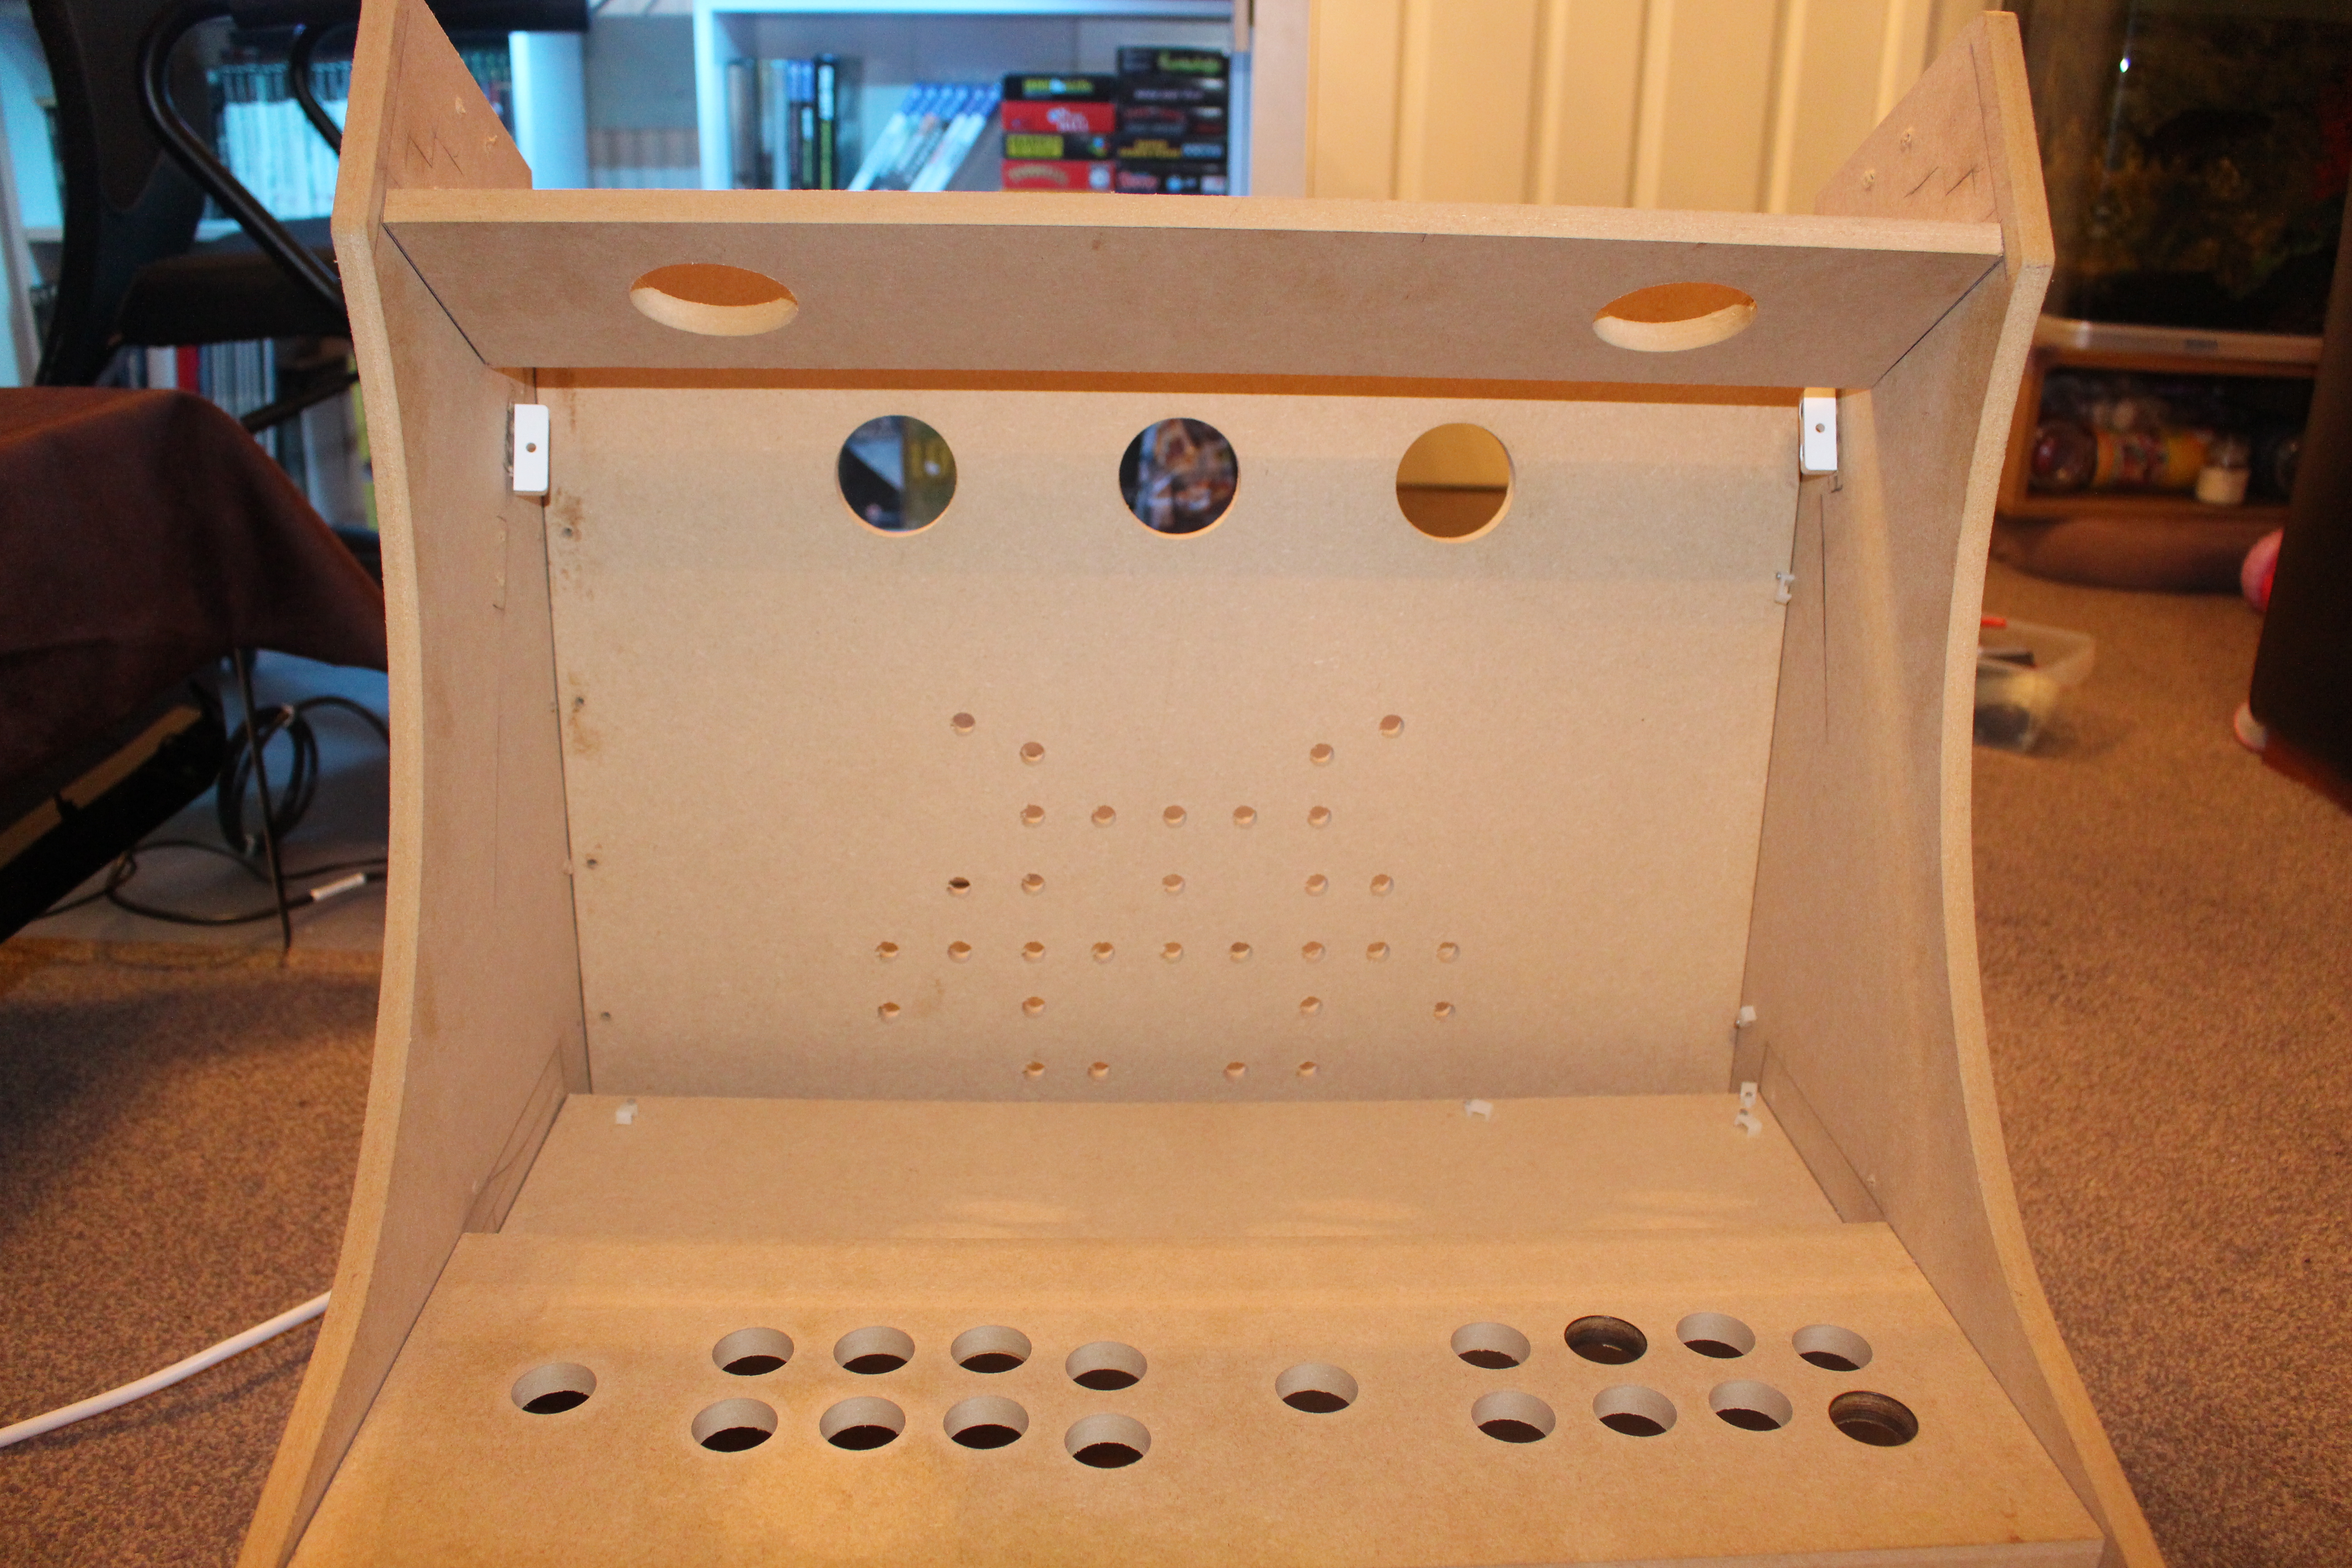
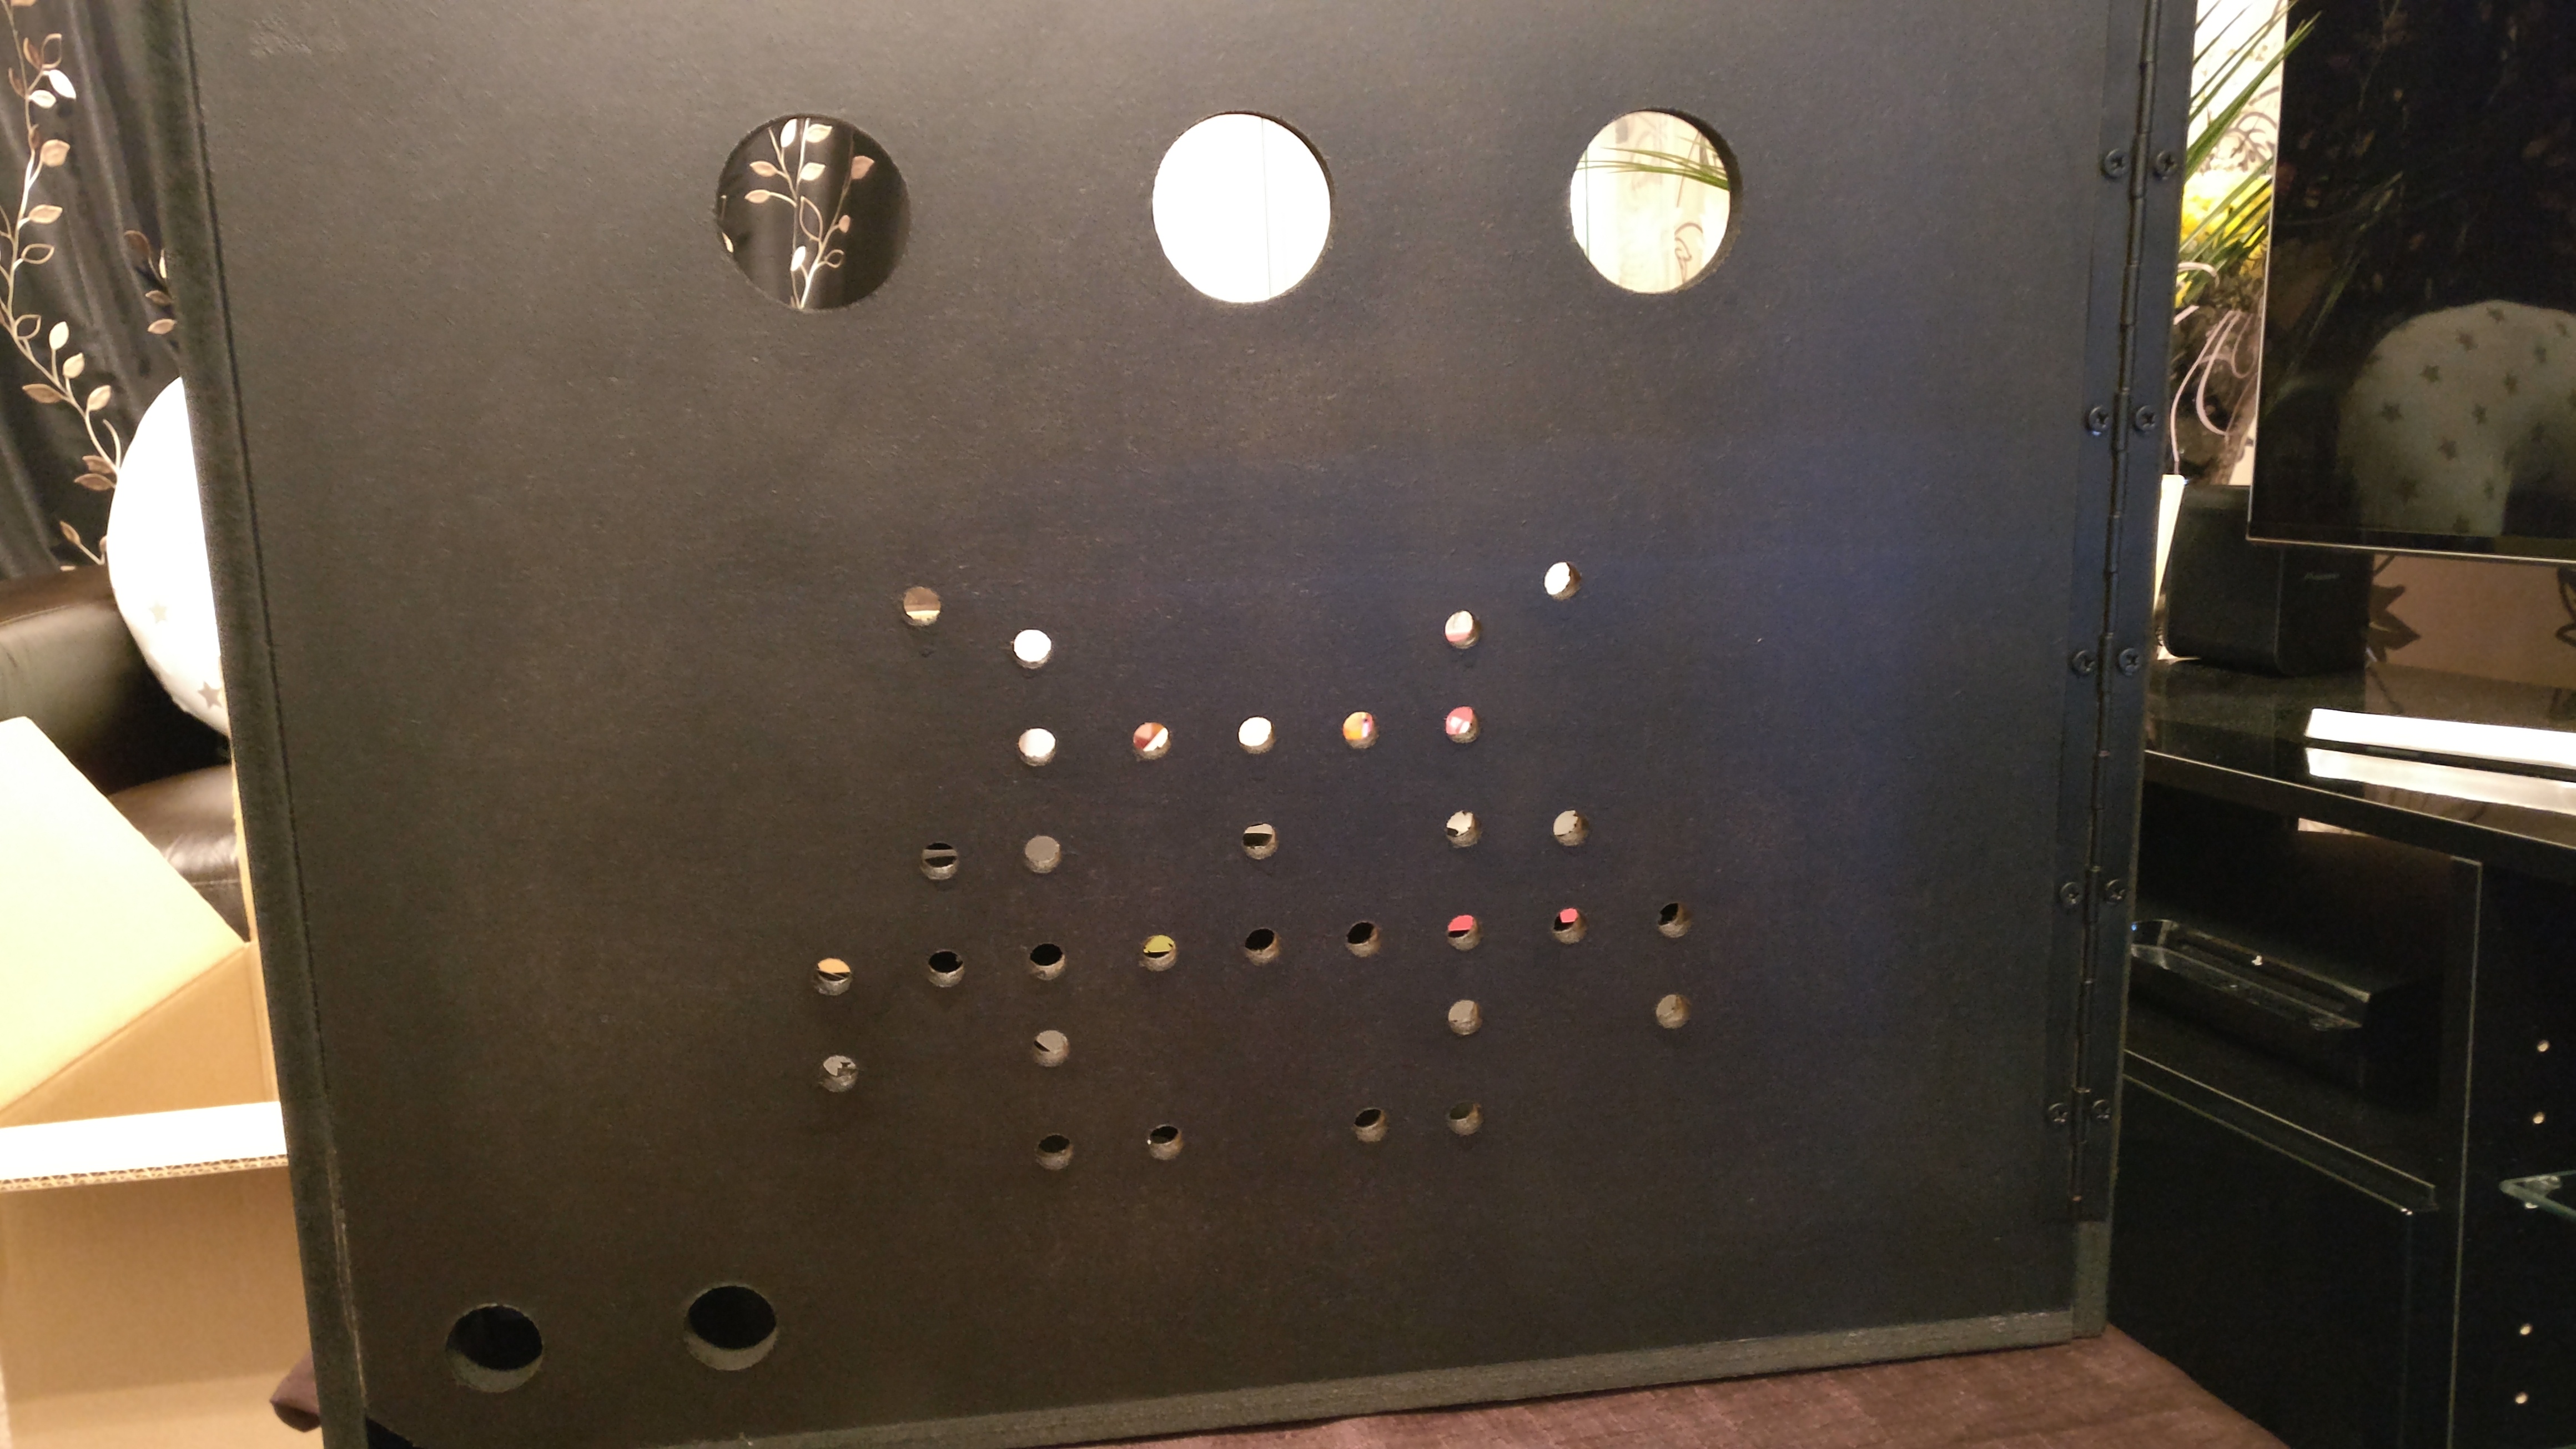
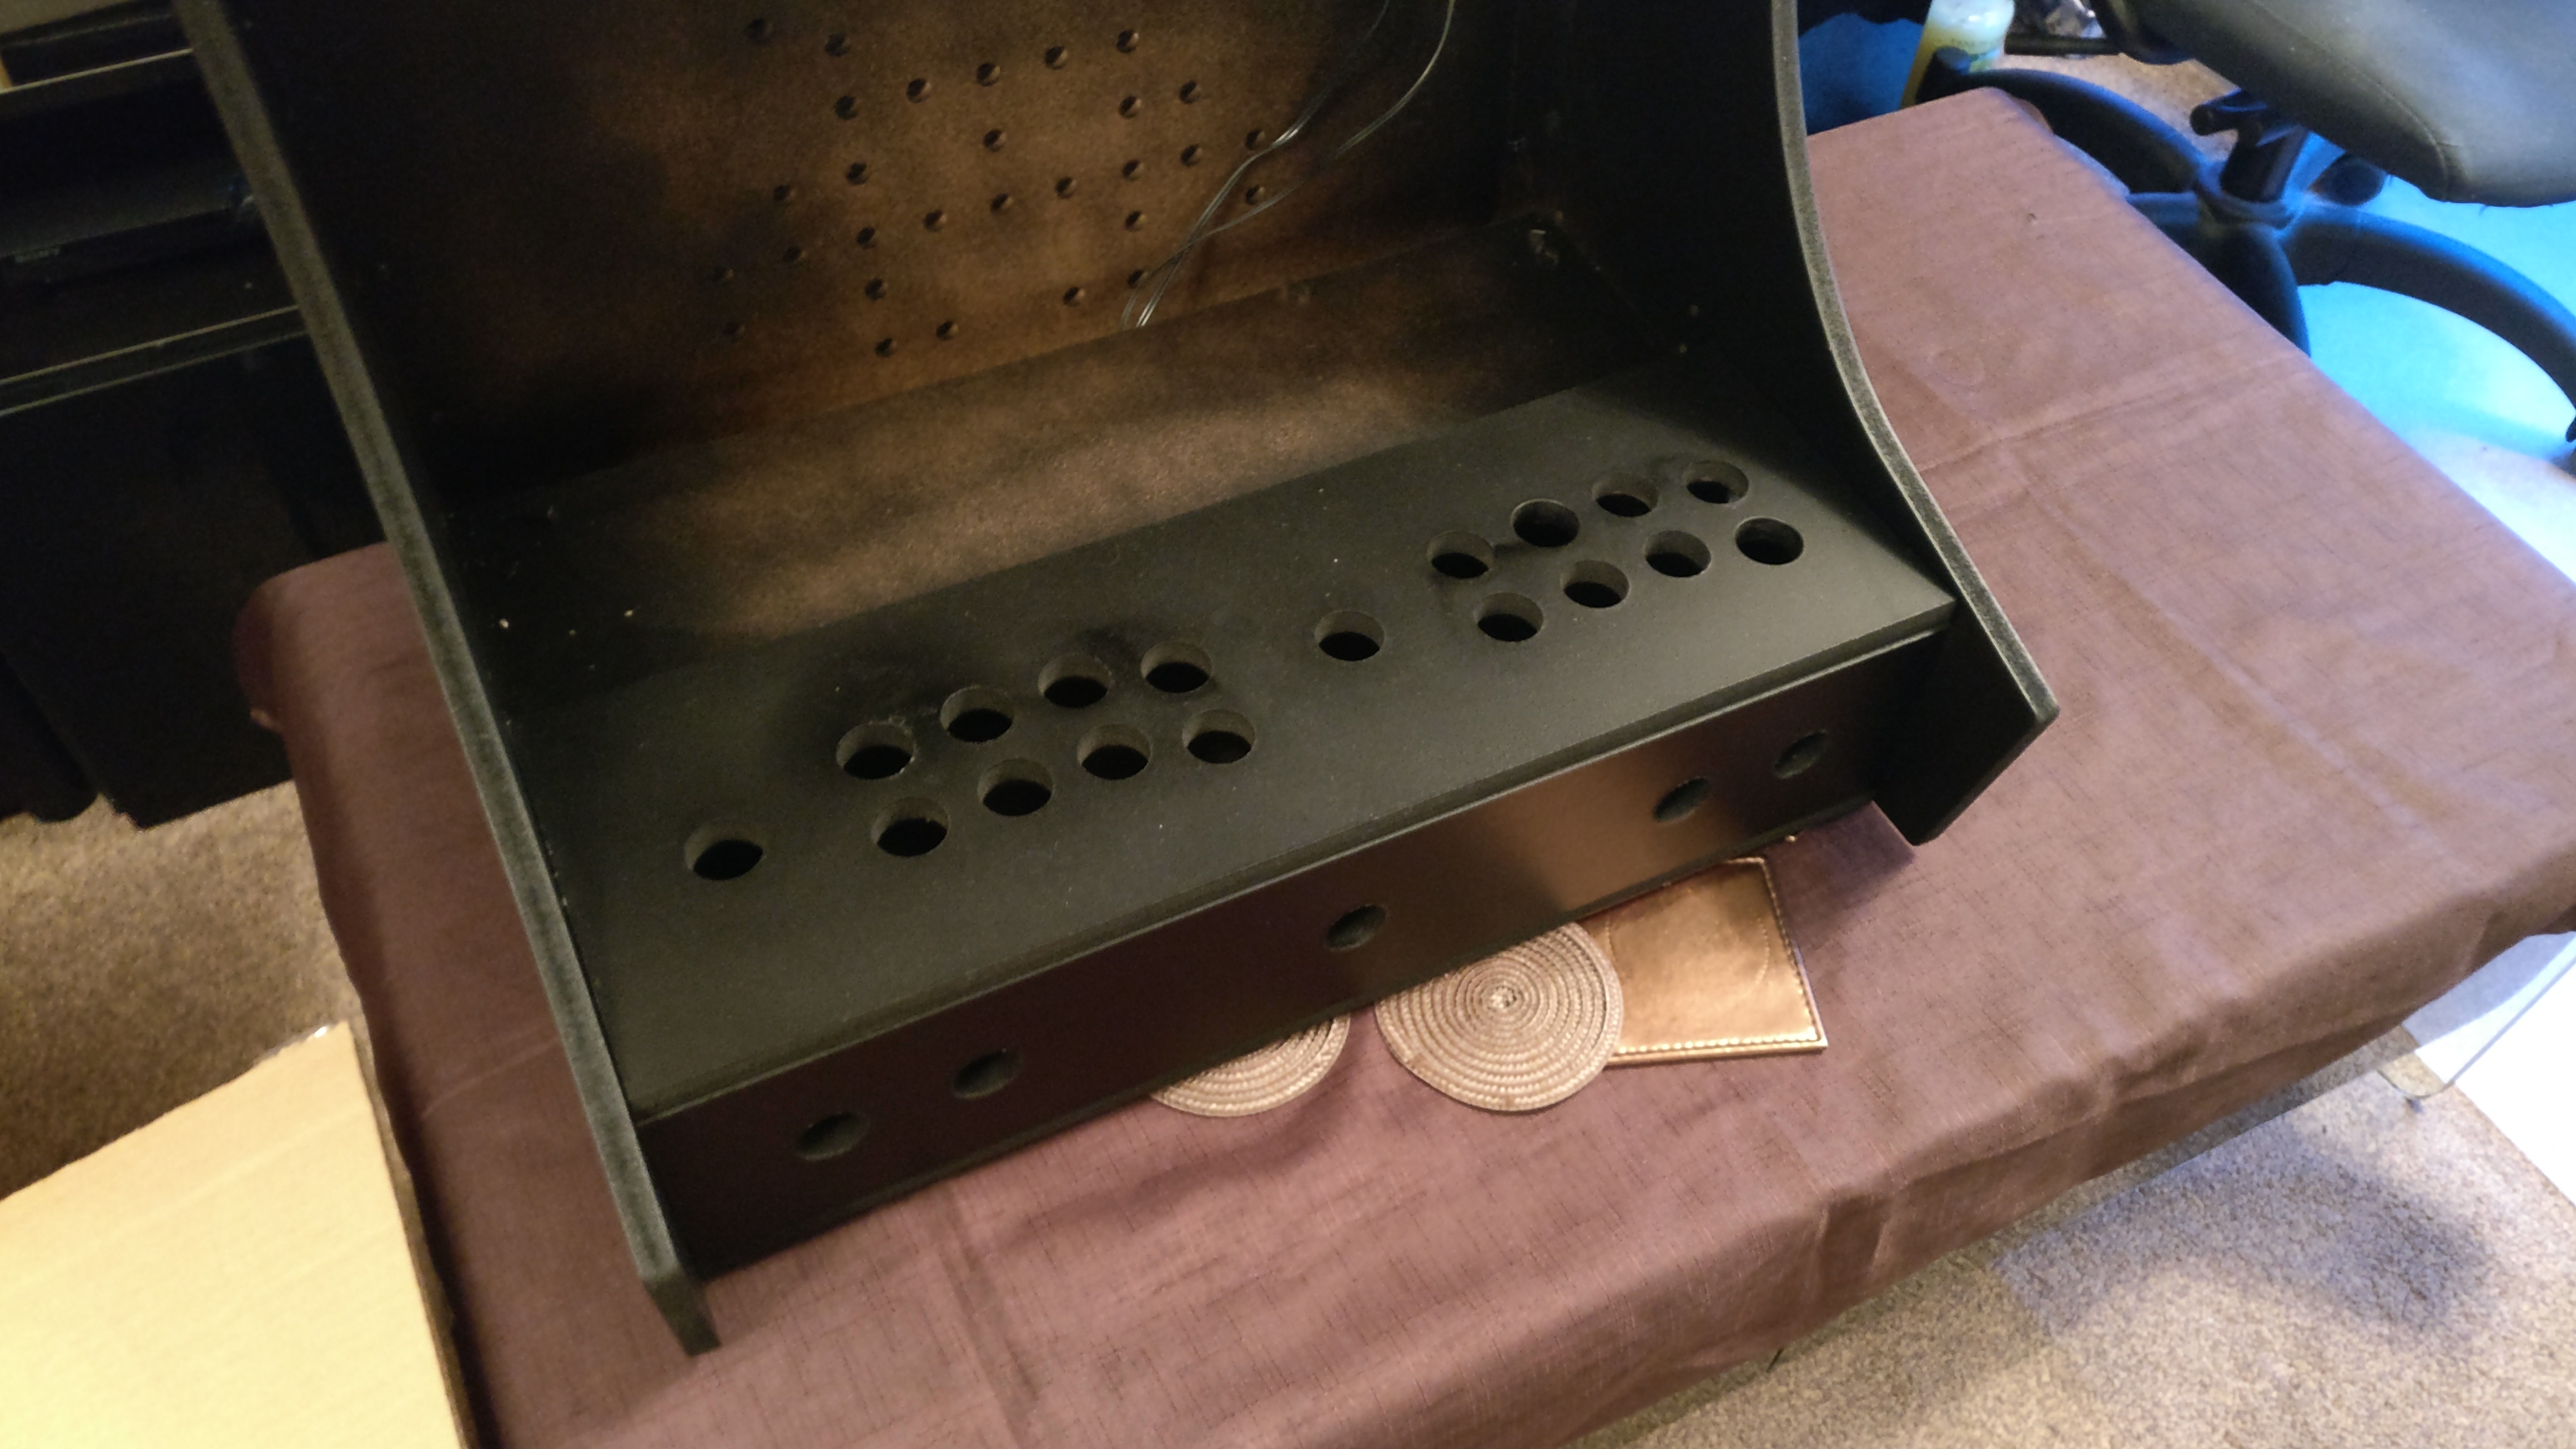
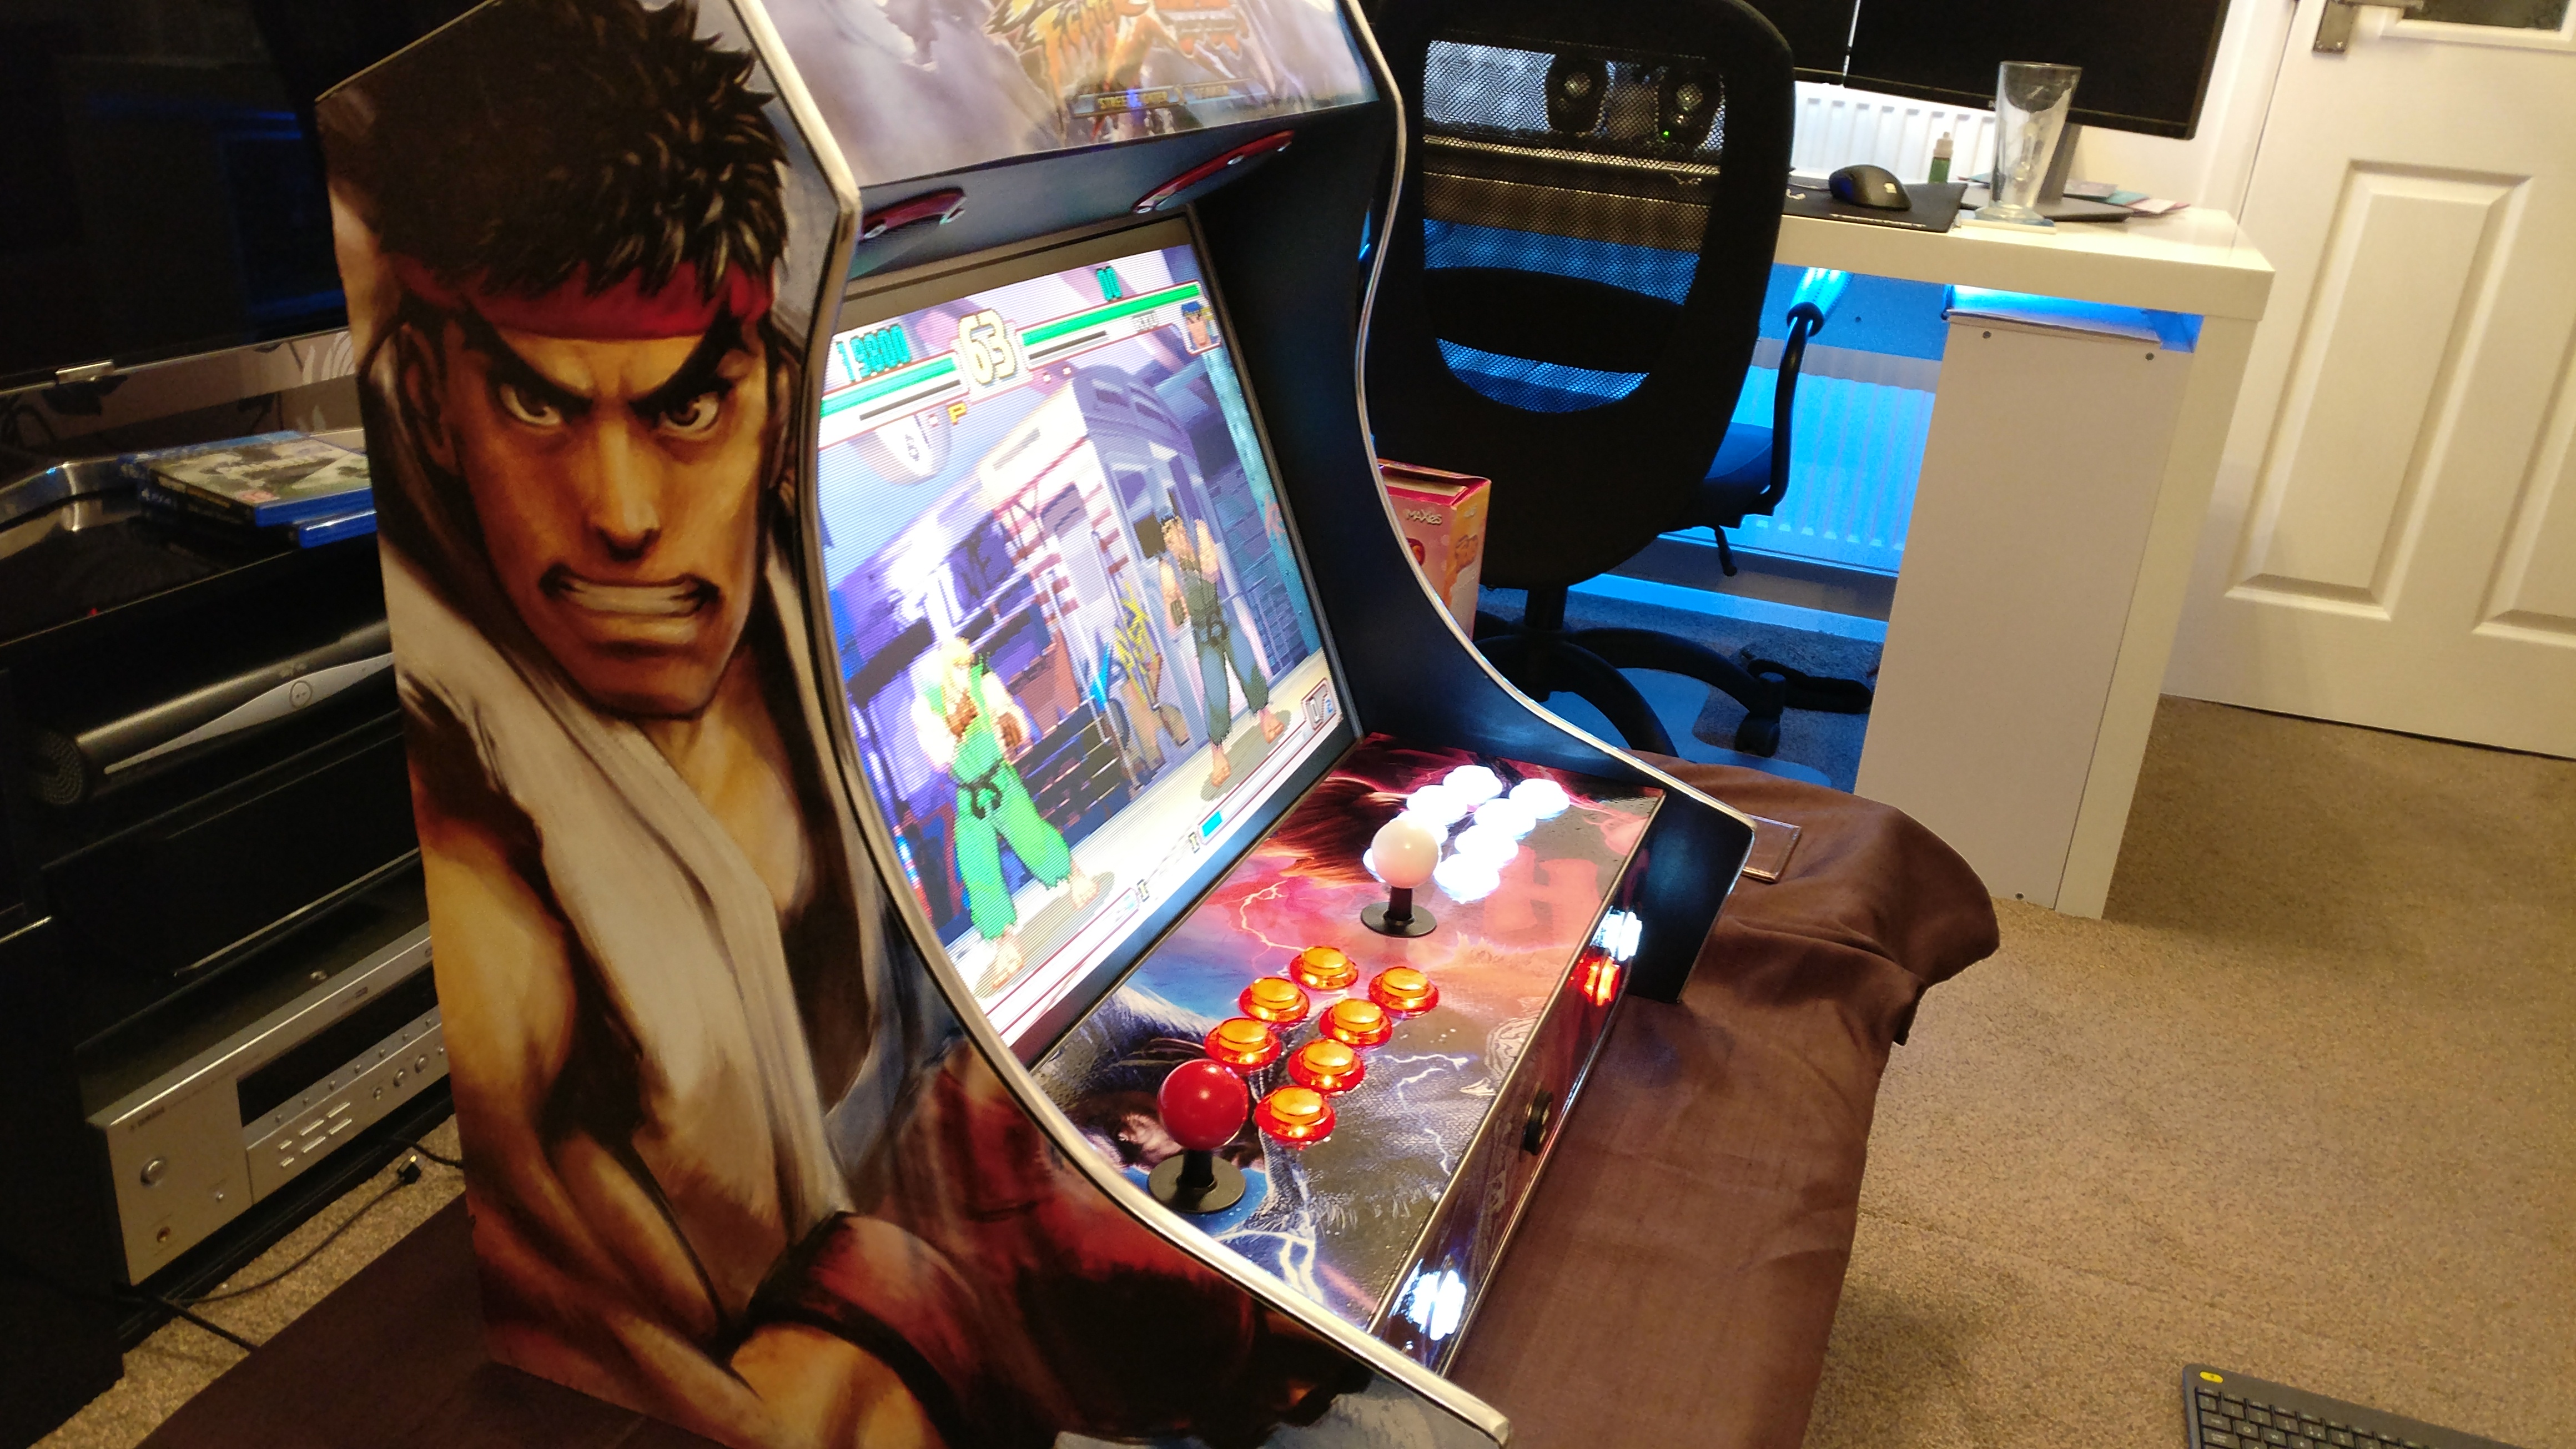
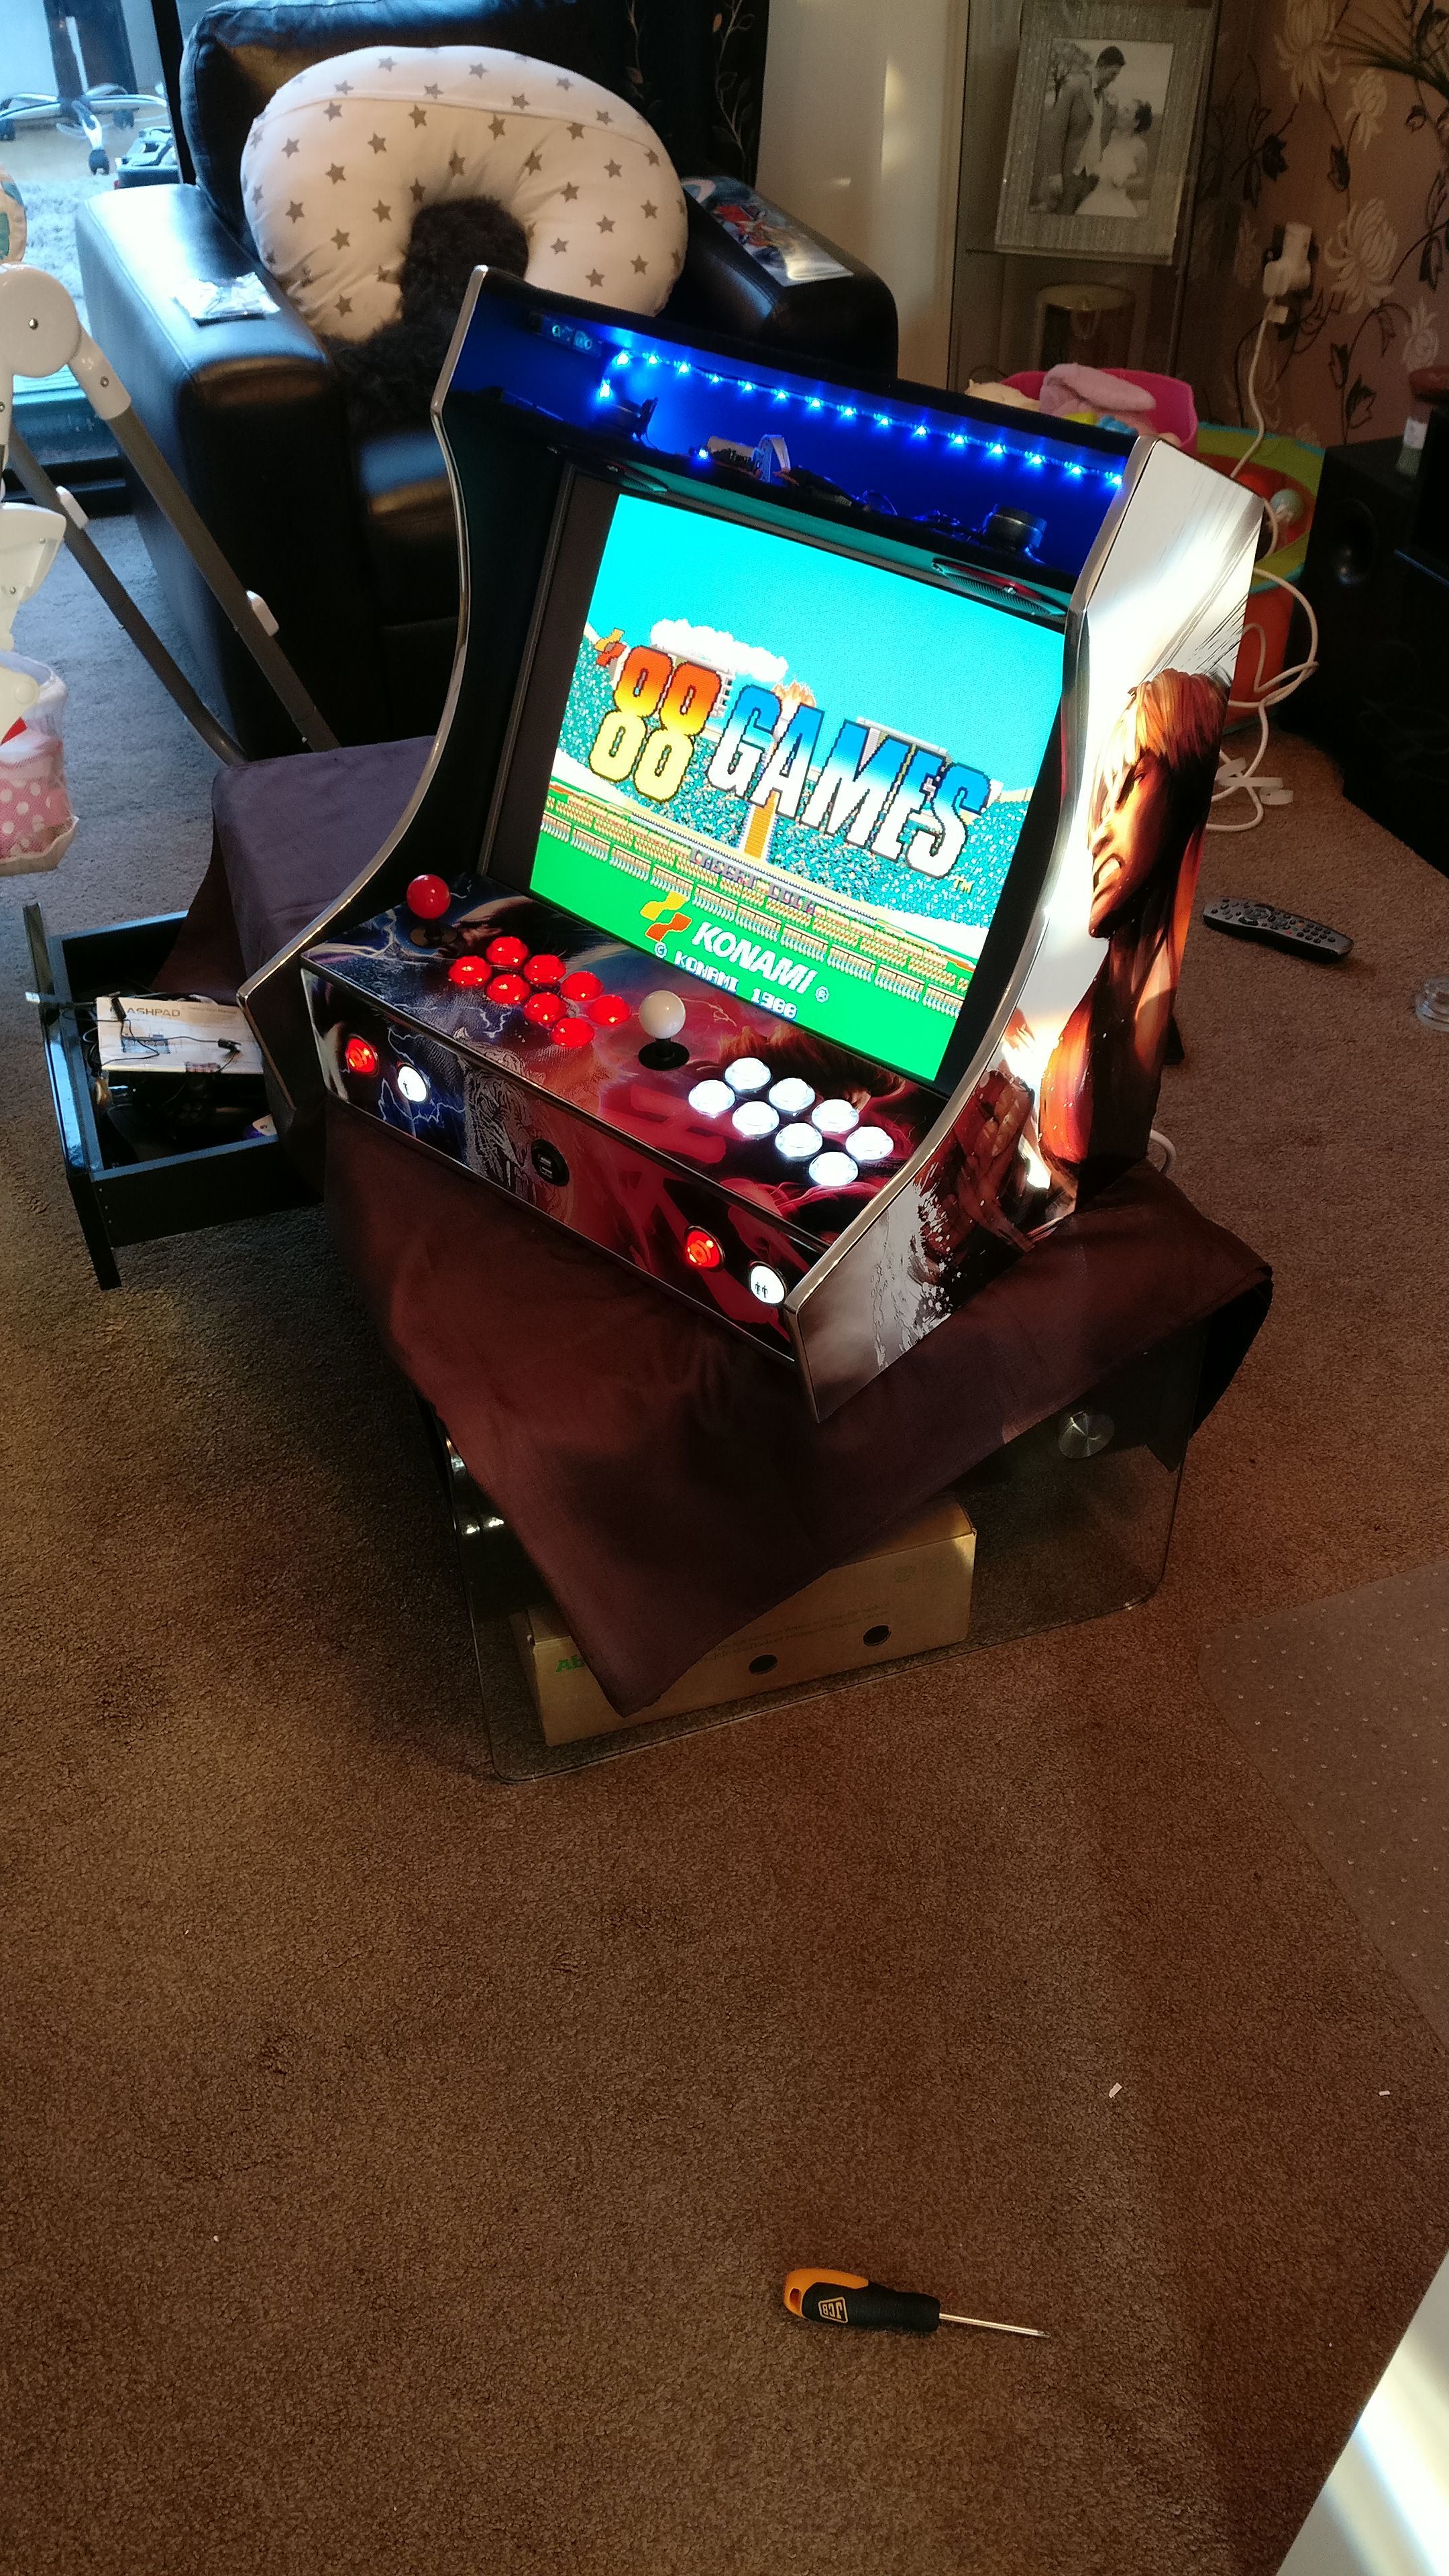
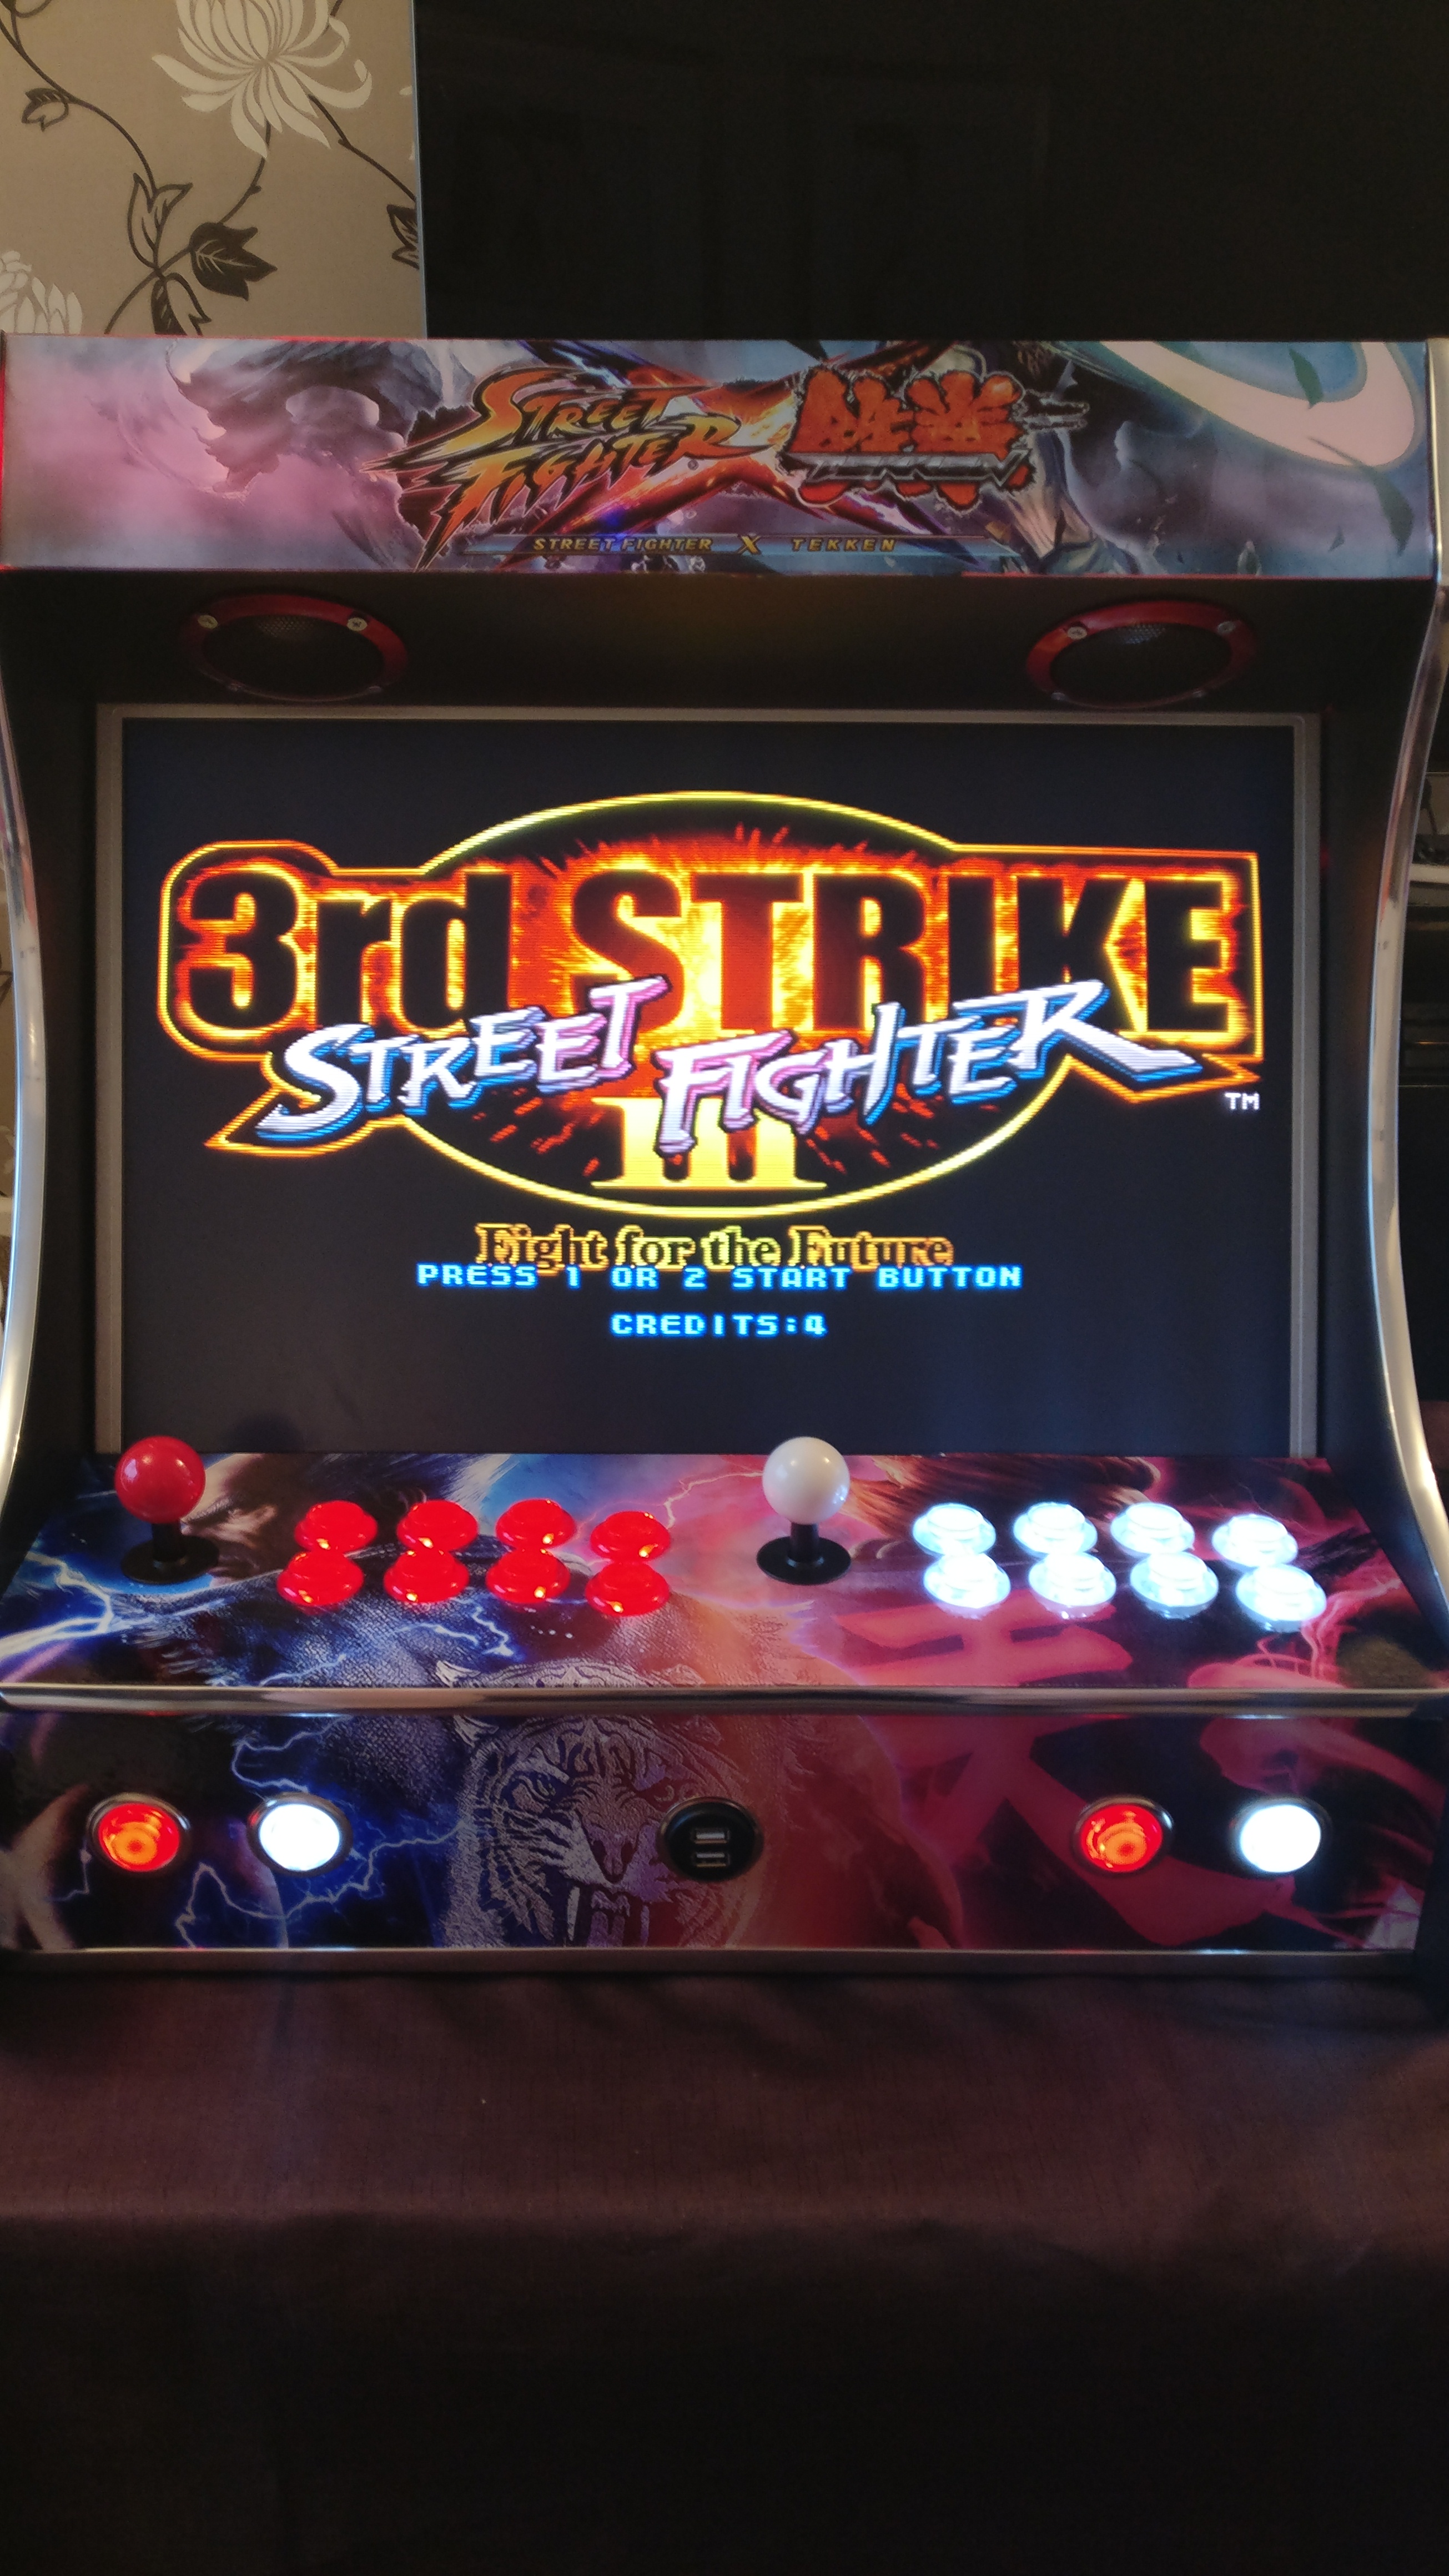
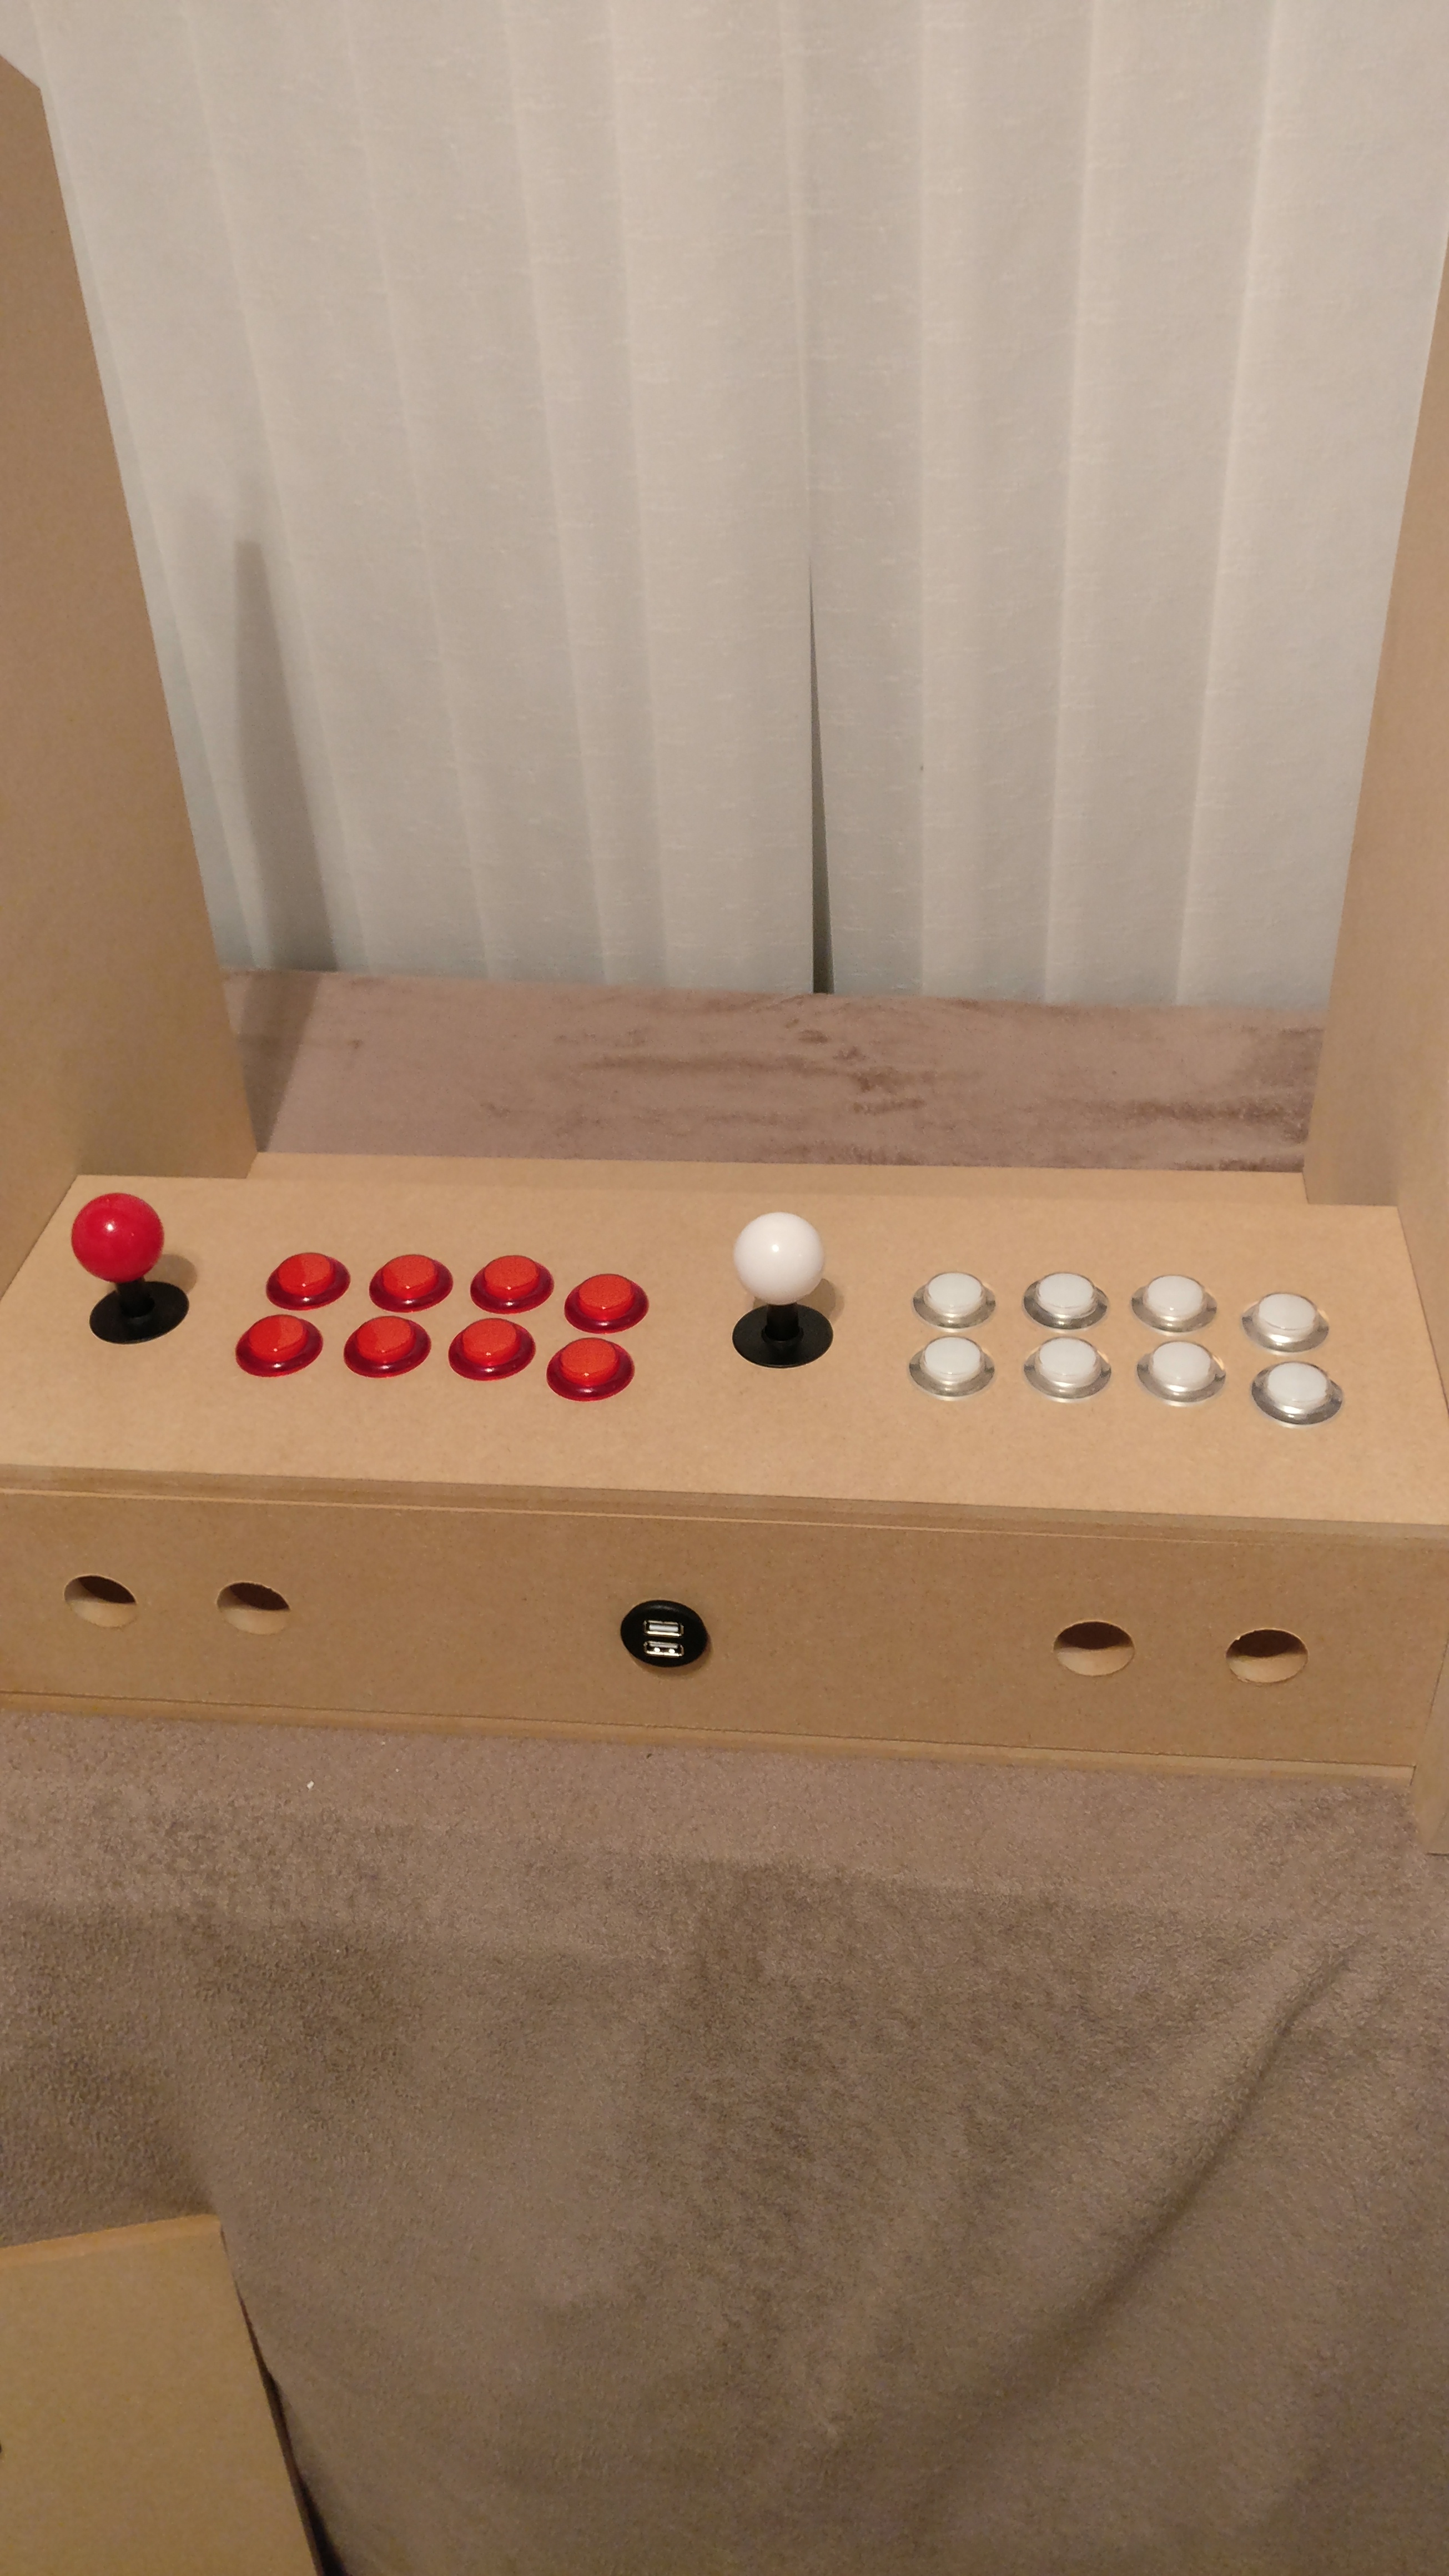
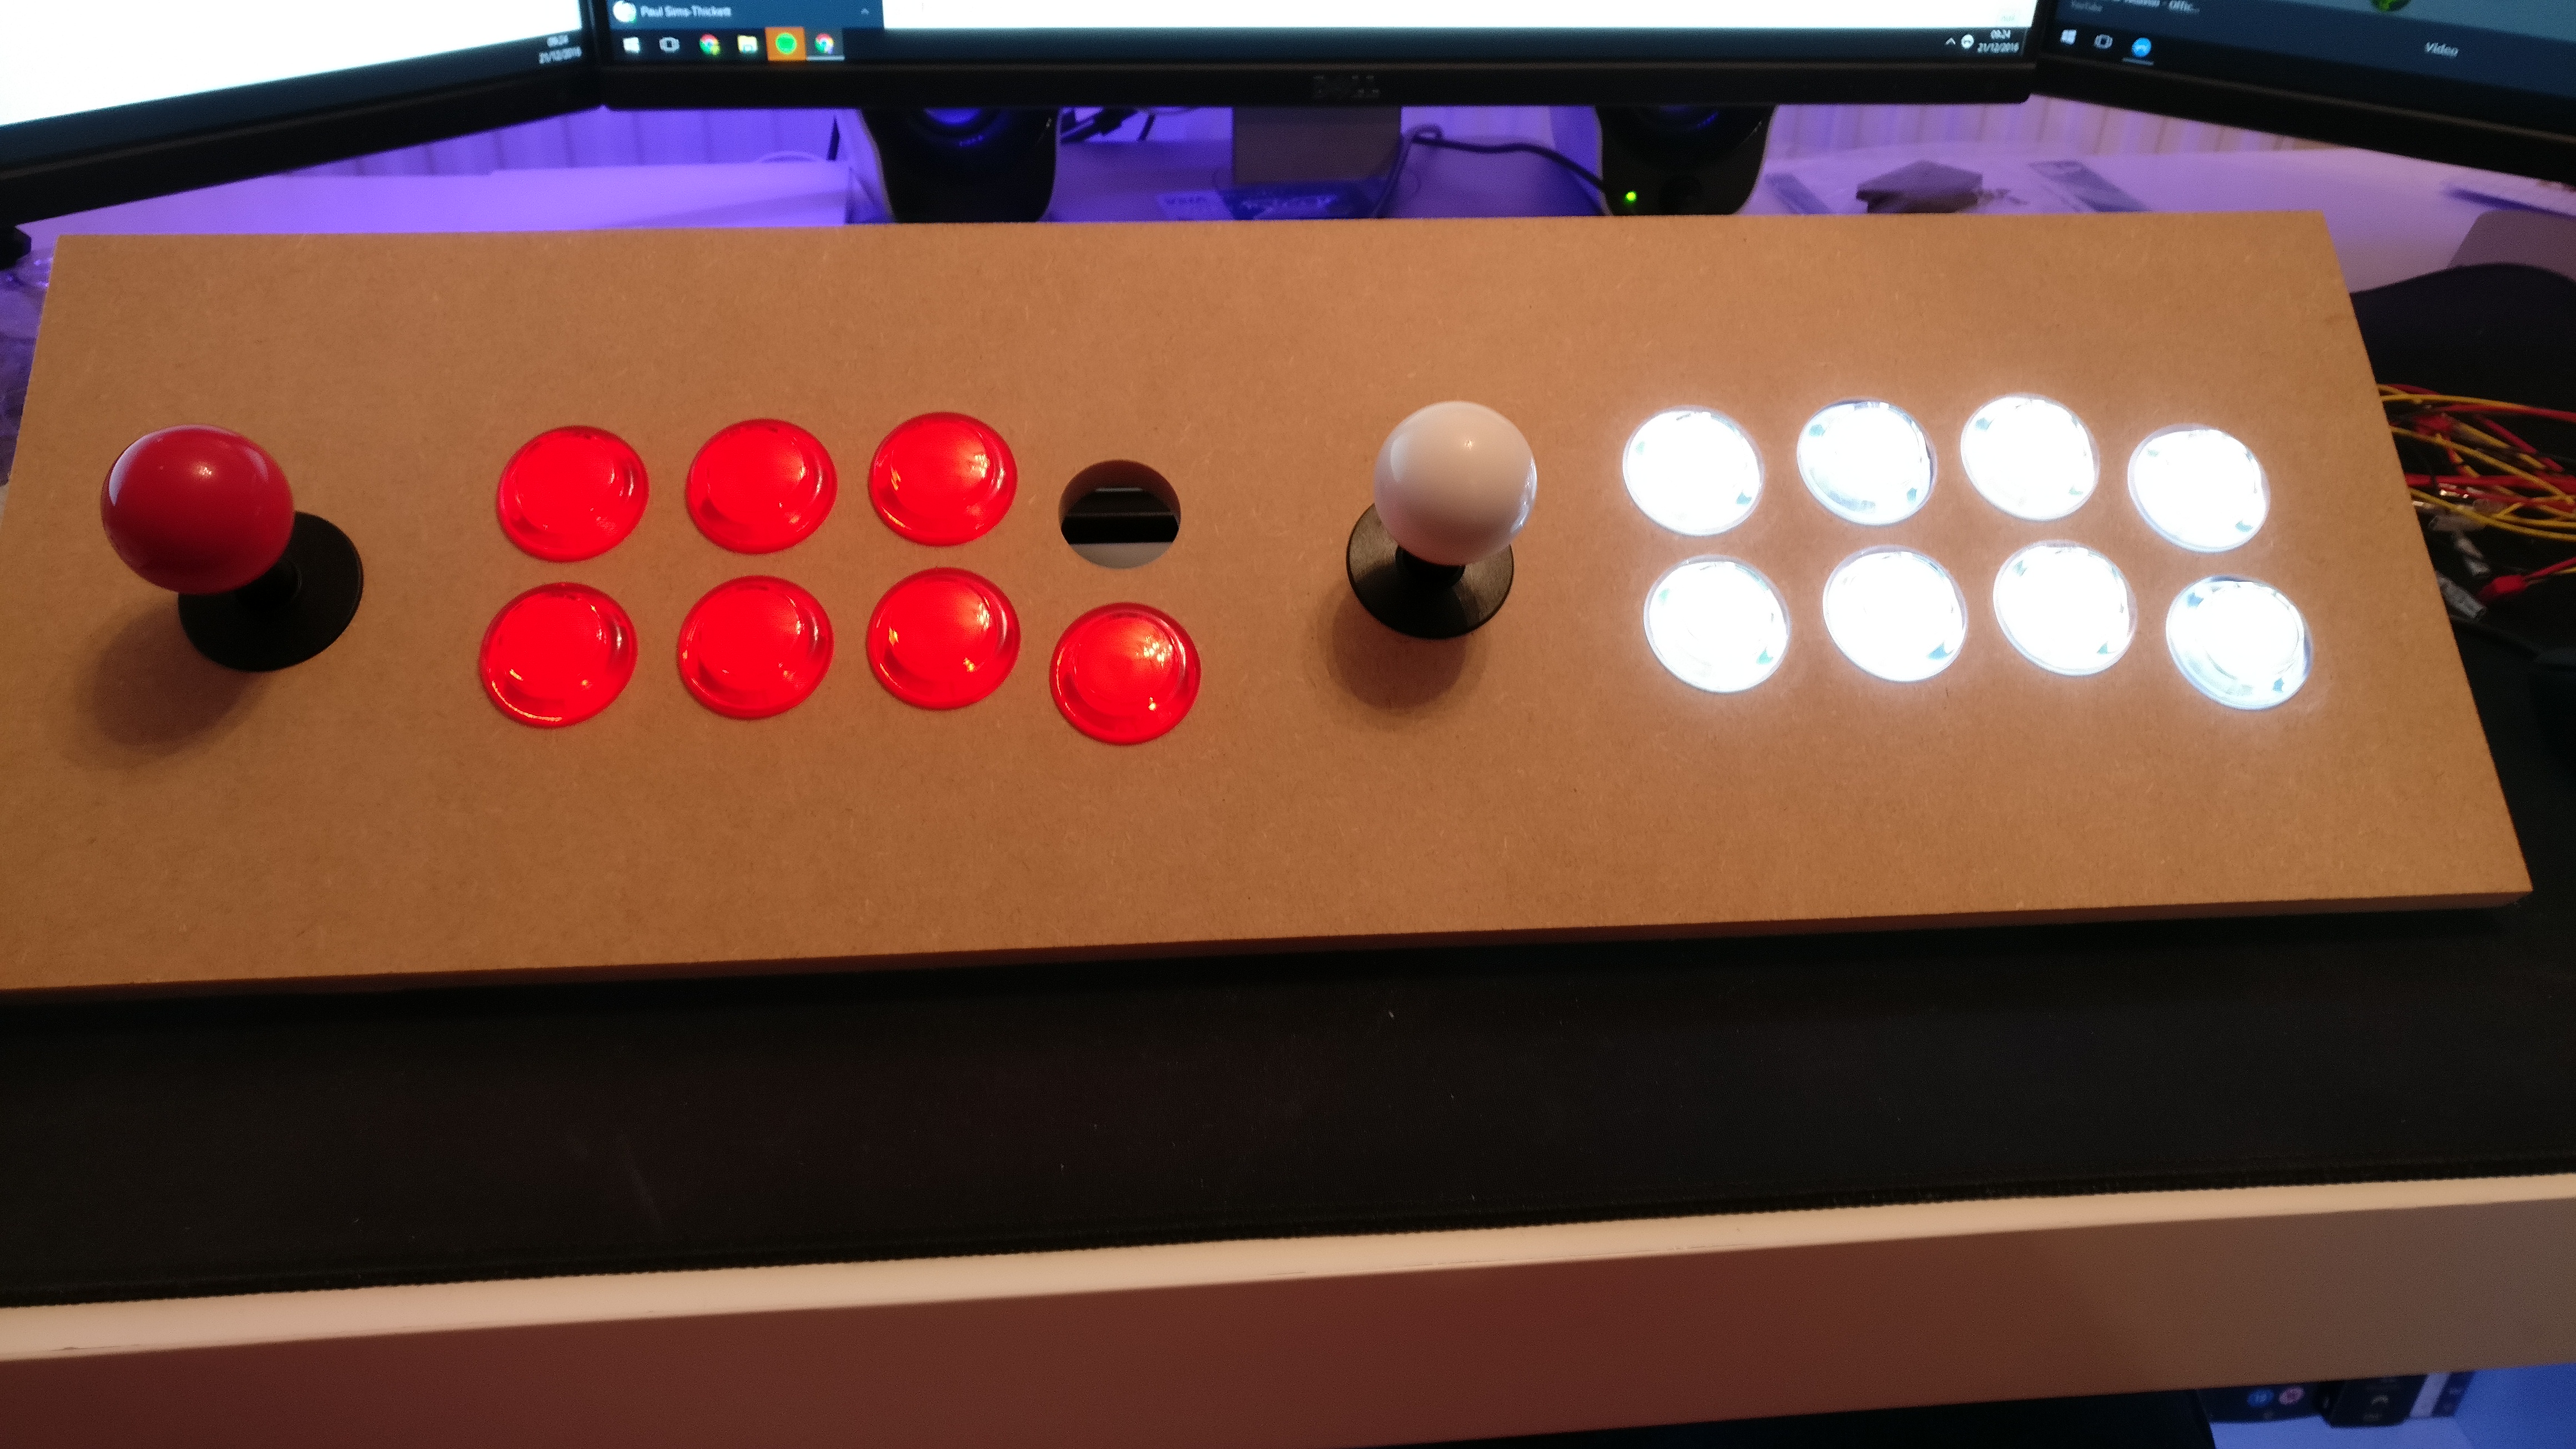
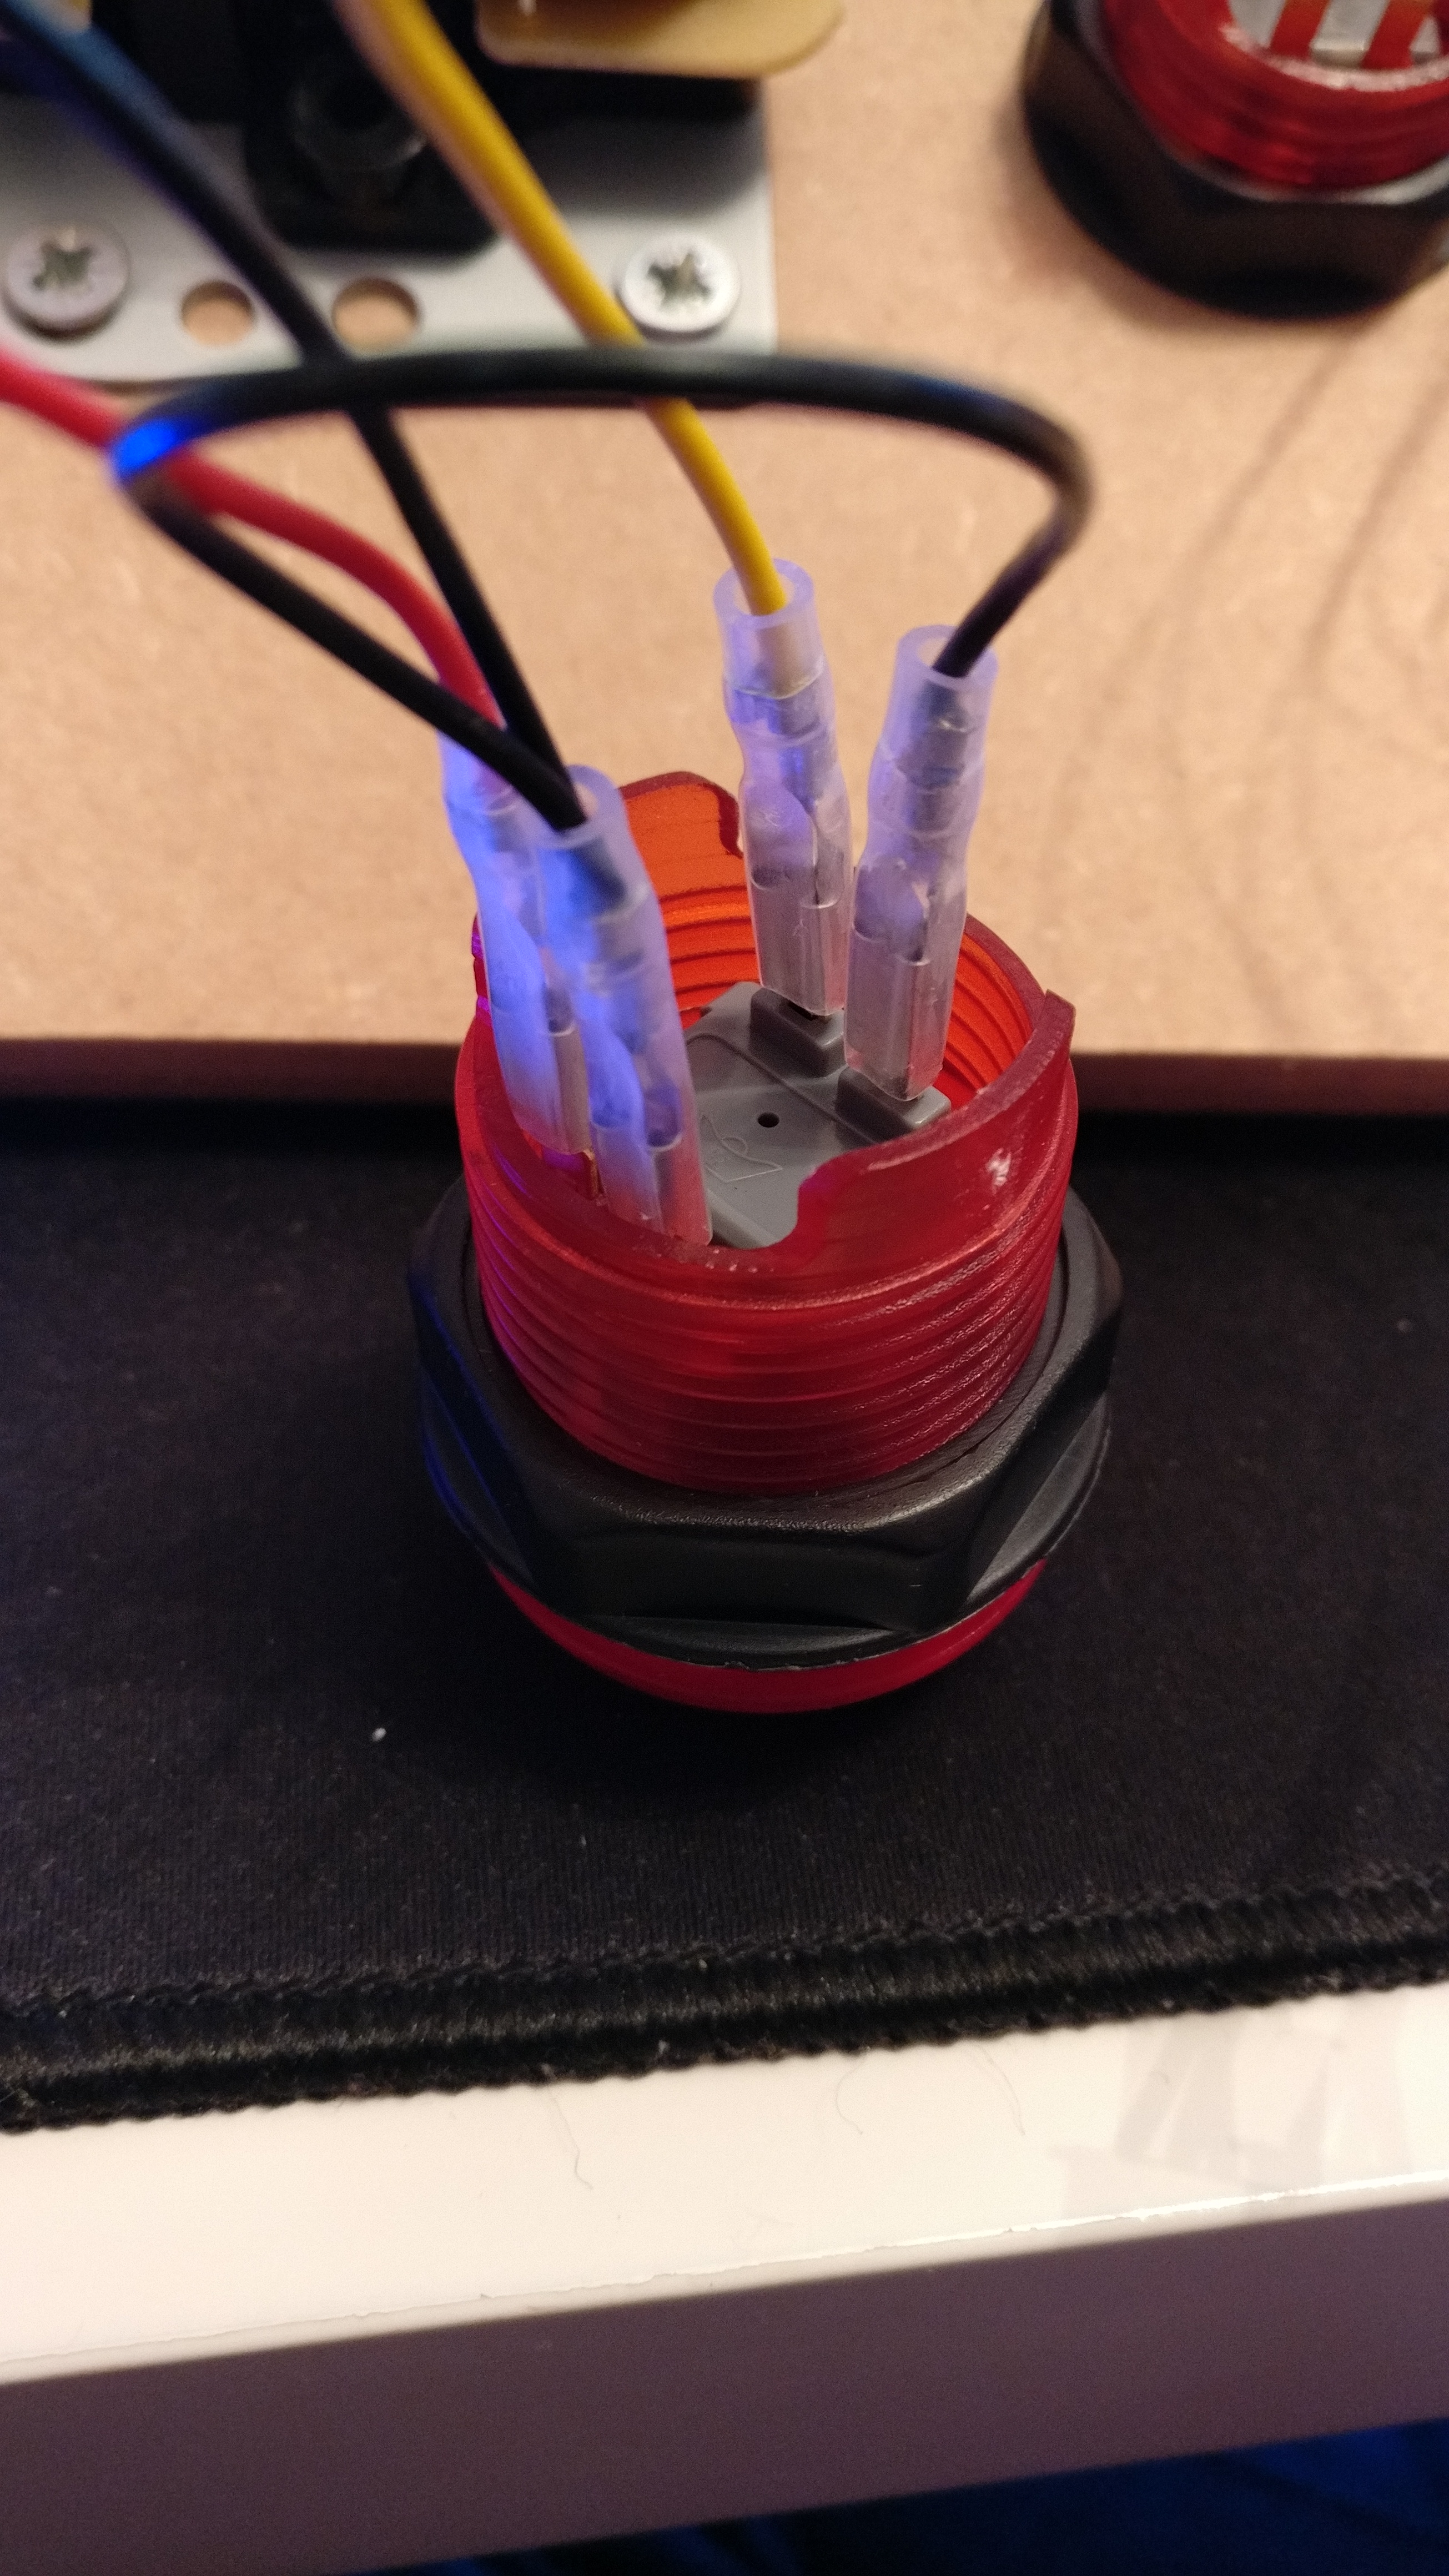
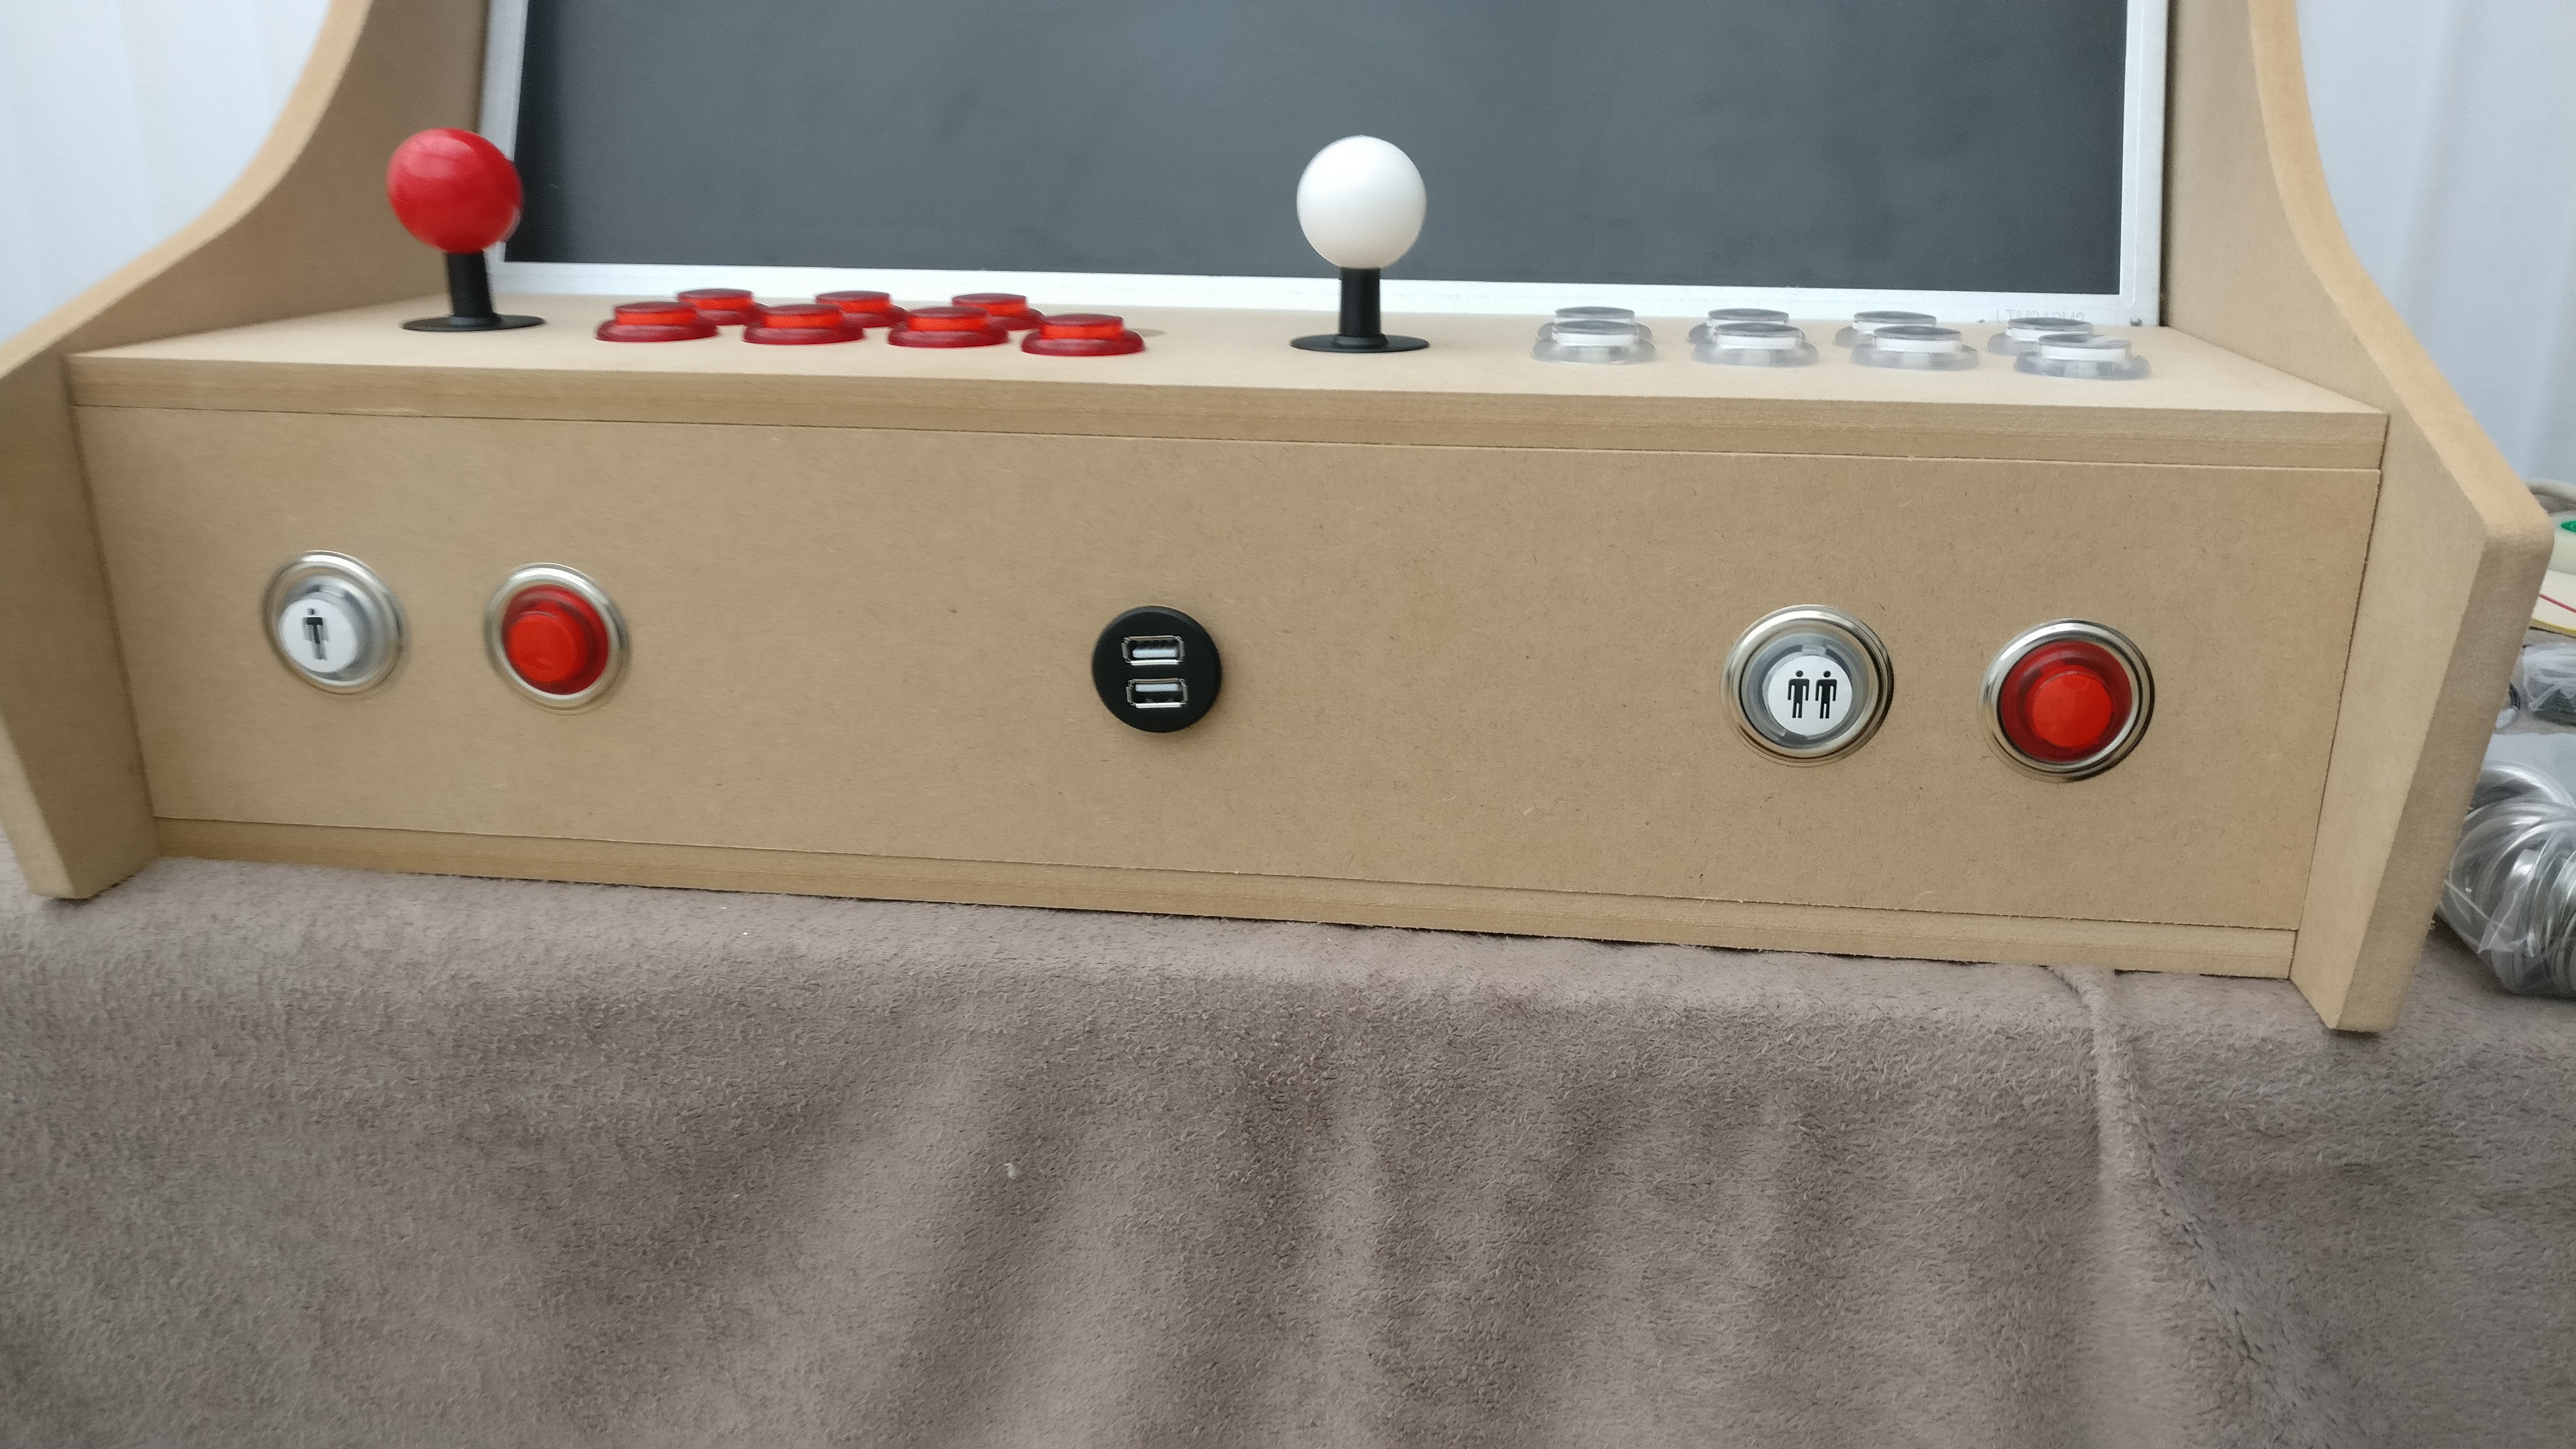
- 2x 8 button layout with fight sticks + Front panel P1/P2/Coin buttons
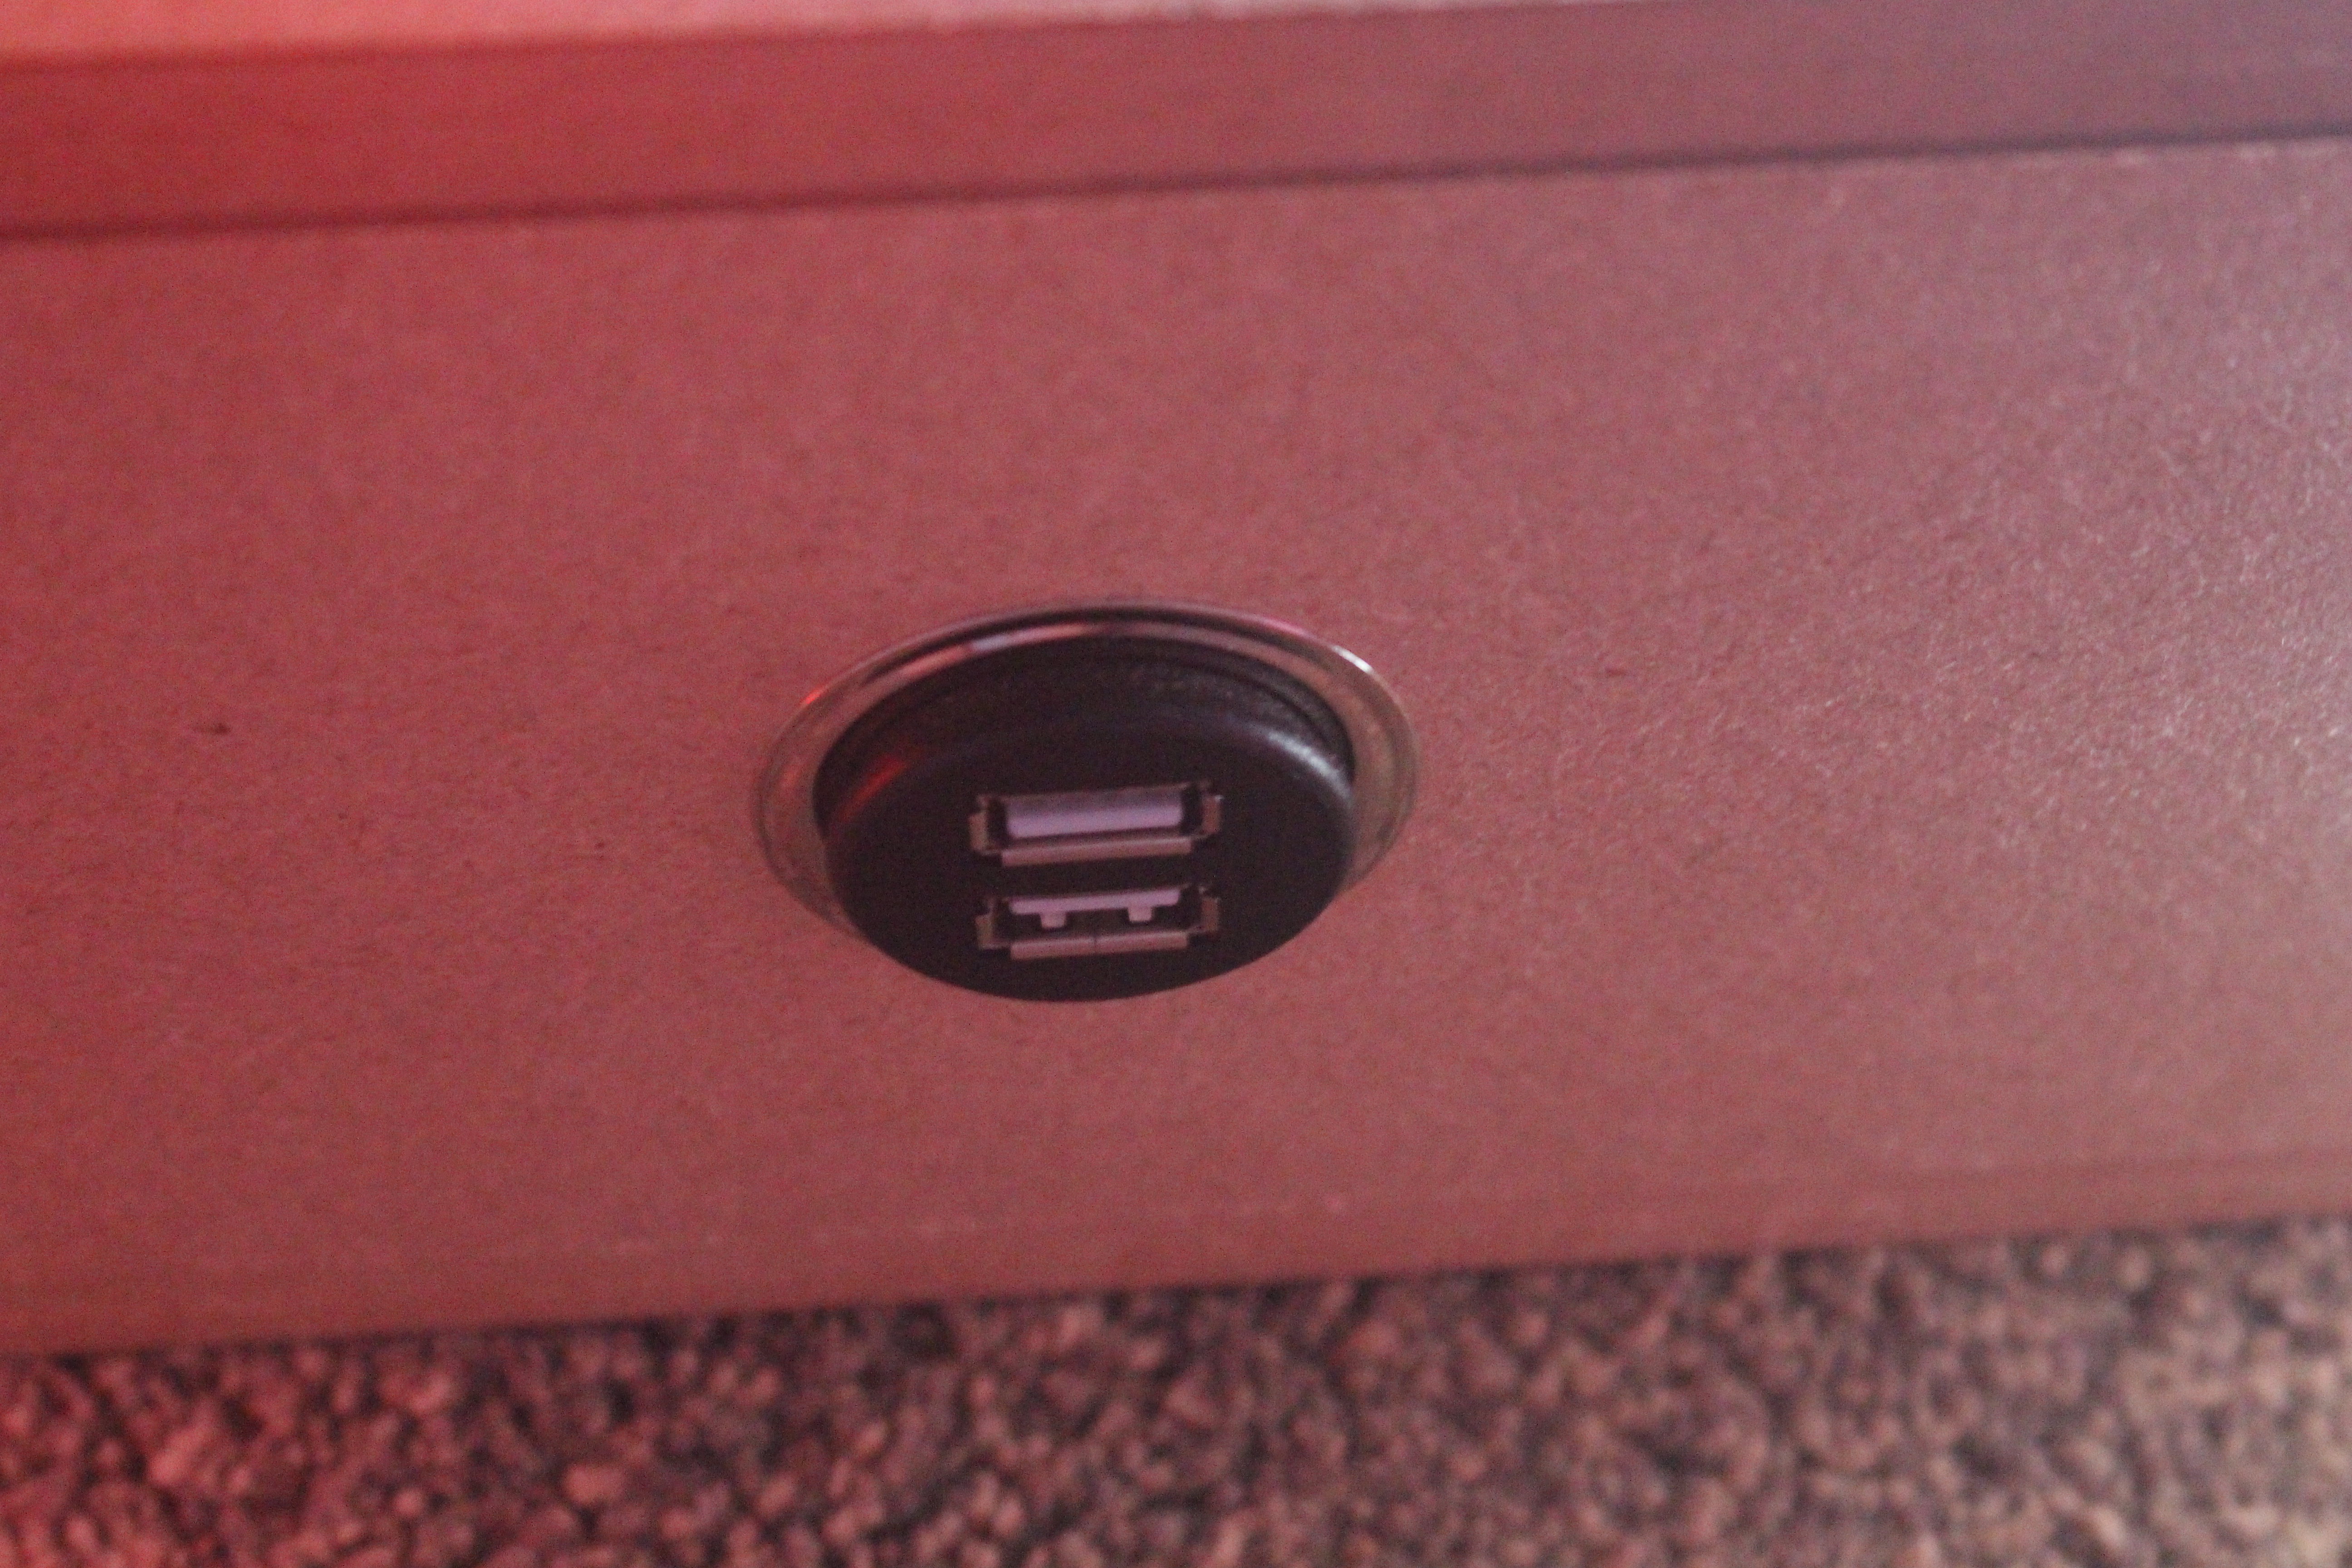
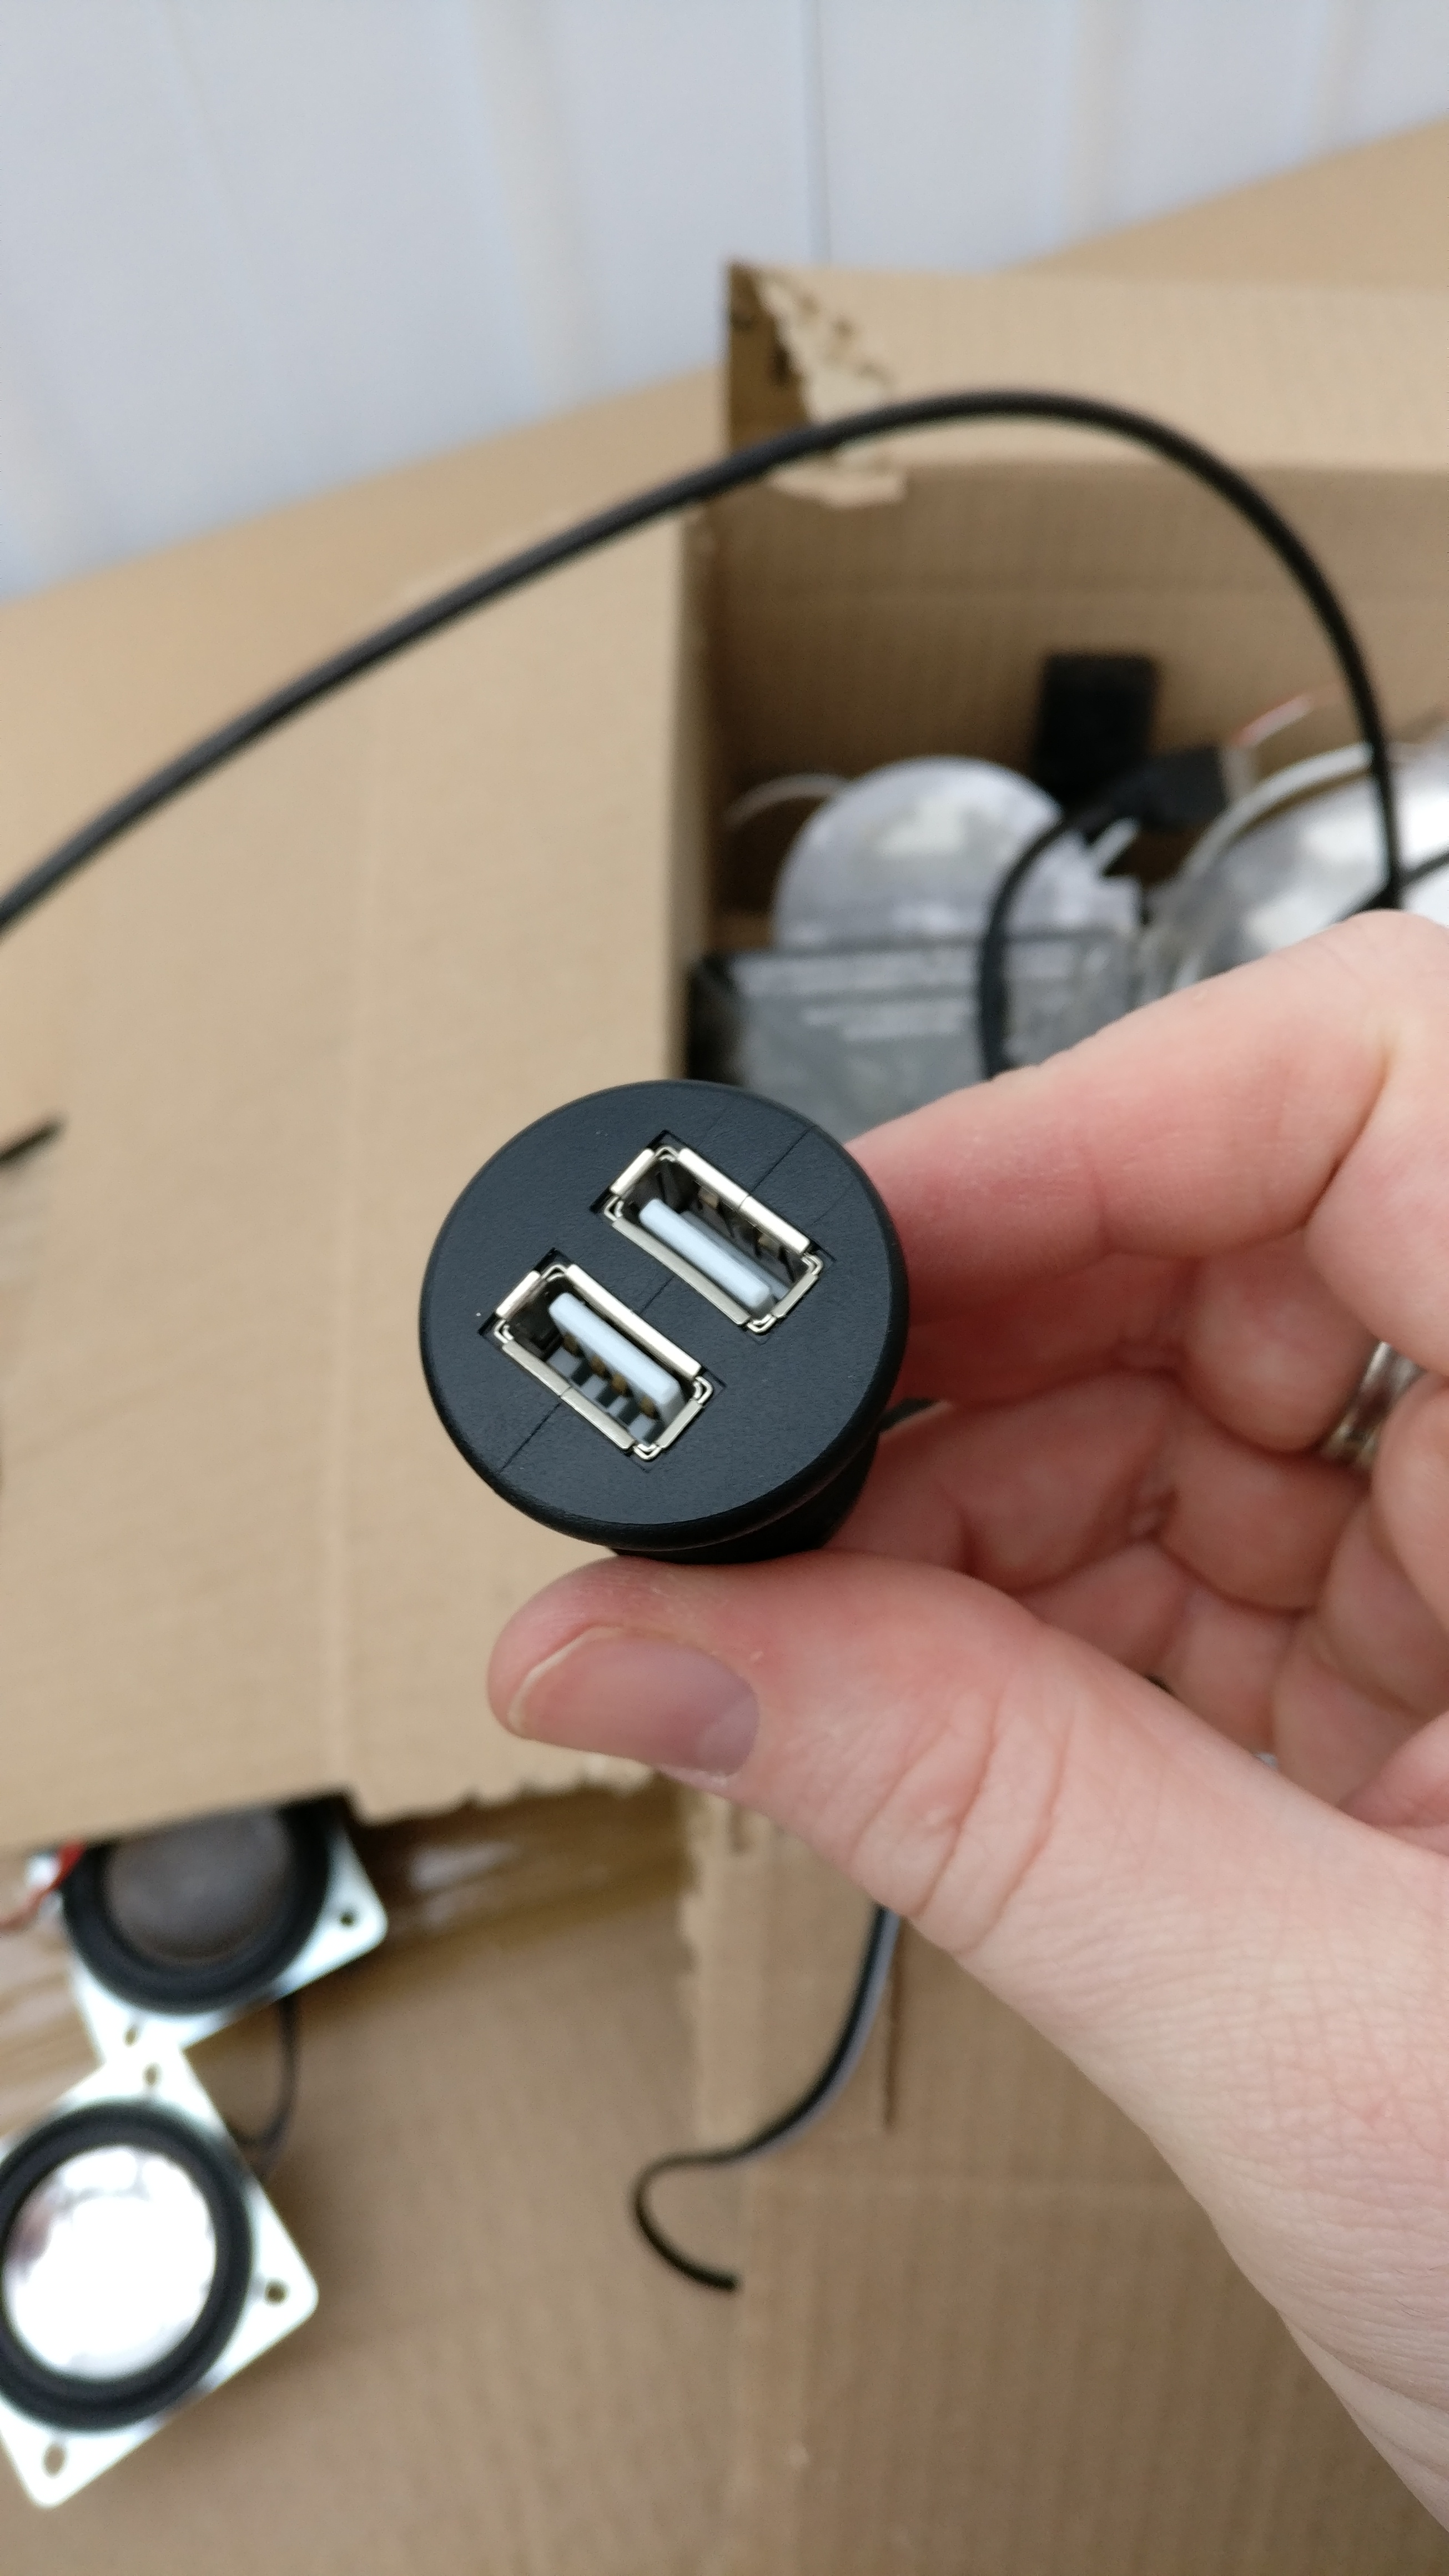
- 2x USB front port
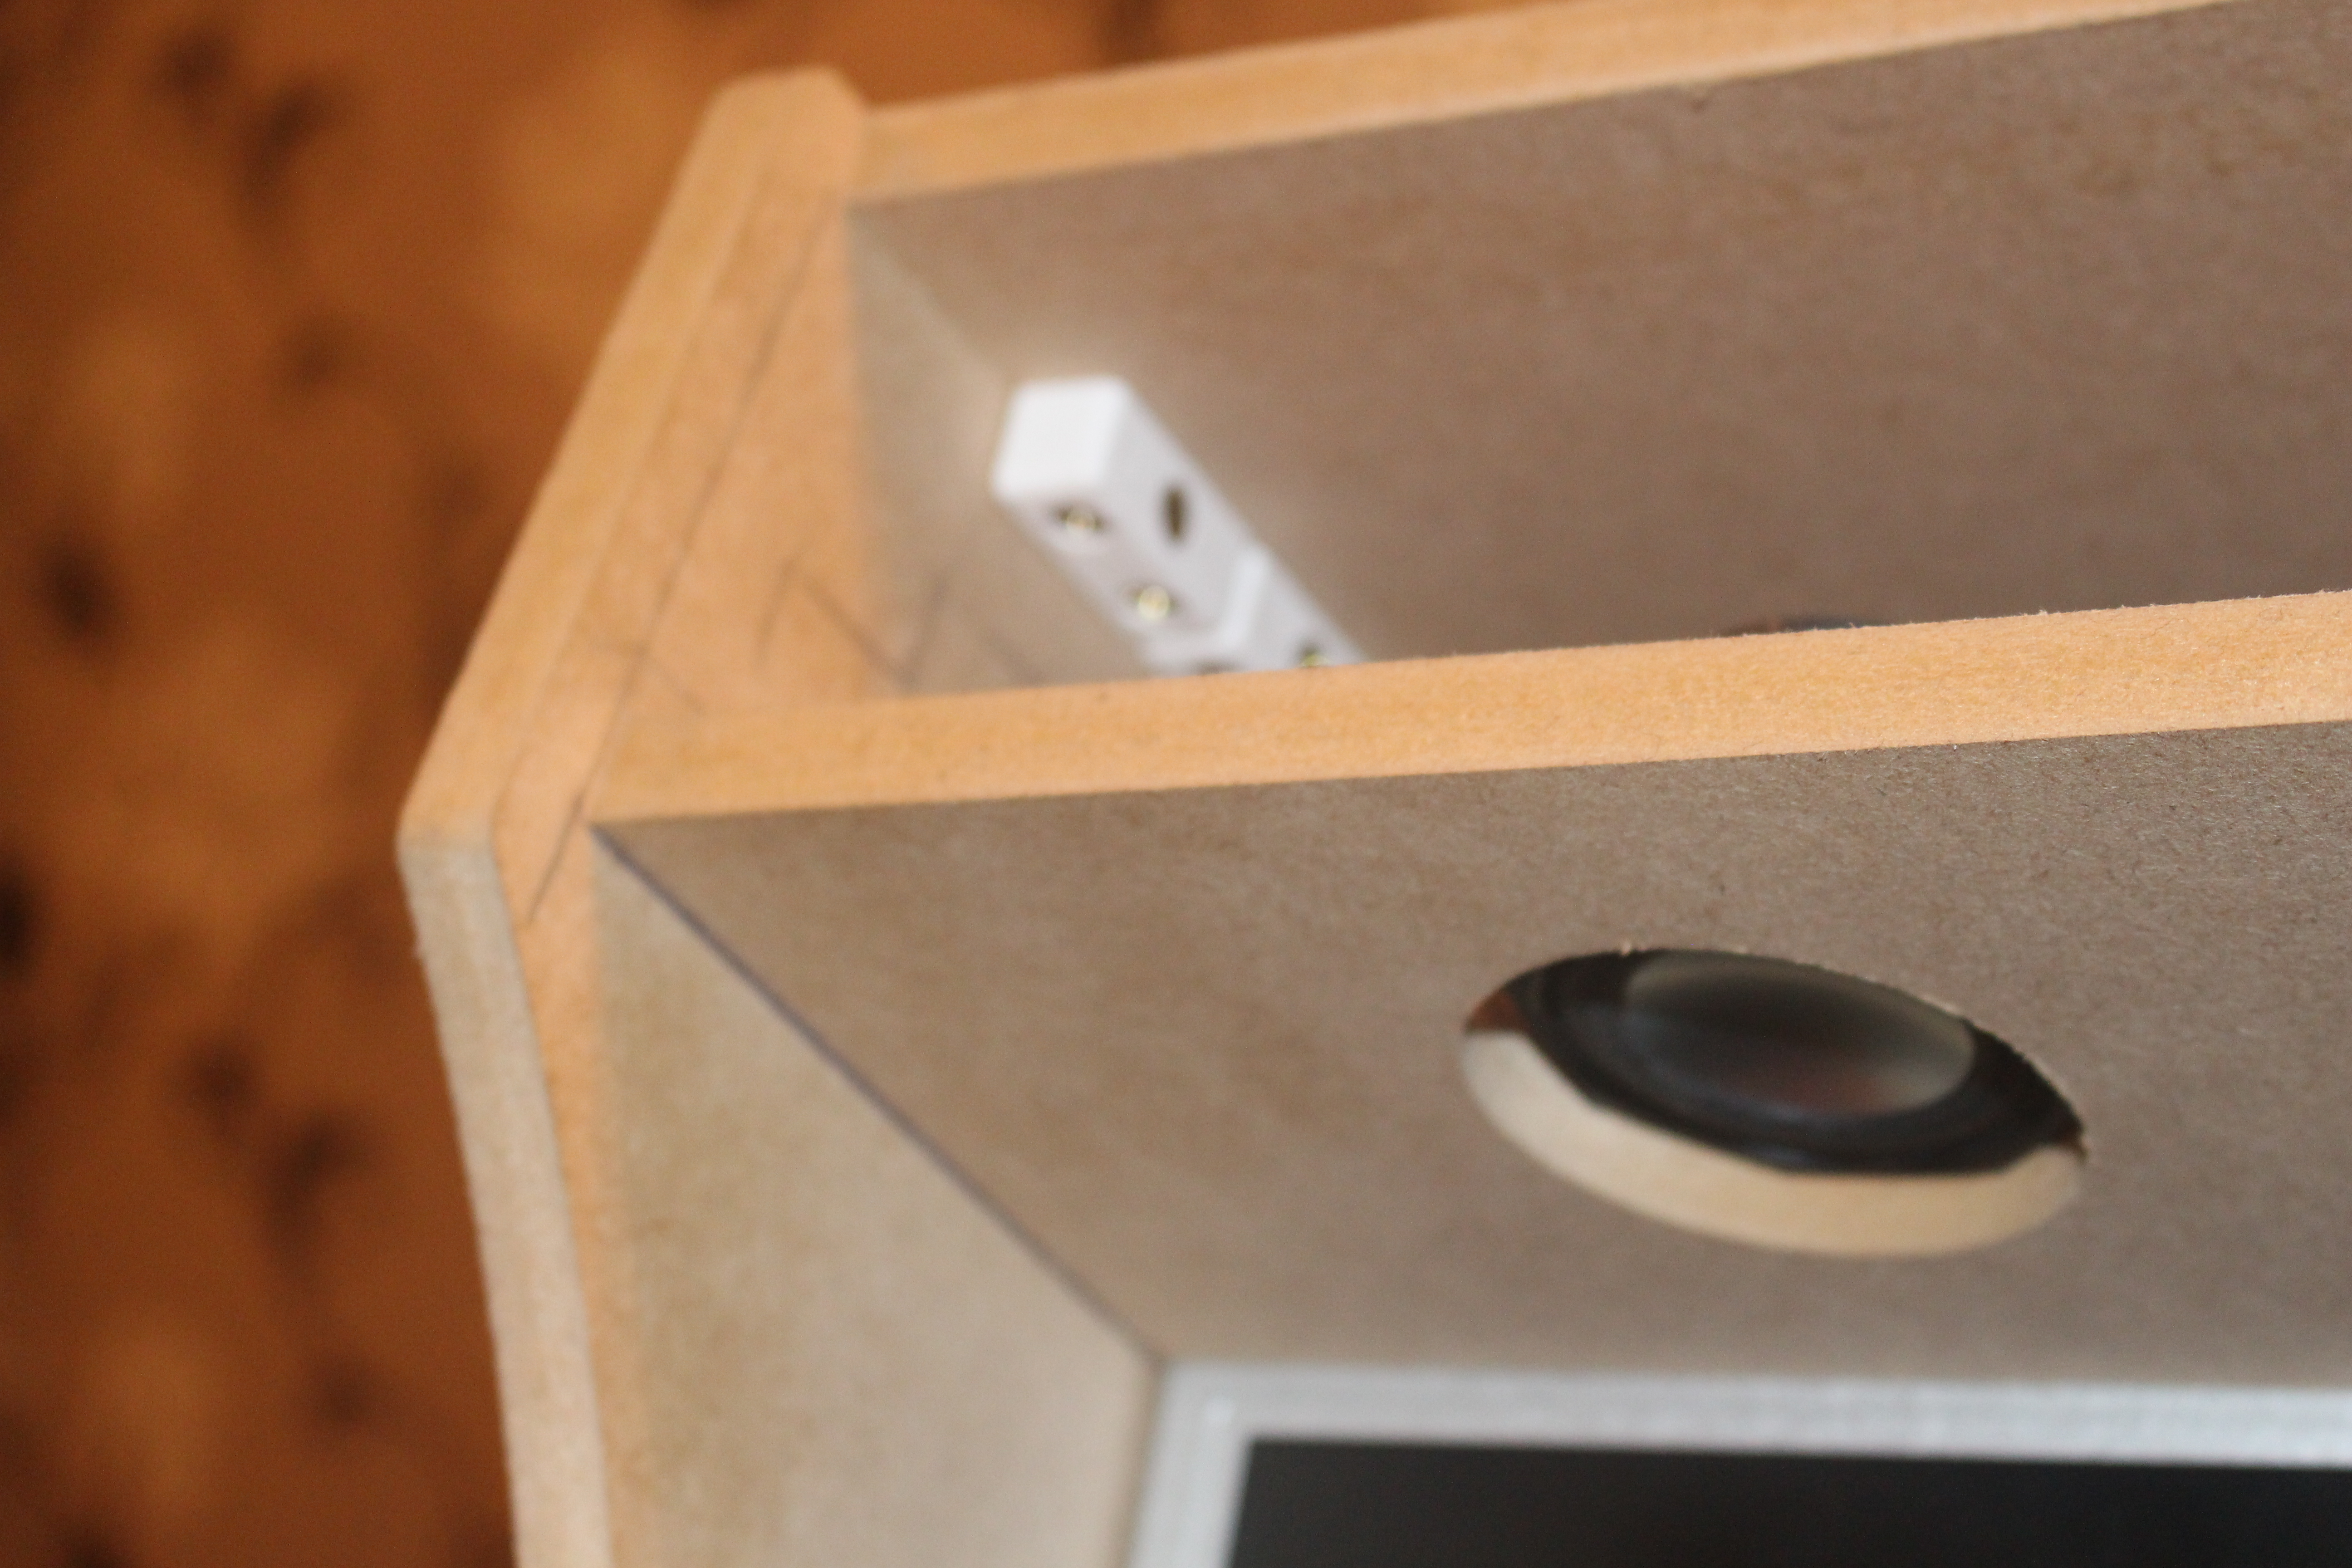
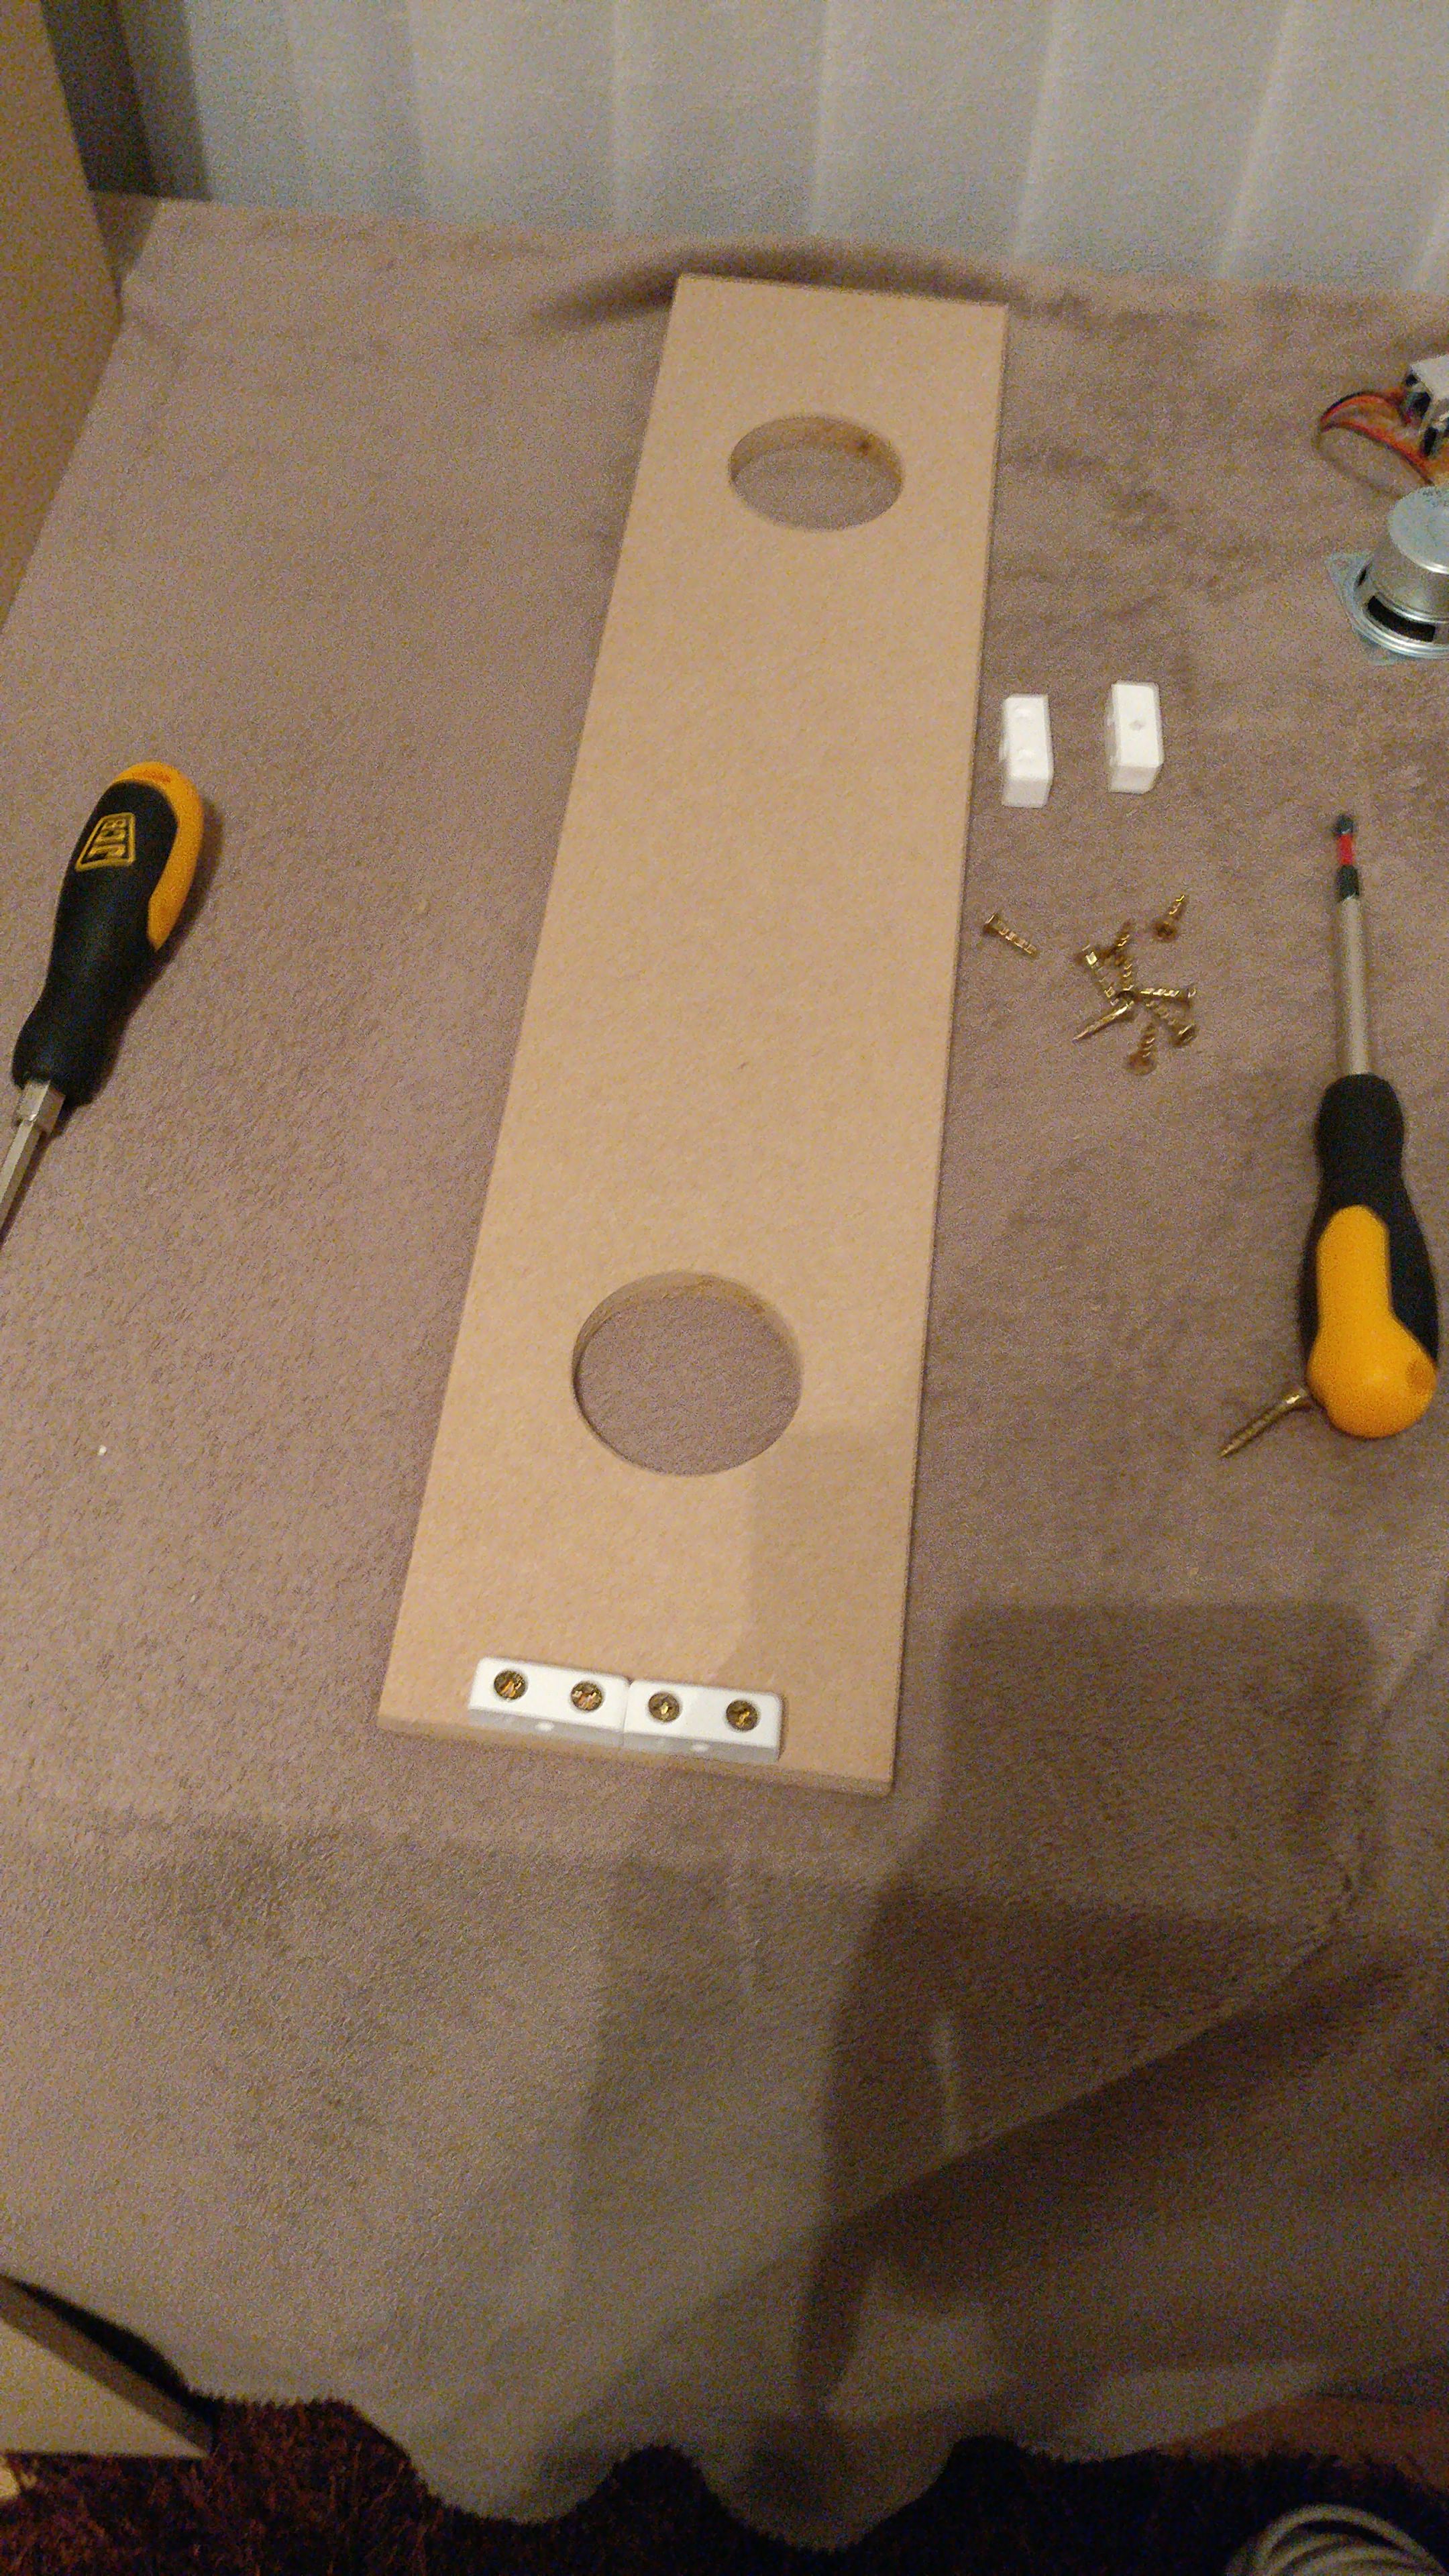
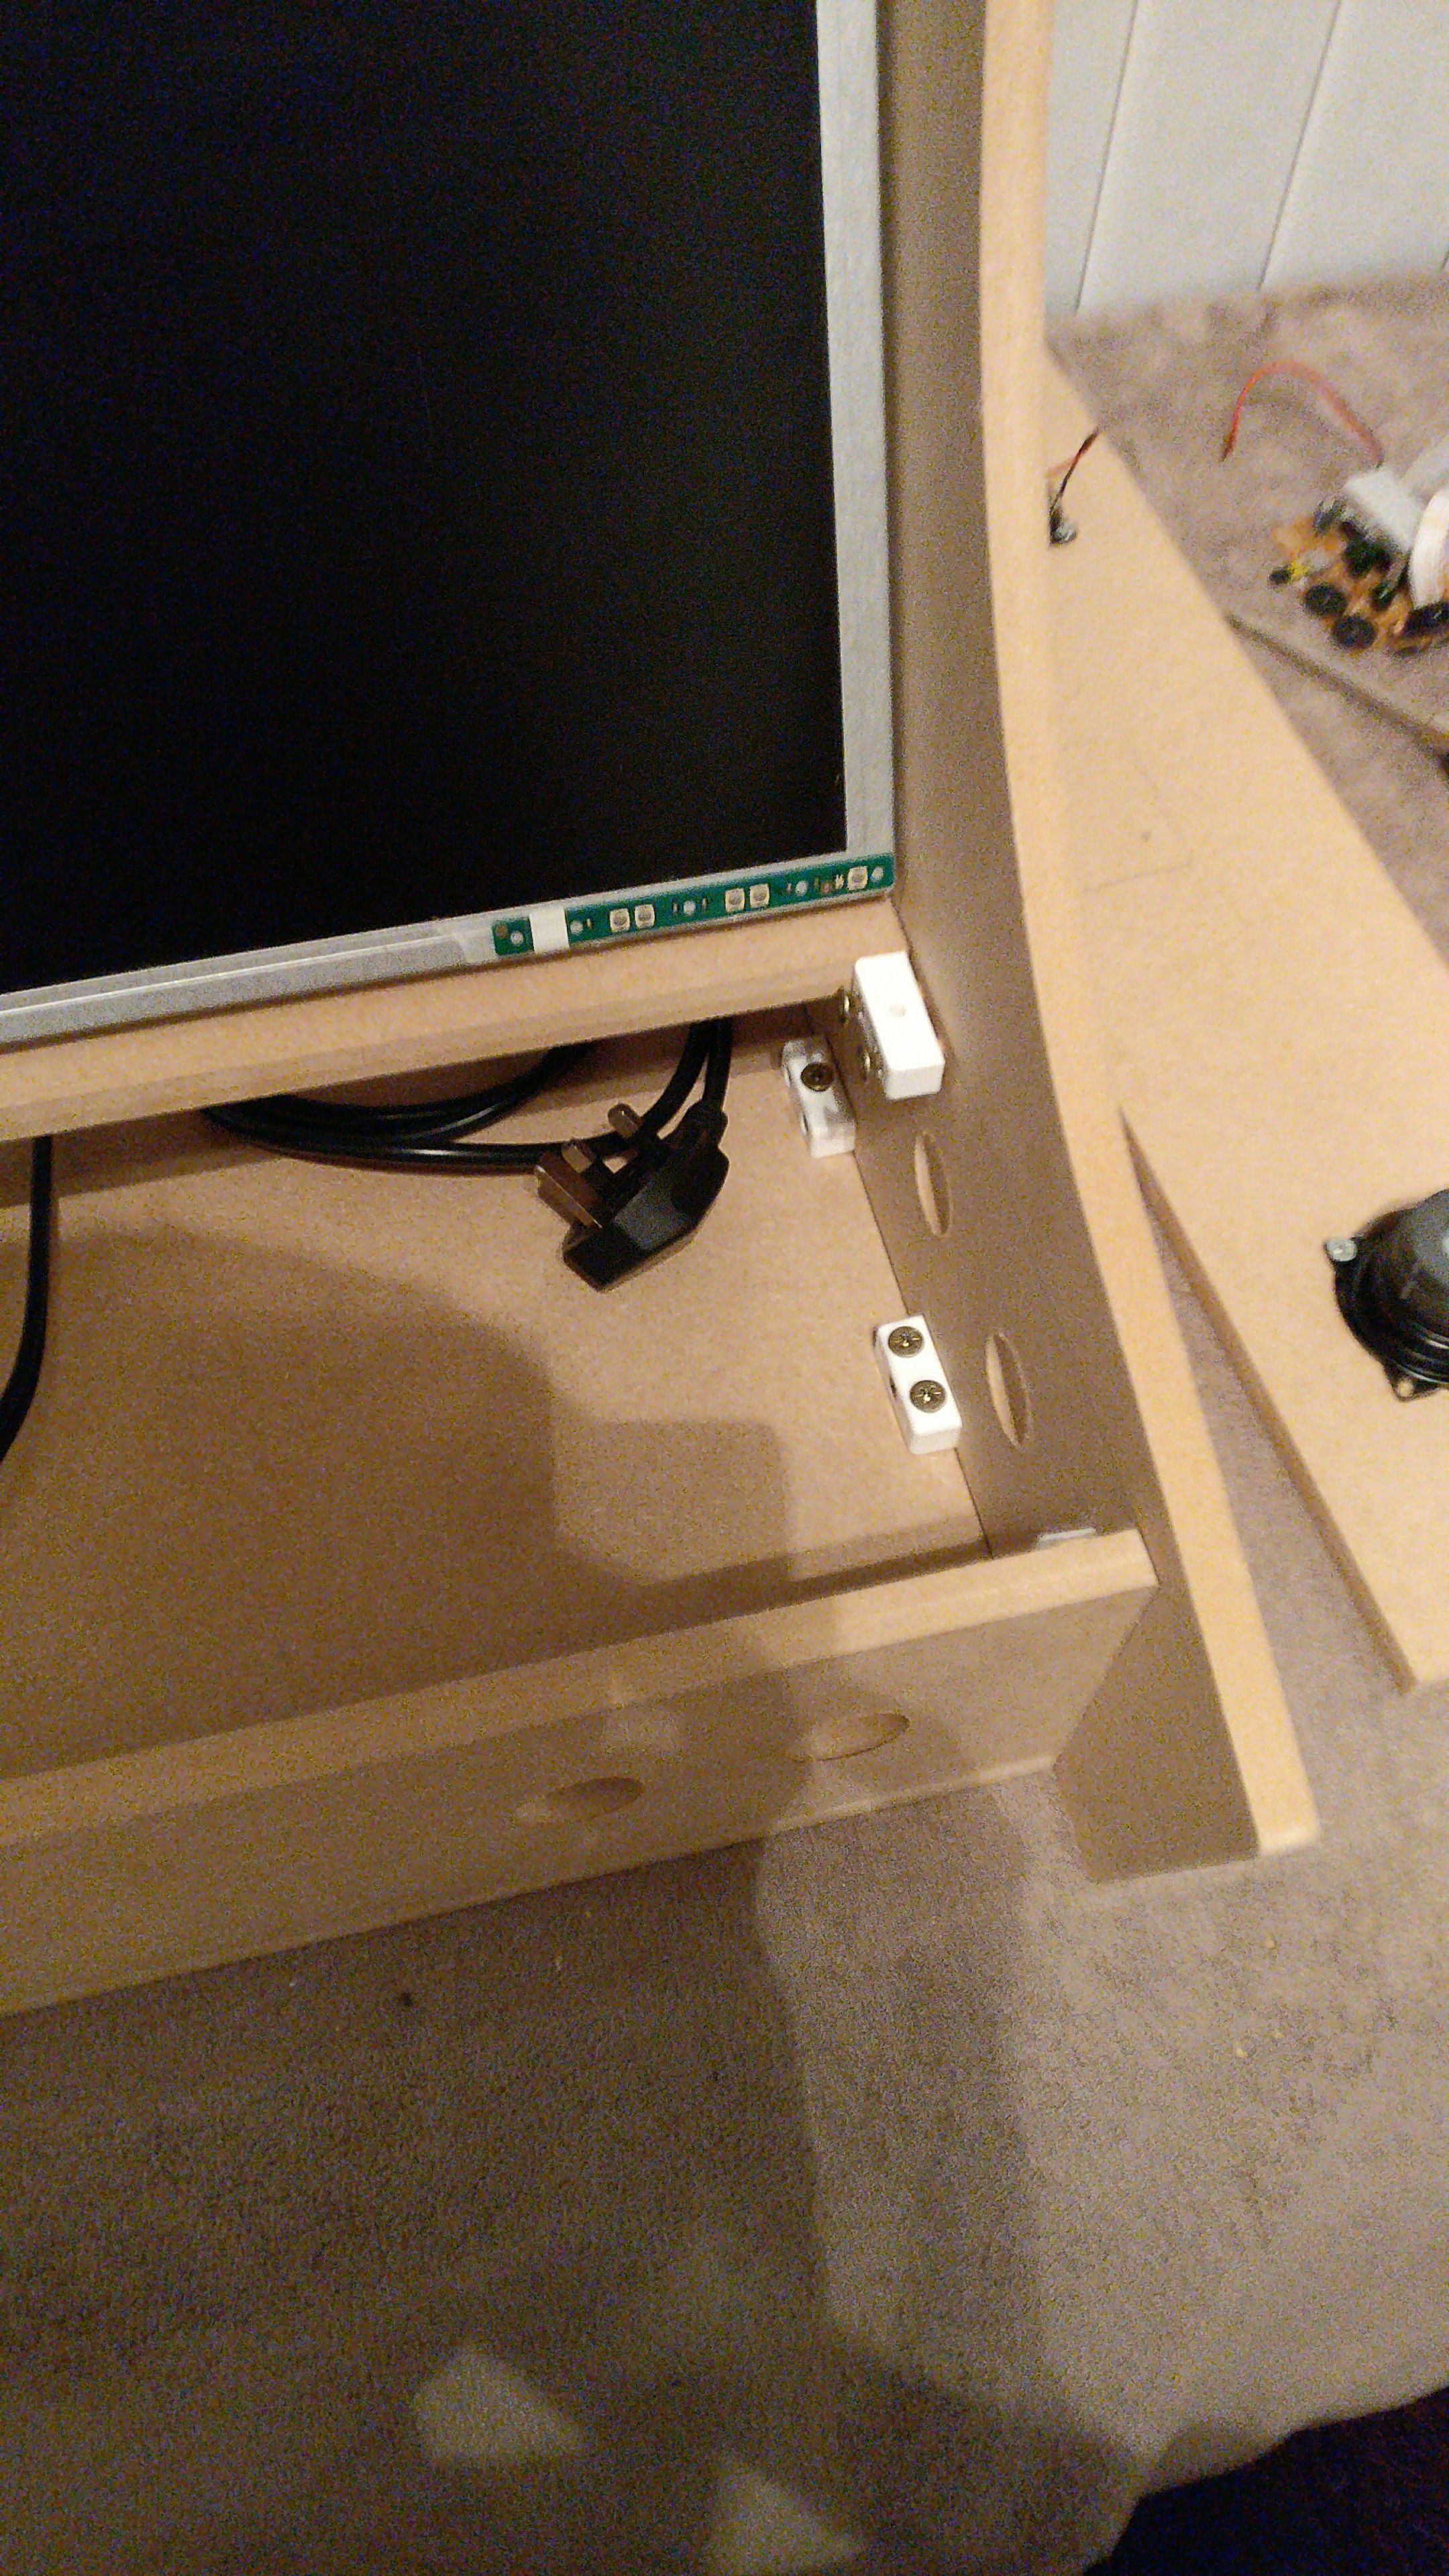
- MDF Cabinet (maybe full vinyl with t-mould for the edges)
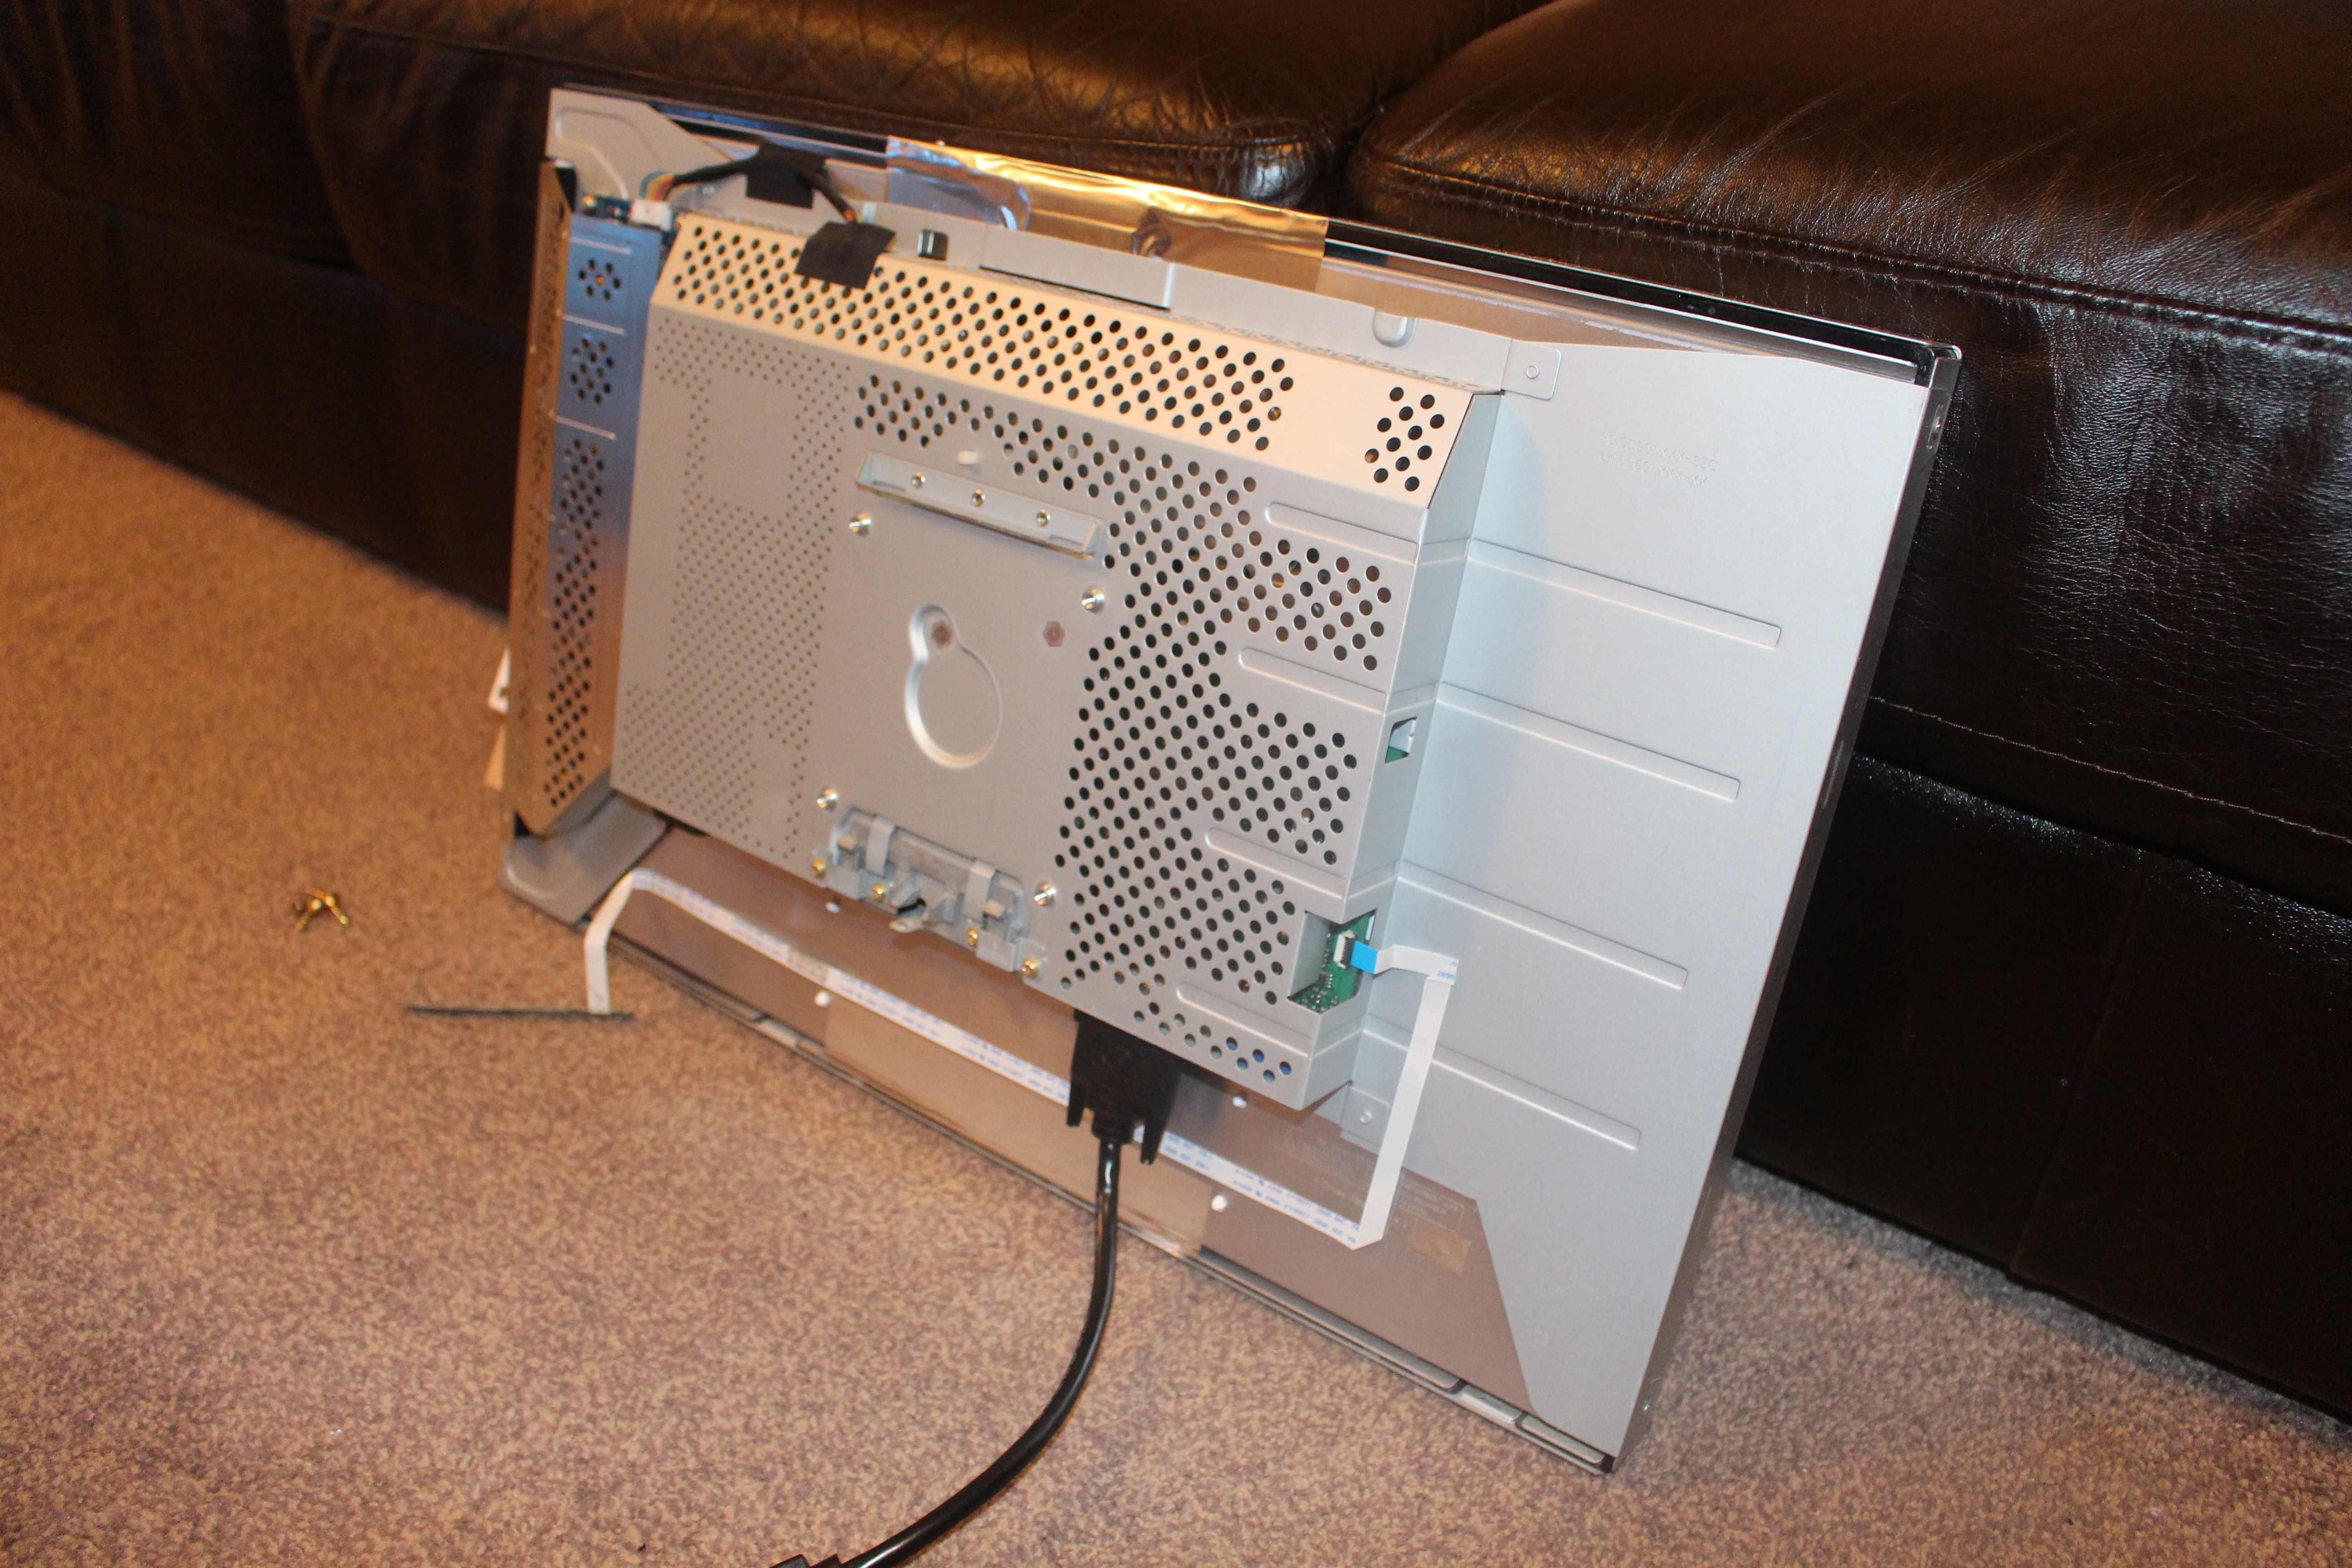
- 24" DELL 16:9 with removable carbon fibre panels (vinyl) panels for 4:3 effect
I'll be screwing everything down (I can't be trusted with glue, I'm very messy)
Pics - click for larger


Waiting for a few more parts to arrive before I get going. Due to lack of tools and space I'm heading out to use a friends workshop for cutting the panels (maybe tonight)


")