

Build log: Boredom Struck. Hex Gear R40 and Water.
Hello everyone. I spend a lot of my time in here reading other peoples build logs and eventually got restless enough to do a new build. It should be quite a quick build over a week or so, I'm going to re-use a few components from my last build but I've bought a lot of new components as well to try out intel for the first time in years.
I recently saw a build thread with a new case I hadn't heard of before from Hex Gear and their new R40 case. I really liked the idea of a better quality case and the fact it was an mAtx that could also squeeze in a 360mm radiator. Before I knew it I'd ordered one and there was no going back.
Component list.
Motherboard: Asus Maximus VII Gene
CPU: Intel 4790k
GPU: MSI 290x Lightning - Reusing from my last build and it's still a great card.
PSU: Corsair HX750i
RAM: Kingston HyperX Beast 2133mhz
Case: Hex Gear R40
SSD's: 240gb Samsung 840 Evo m.2, 128gb Crucial M550, 128gb Plextor M5s
Watercooling Parts
Pump: XSPC D5 vario with Ek pump top
Res: EK Res X3
Tubing: 13mm Monsoon PETG
Fittings: PrimoChill Revolver Compression Fittings
Radiators: Alphacool St30 360mm on the bottom, and a 240mm in the top
Fans: Noiseblocker Eloops.
So as you can see it's not a terribly exciting list of parts, but I was keen to try an intel build for a change. I'm going to be reusing 2 of my old ssd's, my old fittings, pump and reservoir, fans and a radiator, and the gfx card. Finally going to watercool the gpu and actually overclock it this time though.
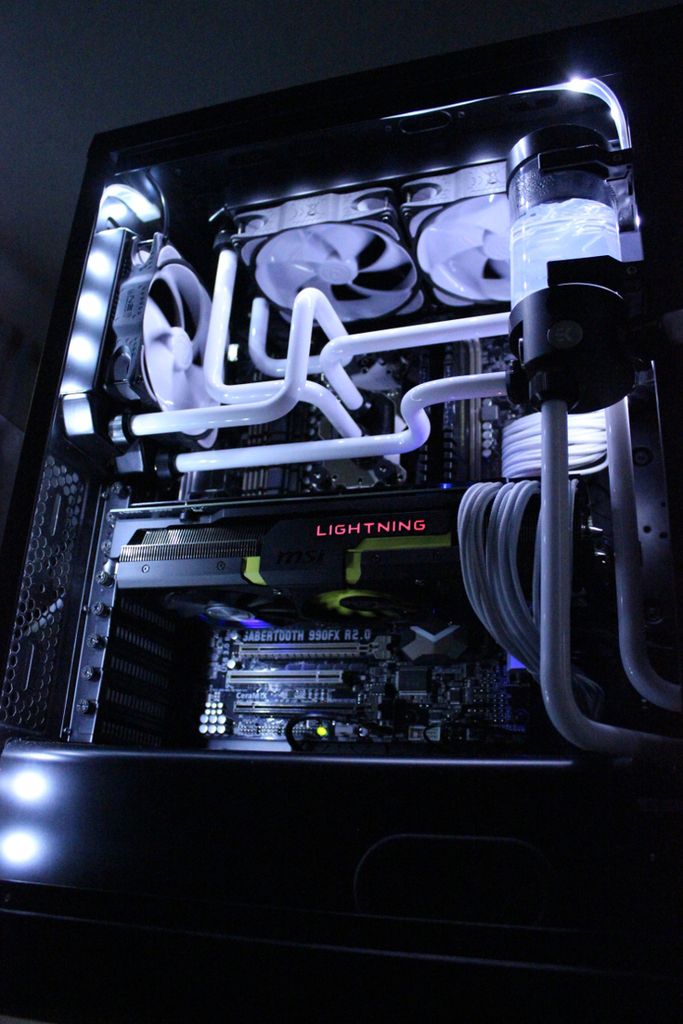
This was my last build, and first time using hard line acrylic tubing. I did post it up in the watercooling gallery when I first built it last year so some people may have seen it before. Amd 8350, sabertooth board in a Phanteks Enthoo Pro with just a cpu loop so it was nice and cool with all the radiator space it had.
But on to my new build. I have an ancient digital camera and so my pictures won't be up to the standard of most on here.
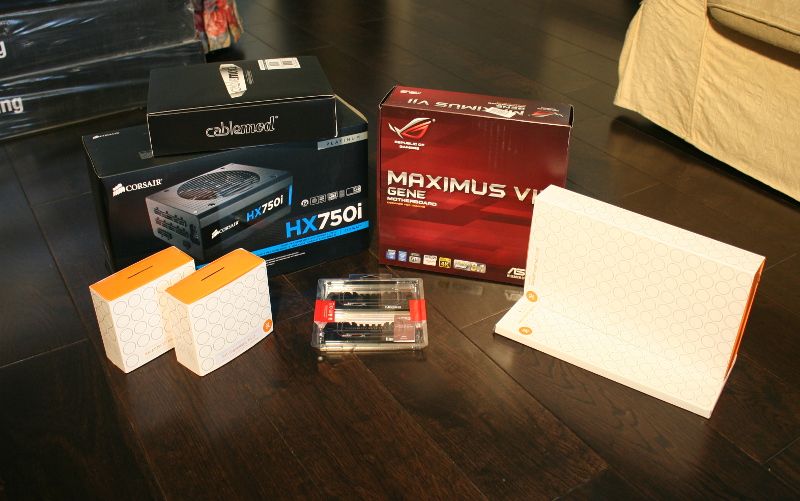
Some parts started arriving this week
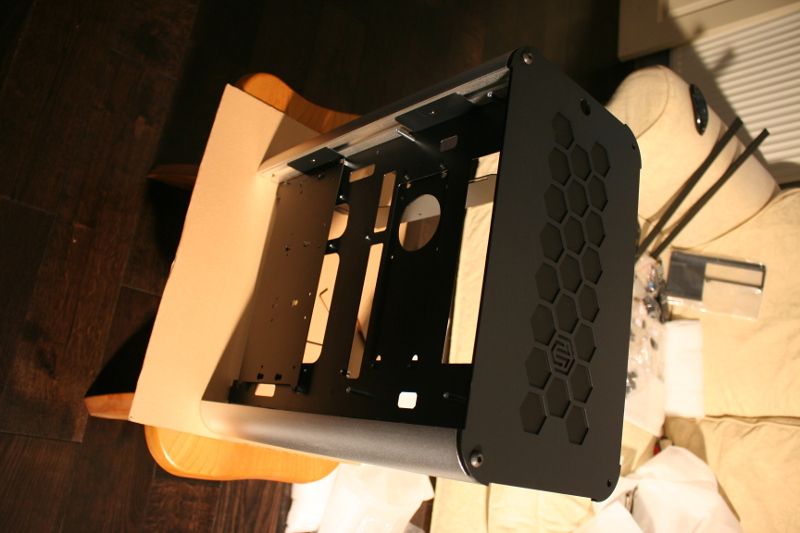
I built up the Hex Gear case a couple of days ago in preparation for the remaining parts to arrive before the weekend. I've gone for the black accent packs at the moment, but I'm toying with the idea of trying to use up some interesting wood veneers I have left over from my last job at work. Tempted to have a go at veneering up the front acrylic panel that sits behind the hex design with some birds eye maple.
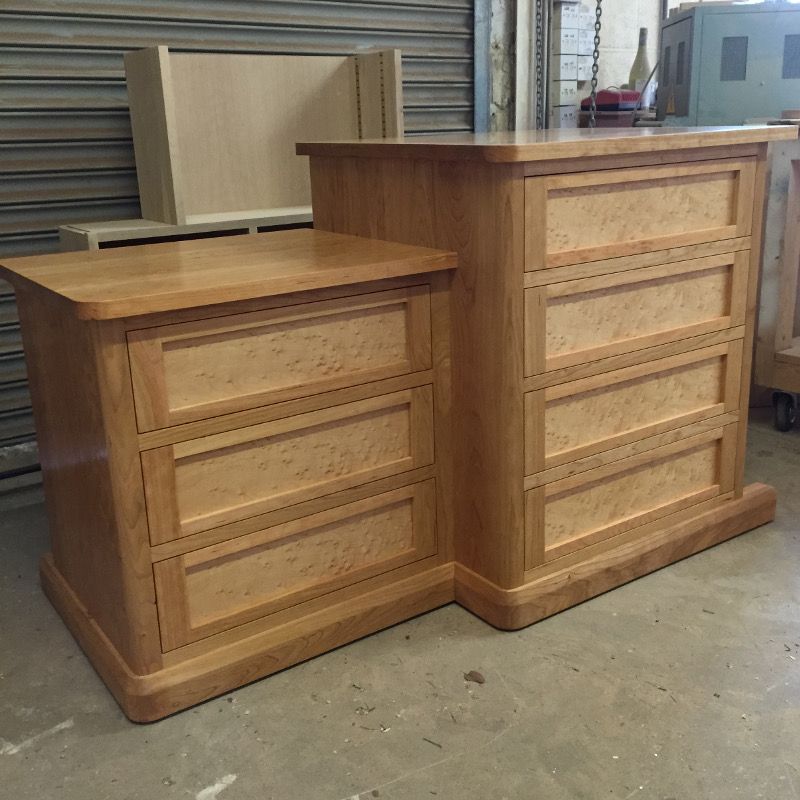
I'll stick this in spoiler tags because it's not computer related, the veneer I have knocking about at the moment is left over from the panels in the drawer fronts of these cabinets. I'm a furniture maker by trade and been wanting to build a wooden case for years but never have the time. I think putting some wooden veneers into this build would be a nice compromise, but also worried it might look awful.
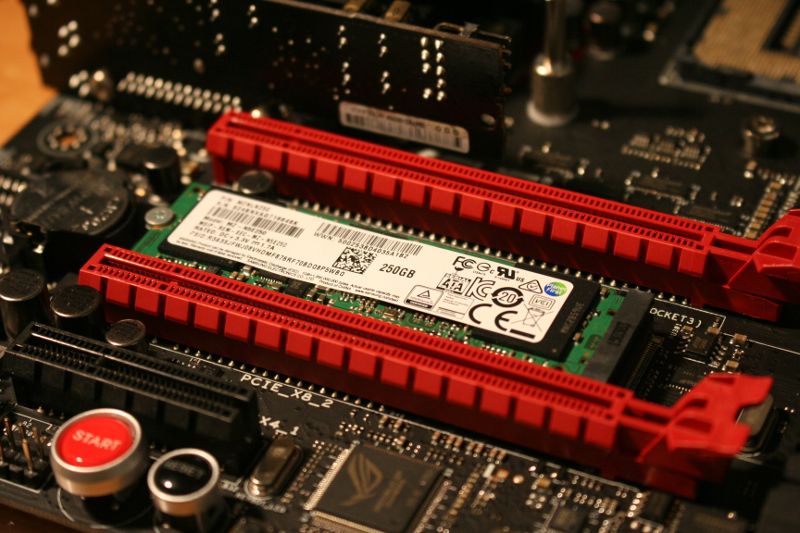
I fitted the m.2 SSD,
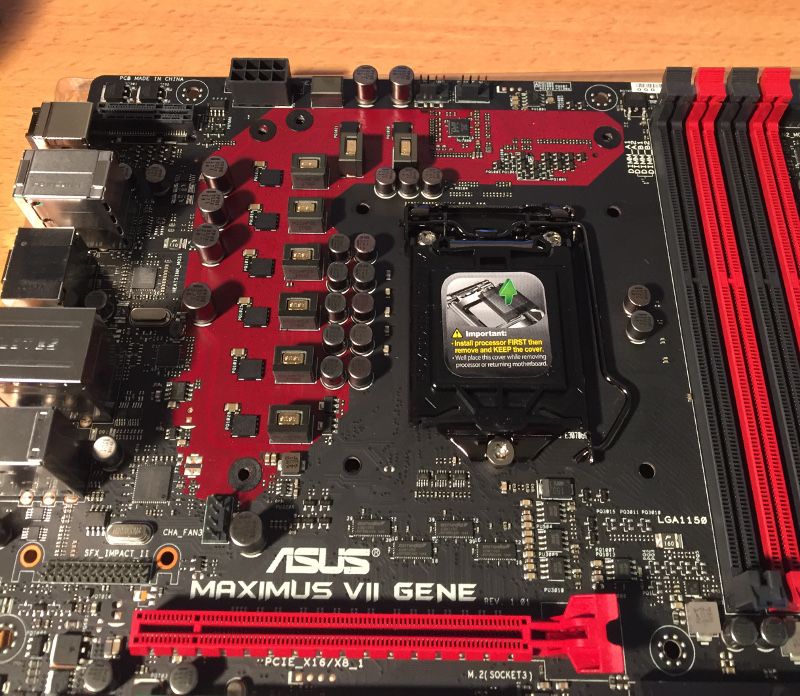
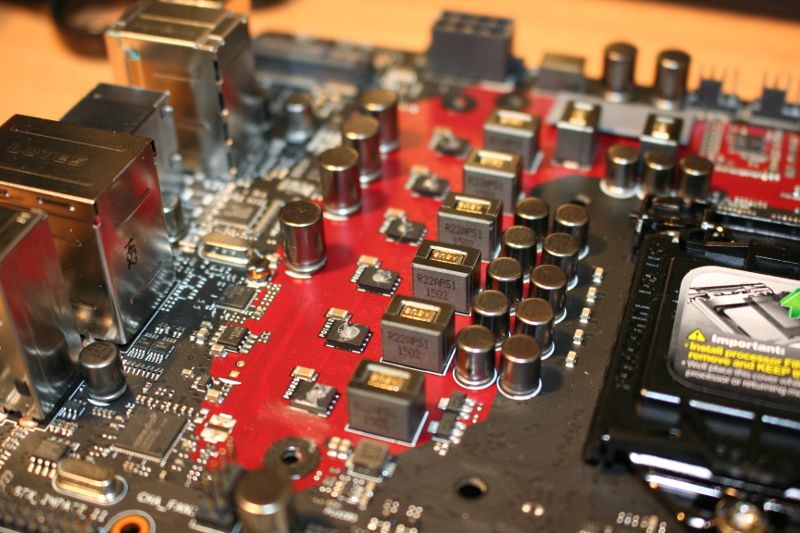
My next task was to investigate fitting the water blocks to the motherboard. I've gone for ek blocks this time round because I've been impressed with the quality of the pump top and reservoir I used on my last build. I'm fitting a mosfet cooler and cpu block. First, off with the standard heat sink.
Popped a bit of thermal compound on as it was suggested in the instructions with the block, but trying to just get a tiny blob out proved very difficult.
With the water block fitted, I was rather annoyed to see the colour scheme of the motherboard didn't cater for the water block at all well.
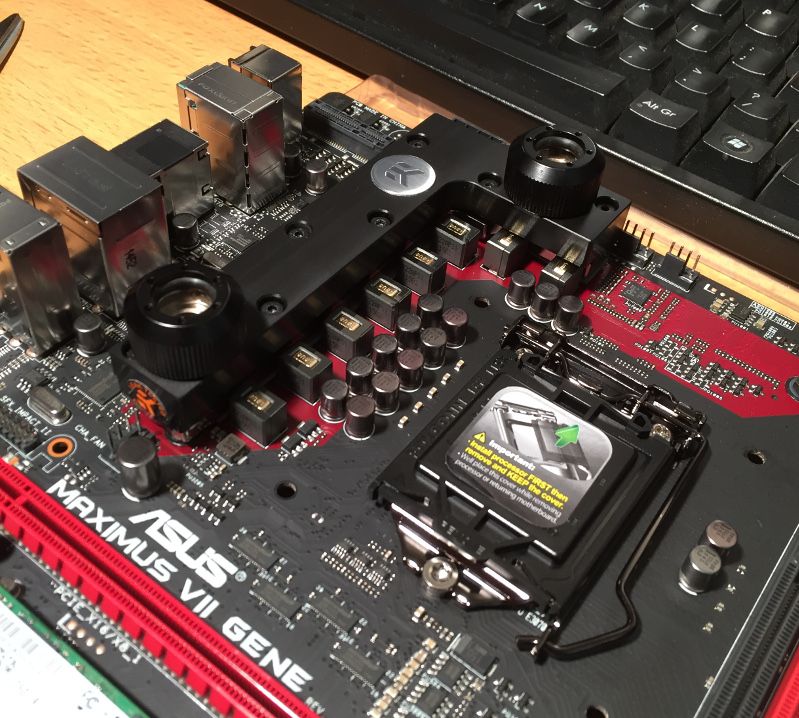
I'm hoping that when it's all fitted I can look past that awful patch of red that isn't covered by the block.
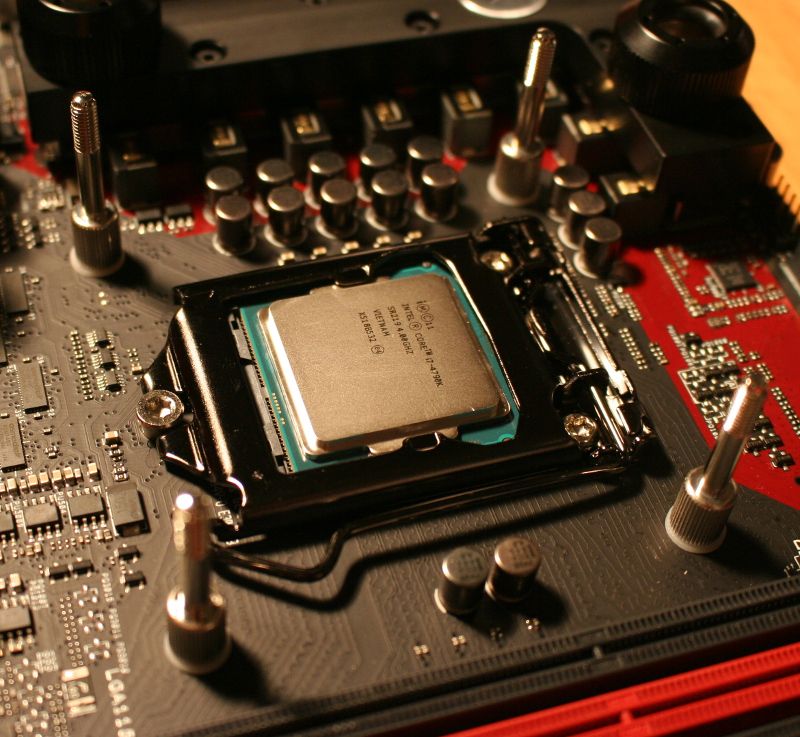
Cpu went in next, an old chip but still a lot pricier than the AMD's that I've been messing around with for the last few years so I was quite apprehensive about fitting it.
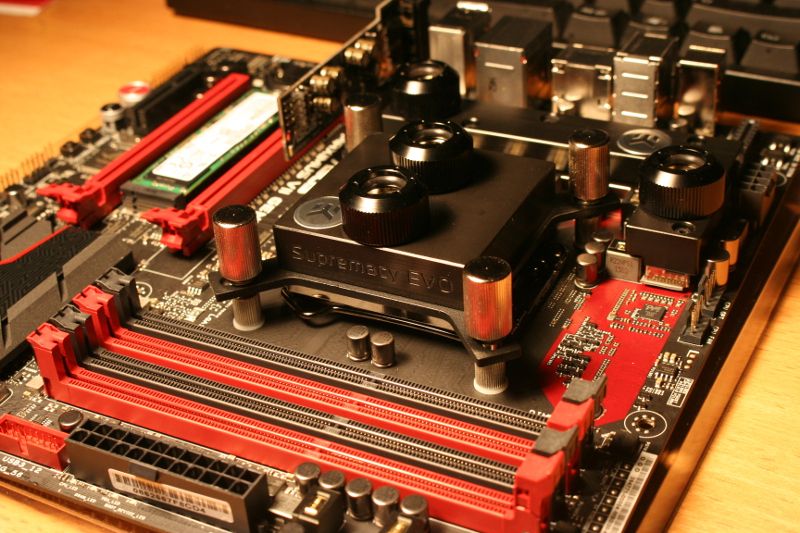
Cpu block fitted, went with the Supremacy Evo as the reviews suggested it was pretty good and I liked the simple plain design.
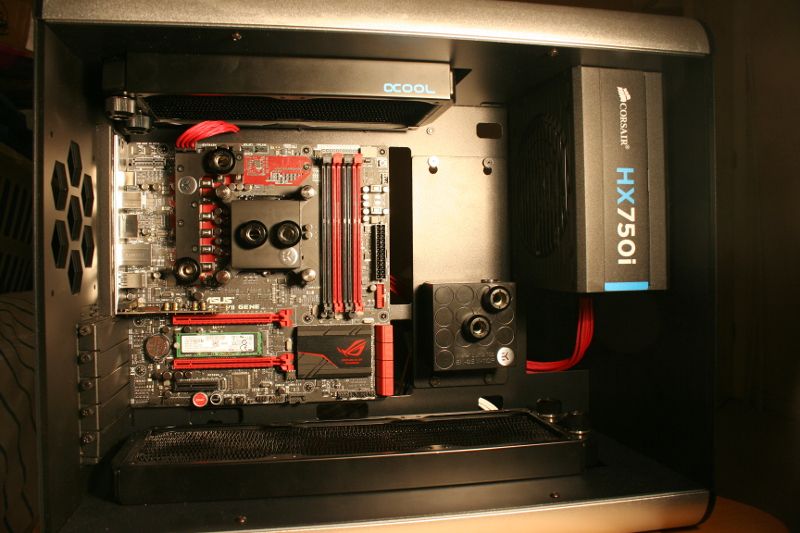
Then I had just enough time to trial fit the motherboard back in the case with the water pump and psu in.
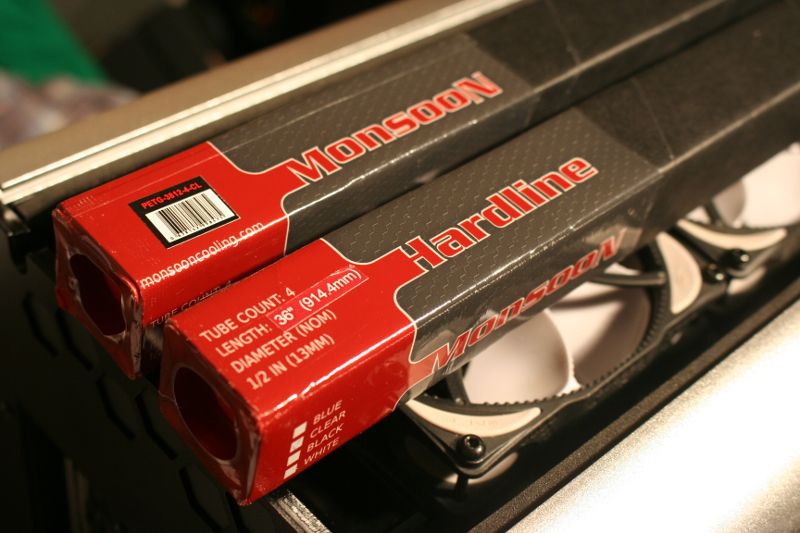
And the tubing arrived this morning as well, I had to get it from elsewhere though as getting any clear tubing at the moment is quite difficult.
I was struggling to get any decent pictures with the lightning in this room but I'll do some research and try and document the rest of the build with more success.
Any comments and input welcomed. Hoping to get the reservoir mounted tomorrow and start looking at the tubing route. I've ordered a shorter tube for my reservoir as space is tight, planning to mount it above the pump, hoping a ek 110 res will squeeze in there with enough room to run tubing to the pump.
Holding off fitting the gpu waterblock as I'm still using the card in this computer.
Thanks for reading, it's the first time I've bothered to document a build, I'll try and keep it brief.
Hello everyone. I spend a lot of my time in here reading other peoples build logs and eventually got restless enough to do a new build. It should be quite a quick build over a week or so, I'm going to re-use a few components from my last build but I've bought a lot of new components as well to try out intel for the first time in years.
I recently saw a build thread with a new case I hadn't heard of before from Hex Gear and their new R40 case. I really liked the idea of a better quality case and the fact it was an mAtx that could also squeeze in a 360mm radiator. Before I knew it I'd ordered one and there was no going back.
Component list.
Motherboard: Asus Maximus VII Gene
CPU: Intel 4790k
GPU: MSI 290x Lightning - Reusing from my last build and it's still a great card.
PSU: Corsair HX750i
RAM: Kingston HyperX Beast 2133mhz
Case: Hex Gear R40
SSD's: 240gb Samsung 840 Evo m.2, 128gb Crucial M550, 128gb Plextor M5s
Watercooling Parts
Pump: XSPC D5 vario with Ek pump top
Res: EK Res X3
Tubing: 13mm Monsoon PETG
Fittings: PrimoChill Revolver Compression Fittings
Radiators: Alphacool St30 360mm on the bottom, and a 240mm in the top
Fans: Noiseblocker Eloops.
So as you can see it's not a terribly exciting list of parts, but I was keen to try an intel build for a change. I'm going to be reusing 2 of my old ssd's, my old fittings, pump and reservoir, fans and a radiator, and the gfx card. Finally going to watercool the gpu and actually overclock it this time though.
This was my last build, and first time using hard line acrylic tubing. I did post it up in the watercooling gallery when I first built it last year so some people may have seen it before. Amd 8350, sabertooth board in a Phanteks Enthoo Pro with just a cpu loop so it was nice and cool with all the radiator space it had.

But on to my new build. I have an ancient digital camera and so my pictures won't be up to the standard of most on here.
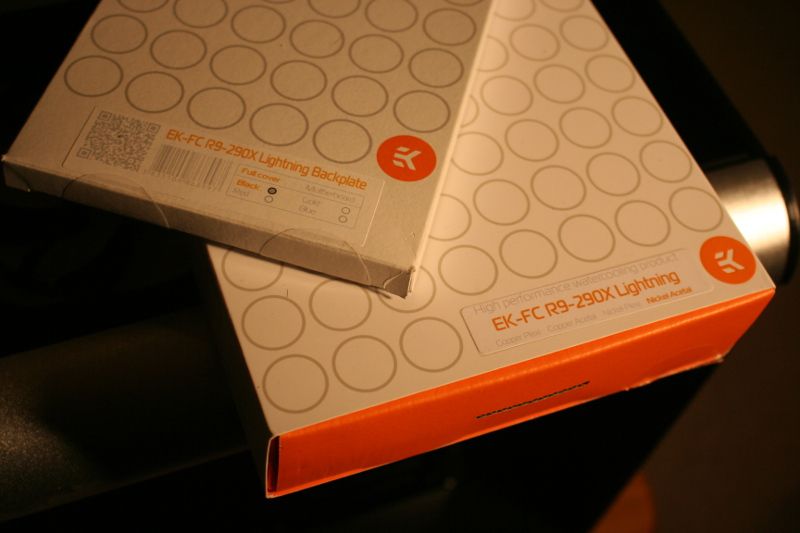
Some parts started arriving this week

I built up the Hex Gear case a couple of days ago in preparation for the remaining parts to arrive before the weekend. I've gone for the black accent packs at the moment, but I'm toying with the idea of trying to use up some interesting wood veneers I have left over from my last job at work. Tempted to have a go at veneering up the front acrylic panel that sits behind the hex design with some birds eye maple.

I'll stick this in spoiler tags because it's not computer related, the veneer I have knocking about at the moment is left over from the panels in the drawer fronts of these cabinets. I'm a furniture maker by trade and been wanting to build a wooden case for years but never have the time. I think putting some wooden veneers into this build would be a nice compromise, but also worried it might look awful.

I fitted the m.2 SSD,

My next task was to investigate fitting the water blocks to the motherboard. I've gone for ek blocks this time round because I've been impressed with the quality of the pump top and reservoir I used on my last build. I'm fitting a mosfet cooler and cpu block. First, off with the standard heat sink.

Popped a bit of thermal compound on as it was suggested in the instructions with the block, but trying to just get a tiny blob out proved very difficult.

With the water block fitted, I was rather annoyed to see the colour scheme of the motherboard didn't cater for the water block at all well.

I'm hoping that when it's all fitted I can look past that awful patch of red that isn't covered by the block.
Cpu went in next, an old chip but still a lot pricier than the AMD's that I've been messing around with for the last few years so I was quite apprehensive about fitting it.

Cpu block fitted, went with the Supremacy Evo as the reviews suggested it was pretty good and I liked the simple plain design.

Then I had just enough time to trial fit the motherboard back in the case with the water pump and psu in.

And the tubing arrived this morning as well, I had to get it from elsewhere though as getting any clear tubing at the moment is quite difficult.

I was struggling to get any decent pictures with the lightning in this room but I'll do some research and try and document the rest of the build with more success.
Any comments and input welcomed. Hoping to get the reservoir mounted tomorrow and start looking at the tubing route. I've ordered a shorter tube for my reservoir as space is tight, planning to mount it above the pump, hoping a ek 110 res will squeeze in there with enough room to run tubing to the pump.
Holding off fitting the gpu waterblock as I'm still using the card in this computer.

Thanks for reading, it's the first time I've bothered to document a build, I'll try and keep it brief.
Last edited:

")


