PARVUM LIGHTNING

Associate
Joined
25 Aug 2011
Posts
407
Location
CLASSIFIED
Banner1.6.jpg


Hello OCUK! I'm extremely excited to be starting another personal project, as most of you will know since Chocolate Box I have been collaborating with Parvum Sytems on their rig building exploits. Over that time I've developed a wide array of new techniques and gained a huge insight into how Parvum design and manufacture their cases. Consequently rather than being a descendant of an existing case this will be a scratch build designed specifically to accommodate the hardware being used, while no doubt elegantly incorporating some custom watercooling epicness.


Case - Custom Parvum JR1.0
Motherboard - MSI X99A XPOWER AC
GPU - MSI GTX 780Ti LIGHTNING x4
CPU - Intel Haswell-E i7-5960X
RAM - HyperX Predator 3000MHz 8x4GB
SSD - HyperX Predator M.2 480GB
PSU - Silverstone Strider ST1500-GS x2

GPU Block - EK-FC780 GTX Lightning - Acetal+Nickel x4
CPU Block - EK-Supremacy EVO - Acetal+Nickel
VRM Block - EK-MOSFET MSI X99 XPower - Acetal+Nickel
Pump - EK-XTOP D5 Vario - Acetal (incl. pump) x2
Reservoir - EK-RES X3 250 x2
Radiator - EK-CoolStream XE 480 (Quad) x3
Fittings - EK-HD Adapter 10/12mm - Black x54
Rotaries - EK-AF Angled 90° G1/4 Black x2
Tubing - Shakmods Crystal Clear rigid acrylic
Sleeving - Telios Yellow, Dark Grey and Black
Fan Controller - Aqua Computer Aquaero 6LT
Fans - Noctua iPPC 2000 PWM IP67 NF-A14 x3 and NF-F12 x12


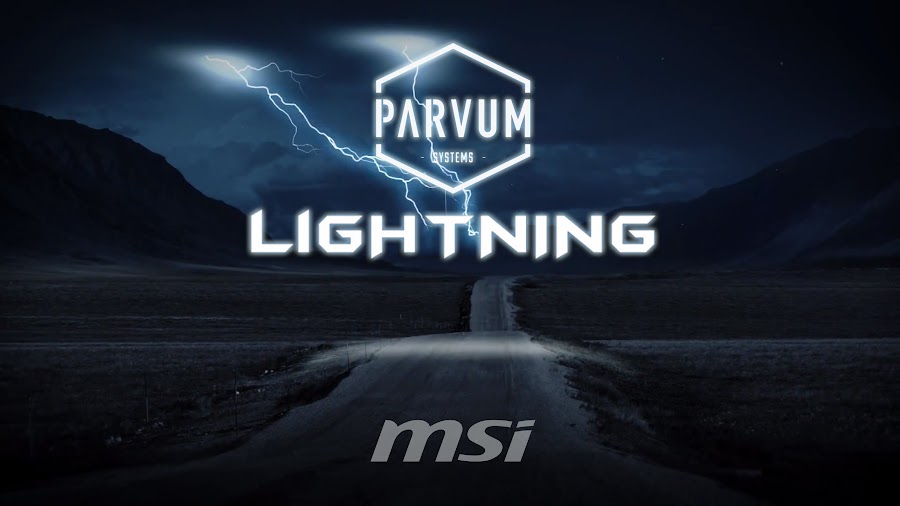
I think the theme has probably been given away by the title at this point so I will leave the specs until a little later in the project. This is something i've been planning for quite a while now, long before I started working at Parvum. After expressing my love for MSI's Lightning series it has quickly snowballed into reality, I suppose we better take a look at what arrived in the mail last week...


As those of your familiar with Lightnings will know the packaging and accessories are on another level to just about every GPU in existence. It's great to see an extended LN2 heatsink for the power circuitry and a slick black SLI bridge although I doubt that I will be needing either of those.


Here comes the main event...


...the classic Lightning Tri-Frozr


But wait, wots that m9's...


...lets take a closer look


GTX 780Ti LIGHTNING confirmed. One of only 12 engineering samples produced before MSI cancelled their plans to retail the card.


But as they say Lightning doesn't strike twice...


...it hits 4 times!


So much Power circuitry, (14+3)x4.


What else could follow up that monumental show of prowess from MSI, nothing less their flagship overclocking board the X99A XPOWER AC.


Tease much?


The shear amount of accessories was overwhelming, even a pen drive in there somewhere.


I suppose we ought to take a look at the board then.


Should be plenty of PCIe to go around.


MSI's 2011-3 socket, now with added pins.


Black and yellow, black and yellow, black and yellow...


Massive thanks to MSI for making this happen and releasing some of the coolest Lightning cards ever built into the wild, let alone 1/3 of them.

Perhaps its now obvious why I will be designing a case from scratch, as a Parvum of the required magnitude doesn't yet exist. A substantial amount of progress has already been made on that front and i'm looking forward to presenting some renders very soon.

JR
 
Last edited:
Associate
OP
Joined
25 Aug 2011
Posts
407
Location
CLASSIFIED
Thanks for all the comments and subs guys! Case renders incoming shortly.


epic, would have thought a card called lightning would be blue coloured

MSI's Overclocking/Extreme branding has been yellow since Z77/Keplar but these are adorned with many blue LED's among the power circuitry.

So you are going to be ripping off those lovely gpu coolers? Can't wait to see the case that's going to house this lot :D

With the 'reactor' in place on the backplate, which does actually house some voltage stabilization components, even 3 cards won't fit on an X99 board... so much water will have to be the way. All of the coolers and packaging will of course be kept together and treasured in the giant pieces of furniture MSI supply them in.

its a shame OCUK dont have any Yellow SKUs on DDR4 Ram for this build .

the avexir blitz black/yellow would look awesome in this build

I'm sure two banks of Acetal blocked DDR4 with yellow coolant will be a satisfactory compromise :)

JR
 
Soldato
Joined
20 Jun 2011
Posts
3,675
Location
Livingston
This is going to be awesome man. How on earth did you manage to get 4 of those cards? ;o

Saw one listed on HWBOT a few days ago was the first time I have ever heard of or seen the 780ti Lightning. If these are anything like that one they're going to be awesome clockers :)
 
Last edited:
Associate
OP
Joined
25 Aug 2011
Posts
407
Location
CLASSIFIED
xncLEr04QVXNg5AZOvoXDnXKQw2eqMxii4F3cFw_024Y=w900


Well it's been a long day of refinements and rendering but I can now present the case to be used for PARVUM LIGHTNING, codename 'JR1.0'


While it may seem very similar to the ATX case used for PARVUM KRAIT beyond the initial aesthetic similarities they don't have much in common. This is quite a lot bigger weighing in at 606mm (L) x 540mm (H) x 360mm (W)


The interior has been kept very clean by implementing several techniques tried and tested on SENESCENTIS. The motherboard will be set into the midwall without the use of standoffs and similarly the GPU's will have their IO plate removed entirely.


This ethos continues onto the exterior where through the use of a triple layer rear panel most of the graphics card IO will be hidden and the majority of screws will be covered. Leaving just 4 displayports and the motherboard IO on display.


Seeing as the space is available and the quad Lightnings have potential to be exceptionally power hungry room has been made for two ATX PSU's.


JR1.0 is currently being graced with MSI's OC logo however there are some blank spaces scattered around begging for some inlay details.


To complement the substantial power delivery it's only fitting that the case accommodate some serious cooling hardware. There is room for 3 60mm thick 480mm radiators, 3 140mm intake fans and a pair of D5's.


I've no idea what this blanking plate in the floor is in aid of, you'll have to stay tuned and see ;)


Just to give a sense of scale here is JR1.0 alongside an R1.0, VEER1.0, X1.0 and S2.0.


I think now your all up to speed with where I am at with the case, further refinements will be made as the hardware is finalized but it's nearing it's final form after several iterations and tweaks. Thanks for all of your support so far, I really appreciate all your views and comments at this early stage.

JR
 
Last edited:
Associate
OP
Joined
25 Aug 2011
Posts
407
Location
CLASSIFIED
xncLEr04QVXNg5AZOvoXDnXKQw2eqMxii4F3cFw_024Y=w900


Today i've been busy modelling how the pass through floor panel could work, although as of yet I don't know the exact position of many of the ports, I was just trying to make sure that I could fit in all of the hardware i've been thinking about. A little extra width in the case may well make things easier but it looks like there will be room for dual loops.


Having experimented at Parvum layering up different types of acrylic I was disappointed with the contrast of having frosted clear over black acetal and yellow coolant. It looked rather washed out against the harsh contrast of black and yellow acrylic.

Laying polished clear acrylic over coolant looked phenomenal but was rather too revealing of what else lay beneath. Also the inherent reflections and dust of having an entire polished acrylic floor I just didn't want to think about. So it was time to break out some creativity to retain the harsh black and yellow contrast while adding some showy custom watercooling.


For now at least i'm planning to have two sheets of 10mm clear, the lower with coolant channels and o-ring grooves cut into it and the upper with a positive version of the channel left behind.


These two pieces will be screwed together firmly sandwiching an o-ring to seal the channels. Following that another negative cut from 5mm black acrylic will be inlayed over the top sitting flush with the raised channels.


Finally the fittings can be threaded into the 10mm middle layer of acrylic. This must have enlarged raised ends so the fittings can seal against that rather than the black.


I don't know exactly what style of run i'll make with the coolant however it will most likely be too dense to achieve a straight line between every fitting. That still leaves a lot of options to have varying width channels with 90° or 45° bends, that will have to wait until all of the ports can be accurately positioned.

I really must add some drain ports to the underside too.


Although barely visible in this render that is really what I was aiming for with this part. It isn't a mad crazy water thing screaming for attention and visual hierarchy but just a slick implementation to allow for some very clean tubing to each of the components. There is plenty of time for showing off on imersa's builds :D.


Having said that, when it catches the hypothetical digital light...


JR
 
Last edited:
Associate
Joined
17 Mar 2009
Posts
2,474
Location
Scotland
That base is insanely complex, insanely expensive (probably) but insanely cool....!

Are you in fact insane ? :eek:

On a serious note, where do you get or make those rather complex o-ring seals from? Are you making them yourself?
 
Back
Top Bottom