I've used quite a few different heatsinks in my time and have pretty much always stuck with products from Thermalright, not just because they offer very good performance but also because they have always been very easy to fit.
Since jumping on the LGA775 bandwagon late in 2006 I've used a Thermalright Ultra-120 and Ultra-120 extreme in my full tower set-ups but recently I've started to build computers smaller, smaller motherboards, smaller cases etc and found that the my heatsinks of choice no longer fit size wise into my new machines . . . . hmmmm
So like any good computer enthusiast I have been reading up on all the latest heatsinks, checking the reviews, looking at the pictures etc trying to choose a nice new *compact* heatsink.
a lot of heatsinks (particularly the value models) use the standard INTEL push-pin system which while it works can sometimes be a real pain and does really give the motherboard a good wang! Fair enough if your just installing the heatsink once never to be seen again until one or two years time but for the real enthusiast who tinkers and swaps out CPU's a lot there has to be a better way?
Well anyway I have known about this Thermalright product called the LGA775 Bolt-Thru-Kit for ages but as I was already using a Thermalright heatsink I never had a need to test a Bolt-Thru-Kit.
Now that I am struggling to find a better value and lower profile cooling solution (a lot of which feature the standard INTEL push-Pins) I thought it was time to finally give a Bolt-Thru-Kit a litte test . . .
So one quick purchase online for around £5.00 and I snagged myself one of the Thermalright kits . . .


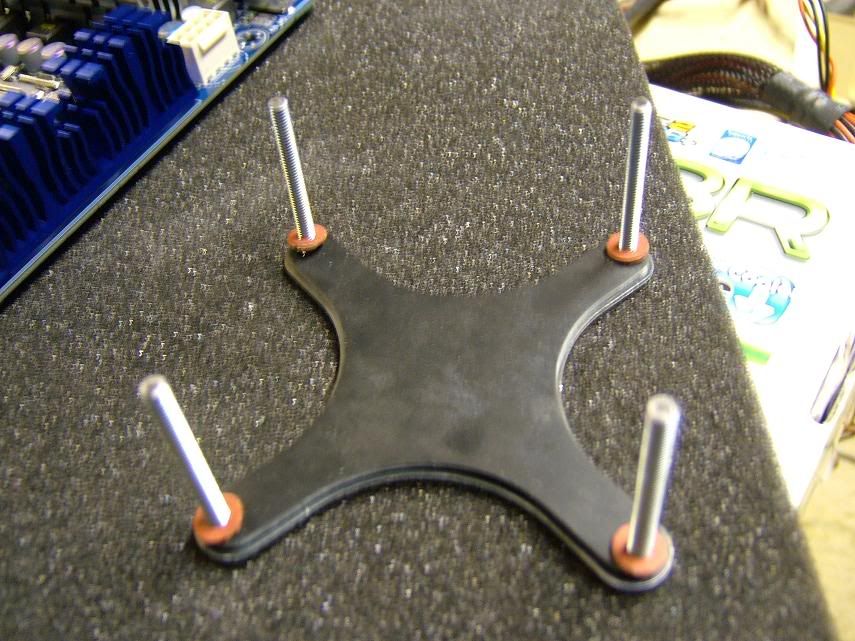
Not much to see really and anyone who is familiar with TR heatsinks will recognise the backplate and four spring loaded screws.
Now for the purposes of this test I will be using a standard INTEL cooler as I have never de-pegged one before and I don't want to mulla one of my better heatsinks so the stock INTEL HSF it is . . .

So basically here are the four stages
- Remove heatsink and clean off the old TIM from both the Heatsink and CPU
- Install the Thermalright backplate
- De-peg your heatsink
- Apply fresh TIM and screw down heatsink using four spring loaded screws
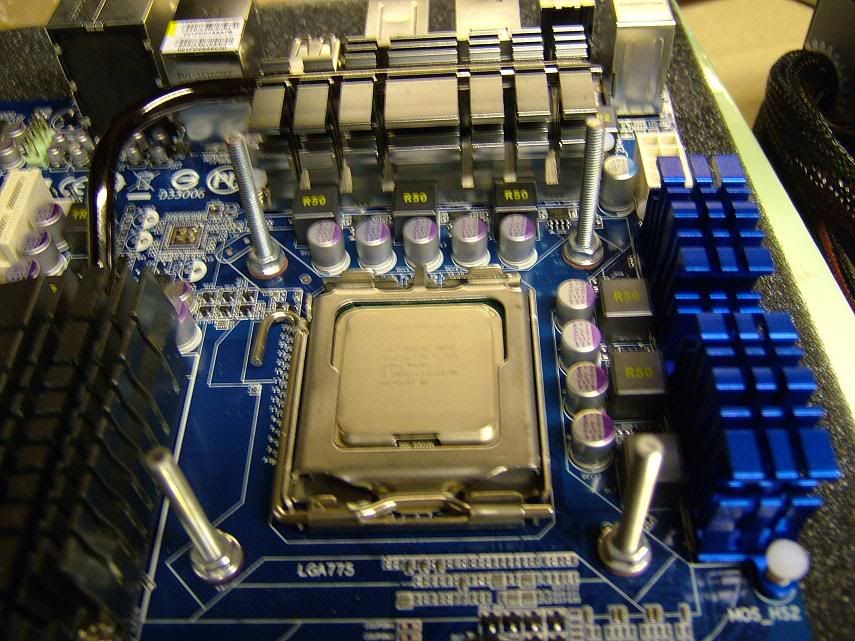
The next stage sounds a pain but can be quite easy and thats fitting the backplate which requires the motherboard to be lifted. If you are starting your build from scratch then no problem but for anyone with a system already built it does mean removing all your expansion cards (GPU etc) and all motherboard screws, however I was able to fit the backplate without removing any of the wires (power, case headers, SATA, USB etc) by simply lifting it an inch and sliding the backplate into position.
There are four cups on the backplate that poke up through the four standard INTEL holes on the motherboard, if you are having problems getting the backplate lined up then you can use some of the spring loaded screws to hold the backplate in position while you lower the board back. Once the board is properly installed again it will hold the backplate in position so you are able to remove the springloaded screw/s ready to fit the heatsink.


Now comes the stage that is new to me, that is de-pegging a heatsink of its standard INTEL push-pins. It's not exactly rocket science but I am always a bit twitchy when I do something for the first time, in this example the worst case scenerio would have been I busted/snapped one of the standard push-pins making this process a one way ticket, nothing to sweaty (like toasting a £700 CPU!) but I wanted to maybe reverse the mod later on.
Anyway I'm please to report the de-pegging process is fairly straight forward if you possess a good eye and a modecum of finess. The only tools I needed was a small flat head screwdriver and a steady hand. There is a small back plastic lug that needs to be lifted-up with the screwdriver tip that allows the peg to slide nearly slide apart, then there is a small white plastic nipple (oh er!) that needs to be compressed to allow the peg to be completely pulled in two!
Five minutes later the test heatsink is de-pegged and I am ready for the final stage!


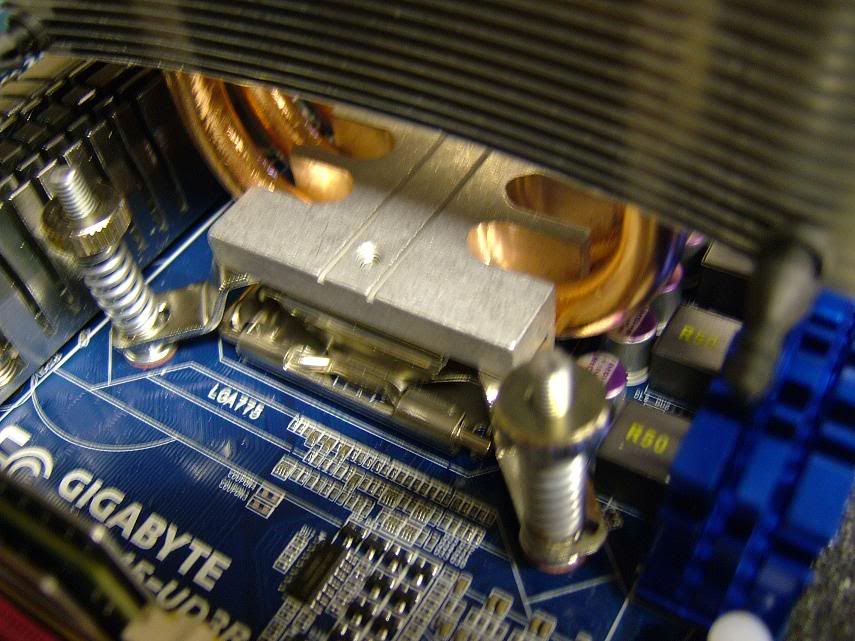
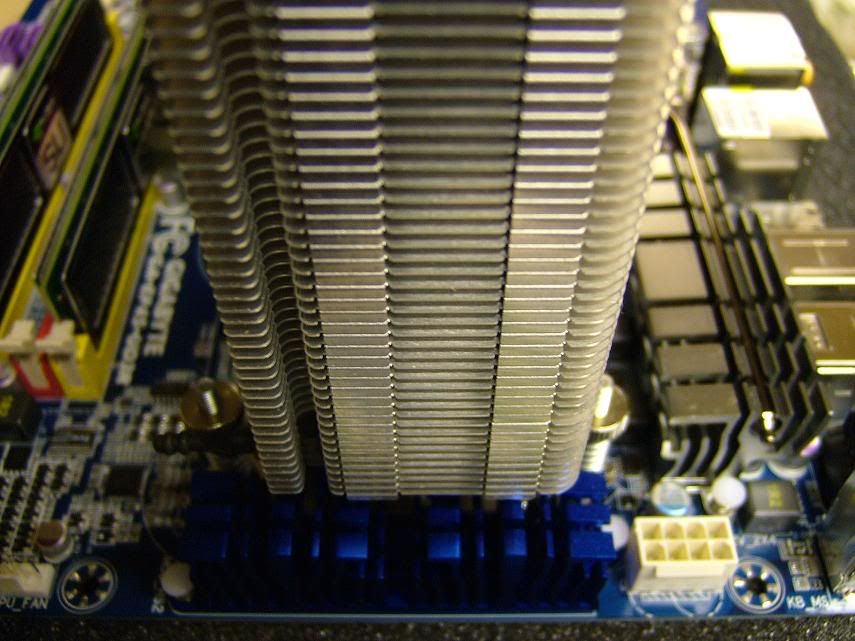
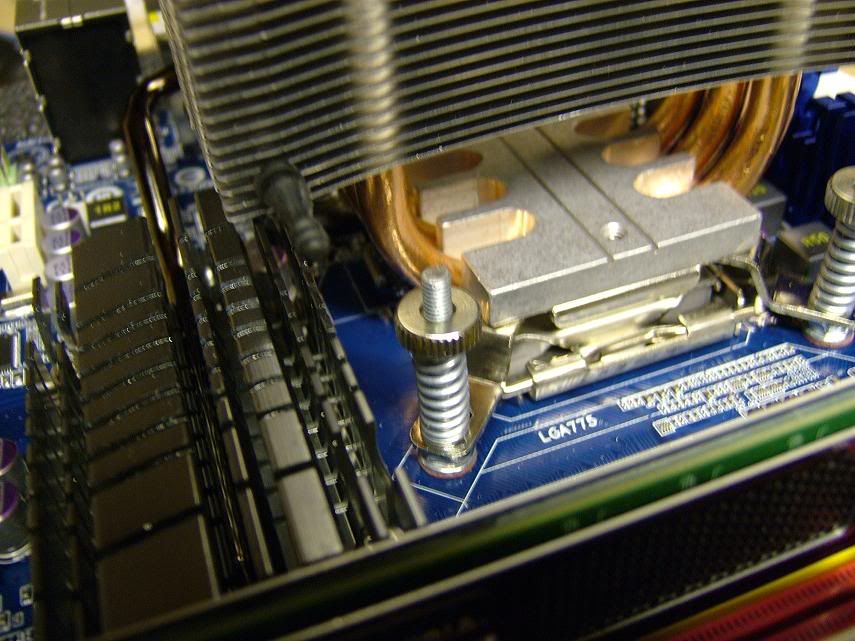
Cool nearly done and we are firmly in Thermalright territory now. All I need to do now is apply a nice thin layer of fresh TIM upon the CPU, carefully lay down the de-pegged heatsink and screw in the four spring loaded screws in a criss-cross fashion. I normally do five screw turns then move to the screw diagonally opposite and give that five turns, just keep alternating until the screw stops turning. Don't overtighten the screws, it will be fairly obvious when they have reached the end of the holes and are designed to just *stop*, if you try to force a few extra turns you will probably tear the thread.
It really is a five minute task to apply the TIM and tighten all four screws down and . . . were done!


Conclusion:
So here we are, the Thermalright LGA775 Bolt-Thru-Kit has been installed but what have I gained? . . .well firstly my motherboard is fairly straight again and no longer resembles a boomerang! but what about the temps? . . . well I'm glad to say the CPU temps have dropped a *massive* one degree lol but that is a good thing believe it or not, I was worried that the Bolt-Thru-Kit wouldn't apply as much pressure as the standard push-pins but it does, also instead of sitting on the heatsink like an overstuffed suitcase trying to get the pins to click I can now gently tighten the four screws with a screwdriver which is my prefered method of fitting an LGA775 heatsink.
Now that I have seen how simple it is to de-peg a heatsink of its standard push-pins I shall be picking up a proper 3rd party *value* heatsink to see how it performs without the worry of destroying the push-pins in the de-pegging process (hard to sell on a heatsink with broken pegs/pins).
Obviously using this Bolt-Thru-Kit is a more appealing prospect for someone who likes to swap out CPU's quite often (at least every two months!) or likes to play with different air-coolers, especially really heavy ones that feature plastic pegs that could break in LAN transit!
Now the kit is installed I can try out a few nice 3rd party heatsinks that comes as standard with the yukky push-pins. I won't be able to attach a really big horizontal heatsink as there will be no access for a screwdriver from above to tighten the screws but there is some nice value mini-tower heatsinks I will be picking up soon for a play!
Pros:
- Made by Thermalright
- Cheap
- Reduces flexing of your uBer chipset
- Makes it really easy to attach/re-attach your heatsink
- Extra security for over weight big mamma heatsinks
Cons:
- Nothing to do with Intel® Core i7
- Risk of breaking standard push-pins during de-pegging process
- Motherboard needs lifting/removing to fit backplate
")

")