Associate
Hey everyone!
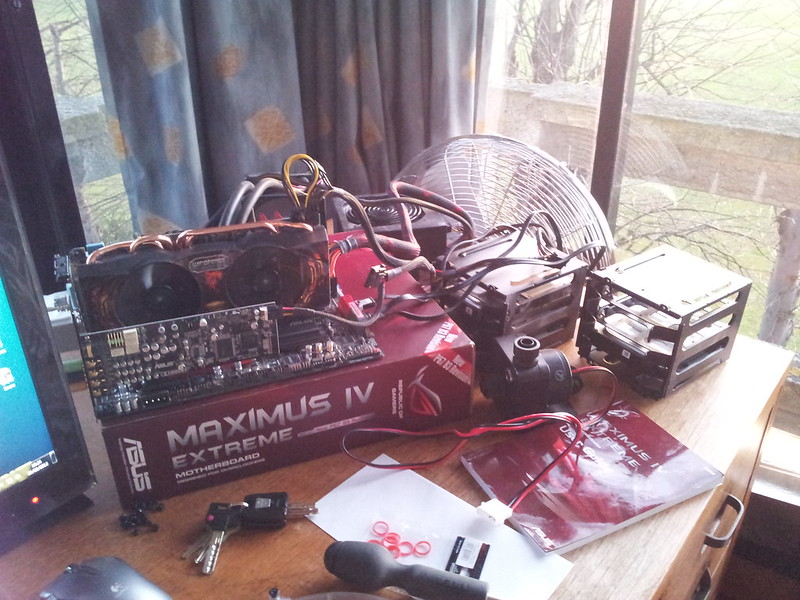
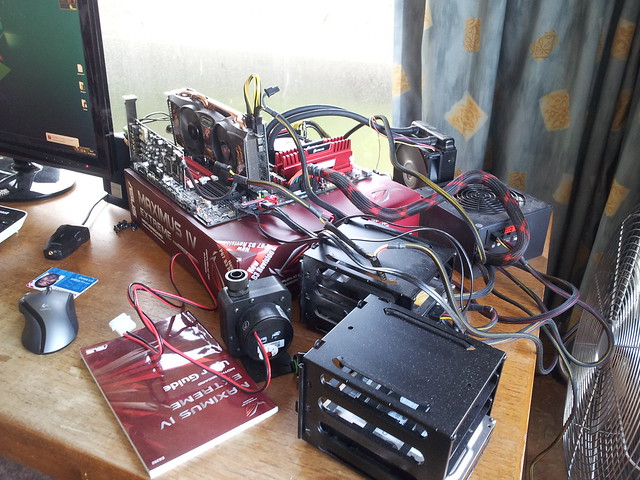
I've spent the best part of a year trying to collect the right water cooling components from the members market and along the way I've upgraded my hardware from a Core 2 Duo (E8400) to an i5-2500k.
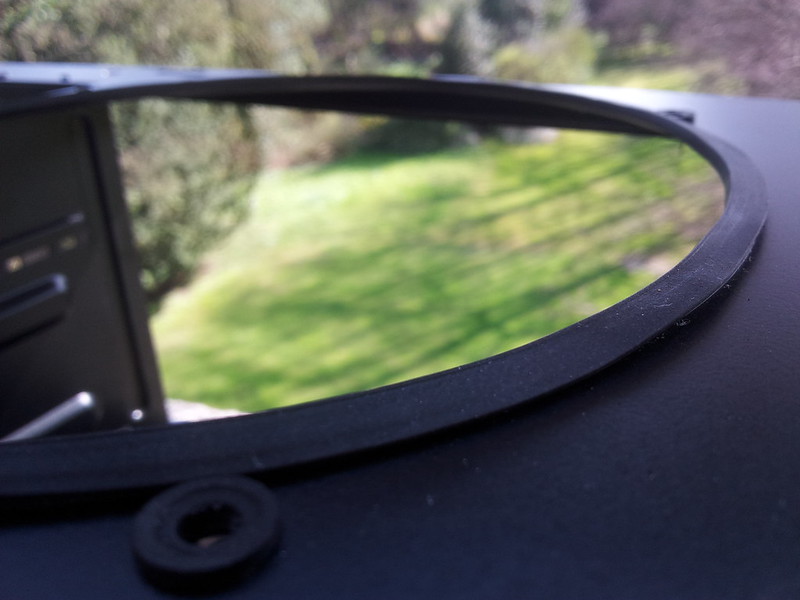
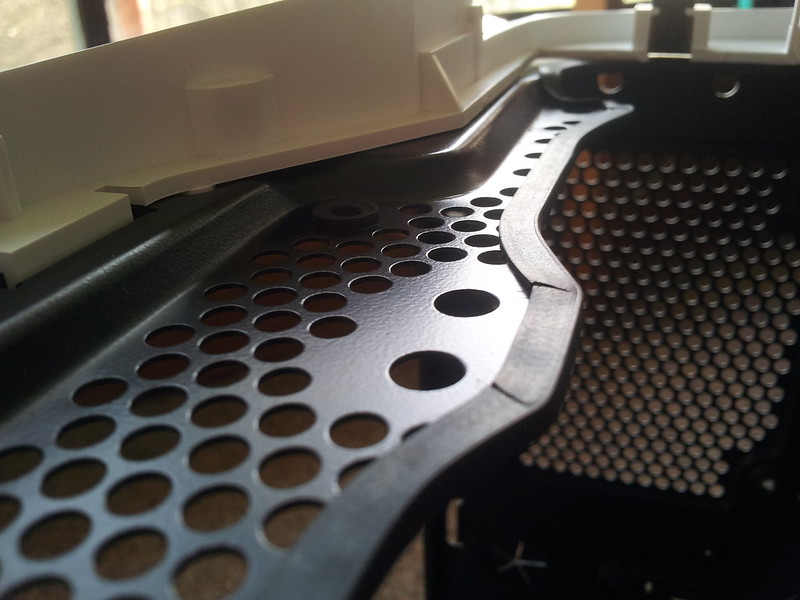
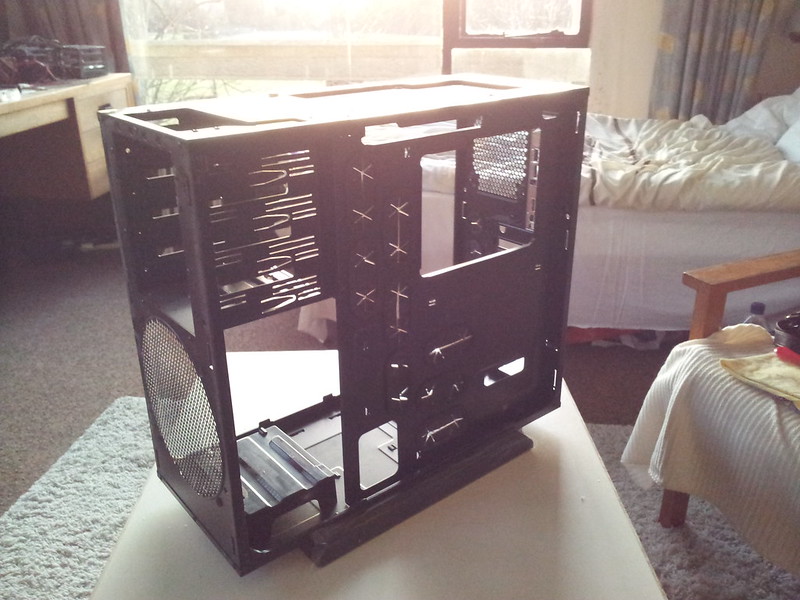
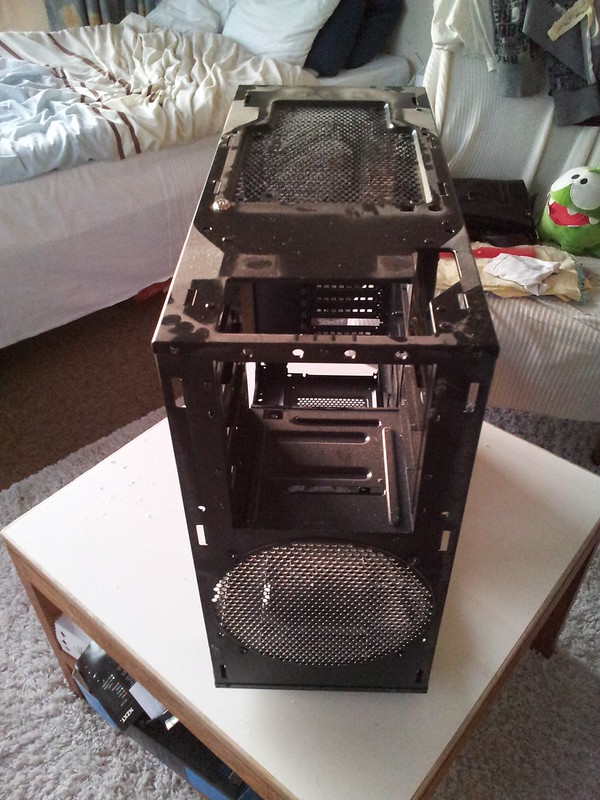
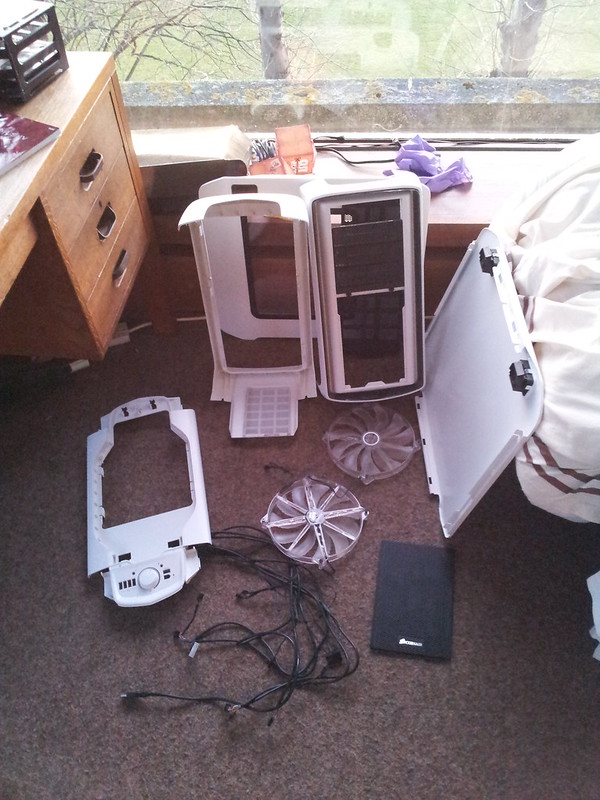
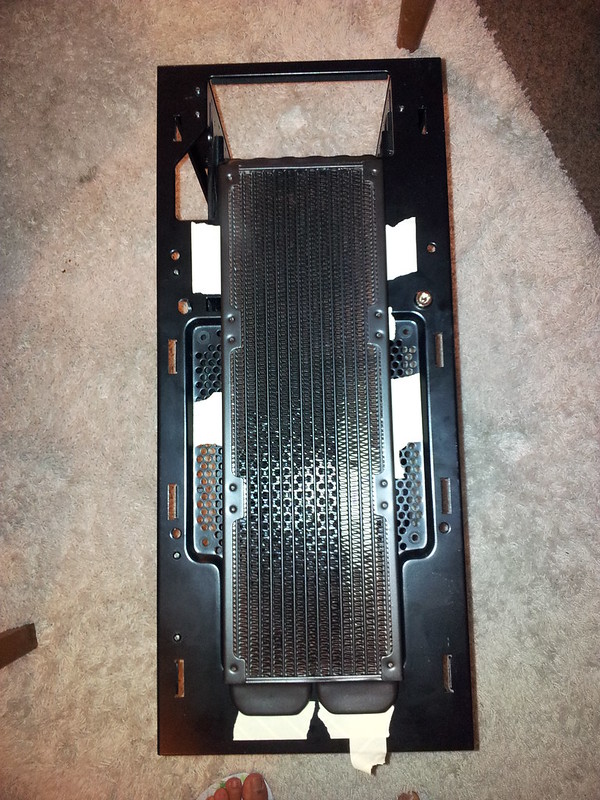
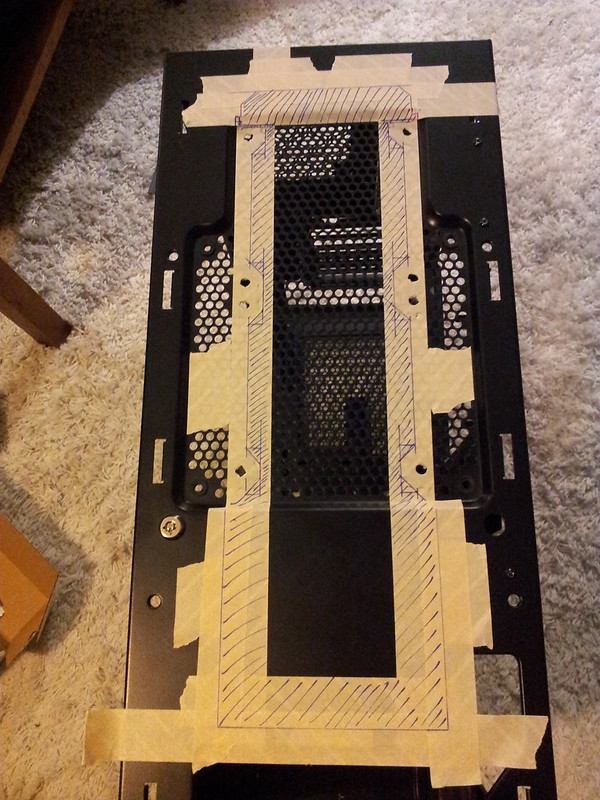
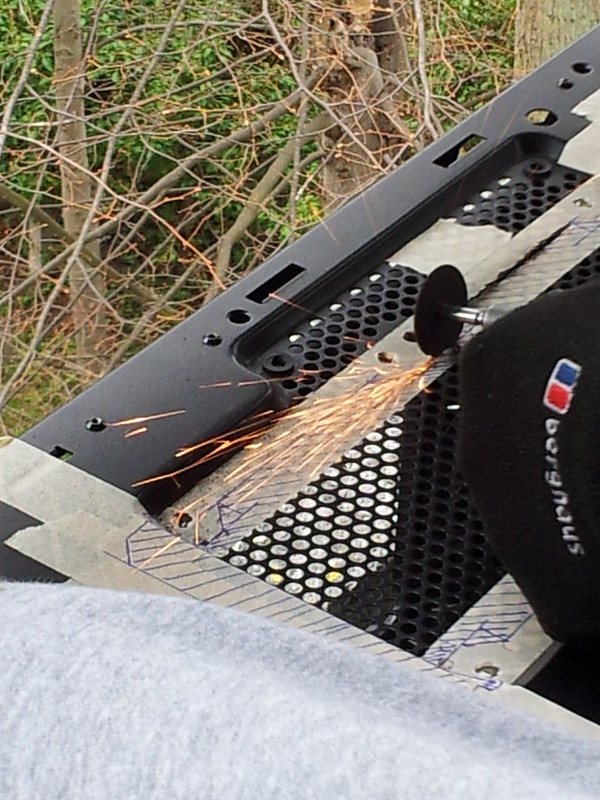
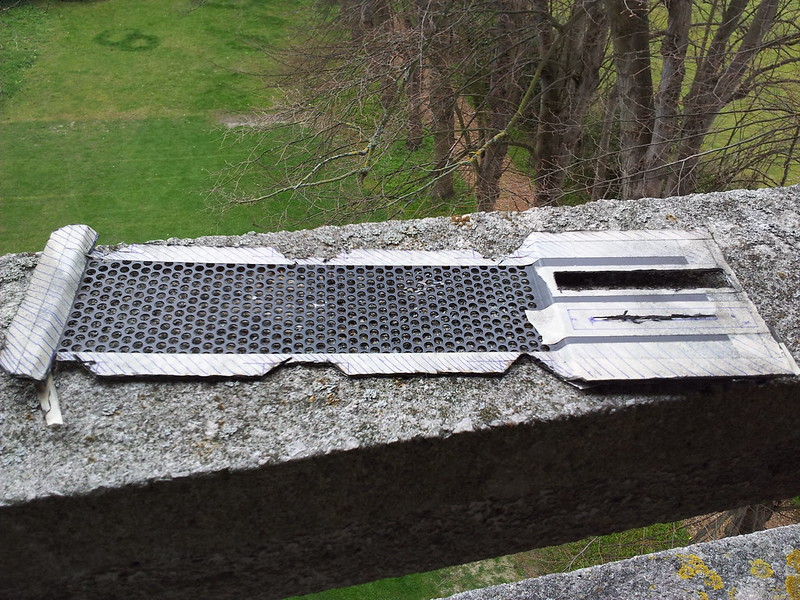
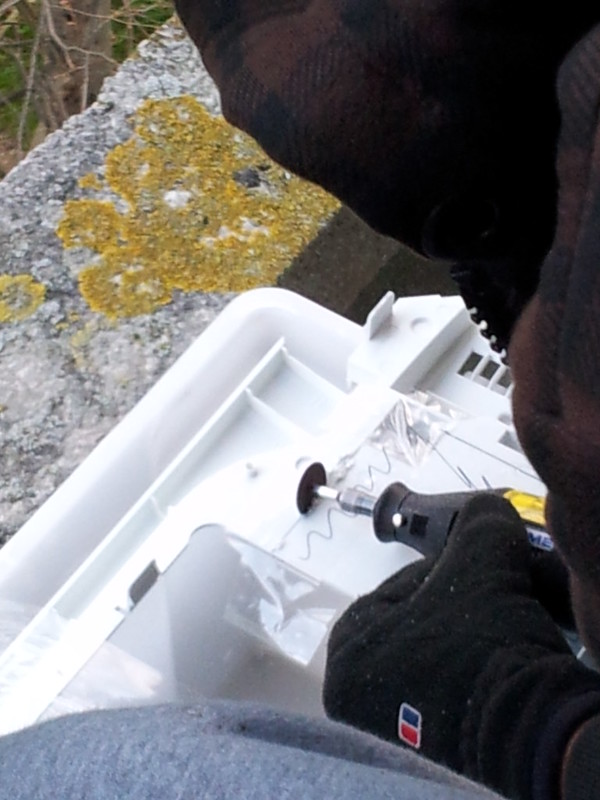
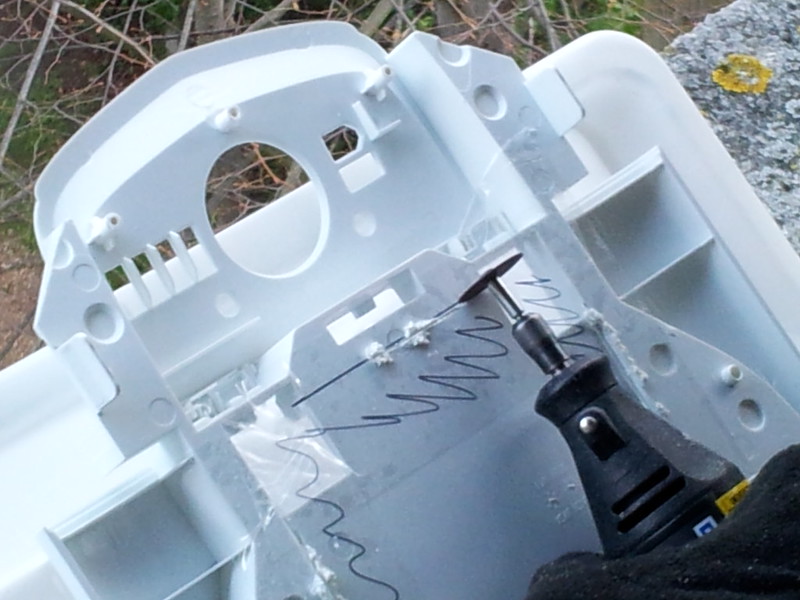
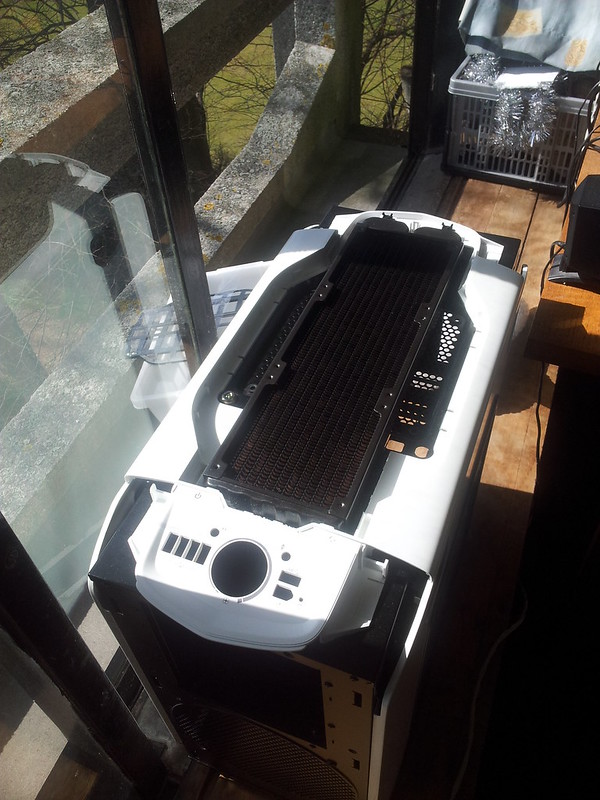
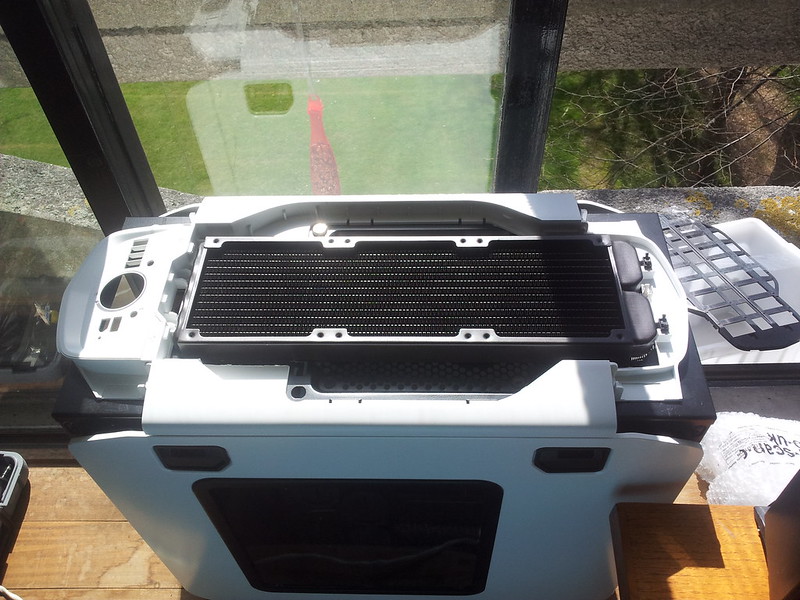
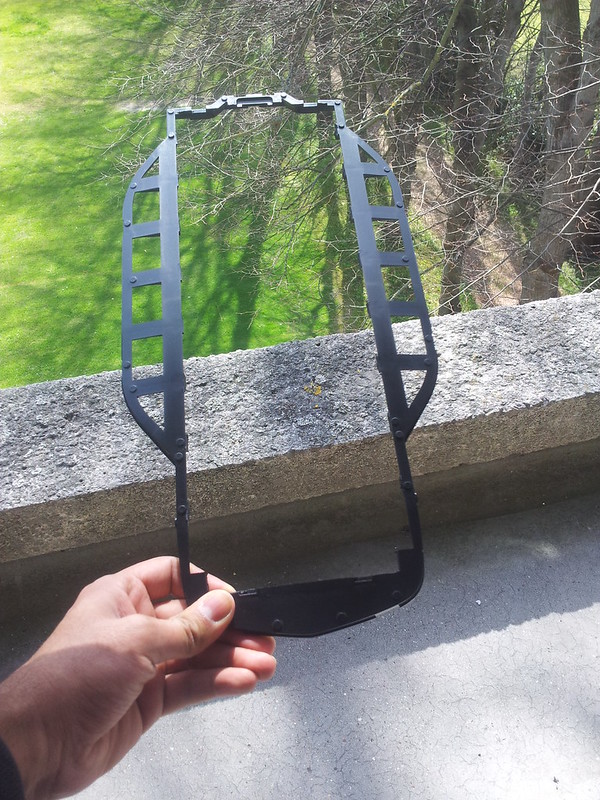
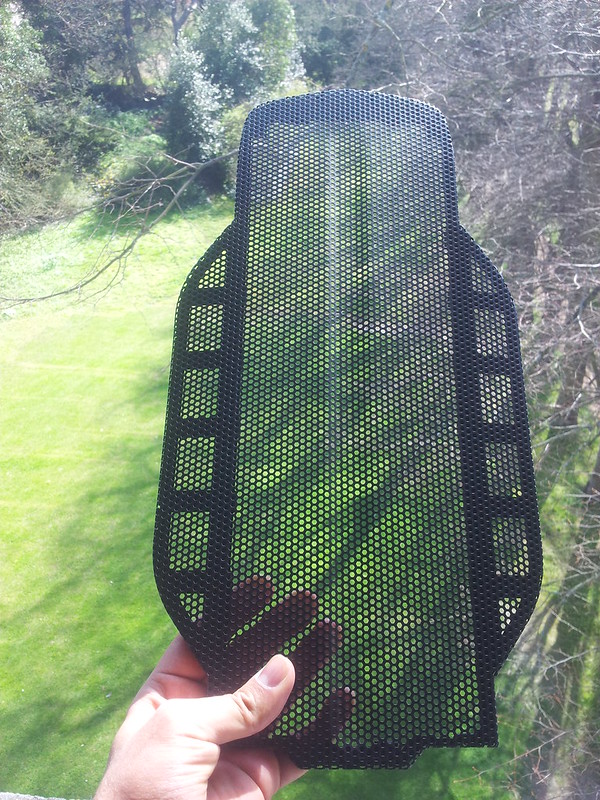
Water cooling has been a headache, especially sourcing the right parts - but it all comes down to researching hard and possibly not owning a 600T - which is terrible for installing a custom loop without modding .
.
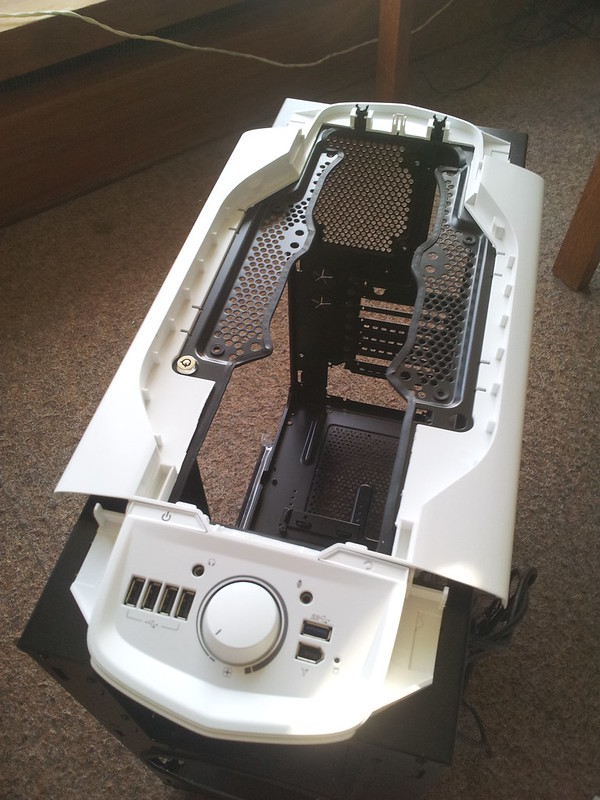
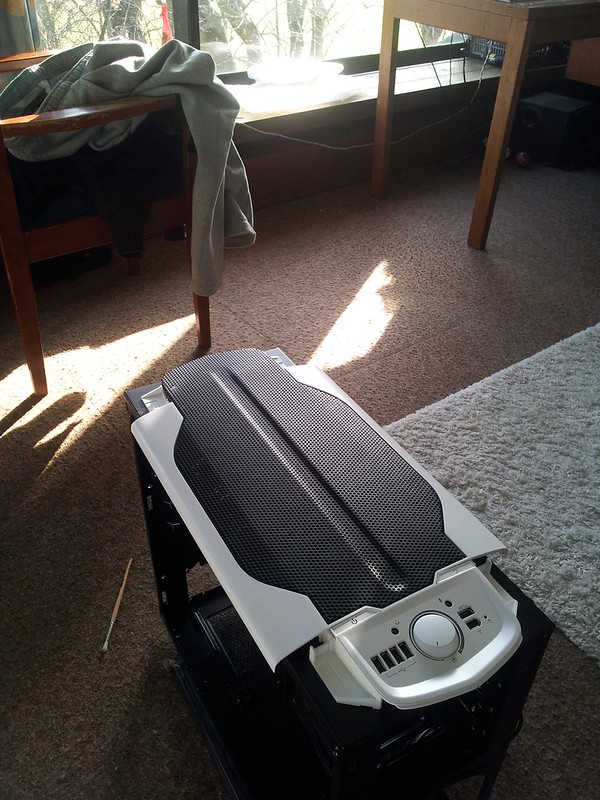
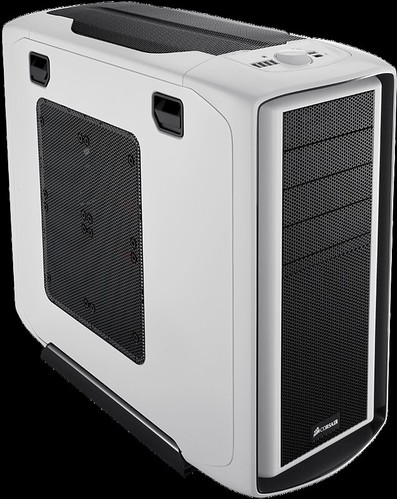
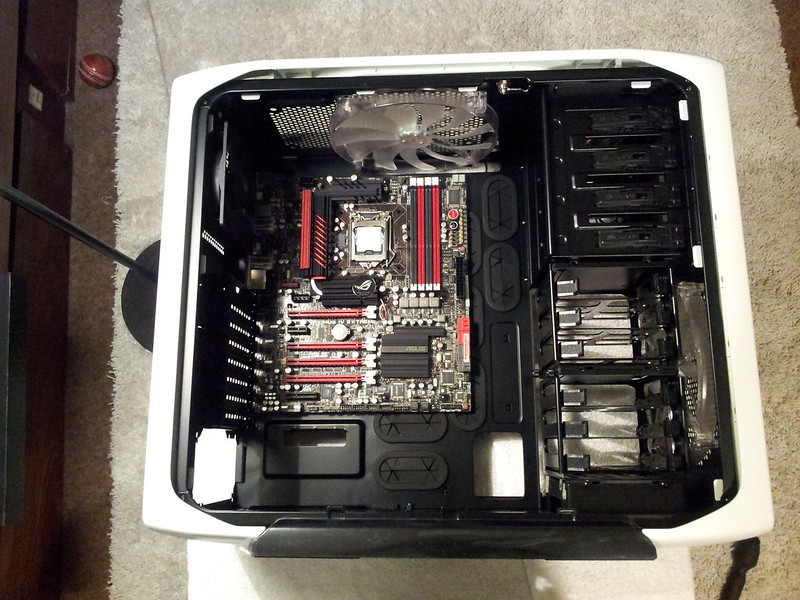
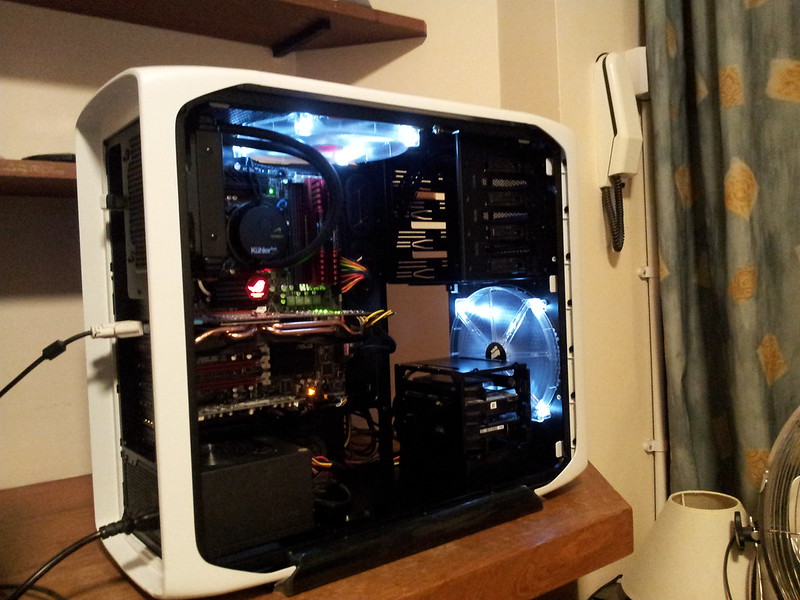
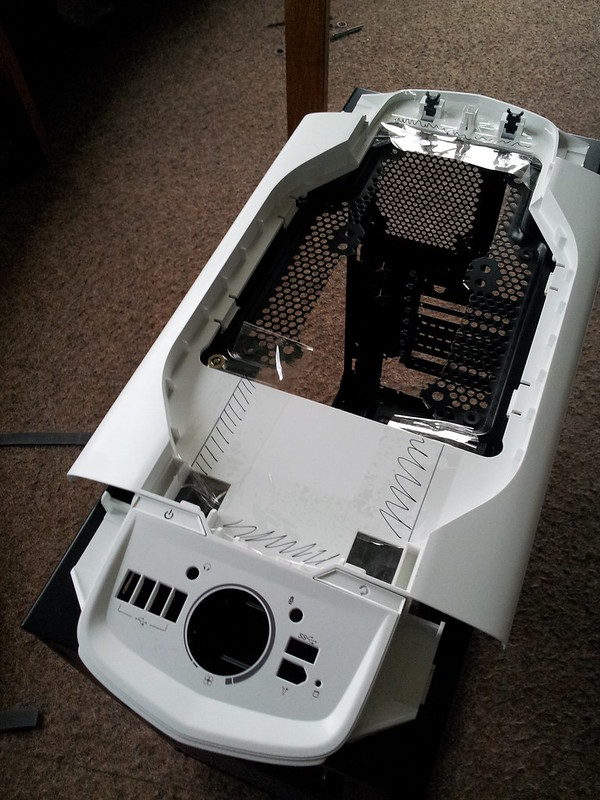
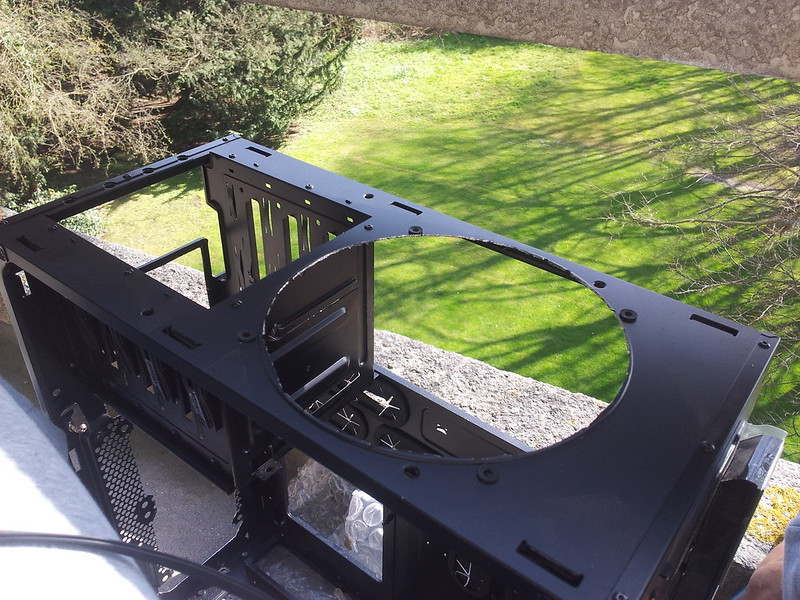
This is the case I'll be modifying: The beautiful 600T Special Edition:
I had thought about going for the 650D, but I'm glad I made this choice. No regrets! I'm planning to do a Red/White/Black themed build which will be watercooled. All the pictures I post in this thread will be taken from my Samsung Galaxy S2 phone - so I'm going to apologise in advance if the quality of the photos aren't up to par!
My hardware list:
My watercooling kit:
Here we go......!")
I've spent the best part of a year trying to collect the right water cooling components from the members market and along the way I've upgraded my hardware from a Core 2 Duo (E8400) to an i5-2500k.
Water cooling has been a headache, especially sourcing the right parts - but it all comes down to researching hard and possibly not owning a 600T - which is terrible for installing a custom loop without modding
.This is the case I'll be modifying: The beautiful 600T Special Edition:
I had thought about going for the 650D, but I'm glad I made this choice. No regrets! I'm planning to do a Red/White/Black themed build which will be watercooled. All the pictures I post in this thread will be taken from my Samsung Galaxy S2 phone - so I'm going to apologise in advance if the quality of the photos aren't up to par
!My hardware list:
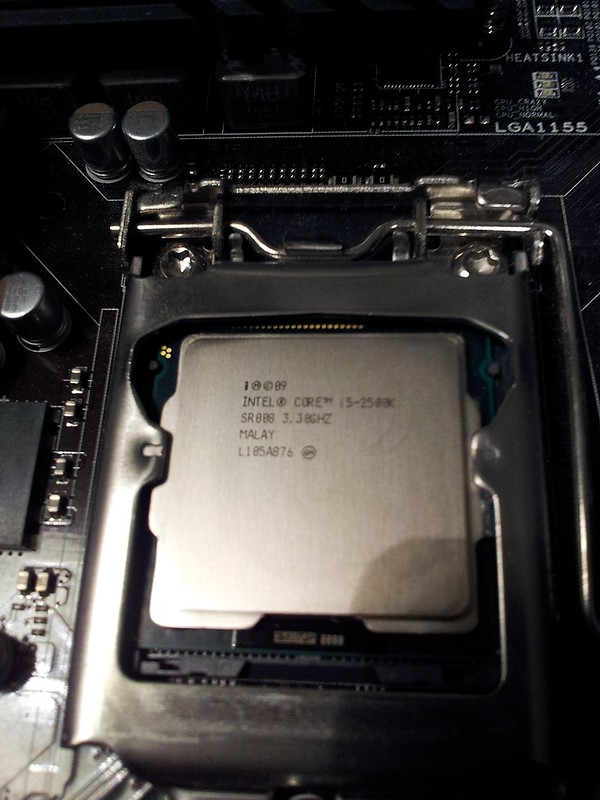
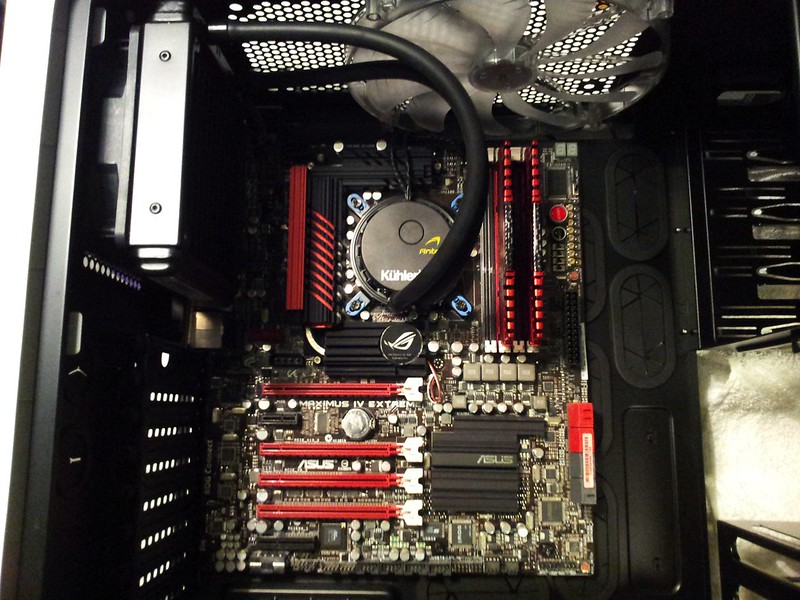
- Intel i5-2500k
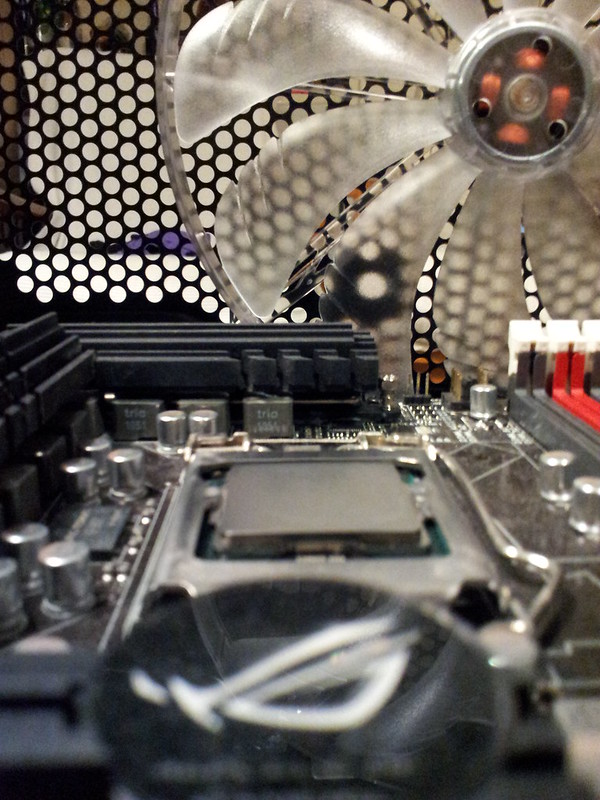
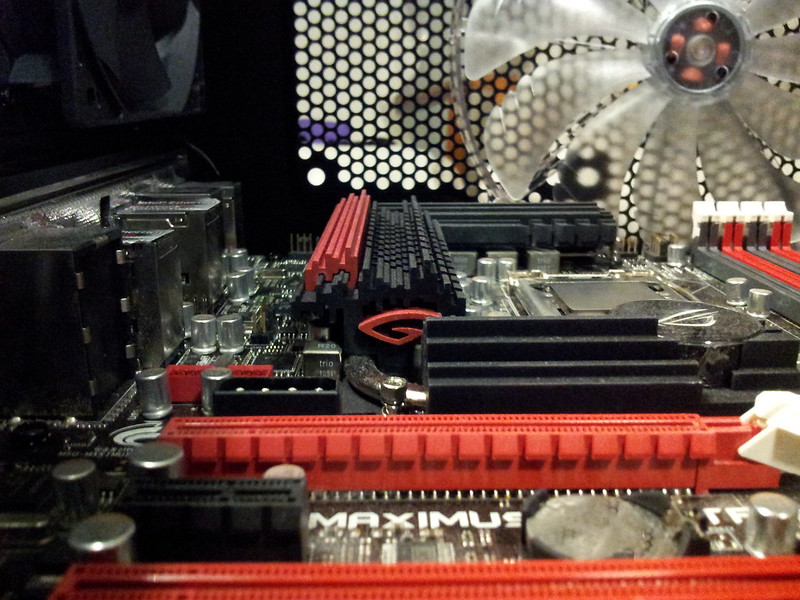
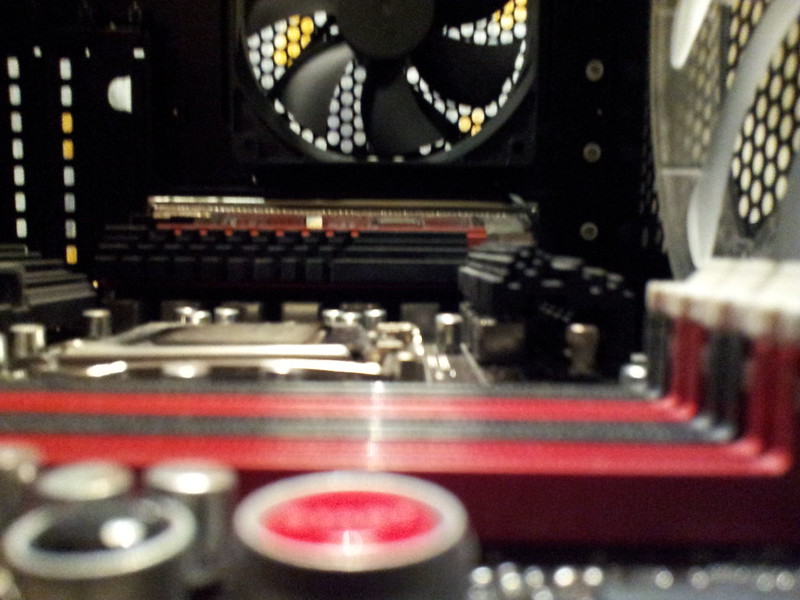
- ASUS Maximus IV Extreme P67-B3
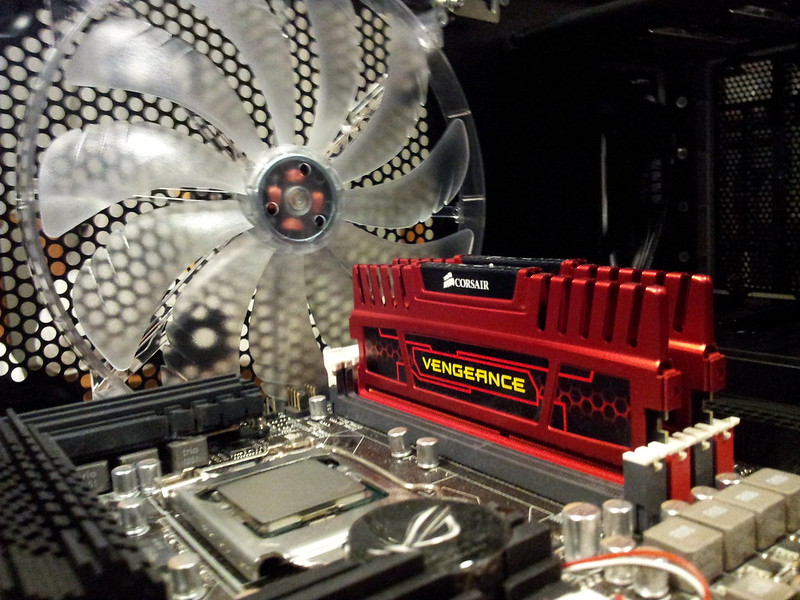
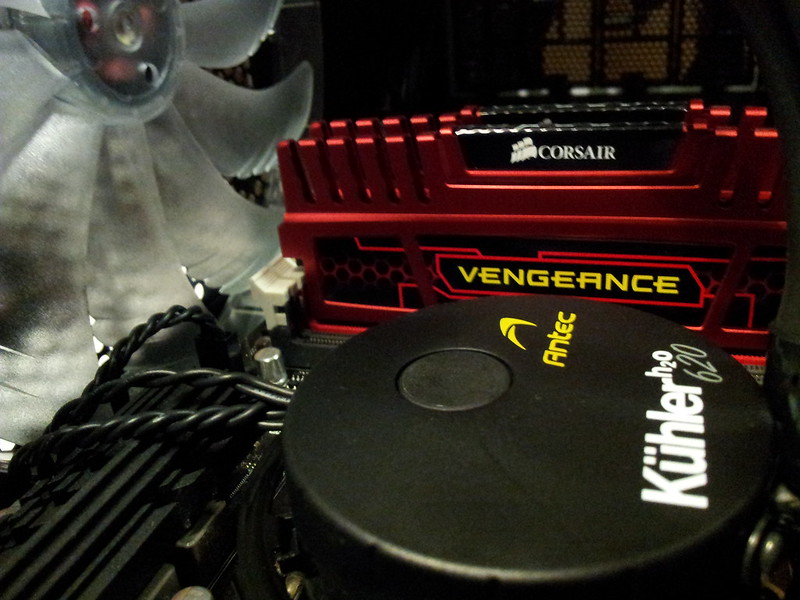
- 2 x 4GB Corsair Venegance DDR3 9-9-9-24
- XFX Black Edition Radeon 5970 HD
- ASUS Xonar DX 7.1 Sound Card
- Antec Truepower 650W PSU
- Crucial RealSSD C300 64GB
- 2x Samsung F3 500GB (HD502HJ)
- Sony Optiarc DVD ROM
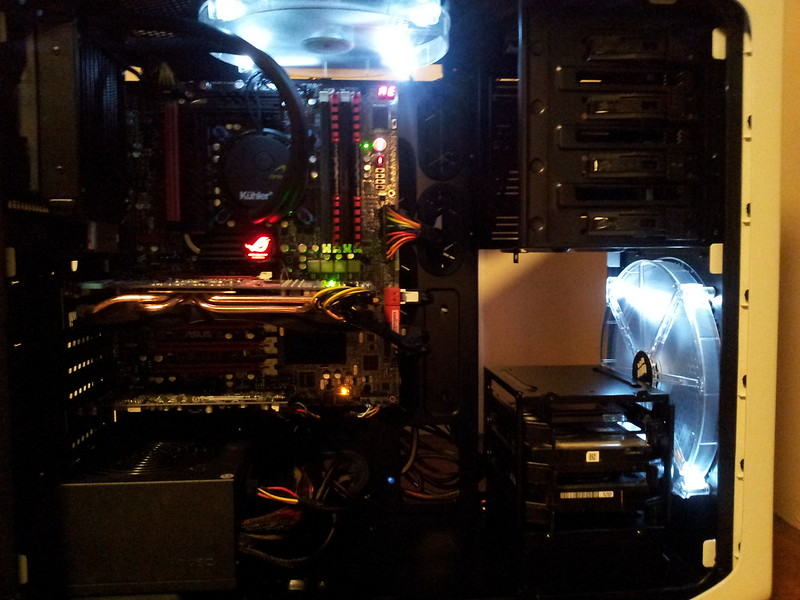
My watercooling kit:
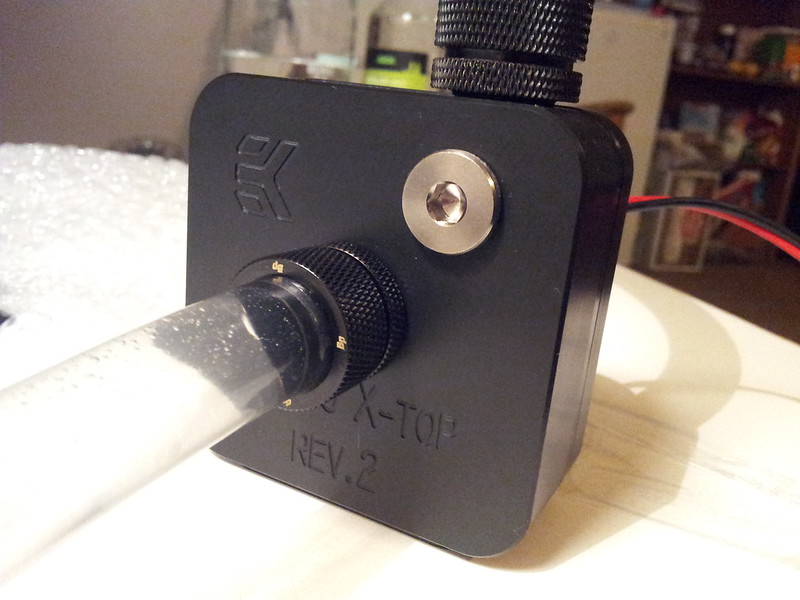
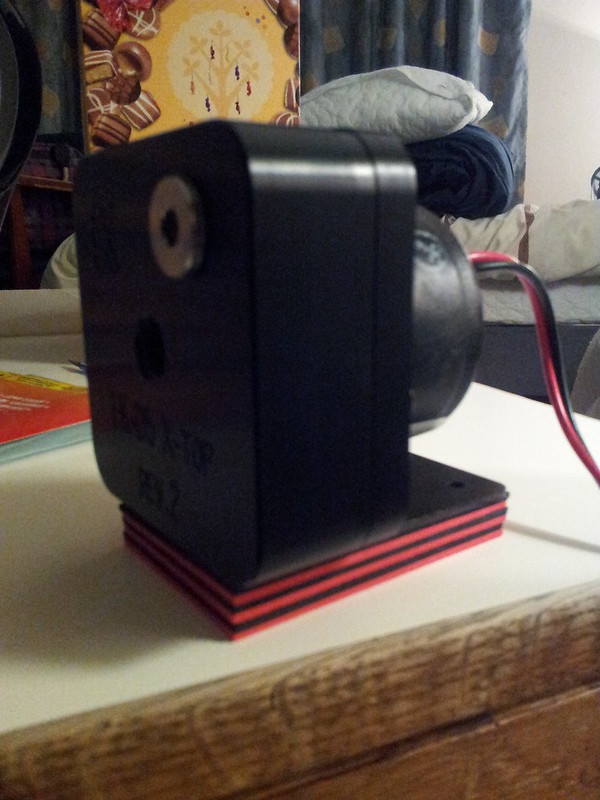
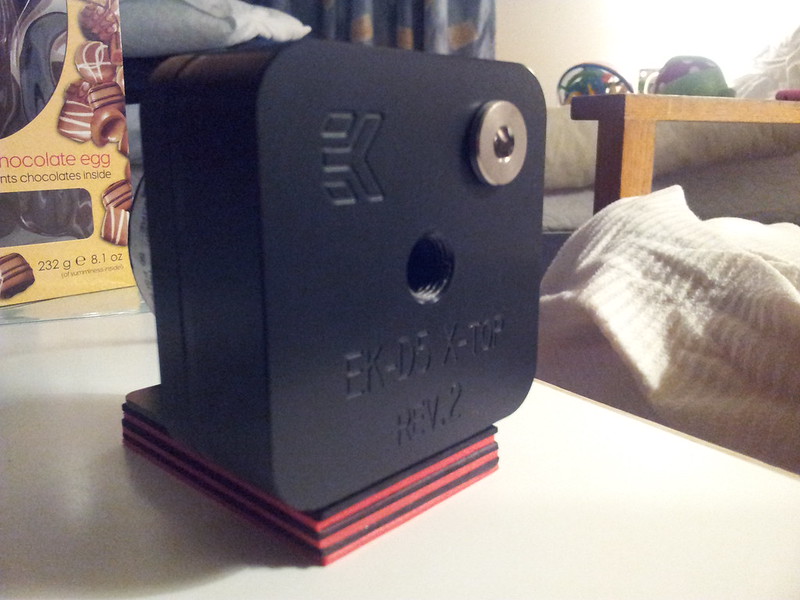
- Swiftech MCP655 (D5) Vario Pump
- EK X2 Basic Reservoir 150ml
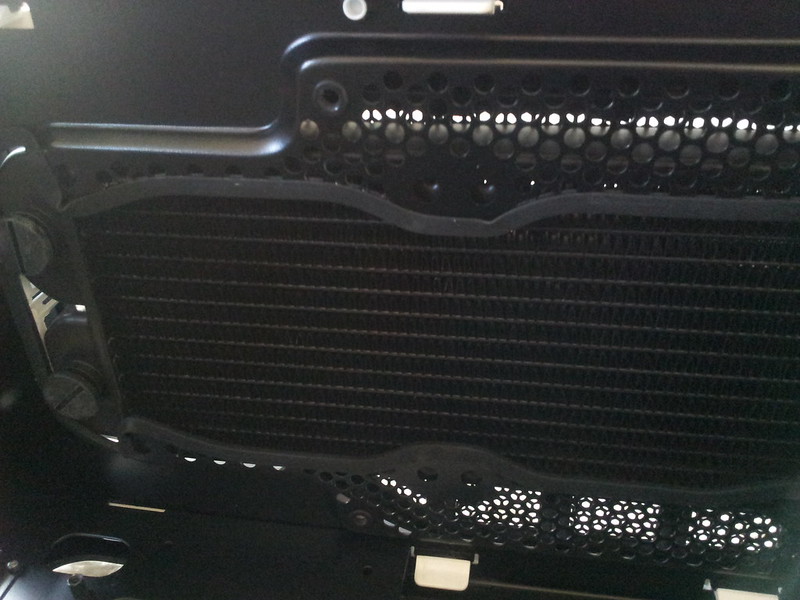
- Magicool 360mm Slim Radiator
- Bitspower Matt Black Compression Fittings
- Bitspower Sliver Compression Fittings
- EK Supreme HF CPU Waterblock - Full Nickel
- Masterkleer Hose Pack PVC 19/13mm (1/2ID) Clear 2.0m
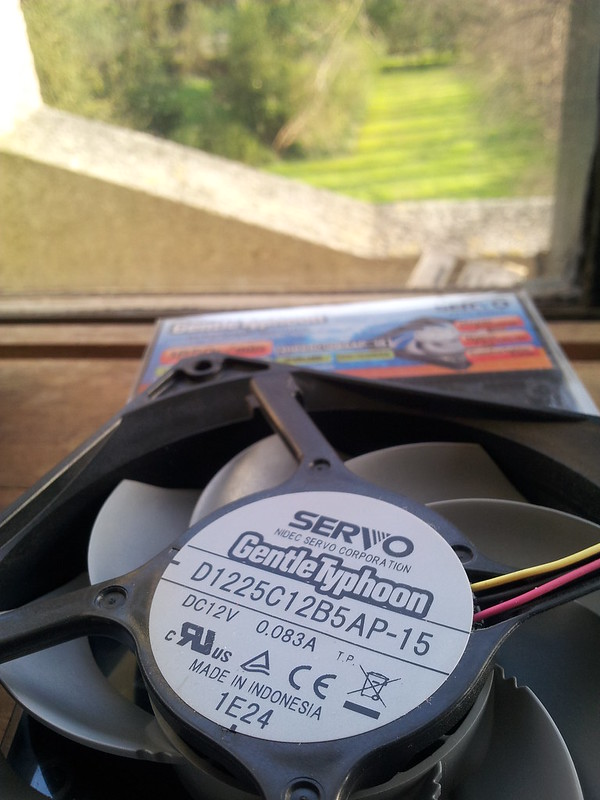
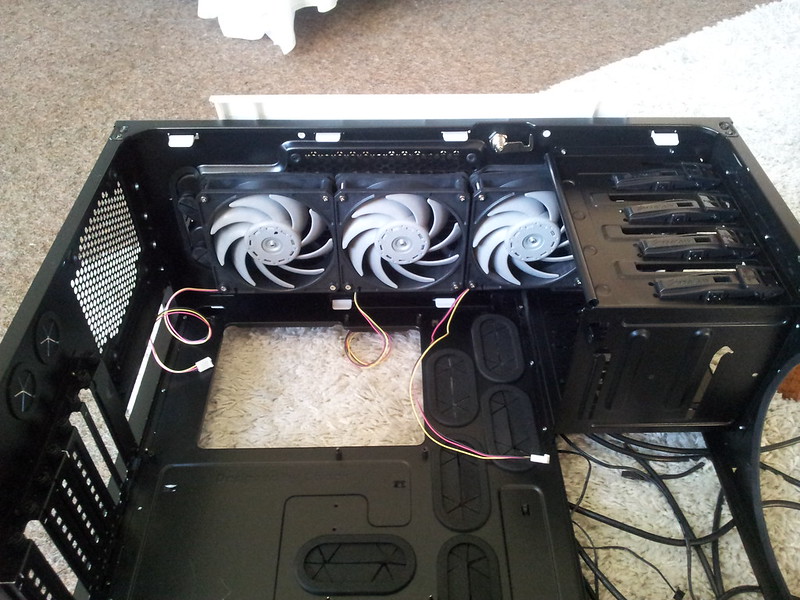
- 3x Gentle Typhoon 1850rpm
- 2x Mayhems UV Blood Red Coolant 1L
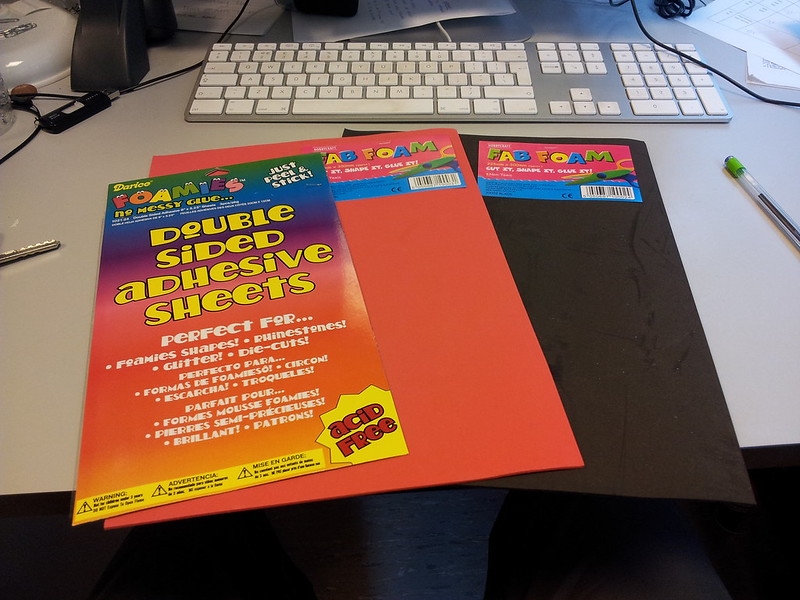
- MNPTech U-channel moulding
Here we go......!
Last edited:


 .
.