Well It is unfortunately another TJ07 haha.
I've owned it for about 20months with the thought of watercooling and I've finally got everything together below is a my current Progress.
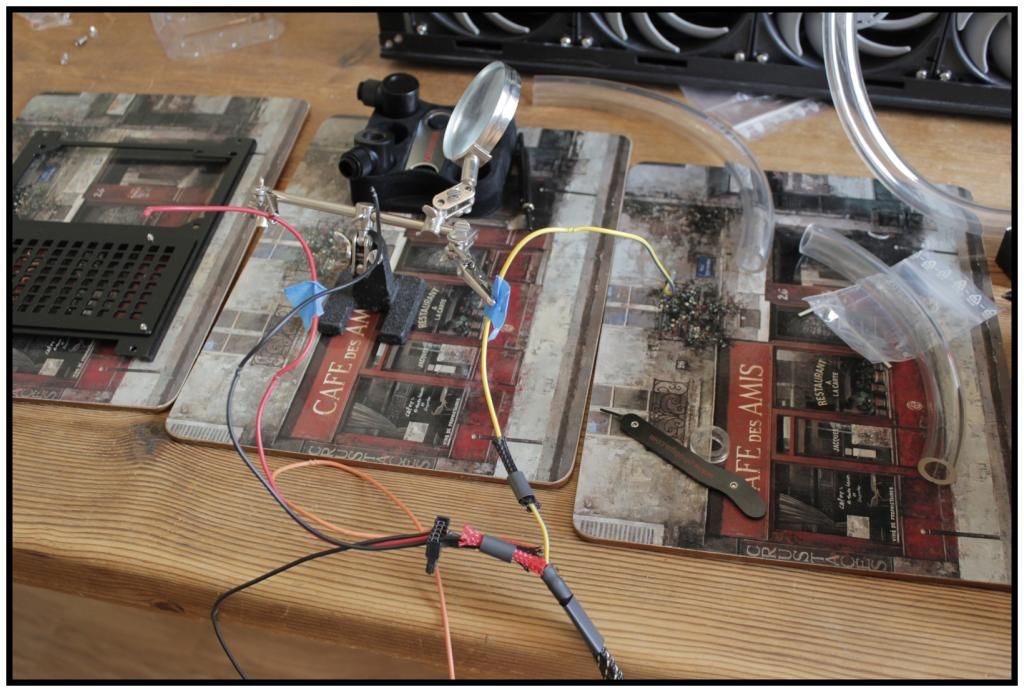
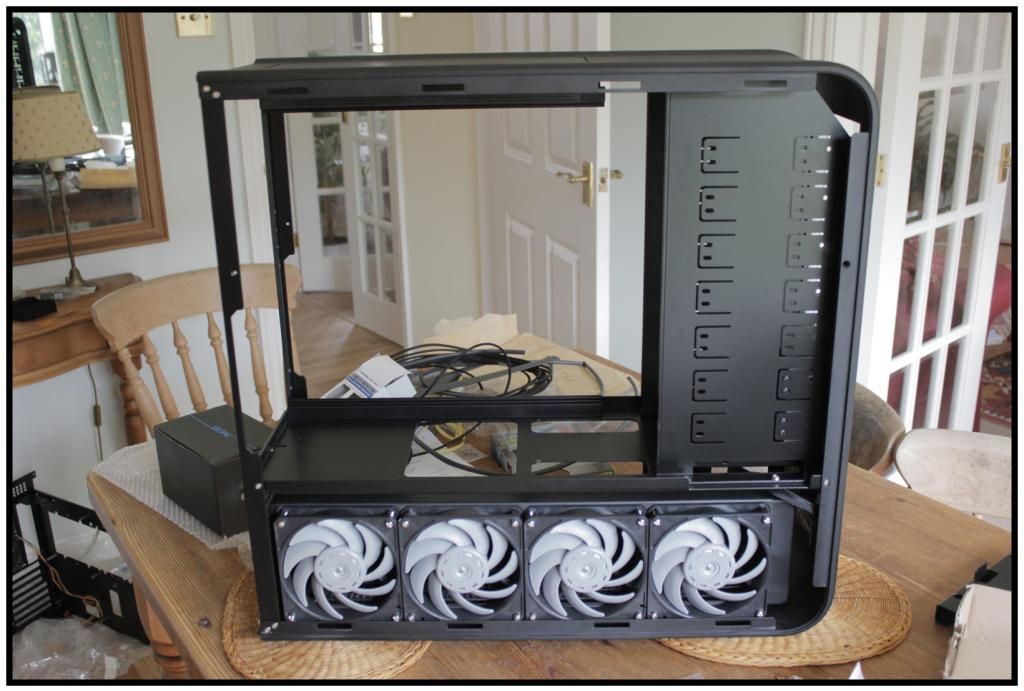
RX480 with all 4 fans braided and attached:
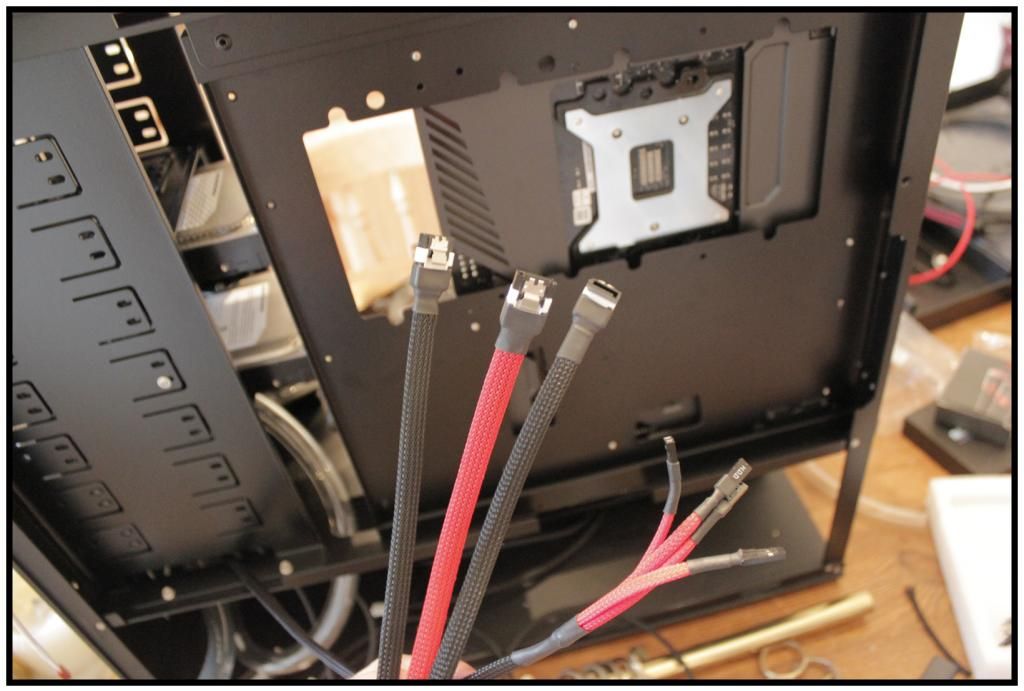
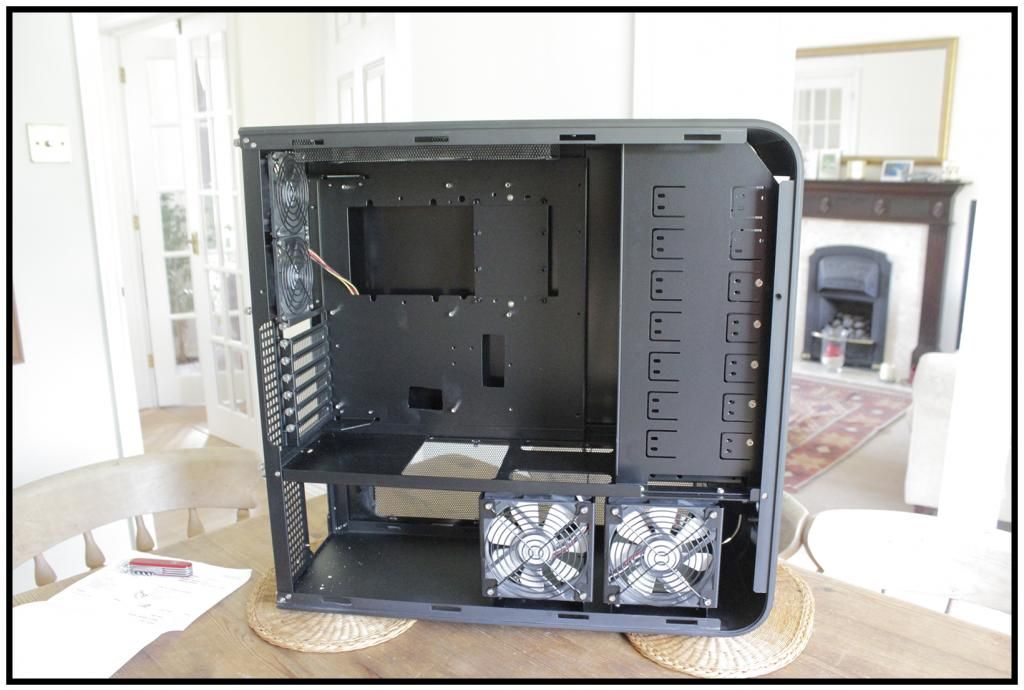
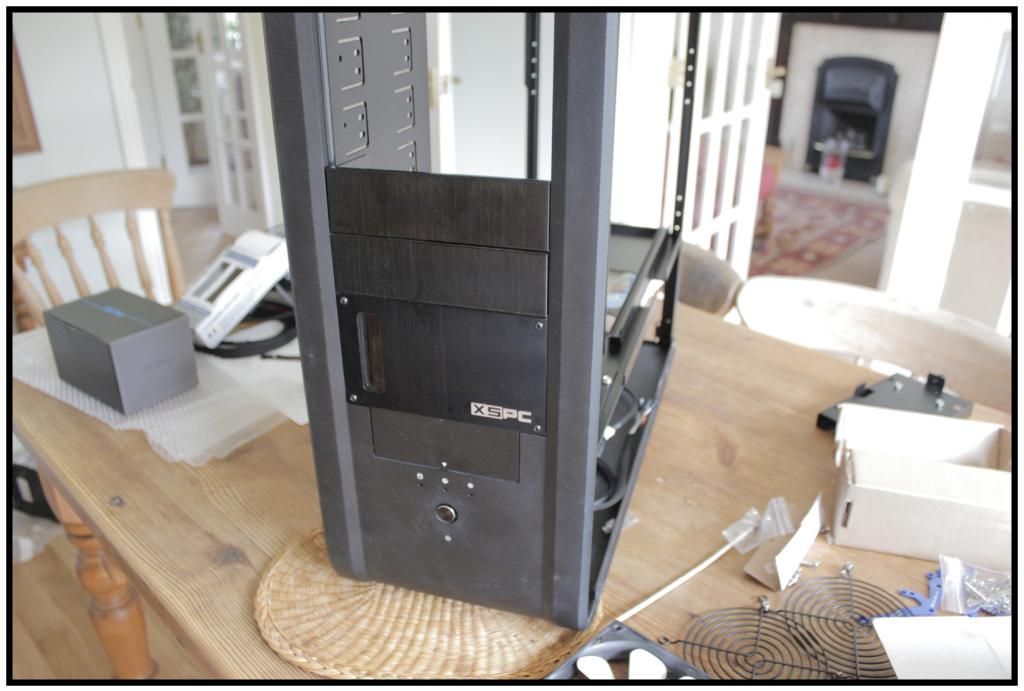
The Case back from powder coating:
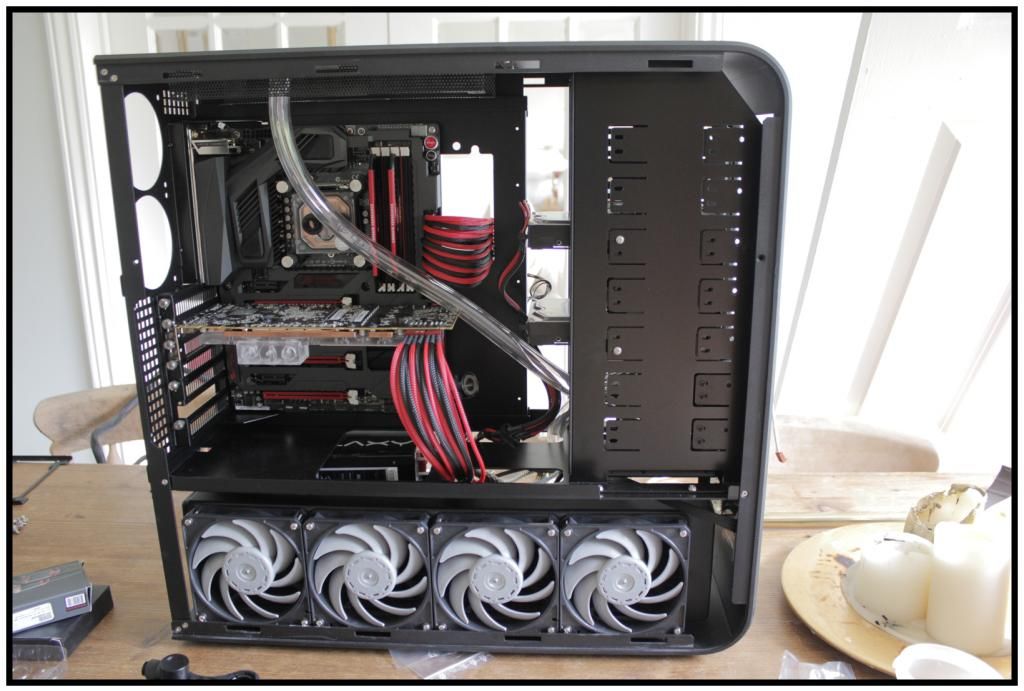
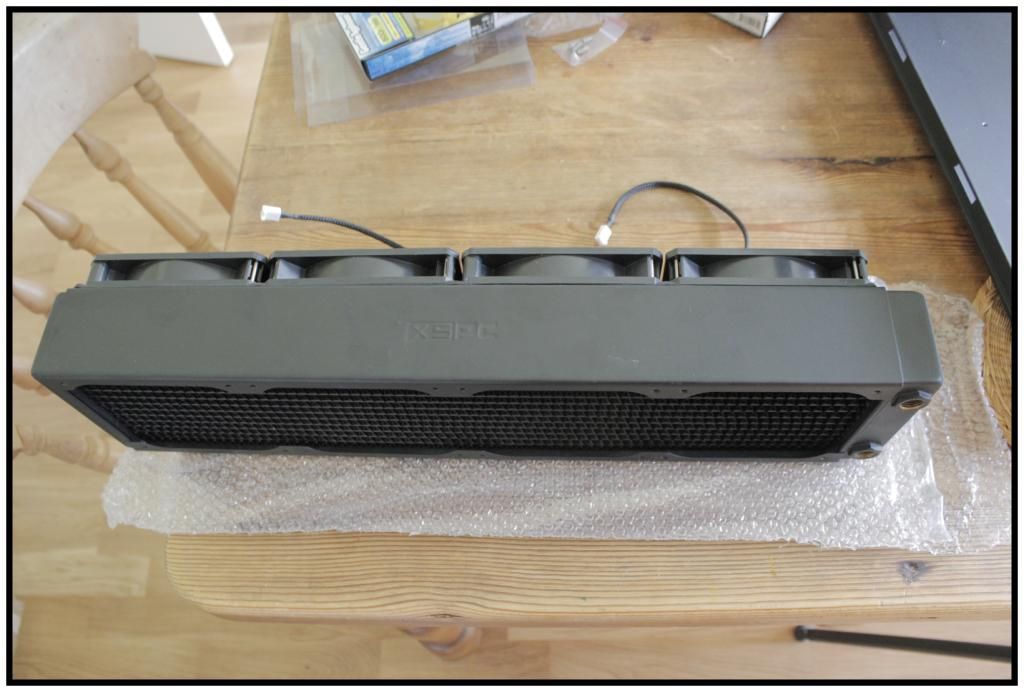
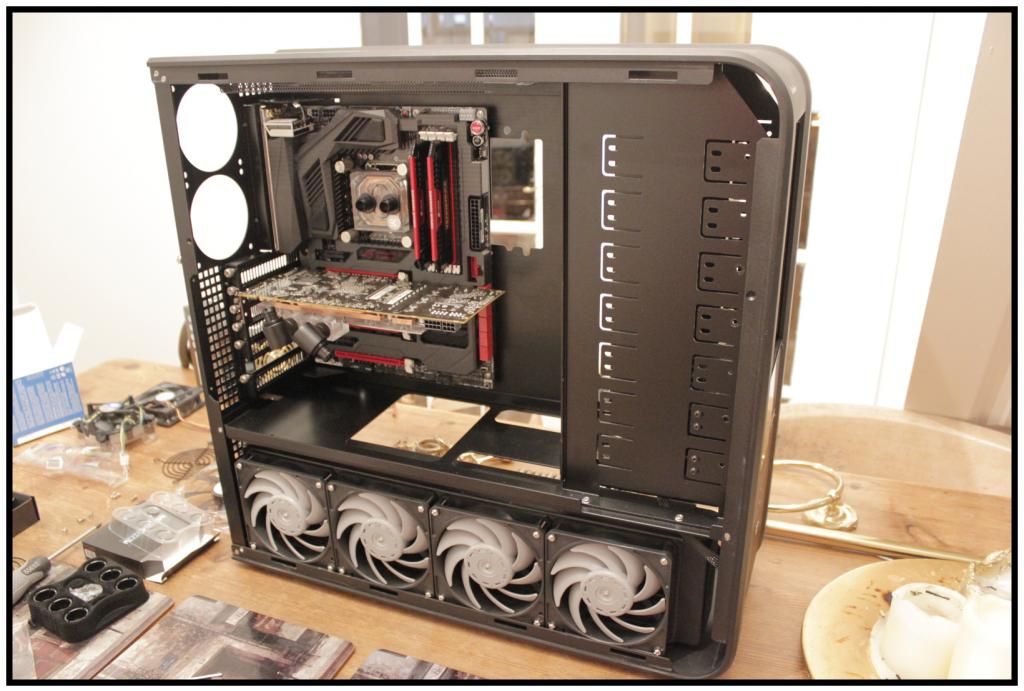
Rad installed:
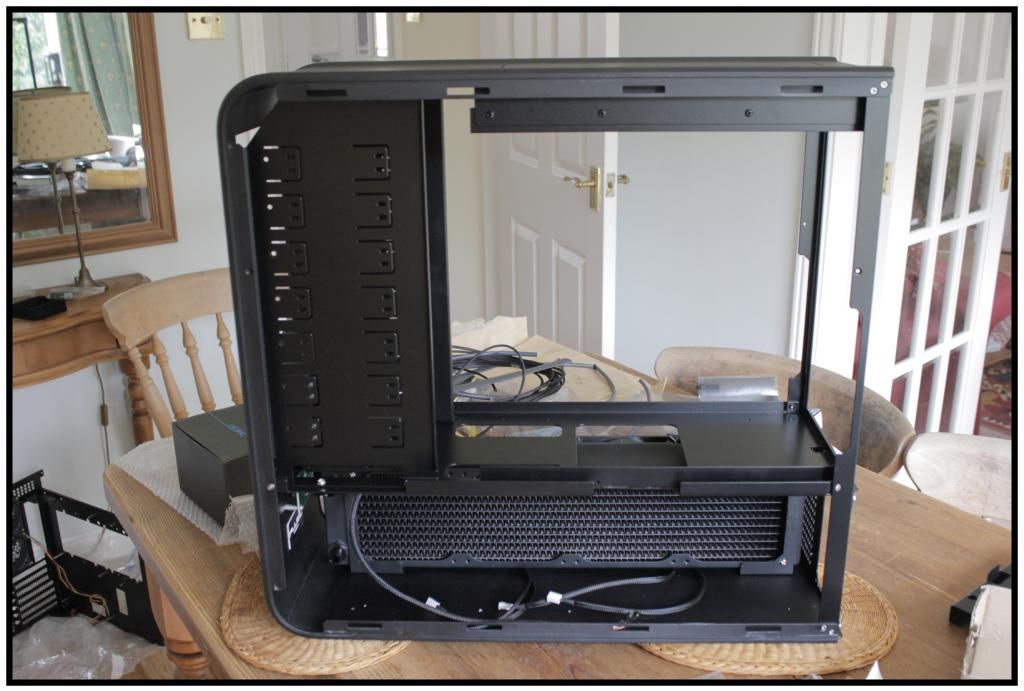
Rad installed (2):
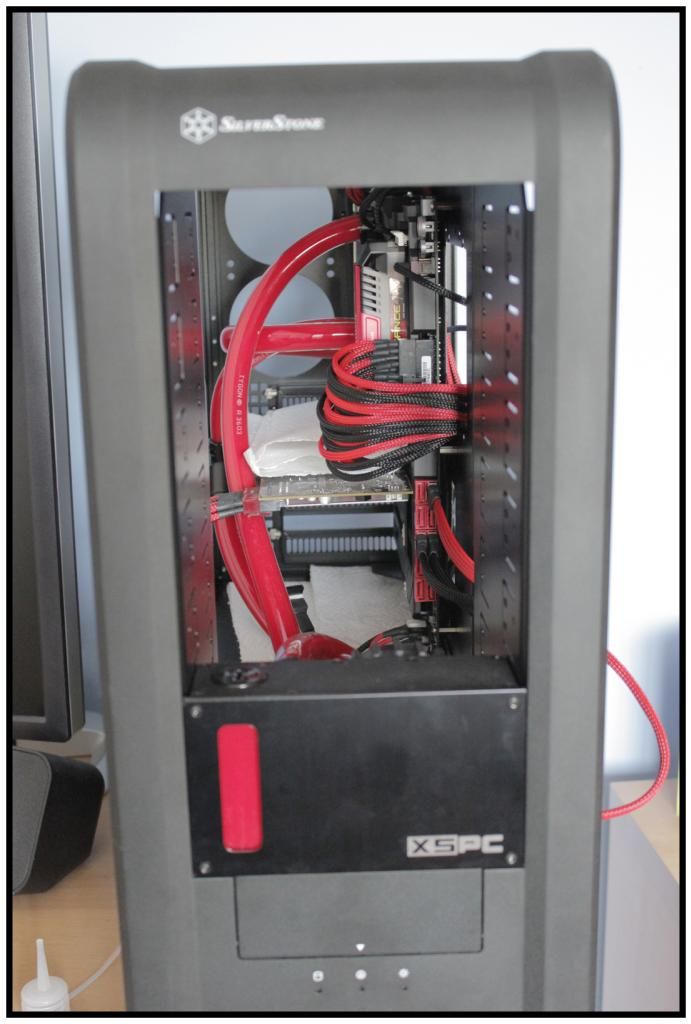
Res installed:
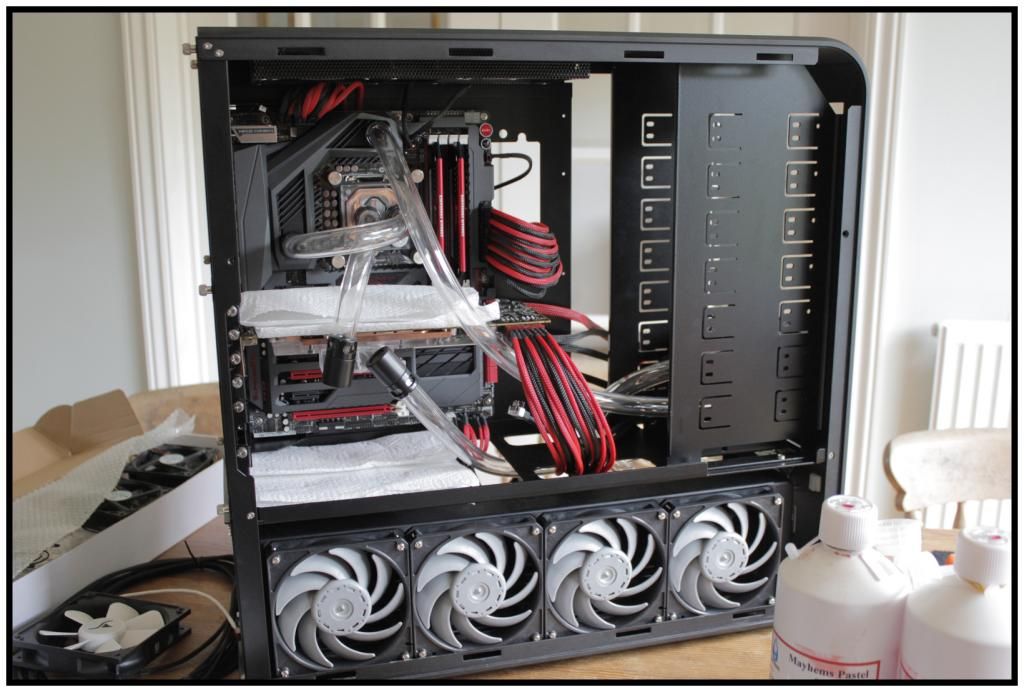
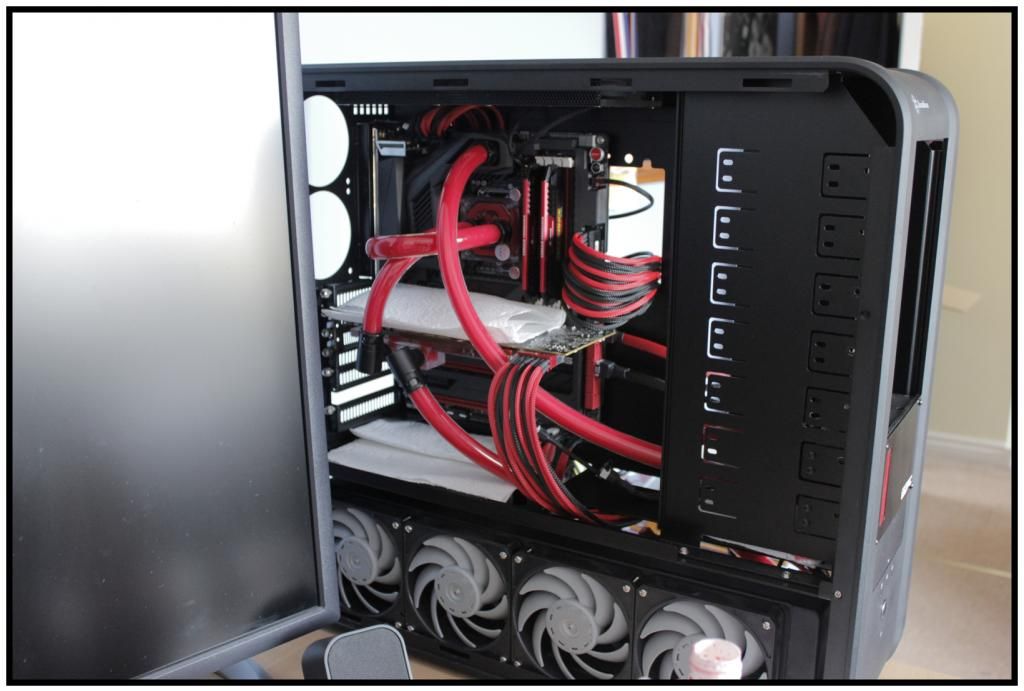
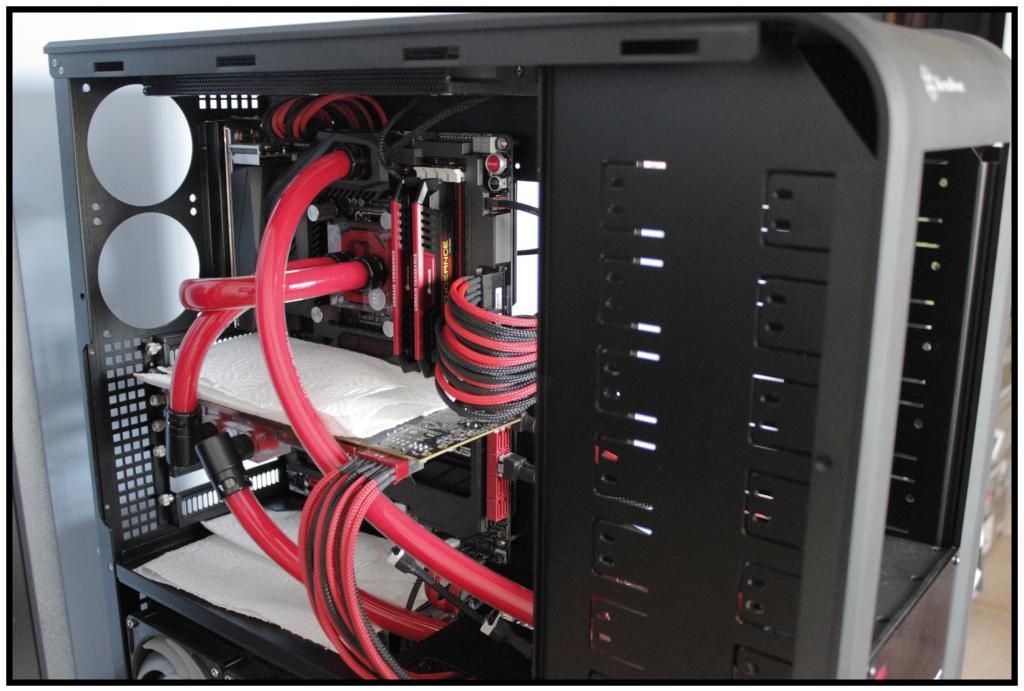
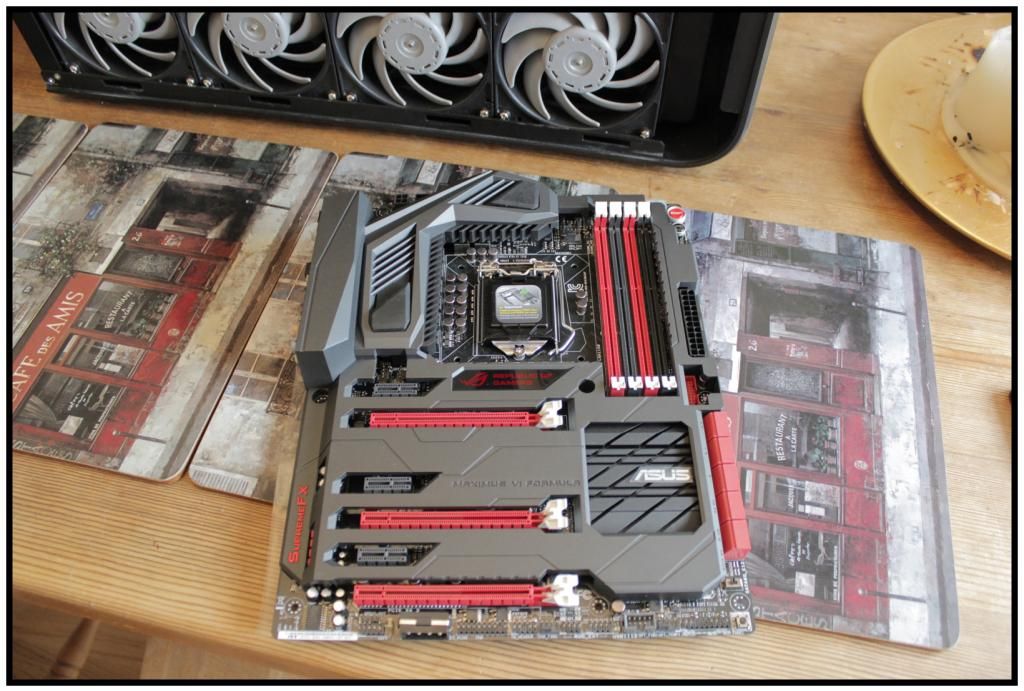
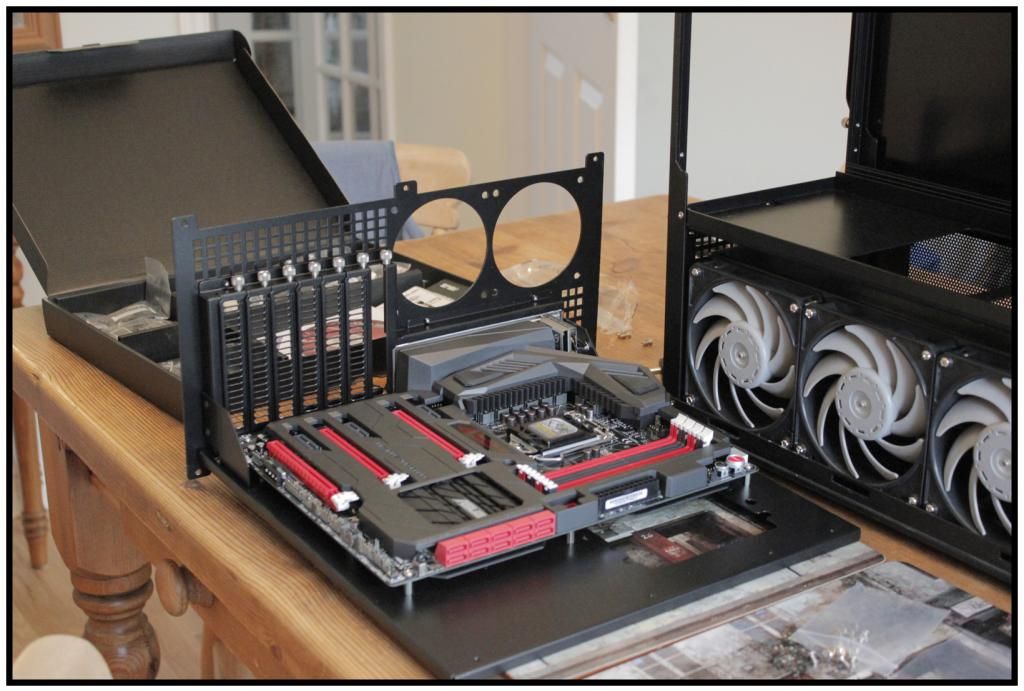
Max6Formula finally arrived after 2 months of waiting for a release!!

I have plumbed in the hoses but awaiting two fittings for the motherboard which I didn't order due to the fact I forgot and partly down to not knowing if I was going to get this motherboard or not.
Will get the power cables all routed tomorrow and braid the SATA cables which I'm not sure how it will go as I've failed each time previous lol.
I've owned it for about 20months with the thought of watercooling and I've finally got everything together below is a my current Progress.
RX480 with all 4 fans braided and attached:
The Case back from powder coating:
Rad installed:
Rad installed (2):
Res installed:
Max6Formula finally arrived after 2 months of waiting for a release!!
I have plumbed in the hoses but awaiting two fittings for the motherboard which I didn't order due to the fact I forgot and partly down to not knowing if I was going to get this motherboard or not.
Will get the power cables all routed tomorrow and braid the SATA cables which I'm not sure how it will go as I've failed each time previous lol.


") Did you fully dismantle your case in order to get it powder coated. As I'd like to get my whole case done, but don't really know the best way to go about doing it...
Did you fully dismantle your case in order to get it powder coated. As I'd like to get my whole case done, but don't really know the best way to go about doing it...