MegaDeblow - Desk Build **COMPLETE**

Hi everyone,
My name is Rob, I'm new to forum posting in general so i hope i can make a good job of this,
my first ever build/Log attempt.
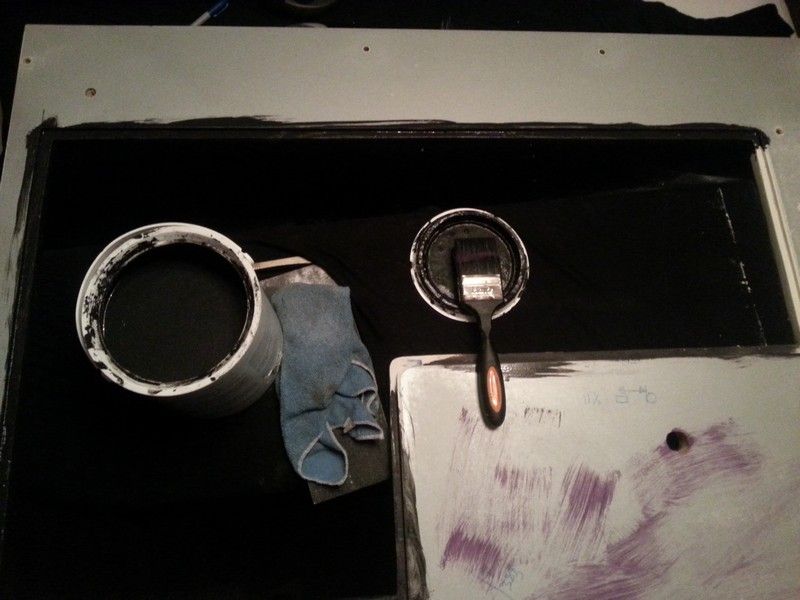
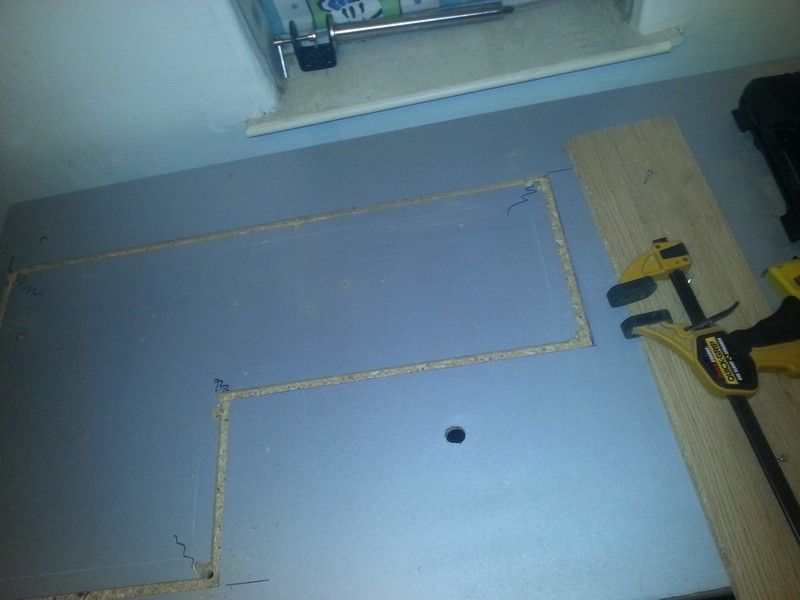
I had some ideas that i put to paper, but most of the ideas were changed over time as i encountered problems,
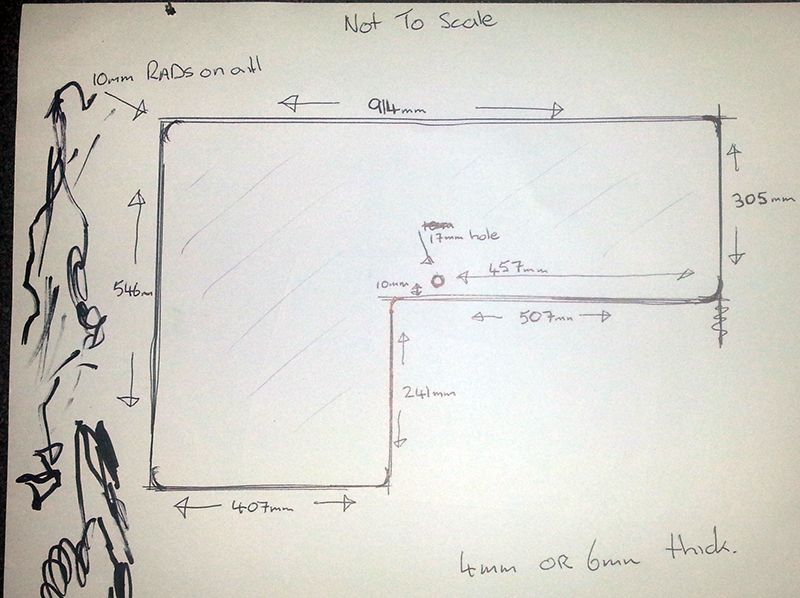
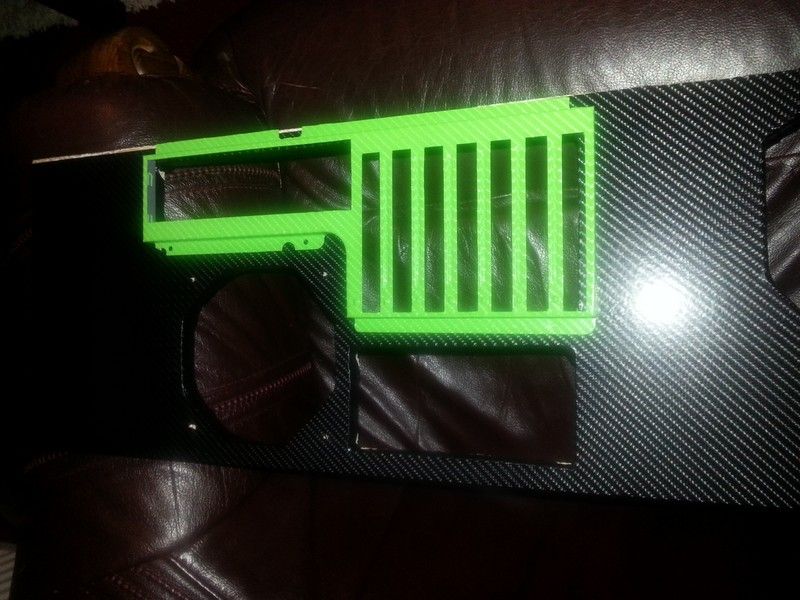
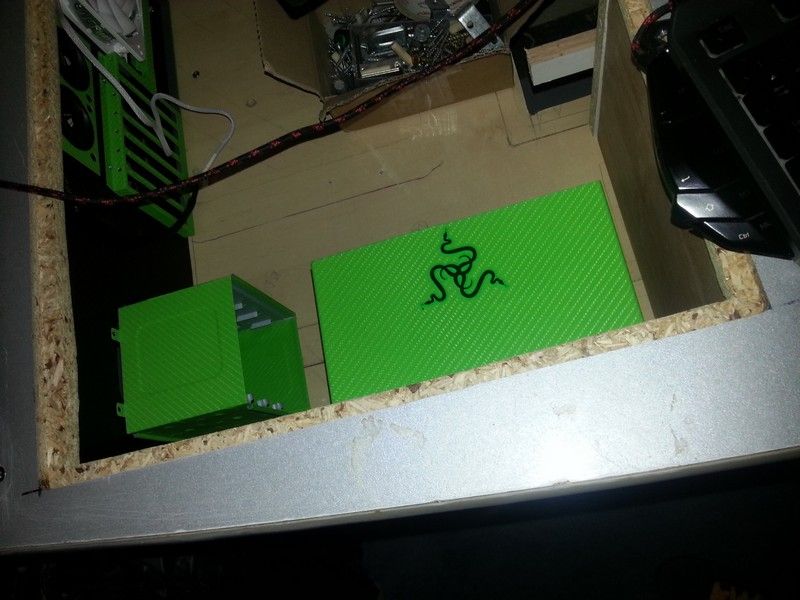
I will add some pictures of the design on the forum, Not the best artwork i admit, so i hope they make some sense.
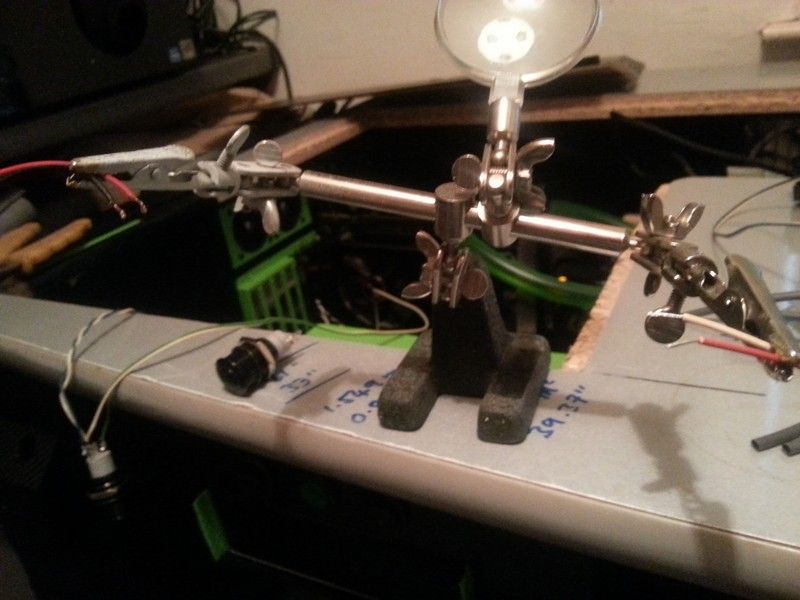
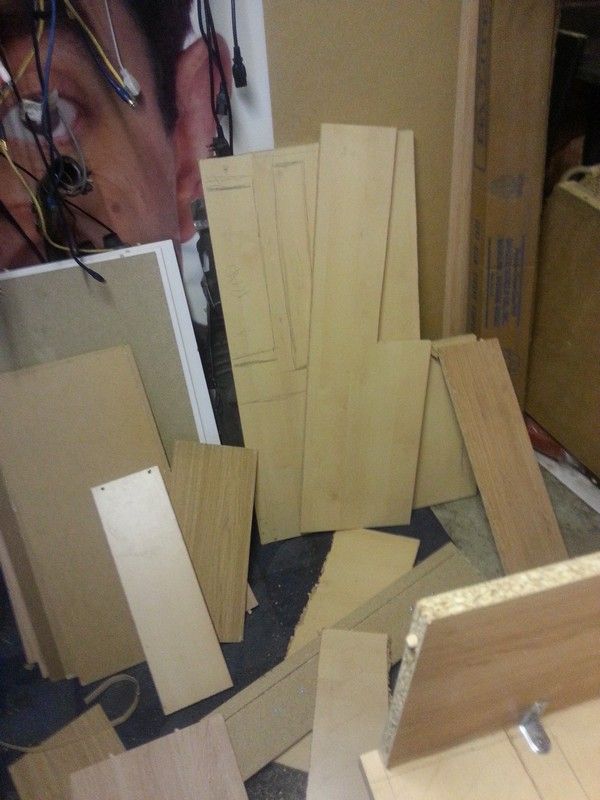
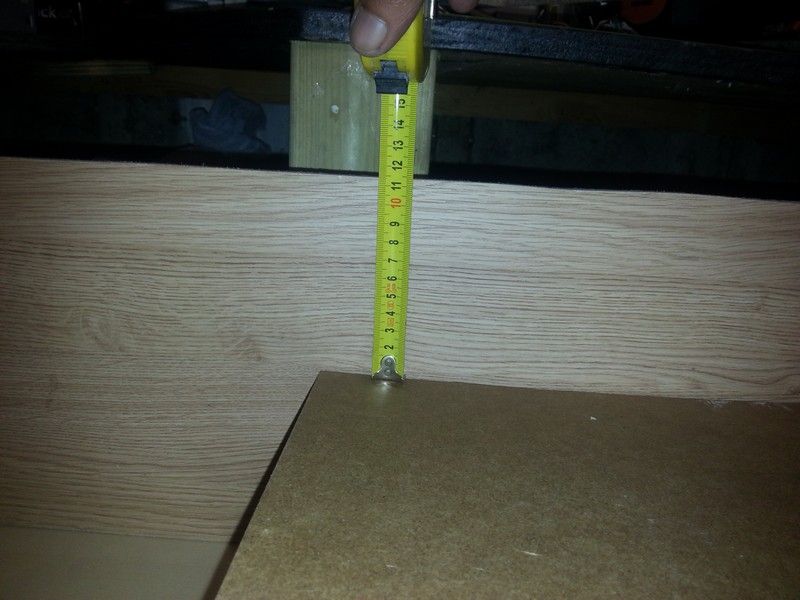
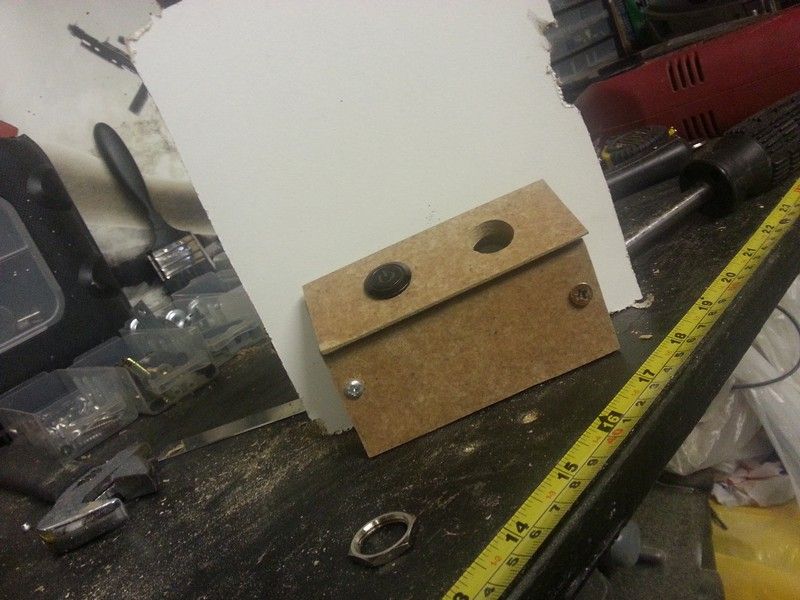
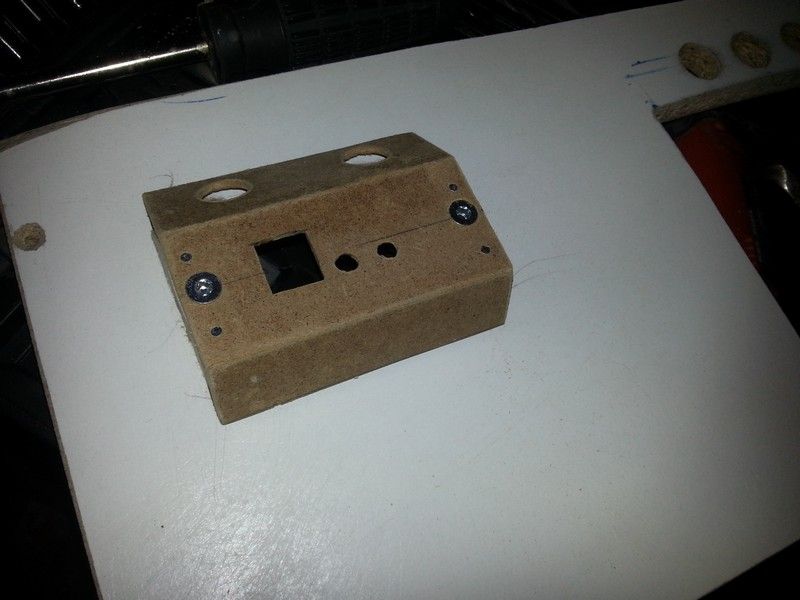
For most of the build i used my phone to take the pictures for reference,
as half my project was in the shed and the other half was in the house and as i have a broken leg it was very
hard to move around with the parts to check they were correct.
I will add as much info as possible, if i miss anything please just ask and i will do my best to answer asap.
facebook link - still needed updating but will be done soon. nice place to just look at the photos.
https://www.facebook.com/megadeblow
Im still working in the Vids for my youtube, will upload in the next week hopefully
https://www.youtube.com/user/MegaDeblow
Reason for build -
- More desktop space (get shut of the MASSIVE UFO case)
- Create better airflow
- Make more space for water cooling parts
- Have something different & something to do in my spare time")
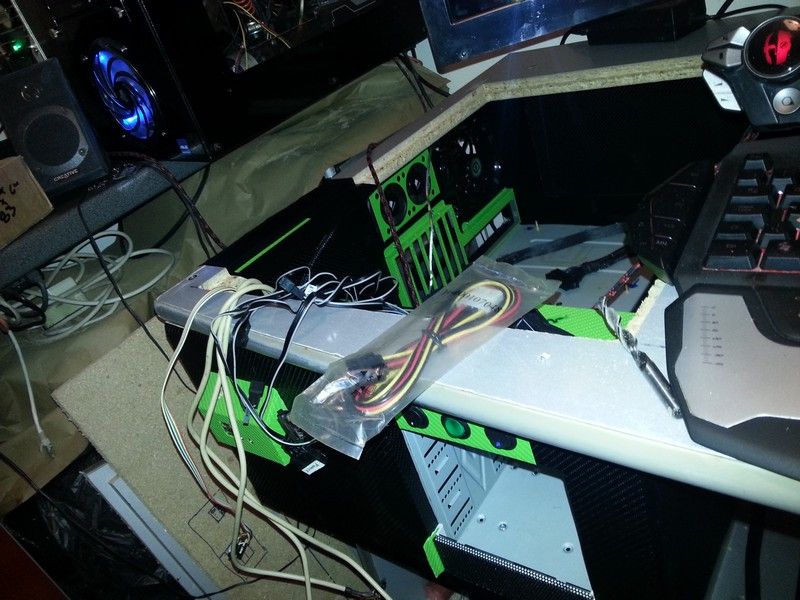
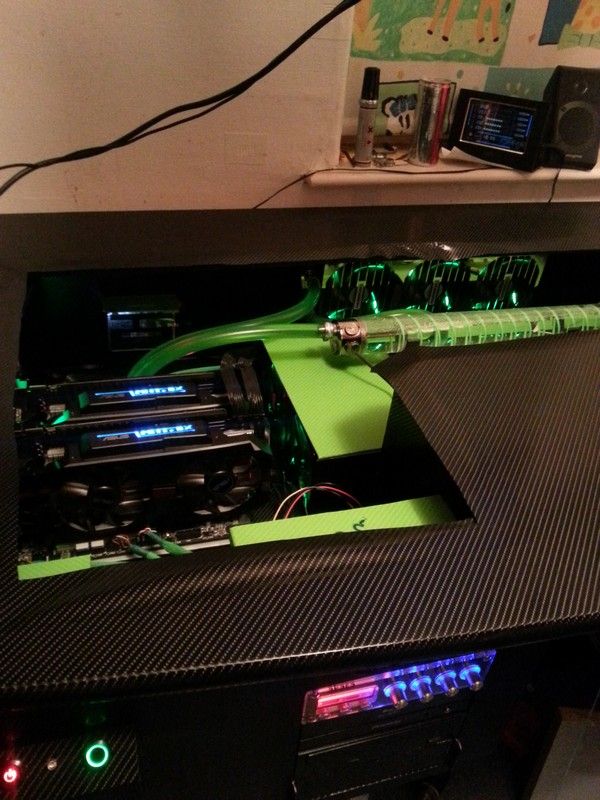
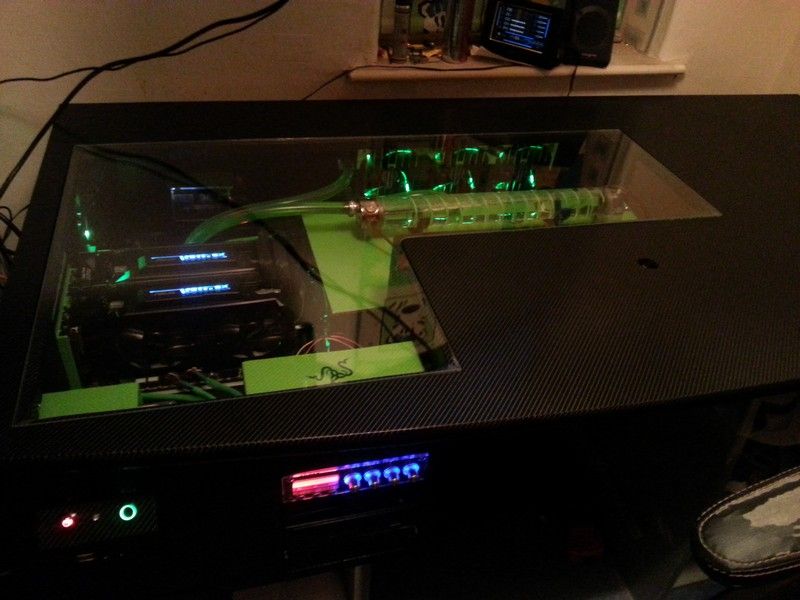
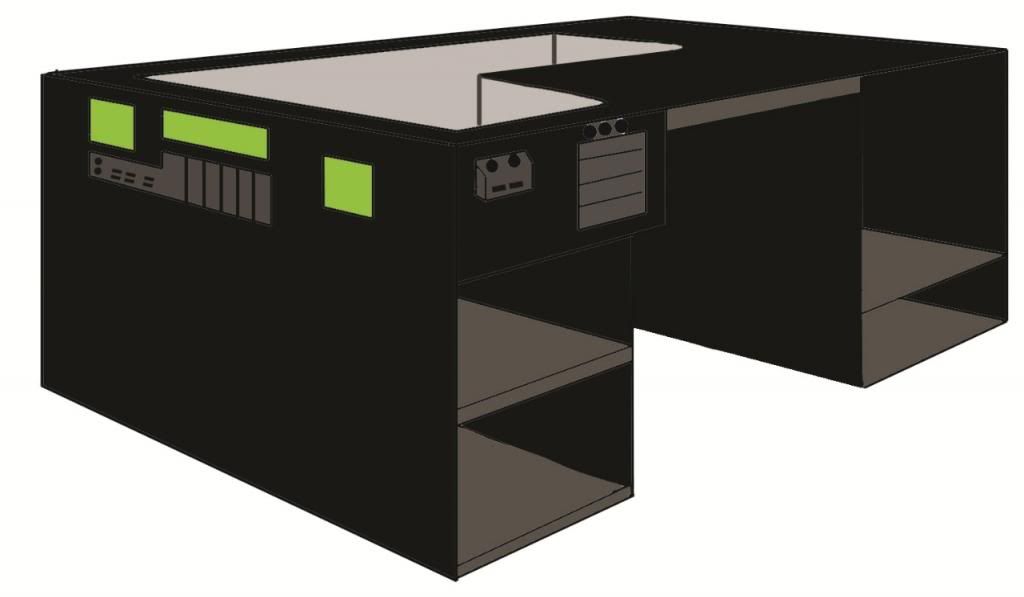
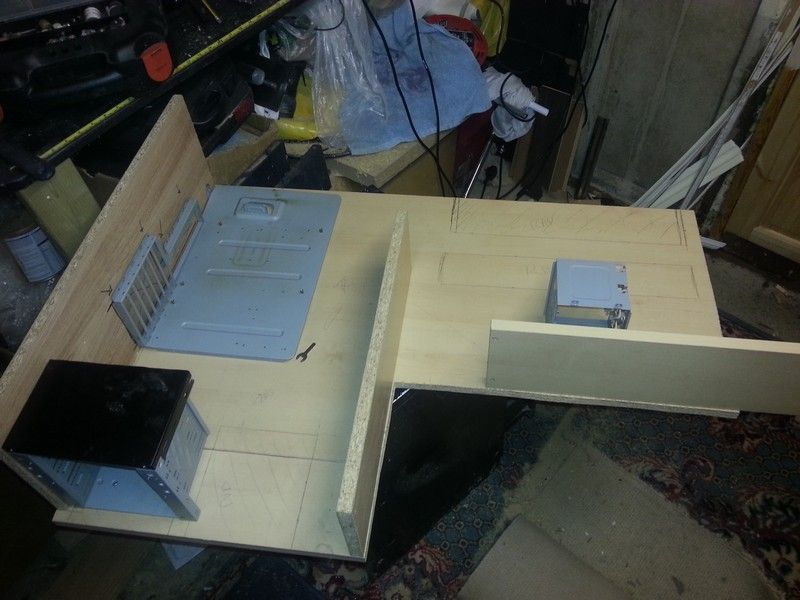
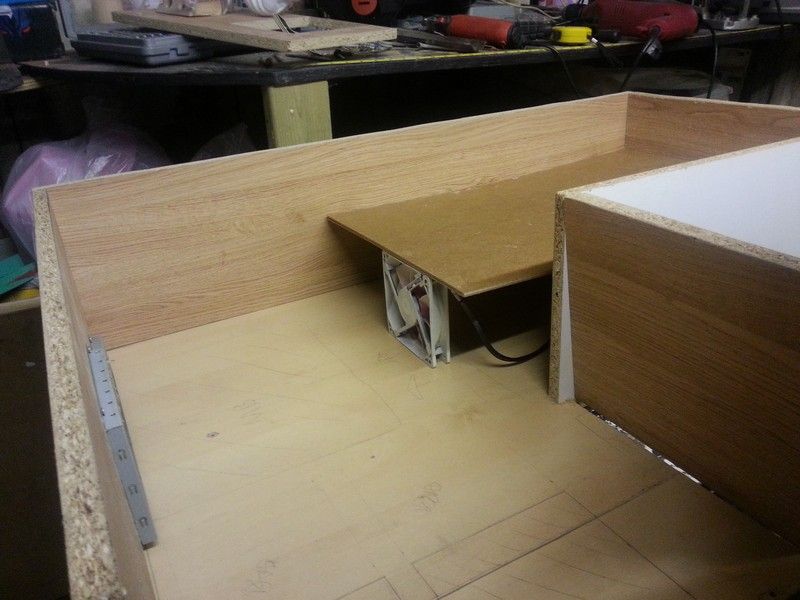
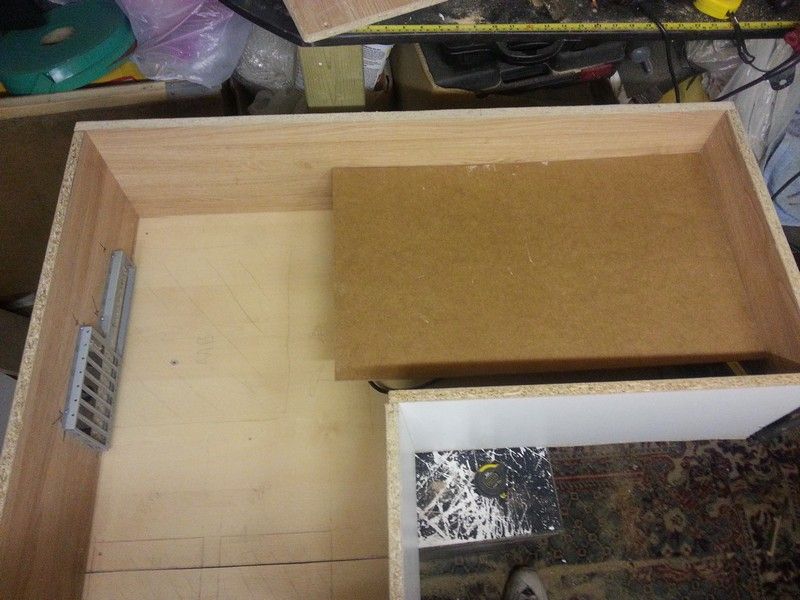
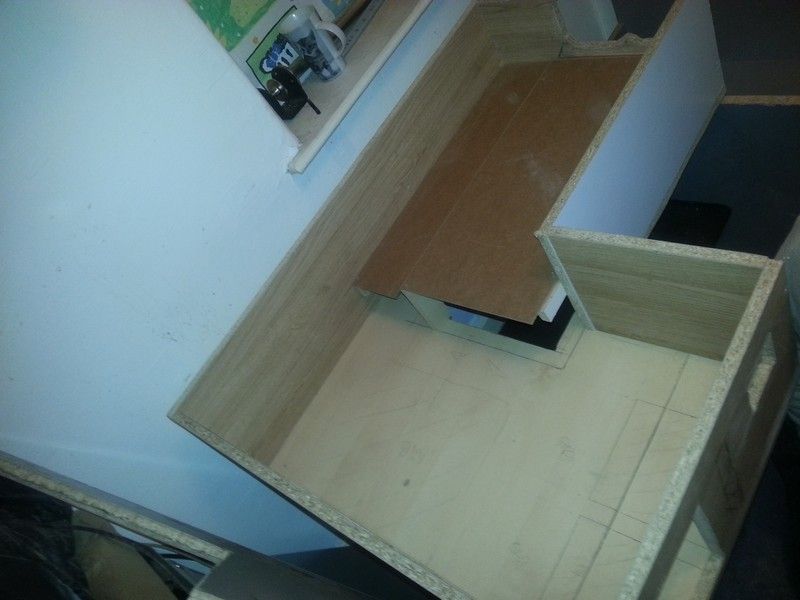
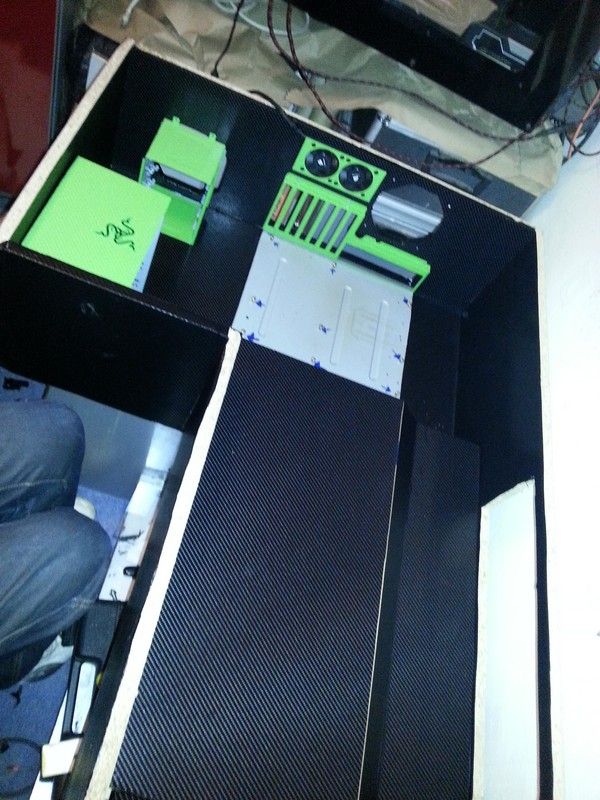
I also want to try make the desk as easy to dismantle as possible, so far i have managed to keep the PC its self contained in a easy to remove 930mm X 560mm box.
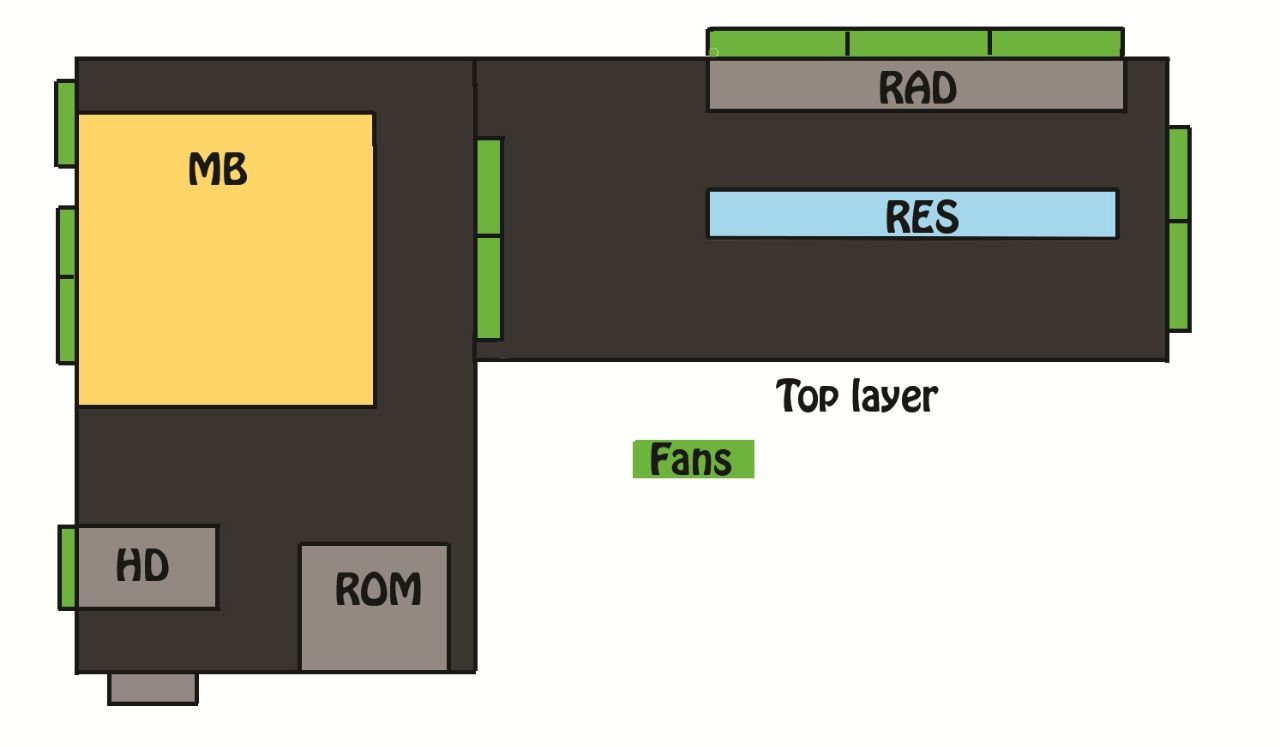
My Build Items Are -
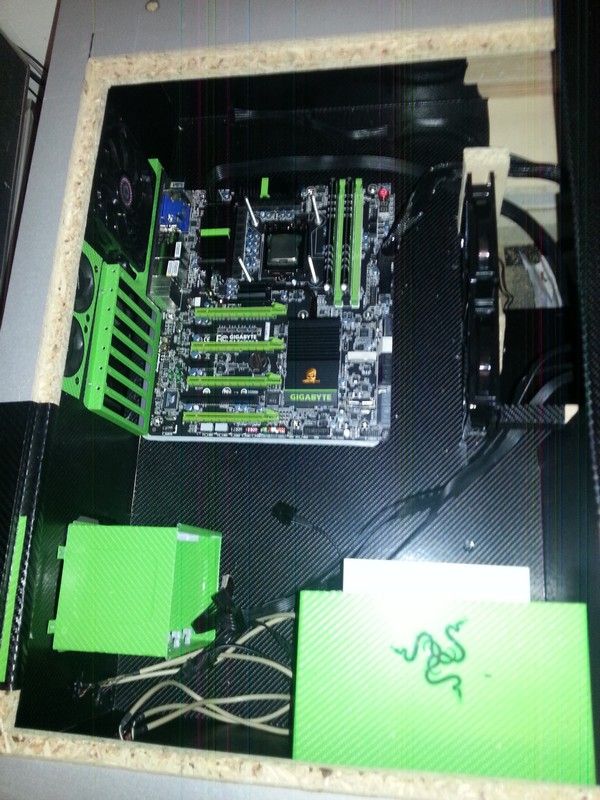
CPU - i5 2500k @4.6 - 4.8
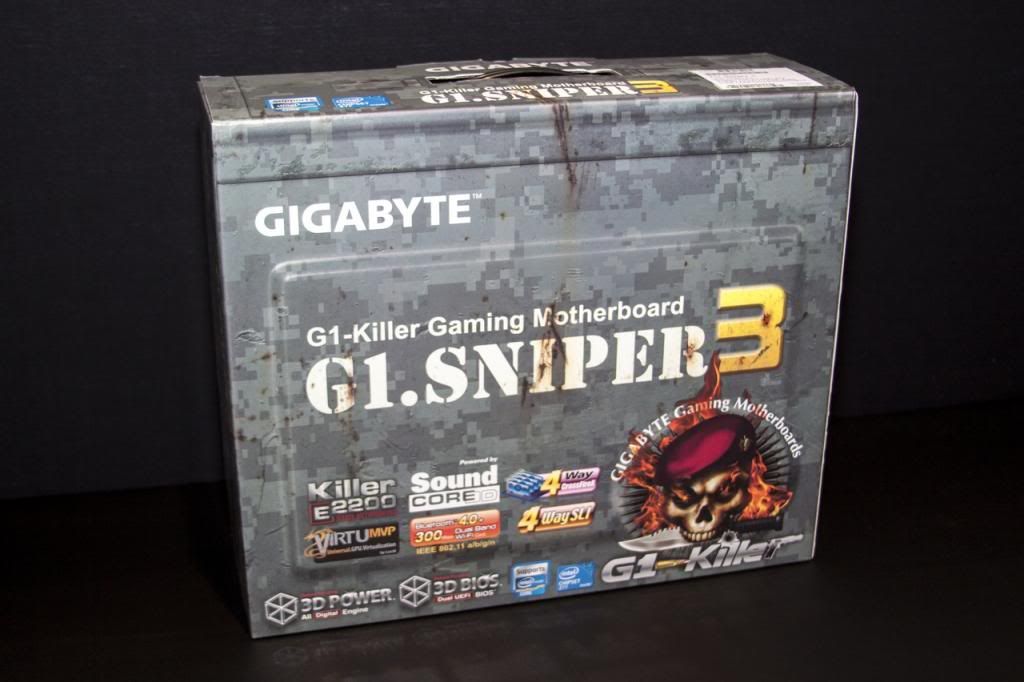
MB - Gigabyte G1 Sniper 3
RAM - Avexir Core Extreme Green Series 8GB DDR3 2133MHz
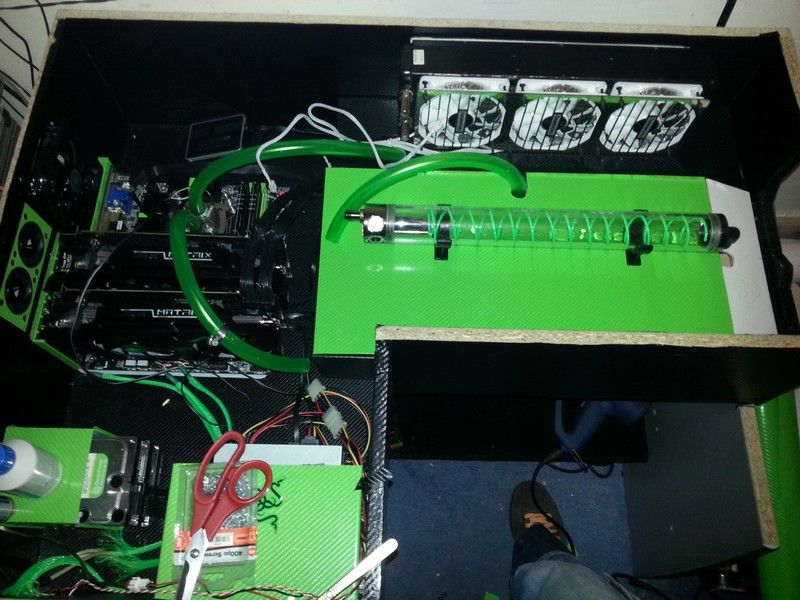
GPU - Asus Matrix 7970 platinum - Crossfire
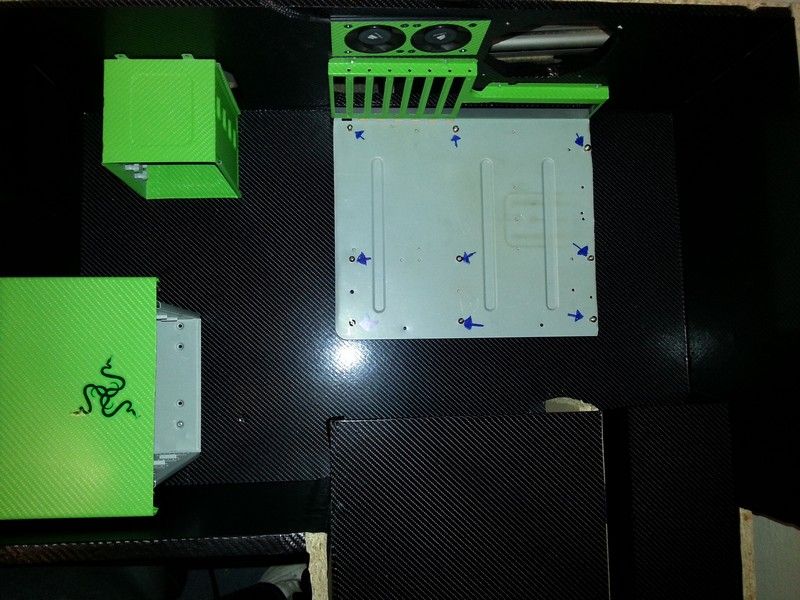
HD's - 2X Seagate Barracuda = 6TB, OCZ Vertex 3 =120gb, OCZ Agility 3 =64gb, WD Green =2TB
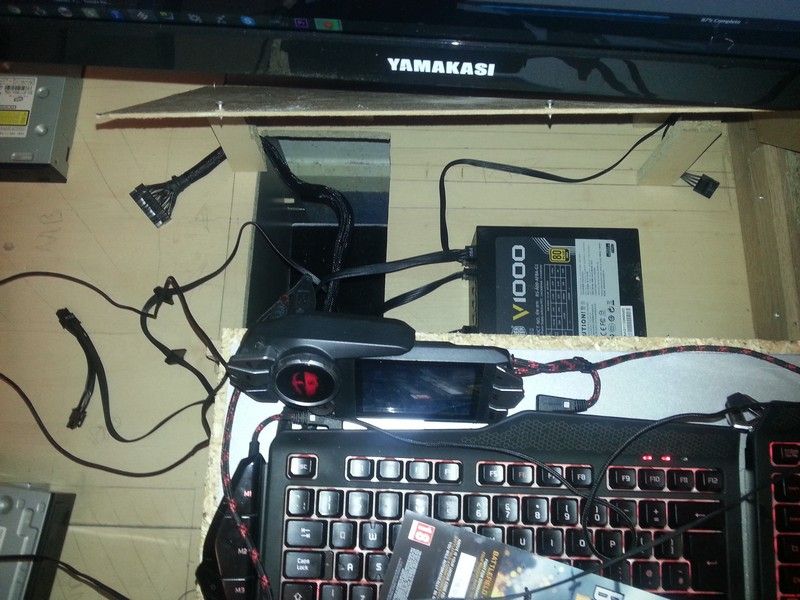
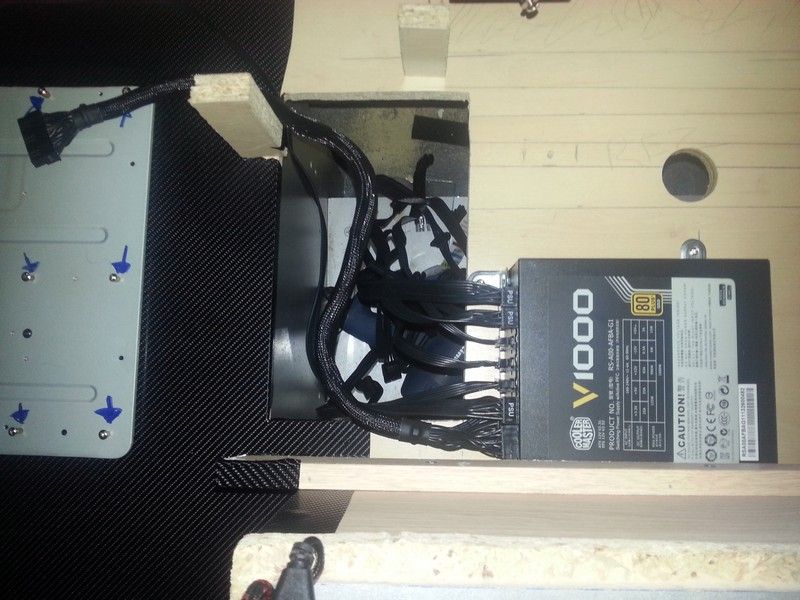
PSU - CoolerMaster v1000
EK supreme CPU block 1155 Socket
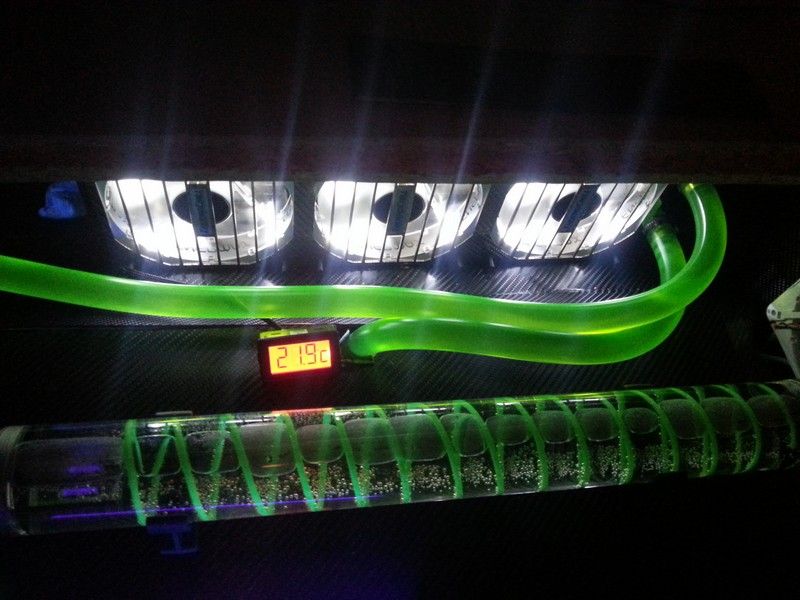
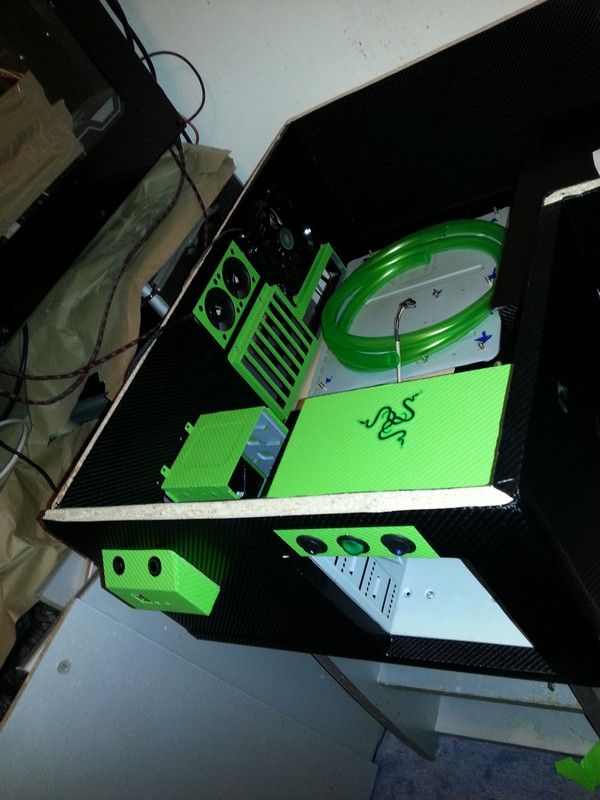
XSPC 1/2 ID 3/4 OD Tubing UV Green
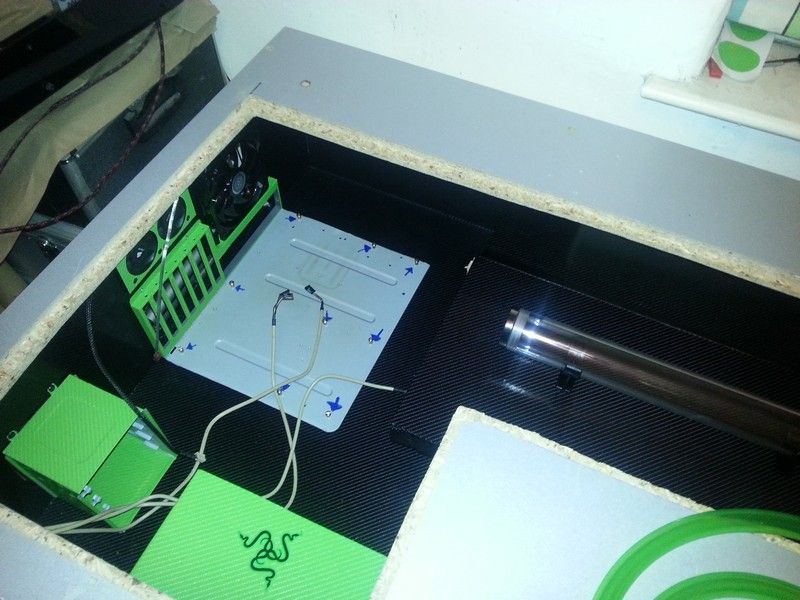
Phobya Balancer 450 Reservoir
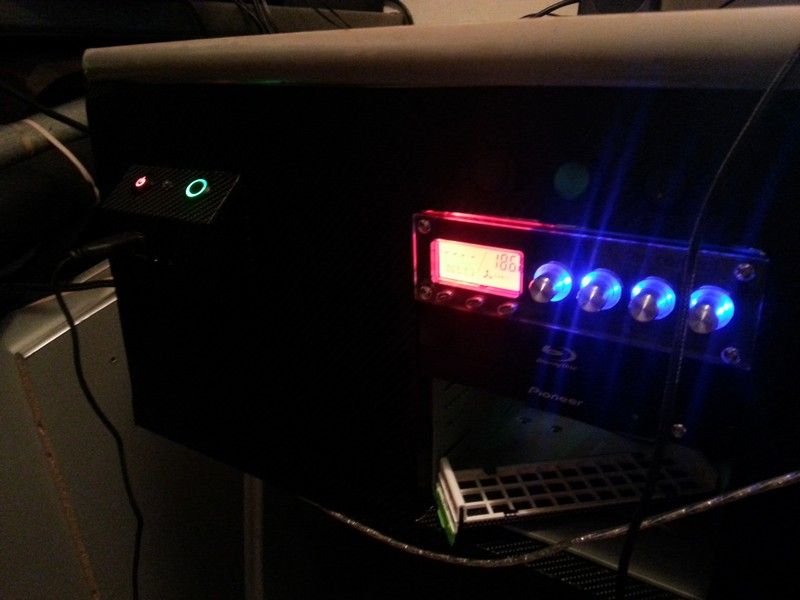
NZXT Fan Controller x2
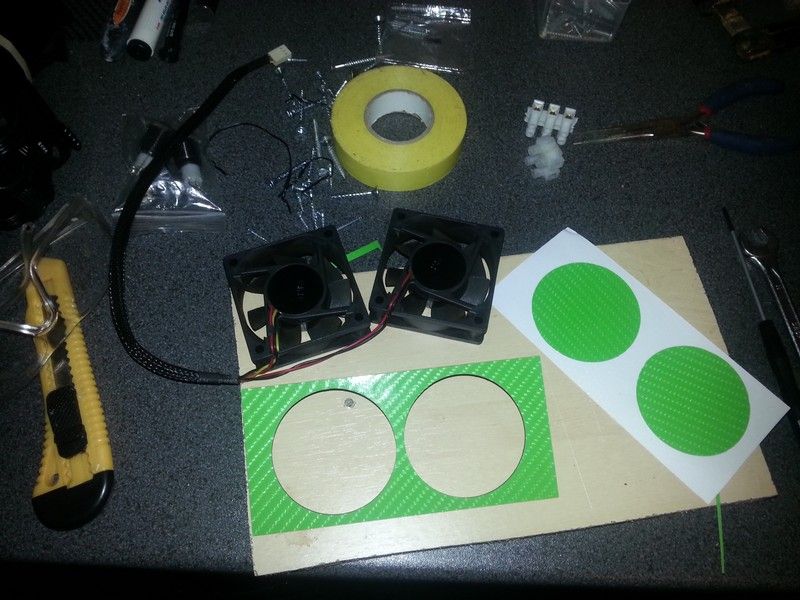
12x CoolerMaster jet flow Fans
4x CoolerMaster fans
Sharkoon Quad Cathode Kit
LED Strips x Lots
EK-fc970 Matrix Full Cover water block x2
EK-CoolStream RAD XTX (360) x2
EK-D5 Vario X-TOP High-Performance pump
thanks for reading


UPDATE 26/04/2014 *COMPLETE*
Now the build is finally complete i need to thank some people,
Firstly and most importantly are my fellow PC modders & forum users, without your comments and contribution of ideas the build would never have been as successful as it has.
Next my wife and friends for all the help given, my wife has helped carry,shop,make tea & snacks & provide some pain relief when needed
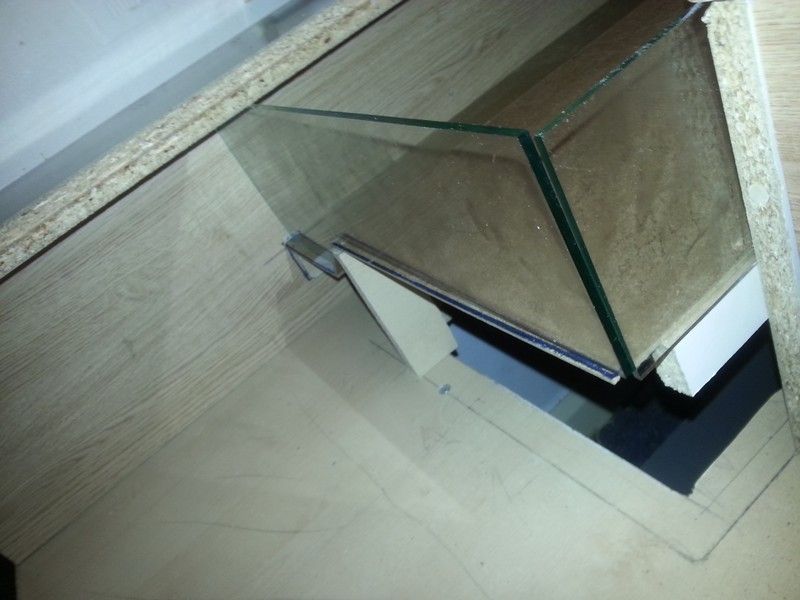
My Friends Ian & Carl have also helped with the heavy lifting & Ian helped provide me with the glass needed for the desk (Big thanks)
And finally my sponsors Lep @ EK water blocks for providing the Watercooling blocks and support throughout the build.
Chris @ Cooler Master (CM Storm) UK, I was already using CM Power Supply & fans, but Chris updated them for the latest and best
along with my CM storm gaming set
but best of all he got me in to the gadget show for a great day out
Slideshow Build Log
FINAL RESULT - YouTube Vid
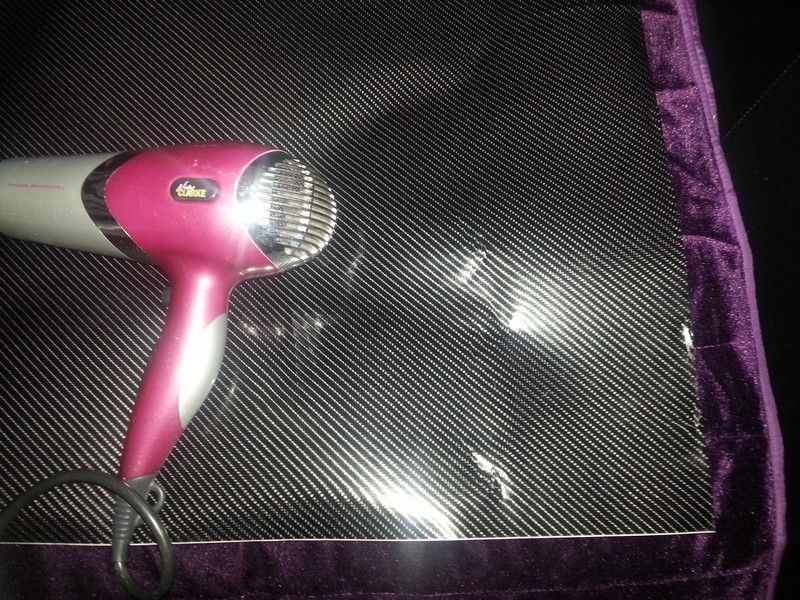
Keyboard & Mouse MODs (painting)
PC in a Desk
Rob (Deblow)
Hi everyone,
My name is Rob, I'm new to forum posting in general so i hope i can make a good job of this,
my first ever build/Log attempt.
I had some ideas that i put to paper, but most of the ideas were changed over time as i encountered problems,
I will add some pictures of the design on the forum, Not the best artwork i admit, so i hope they make some sense.
For most of the build i used my phone to take the pictures for reference,
as half my project was in the shed and the other half was in the house and as i have a broken leg it was very
hard to move around with the parts to check they were correct.
I will add as much info as possible, if i miss anything please just ask and i will do my best to answer asap.
facebook link - still needed updating but will be done soon. nice place to just look at the photos.
https://www.facebook.com/megadeblow
Im still working in the Vids for my youtube, will upload in the next week hopefully
https://www.youtube.com/user/MegaDeblow
Reason for build -
- More desktop space (get shut of the MASSIVE UFO case)
- Create better airflow
- Make more space for water cooling parts
- Have something different & something to do in my spare time
I also want to try make the desk as easy to dismantle as possible, so far i have managed to keep the PC its self contained in a easy to remove 930mm X 560mm box.
My Build Items Are -
CPU - i5 2500k @4.6 - 4.8
MB - Gigabyte G1 Sniper 3
RAM - Avexir Core Extreme Green Series 8GB DDR3 2133MHz
GPU - Asus Matrix 7970 platinum - Crossfire
HD's - 2X Seagate Barracuda = 6TB, OCZ Vertex 3 =120gb, OCZ Agility 3 =64gb, WD Green =2TB
PSU - CoolerMaster v1000
EK supreme CPU block 1155 Socket
XSPC 1/2 ID 3/4 OD Tubing UV Green
Phobya Balancer 450 Reservoir
NZXT Fan Controller x2
12x CoolerMaster jet flow Fans
4x CoolerMaster fans
Sharkoon Quad Cathode Kit
LED Strips x Lots
EK-fc970 Matrix Full Cover water block x2
EK-CoolStream RAD XTX (360) x2
EK-D5 Vario X-TOP High-Performance pump
thanks for reading
UPDATE 26/04/2014 *COMPLETE*
Now the build is finally complete i need to thank some people,
Firstly and most importantly are my fellow PC modders & forum users, without your comments and contribution of ideas the build would never have been as successful as it has.
Next my wife and friends for all the help given, my wife has helped carry,shop,make tea & snacks & provide some pain relief when needed
My Friends Ian & Carl have also helped with the heavy lifting & Ian helped provide me with the glass needed for the desk (Big thanks)
And finally my sponsors Lep @ EK water blocks for providing the Watercooling blocks and support throughout the build.
Chris @ Cooler Master (CM Storm) UK, I was already using CM Power Supply & fans, but Chris updated them for the latest and best
along with my CM storm gaming set
but best of all he got me in to the gadget show for a great day out
Slideshow Build Log
FINAL RESULT - YouTube Vid
Keyboard & Mouse MODs (painting)
PC in a Desk
Rob (Deblow)
Last edited:


 Looking forward to seeing the finished item!