

Soldato
My rigs. Now feat X8, a 8 core Hackintosh. Feat White Lightning.
Hey all. Figured it was time I would put up some pics of my rigs.
First up, Peewee. Peewee is a Kabini 5350 with a GTX 480 Lightning shoved up its back passage.
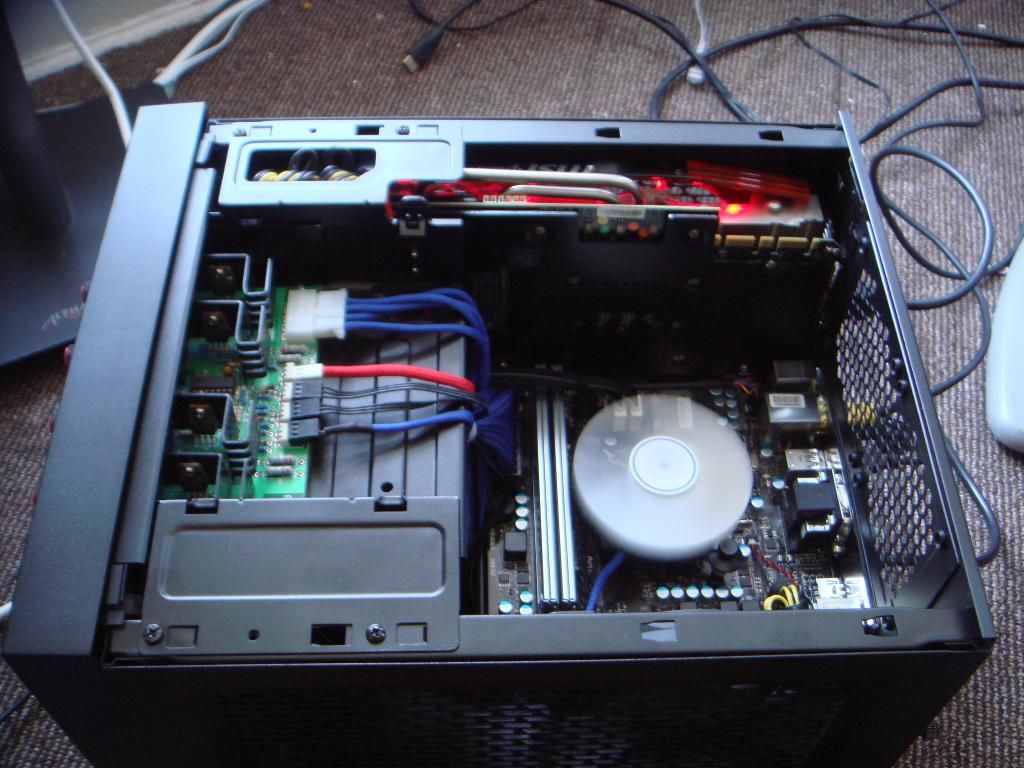
It's my media rig. Specs.
AMD Kabini 5350
MSI AM1i motherboard
4gb 2333mhz Geil Extreme memory
GTX 480 Lightning with LED mod
XFX non modular 750w Pro edition (Seasonic)
16gb SSD (booting Win 7 pro X86)
320gb storage.
Nothing too exciting, gets the job done. Runs The Sims 3 and FIFA 13 for when my step daughter is staying, does a good job with movies.
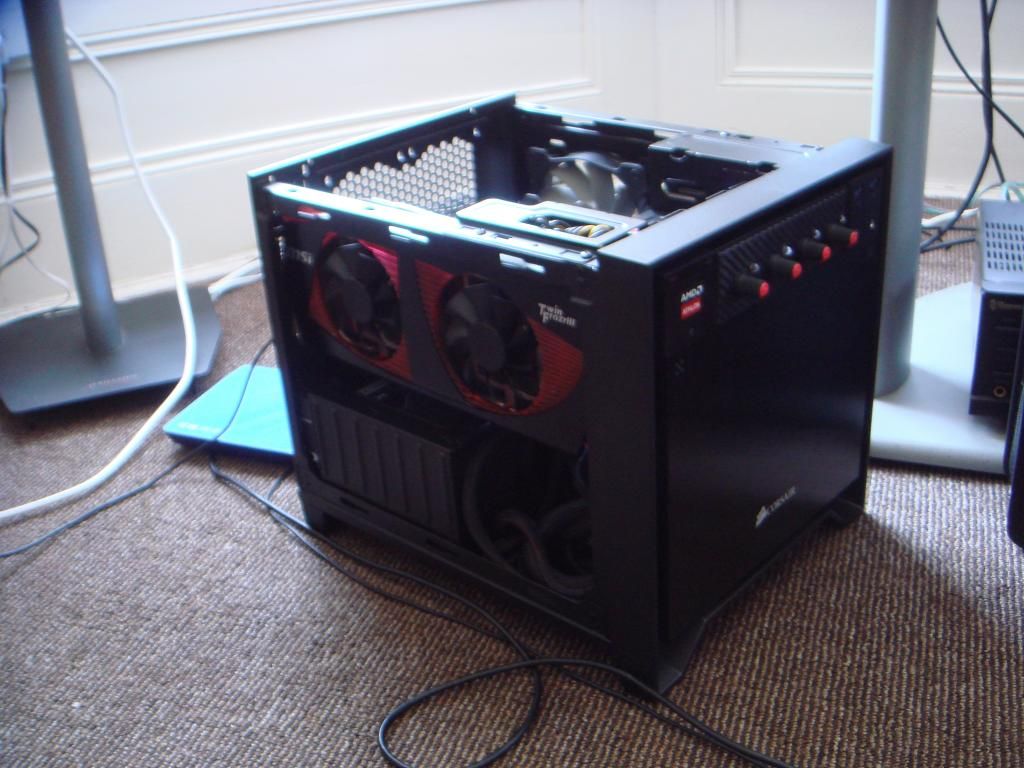
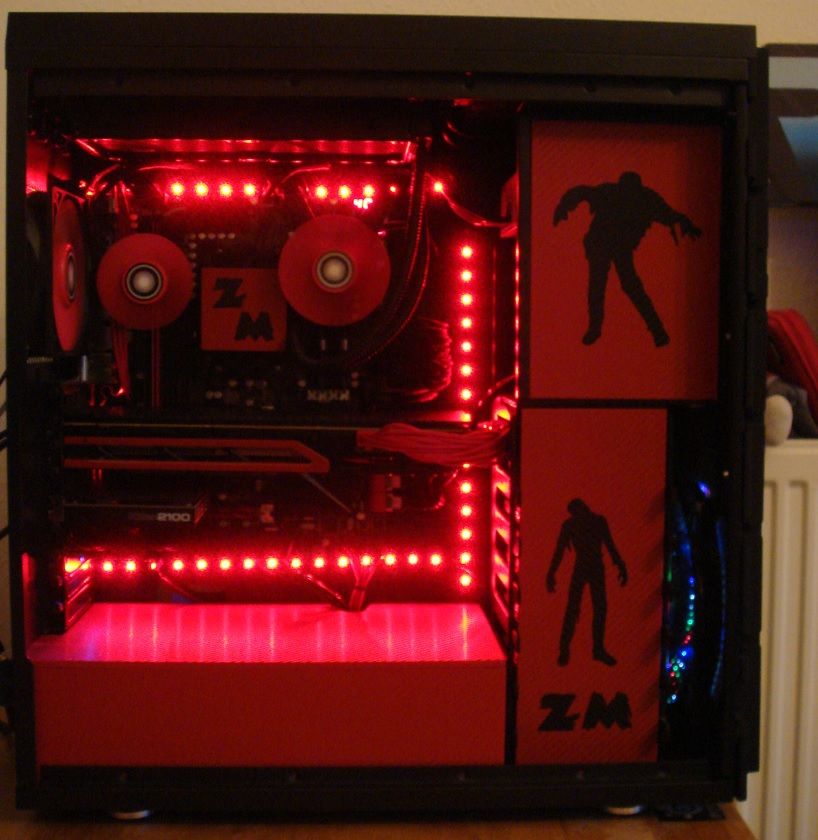
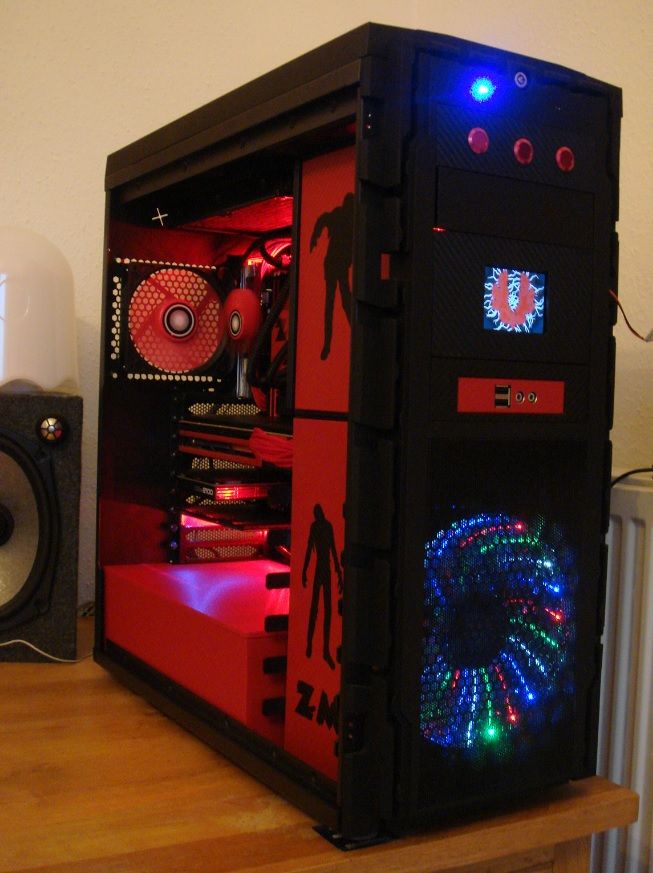
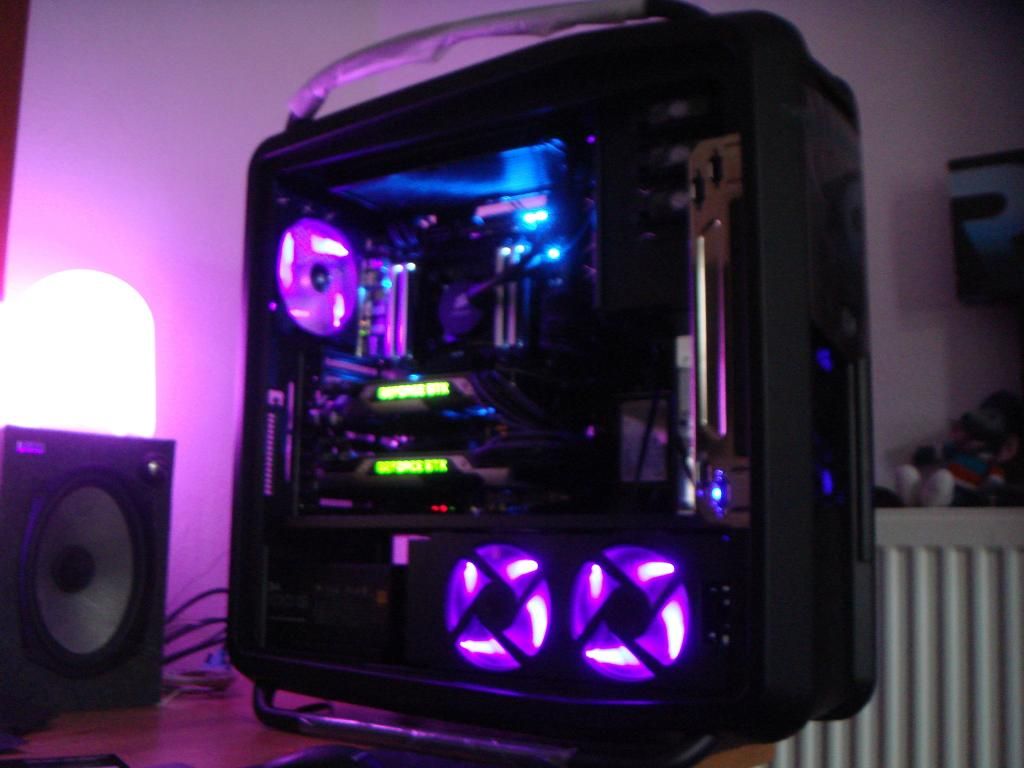
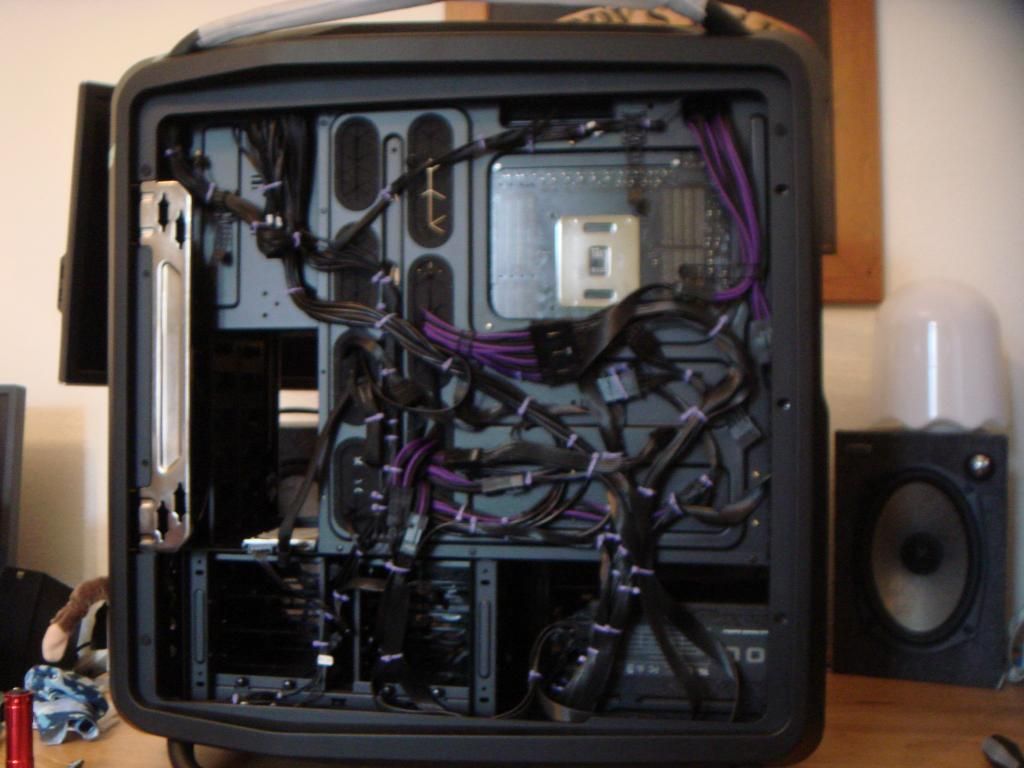
My second rig is The Dark Carnival. It's my all AMD rig.
Specs.
AMD FX 8320 @ 4.9ghz 1.45v
Asus Crosshair V Formula Z
AMD Radeon 7990
8gb Mushkin Blackline (Frostbyte)
Bitfenix Colossus case
Front VFD screen running temps/ram usage etc
Front Enermax Vegas 180mm intake
Floating fans
Corsair RM750 PSU
Custom back plates on 7990, Revodrive and Killer NIC (carbon)
Full PSU housing
Red LED Mod
Corsair H100 modded
Custom power, reset and directbios buttons
Cougar Vortex fans on H100
Xilence Redwings throughout.
Bitfenix Alchemy braids and custom braids.
OCZ Revodrive 128gb
6x500gb Baracuda
Custom covers.
Etched custom window.
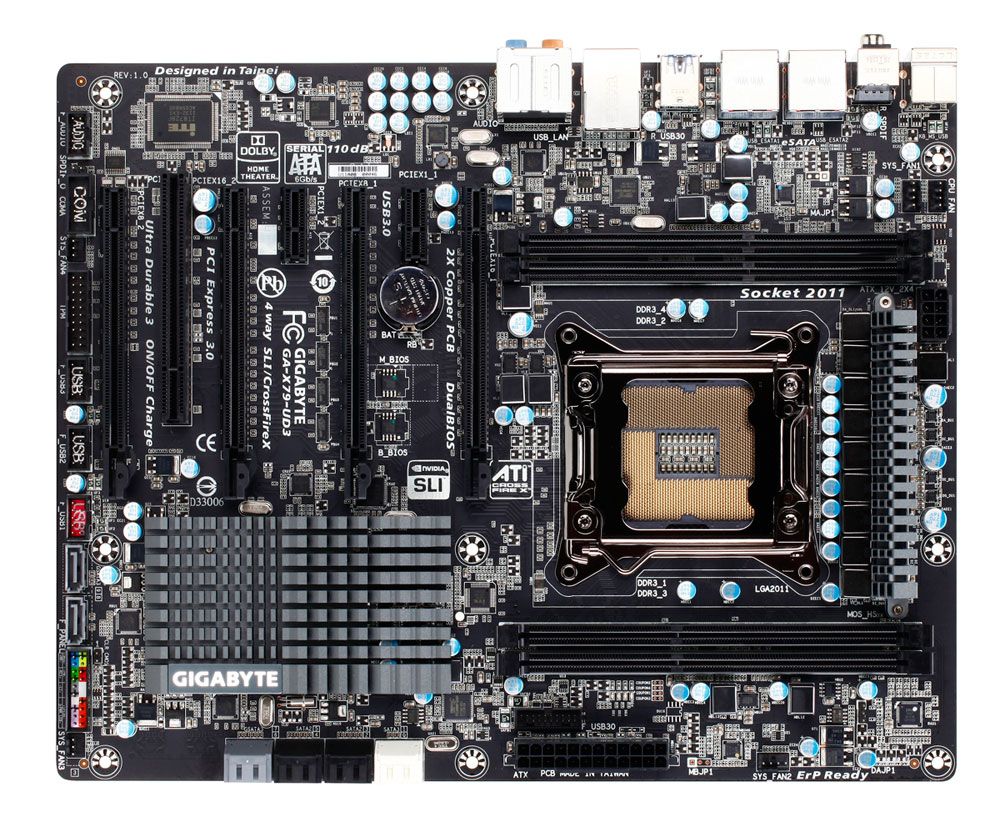
ETC. This PC is about to be changed for an 8 core 16 thread Ivy Xeon and Gigabyte X79 UD3.
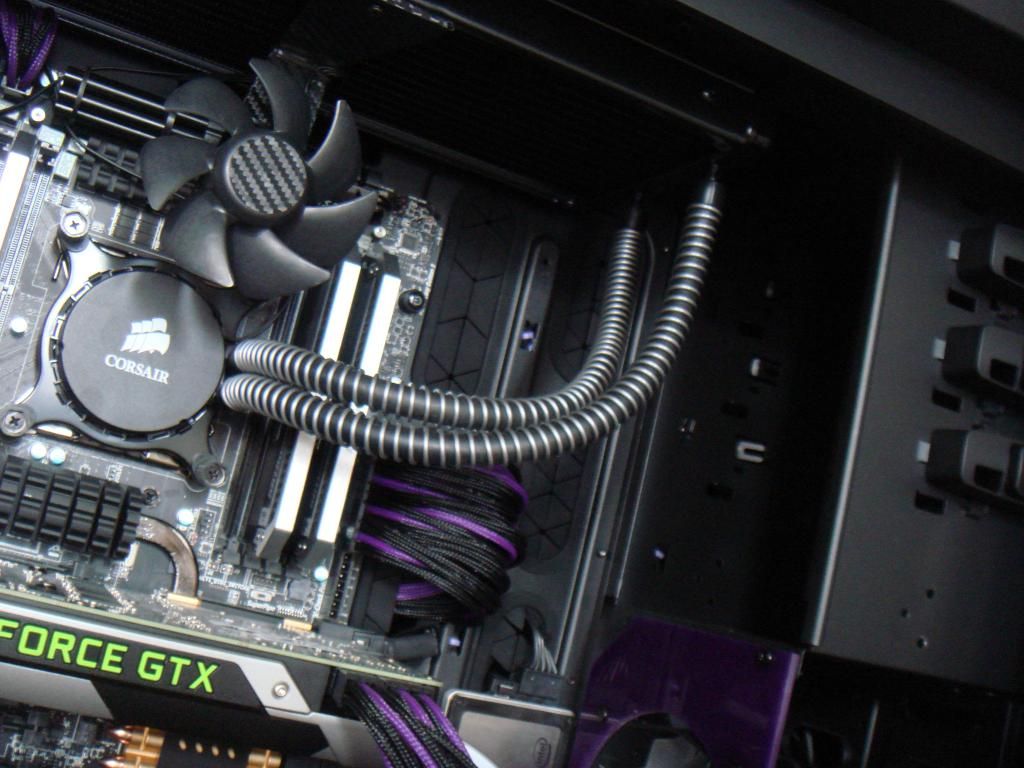
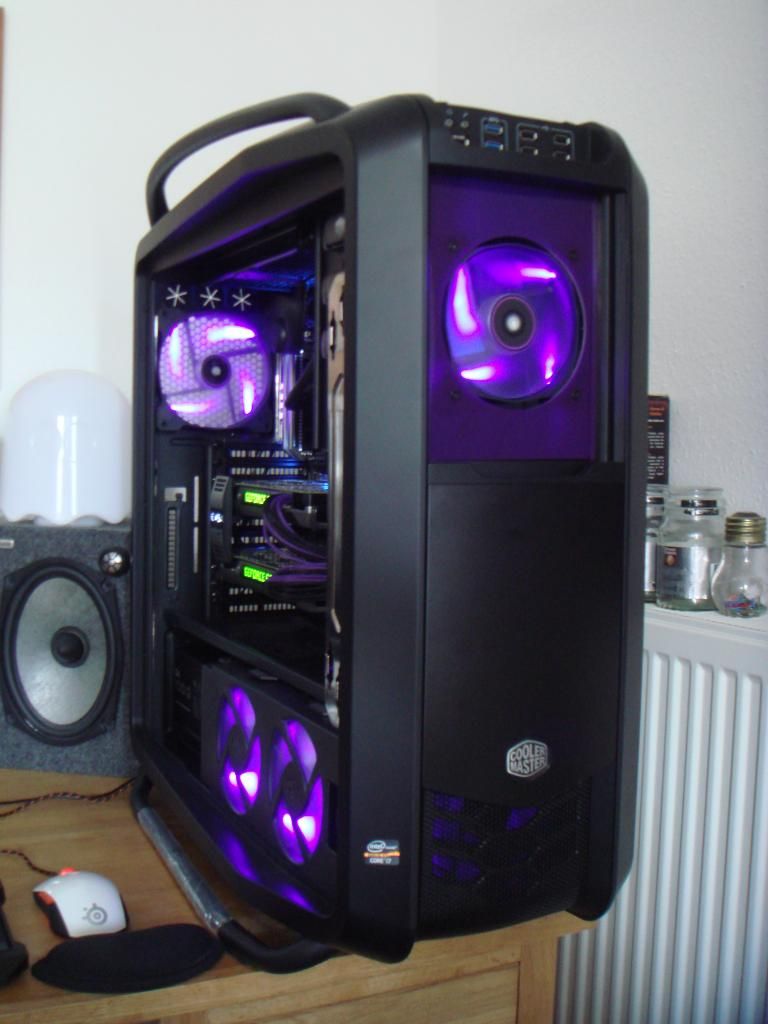
OK, so now it's onto the brawn. This is my Big Purple Monster (fnarrr) or "BPM".
Specs.
Cooler Master Cosmos 2 case
Intel 3970x Extreme edition 6 core 12 thread CPU @ 4.8ghz 1.37v.
MSI Big Bang Xpower 2 motherboard
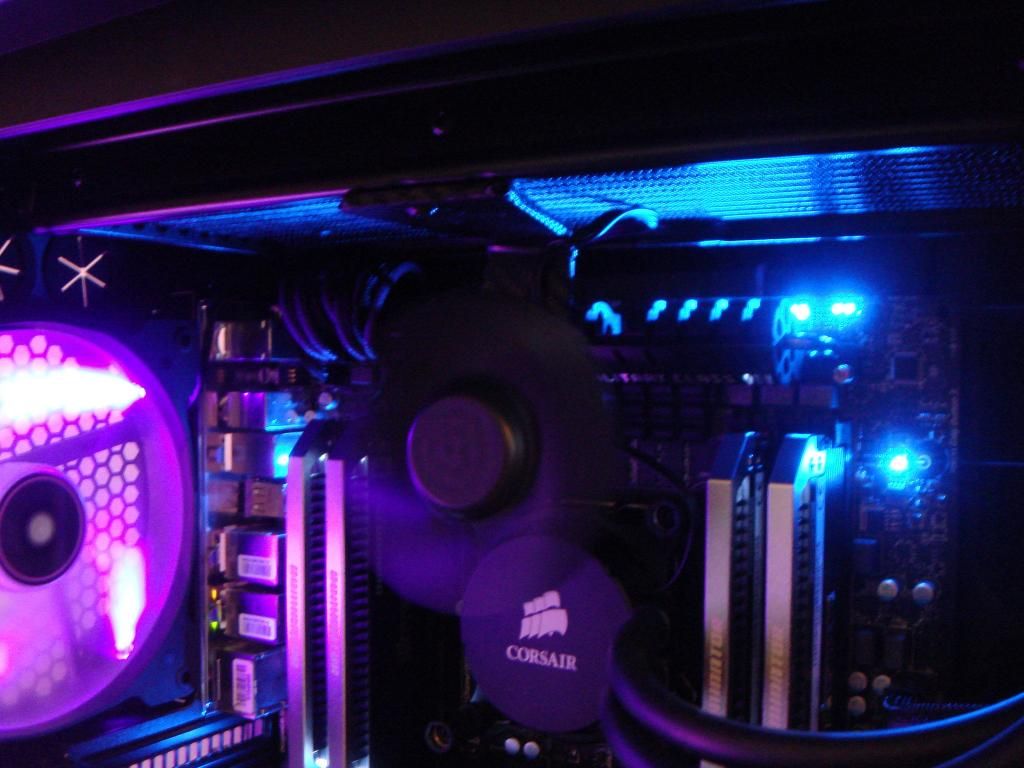
16gb Corsair Dominator Platinum 1866mhz
Corsair H110 silver anti kink coils
Corsair AF 140 + 120 throughout, purple LED
Nvidia GTX Titan Black SLI
EVGA 1000G power supply
EVGA SLI bridge
Four Corsair Nova 2 series SSD (60gb) running RAID 0.
Intel 320 series 80gb SSD for boot
Purple and black braids.
Asst pics. Here is my RAID 0 SSDs.
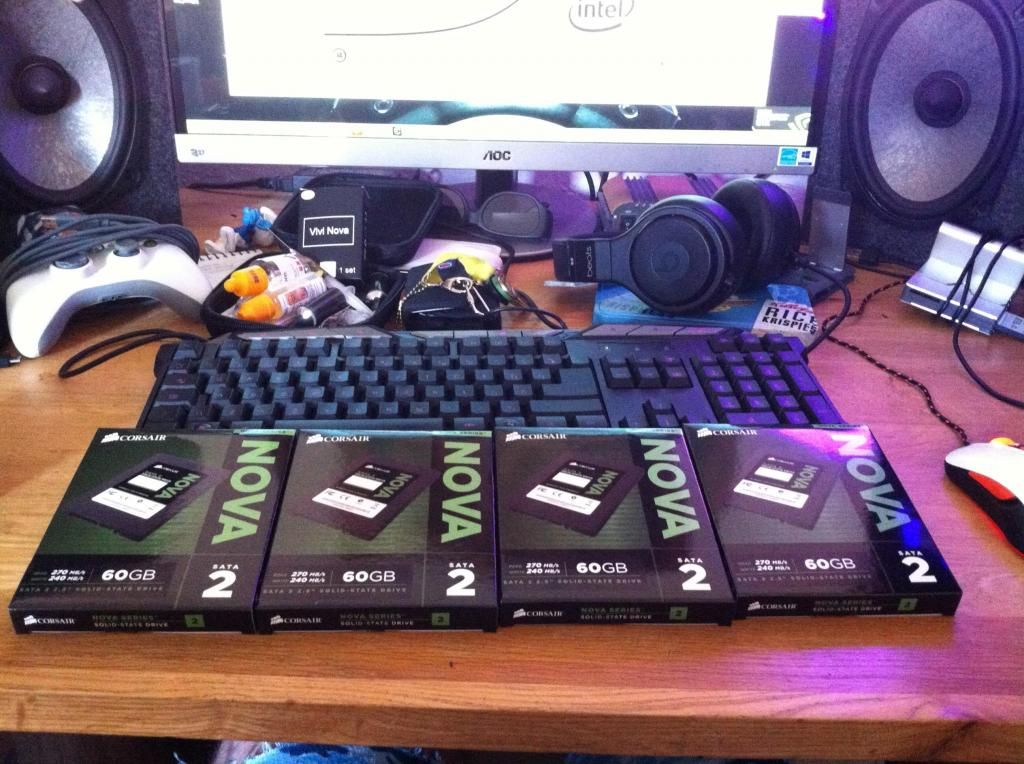
I got them for £10 each. Bargain")
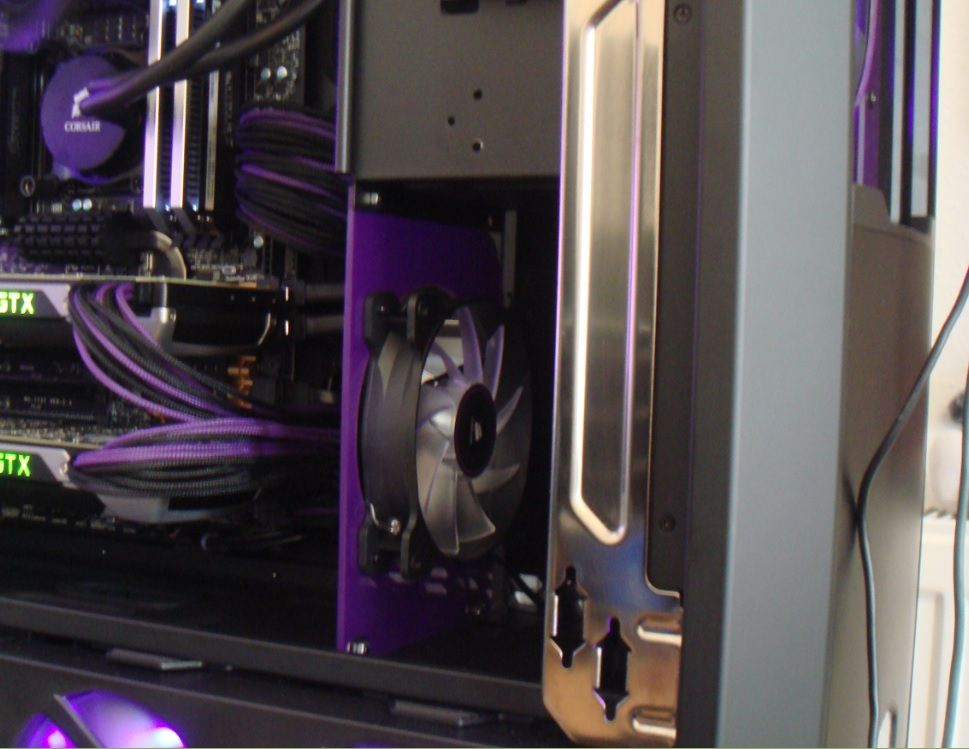
Here is the front mod on the monster..
And the GPU fan mod.
I'm far from finished")
VRM fan mod.
More to come soon. The Dark Carnival is about to get one of these..

And one of these.
Hey all. Figured it was time I would put up some pics of my rigs.
First up, Peewee. Peewee is a Kabini 5350 with a GTX 480 Lightning shoved up its back passage.


It's my media rig. Specs.
AMD Kabini 5350
MSI AM1i motherboard
4gb 2333mhz Geil Extreme memory
GTX 480 Lightning with LED mod
XFX non modular 750w Pro edition (Seasonic)
16gb SSD (booting Win 7 pro X86)
320gb storage.
Nothing too exciting, gets the job done. Runs The Sims 3 and FIFA 13 for when my step daughter is staying, does a good job with movies.
My second rig is The Dark Carnival. It's my all AMD rig.


Specs.
AMD FX 8320 @ 4.9ghz 1.45v
Asus Crosshair V Formula Z
AMD Radeon 7990
8gb Mushkin Blackline (Frostbyte)
Bitfenix Colossus case
Front VFD screen running temps/ram usage etc
Front Enermax Vegas 180mm intake
Floating fans
Corsair RM750 PSU
Custom back plates on 7990, Revodrive and Killer NIC (carbon)
Full PSU housing
Red LED Mod
Corsair H100 modded
Custom power, reset and directbios buttons
Cougar Vortex fans on H100
Xilence Redwings throughout.
Bitfenix Alchemy braids and custom braids.
OCZ Revodrive 128gb
6x500gb Baracuda
Custom covers.
Etched custom window.
ETC. This PC is about to be changed for an 8 core 16 thread Ivy Xeon and Gigabyte X79 UD3.
OK, so now it's onto the brawn. This is my Big Purple Monster (fnarrr) or "BPM".


Specs.
Cooler Master Cosmos 2 case
Intel 3970x Extreme edition 6 core 12 thread CPU @ 4.8ghz 1.37v.
MSI Big Bang Xpower 2 motherboard
16gb Corsair Dominator Platinum 1866mhz
Corsair H110 silver anti kink coils
Corsair AF 140 + 120 throughout, purple LED
Nvidia GTX Titan Black SLI
EVGA 1000G power supply
EVGA SLI bridge
Four Corsair Nova 2 series SSD (60gb) running RAID 0.
Intel 320 series 80gb SSD for boot
Purple and black braids.
Asst pics. Here is my RAID 0 SSDs.


I got them for £10 each. Bargain
Here is the front mod on the monster..

And the GPU fan mod.

I'm far from finished
VRM fan mod.

More to come soon. The Dark Carnival is about to get one of these..

And one of these.

Last edited:


