Soldato
Now i'm kinda starting this off a little late seeing as its been built for some time now, however this thread is more for future developement than the initial build itself.
I always wanted to try watercooling, when i first caught on it was all very exotic and fancy but i never had the money, knowledge or resourses to try it back then.
i had a good 6-7 years sidetracked from computers etc, job and cars took over my life, but circumstances changed, i found myself in a position where i could build myself a system, a system i could be proud of, and i had the time and money to do it with, well this is the story of that build.
basic spec run down of initial build
i'll get started with a look back.
PHASE:1
unfortunately i neglected to take lots of pictures with the initial build(will take loads in future.)

so here is what i started with, i put my system into an OCUK prewatercooled case 650D, which was great i loved it, but it wasnt my handy work i couldnt quite get comfortable with knowing that, i felt like i had cheated, so i had to right that.
PHASE:2
so roll on phase 2, after a month i decided it was time to get my hands in there and tinker.
so the order went in:
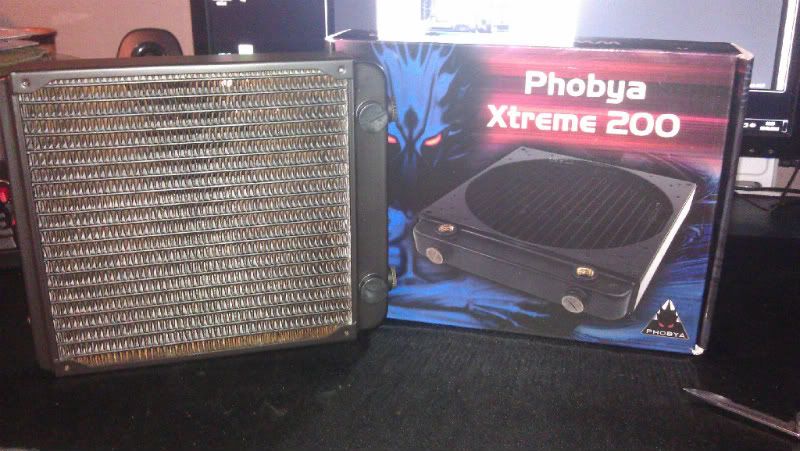
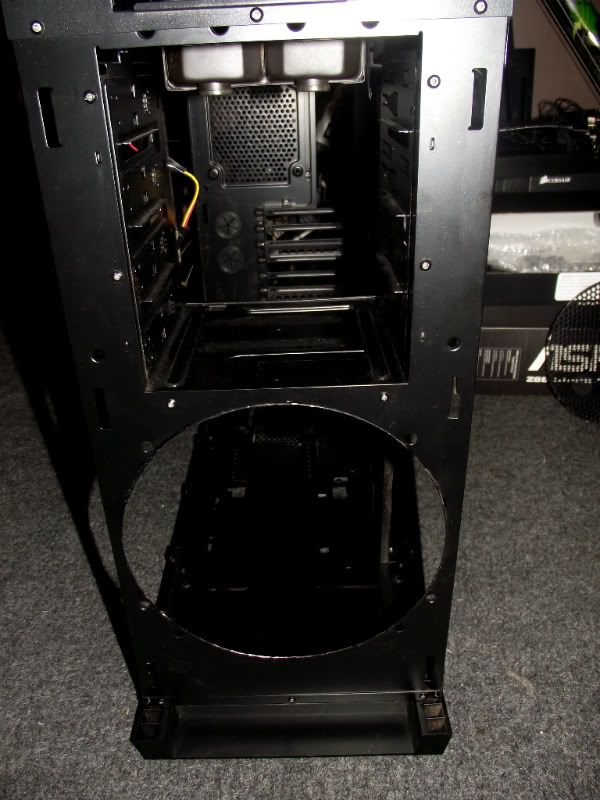
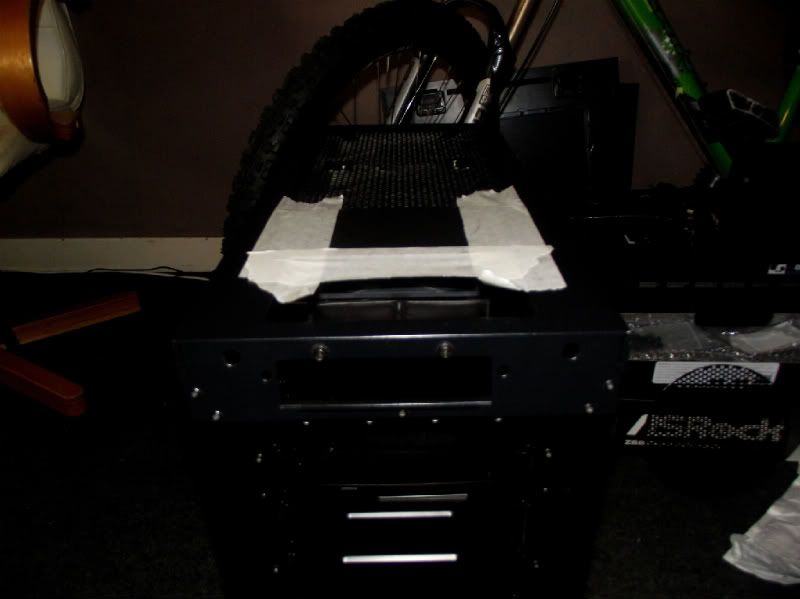
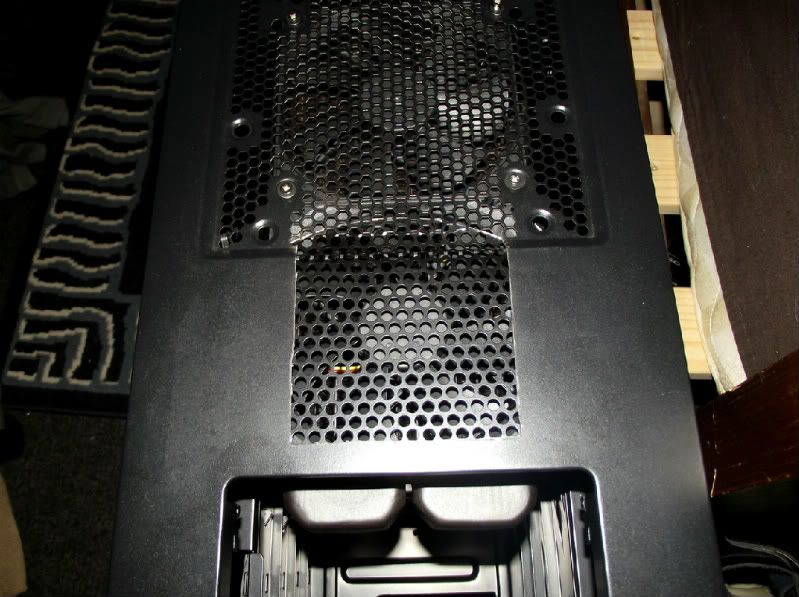
whilst this order with in the post i decided to ready my case for the larger Rad and whilst i had the dremel out i thought i'd take out the grill in front of the front 200mm fan.
so with the case ready to receive the new parts, when the order came in i dove straight in there like a bull in a china shop as i usually do , in the process of plumbing the loop together i managed to well and truely bugger the threads on the EK pump...
order goes in for new pump.
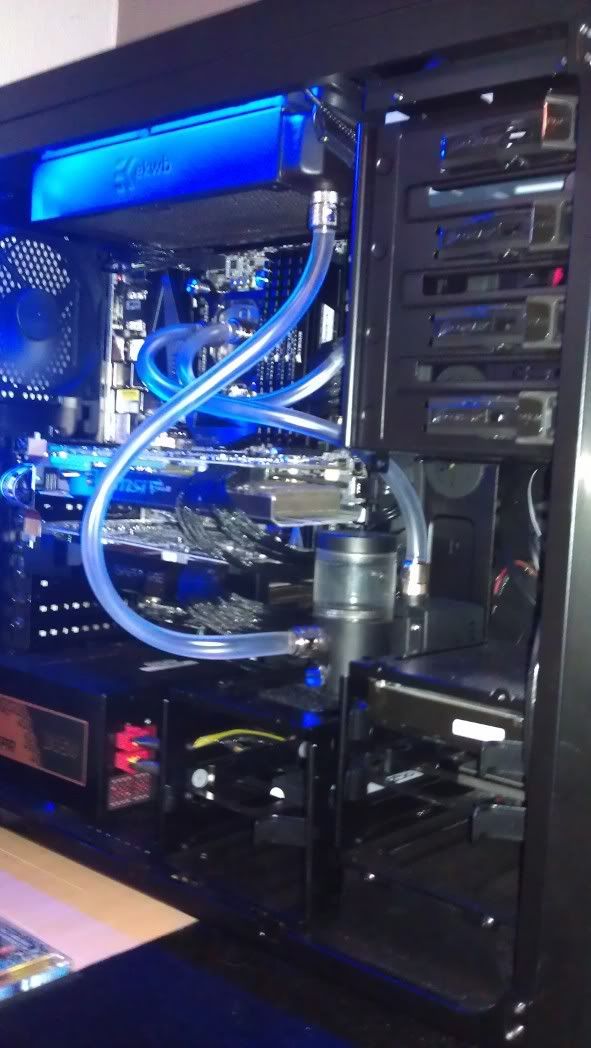
fitted up ready for leak testing.
overnight leak test successful, now it was time to put my system back into the case.
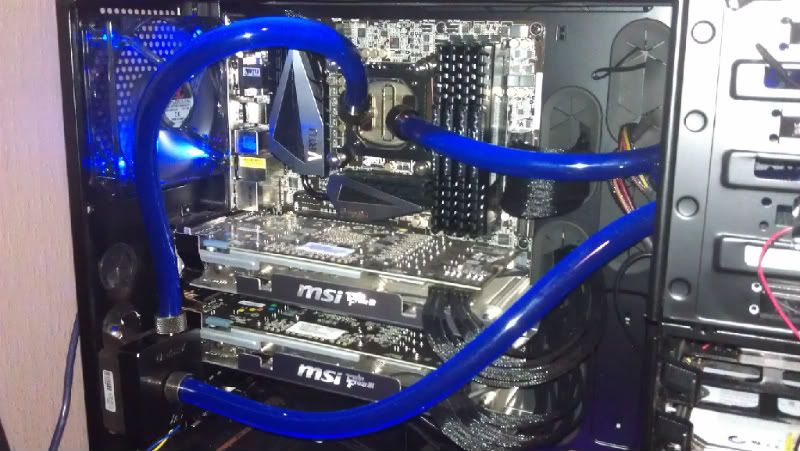
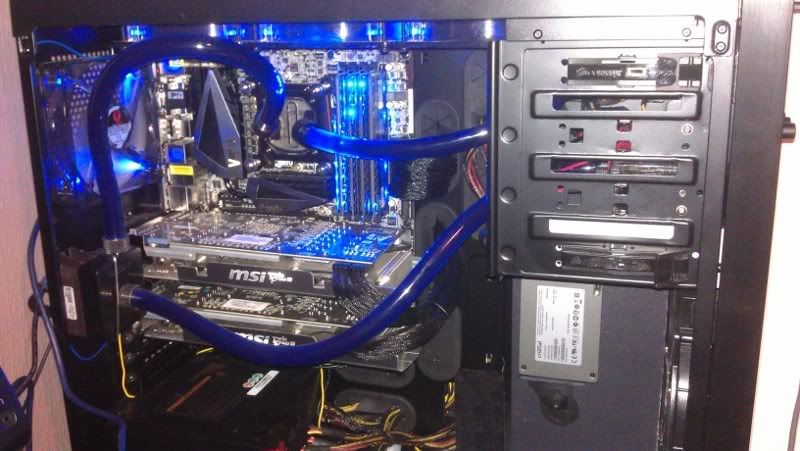
WOOHOO, my first attempt at building my own loop.
now with that out of the way i was a lot more happy with the system, however there were still a couple of issues that were bugging me, firstly
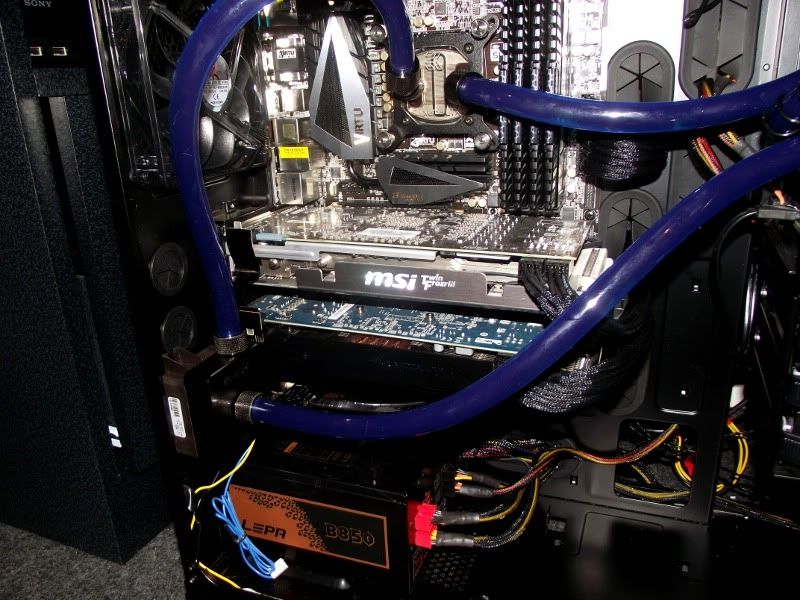
the mismatched graphics cards, so the sapphire had to go, in place went a 2nd MSI R6950 Twin Frozr III PE/OC to keep my first one company, there we go much better.
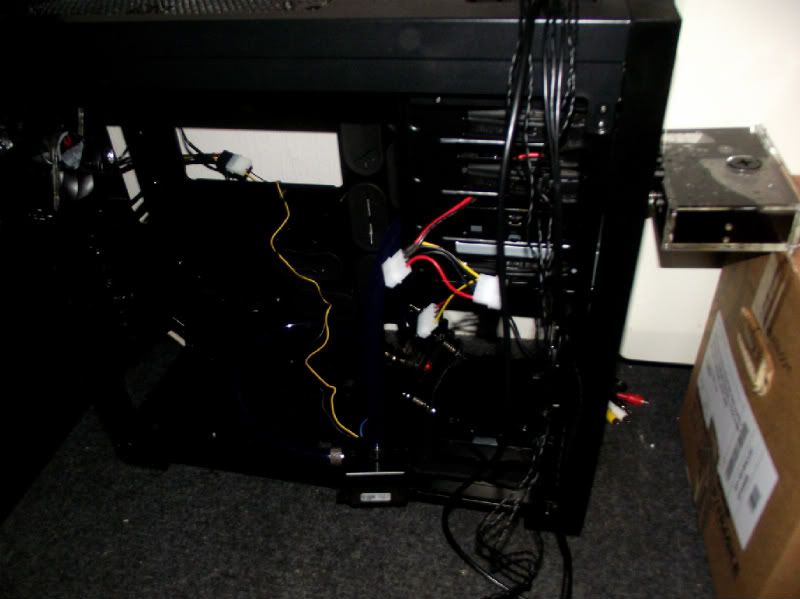
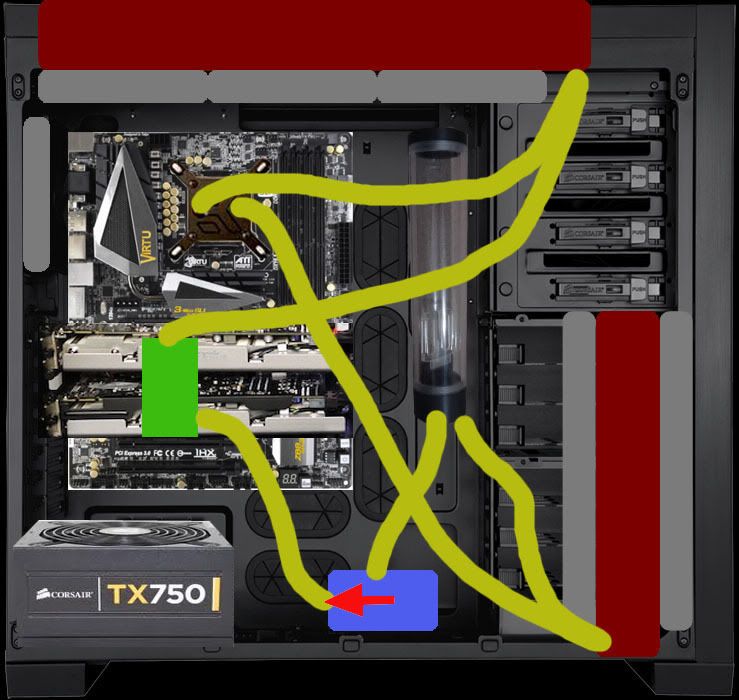
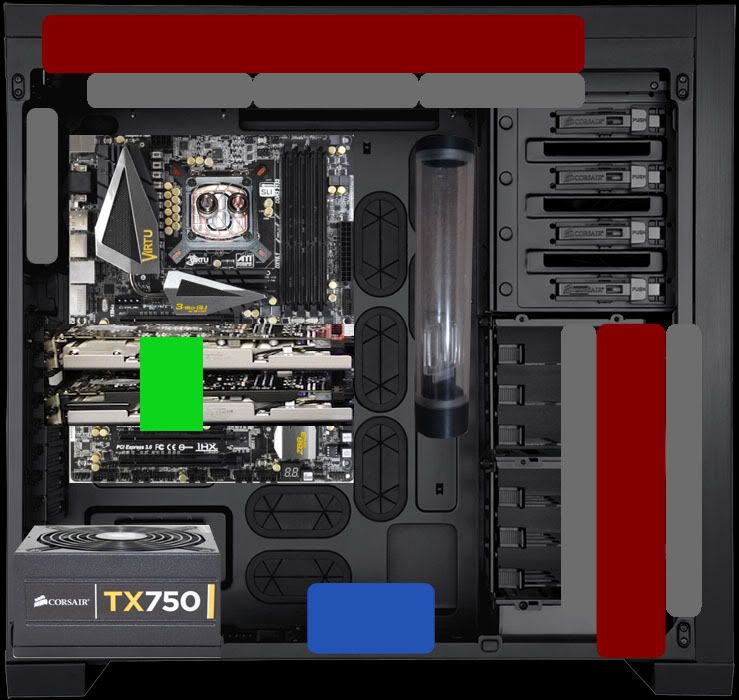
over the next couple of months I attempted to sort the cabling out numerous times(still not happy with it), i was inspired by a mod i seen in the cases gallery so i had to give it a try.
however my effort was not quite so polished, but it has proven to be effective.
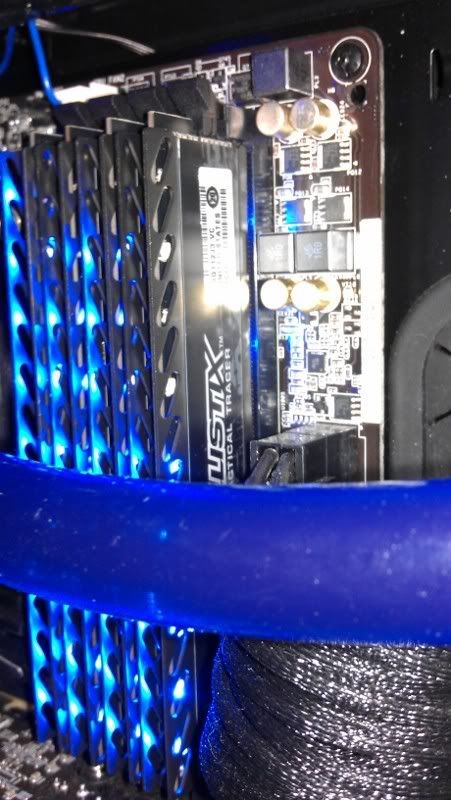
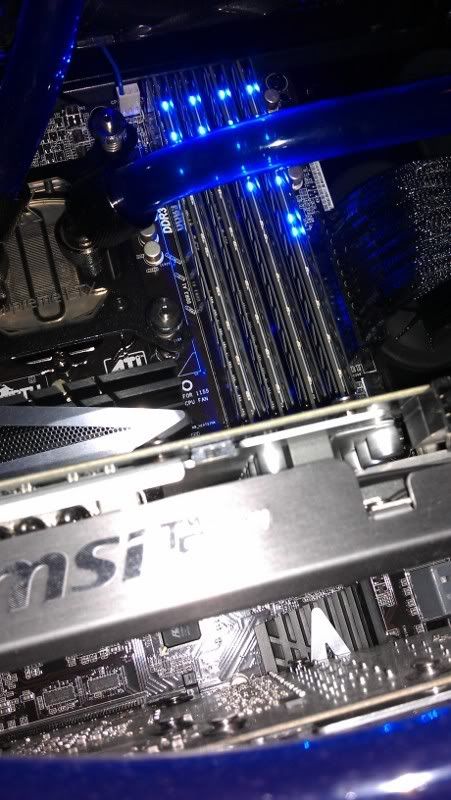
Then a product came in to OCUK that i just had to have for my system.
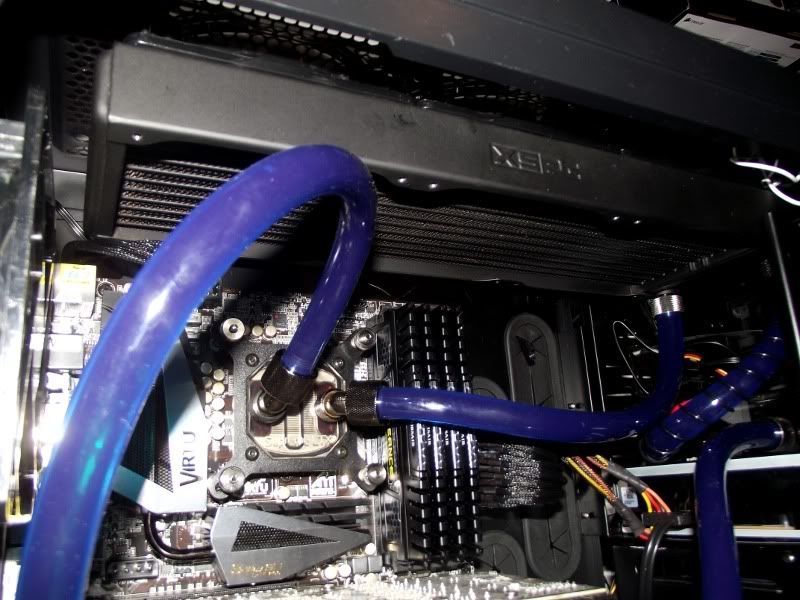
Ballistix Tactical Tracer ram, so it was out with the vengeance in with the Ballistix.
 .
.
I always wanted to try watercooling, when i first caught on it was all very exotic and fancy but i never had the money, knowledge or resourses to try it back then.
i had a good 6-7 years sidetracked from computers etc, job and cars took over my life, but circumstances changed, i found myself in a position where i could build myself a system, a system i could be proud of, and i had the time and money to do it with, well this is the story of that build.
basic spec run down of initial build
- Intel i5 2500k
- Asrock z68 extreme 7
- Corsair Vengeance 16gb
- 2x 6950 CF'd
- Lepa B850 psu
i'll get started with a look back.
PHASE:1
unfortunately i neglected to take lots of pictures with the initial build(will take loads in future.)
so here is what i started with, i put my system into an OCUK prewatercooled case 650D, which was great i loved it, but it wasnt my handy work
i couldnt quite get comfortable with knowing that, i felt like i had cheated, so i had to right that.PHASE:2
so roll on phase 2, after a month i decided it was time to get my hands in there and tinker.
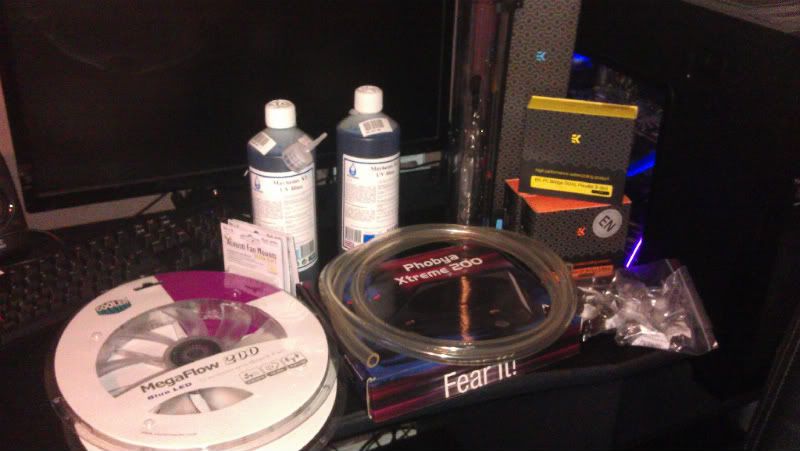
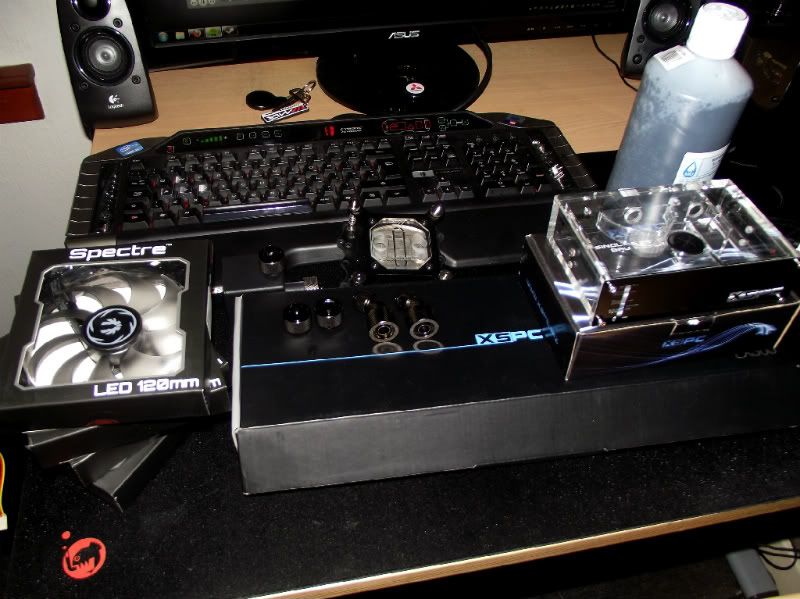
so the order went in:
- 4x Bitfenix spectre 120mm blue LED fans
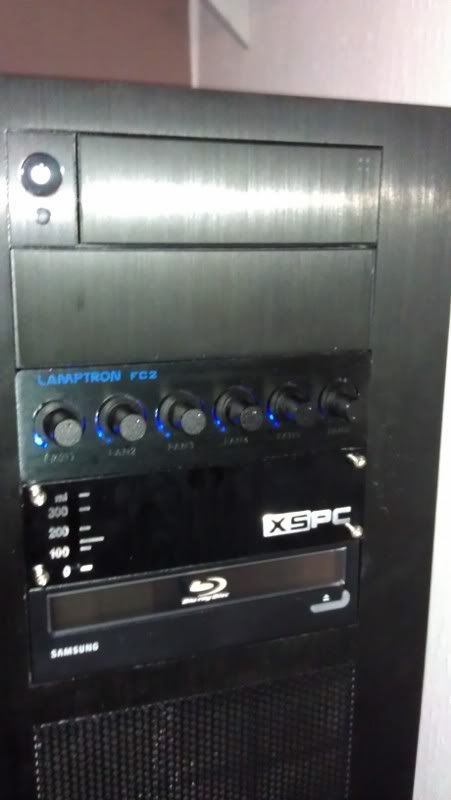
- XSPC EX360mm rad
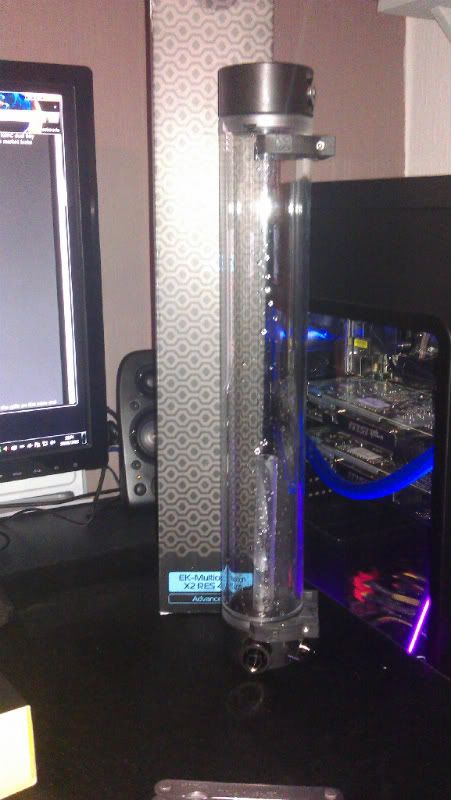
- XSPC front single bay res
- various hose fittings
- Lamptron FC2 fan controller
- Masterclear Blue UV tubing
- Mayhems Oil Black fluid
whilst this order with in the post i decided to ready my case for the larger Rad and whilst i had the dremel out i thought i'd take out the grill in front of the front 200mm fan.
so with the case ready to receive the new parts, when the order came in i dove straight in there like a bull in a china shop as i usually do
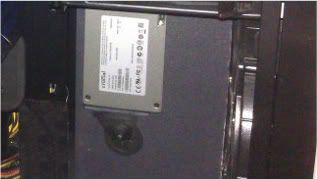
, in the process of plumbing the loop together i managed to well and truely bugger the threads on the EK pump...order goes in for new pump.
- Laing DDC pump with EK X-TOPRev2
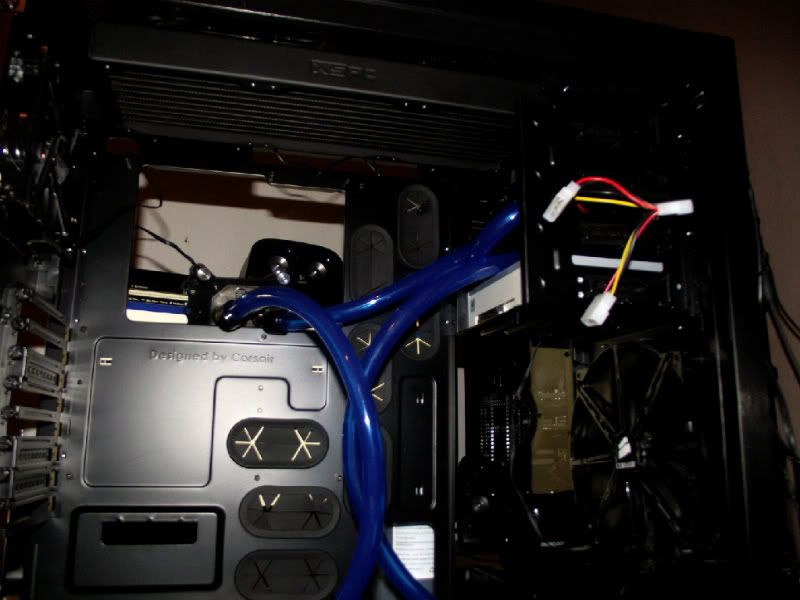
fitted up ready for leak testing.
overnight leak test successful, now it was time to put my system back into the case.
WOOHOO, my first attempt at building my own loop.
now with that out of the way i was a lot more happy with the system, however there were still a couple of issues that were bugging me, firstly
the mismatched graphics cards, so the sapphire had to go, in place went a 2nd MSI R6950 Twin Frozr III PE/OC to keep my first one company, there we go much better.
over the next couple of months I attempted to sort the cabling out numerous times(still not happy with it), i was inspired by a mod i seen in the cases gallery so i had to give it a try.
however my effort was not quite so polished, but it has proven to be effective.
Then a product came in to OCUK that i just had to have for my system.
Ballistix Tactical Tracer ram, so it was out with the vengeance in with the Ballistix.
Last edited:
") Looks neat and it looks like it works very well!!
Looks neat and it looks like it works very well!! 


 .
.