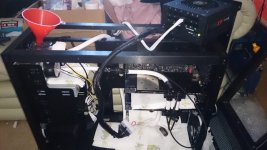
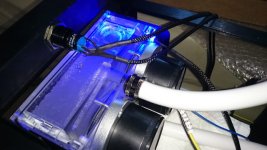
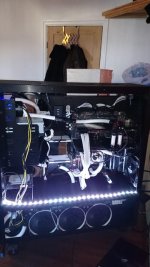
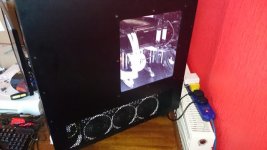
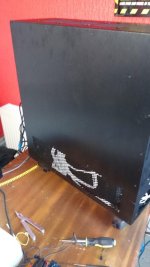
First full custom loop

Associate
OP
Joined
12 Jun 2014
Posts
101
Location
Manchester
Loveing the xspc case how much did it cost

At OCuk it costs £419.99
I belive it is end of line now though. I think XSPC have stoped selling cases.

I can understand why you would. I preferred it there as it was easy for cable management but I only had the one 360 rad in the bottom of mine.

Kinda a bummer these isnt more customisation options build into this case... I can see a bunch of small tweaks that could have been made to expand the case options at no expense.
 
Associate
OP
Joined
12 Jun 2014
Posts
101
Location
Manchester
Wow I thought my 900d was expensive lol did you look at any caselabs cases before you got that case

I hadn't, no. The XSPC H2 was what I was wanting... but I wish I had seen it before buying it, two different versions on advertising images.

Main with this image:
CA-001-XS_38957_350.jpg

Although that does not exist on this case...
 
Associate
OP
Joined
12 Jun 2014
Posts
101
Location
Manchester
Bought some waxed cotton cord to weave the PSU cables together... Something to do whilst I wait for these XSPC fittings I need to come in stock.

Ive got Black and white cord, ill try out both but would like to use both...

Cable | BlackWhiteBlack | Cable

Might be a lot of work... but if I was afraid of that I wouldn't be water cooling.
 
Associate
OP
Joined
12 Jun 2014
Posts
101
Location
Manchester
GOOD NEWS EVERYONE!

The rest of the parts I need are arriving today... I will see how it looks when I tube it up, may need to buy some right angle fittings if the tubing kinks with the Mobo blocks.
 
Associate
OP
Joined
12 Jun 2014
Posts
101
Location
Manchester
A fair bit has happened.

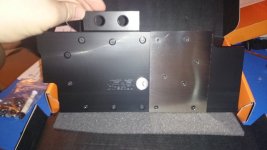
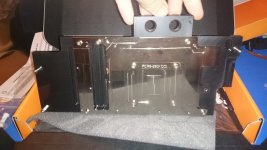
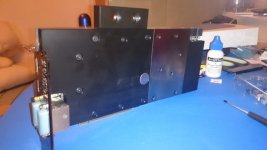
Majority of my required fittings arrived, as well as the tubing (I ordered WAY too much >_< ) and EK graphics blocks.
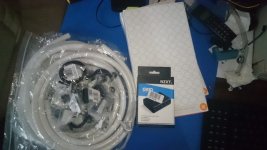
ADpb6etl.jpg

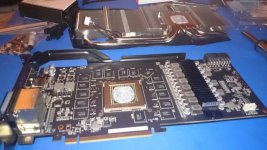
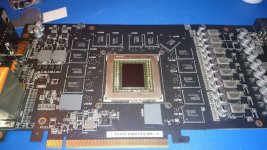
I had imense fun fitting the blocks to the gfx cards, love how they look.
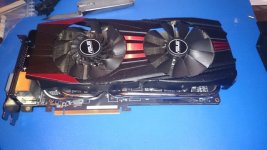
Nas2ADyl.jpg
W1uoDQDl.jpg
wdRc7HQl.jpg
VWJ36H9l.jpg
6fcKLHFl.jpg
kuN9eQDl.jpg

Once I had both done I measured up the tubing and fitted the cards together.
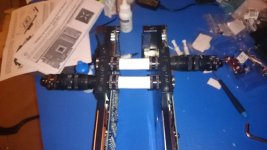
AbSO7epl.jpg

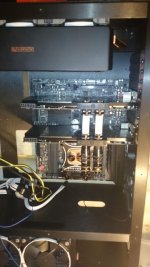
Tried them in the case
Bs1xRk8l.jpg
My3M2EQl.jpg

At this point I am concerned about backpressure and air getting traped in the top rad. so a little loop layout is going to be happening.
Also ordered some Right angle and 45 fittings to neaten up the loop and allow me to tube up the mobo and cpu without issue.

Basicly, what I think I will be doing is removing the top rad. and having the flow as follows to avoid any air in the loop.

res -> pump -> Bottom rads -> Mosfet block -> cpu block -> chipset block -> GFX -> res

Ultimatly If I am no happy with the performance I will modify the loop to include the top rad. Using the quick disconnects should make modifying the loop easier.
 
Associate
Joined
1 Dec 2013
Posts
568
I was just wondering what Id size can't believe they don't stock more as I have been waiting for 19 mm by 13mm for ages to come back in stock might just put a order in and just pester them
 
Associate
OP
Joined
12 Jun 2014
Posts
101
Location
Manchester
ID10mm
I have been waiting on those for a month, just order and wait is all I can recommend.

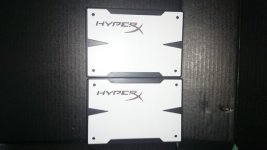
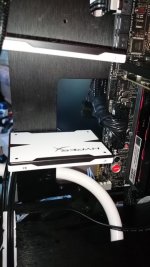
Edit: Ordered two Kingston HyperX 3K SSD 240GB White edition's to put into raid 0 for the OS and programs, and I will use my current 240gb ssd for games and my HDD for files.

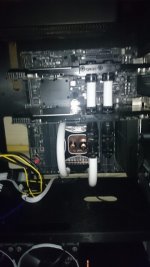
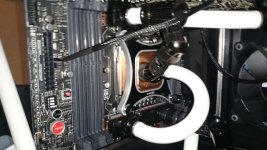
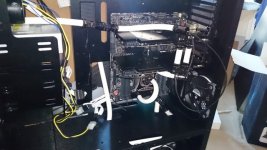
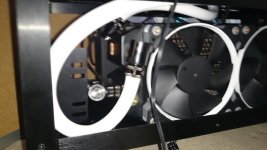
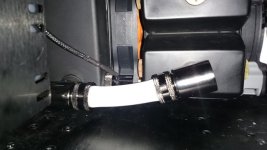
Edit: got my right angle fittings Wednesday, tubed everything up that night. Pic will follow shortly. My tumbs peels 3 layers of skin or something tightening all these. From cpu to chipset block took about two hours to get right. Tried so many combos. Eventually it ended up like this 45 -> m2m -> f2f rotary -> 45 -> 90 -> compression. Love how it looks, so proud atm.
 
Last edited:
Associate
OP
Joined
12 Jun 2014
Posts
101
Location
Manchester
Looking nice dude!
Thanks

I will be filling the loop and leak testing tonight. Friday night I will be powering it on if the leak test goes well. SUPER Excited.

Edit: Filled the loop, 5 hours in an no leaks found, most of the air out, but every so often give it a shake and can hear some small ones dislodge, top it up as necessary.
 
Last edited:
Associate
OP
Joined
12 Jun 2014
Posts
101
Location
Manchester
ITS ALIVE!

Spent so long getting the connections right:
LGKJqYKl.jpg
hoOwmzil.jpg

the rads in the bottom:
EvqpFkul.jpg
PhqRSqal.jpg

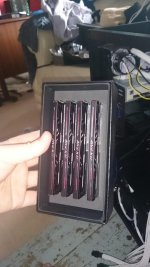
The ram, Love these:
KkHSNaUl.jpg

Filling and leak testing the loop:
5VCqvcCl.jpg
9NNTfaOl.jpg

No leaks! Was supper happy, left it running for 12 hours giving it a little shake every so often, but the loop kinda works with the air so only some small ones in.

These butes arrived saturday:
cZQORanl.jpg

Had trouble working out where to put them where they could be seen... end up with this:
jC9pnjpl.jpg

Preping to cable up:
dgguhmOsl.jpg


The rear - not as neat as I would like, but I could use some extensions to optomise the routes:
jkmsAadsl.jpg


The front <3:
wHe34V3l.jpg

Everyone, please meet MonoChome:
Better finished photos will follow when I find the battery for my SLR.
BkDrHGpl.jpg
zSFXn08l.jpg
 
Back
Top Bottom