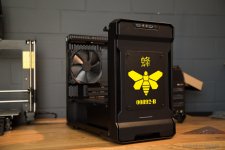
[Worklog] Baby Blue - Breaking Bad themed ITX Build

Associate
OP
Joined
1 May 2017
Posts
16
Good work , looking forward to seeing more of this . Do you have any plans with regards to the 3D printer for the rest of the build ?

I'm glad you asking , got a pretty big update today :)

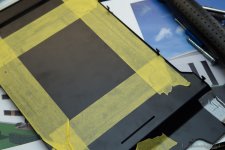
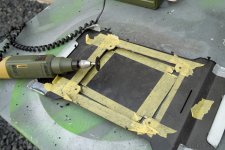
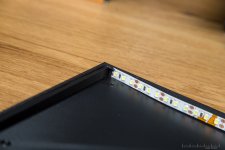
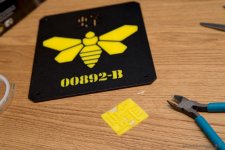
Before i start working on the inside of the case, i wanted to finish the exterior. Since the front cover and inlay are ready, let's go over to the backlighting. To create a smooth lighting i'm going to use the same concept as i used in the sLights from my previous builds. From bottom to top i'll need a frame, a backplate which reflects as much light as possible, the thick acrylic plate to break the light coming from the edges and the visible part, the inlay in this case. I use white LED stripes with a density of 120LEDs/m, these are really bright. Some people use standard clear 8 or 10mm acrylic plates and engrave a pattern to achieve a smooth light distribution. I never did it this way but i bought the so called EndLighten T from Evonik which is specially made for this purpose and distributes the incoming light from the edges very evenly. The reflecting backplate will be created with chrome/mirror wrap from Oracal, the best and cheapest way i can think of.

So all that's left is the frame and i'm not going to use angle profiles again - this time i want to make use of my new printer. I created a first design in CAD and this is what it looks like in Slic3r. Slic3r is an amazing tool to prepare your 3D models for printing. This is needed to set all the parameters before printing, so the printer knows what to do. Even for a beginner like me pretty easy to use!
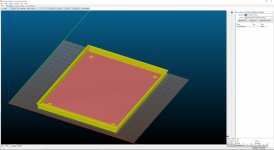
zXrFIgN.jpg

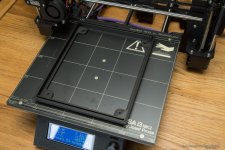
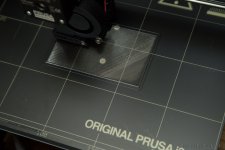
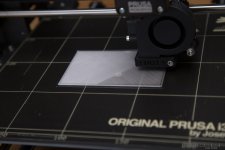
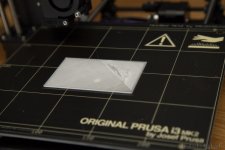
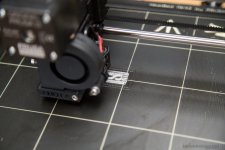
First i wanted to print this piece with PLA, one of the most common printer filaments which is recommended for beginners because chances of failing your prints are pretty low. On the downside PLA starts to lose stability at 60°C, that's why i decided to use ABS. Everything went fine, to keep the smell of molted ABS out of my room i kept the window open all the time. Right here it's printing the infill, a structure generated by Slice3r to save time and material while still maintaining the stability.
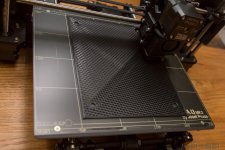
rSILpK6.jpg

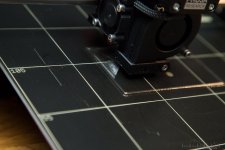
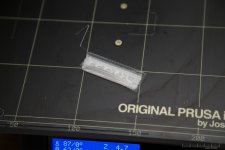
But then the open window ruined my print... 5 hours after the start it got late and cold outside, the heated bed keeps the object at around 100°C, the cold air from outside cools it down at the surface. The temperature difference leads to tension inside the object which then leads to the so called "warping".
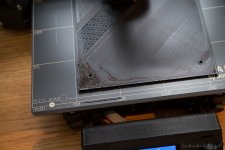
WNhCOZx.jpg

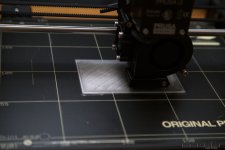
There are some ways to correct a warped print afterwards, but in addition i also got a layer shift because i had the printer running at a too high speed. The whole print got shifted about 5mm and i aborted the print after nearly 6 hours and went to bed a bit frustrated.

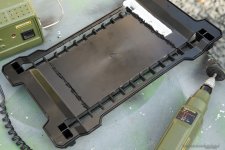
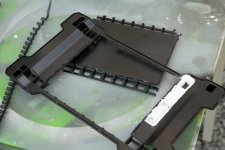
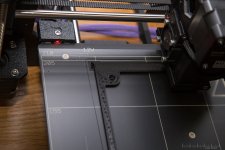
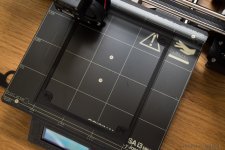
The next day i decided to print it in PLA, i will try ABS with smaller prints first to get the hang of it. The LEDs will get warm, but not that warm so i won't have to worry about the PLA losing it's stability. I also redesigned the frame to save some material and time.
143vss9.jpg

YOi9SR3.jpg

Riy10r8.jpg

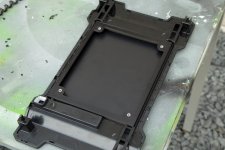
This time it didn't even take 3 hours and i had no problems at all, the print turned out perfect.
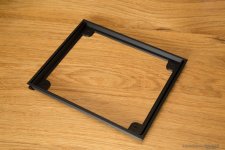
f9XC3wN.jpg

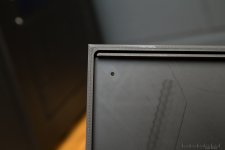
To secure the frame later i designed hexagonal recesses to put in M3 nuts.
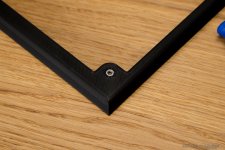
JPxxeAI.jpg

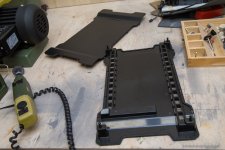
Let's go over to the front part of the case, still needs some preparing.
r6VrbGd.jpg

Kt54iQ9.jpg

38xRnoT.jpg

After sanding i did a test fit.

mC0YSvt.jpg

ulDGkQb.jpg

xAcIEwP.jpg

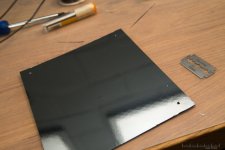
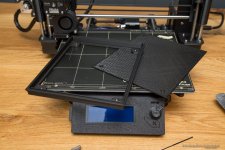
In the meantime i printed a 1mm thick plate which will be used as the backplate later.
efq9pwu.jpg

9N4OLig.jpg

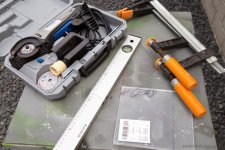
Outside i went on with the distribution plate. I bought it last year already and had other measurements back then, time to adjust this.
dv05hO6.jpg

Another test fit.

WUKbkal.jpg

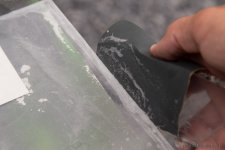
After cutting the plate i needed to sand and polish the edge again.
yDwq5nA.jpg

RdN5R41.jpg

vYHV5He.jpg

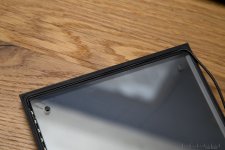
This is what it looks combined.

7DiL6Y7.jpg

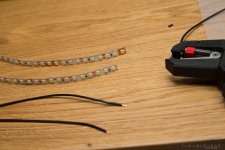
Inside again i prepared the LED stripes.
zAmIRUg.jpg

lRUhN3x.jpg

E31EiHo.jpg

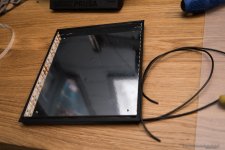
The little canals i left in the frame will be used for the cables, these fit in there perfectly.
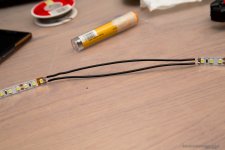
j0wOucu.jpg

zwjYrFv.jpg

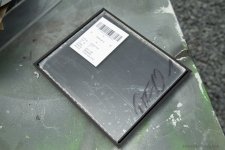
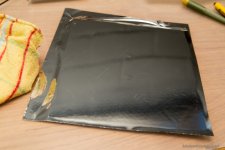
Time to put the chrome wrap on the backplate..
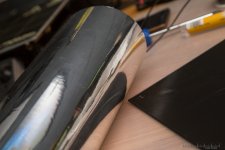
Mu5NoqS.jpg

C47bRFc.jpg

kOWDpwY.jpg

rJYdmyS.jpg

And another test before i put everything together. You notice i test these things very often, but i rather take the time to do so than to take it apart later when something doesn't work.
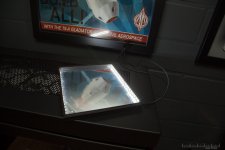
gUrgwBT.jpg

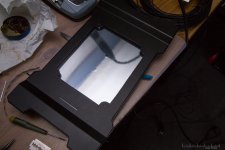
With the distribution plate installed:
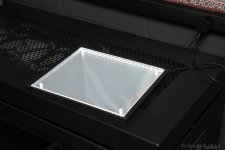
d4IKODA.jpg

Everything works, let's put it together.
NAFx5sZ.jpg

HAAJQwF.jpg

8GGw8IQ.jpg

And the result looks amazing!

ZjgvFk5.jpg

Last step, cable sleeving..

uHOMtdN.jpg

and done!

zEqBAeF.jpg

I really enjoy working with the printer. It's a cool gadget but when you use it for parts like this it turns into a powerfull tool and i'm looking forward to use it more often in future.
 
Associate
Joined
22 Nov 2015
Posts
997
Location
Wales
Awesome work! Really loving how this is turning out but I've got to ask, would it not have been easier to use an EL Panel to light the front inlay? Possibly not as bright but that is an awful lot of work to get the LED's diffused properly :D
 
Soldato
Joined
1 Dec 2015
Posts
18,514
wok looks epic :)

seeing how you sanded down the edges of the acrylic panel makes me wish I did the same with my Parvum case- but im to lazy lol.

3D printer looks neat- would love to 3D print myself a GPU fan shroud :D

look forward to the end build !
 
Associate
OP
Joined
1 May 2017
Posts
16
Awesome work! Really loving how this is turning out but I've got to ask, would it not have been easier to use an EL Panel to light the front inlay? Possibly not as bright but that is an awful lot of work to get the LED's diffused properly :D

Thanks. Yeah that might be another way and i've seen people doing this, but i never used EL Panels before and i already had all the stuff here. As long as i have the space to create it this way i will do it most of the time, you can also make it RGB, UV, whatever you want. :)
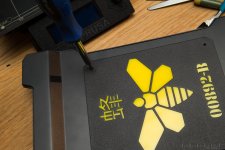
It isn't really hard to get the light diffused properly, as long as you don't have scratches or dirt inside the whole panel the Endlighten T does a great job.

wok looks epic :)

seeing how you sanded down the edges of the acrylic panel makes me wish I did the same with my Parvum case- but im to lazy lol.

3D printer looks neat- would love to 3D print myself a GPU fan shroud :D

look forward to the end build !

Thank you. Just took a look at it and that would be really sweet if those edges were polished. It's easy, just grab some sanding paper (120-3000 is what i use) and some polish, i'd recommend using a bit of water and dish soap while sanding.
 
Associate
OP
Joined
1 May 2017
Posts
16
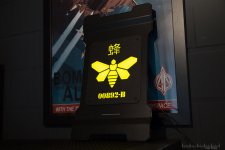
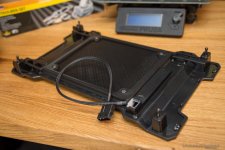
Hi guys, got another small update. This time i also want you to help me with a decision, more at the end of this post.
Thanks guys for the kind words!

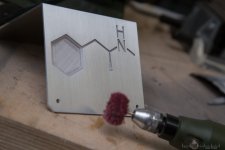
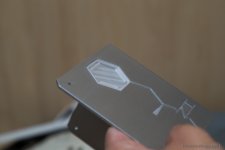
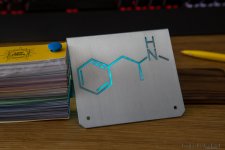
Before i start installing all the aluminium covers inside the case i had to finish the illuminated structural formula.
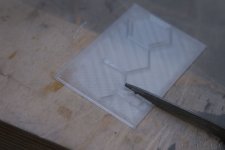
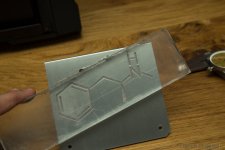
I created an Inlay in CAD using the files which were used for the CNC milling.
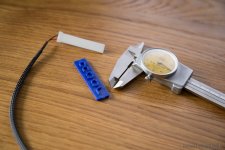
To make the inlay translucent i use PETG filament for this print. It will lose a bit of its clarity during the print but that's fine.

Jh7aFWh.jpg

The first layer still looks pretty clear.

cW6QpJP.jpg

But as soon as it starts printing more layers it gets more "milky".

LKBVpzn.jpg

Unfortunately the print failed as the freshly printed PETG didn't stick to the layer underneath.
I changed some printing parameters and tried til it failed again. Always a challenge to get good results with a new type of filament.

tFFZHuI.jpg

Cpw6U96.jpg

After a few tries it worked and the print got finished without problems. Still need to tweak the settings in future but for now this will do the job.

Tuv9uIB.jpg

I had to sand some edges since the inlay didn't fit properly.

y9OvonT.jpg

9rL2TaL.jpg

sxrTocL.jpg

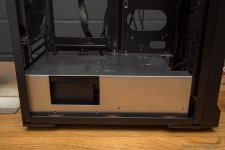
After that was done i took the new PSU cover and put it into the case to see how much space i have behind it.
I wasn't sure if i was able to build another lightbox because i only have a few mm.

PMw6J2w.jpg

P7mwMf7.jpg

I also hadn't enough Endlighten T acrylic anymore to make a rectangular lightbox. I could've cut the acrylic at an angle but that might lead to unequally illumination.

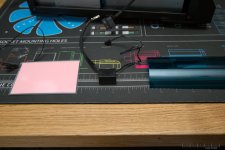
So i ordered a piece of EL foil, an inverter and some filter foil from lee filters.

bOs0MBF.jpg

After installing and testing the EL foil i noticed that it wasn't as bright as i expected .

Zglcng9.jpg

YupuUn8.jpg

Usually i would just leave it as it is, it's not that bright during the day but enough when it get's darker. I also have everything here so why not use it.
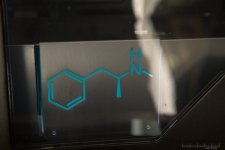
But when i was postprocessing these photos i found one that i took while searching for the right filter foil. I used my smartphone LED for the backlighting and that created a very different effect.
The inlay gets more depth and looks like it's made out of crystals.

45TktHU.jpg

What do you guys think? EL Foil for smooth backlighting or the LED variant to make it look more crystalline?
 
Associate
OP
Joined
1 May 2017
Posts
16
I'm back with a small update. Took some time since i was in vacation but now i can continue working on it.
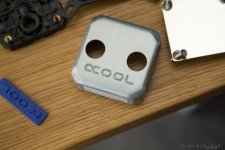
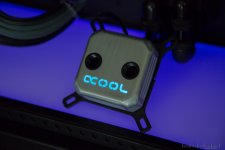
Aquatuning sent me a new Light Panel for the XPX CPU Cooler since the one i have has blue instead of white LEDs.
To make it fit better i needed the white LED so i can use the filter foil.

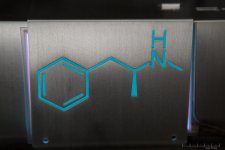
With the colour problem solved i wanted to create a similar effect as with the illuminated 3d printed inlay i showed you in the last update.
The plan is to reprint the exisiting inlay with PETG filament. To make this work i had to take exact measurements and create the new model in CAD.

YU2kVzD.jpg

LGn6GnU.jpg

What you see here is the support structure generated in Slic3r, after the print you remove it.

uaBrtBx.jpg

Let's see if it fits and put it back together.

RUAA5ks.jpg

ULXec0l.jpg

Definitely looks much better now.

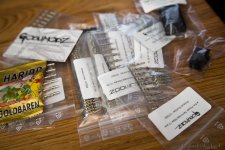
Today i received the last parts for the custom sleeved cables. I'm going with extensions for this build since it's faster and uses less material.

eRf1b2J.jpg

For the next update i plan to finish the cables and the backlit aluminium cover, so i can start installing everything and build the water cooling loop.
 
Back
Top Bottom