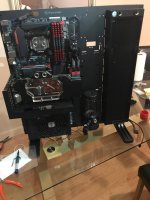
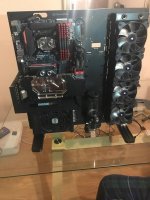
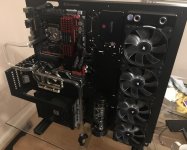
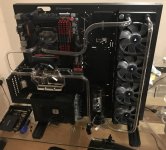
Hi All!
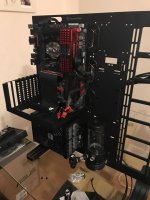
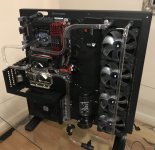
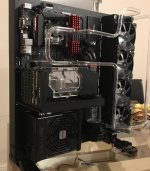
So this is going to be my first full project log for a build! I've done previous builds! My last was almost 4 years ago now so this is a refresh of my current setup with lots of new toys! Basically keeping the Mobo/CPU/Memory/PSU
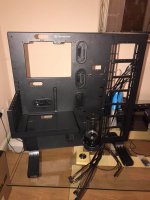
Case: Thermaltake Core P5 (New!)
Motherboard: Asus Maximus VII Ranger Z97
Processor: Intel i5 4670K
Memory: 4x4GB Corsair 1600Mhz DDR3
GPU: Gigabyte GTX1080 Ti Gaming OC (New!)
Storage: Samsung 256GB 840 Evo + Samsung 512GB 840 Pro
PSU: SuperFlower 1000W Gold Fully Modular
So theres the main system components the GPU is going from a MSI GTX970 4GB to the 1080Ti which I'm excited about! Hold of until the launch of Vega just in case it was a strong contender but the 1080Ti won it for me!
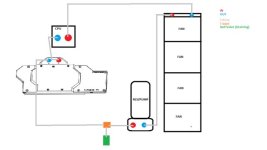
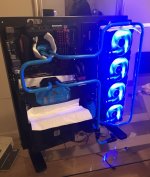
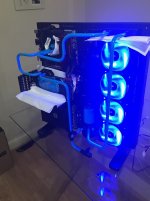
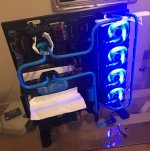
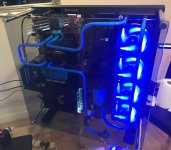
The fun part of this build is going to be the Watercooling element! I've previously used AIO Started with a H80 back in the day then upgraded to a H110. So I've always loved the look of watercooling back in the days of it being Soft Tubing! HardLine tubing is just something else! So I've bitten the bullet and ordered the below also!
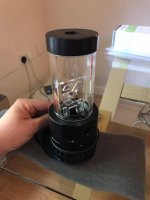
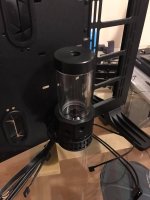
Res: EK-XRES 140 Revo D5 PWM
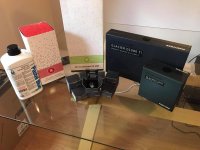
Rad: EK-CoolStream XE 480
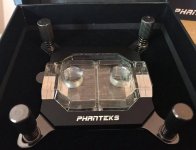
CPU Block: Phanteks C350i
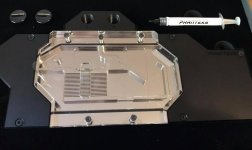
GPU Block: GTX 1080Ti Full Cover Water Block
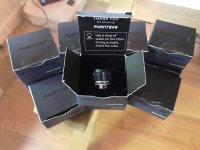
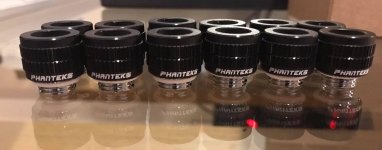
Fittings: 8x 12mm G1/4 8x Satin Black
Tubing: 12/10MM EK-HD PETG Clear
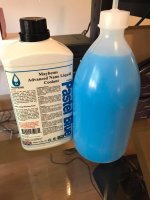
Coolant: Mayhems Pastel - Blue Coolant
Then the necessary tools etc for Bending and Cutting the tubing!
All I'm going to say is I'm really excited to be doing this build!
Will post pics as soon as the parts come in!


 Do note those ball valves do not completely seal. Well, mine didn't any way, so I would put a cap in the end also.