Don
After my success with the iCade resurrection I decided that I wanted to make something from scratch. it needed to be table-top and look good. So, without further ado.....
I had this old laptop kicking around. It's an Acer Aspire V. 8GB ram, a 60GB SSD and an i5-3000 series CPU. Lets build something.

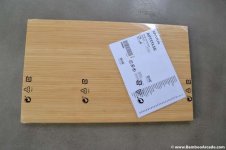
Ikea Aptilig chopping boards are an excellent source of good quality bamboo. They're cheap too.
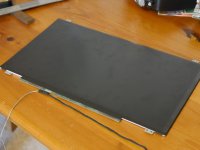
Screen out of the laptop
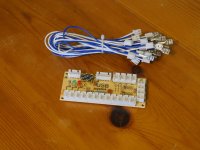
I'm going to use two of these joystick controllers. I've used them before and they are low latency and seem to be reliable.
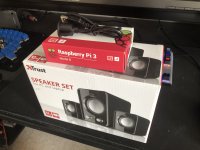
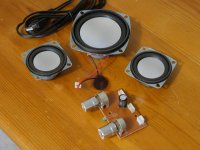
Some speakers I'm going to use. Ignore the Pi. That was for another project.
Speakers apart.
Side panels cut and screw holes countersunk.
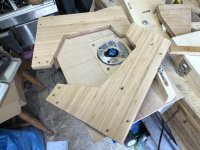
I routed the edges for a nice finish.
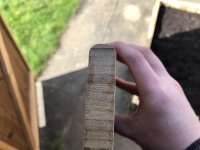
Close up of the countersinking.
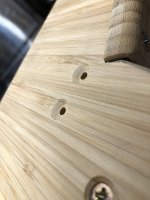
Screen back cut from 3/4" MDF and test fitted.
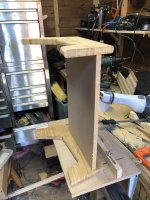
Button and joystick panel cut, routed and holes made.
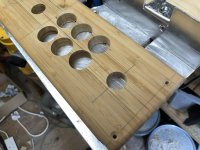
Seems to all line up so that's good.
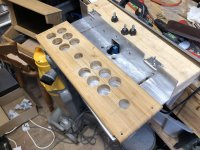
Countersinking for joystick screws.
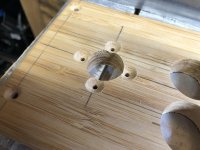
Routed so it looks tidy.
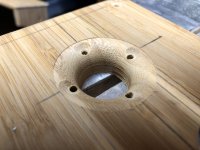
There we go.
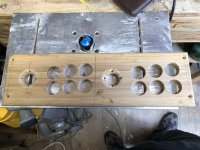
Test fit of the buttons and joysticks. I'd not yet routed the joystick holes when this was taken.
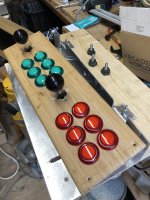
I love Forsner bits.
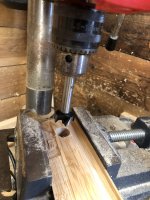
Power button test mounted on front panel.
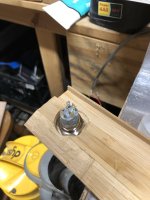
Looks OK.
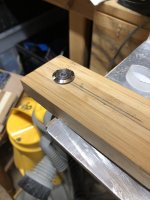
Front panel buttons all test mounted.
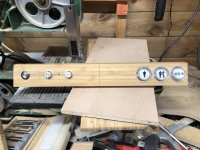
Auxiliary buttons mounted. This panel goes between the main button panel and the screen.
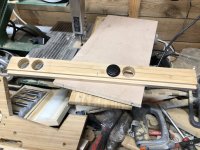
Test fit of all the panels. Looking good.
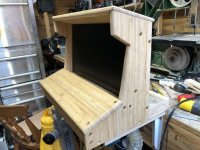
View from underneath.
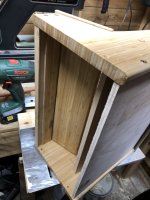
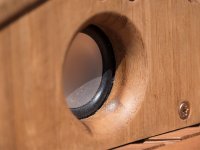
Hole for the speaker.
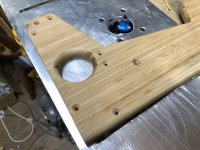
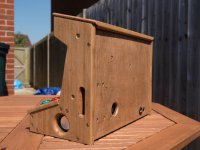
Holes for the speakers and a vent for the laptop CPU cut on one of the side panels.
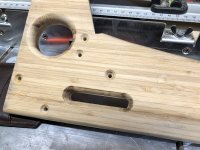
Top panel cut and routed.
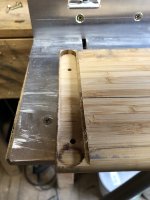
Motherboard test mounted on rear panel.
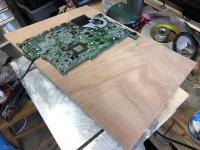
Fan hole cut and a few standoffs mounted.
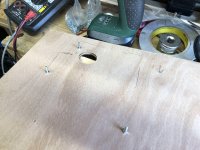
All the holes for the standoffs, CPU fan, USB port, and power socket cut and routed.
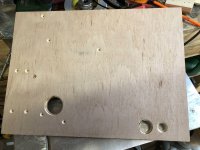
This is the power button for the laptop. I want to retain the USB port so I needed to remove the button and add some wires to my metal power button on the front panel.
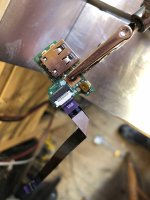
Wires added.
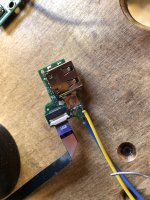
Now to make the wood look nice. I love this stuff. It stinks though.

Wire wool to apply the wax. It lightly scratches the wood helping it penetrate.
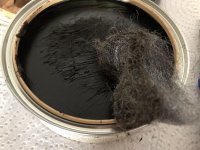
All waxed and waiting to dry.
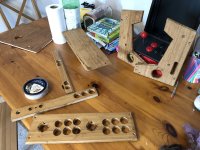
Speakers and buttons mounted. The circuit board is the control panel for the speakers.
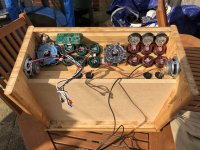
Motherboard wired up. The small blocks of wood on the right are ducting for the CPU heatsink.
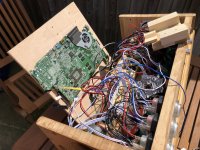
Wiring tidied up
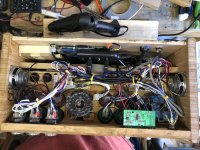
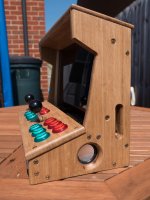
Finished
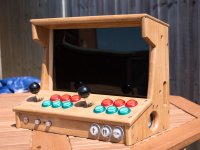
I had this old laptop kicking around. It's an Acer Aspire V. 8GB ram, a 60GB SSD and an i5-3000 series CPU. Lets build something.

Ikea Aptilig chopping boards are an excellent source of good quality bamboo. They're cheap too.

Screen out of the laptop

I'm going to use two of these joystick controllers. I've used them before and they are low latency and seem to be reliable.

Some speakers I'm going to use. Ignore the Pi. That was for another project.

Speakers apart.

Side panels cut and screw holes countersunk.

I routed the edges for a nice finish.

Close up of the countersinking.

Screen back cut from 3/4" MDF and test fitted.

Button and joystick panel cut, routed and holes made.

Seems to all line up so that's good.

Countersinking for joystick screws.

Routed so it looks tidy.

There we go.

Test fit of the buttons and joysticks. I'd not yet routed the joystick holes when this was taken.

I love Forsner bits.

Power button test mounted on front panel.

Looks OK.

Front panel buttons all test mounted.

Auxiliary buttons mounted. This panel goes between the main button panel and the screen.

Test fit of all the panels. Looking good.

View from underneath.

Hole for the speaker.

Holes for the speakers and a vent for the laptop CPU cut on one of the side panels.

Top panel cut and routed.

Motherboard test mounted on rear panel.

Fan hole cut and a few standoffs mounted.

All the holes for the standoffs, CPU fan, USB port, and power socket cut and routed.

This is the power button for the laptop. I want to retain the USB port so I needed to remove the button and add some wires to my metal power button on the front panel.

Wires added.

Now to make the wood look nice. I love this stuff. It stinks though.

Wire wool to apply the wax. It lightly scratches the wood helping it penetrate.

All waxed and waiting to dry.

Speakers and buttons mounted. The circuit board is the control panel for the speakers.

Motherboard wired up. The small blocks of wood on the right are ducting for the CPU heatsink.

Wiring tidied up

Finished


 .
.