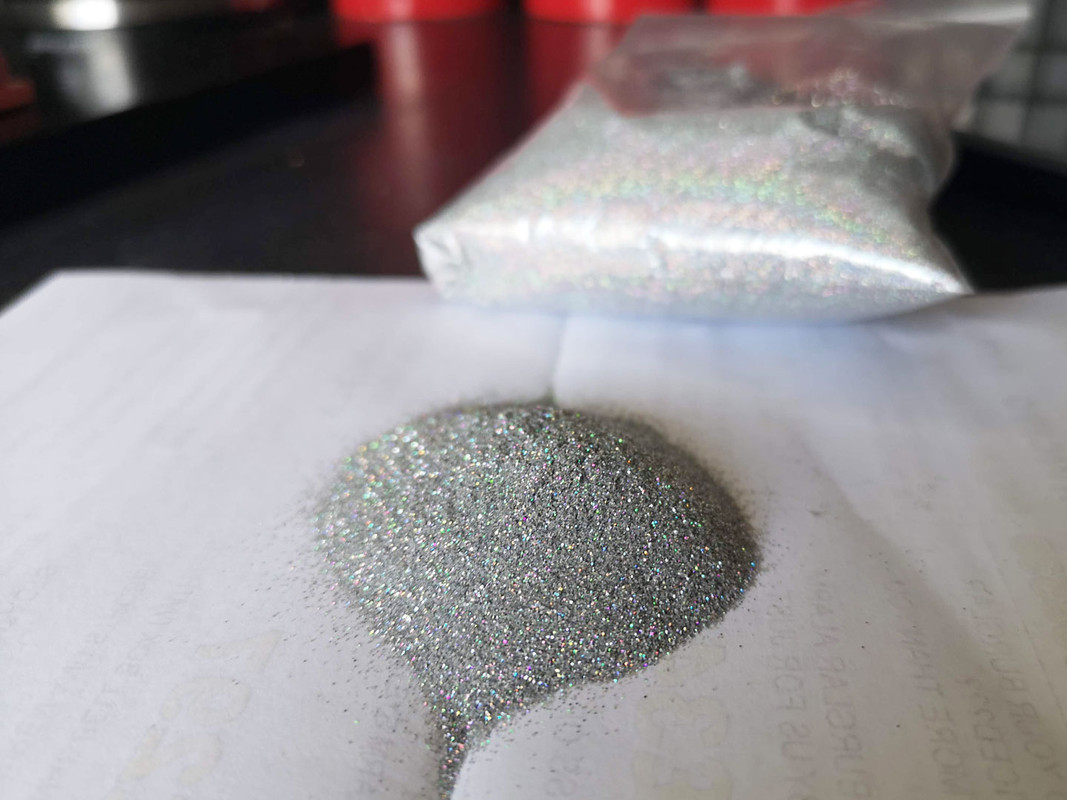
Spotted the glitter before you mentioned, it's excellent! Makes me want to start a new build and see how
bad awesome I can make it!
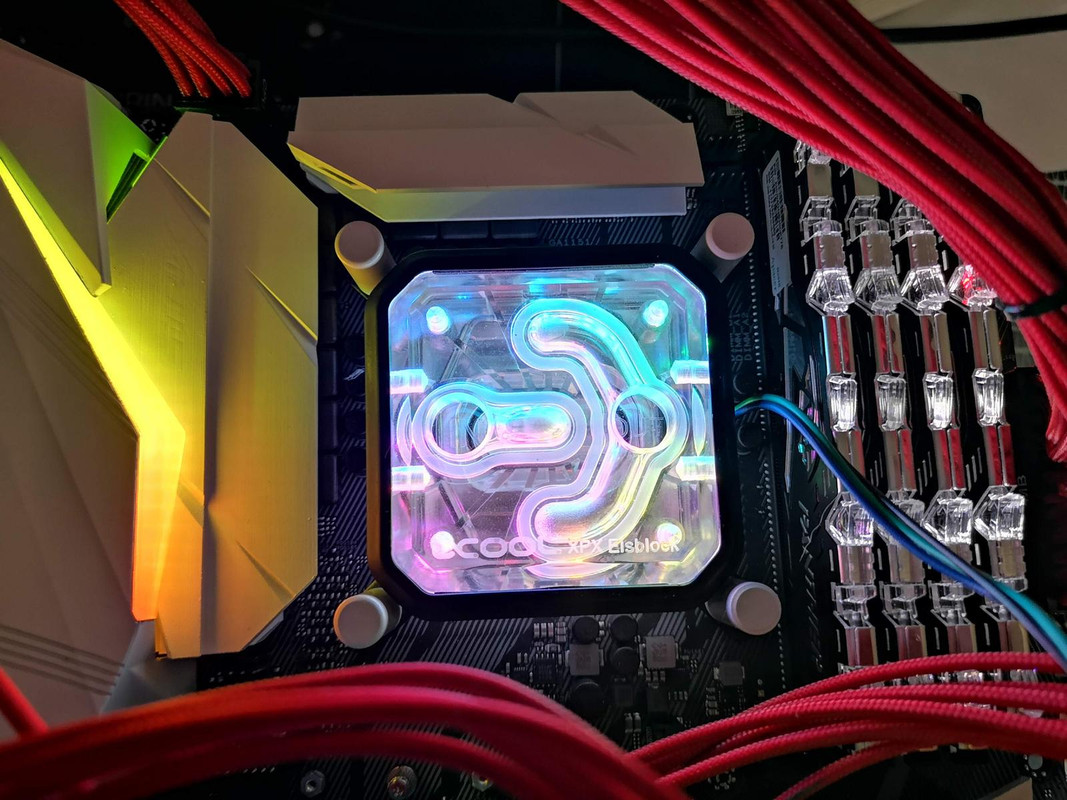
Also loving the link between GPU blocks, that's really cool
")
Get it started! We need horrible builds everywhere. I mean Awesome, Awesome!
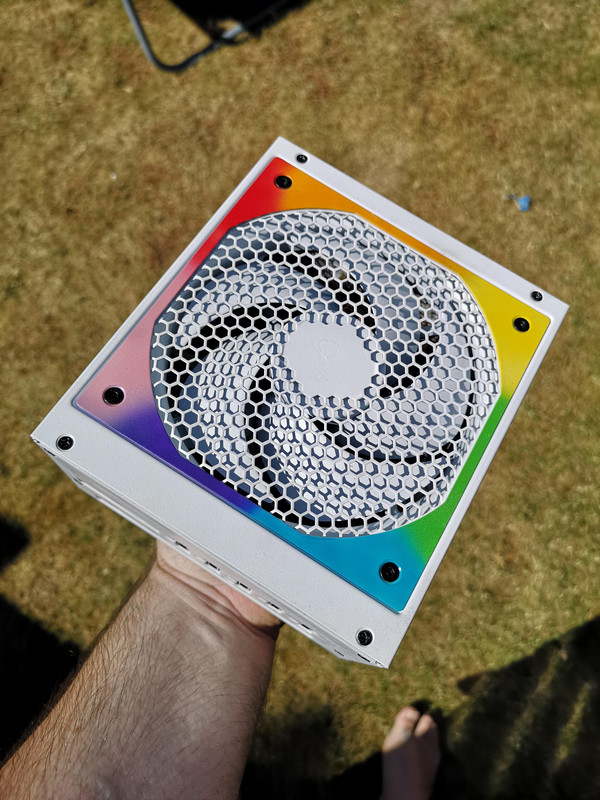
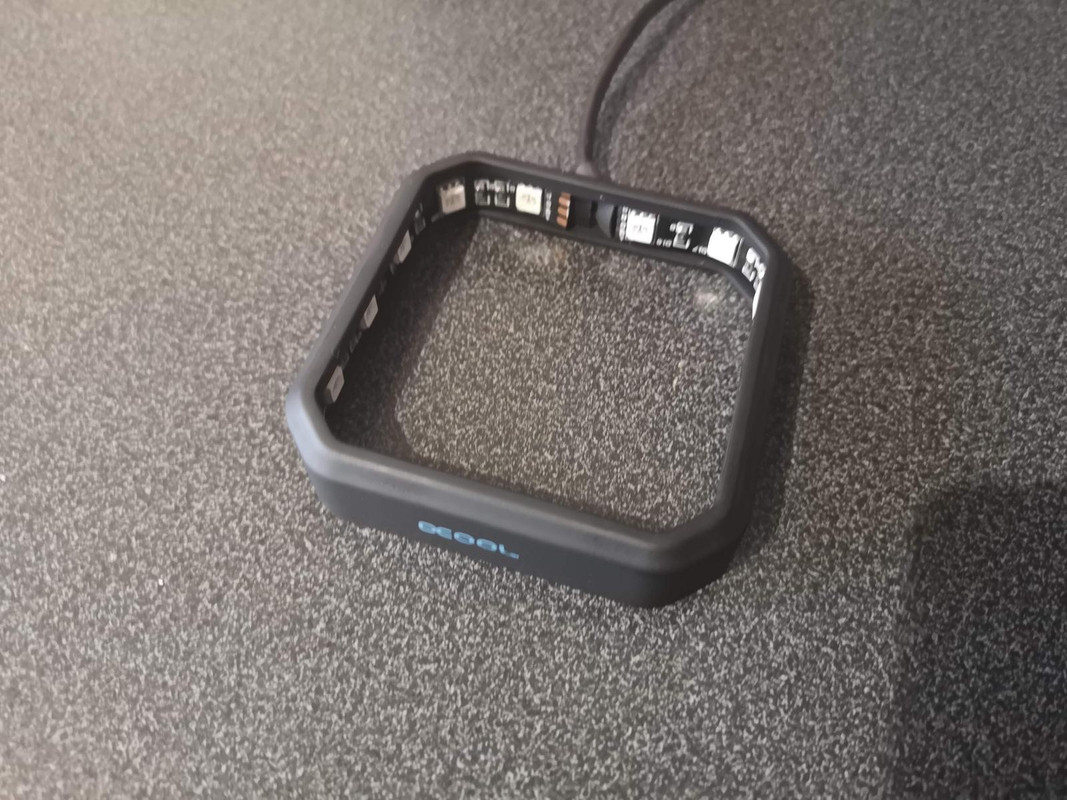
nice... so will be looking at addressable RGB XPX ring then from Alpha ?

I hope not. I hate seeing RGB everywhere. I mean, long live the RGB overlords!
")
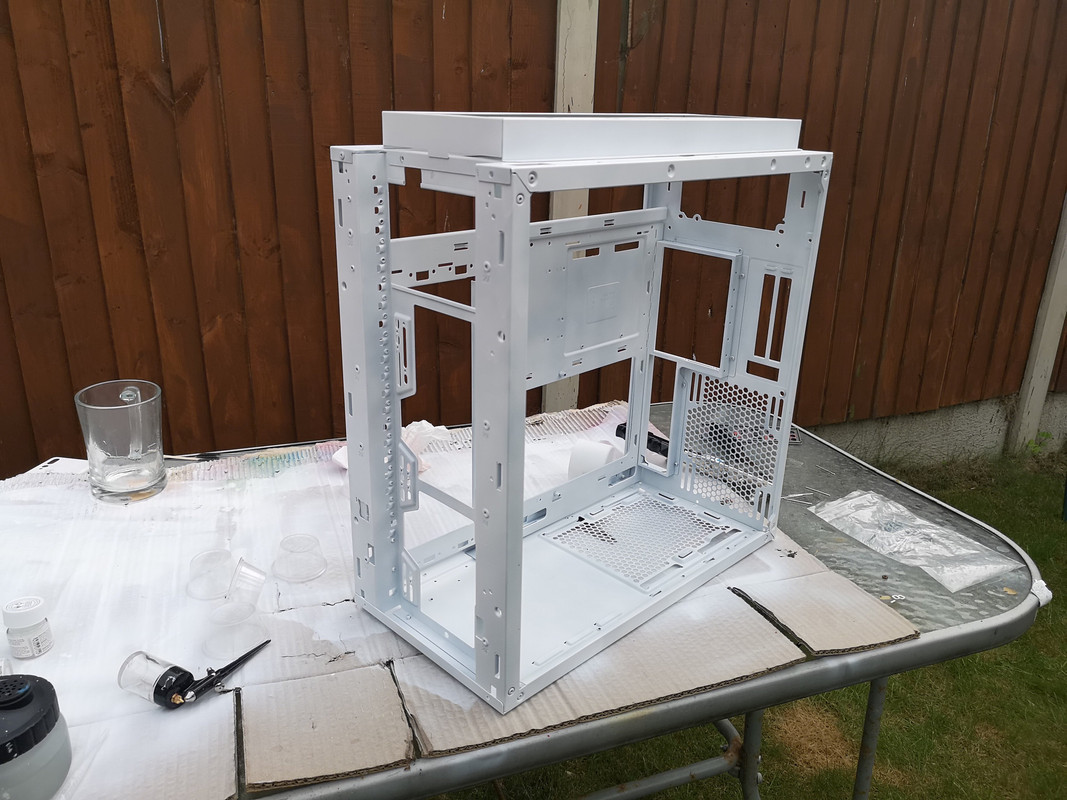
Well, it's that time again - another update!
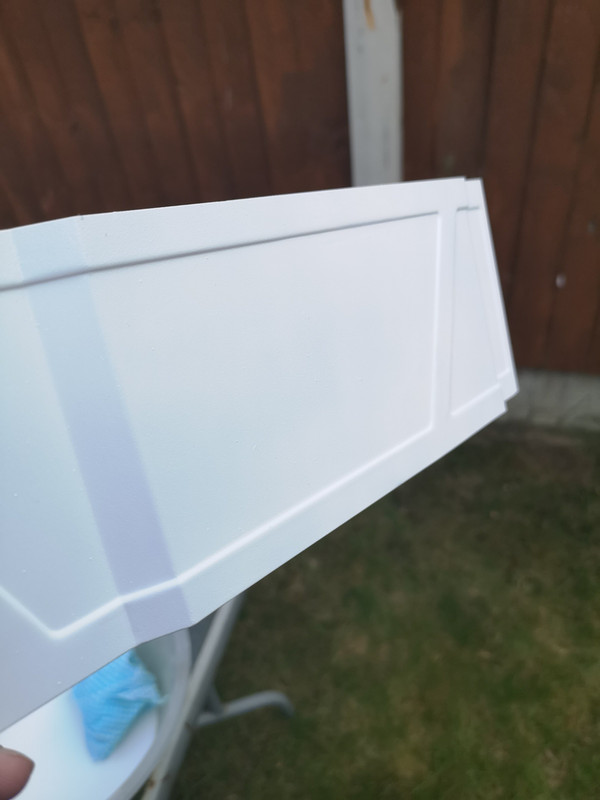
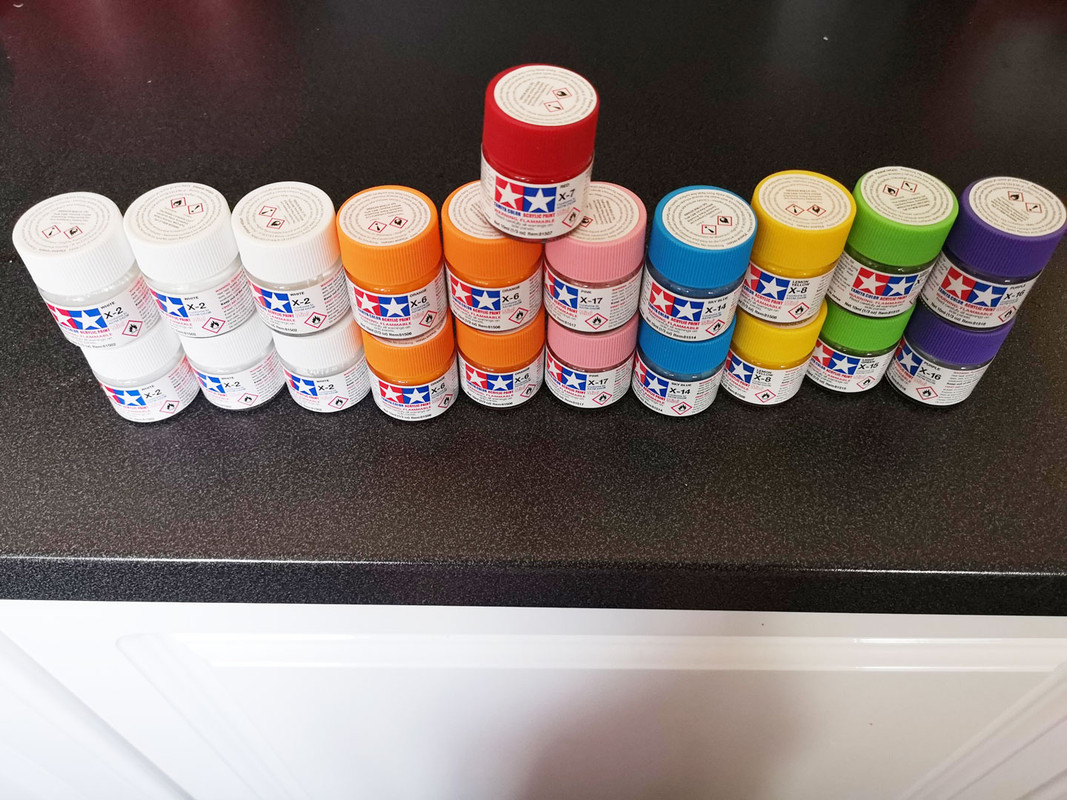
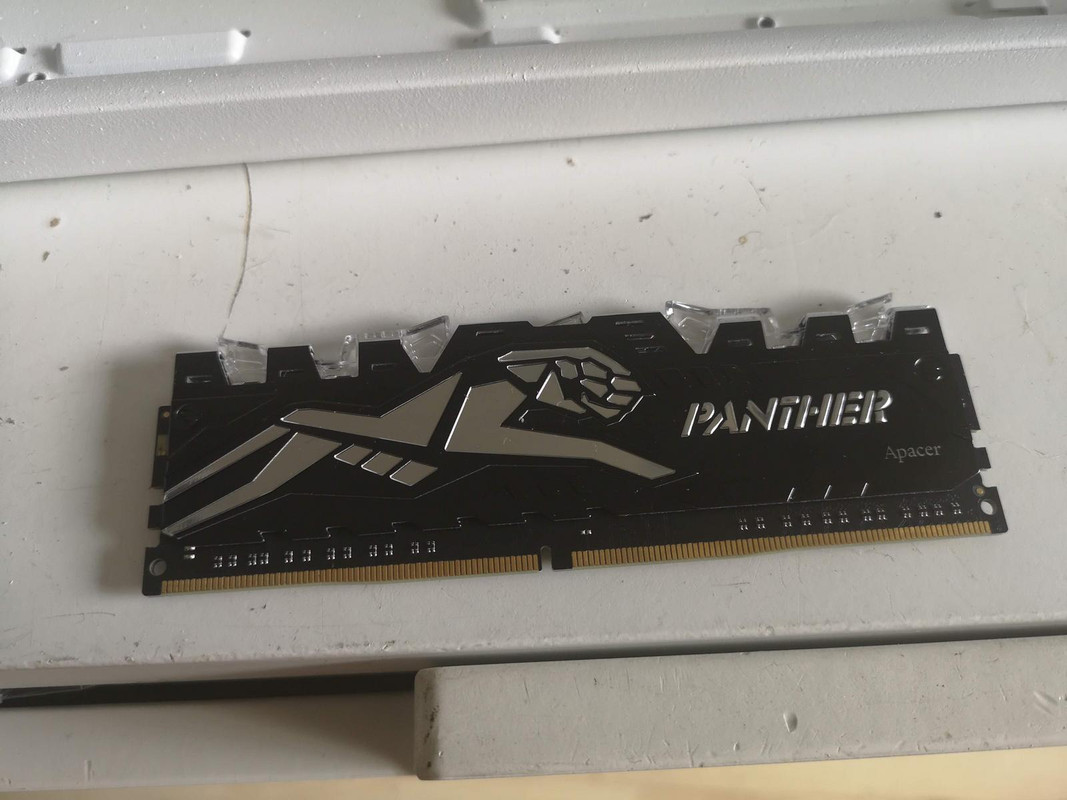
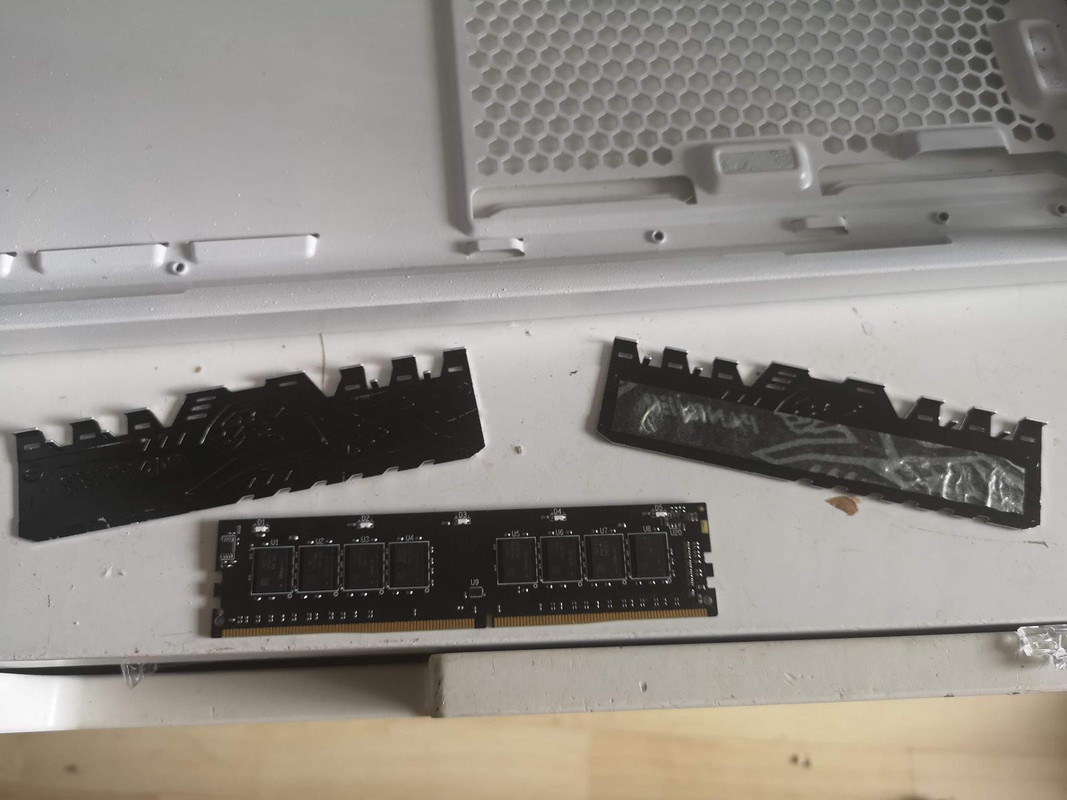
So after the last test build, there seemed to be WAAAAAY too much white and I wasn't a huge fan of the ram colour either. black and silver heatsinks with a white light - it just didn't fit.
So, time to spray again! sigh.....
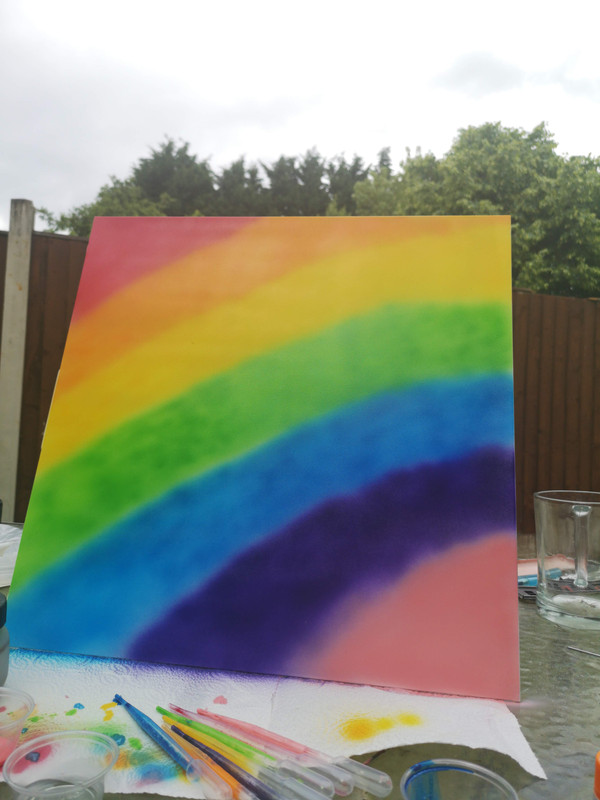
Here is a quick reminder of what the RAM looks like. in the ideal world, I would make brand new heatsinks with "Unicorn" written on them and a similar style unicorn but, 1. I don't have the time to do it. 2. I don't have the tools to do it and 3. I don't have the skill to do it
So, a different idea.
First job is to heat up the heatsinks and get them off the modules - nice and easy!
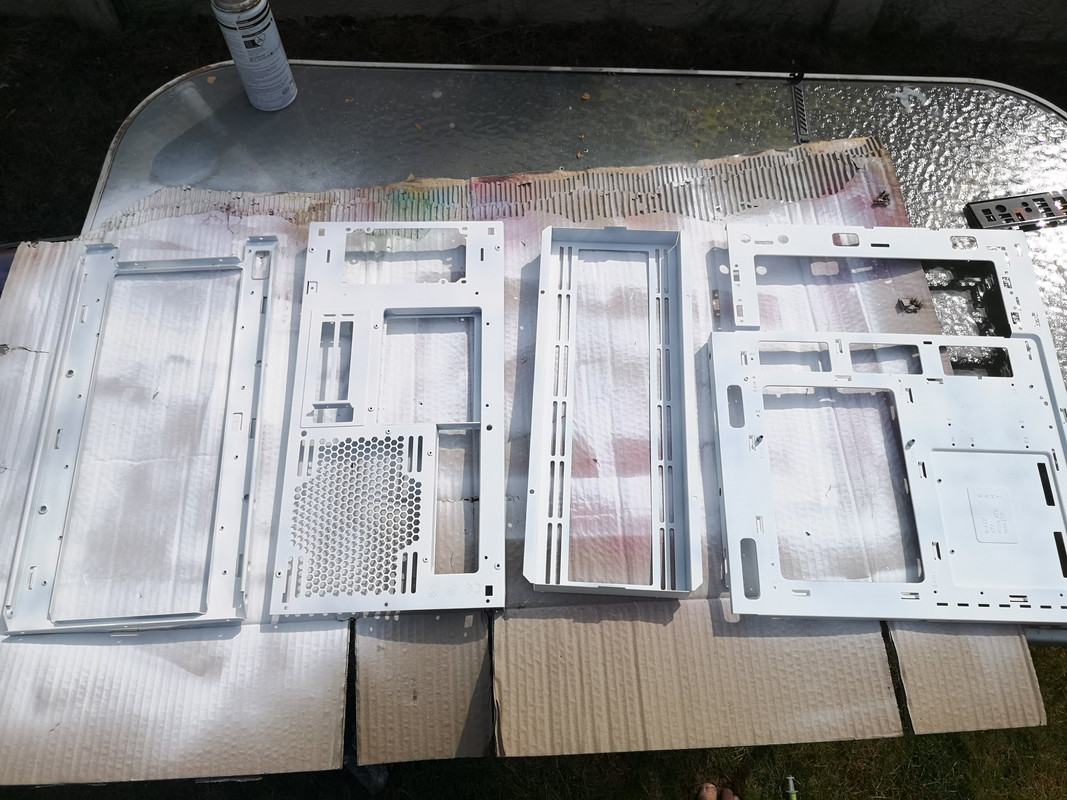
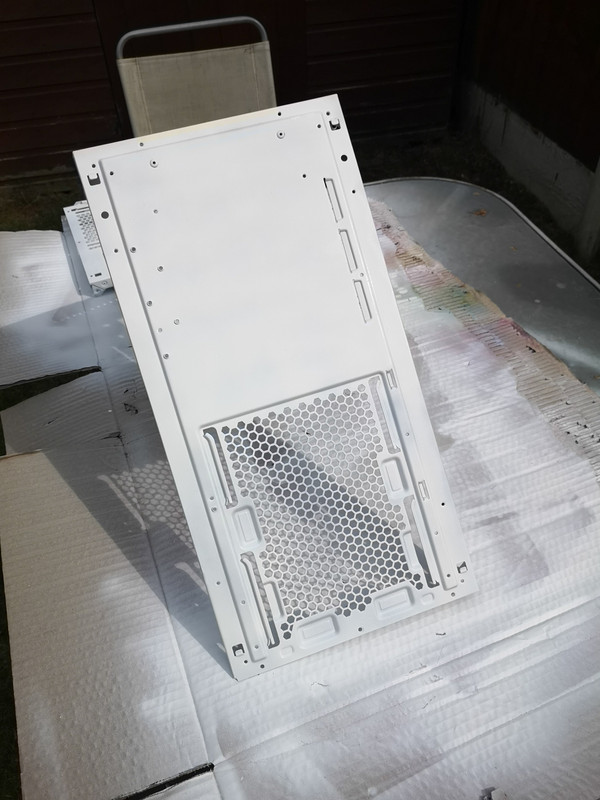
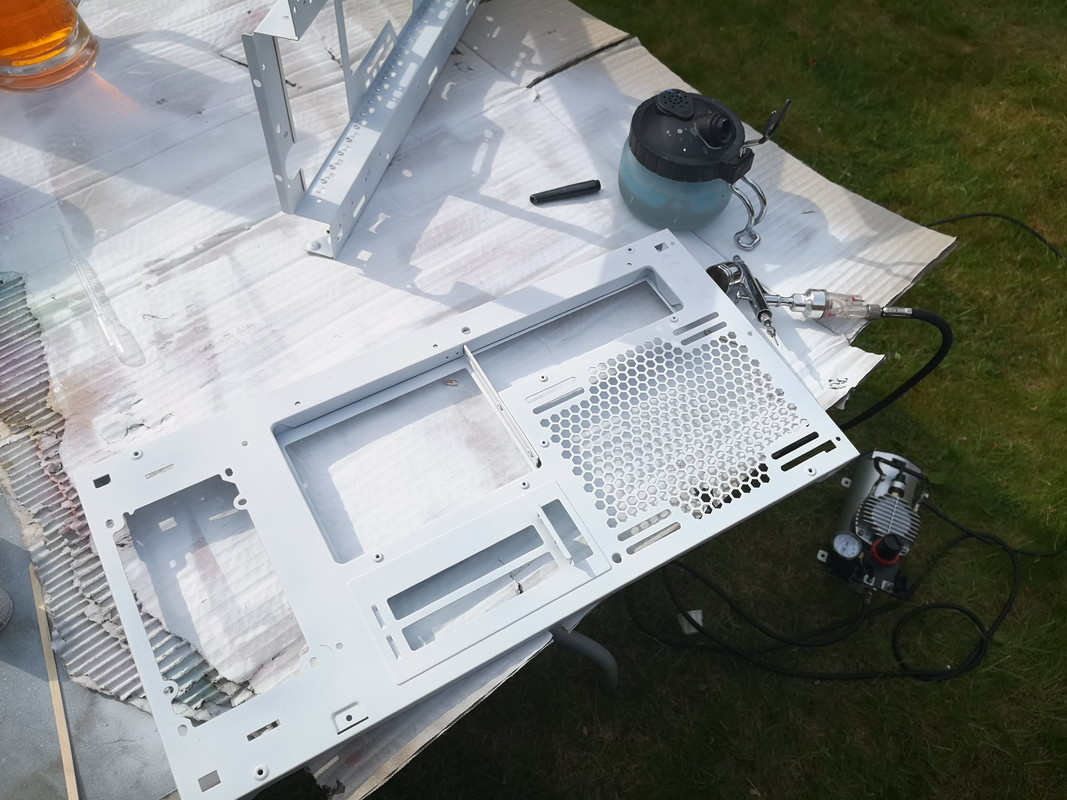
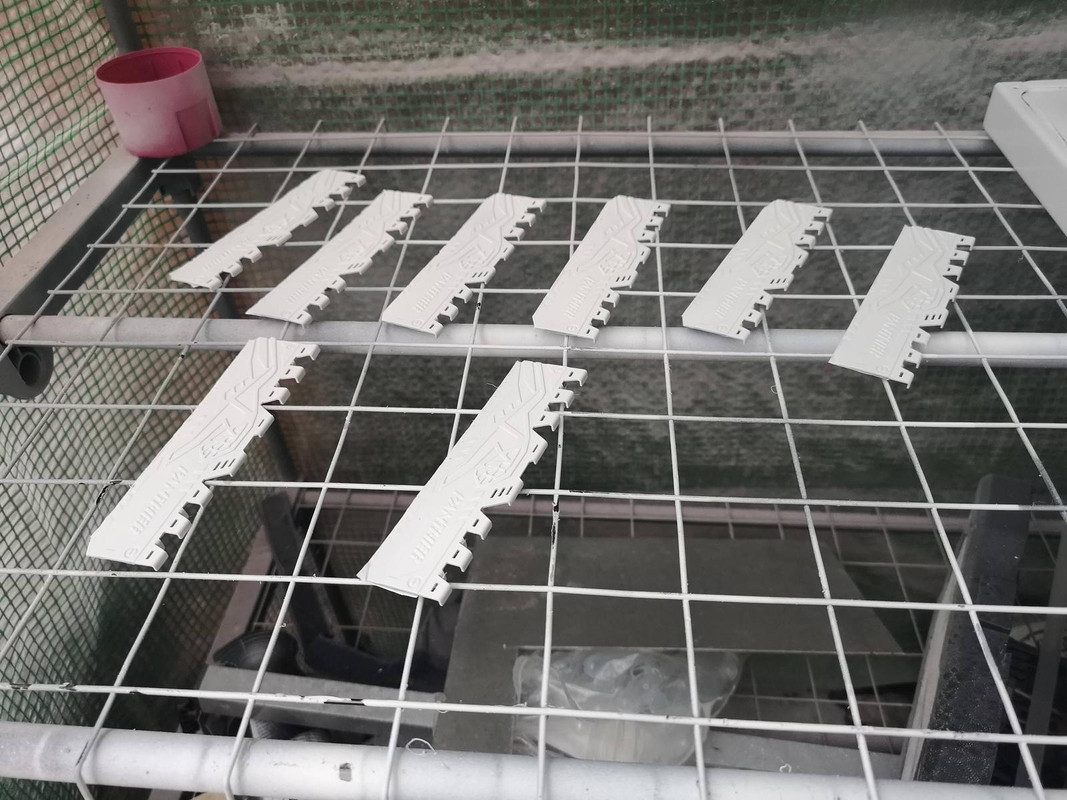
Then it's time for the primer party.
A coat of white makes everything right.
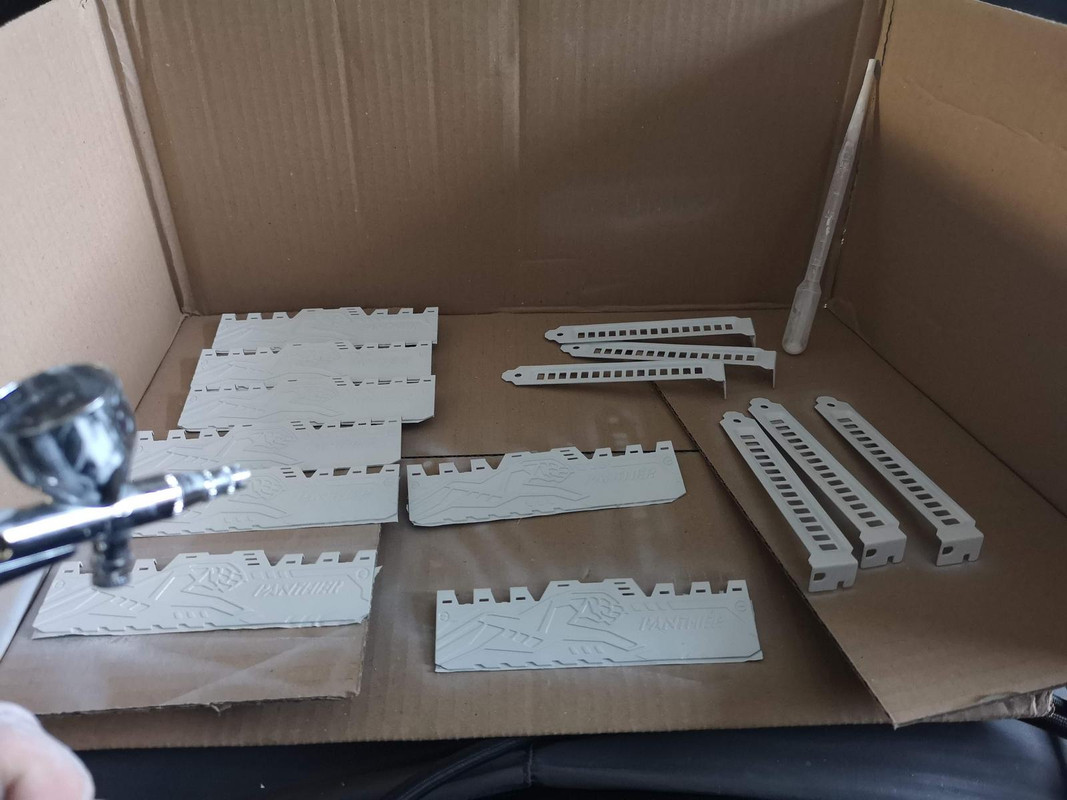
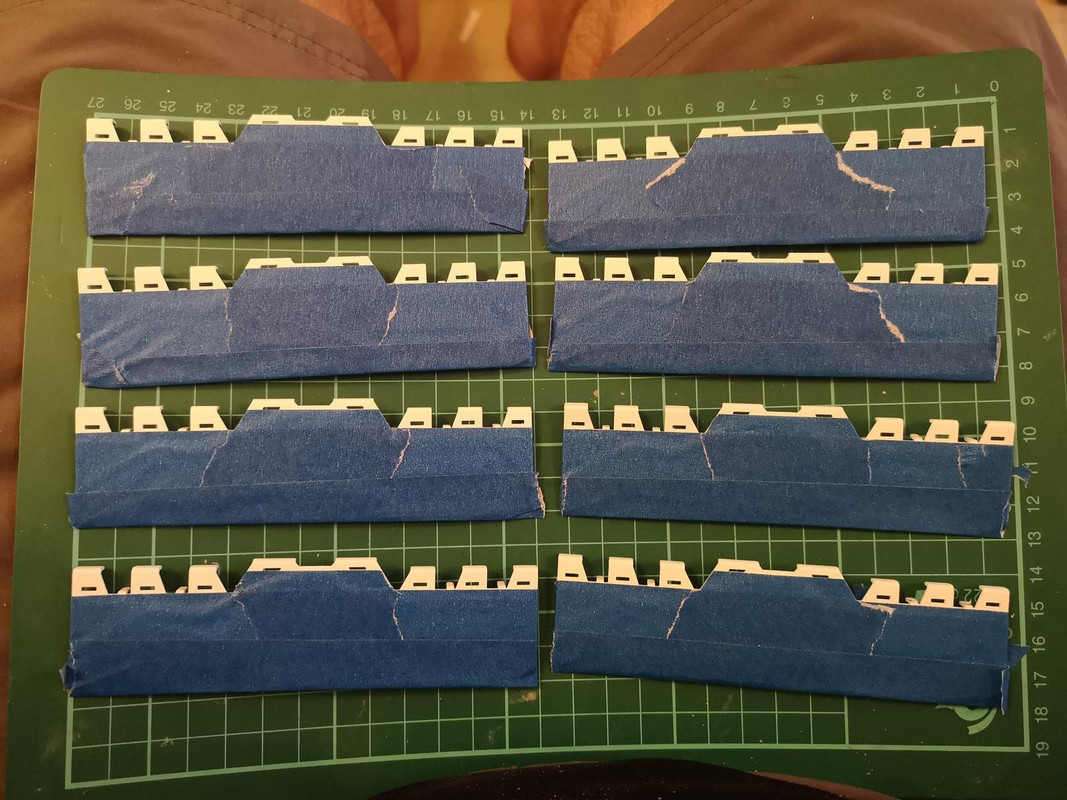
Time for the M.A.S.K (anyone remember those toys? I used to love them!)
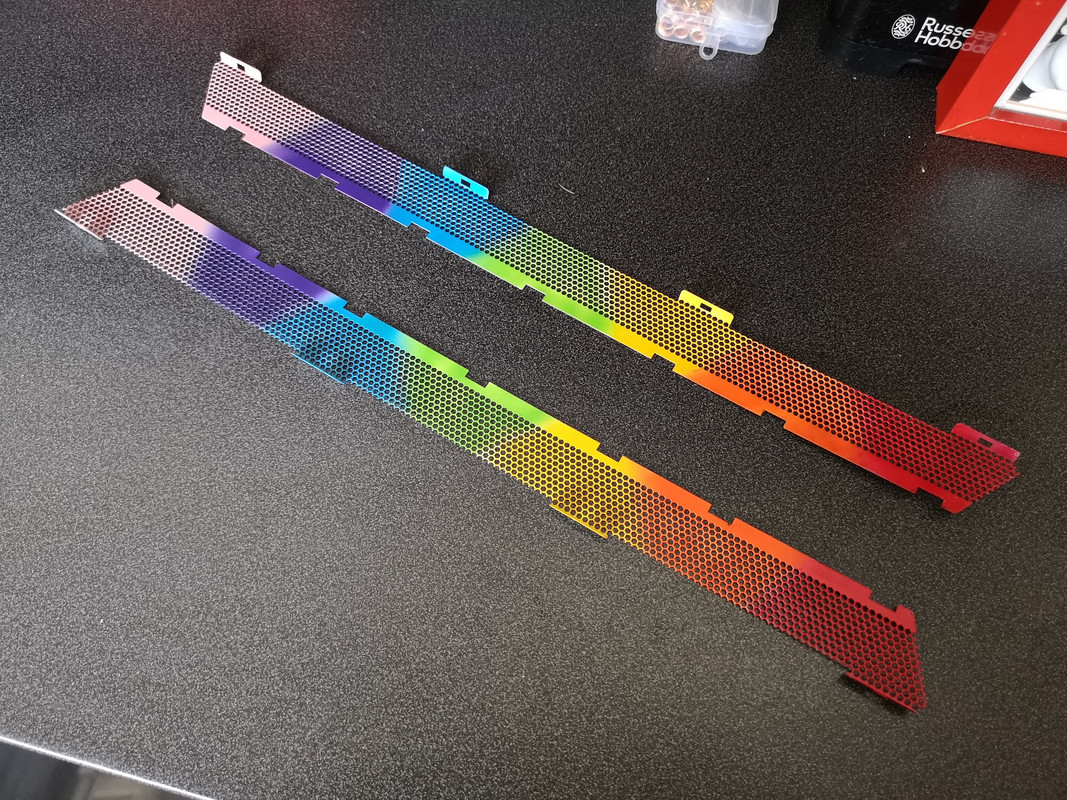
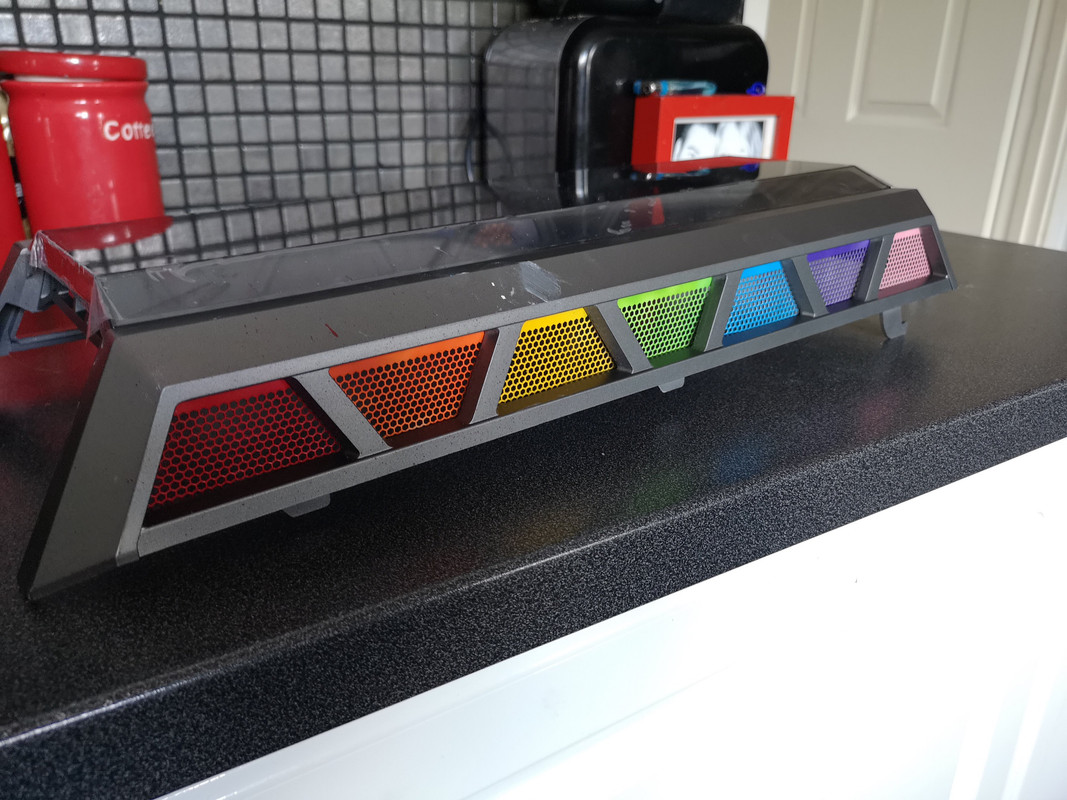
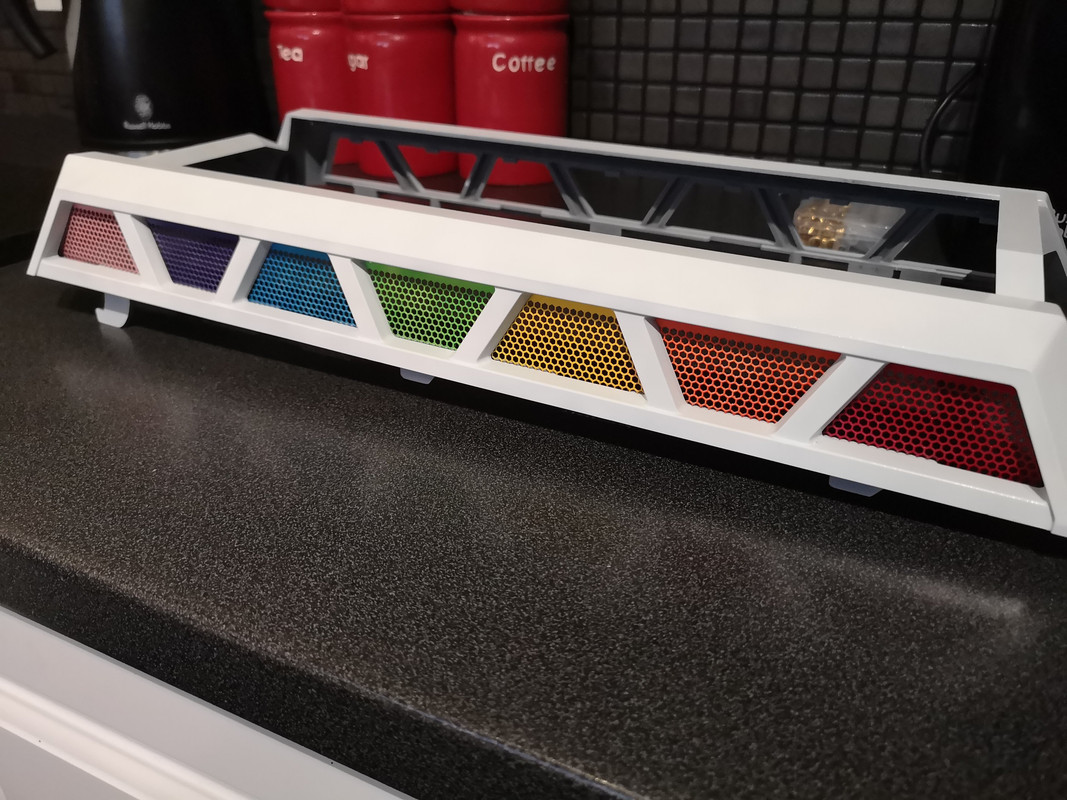
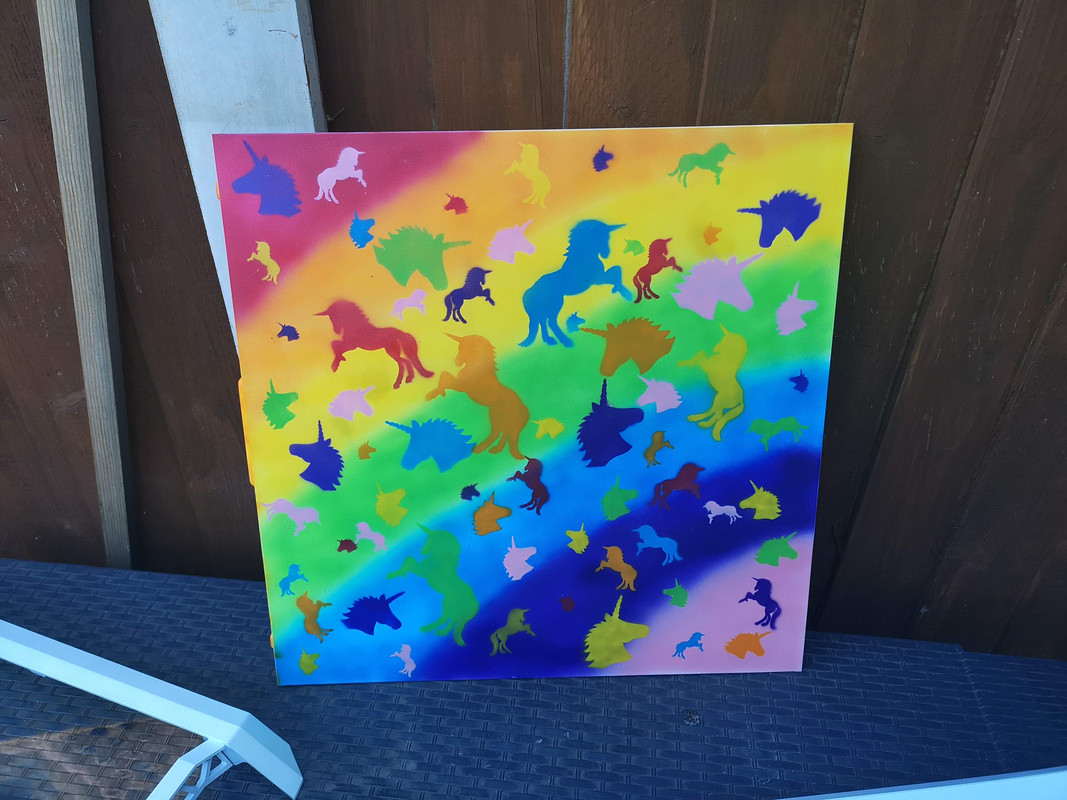
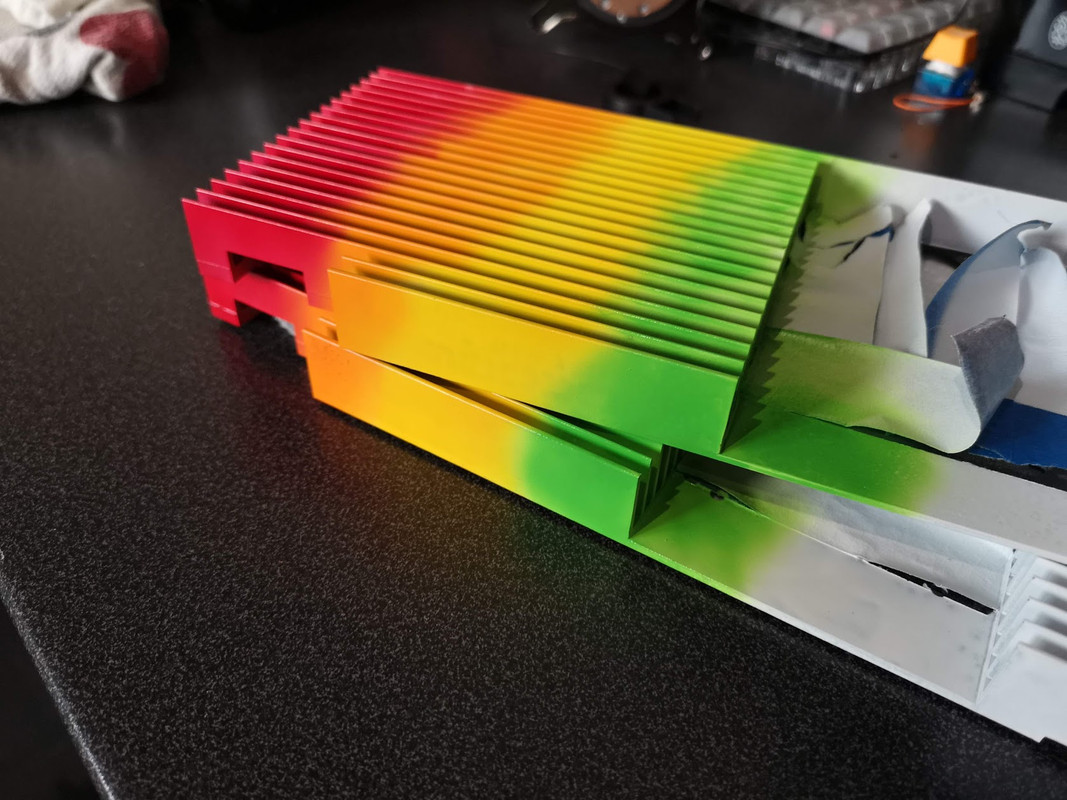
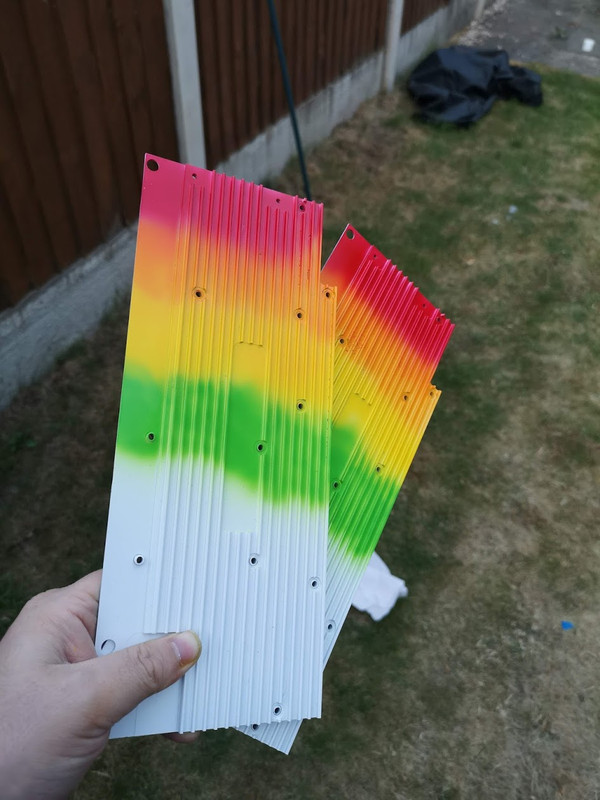
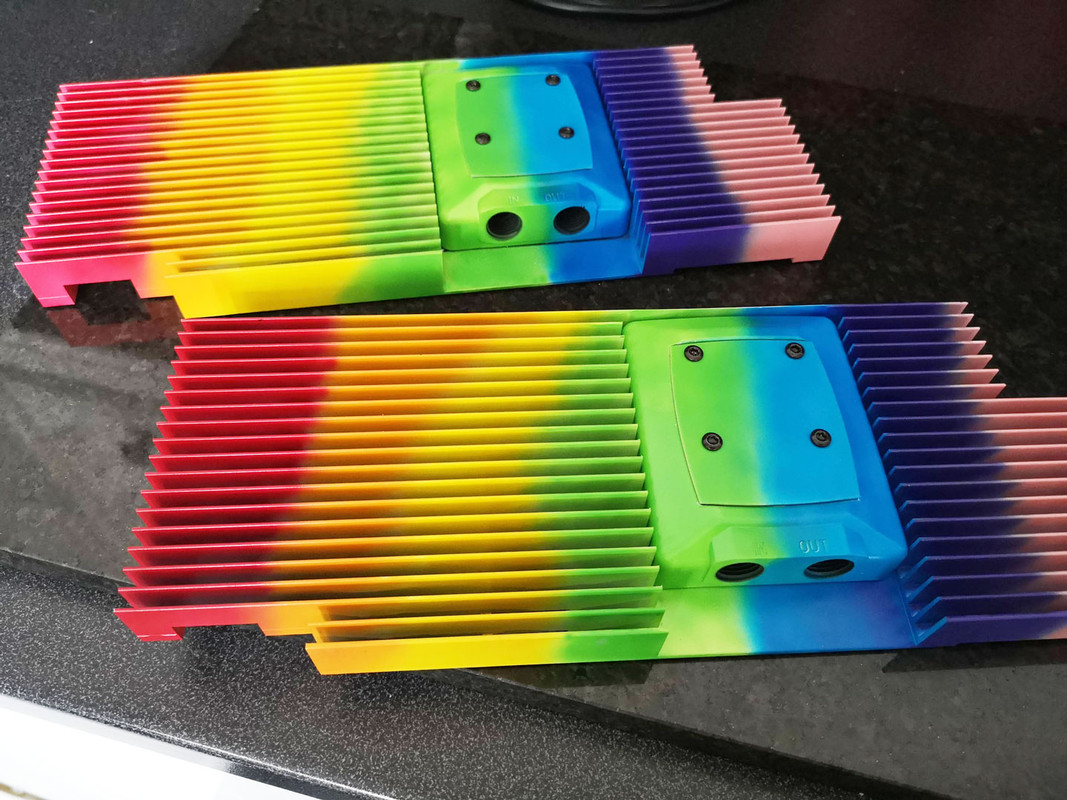
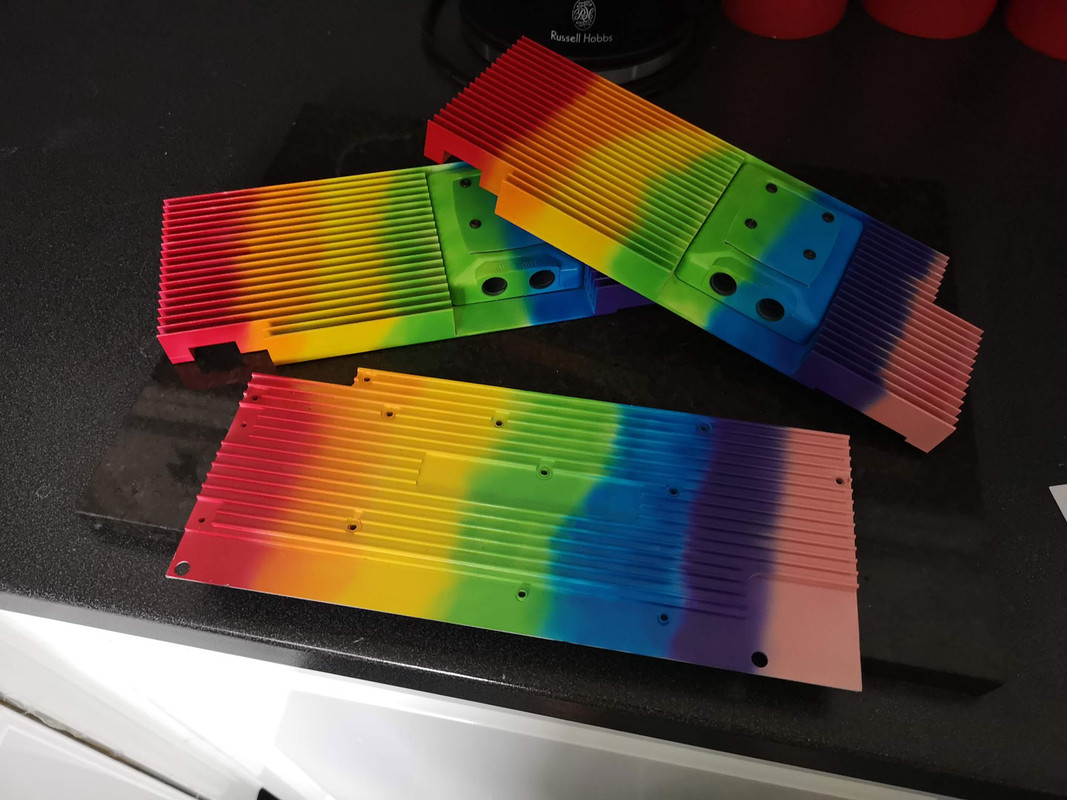
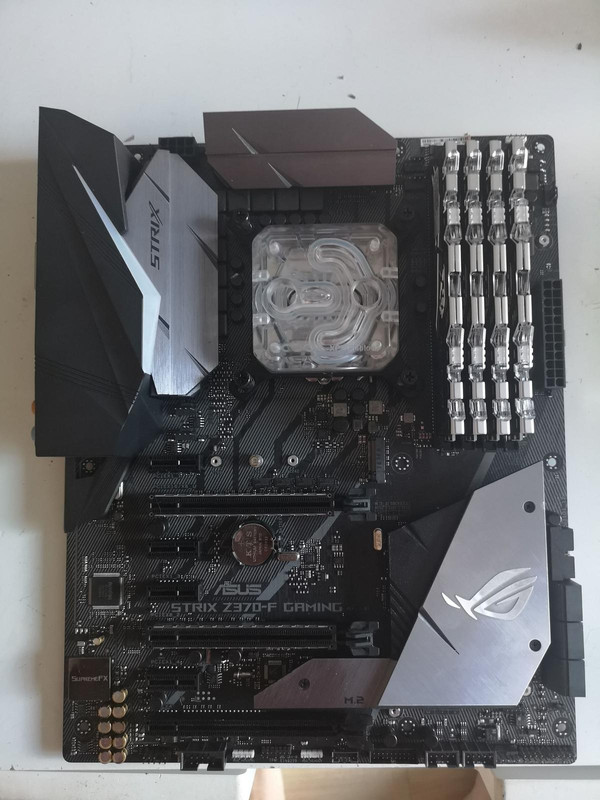
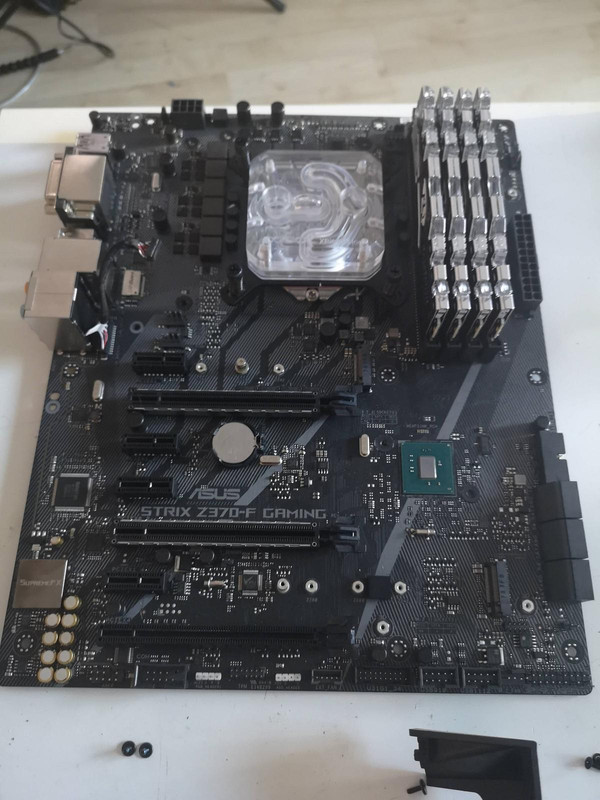
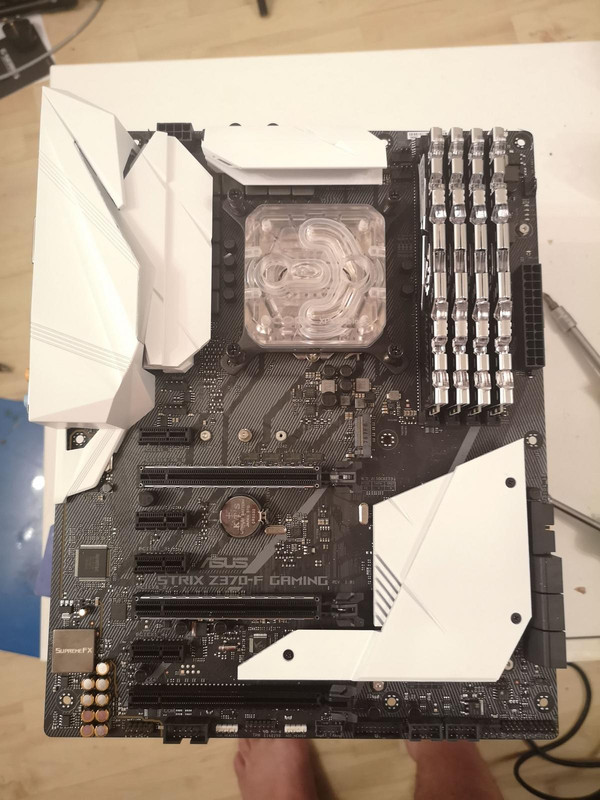
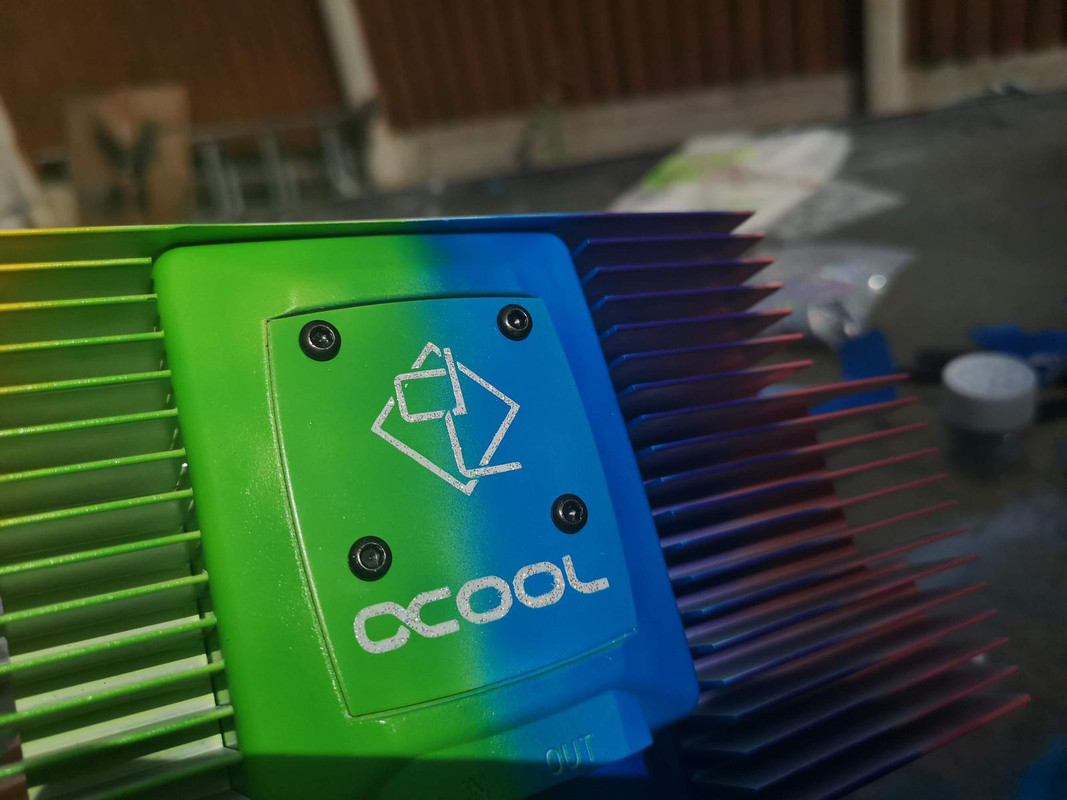
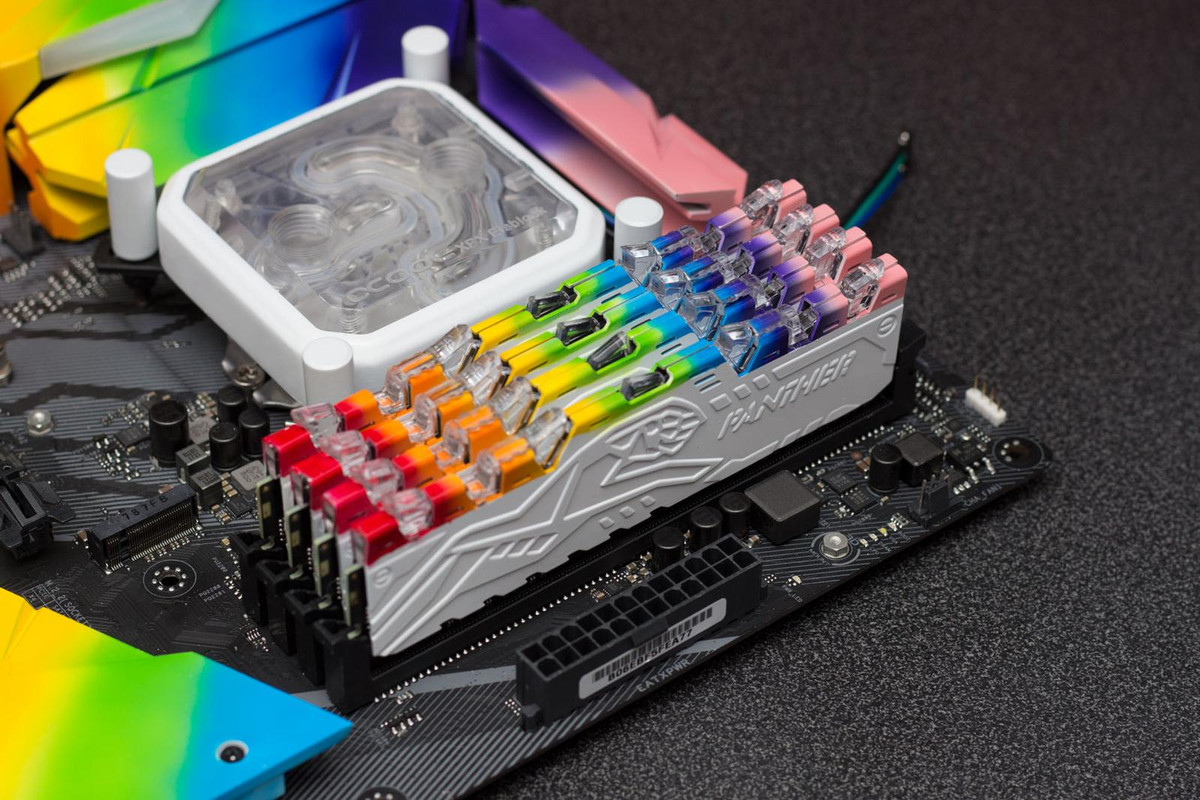
Time to get some colour on them, get some clear coat on them and bang them into the mobo!
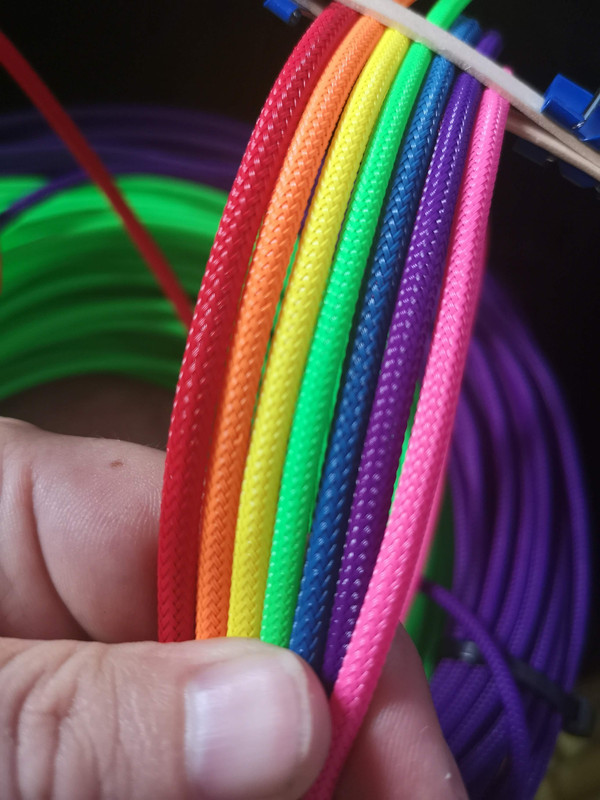
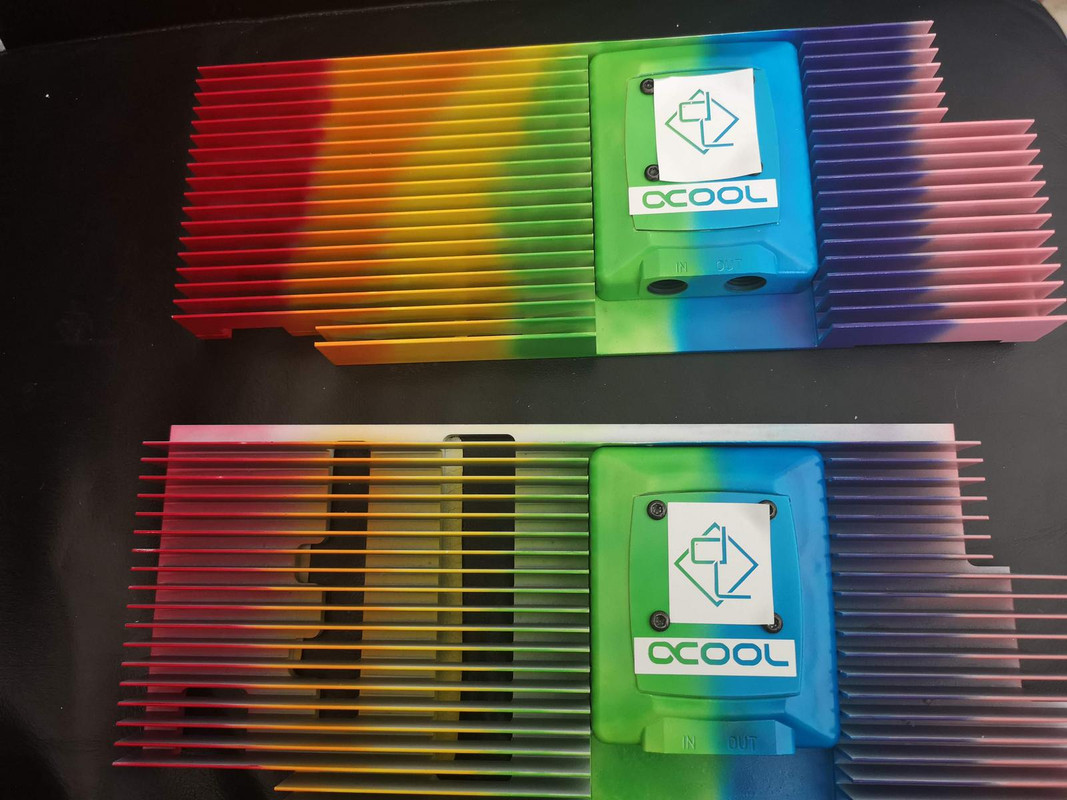
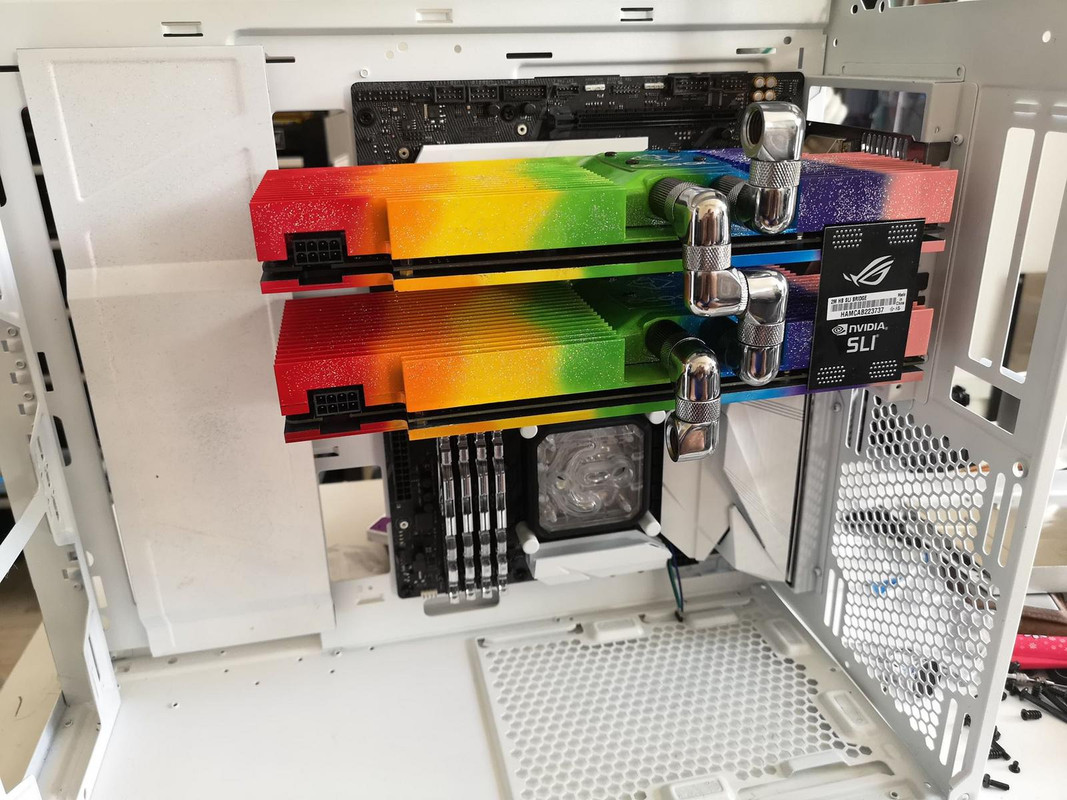
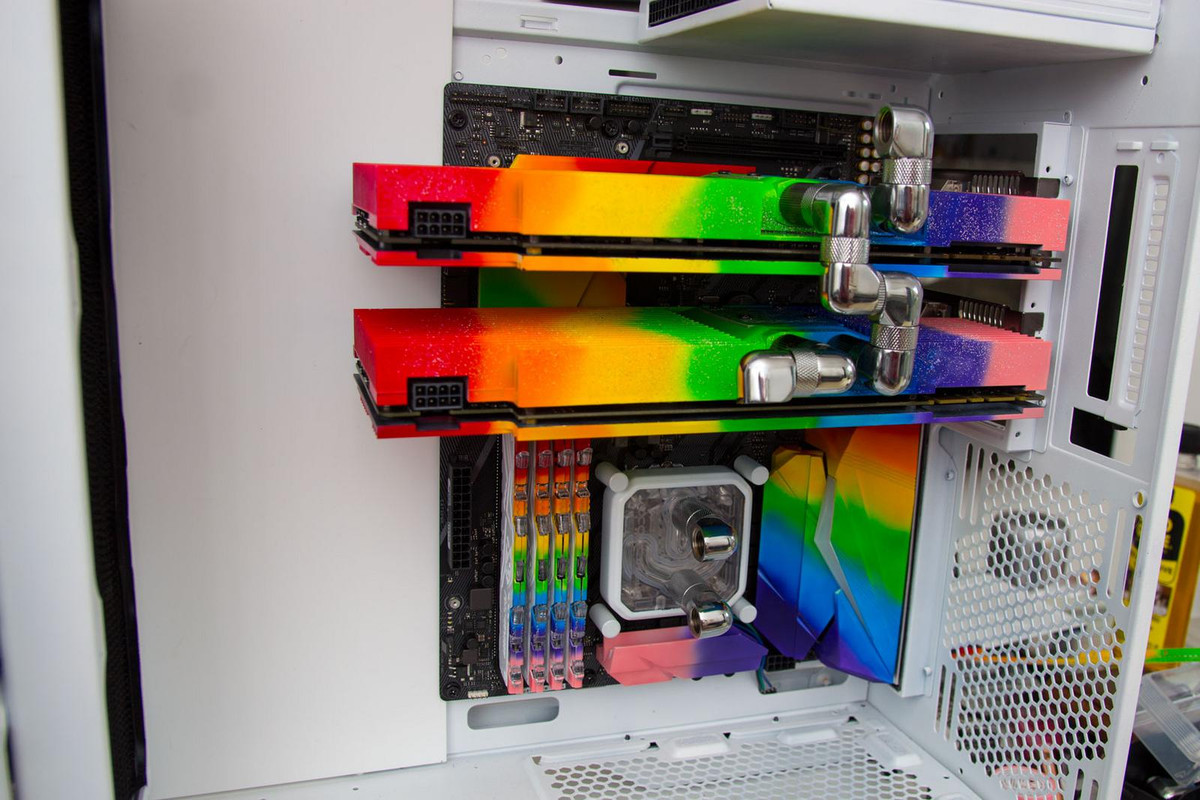
Oh Baby.....Wait... the rest of the board is... it's a rainbow!
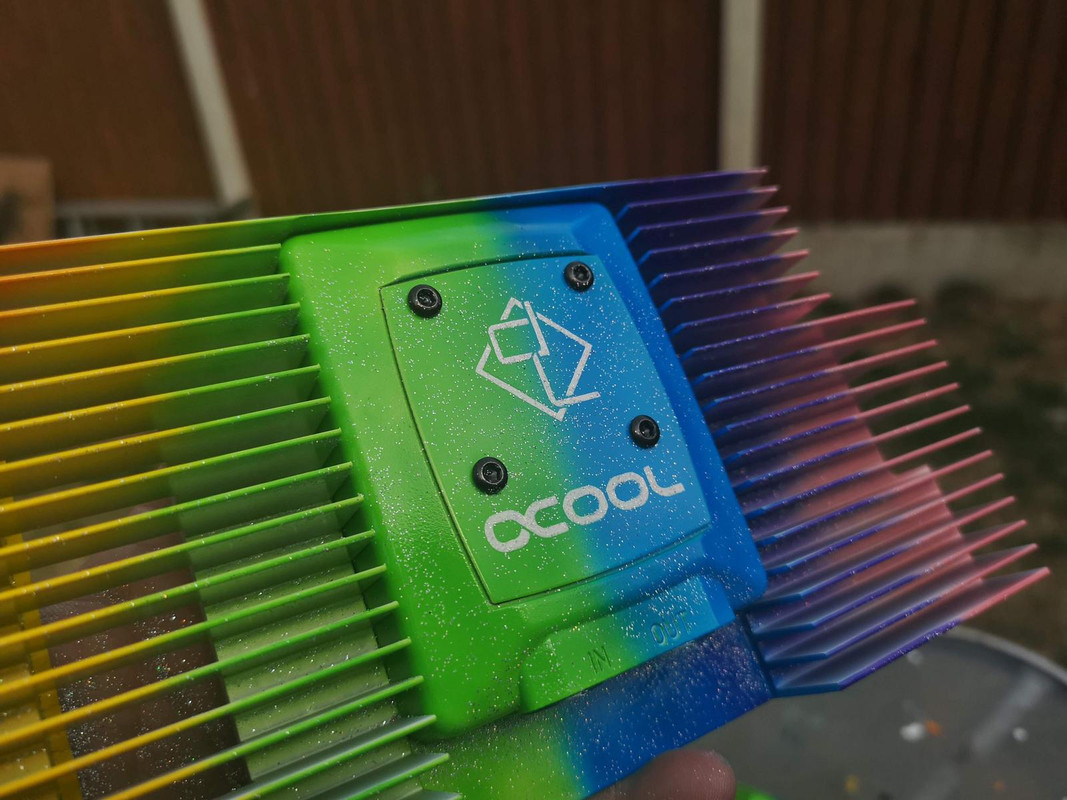
I only used light coats on the heatsinks and I didn't bother clear coating them, I don't like messing with them too much (he says when they're multicoloured -.- ) but at least it was in mind.
I did clear coat the ram and the plastic part of the board though
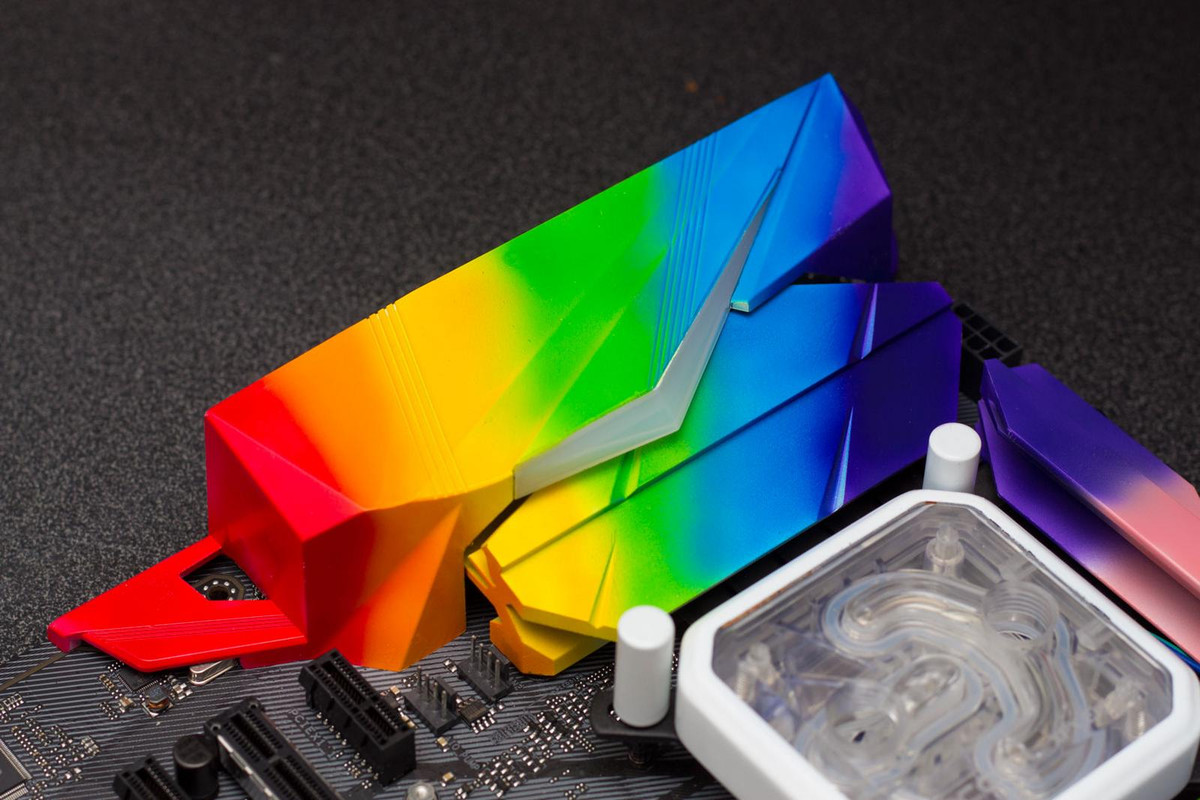
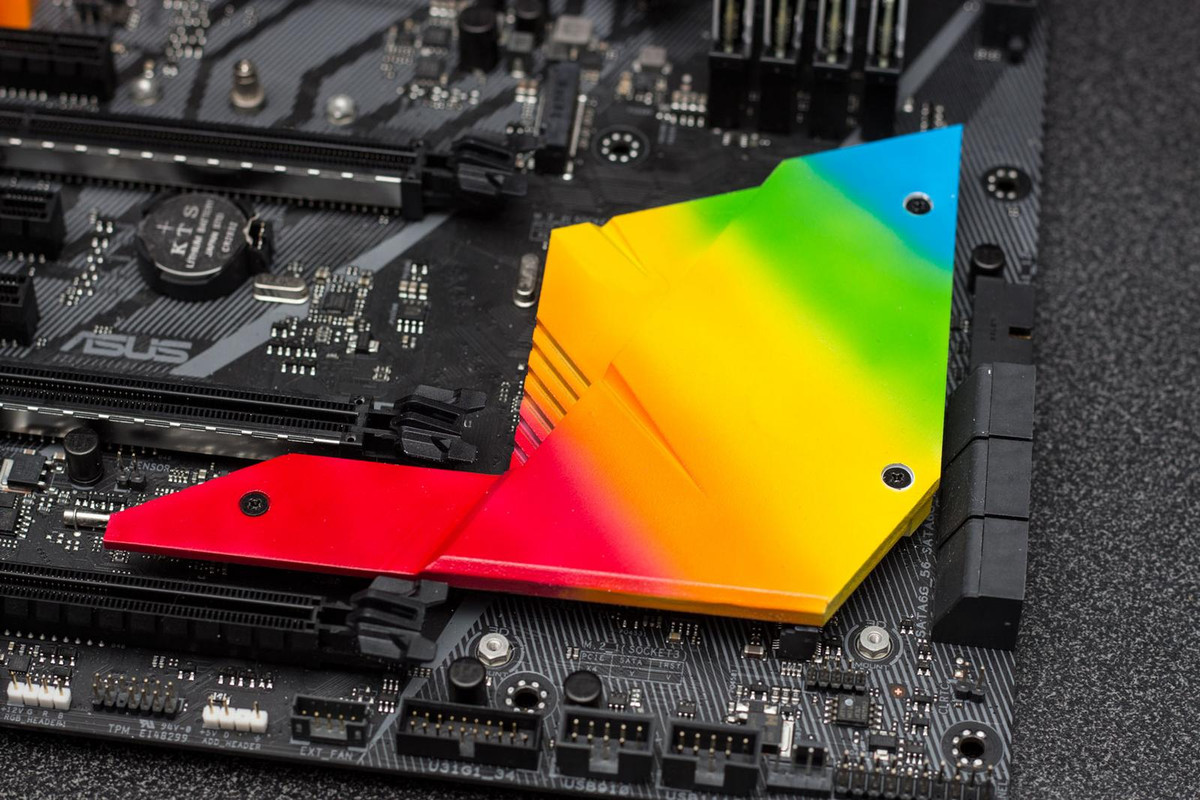
I was going to try and get everything to match up, then I realised most of it would be pink and purple on the right hand side and the ram would all be yellow and orange and it would just look a little strange. I REALLY like how this has actually come out. In fact, I am slightly disappointed that it does look really good I was hoping to extract many salty tears with this build and it just isn't happening.
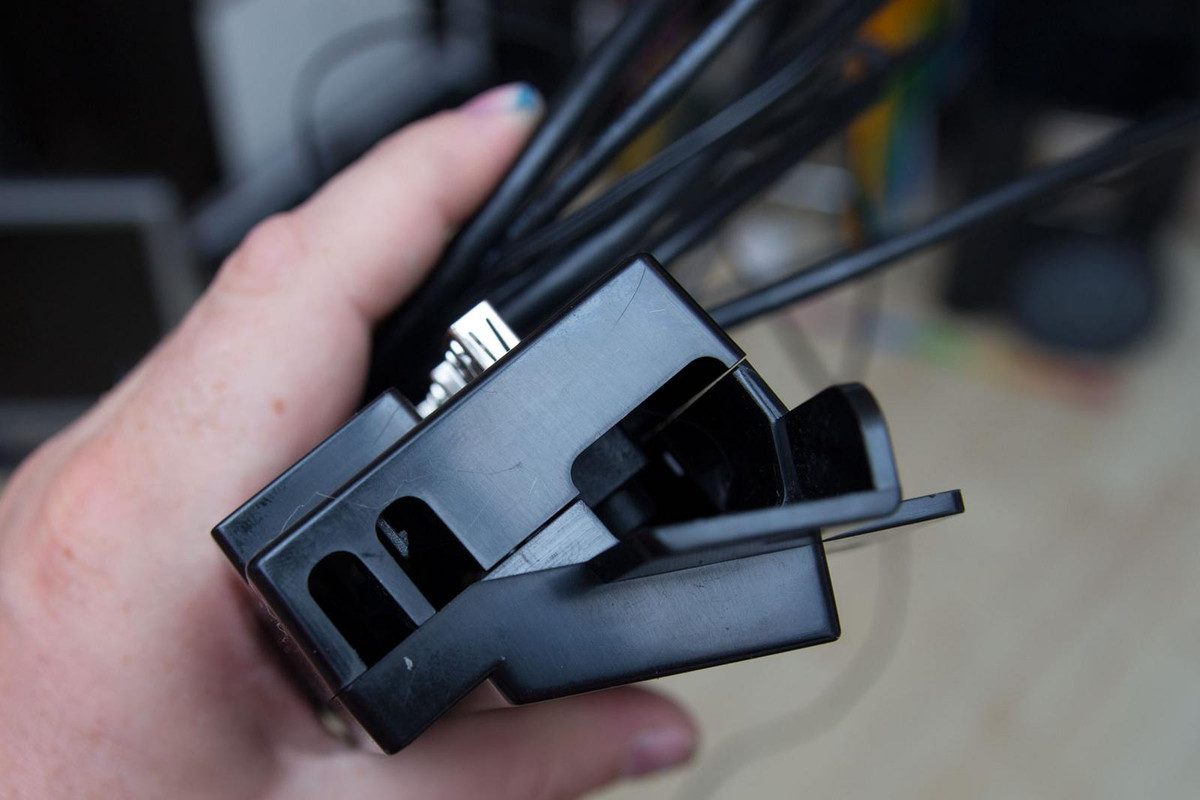
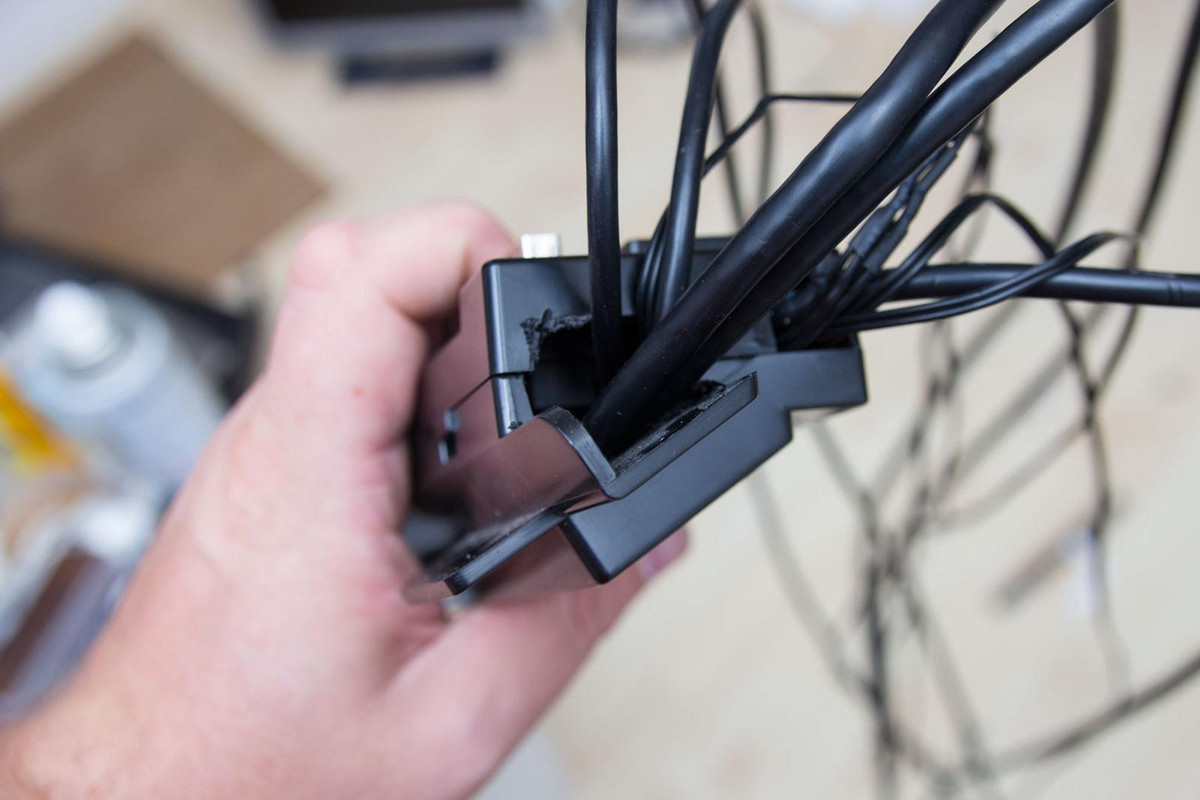
When inverting a case, you often forget the little things, like which way the cables are facing on the front panel. I couldn't have them coming out this side. I actually thought this was going to be a bigger job than it was. I started getting my soldering iron out and was thinking of making a new plate and things...
then when I opened it, I realised I could just cut a couple of holes on the other side of it and force the cables out that way instead. it isn't neat, but by gawd it works!
Now when I put everything together, the cables will come out the correct side and won't be horrible - Winner!
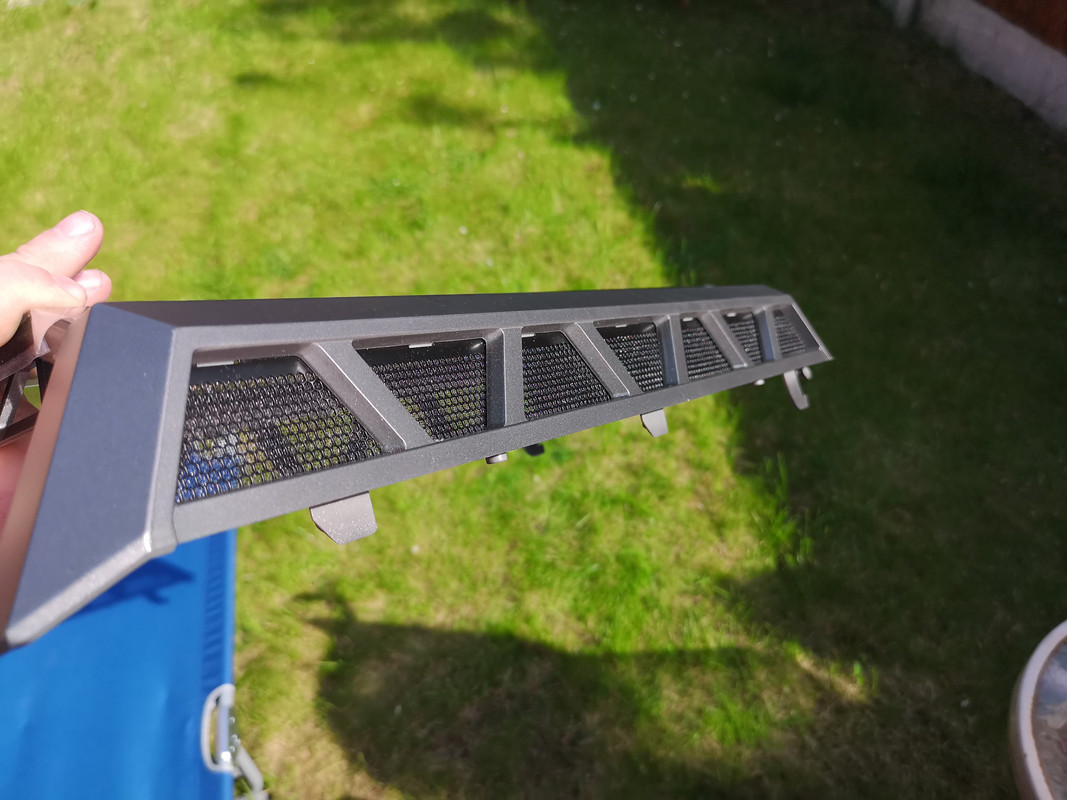
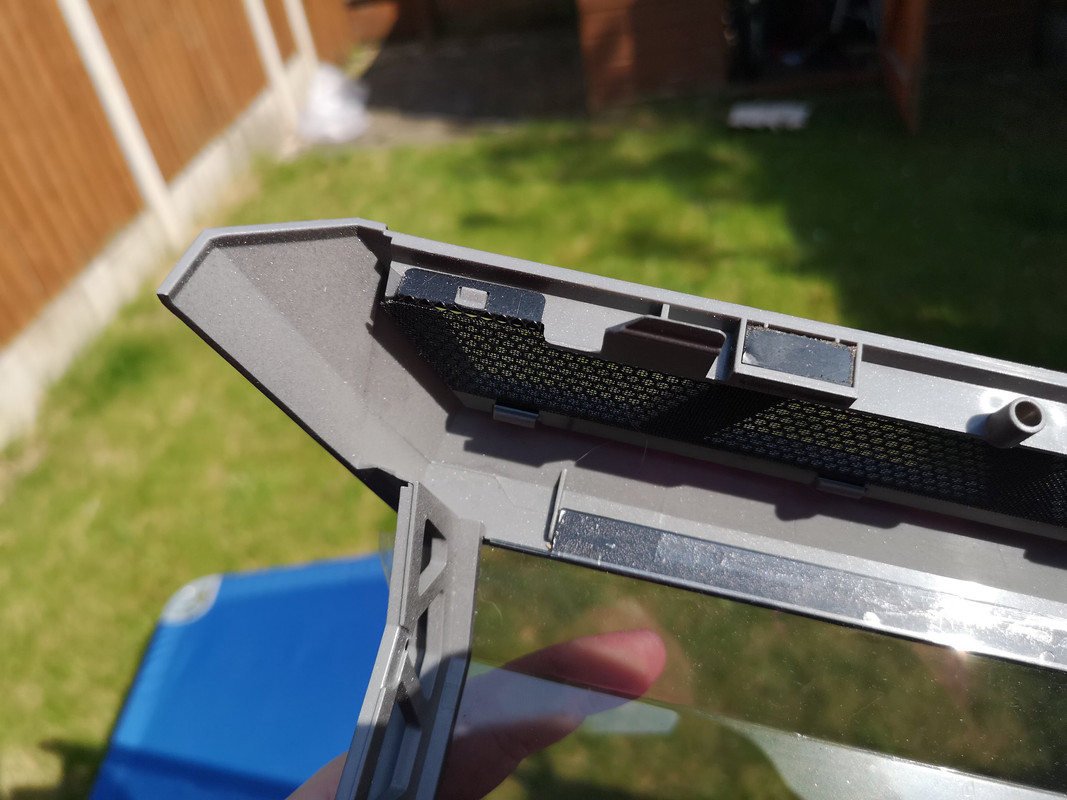
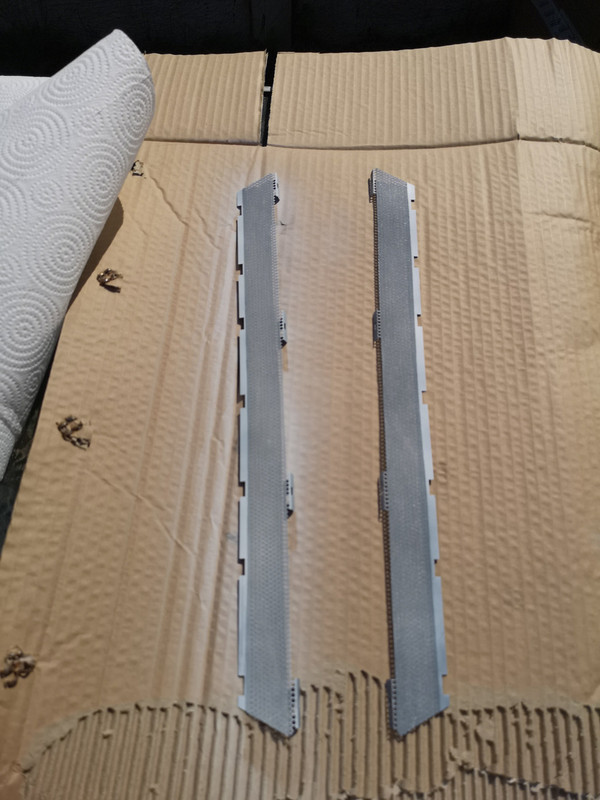
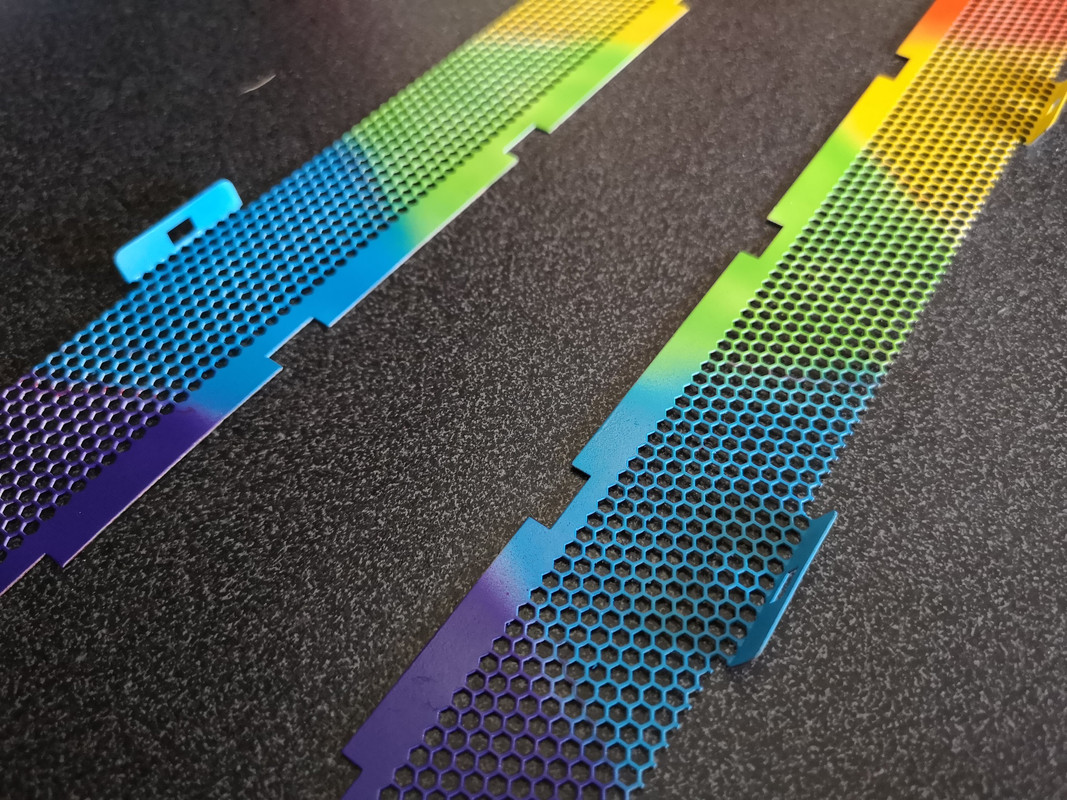
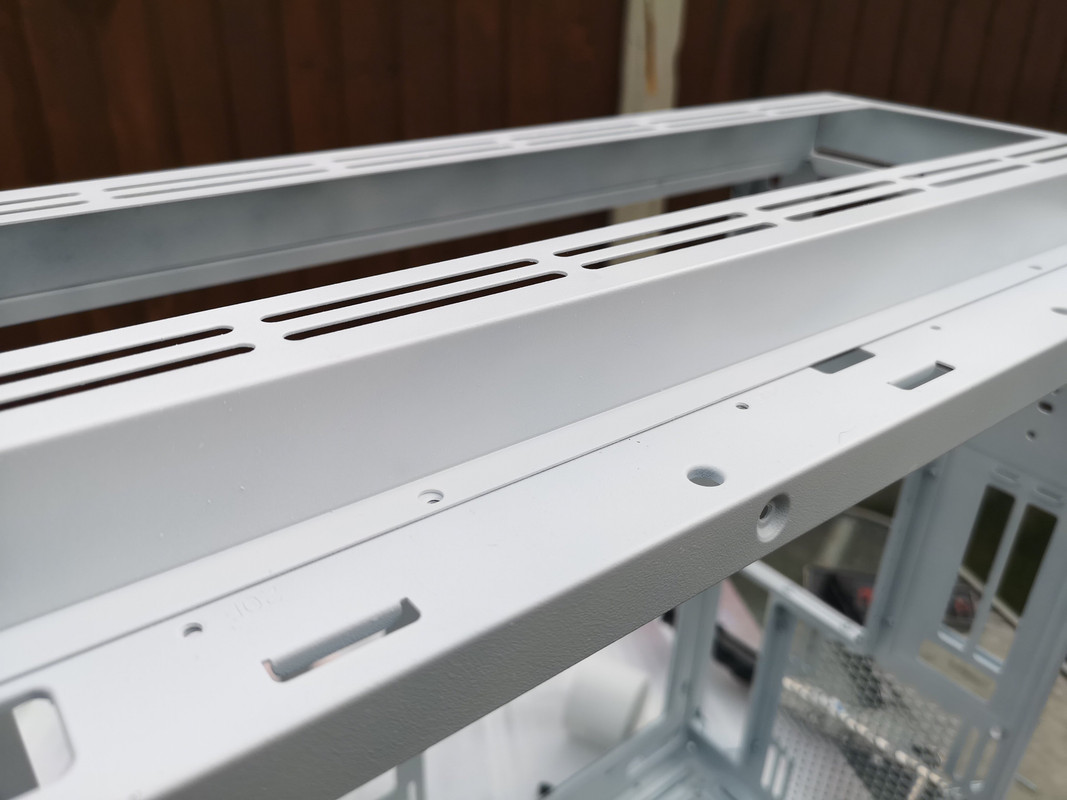
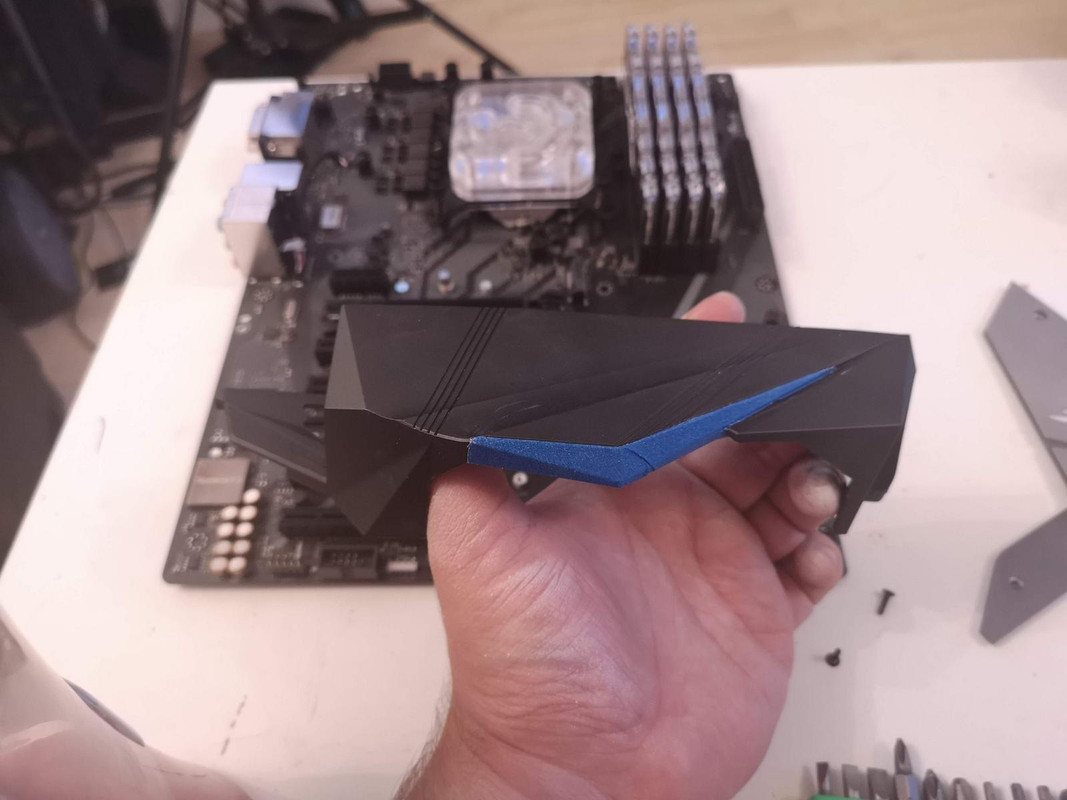
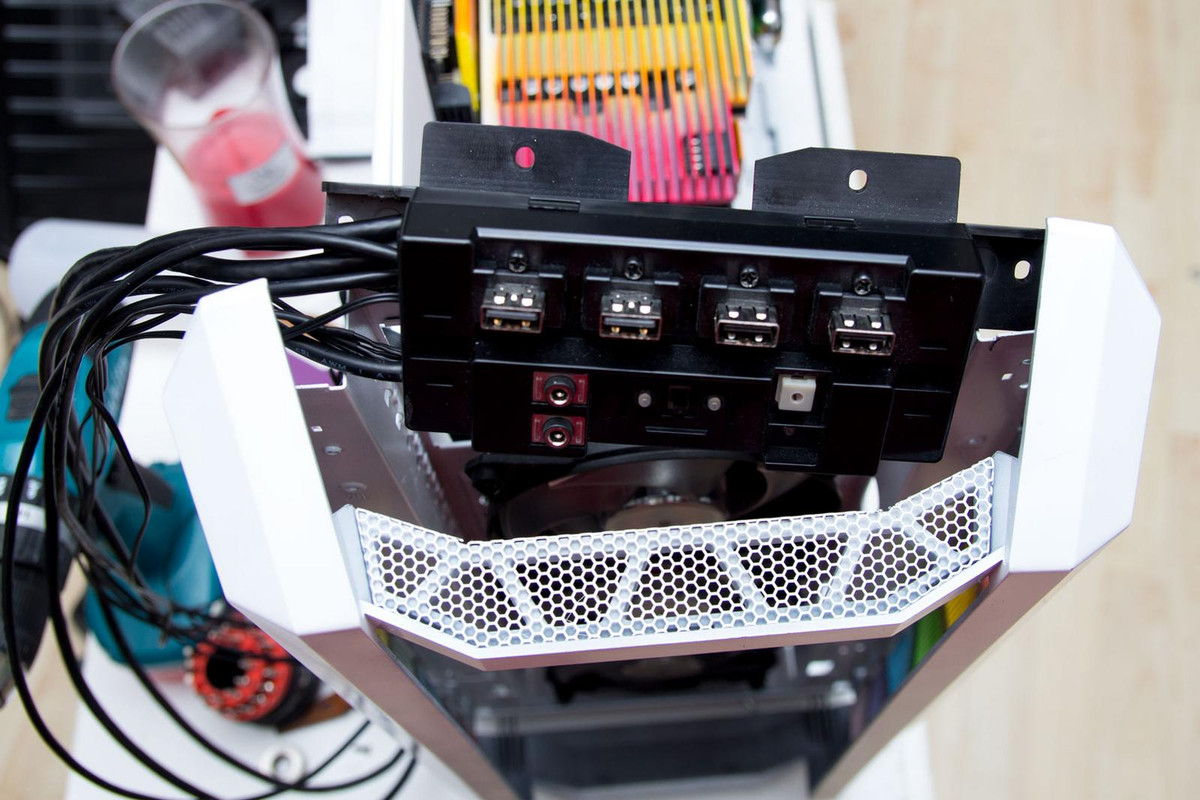
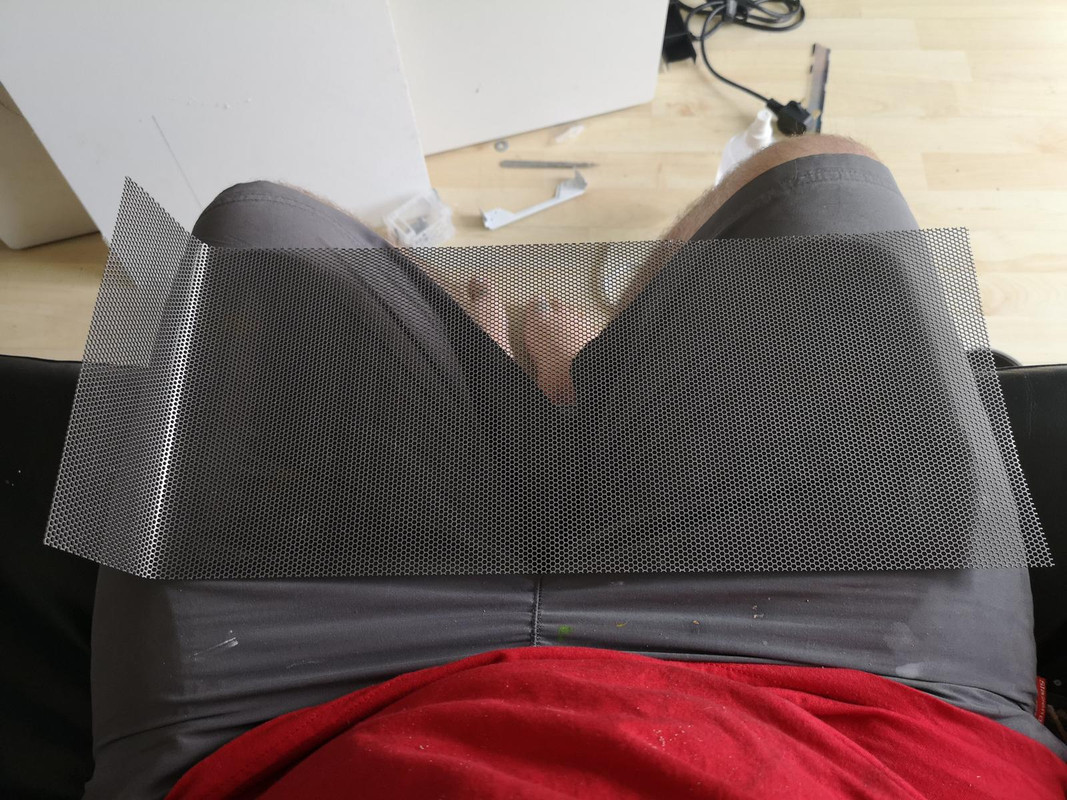
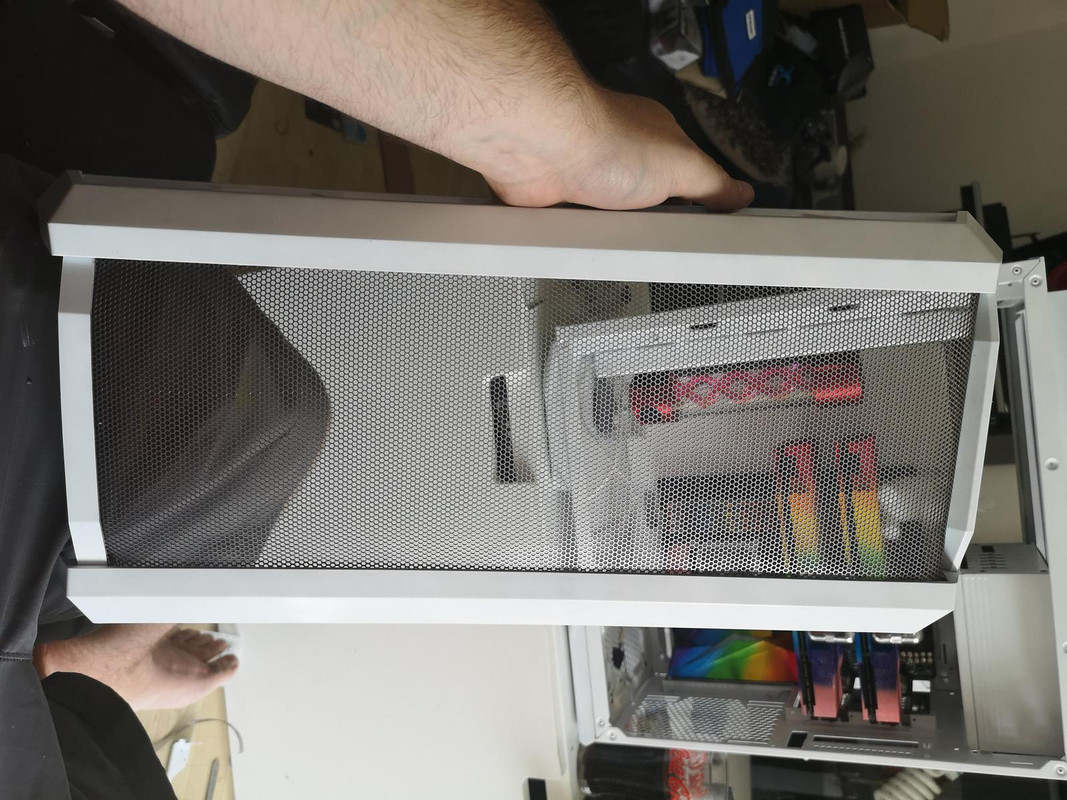
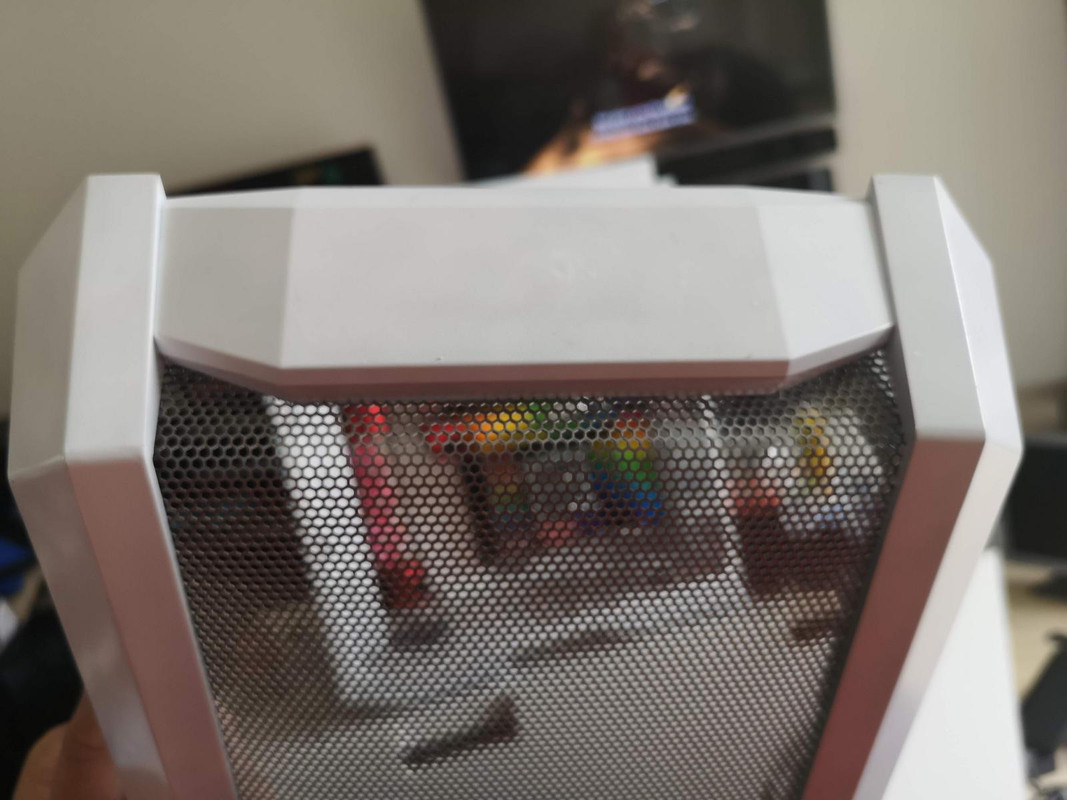
Now, the last thing I have done is played with some mesh. I know, I know, there is a mesh version of this case now, like there is a white one, but... well, I had this before they were released!!! I wish I did have those versions though, this was a pain in the proverbial.
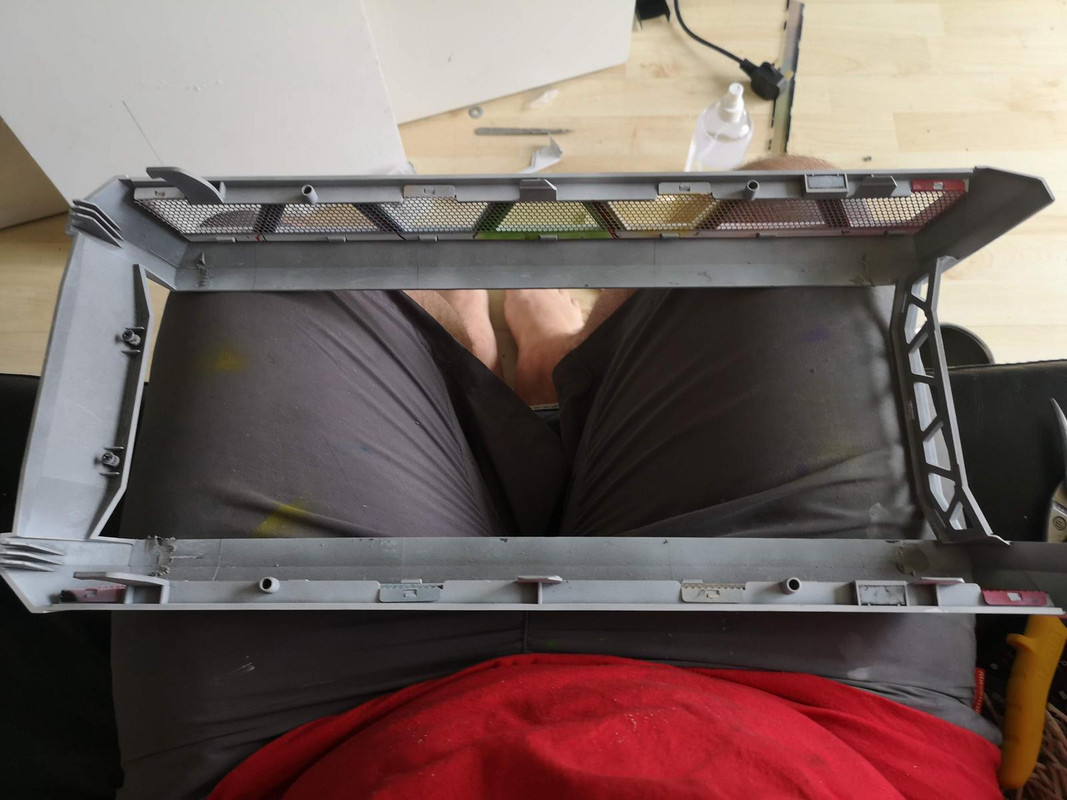
I had already removed the plastic part of the case.
I then cut and bent the basic shape that the plastic was in. What I didn't realise it had so many silly bends and cuts in, to make it perfect would have taken far too long. I do have a bending break, but it is buried in the shed at the moment and I don't think it would have helped too much either way.
So, the front has to be flat, then it has to go in at the edges diagnally, then it has to flatten out again so it can attach to the panel. The top has to have an inwards angle, whilst still facing upwards -.- so much hate for this mesh part.
I managed to get it satisfactory though - this took me about 3 hours for the front panel, some of the struggle was cutting the mesh properly, some bending it by hand and some making sure I didn't scratch the panels. I also did the top panel of the case, which I *don't think* the mesh version of the case comes with.
It isn't completely perfect, you can see on this picture that there is a little bit of metal missing right under the diagnal, that is just down to the shape I had to cut the mesh at and I snipped one extra hexagon by mistake =( I'm not going to lose sleep over it though it's a damn good effort in my eyes
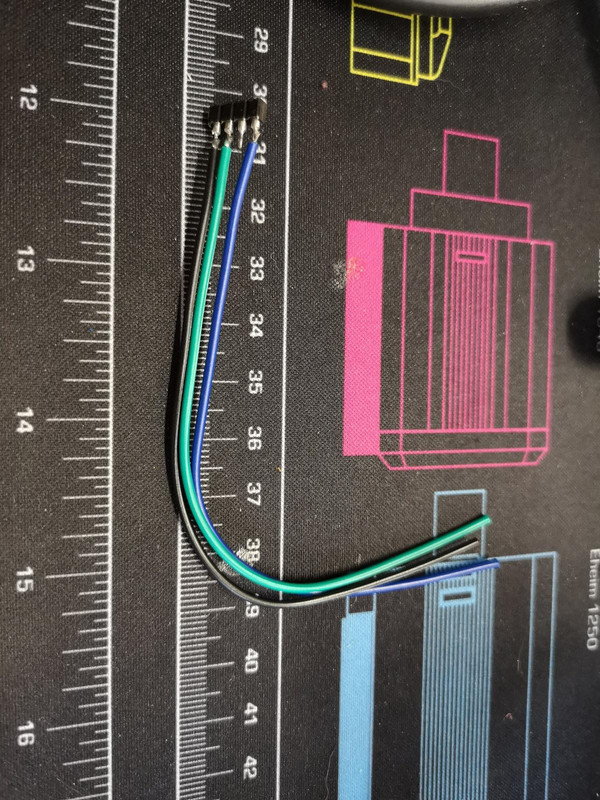
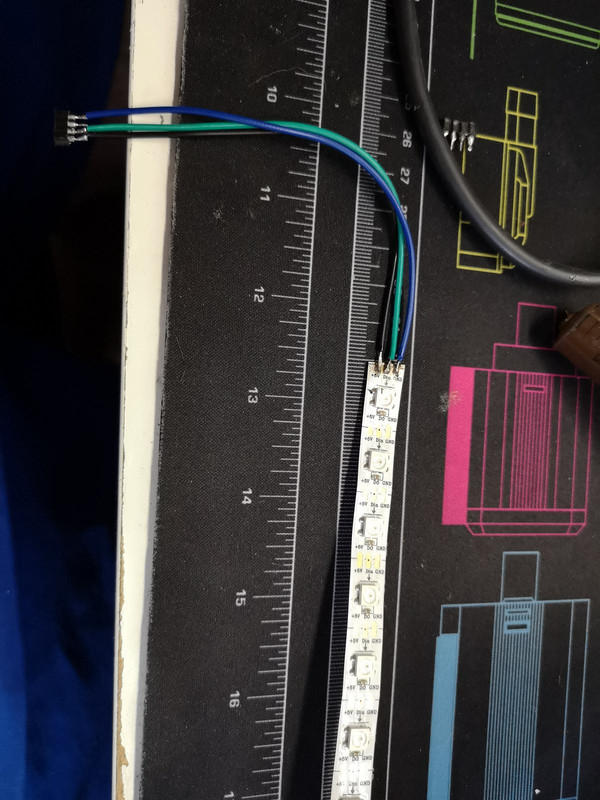
That's where I am going to leave it for now! I have a busy weekend ahead of me though still! Cables need to be made, some plastic/alu needs to be bent and I need to knock up a quick loop for this bad boy and no doubt I will think of things to do along the way!
I had a call today about going to GamesCom, leaving tomorrow evening, alas, I had to turn it down to finish UniKaorn Farts and to go to Insomnia. That is dedication right there!!!!!