Victorian renovation build log

Associate
OP
Joined
25 Sep 2016
Posts
885
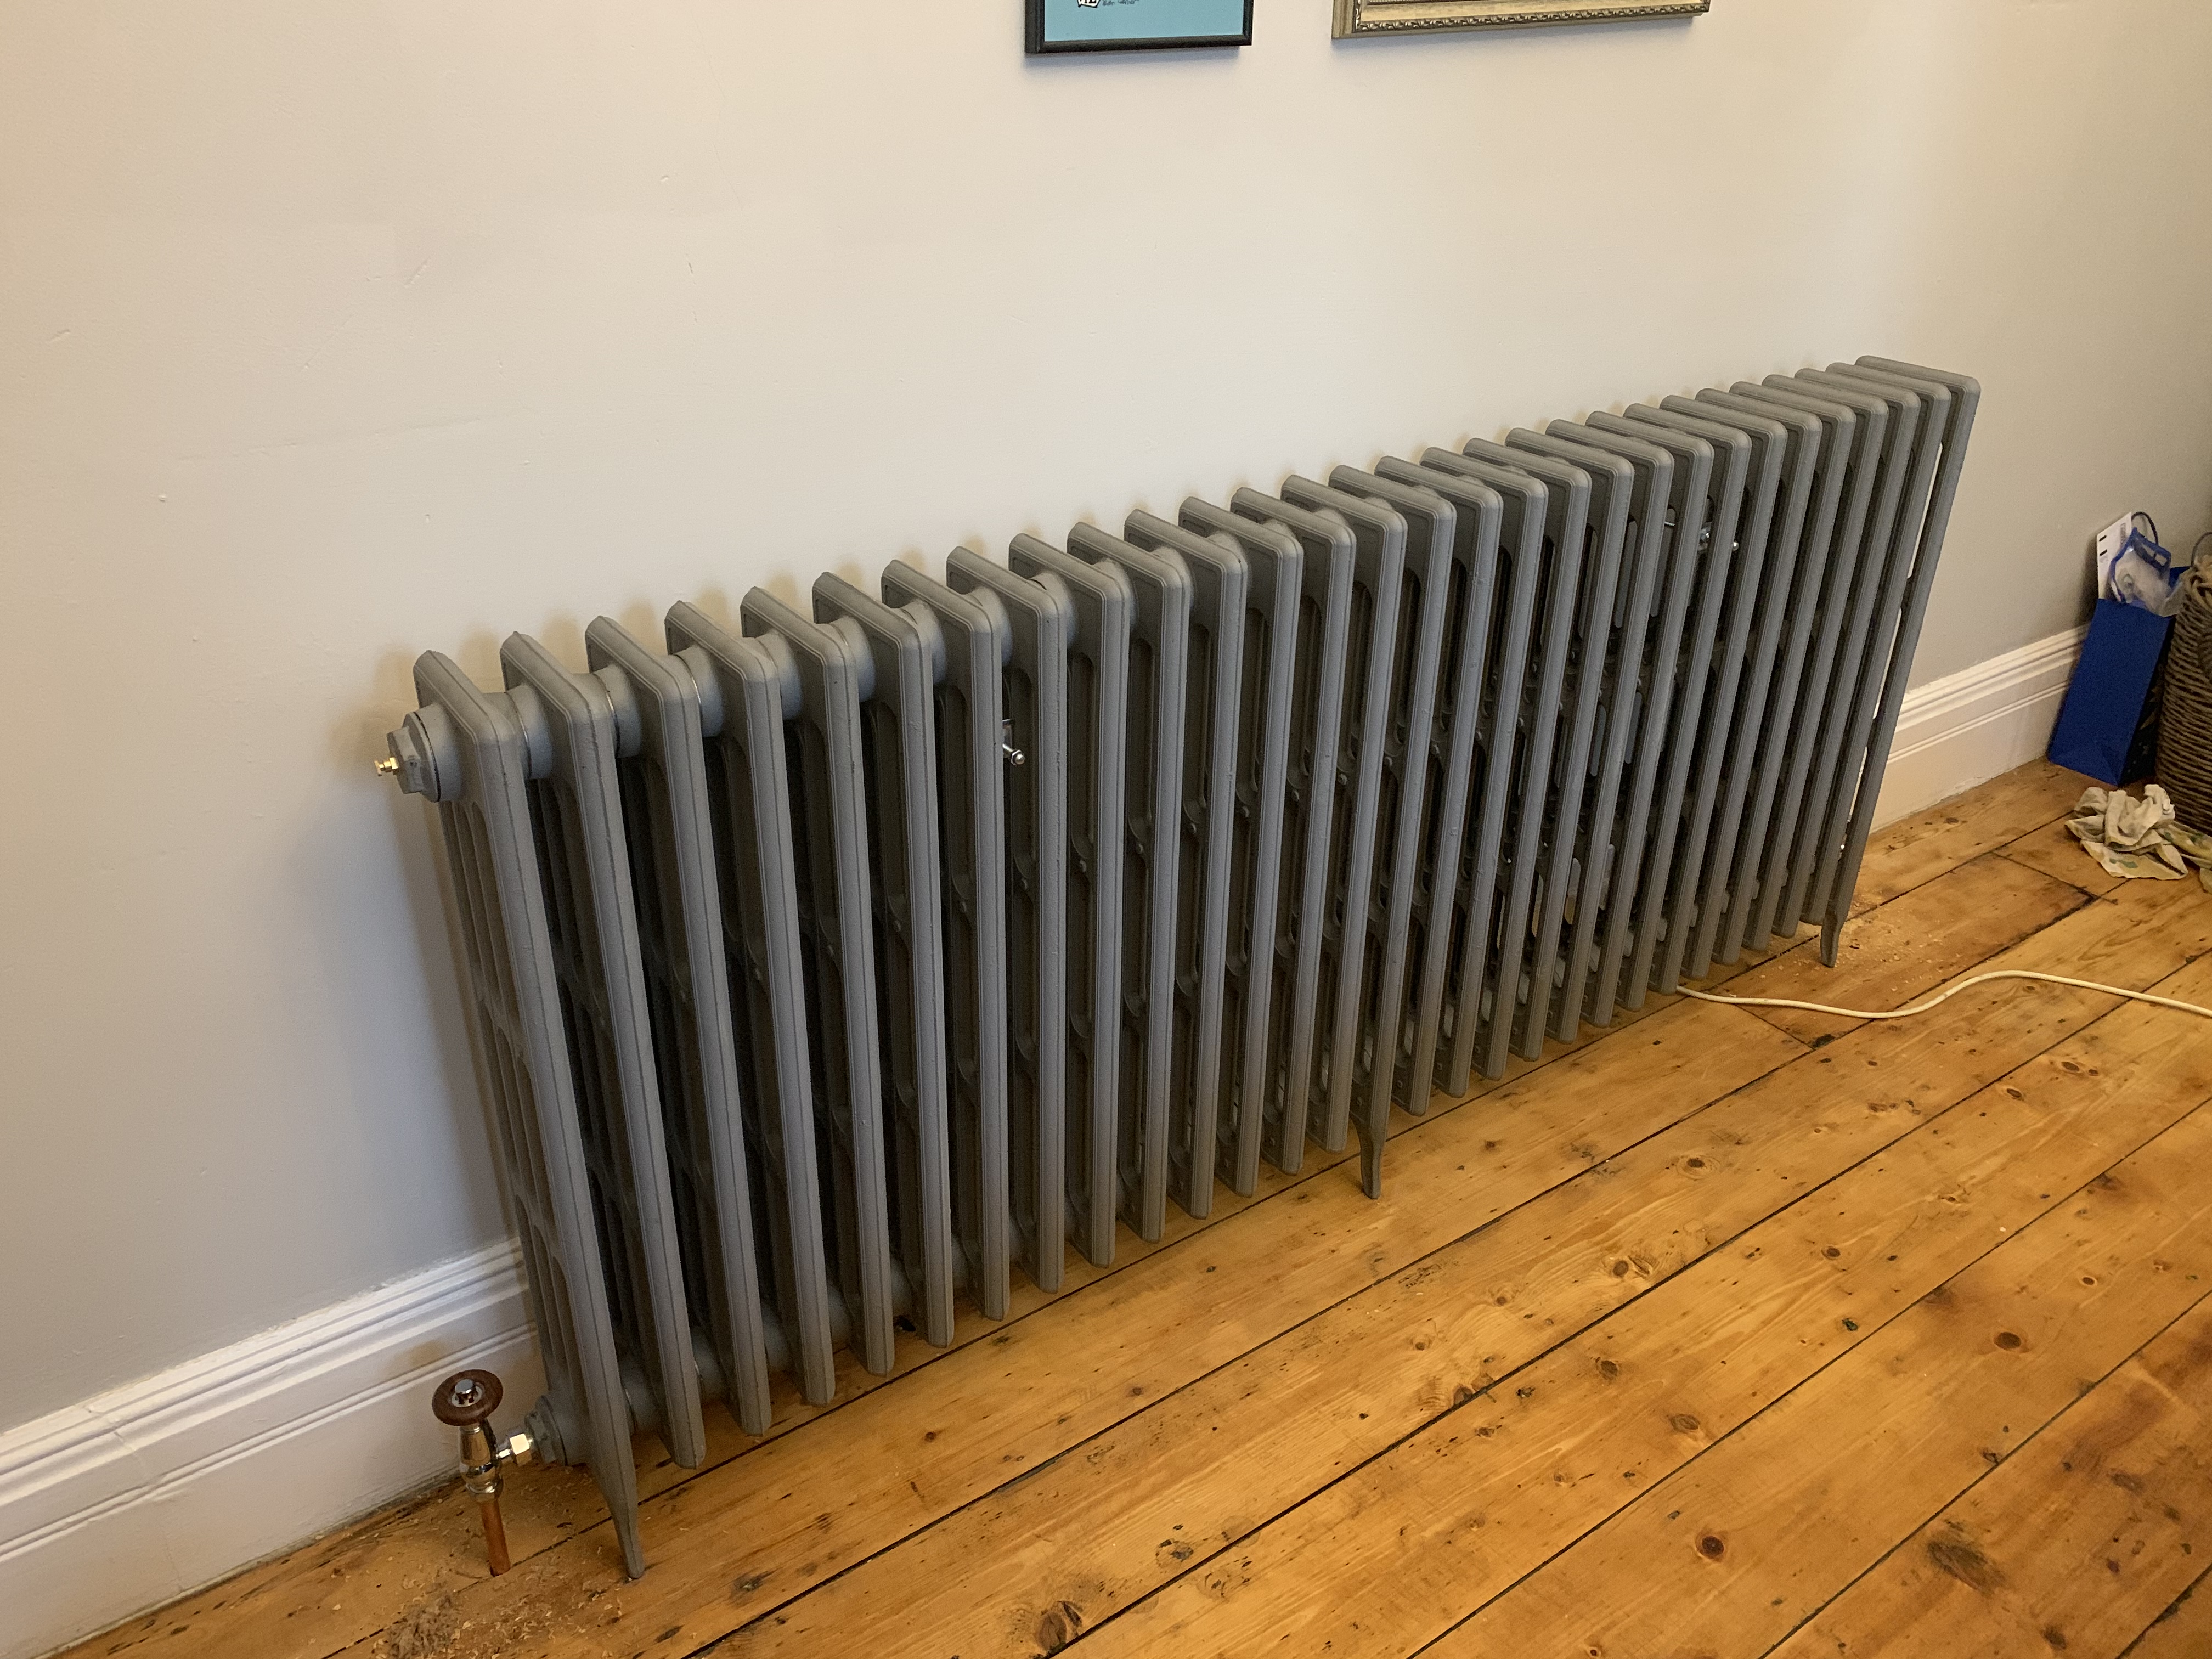
Moved the big boy radiators into the living room and dining room, took 4 people to manoeuvre they, and they are only half sections!

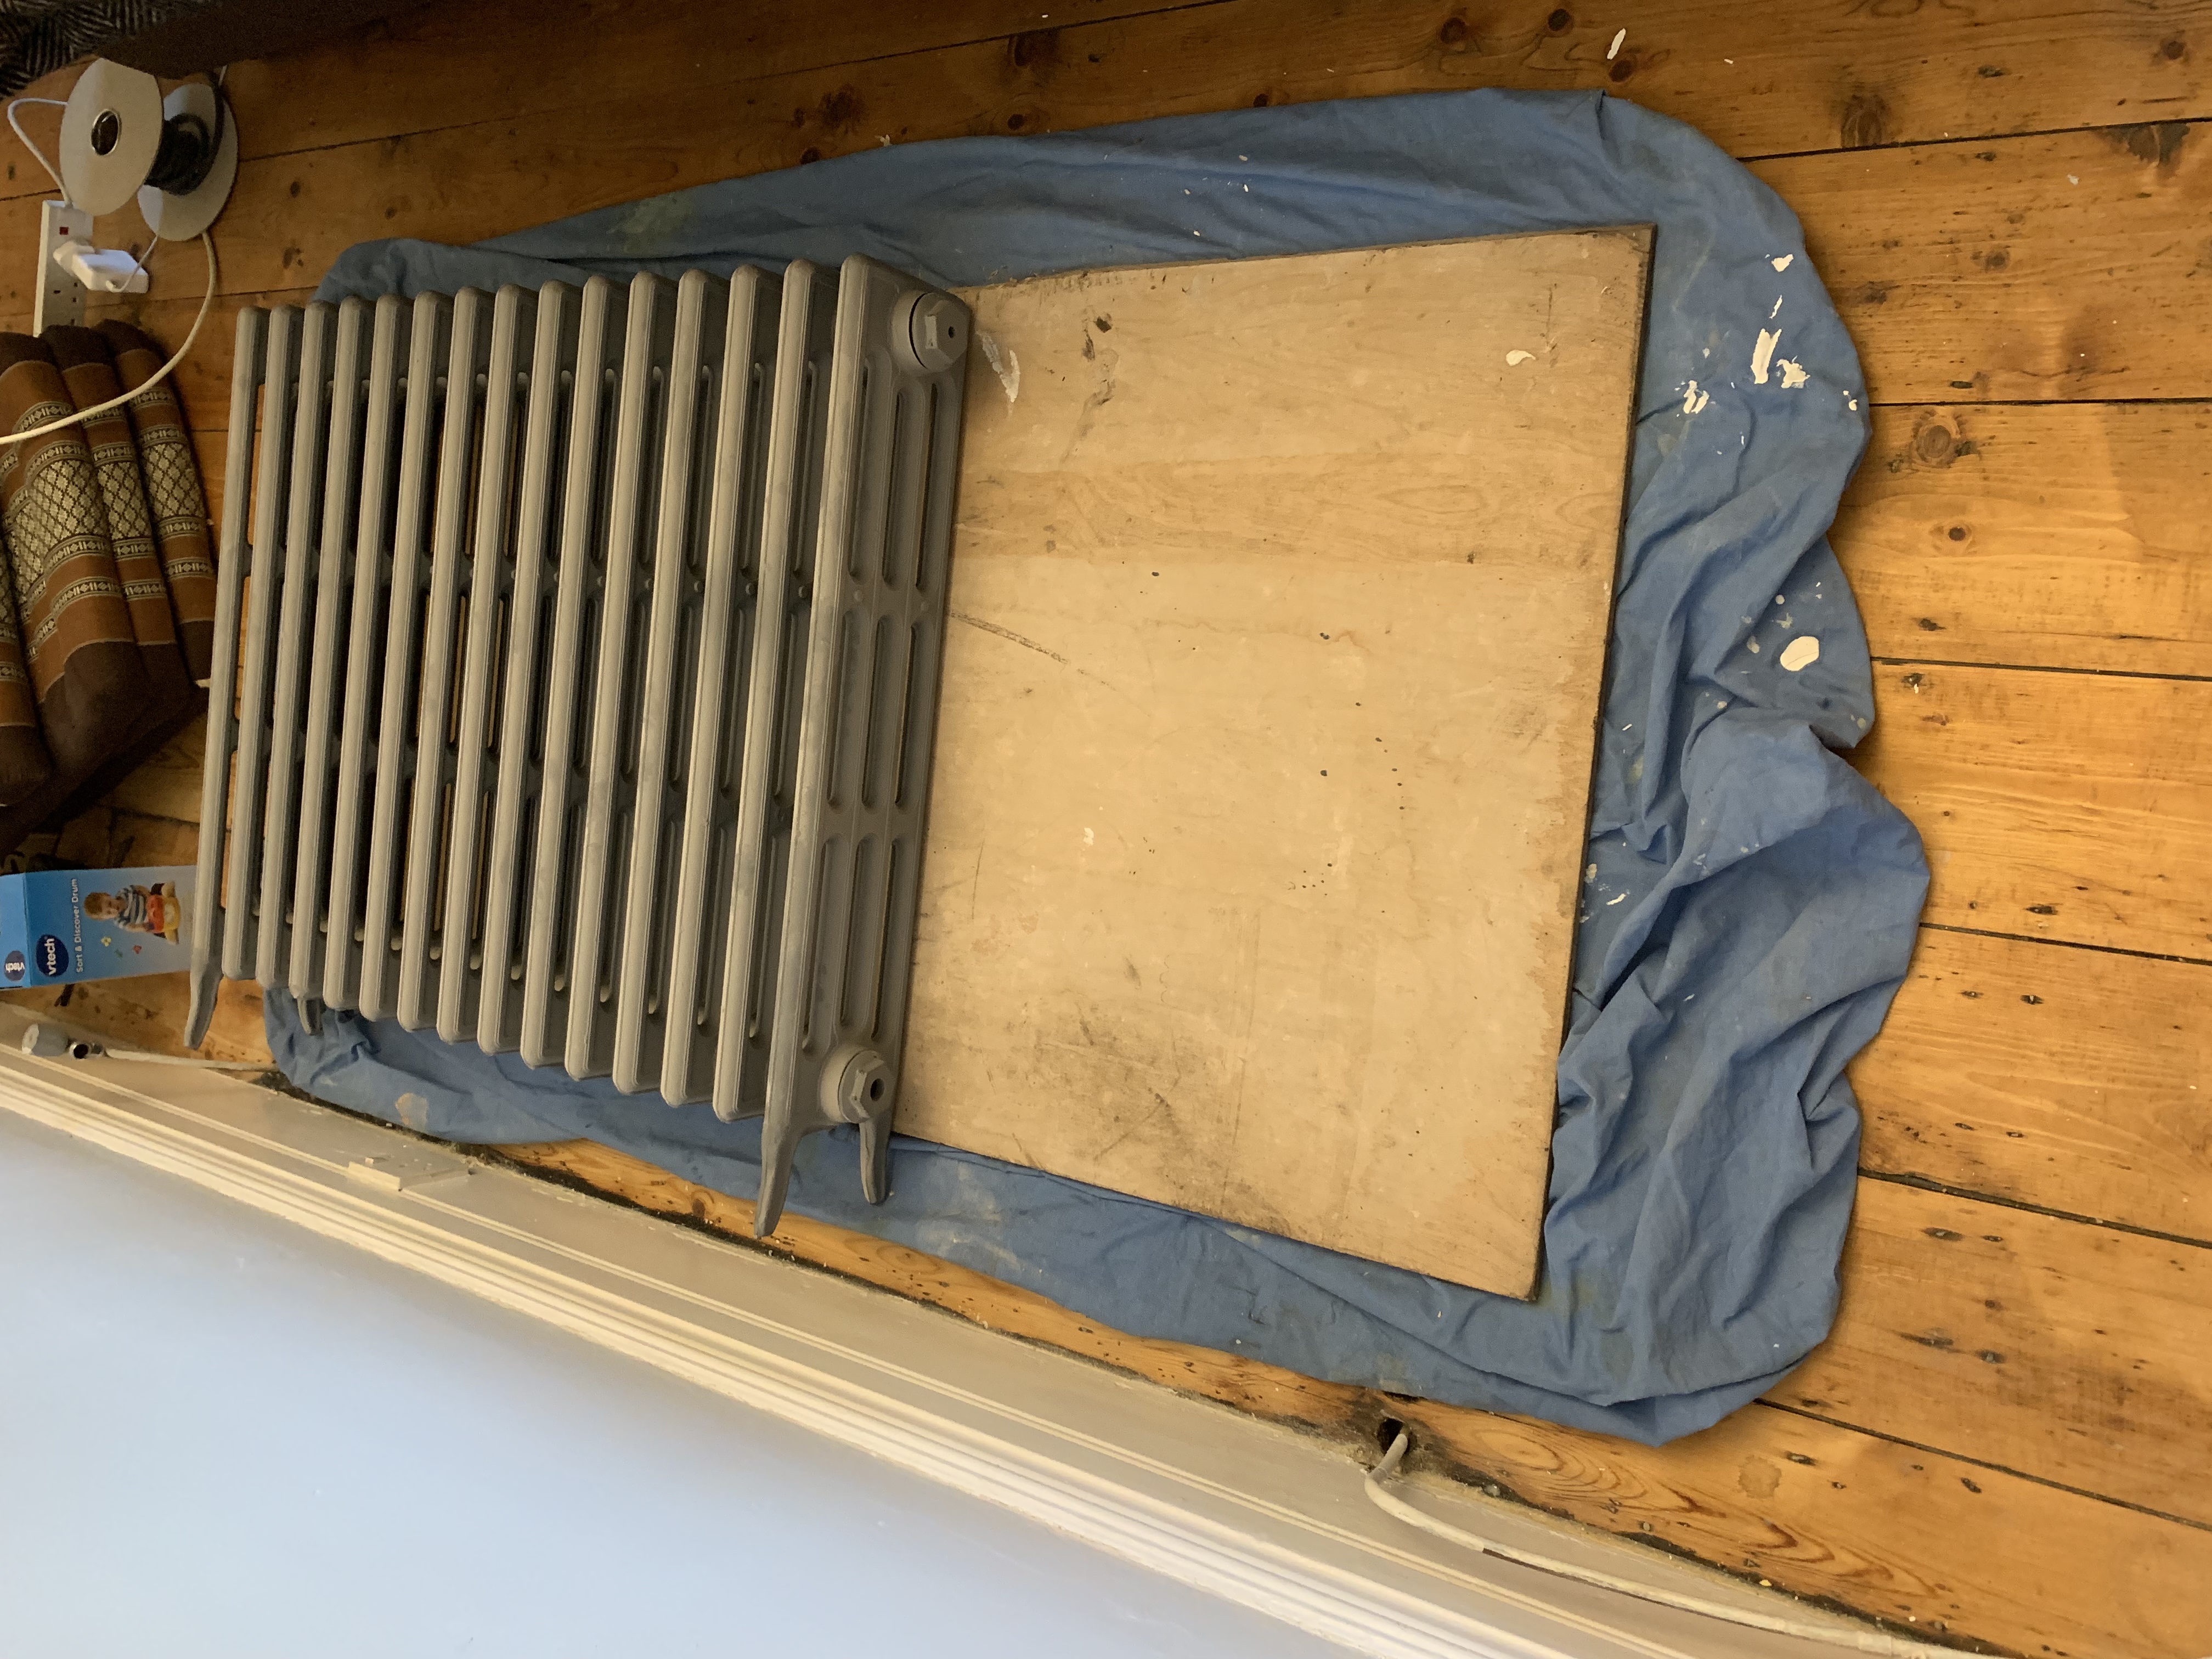
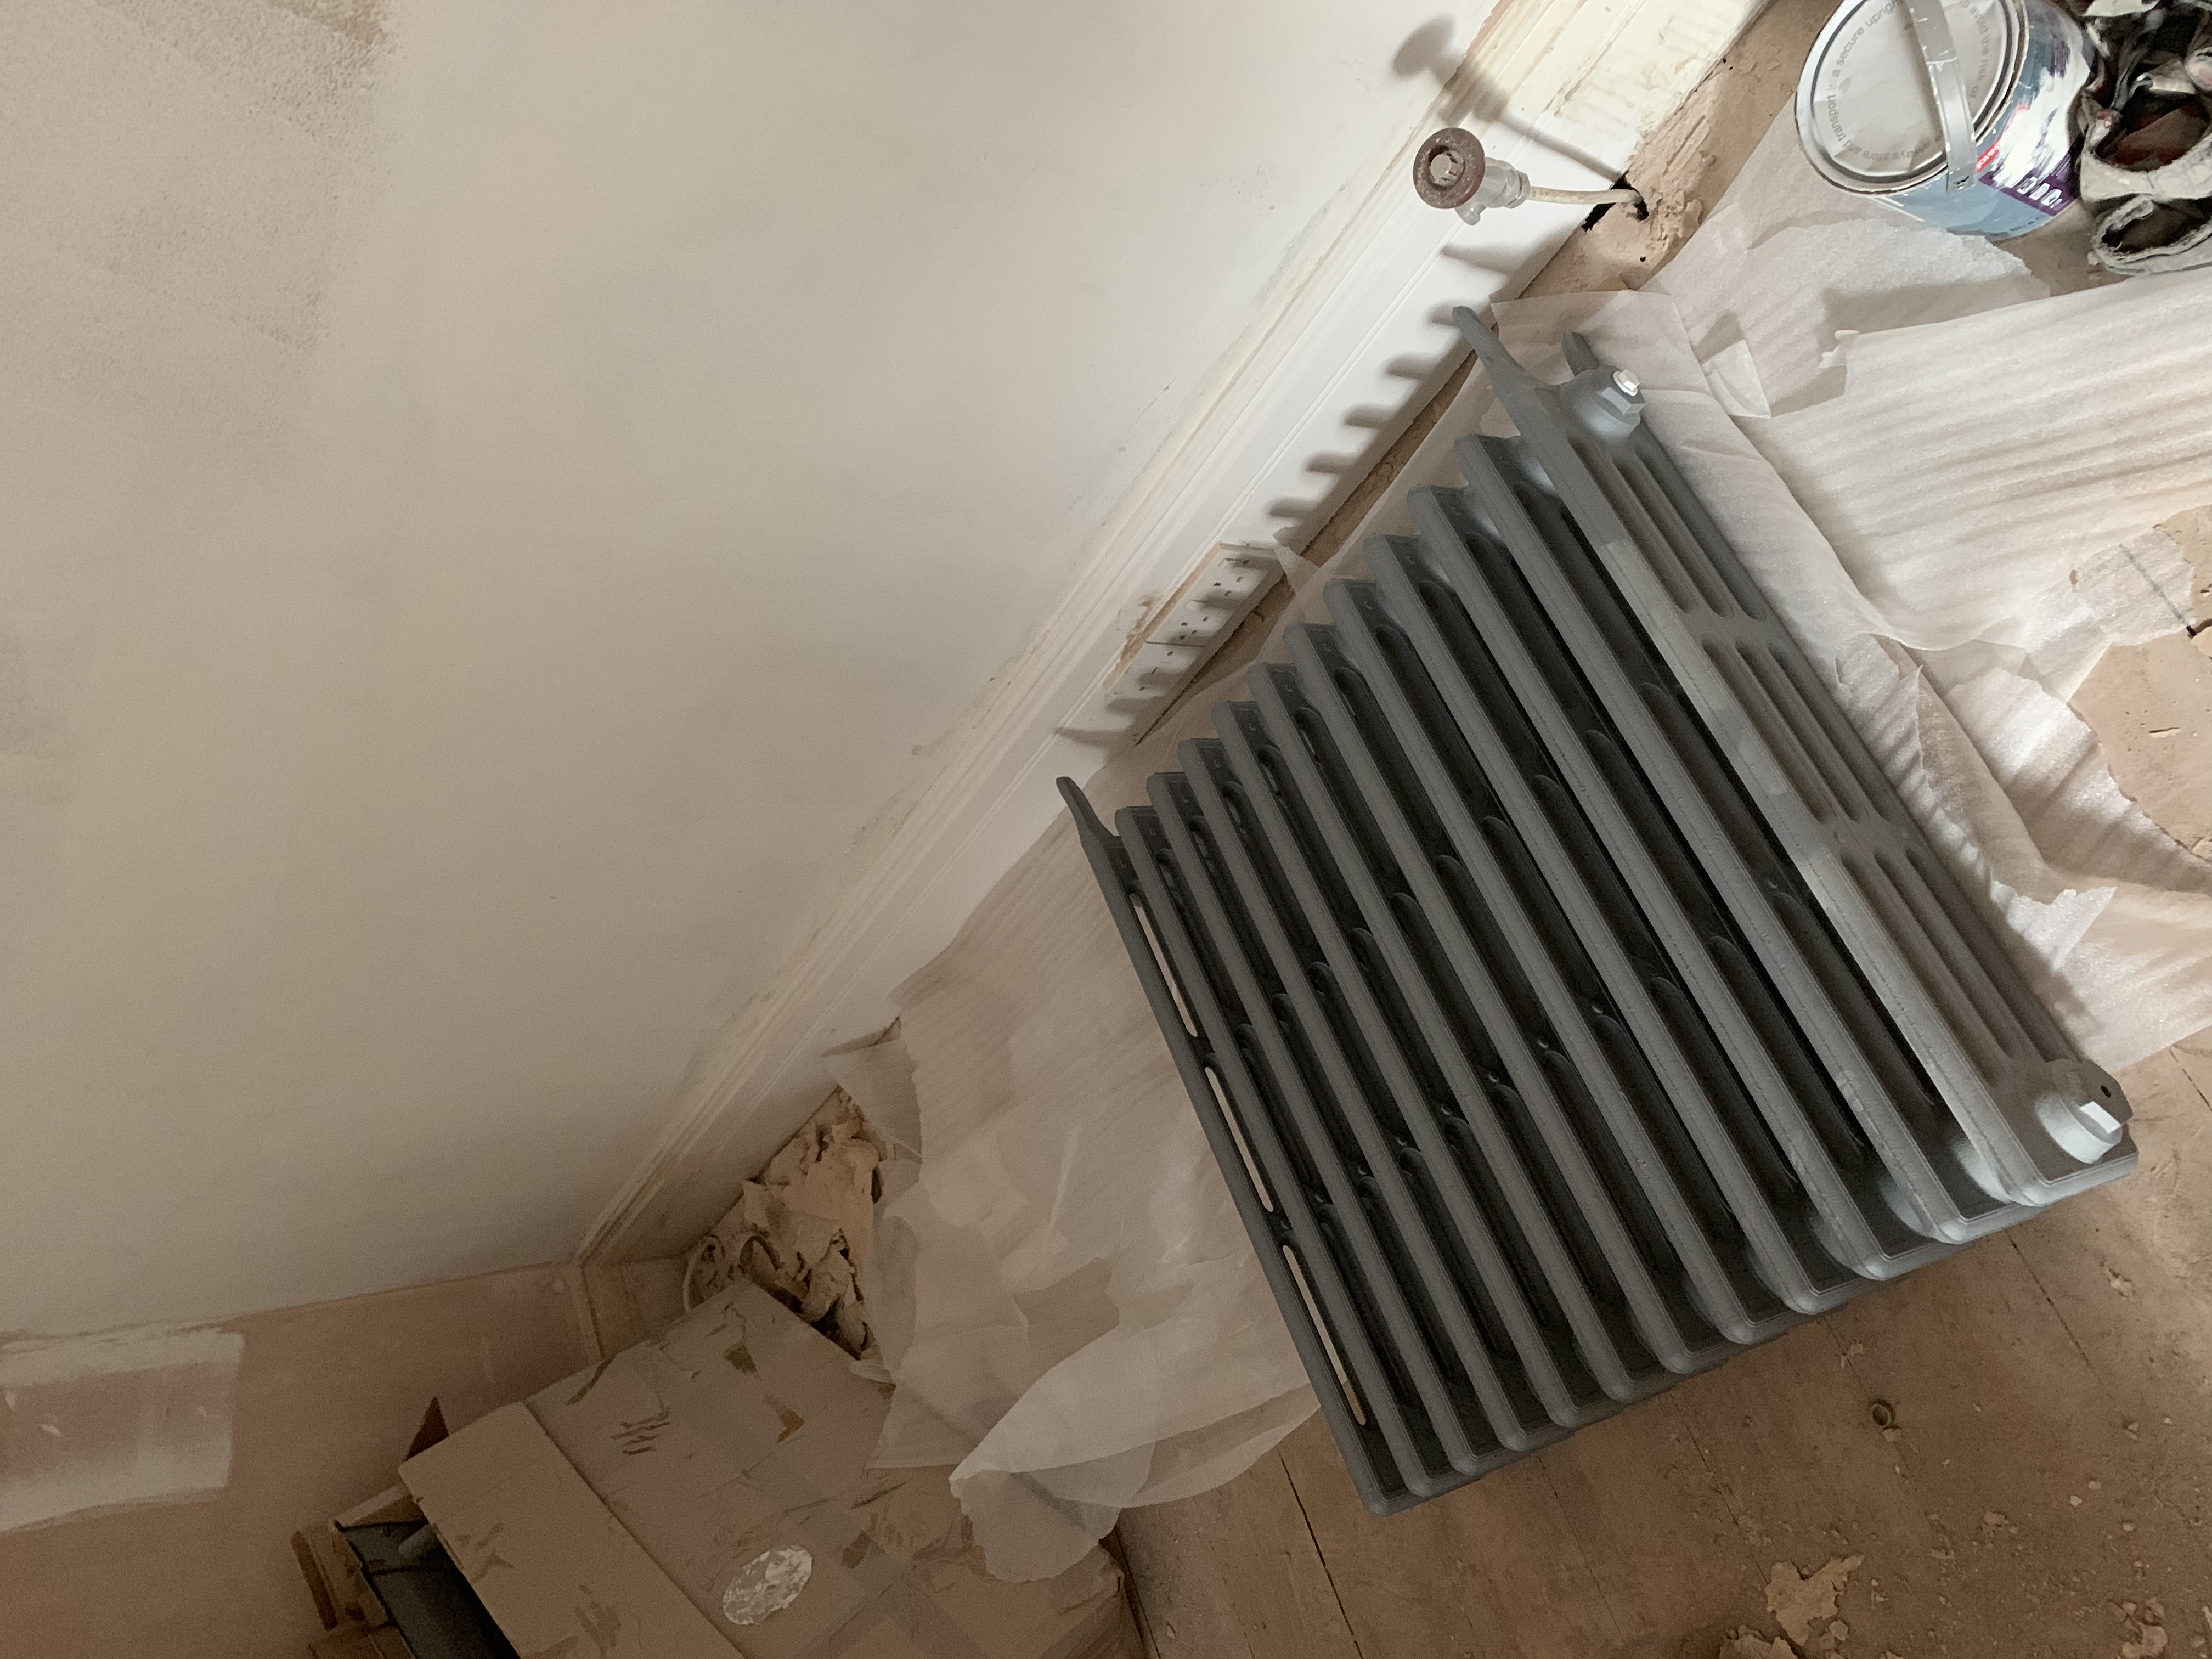
This one will be 29 sections and 1.8m long, kicking out a lot of heat.
The leg section closest to the camera is the half way point and I have to build the rest on to in insitu and then stand it up. Will weigh ~230kg when fully buil.
The room it’s hesting is 5.5x5x3m with 6msq of glazing.
B0A7C76E4B384B00B82C.jpeg


The dining room will have a smaller 23 section, 1.5m cast iron job. Room is a bit smaller, smaller and better glazing and some internal insulation.

7839BBB7411948B58D5E.jpeg


This week will be building them up and trying to plumb them in along with the new hall radiators.

Oh and took a few more doors off to be chemically stripped.

03341B69779448ECBE33.jpeg


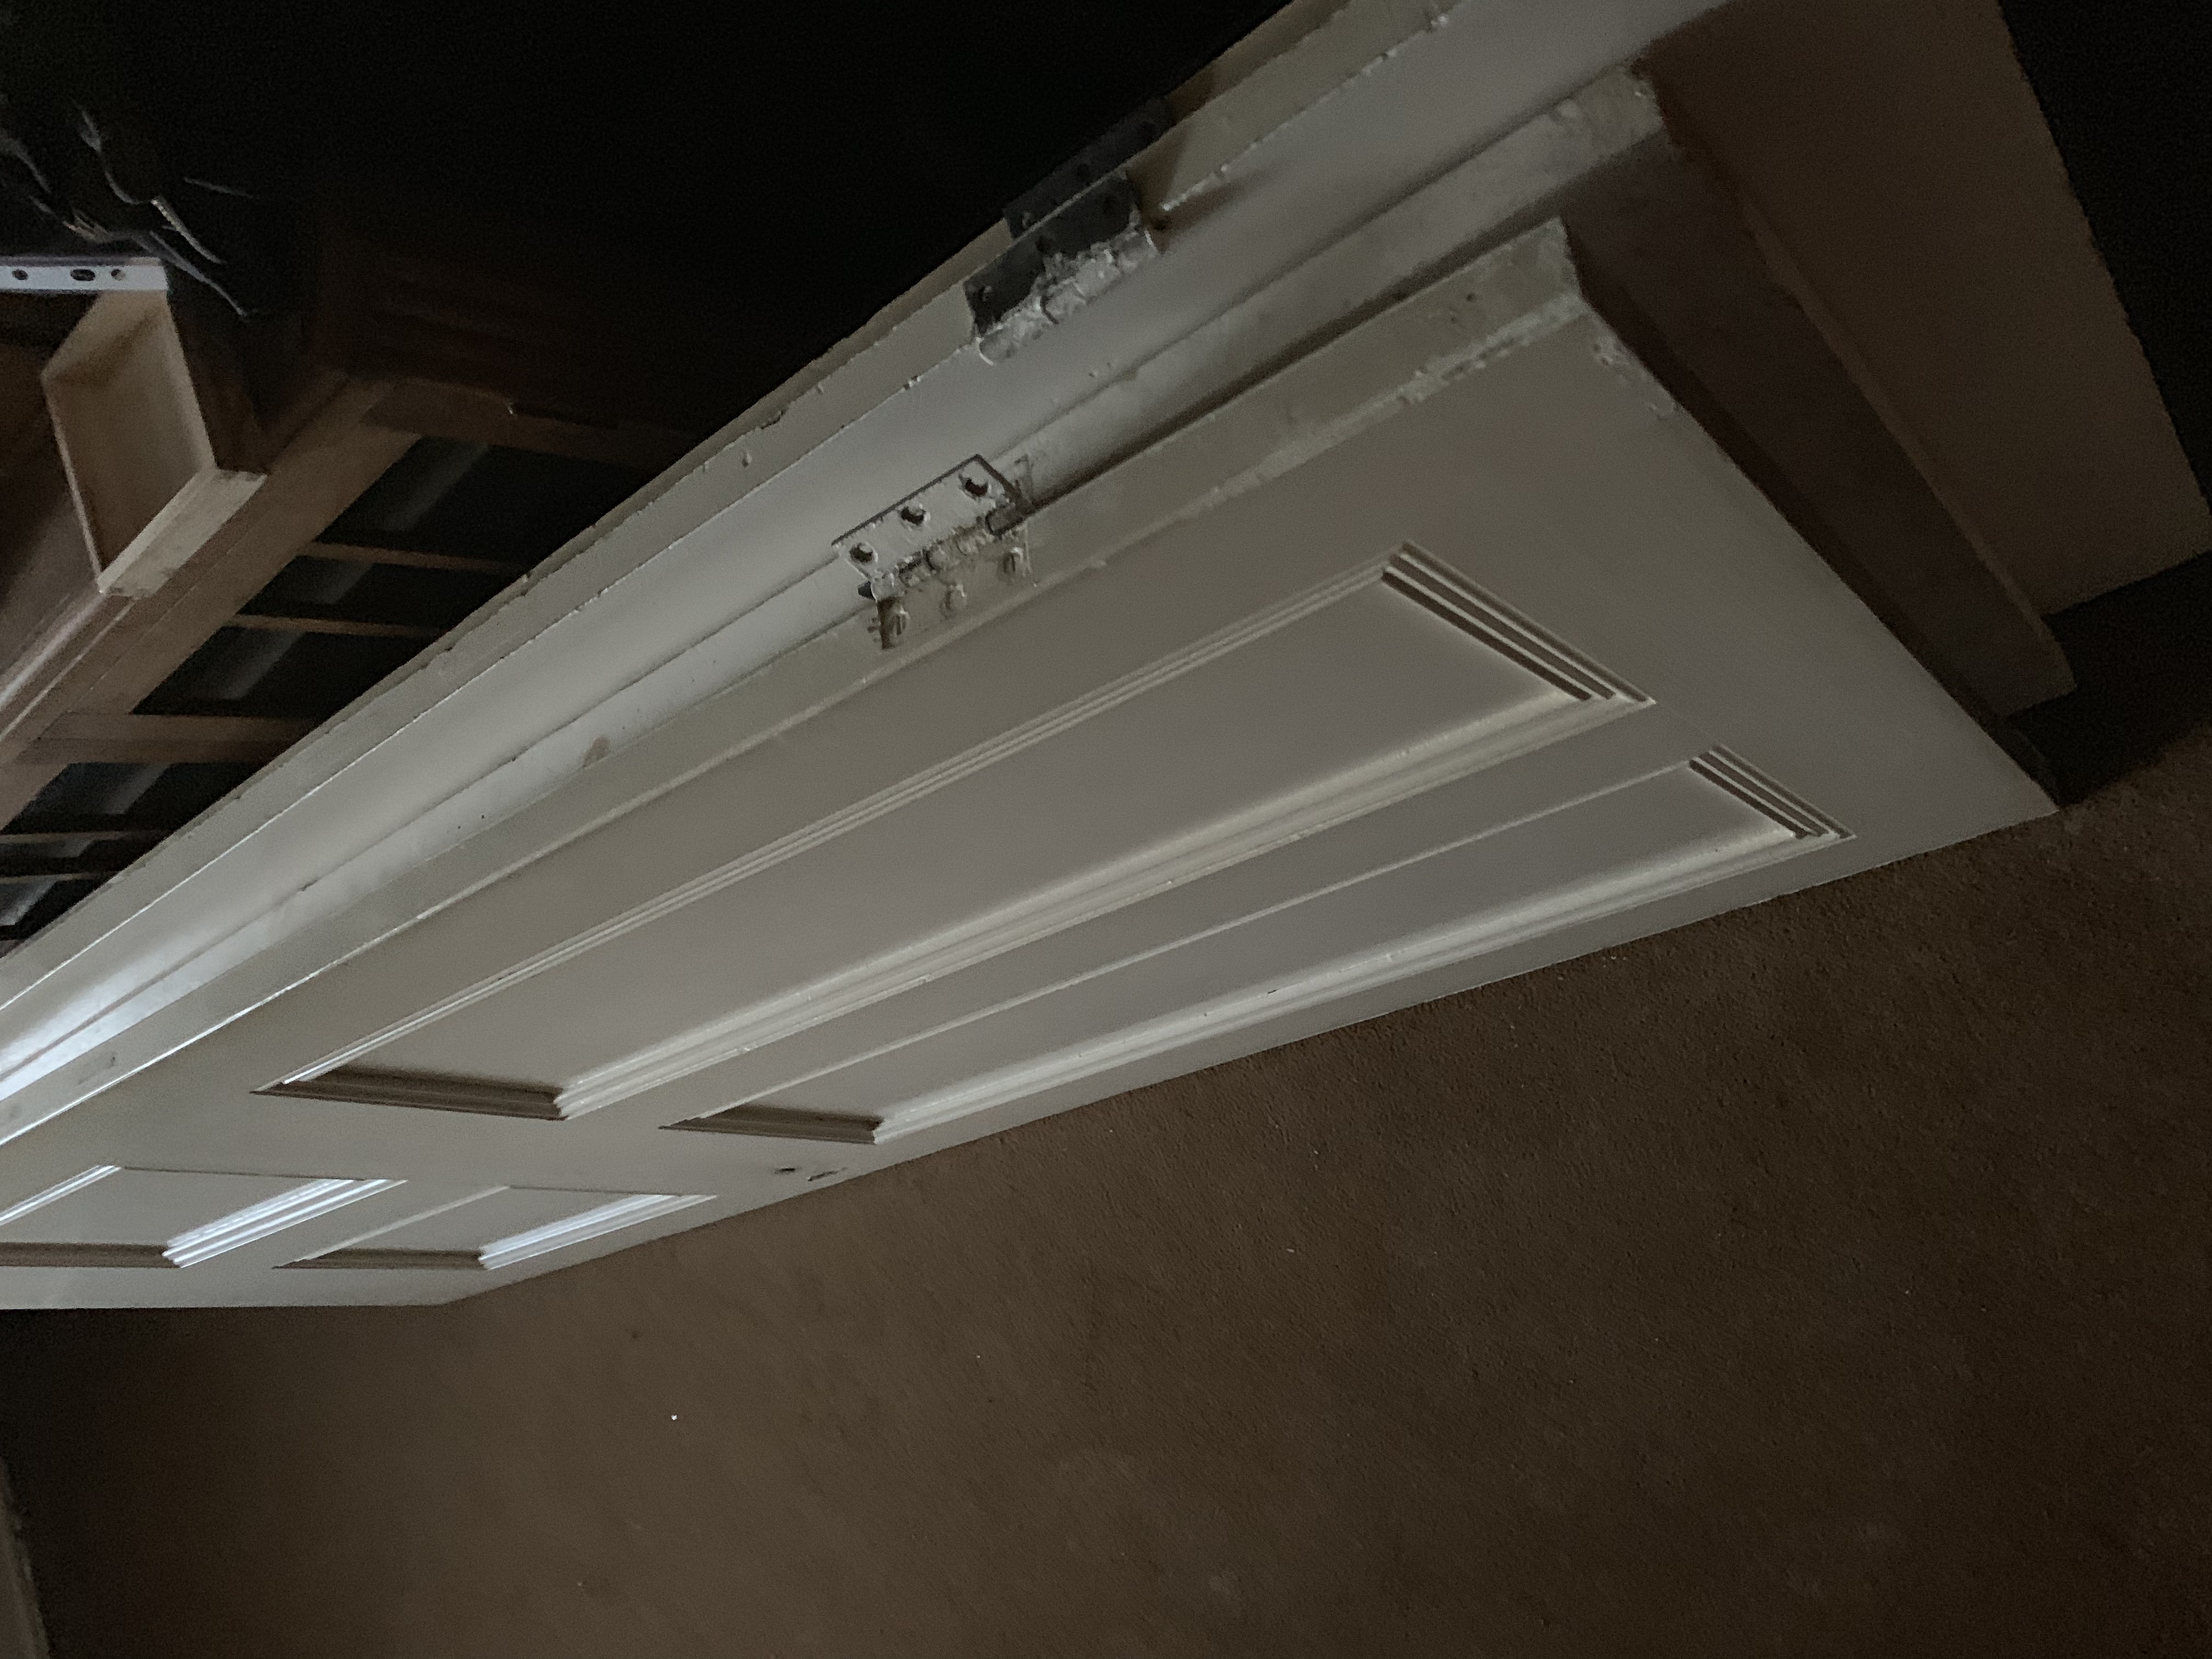
5 days turn around on these.
 
Associate
OP
Joined
25 Sep 2016
Posts
885
A8A724A75D1E40FD9B03.jpeg


All built up using little compression gaskets and opposing threaded connectors.

Puts out 3000 watts so hopefully enough.

Next to sore the piping out... not looking forward to that!
 
Soldato
Joined
1 Nov 2011
Posts
2,524
Location
Portsmouth
Oh my god is this a question of "I see dead people" "All the time" because I can see all the pictures all the time. :eek:

Its not me its you mate. :p

I'm also having trouble seeing pictures, from three different browsers and with VPN/AdBlock switched off.

Really keen to see progress - it's been an incredible renovation and hoping you're nearly at the final stretch. It's going to be a wonderful home to raise your family in.
 
Associate
OP
Joined
25 Sep 2016
Posts
885
I use the mozilla plugin that allows old photobucket linked photos to work, the most recent ones are on cubeupload.com which I don't think is the best, anyone got any other recommendations?

Progress is really slow.... 5 plumbers contacted, 1 quote = £850 to redo 2 short runs in 15mm and lengthen 6 10mm pipes by 2cm - 10cm :eek:

Also tiler has stopped answering my calls/texts for some reason, no money has changed hands so I've bought 40kg slow set adhesive, couple of trowels, paddle mixer and 5msq of Ditra matting :D
 
Associate
OP
Joined
25 Sep 2016
Posts
885
CC9A6E88C17F486CA551.jpeg


Ditra matting down at last.

Now the worlds most ridiculous tiling begins!

Ridiculous because encaustic tiles have to be laid on slow set adhesive, after being dipped in water, super clean, and then left to dry for a week before sealing twice, left again, then grouted and sealed a third time!
 
Soldato
Joined
24 Mar 2006
Posts
9,069
@eviled Looking good! Just a quick question, How are you going to tackle the floor tiling with those radiator valves in place? Are you simply going to cut a hole in the tile large enough to fit over the valve?

I ask as I'm in a similar position and want to avoid having to drain the heating system.
 
Associate
OP
Joined
25 Sep 2016
Posts
885
@eviled How are you going to tackle the floor tiling with those radiator valves in place?

Well i got them in place without draining the system using 2 freeze kits on the pipes (https://www.screwfix.com/p/arctic-products-pipe-freezing-kit-150ml/433fj) - cheaper and easier than draining.

The plan with tiling was hoping they were close to edges and doing some very tactical notches and cuts, or if they ended up bang in the middle take the valve(s) off again.

as it was it worked out perfect, I will get a picture up
 
Associate
OP
Joined
25 Sep 2016
Posts
885
51C932FA0AC1454BB470.jpeg


You can see how the rad pipes are notched in and will be well covered by the pipes.

The bath waste won’t be very visible under the bath.

Very pleased with the result.

Oh and this wasn’t my tiling, tiler came through in the end thankfully!!
 
Associate
OP
Joined
25 Sep 2016
Posts
885
ABFE6A4D95494C5D98DD.jpeg


Tiles cleaned and bathroom painted.

Got a week until the tiles can be sealed, time to fit the doorframe architrave and trim the door down.
 
Associate
OP
Joined
25 Sep 2016
Posts
885
The beast is alive!

CC9182E5FEBD44D8B675.jpeg


took 3 of us just to stand it up :D

A friend of a friend did the plumbing for us so out heating is back up and running for a couple of hundred.

The big cast radiators got switched to 15mm coming off the 22mm, the smaller hall radiators stayed on 10mm - but their runs are very short off the 22mm.
All fired up and only 2 small leaks - radiator tail needed tightening, and a casting imperfection around a bleed valve needed extra PTFE and jointing compound

These things are deadly thought as the first think our toddler did was try and climb it, being his height and 230kg would easily crush him to death.
Its now bolted to the wall with 2 stays, I wasnt impressed with the expanding brass brass rawl plugs so ended up glueing them into the wall with epoxy resin before screwing them in.
Rock solid now :cool:
 
Associate
OP
Joined
25 Sep 2016
Posts
885
Well the radiator leaked in the middle section, had to get a custom 1metre long key made up at a local steel works - £10, bargain!

Anyway back to the bathroom

D1D90EA1AAE34A3E990A.jpeg


Marble is much fussier than the sample pack was, I hope it looks ok when all the bathroom furniture is in
 
Last edited:
Associate
OP
Joined
25 Sep 2016
Posts
885
Got myself a 5mm wax filled diamond bit for £8 off amazon, never used one for small holes is stone before but its been great

6F37983AA6EF468EAB34.jpeg


radiator plumbed and fixed, no leaks, just need to but some chrome shrouds for the feed/return pipes.

A27949C84C4C410EB326.jpeg


sink has been a pain in the arse, wobbly legs that are hard to get square, and the basin weighs a lot! Had to lie on my back taking the weight on the basin with my feet while drilling pilot holes through the mounting holes into the wall.
After all that I decided the mounting holes look pretty flimsy so picking up some grip fill tomorrow to glue it to the wall as well!

Tomorrow I will (try to) mount the tap stands, fix the bath, and plumb/mount the shower..... wish me luck!!
 
Associate
OP
Joined
25 Sep 2016
Posts
885
Bath taps and bath went in surprisingly straight forward, filled to weigh it down as the grab adhesive for the feet sets

F3C309FBFF4A43519C23.jpeg


went from this....

028A991D301A4F1E89DD.jpeg


to this....

5F86F6DEC50B48ADBC18.jpeg


And hung a rather large brass mirror on 150mm screws

1FE9B0FF0A2D43AF8349.jpeg


Didn't get the shower finished as I hadn't realised the tiler hadn't gone high enough - demonstrated by the un-painted strip!
 
Caporegime
Joined
6 Dec 2005
Posts
37,567
Location
Birmingham
Got to say I did have similar thoughts to Hedge about the smaller tiles but with the furniture it looks superb, I love marble. The pineapple! :cool:


One thing though...

Is that a pattern on the tile or has a tiny piece of tile been cut to fill the gap?

ueZtqAO.png
 
Back
Top Bottom