Mini me was a fail 
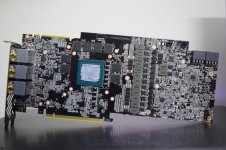
When I bought the 2080Ti Aorus for cheap it came with a caveat. That caveat was Unreal engine hates it. The VRAM on it runs hot when using UE. It doesn't happen on any other game or engine, but in UE the VRAM can only take about 80c before I start getting orbs. Like spots of colour, not space invaders. Push it to 90c? the game crashes.
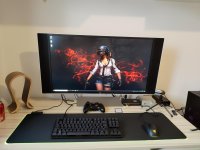
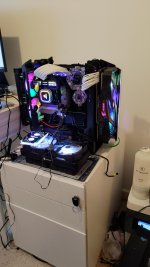
Now this wouldn't be an issue at all if it wasn't for the fact that over the past year and three months I have put about a thousand hours into PUBG. It is all we play now. I have two rigs, and I split my time between them. However, every time I was on this rig I had to run the fans at 100% on a hope and a prayer. This was mainly being caused by the fact that the wall the GPU sits against (inner centre) is solid. Meaning all of the heat that comes out of the back of the GPU was soaking right back in and causing issues. I had to under volt, under clock and run the fans at 100%. That said this was all done on a budget, hence the janky PSU and cooler. Which I learned likes to leak a lot around the pump housing which made me very nervous.
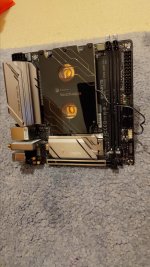
So, after a holiday wrecked by Covid (came down second day, had to isolate in a caravan for a week) I had some spare cash. Hence, Mini Me V2.
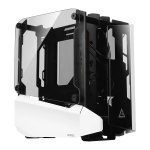
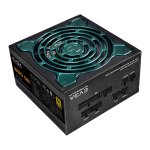
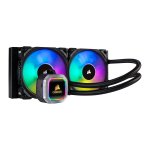
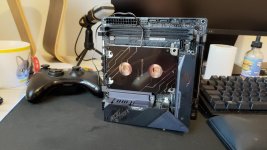
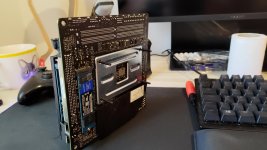
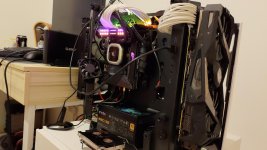
Which worked ! sorta kinda. I can now game with the fans on 60%, which is inaudible with my headphones on. However, the VRAM still crashes every now and then. I don't want to run this bloody card at 100% fan speed for the rest of its life, and so I have decided to do something about that. This is where I got to with V2.
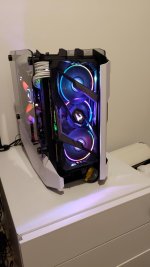
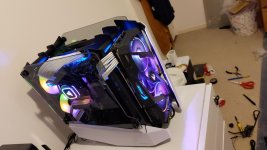
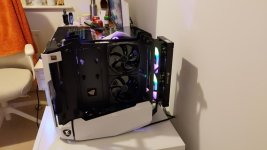
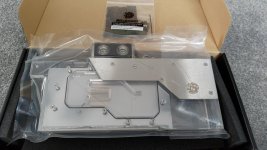
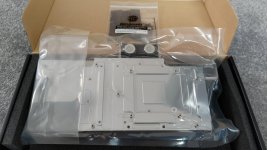
And I was very happy with it. However, I can't fit the front glass as it sits right on the GPU, and there are several other small annoyances. Mostly the GPU in PUBG. Now going back to when I bought the GPU it was blocked.
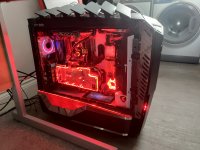
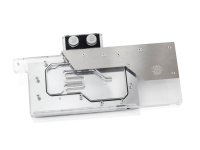
And I played PUBG on it several times at 2100mhz (a pipe dream on the air cooler, it's crap) and never had any problems. I would imagine this is because the VRAM was cucumbered under that enormous block. As such I have decided to put it back on water. This decision took me quite a while, because I didn't want to strip out the Alienware. However, not only does it look awfully sorry for itself* but it's also enormous, and once everything goes in you can't lift it without damaging it, given it's all 1mm alu. It's so heavy it always suffers damage. I could strip it all back down and repaint the shell (which is the issue, I will get to that) but I know how much work is involved in that and like I said it's too big and heavy any way.
* When I originally painted it it looked fantastic. However, I didn't realise what a pain in the penis it would be to work in, and due to getting it right I had the hardware in and out several times which trashed the paint. Meaning it looks awful.
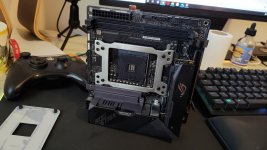
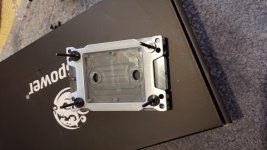
OK, so I finally made the executive decision to strip it down. Not get rid, because one day I may be up for the 3 month task of sorting it out, but to at least remove the hundreds upon hundreds of pounds of water cooling gear. However, again there was a caveat. The rig was a Threadripper, and the block I bought on sale here at OCUK only fits Threadripper.
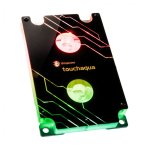
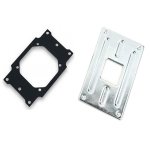
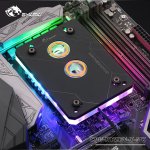
Which kinda ****** me off, because several other manufacturers made theirs backward compatible with AM4, kinda like this Bykski one.
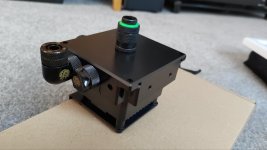
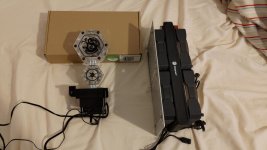
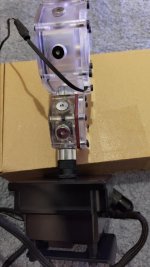
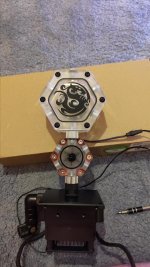
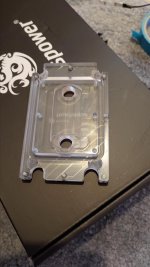
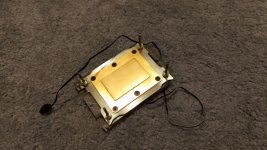
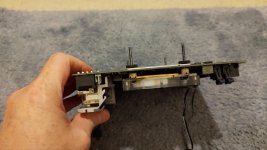
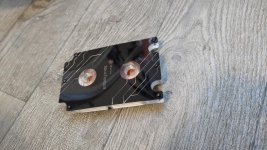
I know I am already down for paying out for a compact pump and res, what I do not want to do is spend £90 on a CPU block. So, I took it apart.
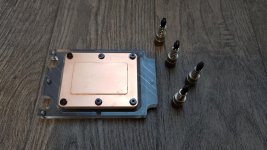
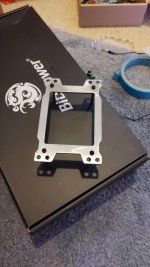
Removing the silver mid plate that also mounts it.
Then I did some Sunday arvo CAD.
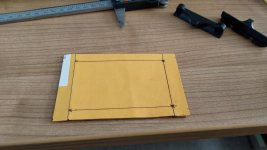
And mapped out where the new bolt holes would need to go.
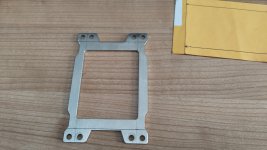
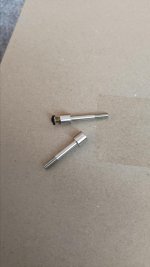
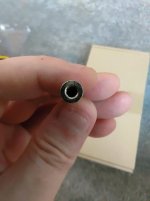
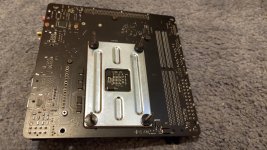
And as you can see, plenty of meat on there. I had two ideas of how to mount this. Firstly I could drill the four holes, screw it back onto the block and then drill through those out through the top. That would look a bit messy though. The water channels are well clear, so it would work (hence how Bykski did it) but I wanted it tider. As such I am going to drill the four holes, put in four M4 counter sunk bolts out through the bottom, then screw the block top back on. Meaning they will be invisible. In order to mount it I need to slightly drill out the AM4 back plate holes, then send the bolts through the back of the board and spring/bolt mount it there. Whilst I am at it I will fill in the unused holes that will be left from TR4 and then paint it satin black. Thankfully the case has an enormous cutout so I can get away with this.
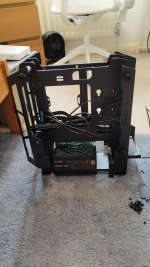
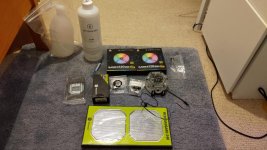
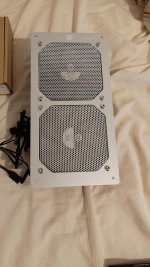
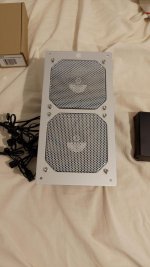
Another reason I decided to strip down the Alienware was because 90% of it will fit this Antec. The Antec takes two 240 rads, I have two 240 rads... And about £300 in fittings FFS.
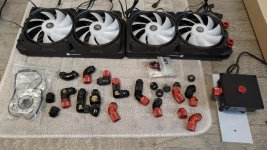
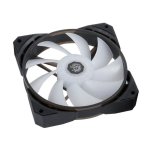
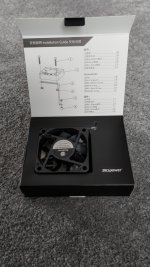
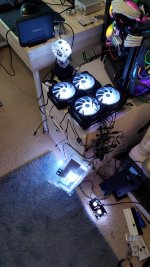
Those Bitspower fans are brand new, DRGB. I got them here on OCUK. I was going to rebuild the Alienware again, but yeah too hooj. I won't be using the pump/cooler/top because it's too big and IMO would look stupid. Like I said, got plans for that. I will be using the rest. I still have about half of the 10m run of black hose I bought too.
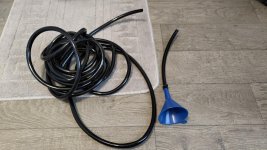
Which is cool.
And.
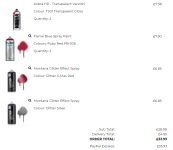
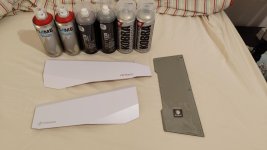
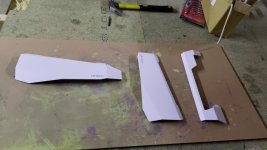
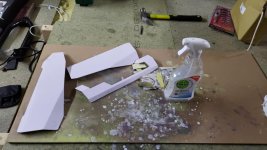
I am going to paint the case panels. Won't go into too much detail just yet, but I have decided. For the past three years since my last major mod I have been perfecting show paint finishes with acrylic graffiti paints. And, I've gotten really good at it.
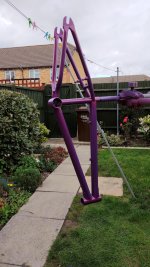
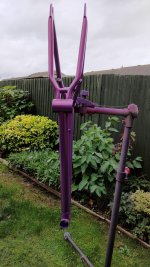
That one is blackberry with red flake. I call it murder purple. This one is Nautilus blue with blue flake.
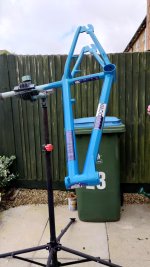
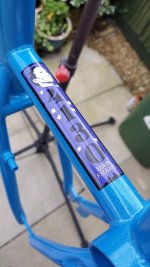
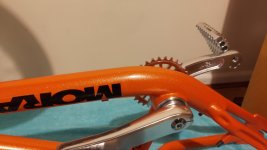
It's a crap ton of work, but it kills powder coat stone dead due to the horrid orange peel you get with that which is not really fixable. This is another I did in Jam orange with gold flake.
So yeah, expect something pretty frikkin wild.

When I bought the 2080Ti Aorus for cheap it came with a caveat. That caveat was Unreal engine hates it. The VRAM on it runs hot when using UE. It doesn't happen on any other game or engine, but in UE the VRAM can only take about 80c before I start getting orbs. Like spots of colour, not space invaders. Push it to 90c? the game crashes.
Now this wouldn't be an issue at all if it wasn't for the fact that over the past year and three months I have put about a thousand hours into PUBG. It is all we play now. I have two rigs, and I split my time between them. However, every time I was on this rig I had to run the fans at 100% on a hope and a prayer. This was mainly being caused by the fact that the wall the GPU sits against (inner centre) is solid. Meaning all of the heat that comes out of the back of the GPU was soaking right back in and causing issues. I had to under volt, under clock and run the fans at 100%. That said this was all done on a budget, hence the janky PSU and cooler. Which I learned likes to leak a lot around the pump housing which made me very nervous.
So, after a holiday wrecked by Covid (came down second day, had to isolate in a caravan for a week) I had some spare cash. Hence, Mini Me V2.


Which worked ! sorta kinda. I can now game with the fans on 60%, which is inaudible with my headphones on. However, the VRAM still crashes every now and then. I don't want to run this bloody card at 100% fan speed for the rest of its life, and so I have decided to do something about that. This is where I got to with V2.


And I was very happy with it. However, I can't fit the front glass as it sits right on the GPU, and there are several other small annoyances. Mostly the GPU in PUBG. Now going back to when I bought the GPU it was blocked.

And I played PUBG on it several times at 2100mhz (a pipe dream on the air cooler, it's crap) and never had any problems. I would imagine this is because the VRAM was cucumbered under that enormous block. As such I have decided to put it back on water. This decision took me quite a while, because I didn't want to strip out the Alienware. However, not only does it look awfully sorry for itself* but it's also enormous, and once everything goes in you can't lift it without damaging it, given it's all 1mm alu. It's so heavy it always suffers damage. I could strip it all back down and repaint the shell (which is the issue, I will get to that) but I know how much work is involved in that and like I said it's too big and heavy any way.
* When I originally painted it it looked fantastic. However, I didn't realise what a pain in the penis it would be to work in, and due to getting it right I had the hardware in and out several times which trashed the paint. Meaning it looks awful.
OK, so I finally made the executive decision to strip it down. Not get rid, because one day I may be up for the 3 month task of sorting it out, but to at least remove the hundreds upon hundreds of pounds of water cooling gear. However, again there was a caveat. The rig was a Threadripper, and the block I bought on sale here at OCUK only fits Threadripper.

Which kinda ****** me off, because several other manufacturers made theirs backward compatible with AM4, kinda like this Bykski one.

I know I am already down for paying out for a compact pump and res, what I do not want to do is spend £90 on a CPU block. So, I took it apart.

Removing the silver mid plate that also mounts it.

Then I did some Sunday arvo CAD.

And mapped out where the new bolt holes would need to go.

And as you can see, plenty of meat on there. I had two ideas of how to mount this. Firstly I could drill the four holes, screw it back onto the block and then drill through those out through the top. That would look a bit messy though. The water channels are well clear, so it would work (hence how Bykski did it) but I wanted it tider. As such I am going to drill the four holes, put in four M4 counter sunk bolts out through the bottom, then screw the block top back on. Meaning they will be invisible. In order to mount it I need to slightly drill out the AM4 back plate holes, then send the bolts through the back of the board and spring/bolt mount it there. Whilst I am at it I will fill in the unused holes that will be left from TR4 and then paint it satin black. Thankfully the case has an enormous cutout so I can get away with this.

Another reason I decided to strip down the Alienware was because 90% of it will fit this Antec. The Antec takes two 240 rads, I have two 240 rads... And about £300 in fittings FFS.

Those Bitspower fans are brand new, DRGB. I got them here on OCUK. I was going to rebuild the Alienware again, but yeah too hooj. I won't be using the pump/cooler/top because it's too big and IMO would look stupid. Like I said, got plans for that. I will be using the rest. I still have about half of the 10m run of black hose I bought too.

Which is cool.
And.
I am going to paint the case panels. Won't go into too much detail just yet, but I have decided. For the past three years since my last major mod I have been perfecting show paint finishes with acrylic graffiti paints. And, I've gotten really good at it.


That one is blackberry with red flake. I call it murder purple. This one is Nautilus blue with blue flake.


It's a crap ton of work, but it kills powder coat stone dead due to the horrid orange peel you get with that which is not really fixable. This is another I did in Jam orange with gold flake.

So yeah, expect something pretty frikkin wild.


