Project PARVUM ARGENTUM - Lots of rendering, machining and 4 Titan Xs?

Associate
Joined
6 Aug 2015
Posts
11
Location
London
Project PARVUM ARGENTUM - I need nand, lots of nand - Update 25/11/15

Hello everybody!

First time posting in this forum, been an accountless lurker for too long now. If you frequent other tech sites you may have seen me before though. I wanted to share with you all my new project, titled Argentum, a collaborative work with Parvum Systems!


uf89C7.jpg


JeXrAA.jpg


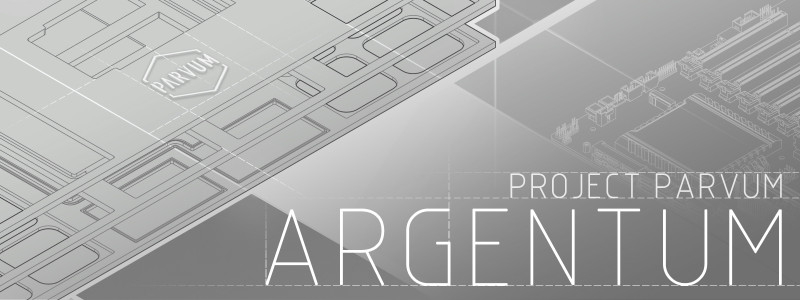
I present to you, Project Parvum Argentum!

Brief:

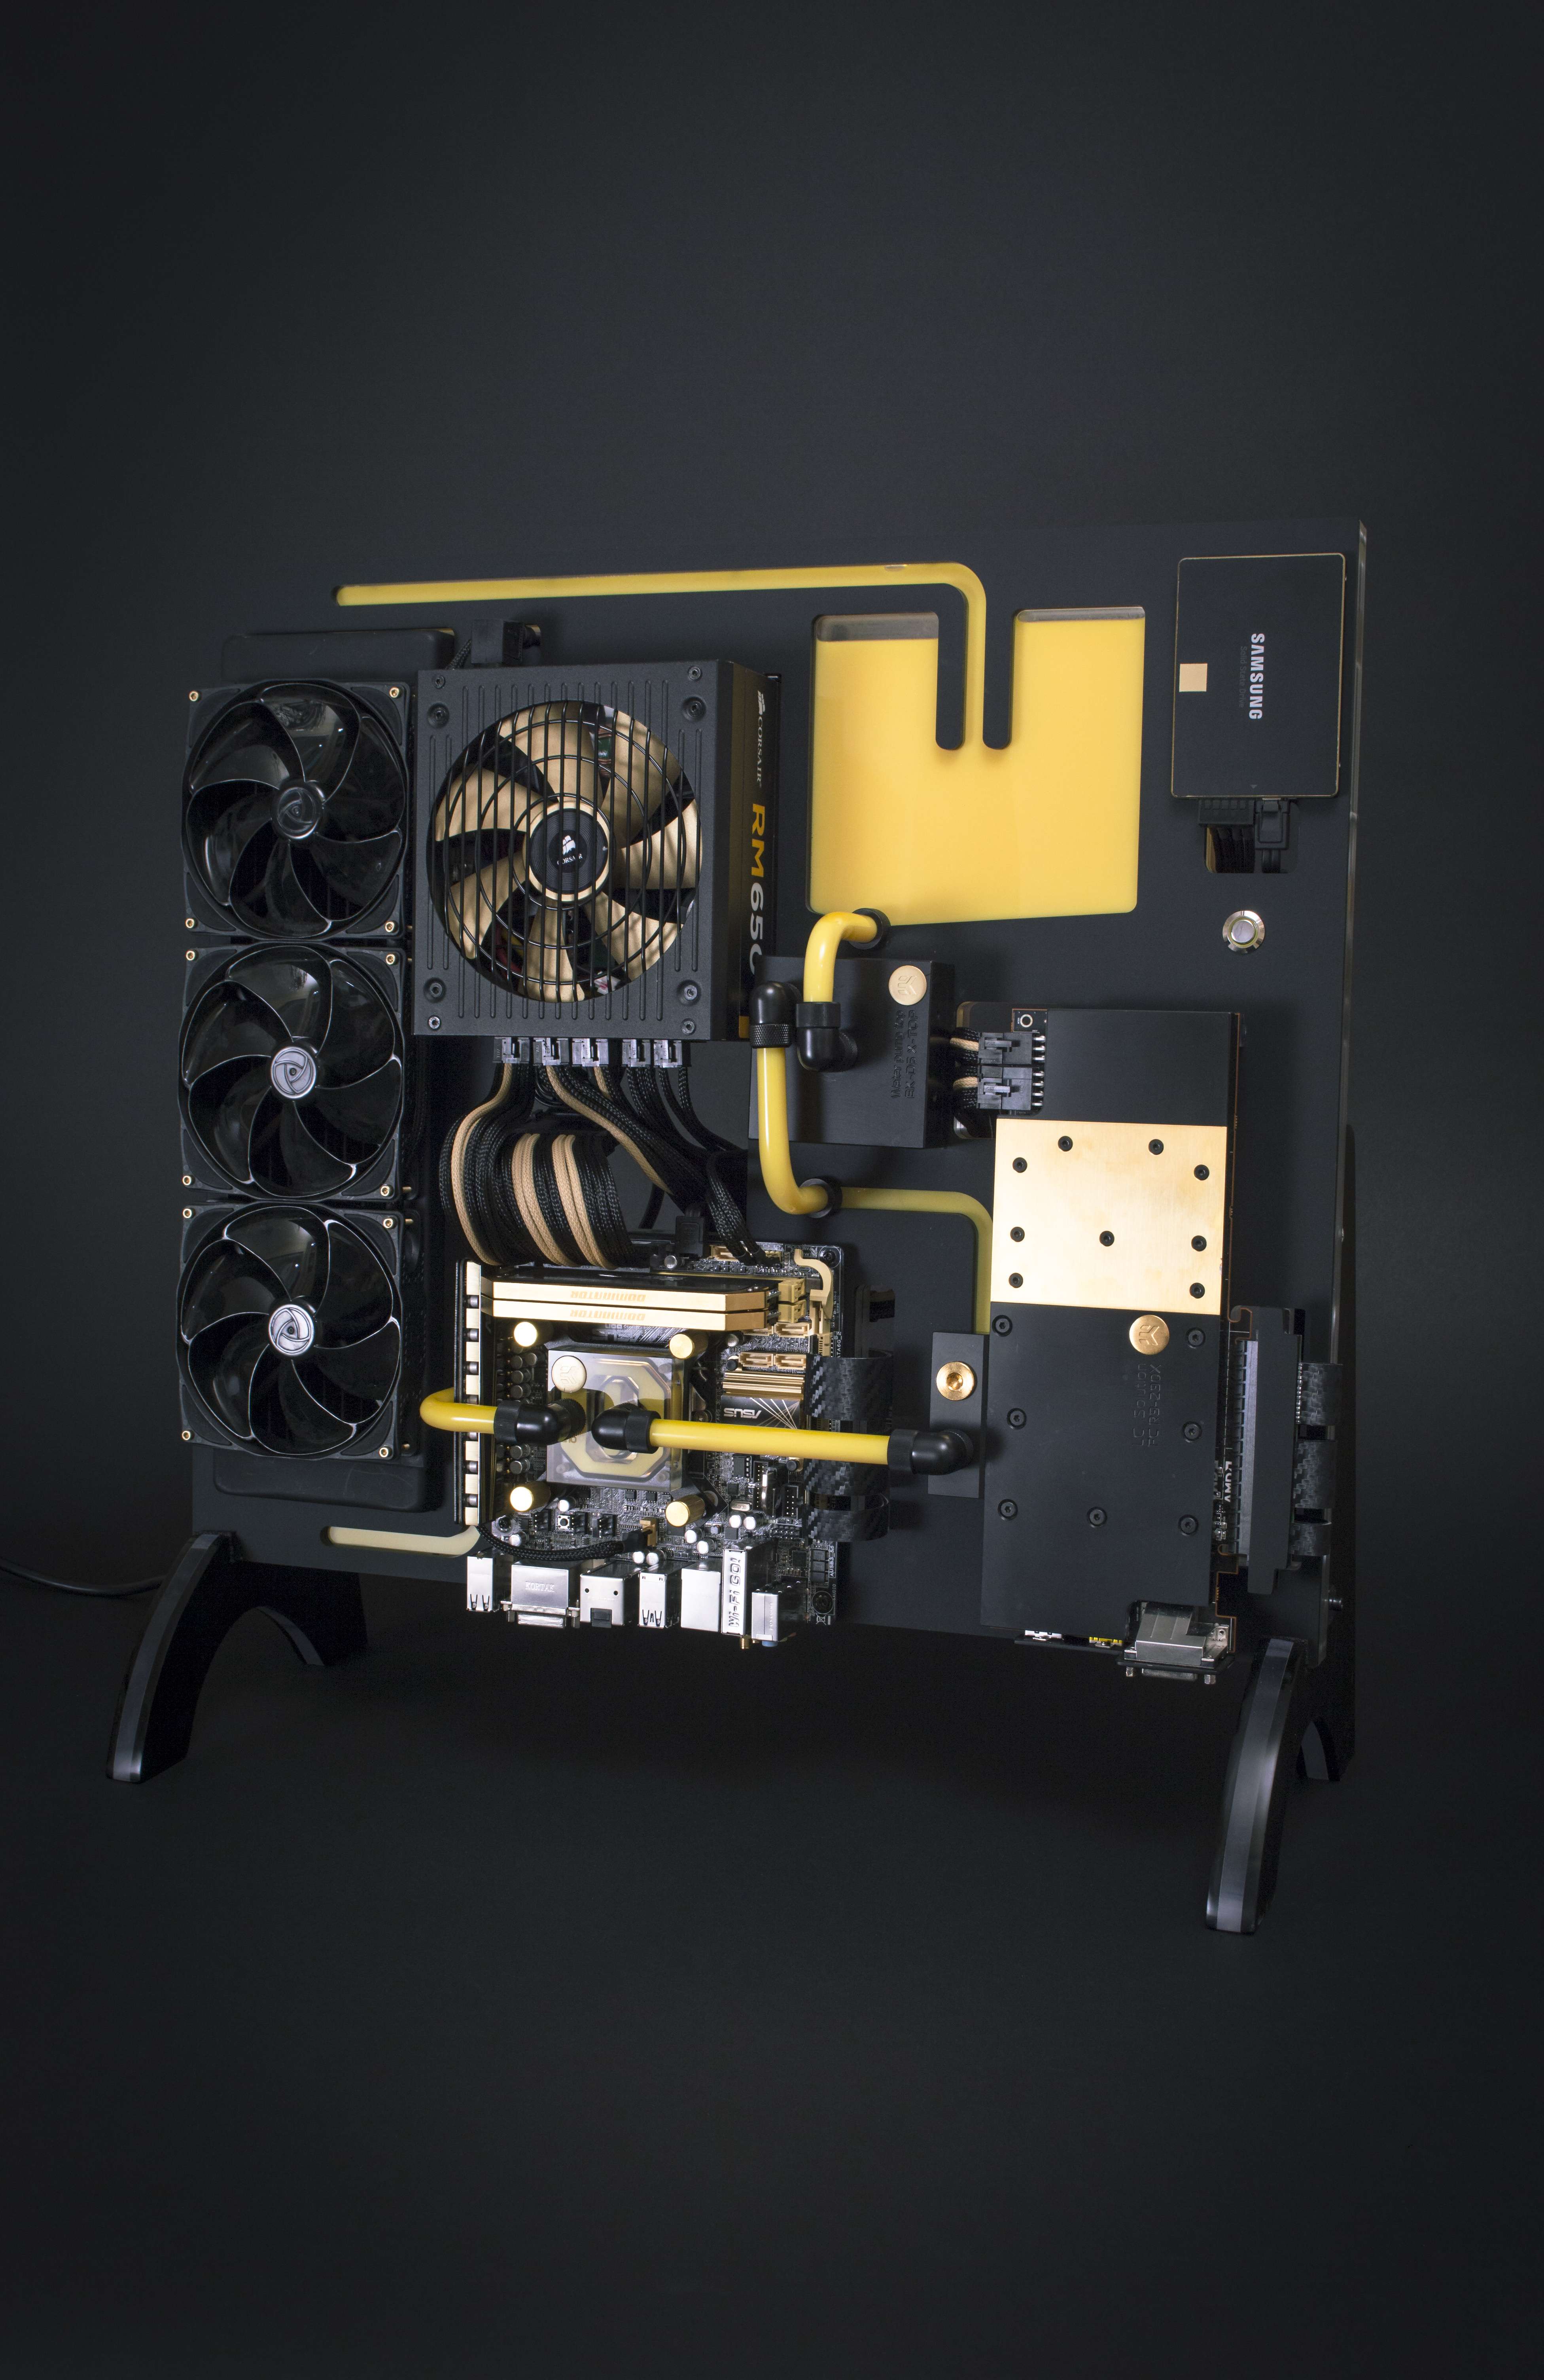
A few months back, Justin of Parvum Systems approached me with a proposition. The idea was to create a wall mounted PC in a similar vein to my last project, Loramentum, but with monstrous hardware in mind. Seeing as Parvum did the machining for my last build, the thought of a collaboration project very much whetted my appetite.

So how is this going to differ from Loramentum? Well, scale mostly. This build is going to feature a lot of hardware, both on the cooling side and*in specs. In making this project larger, we also wanted to make some parts more daring. Whereas Loramentum features a simple 2 part clamshell design, we thought it would be interesting to increase that to three layers so that channels can pass over and under each other. What also differs is what stage I'm starting the log at. In Loramentum all the main renders were complete before embarking on the build. Owing to the number of manufacturers involved in this build, it seemed like that would be a tough call, so this time you'll be able to see the design evolve. I'll update the OP when the final renders for the project are completed so that they don't get lost.


I'd also like to give a big thank you to everybody who's decided to sponsor this project and to Justin at Parvum! Without you guys this project could never have been possible.


Specs:


So what specs are we talking about here?

CPU: Intel Core i7 5960X
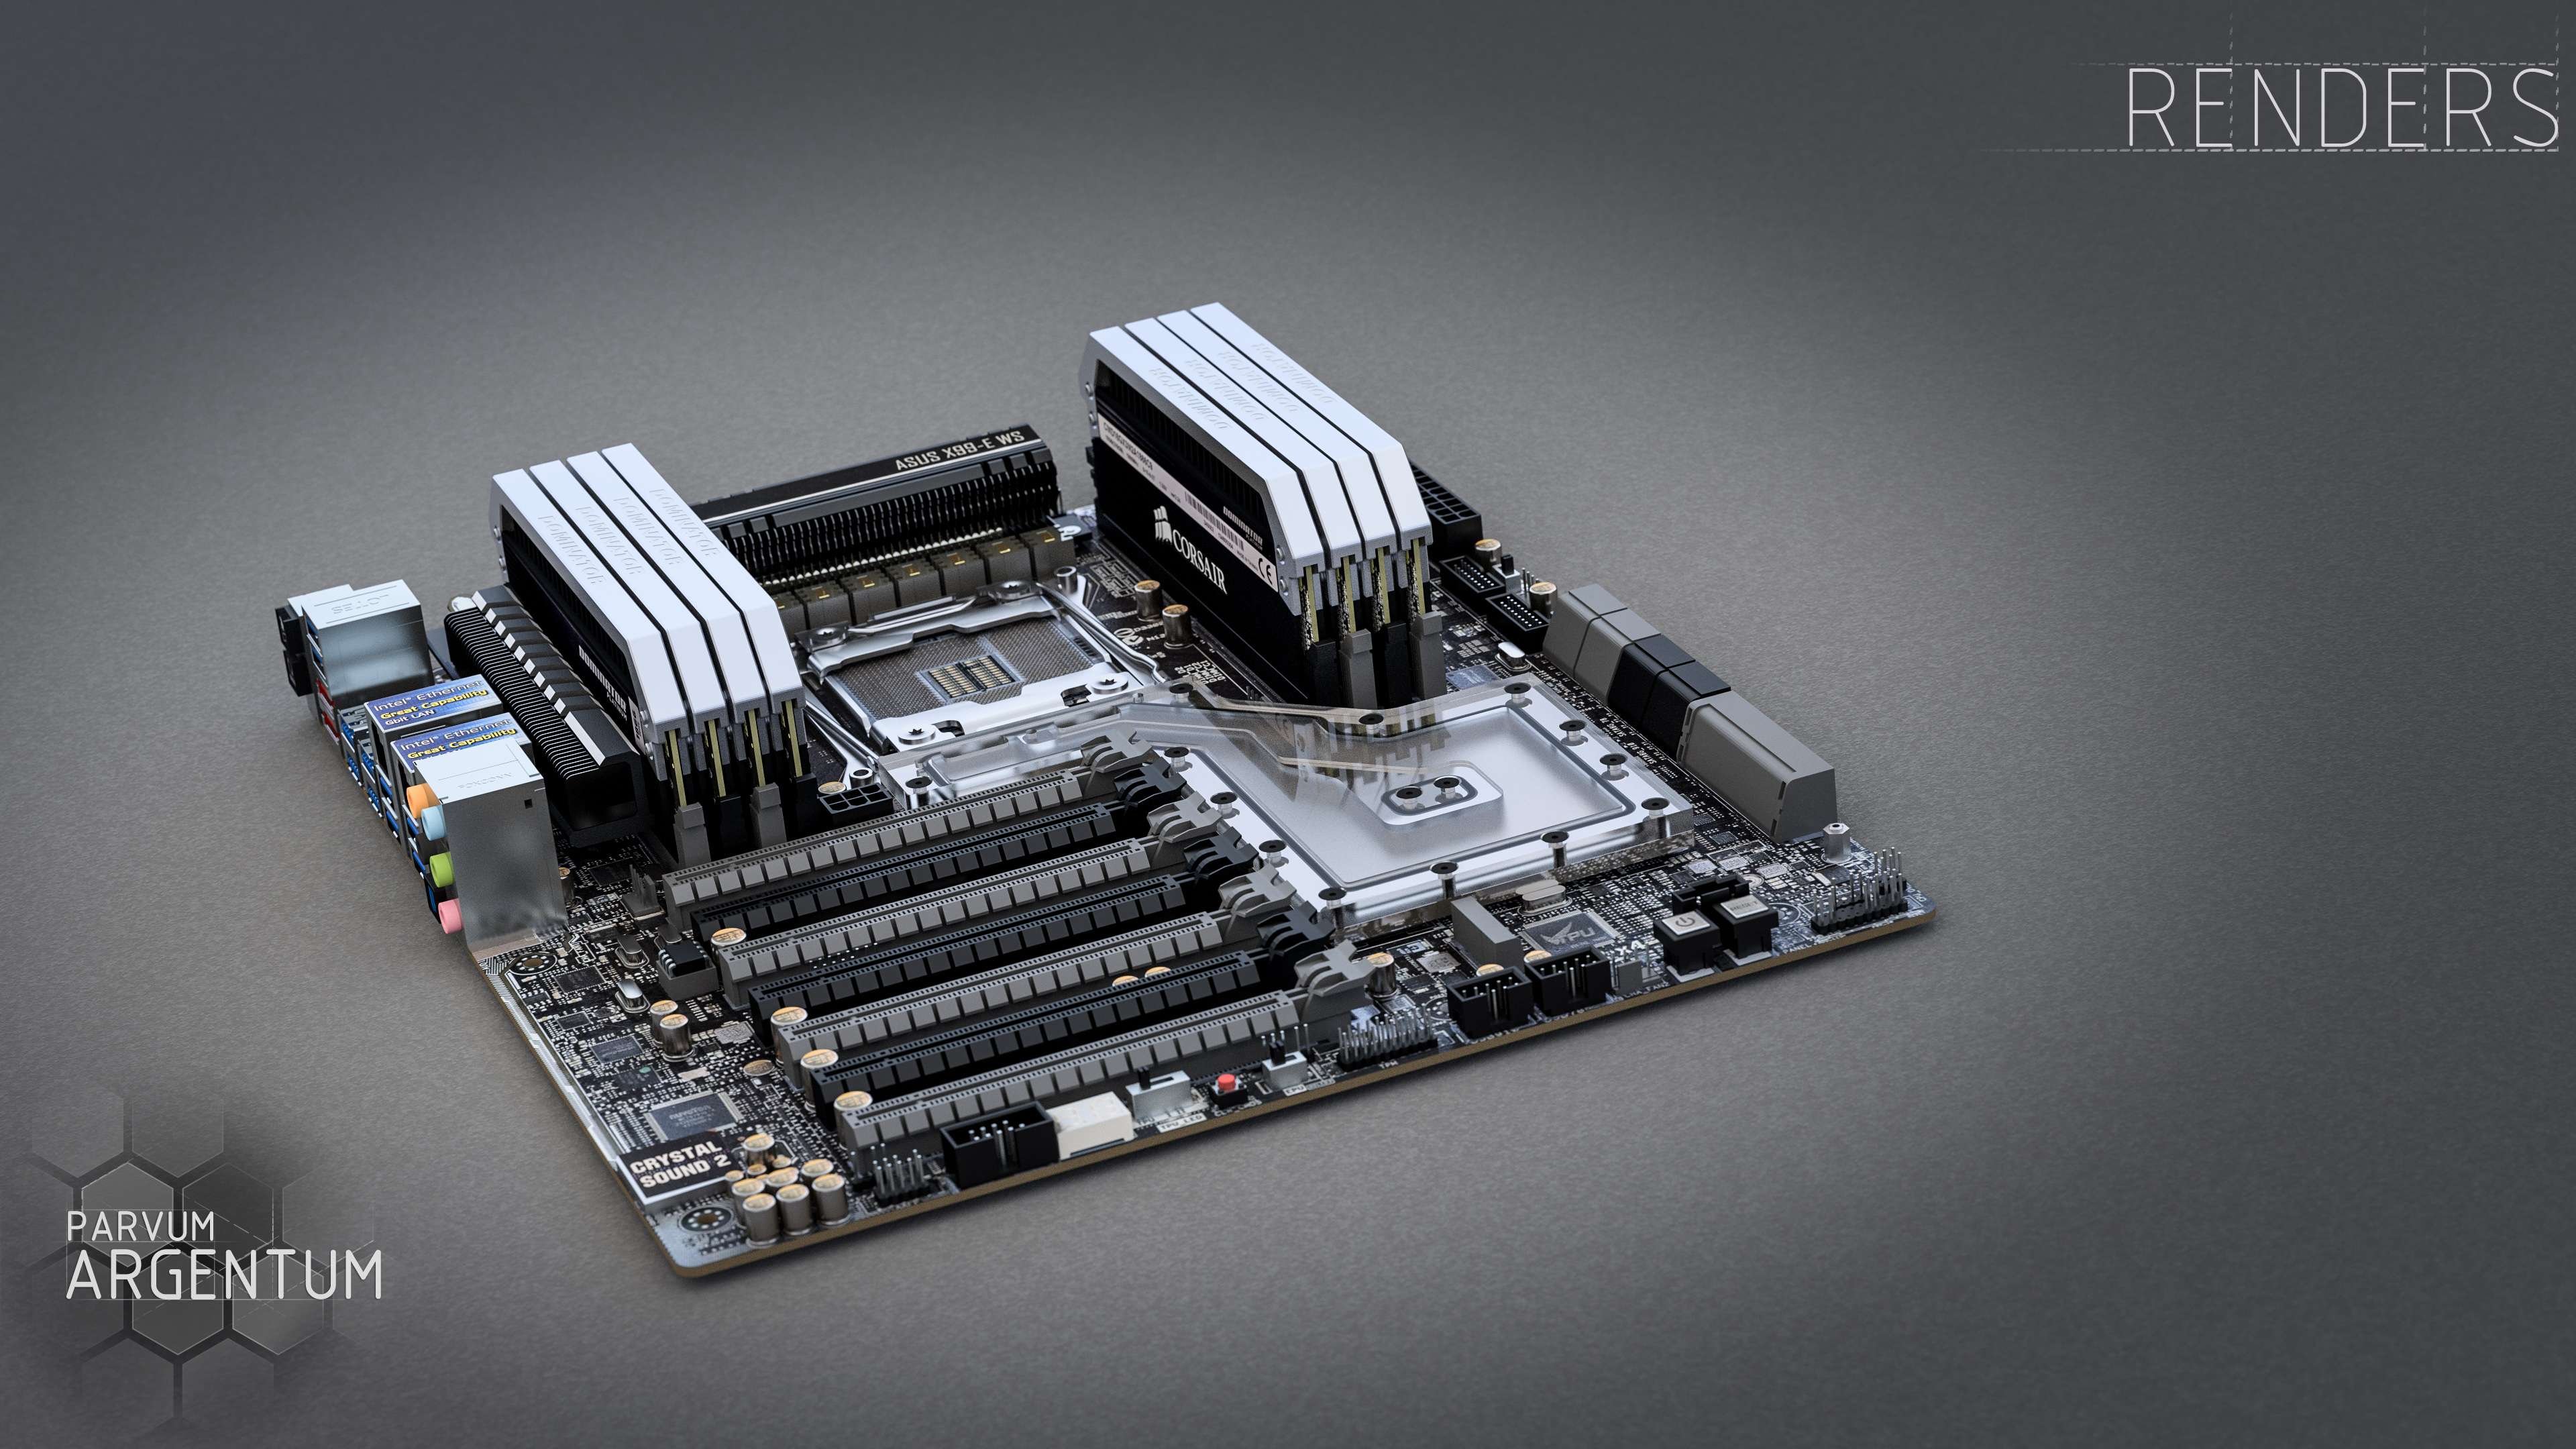
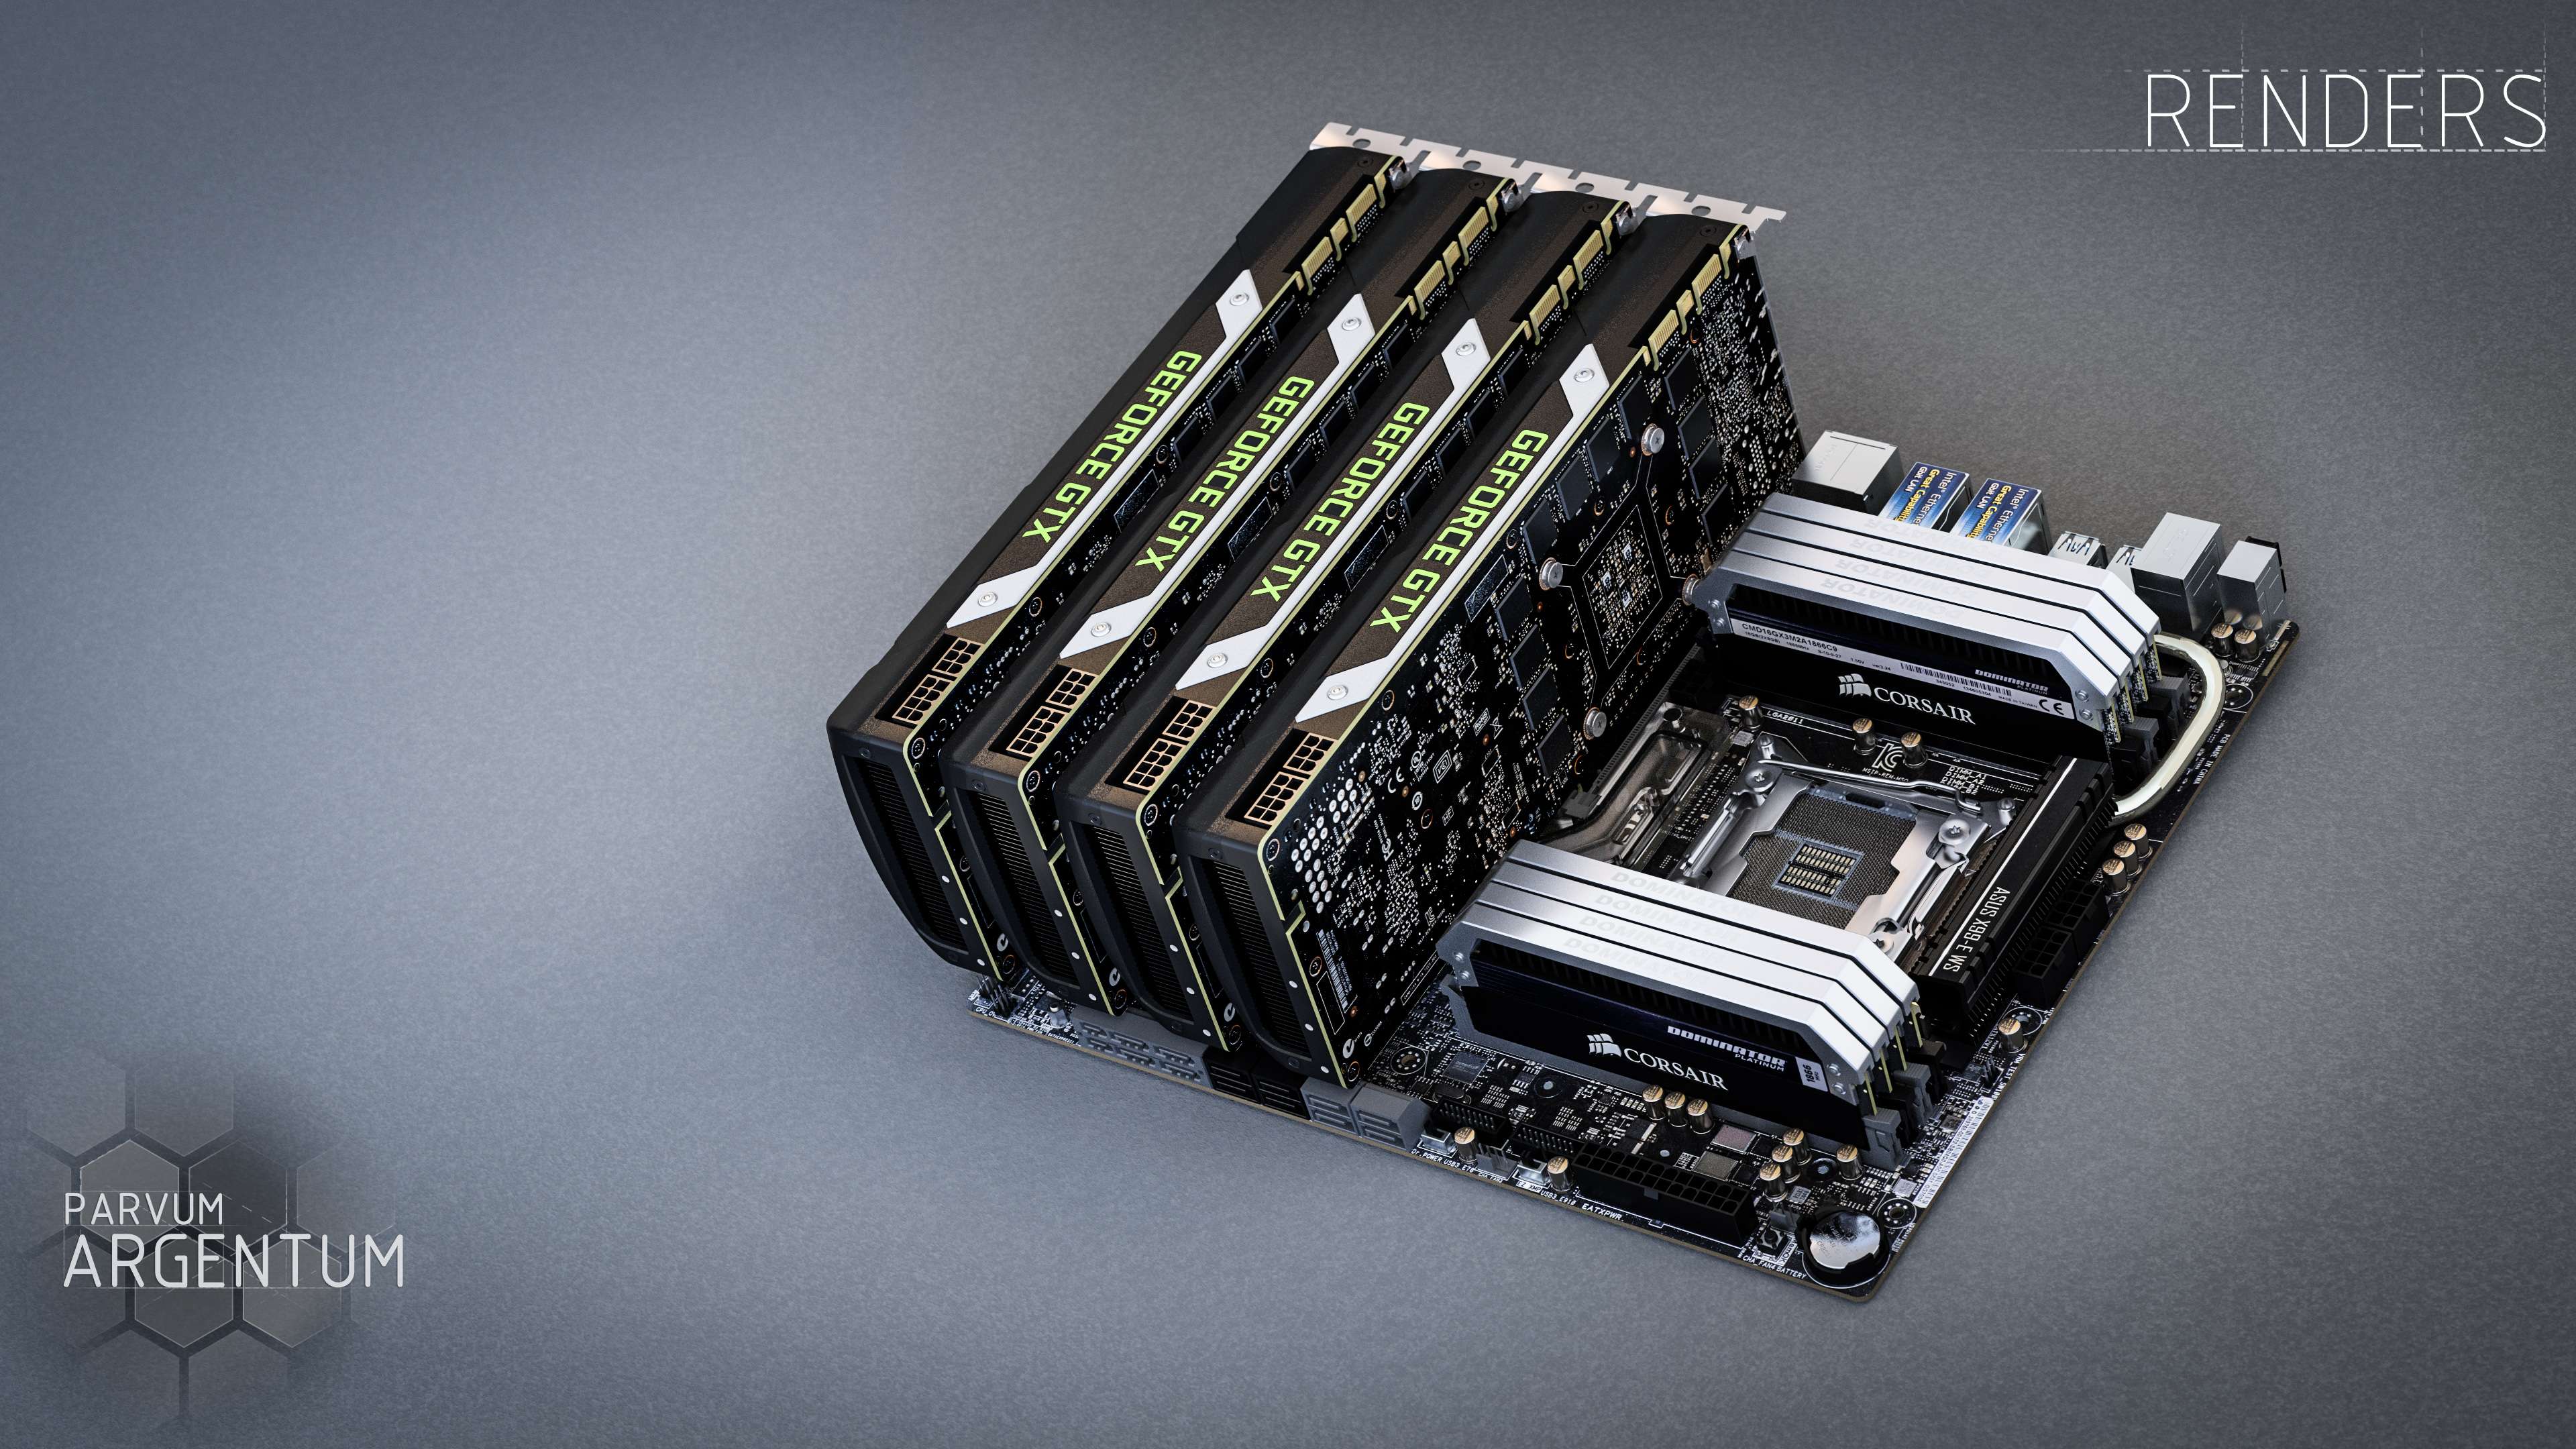
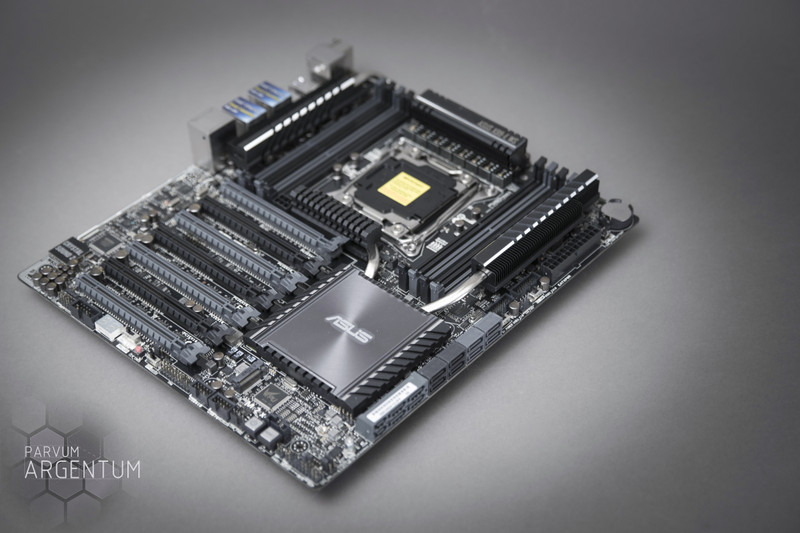
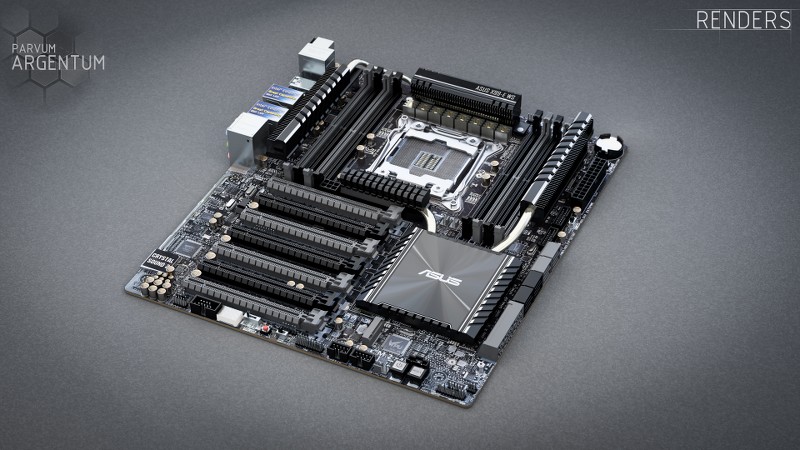
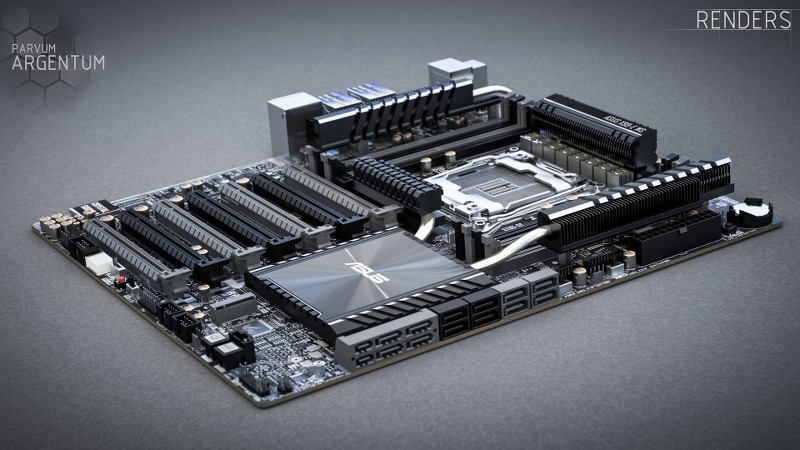
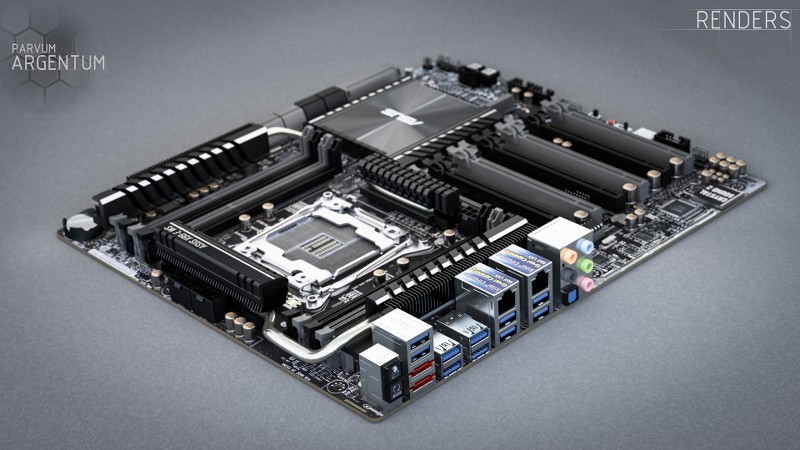
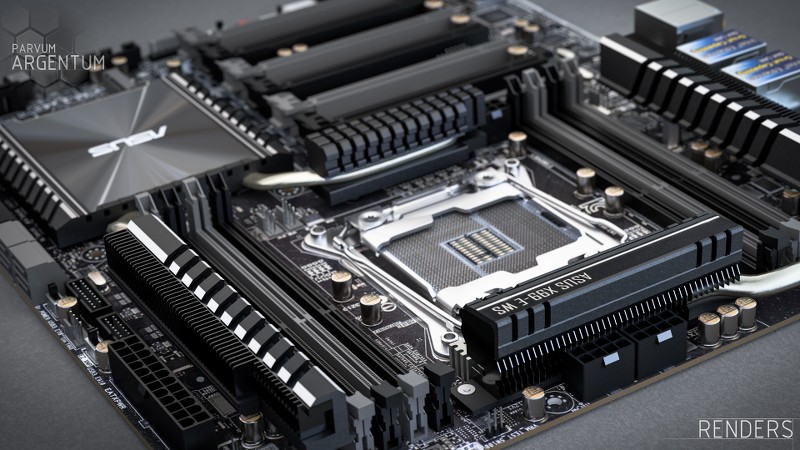
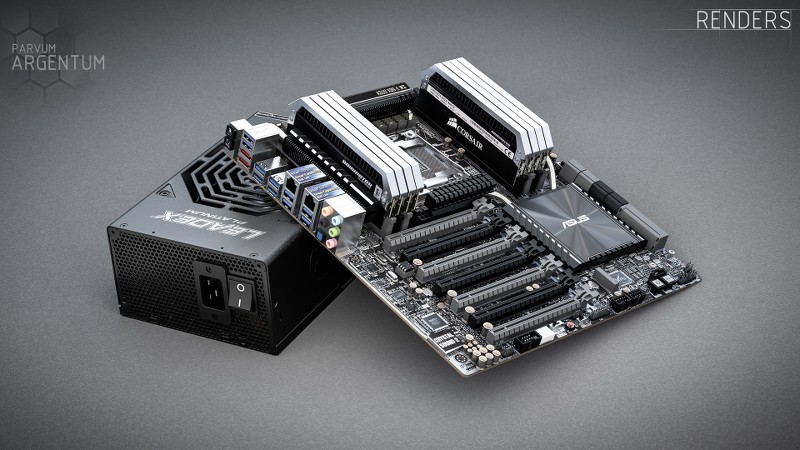
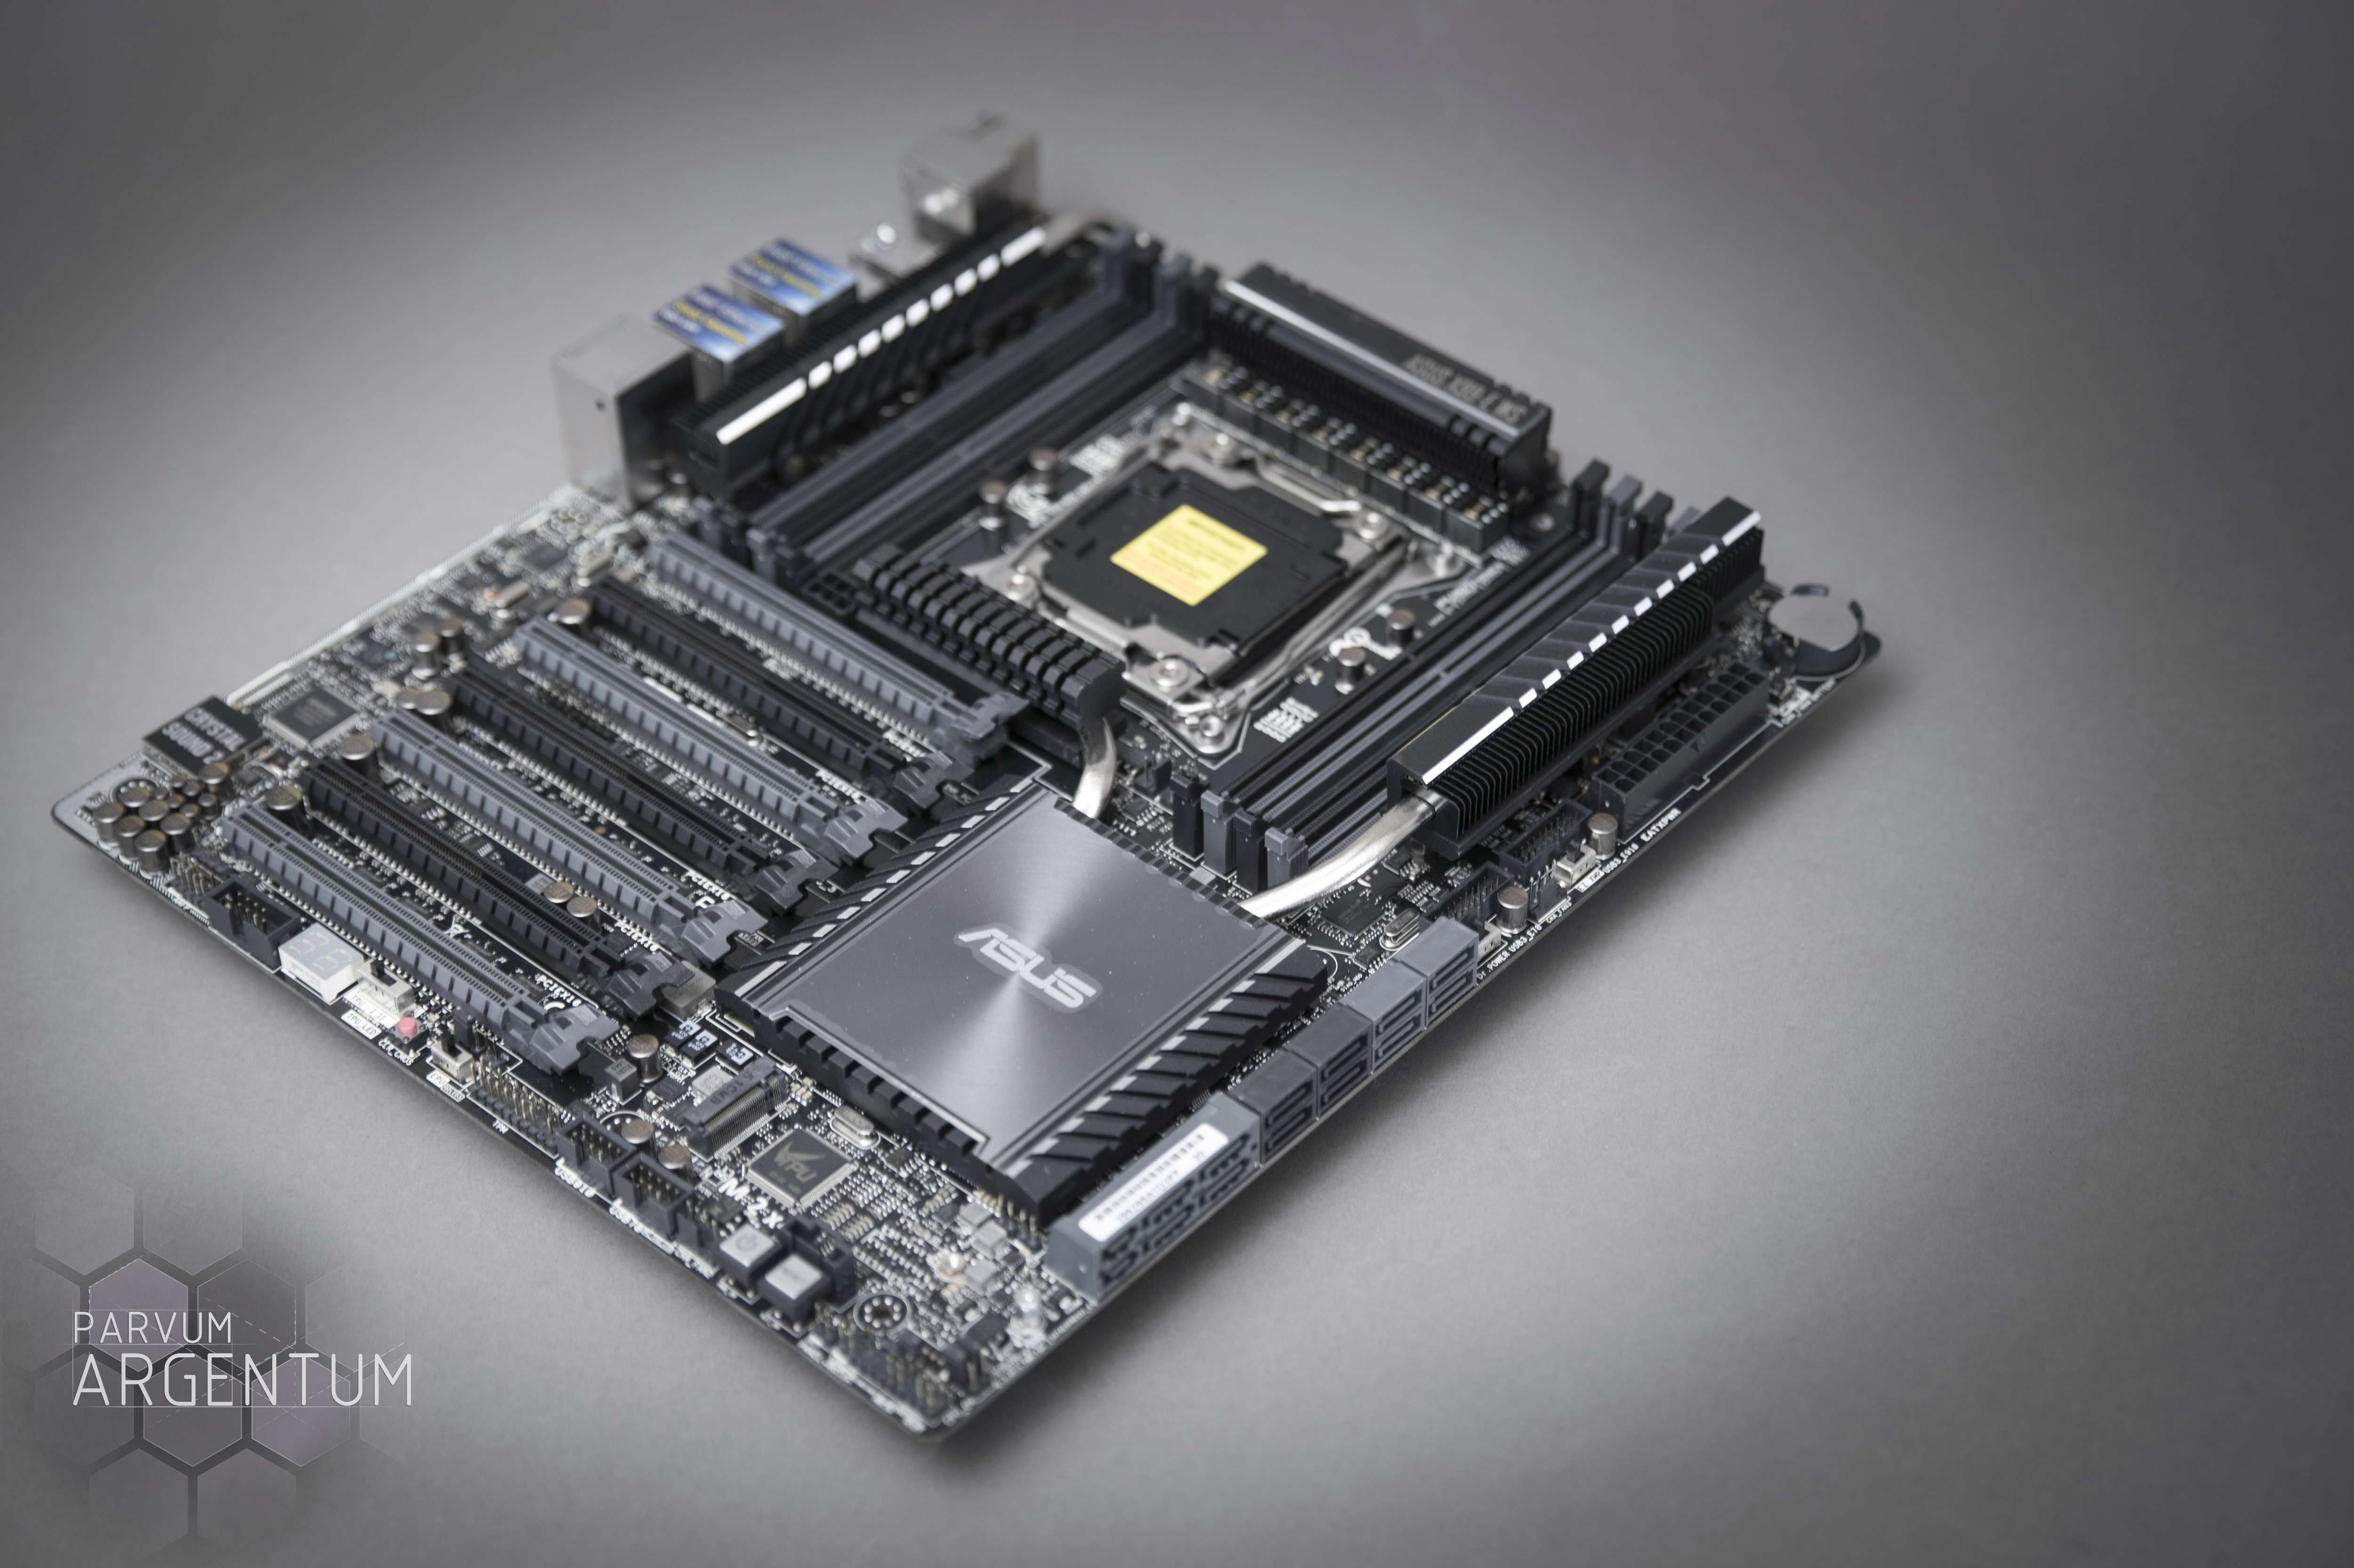
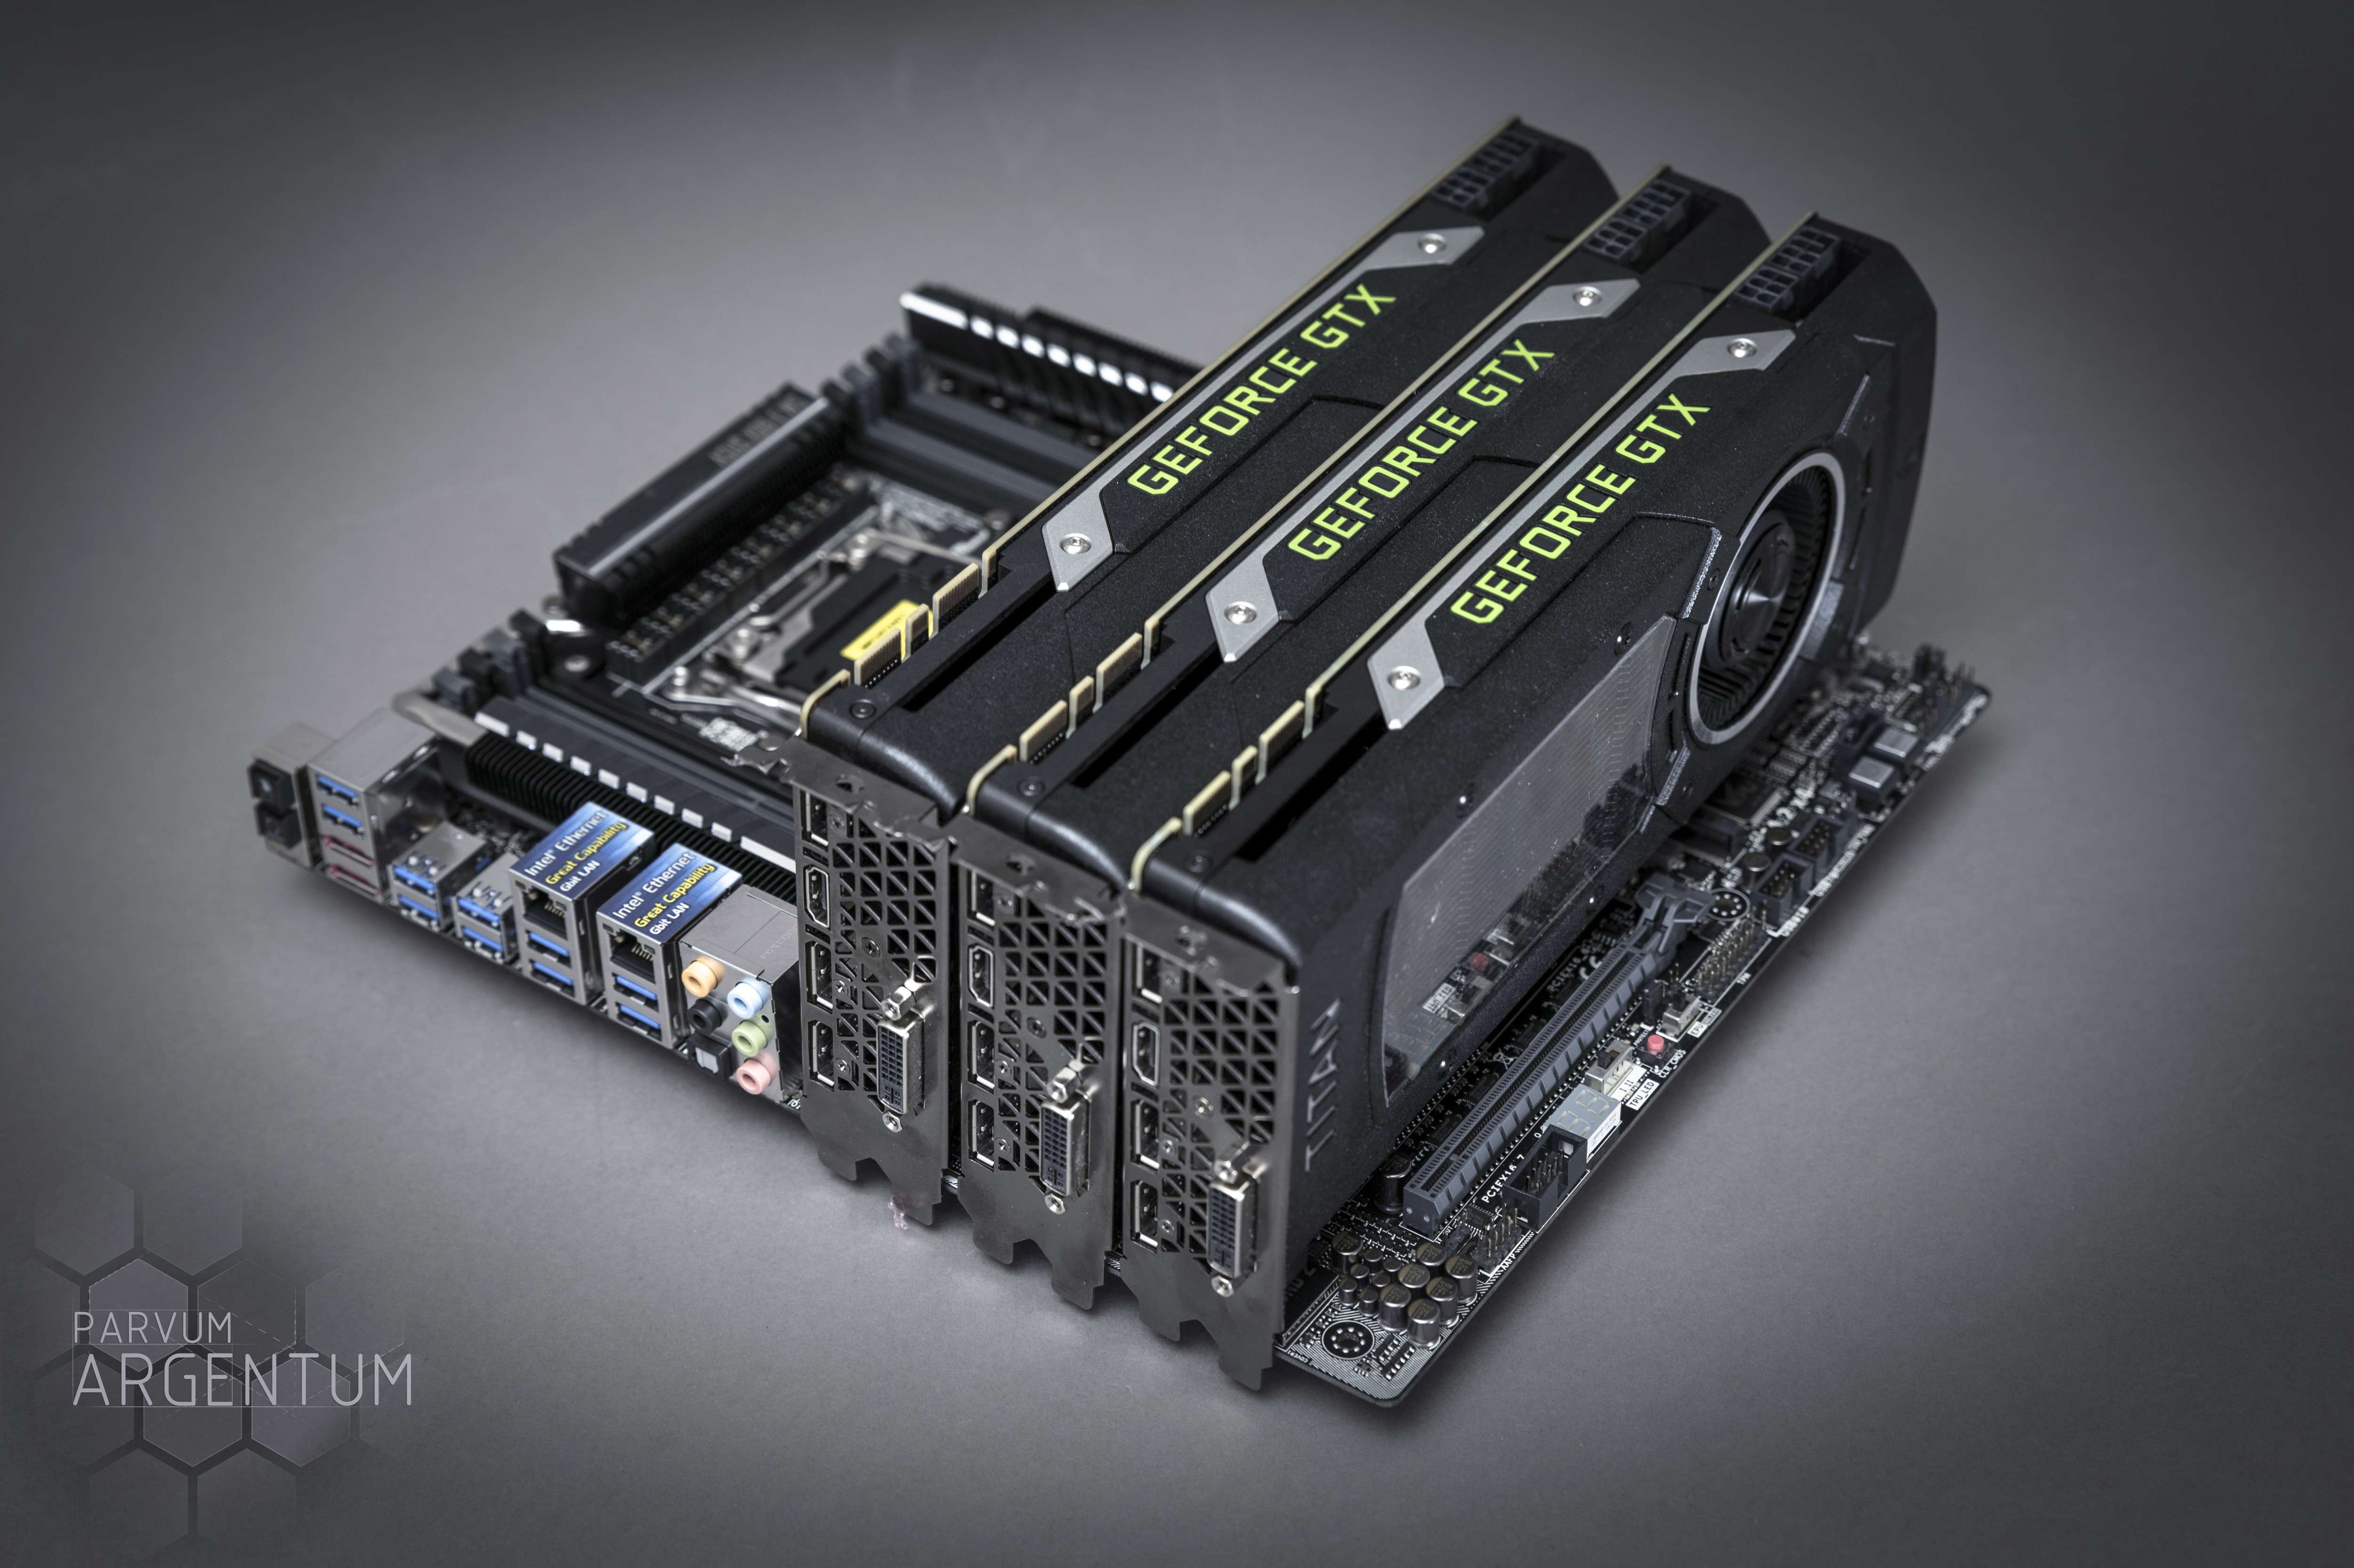
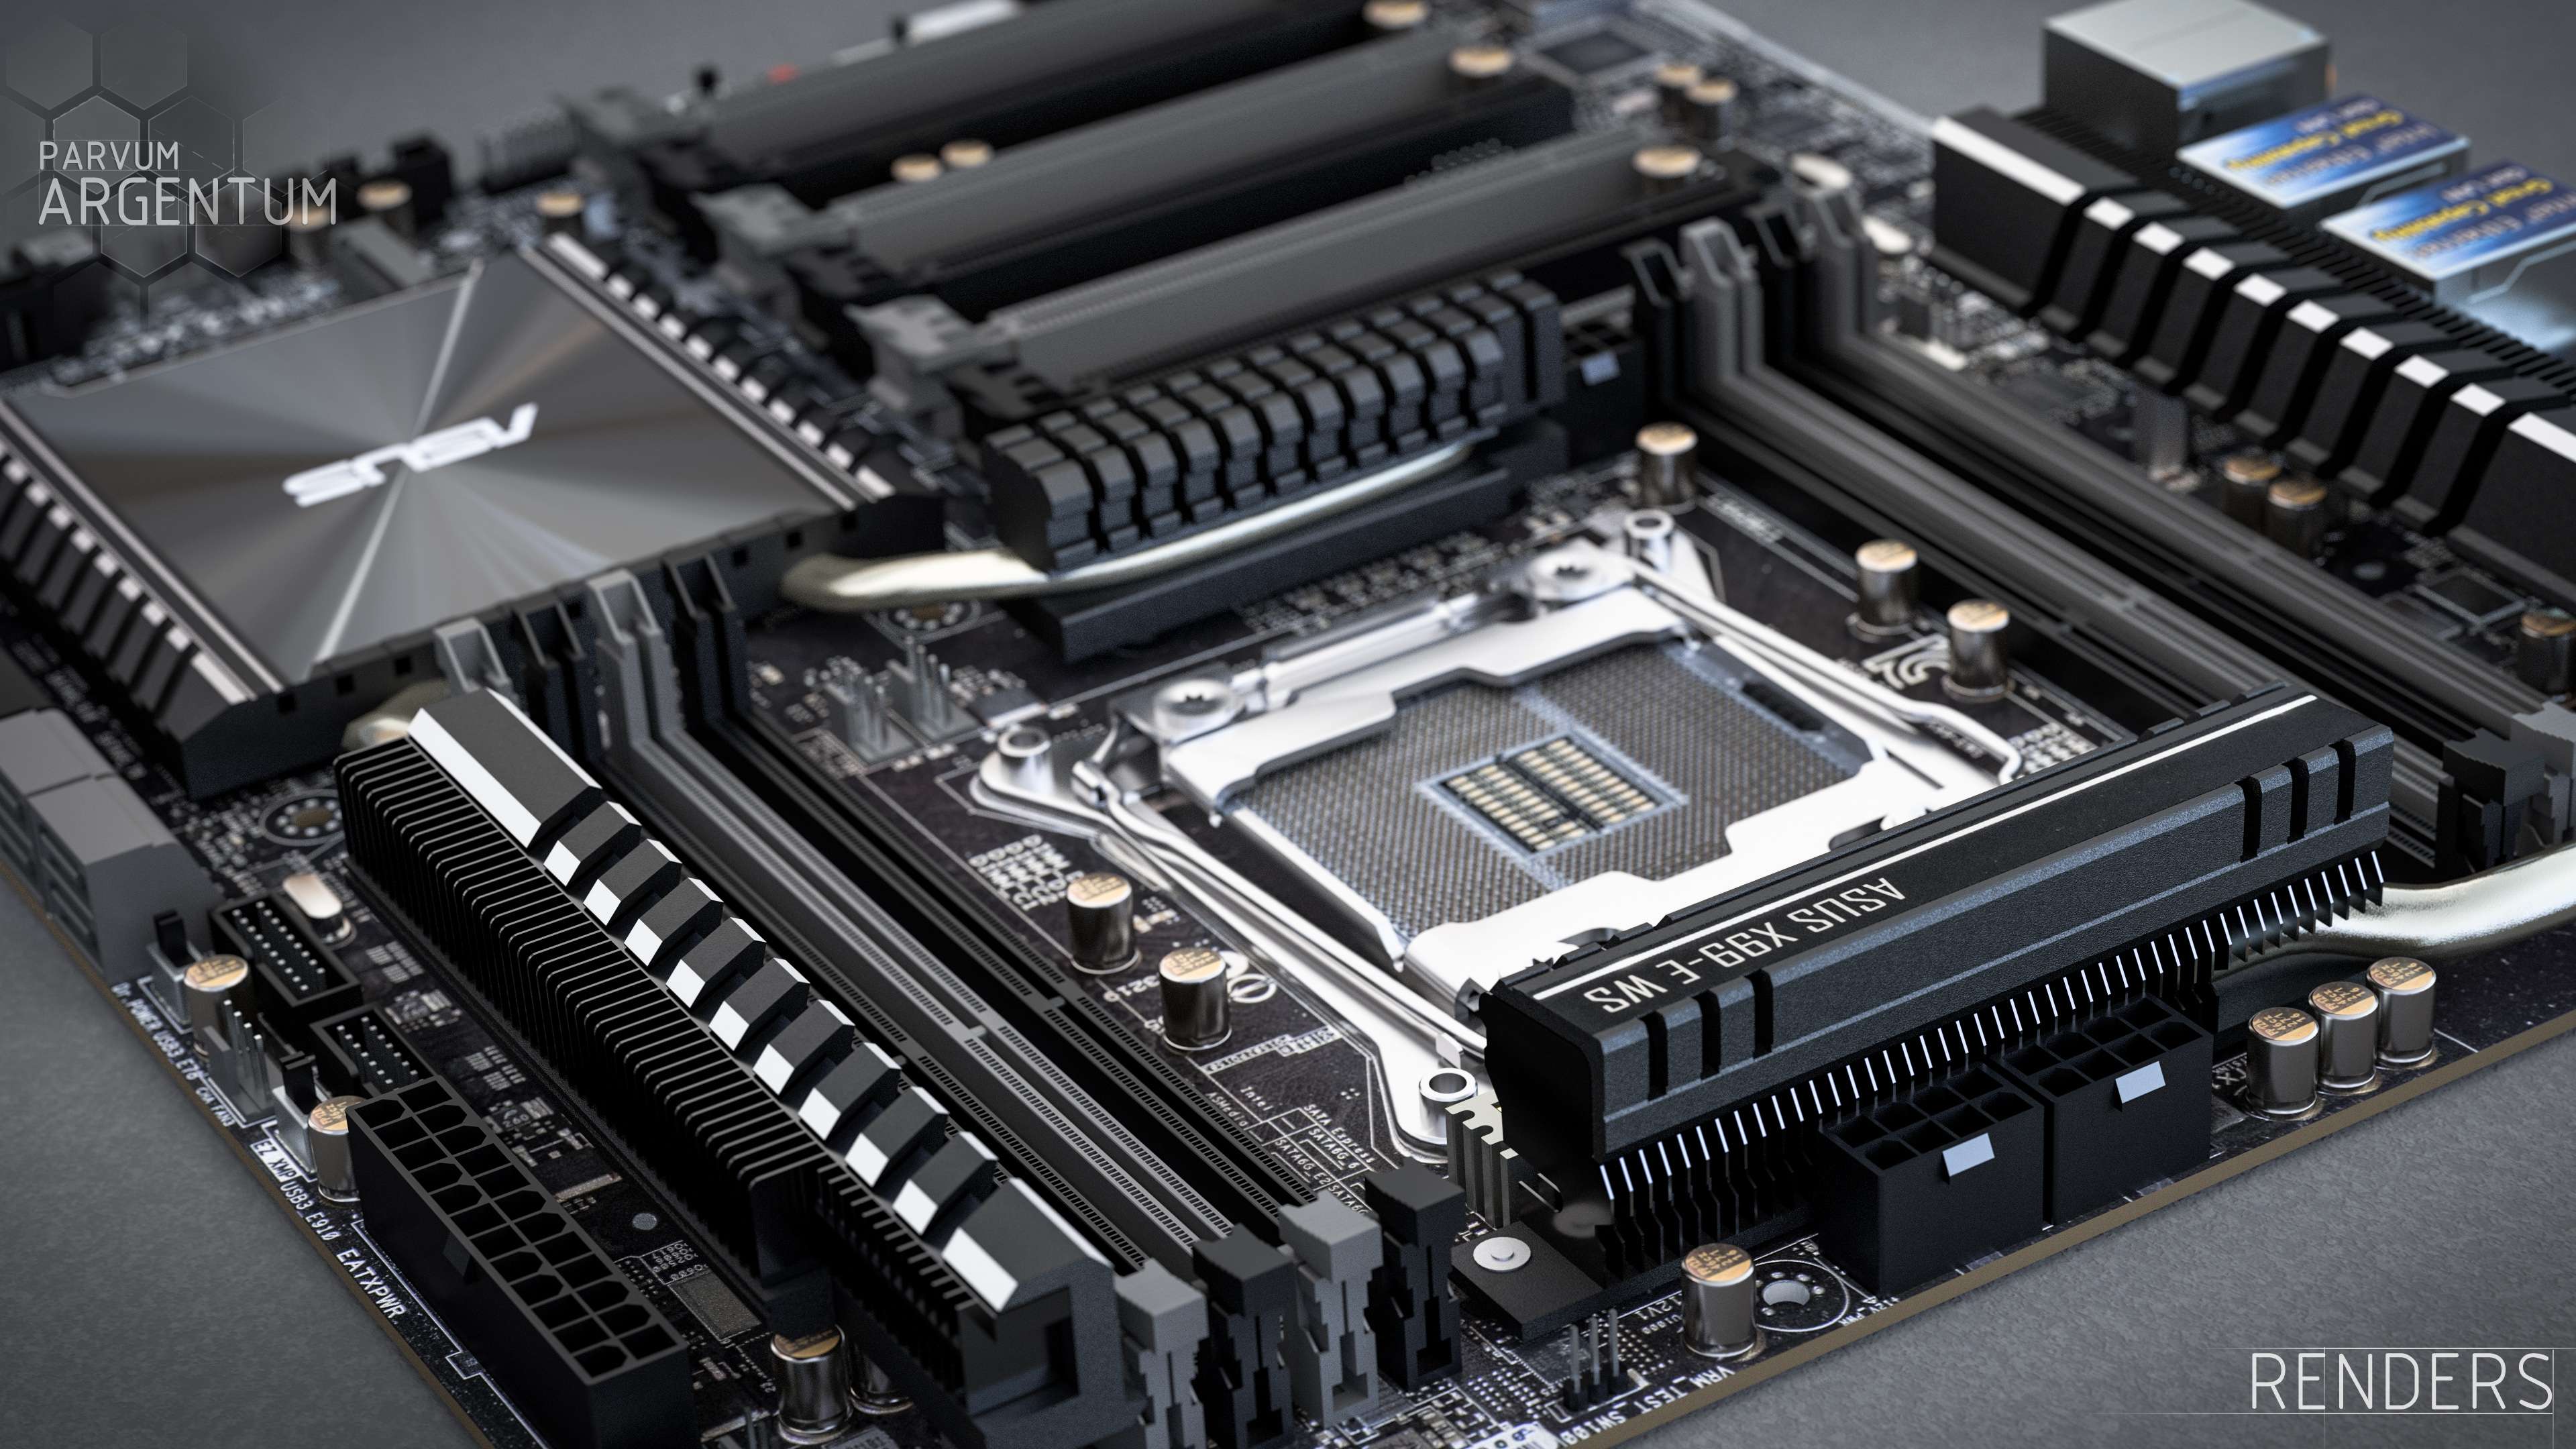
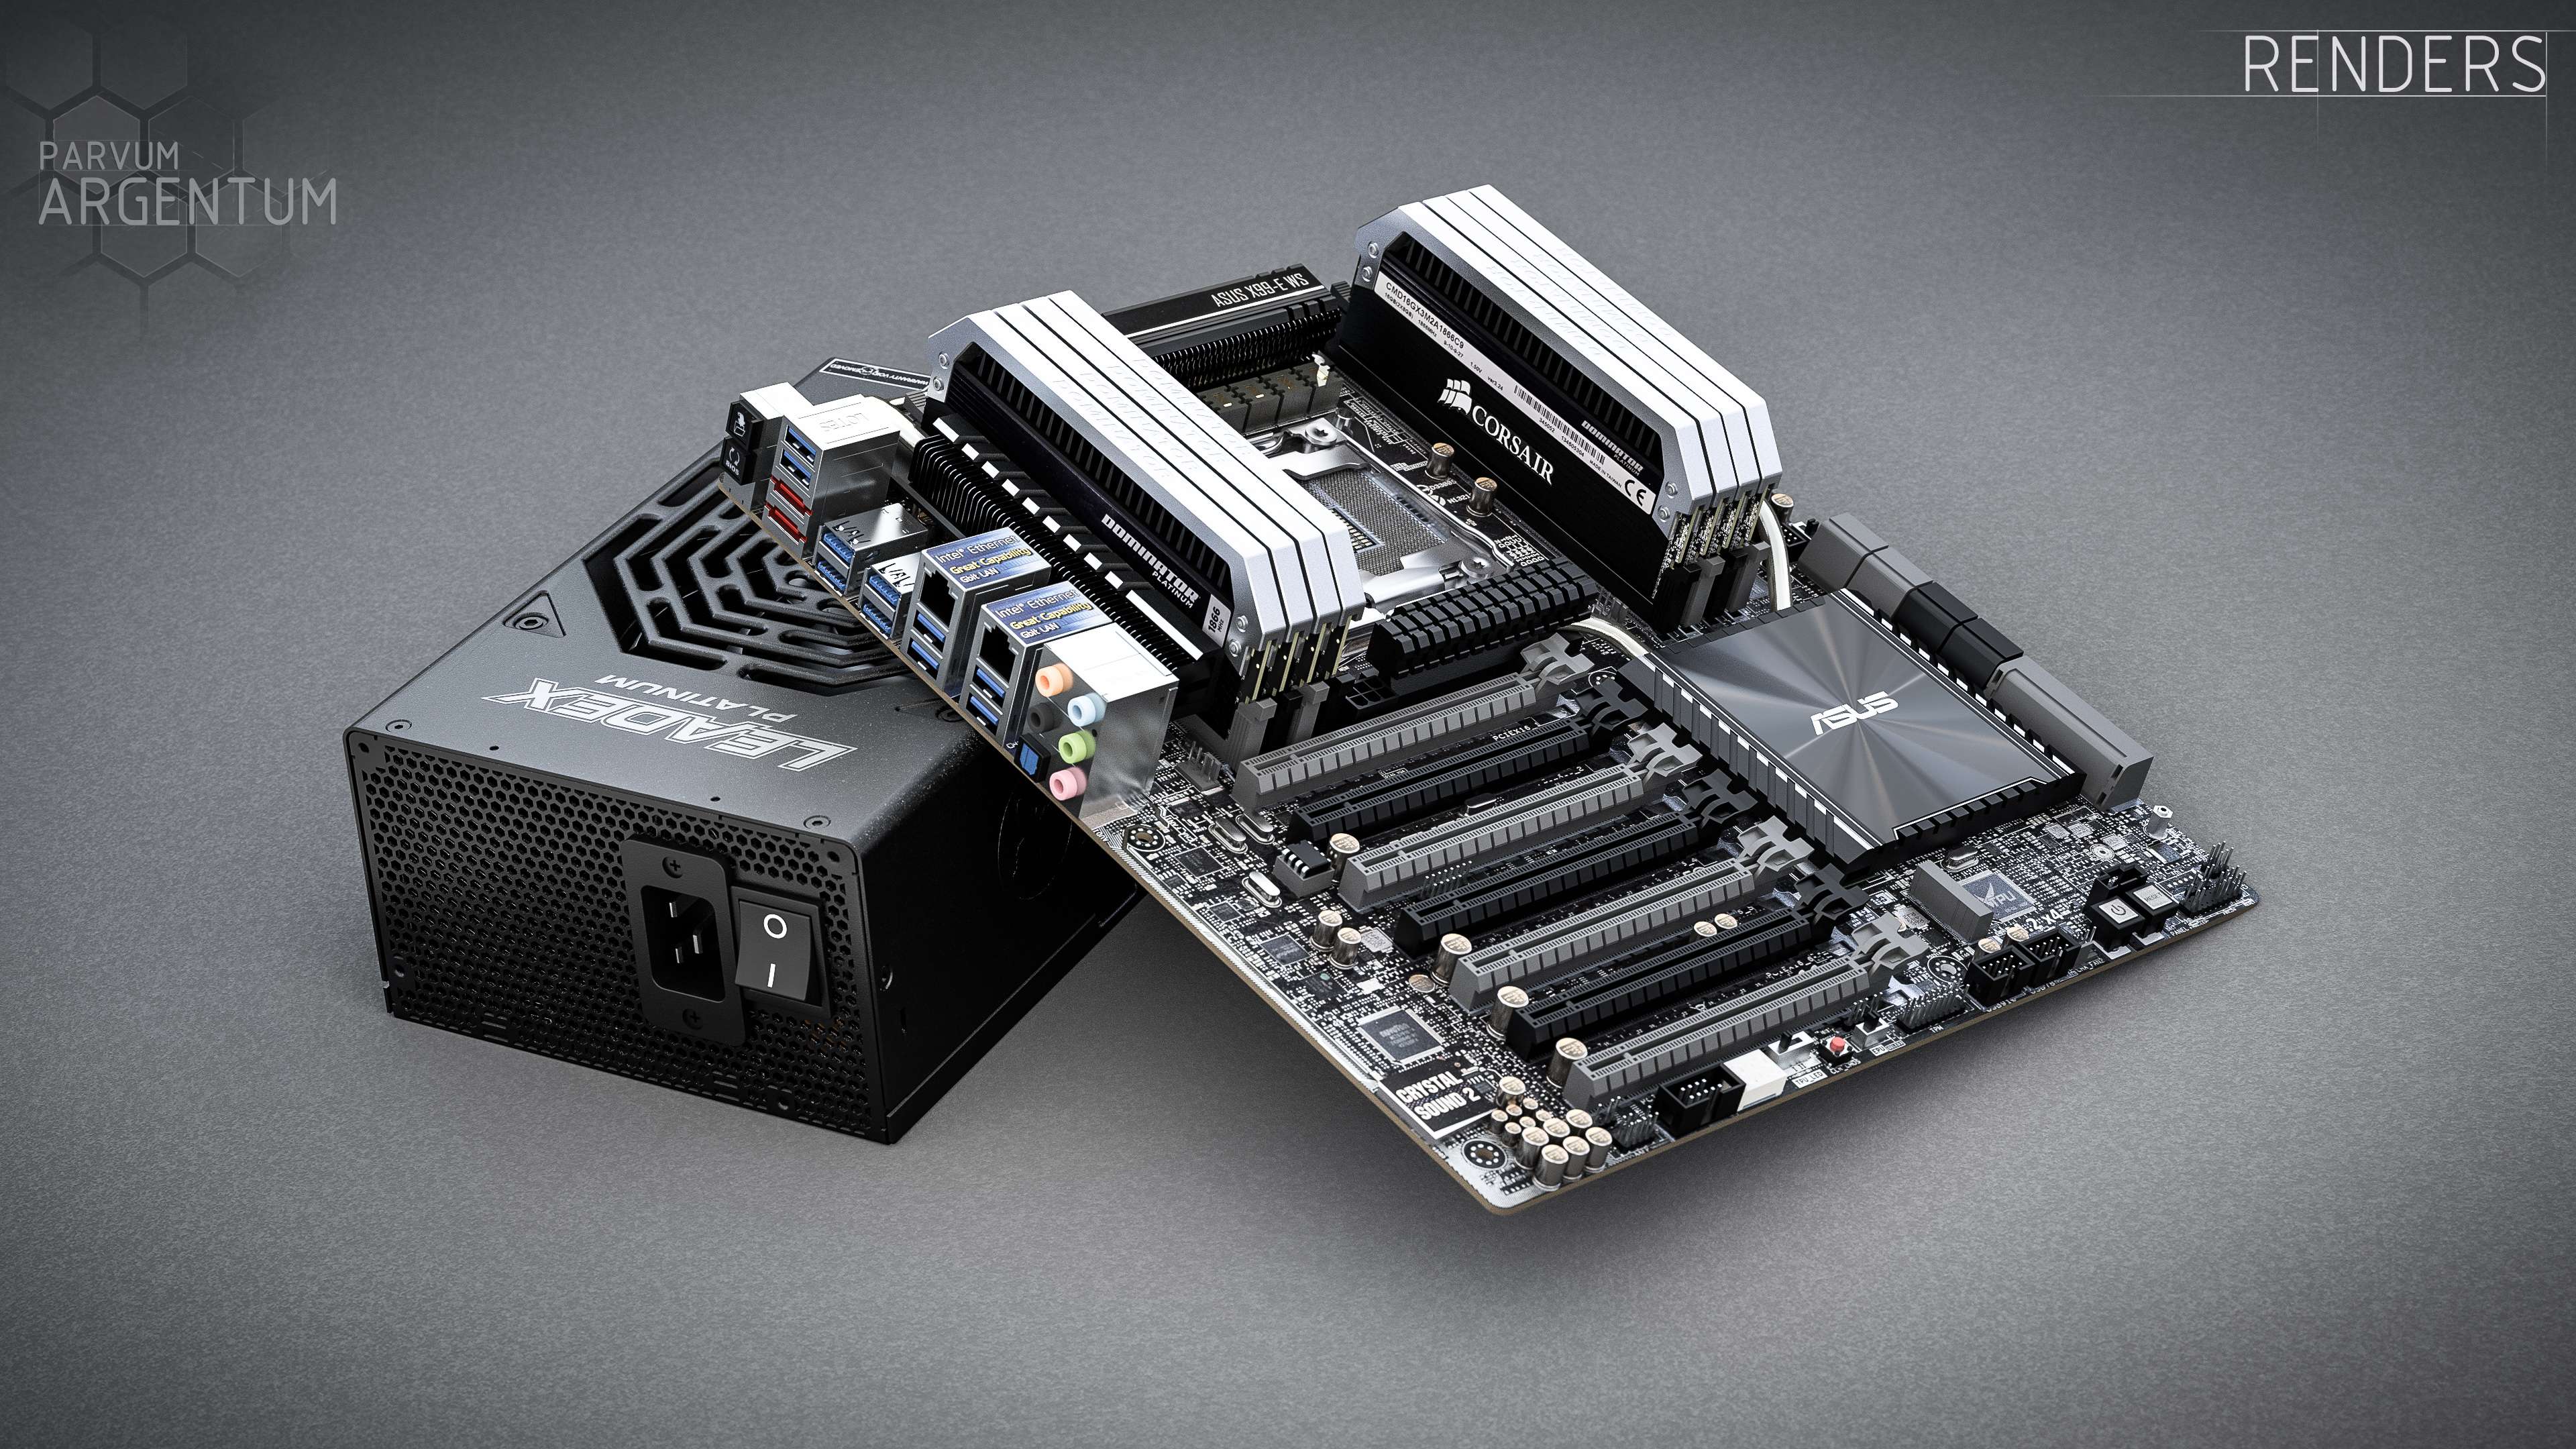
Motherboard: Asus X99E-WS (kindly supplied by Asus)
RAM: TBD (likely 64-128GB )
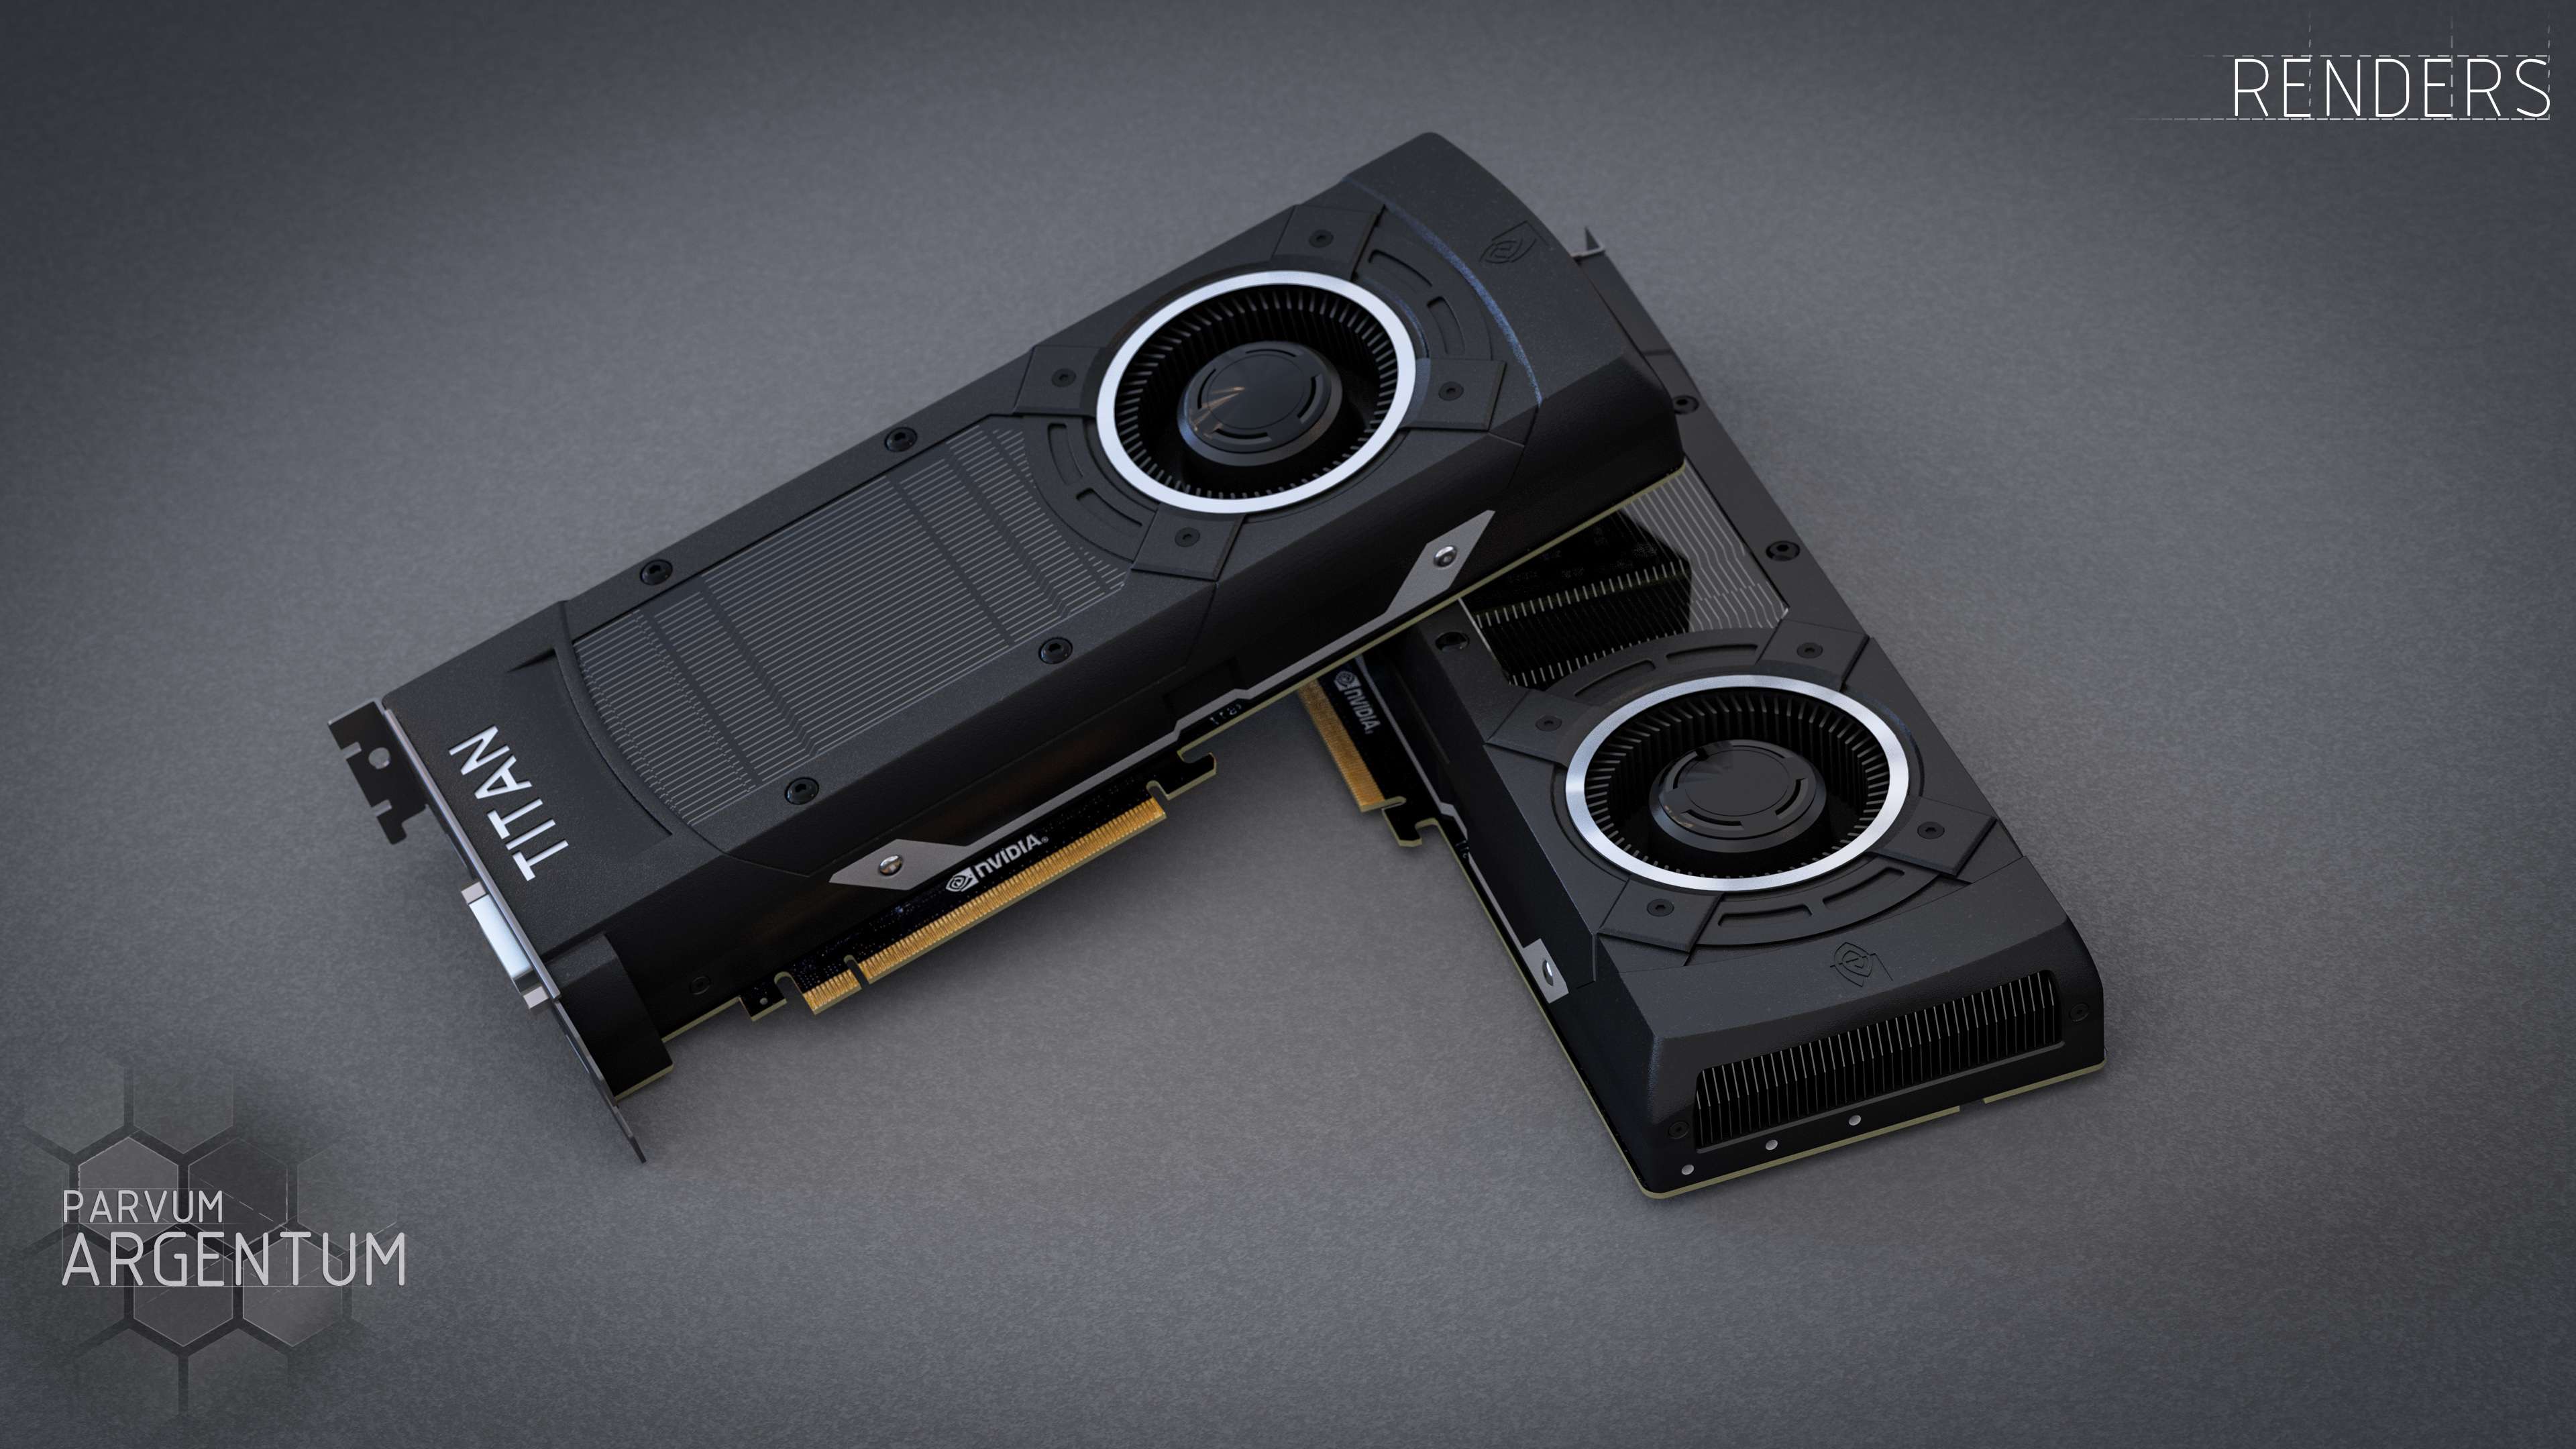
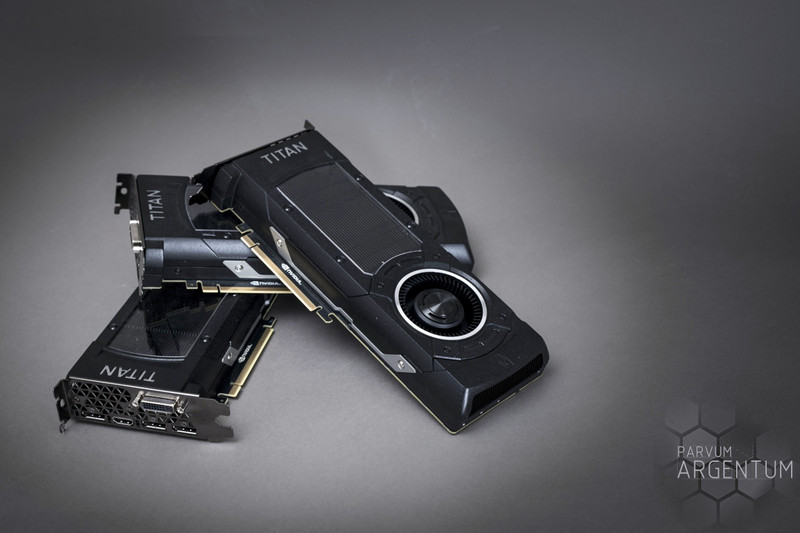
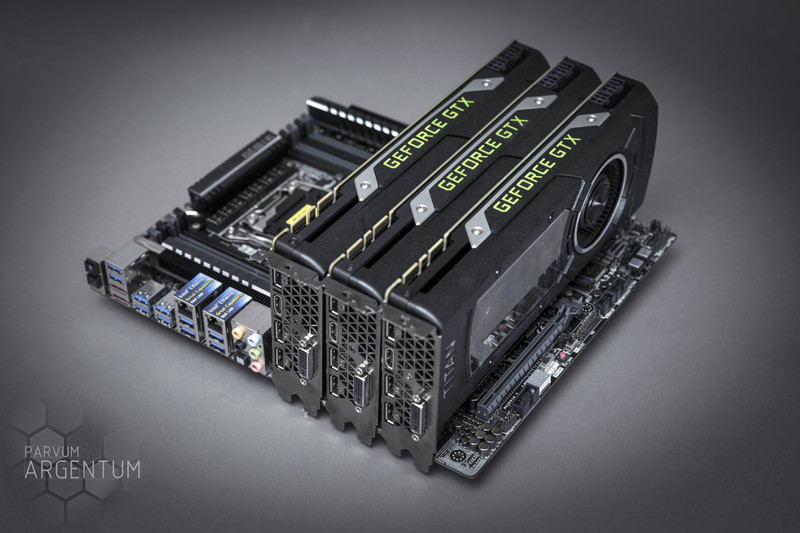
Graphics: 4(!) x Nvidia GTX Titan X (kindly supplied by Nvidia)
Storage: TBD
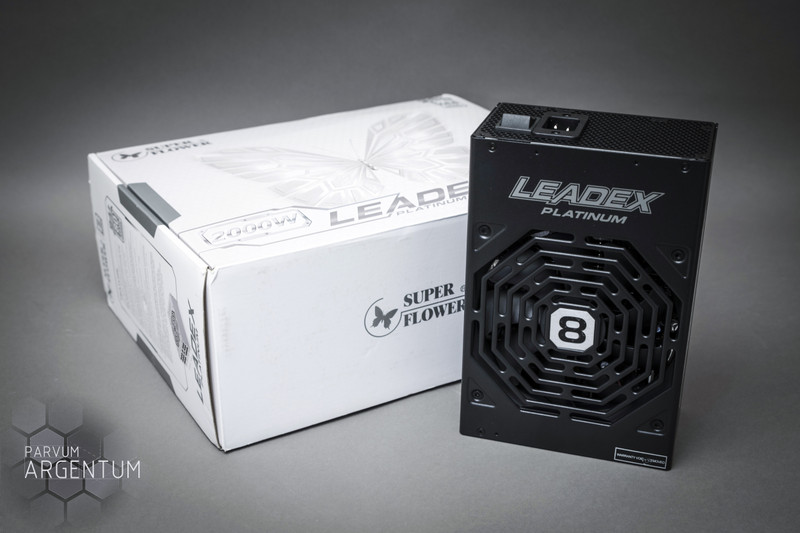
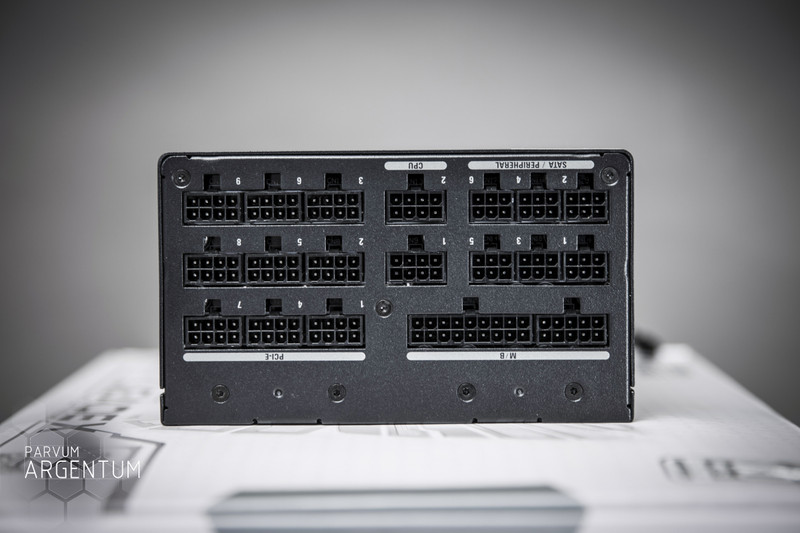
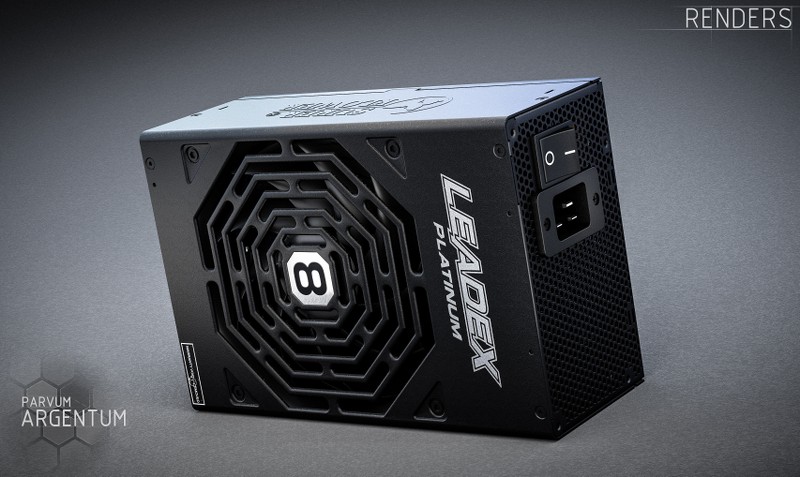
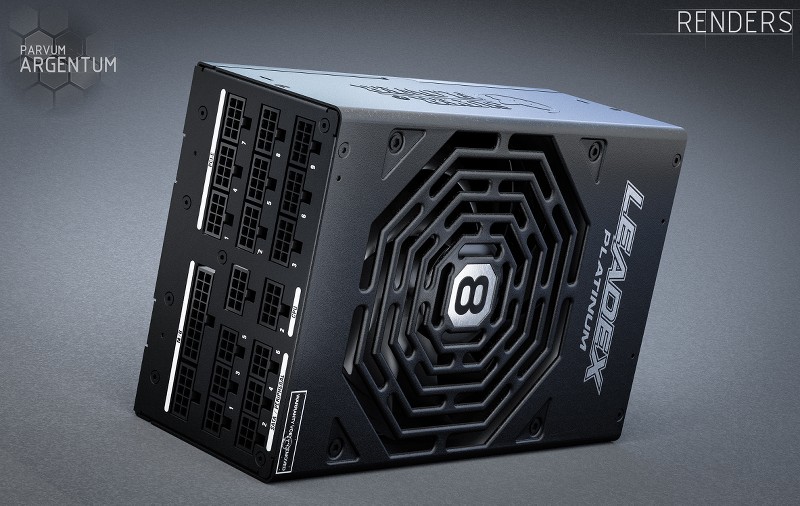
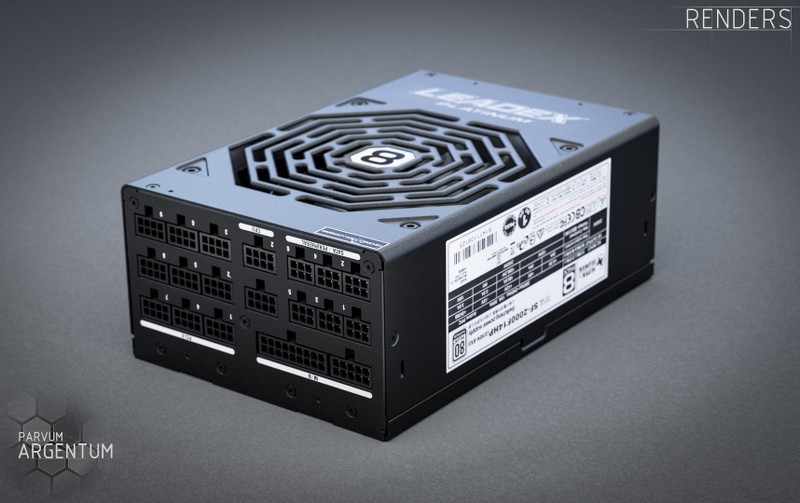
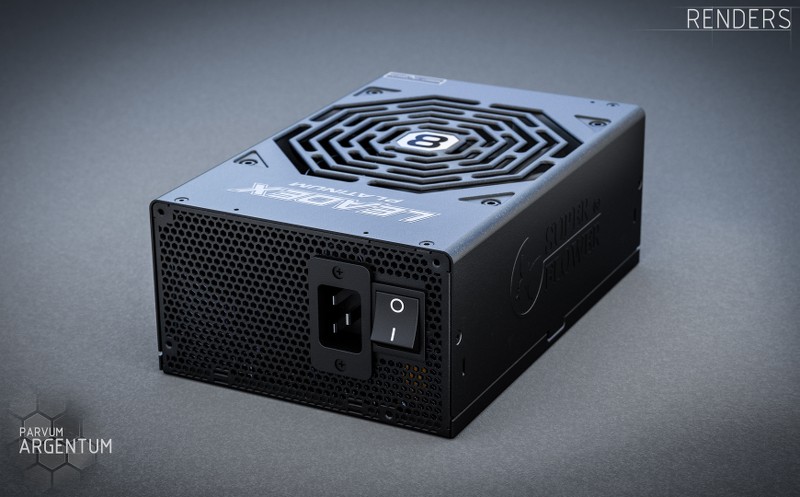
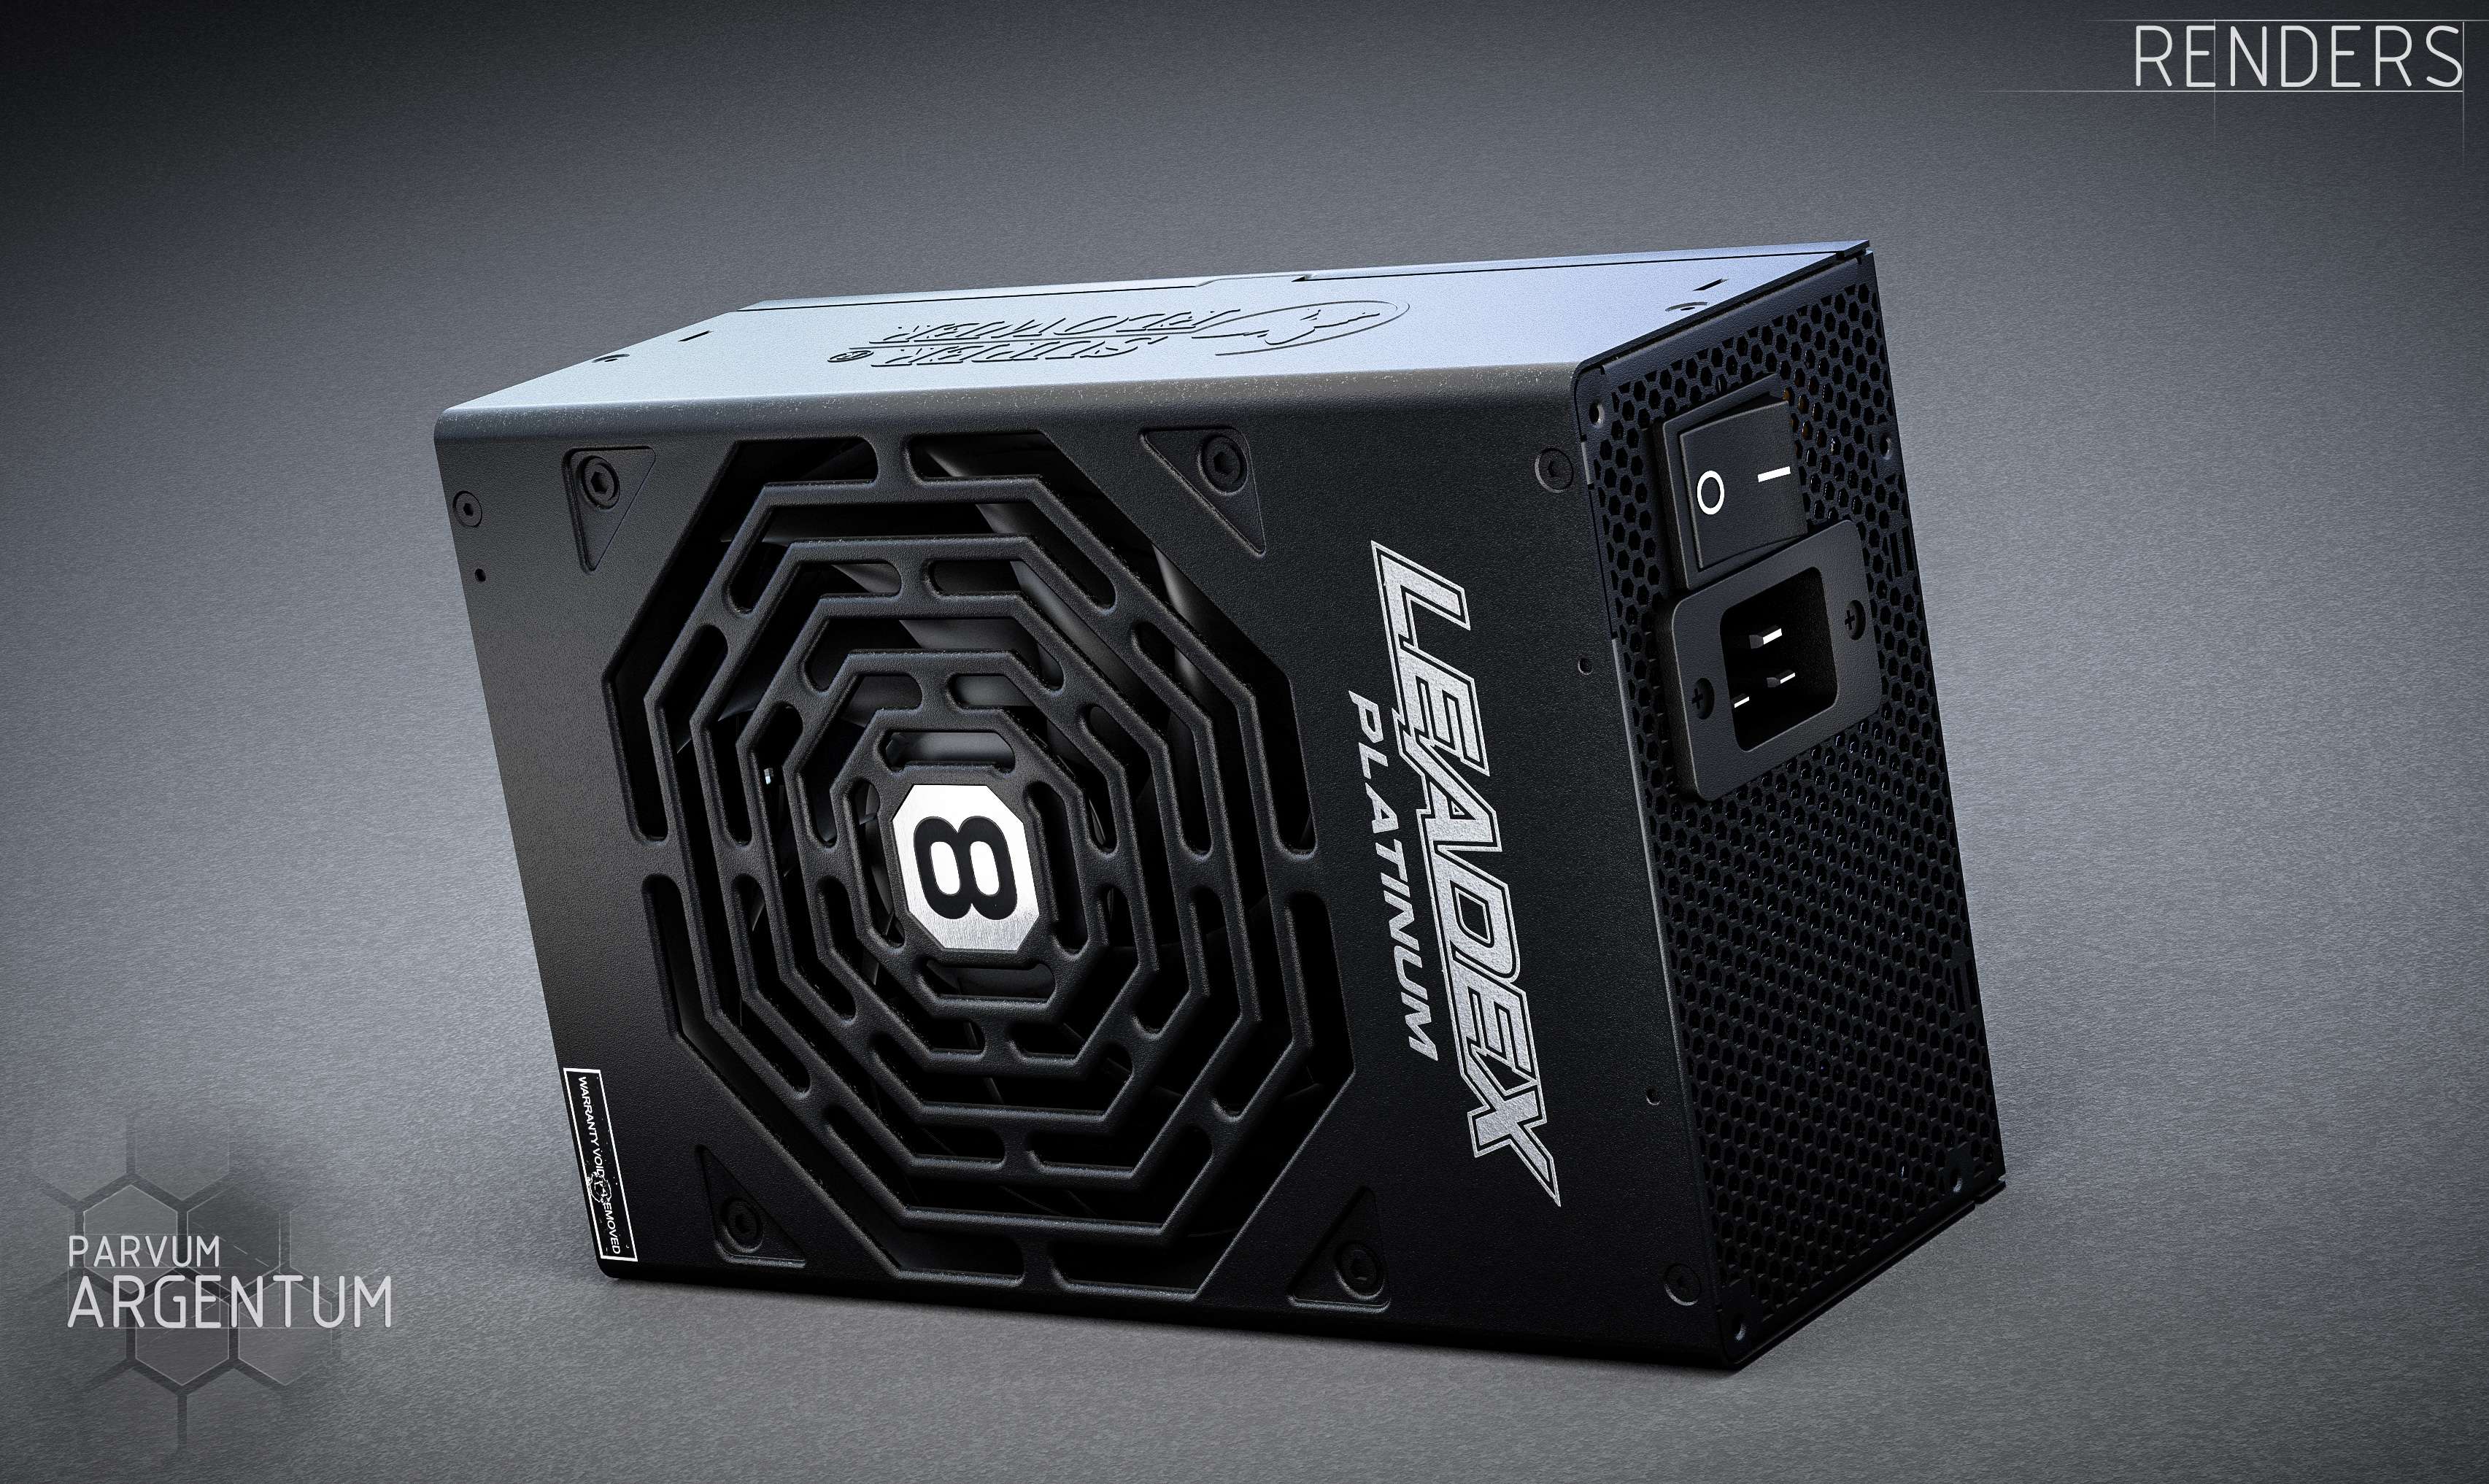
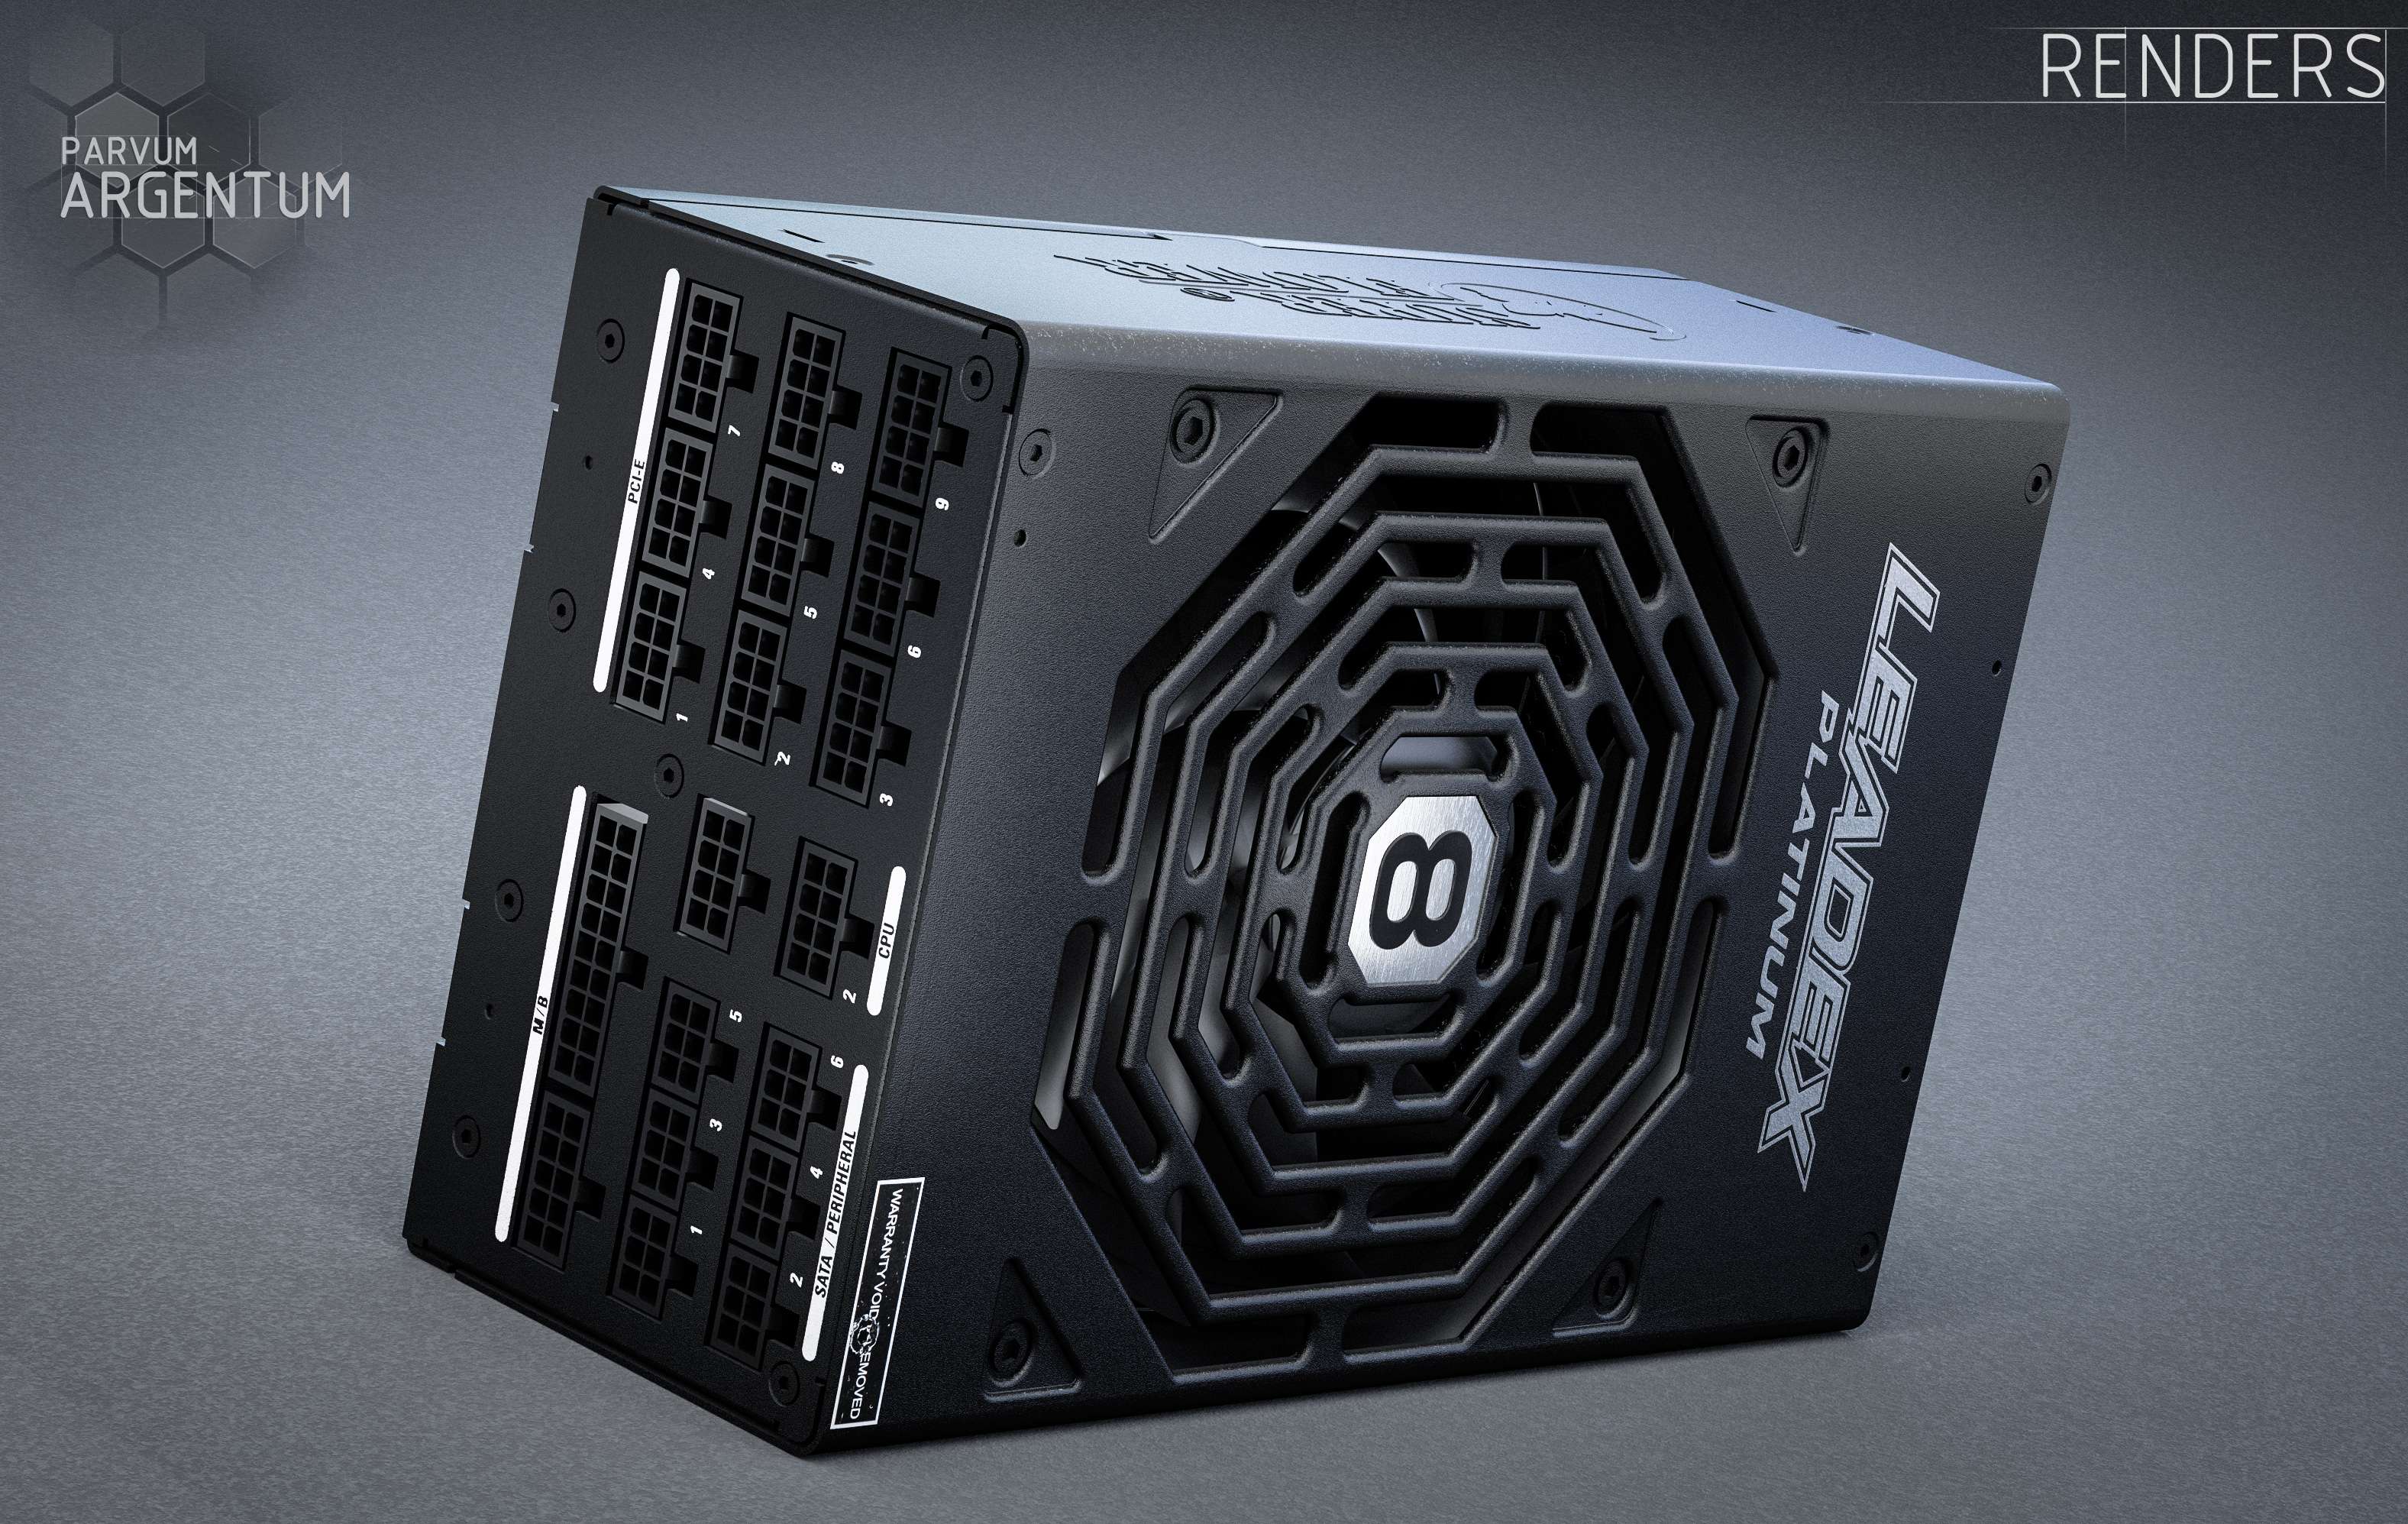
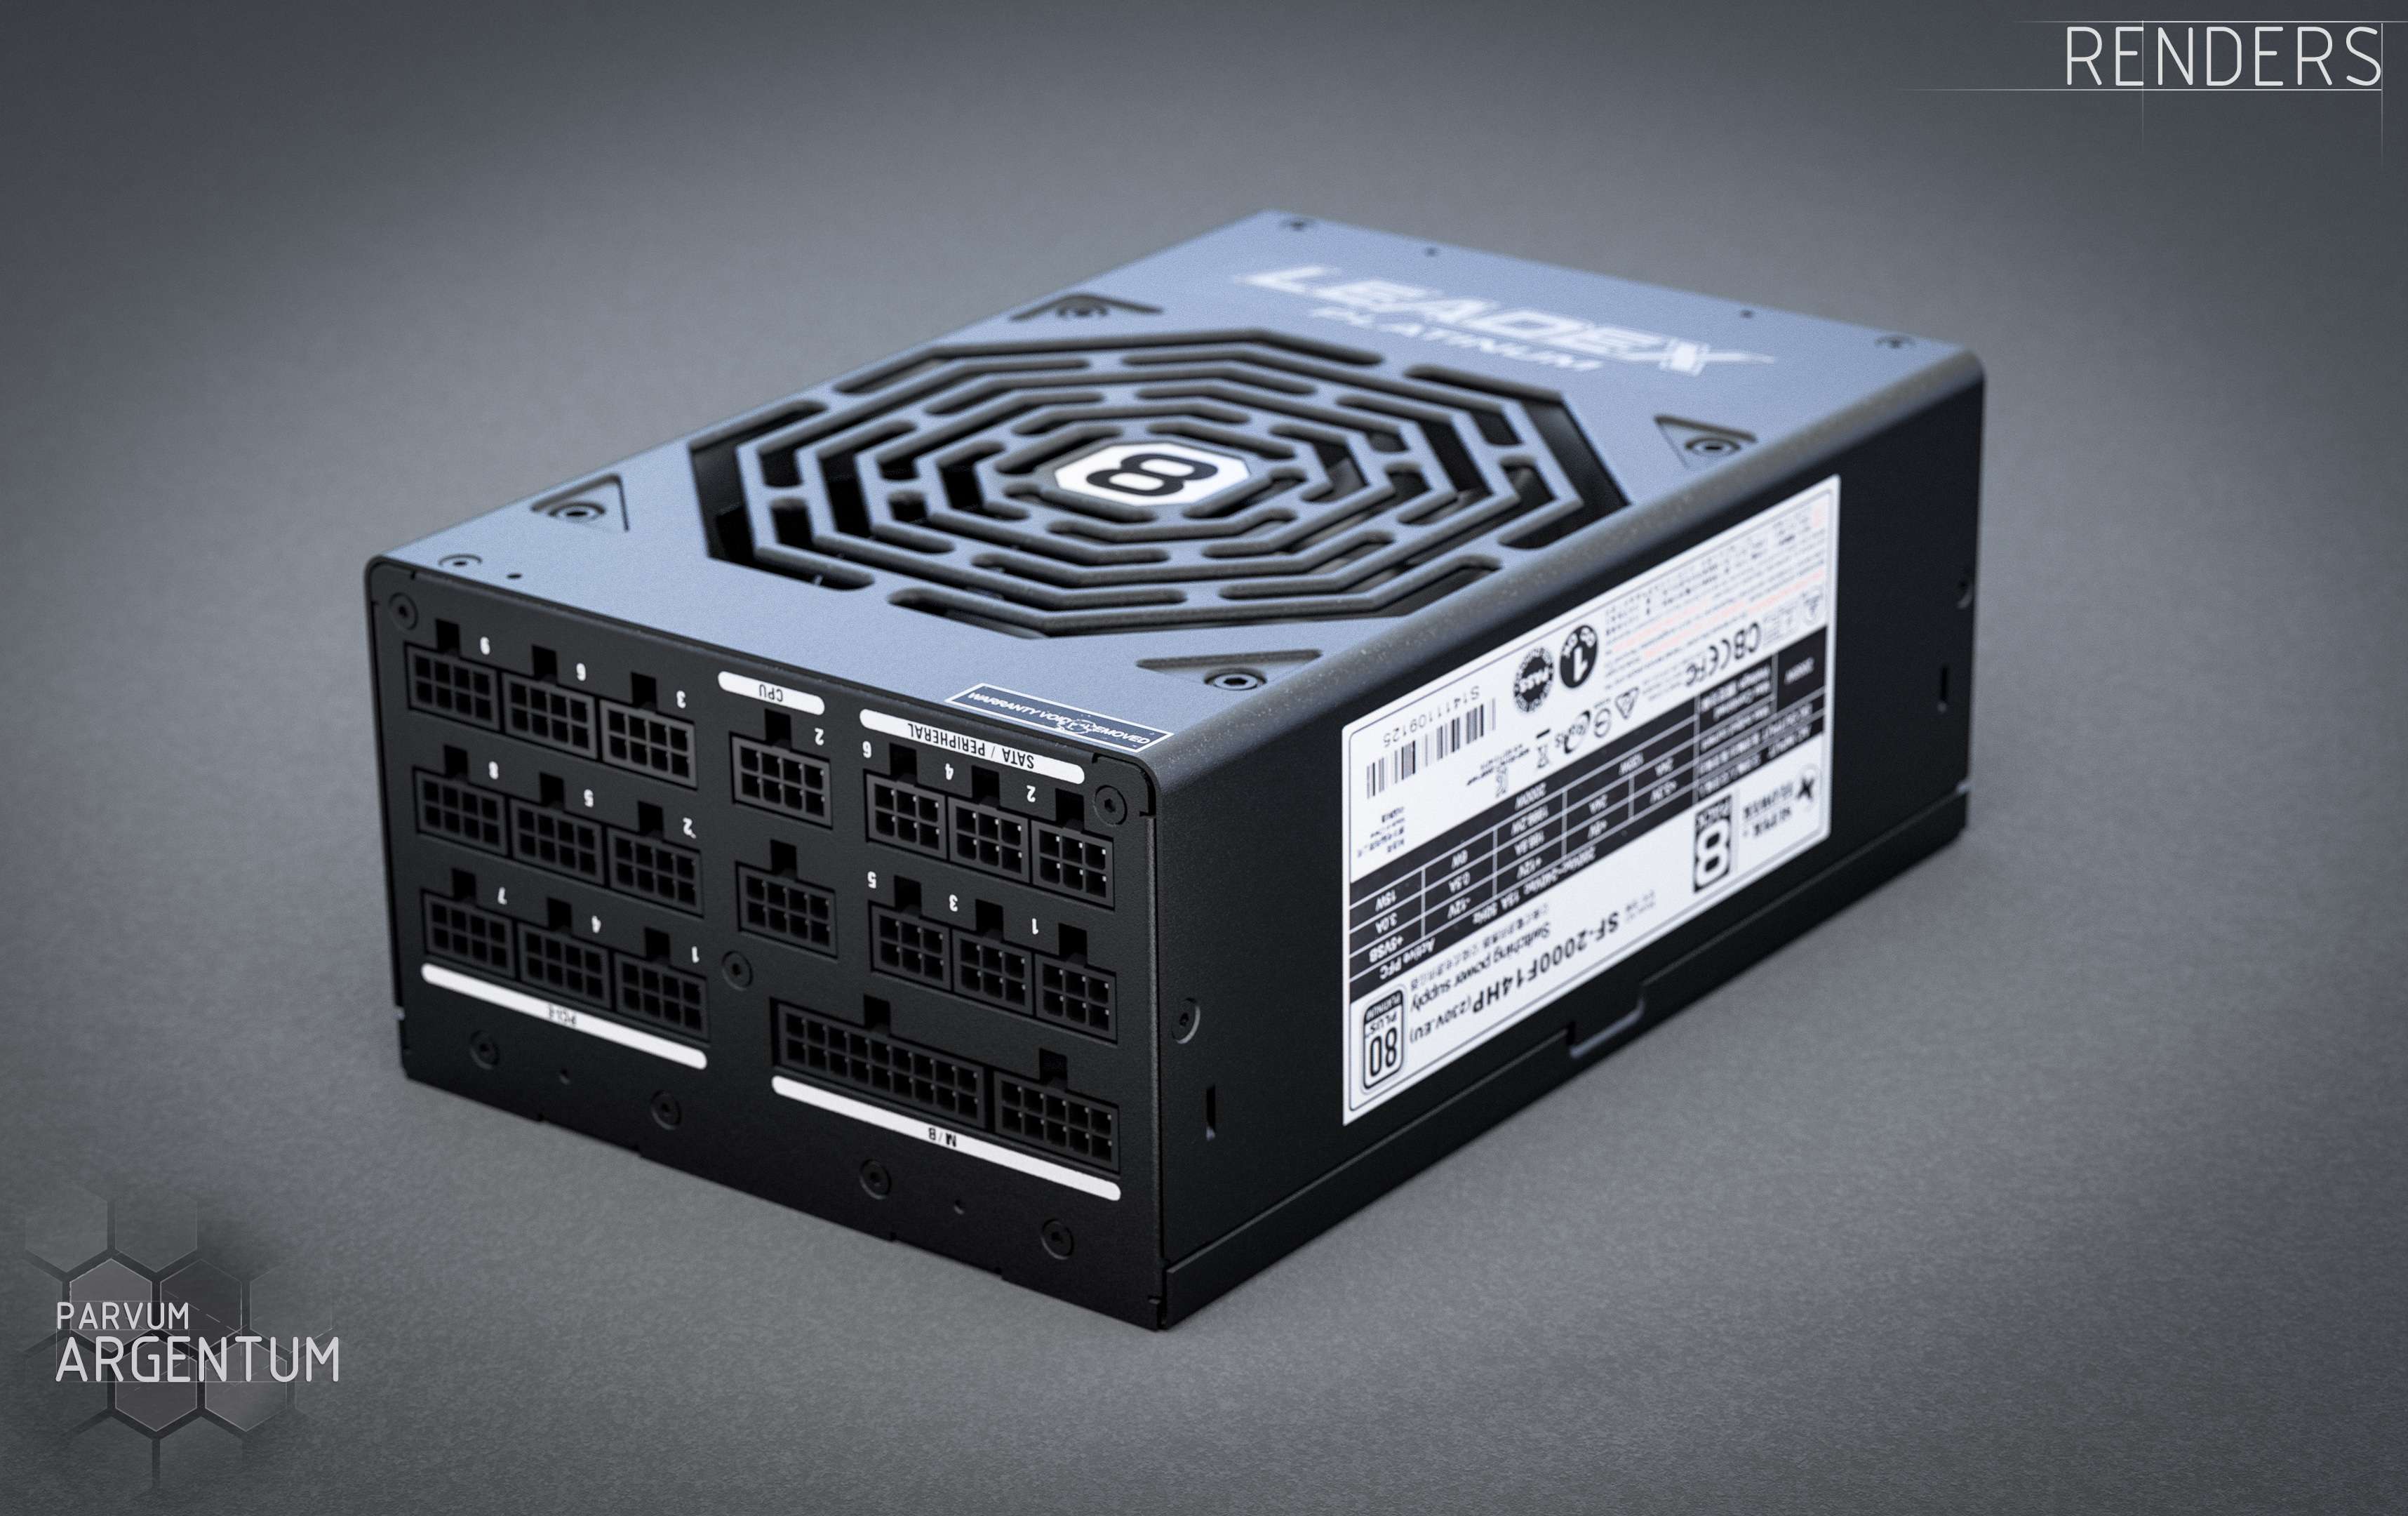
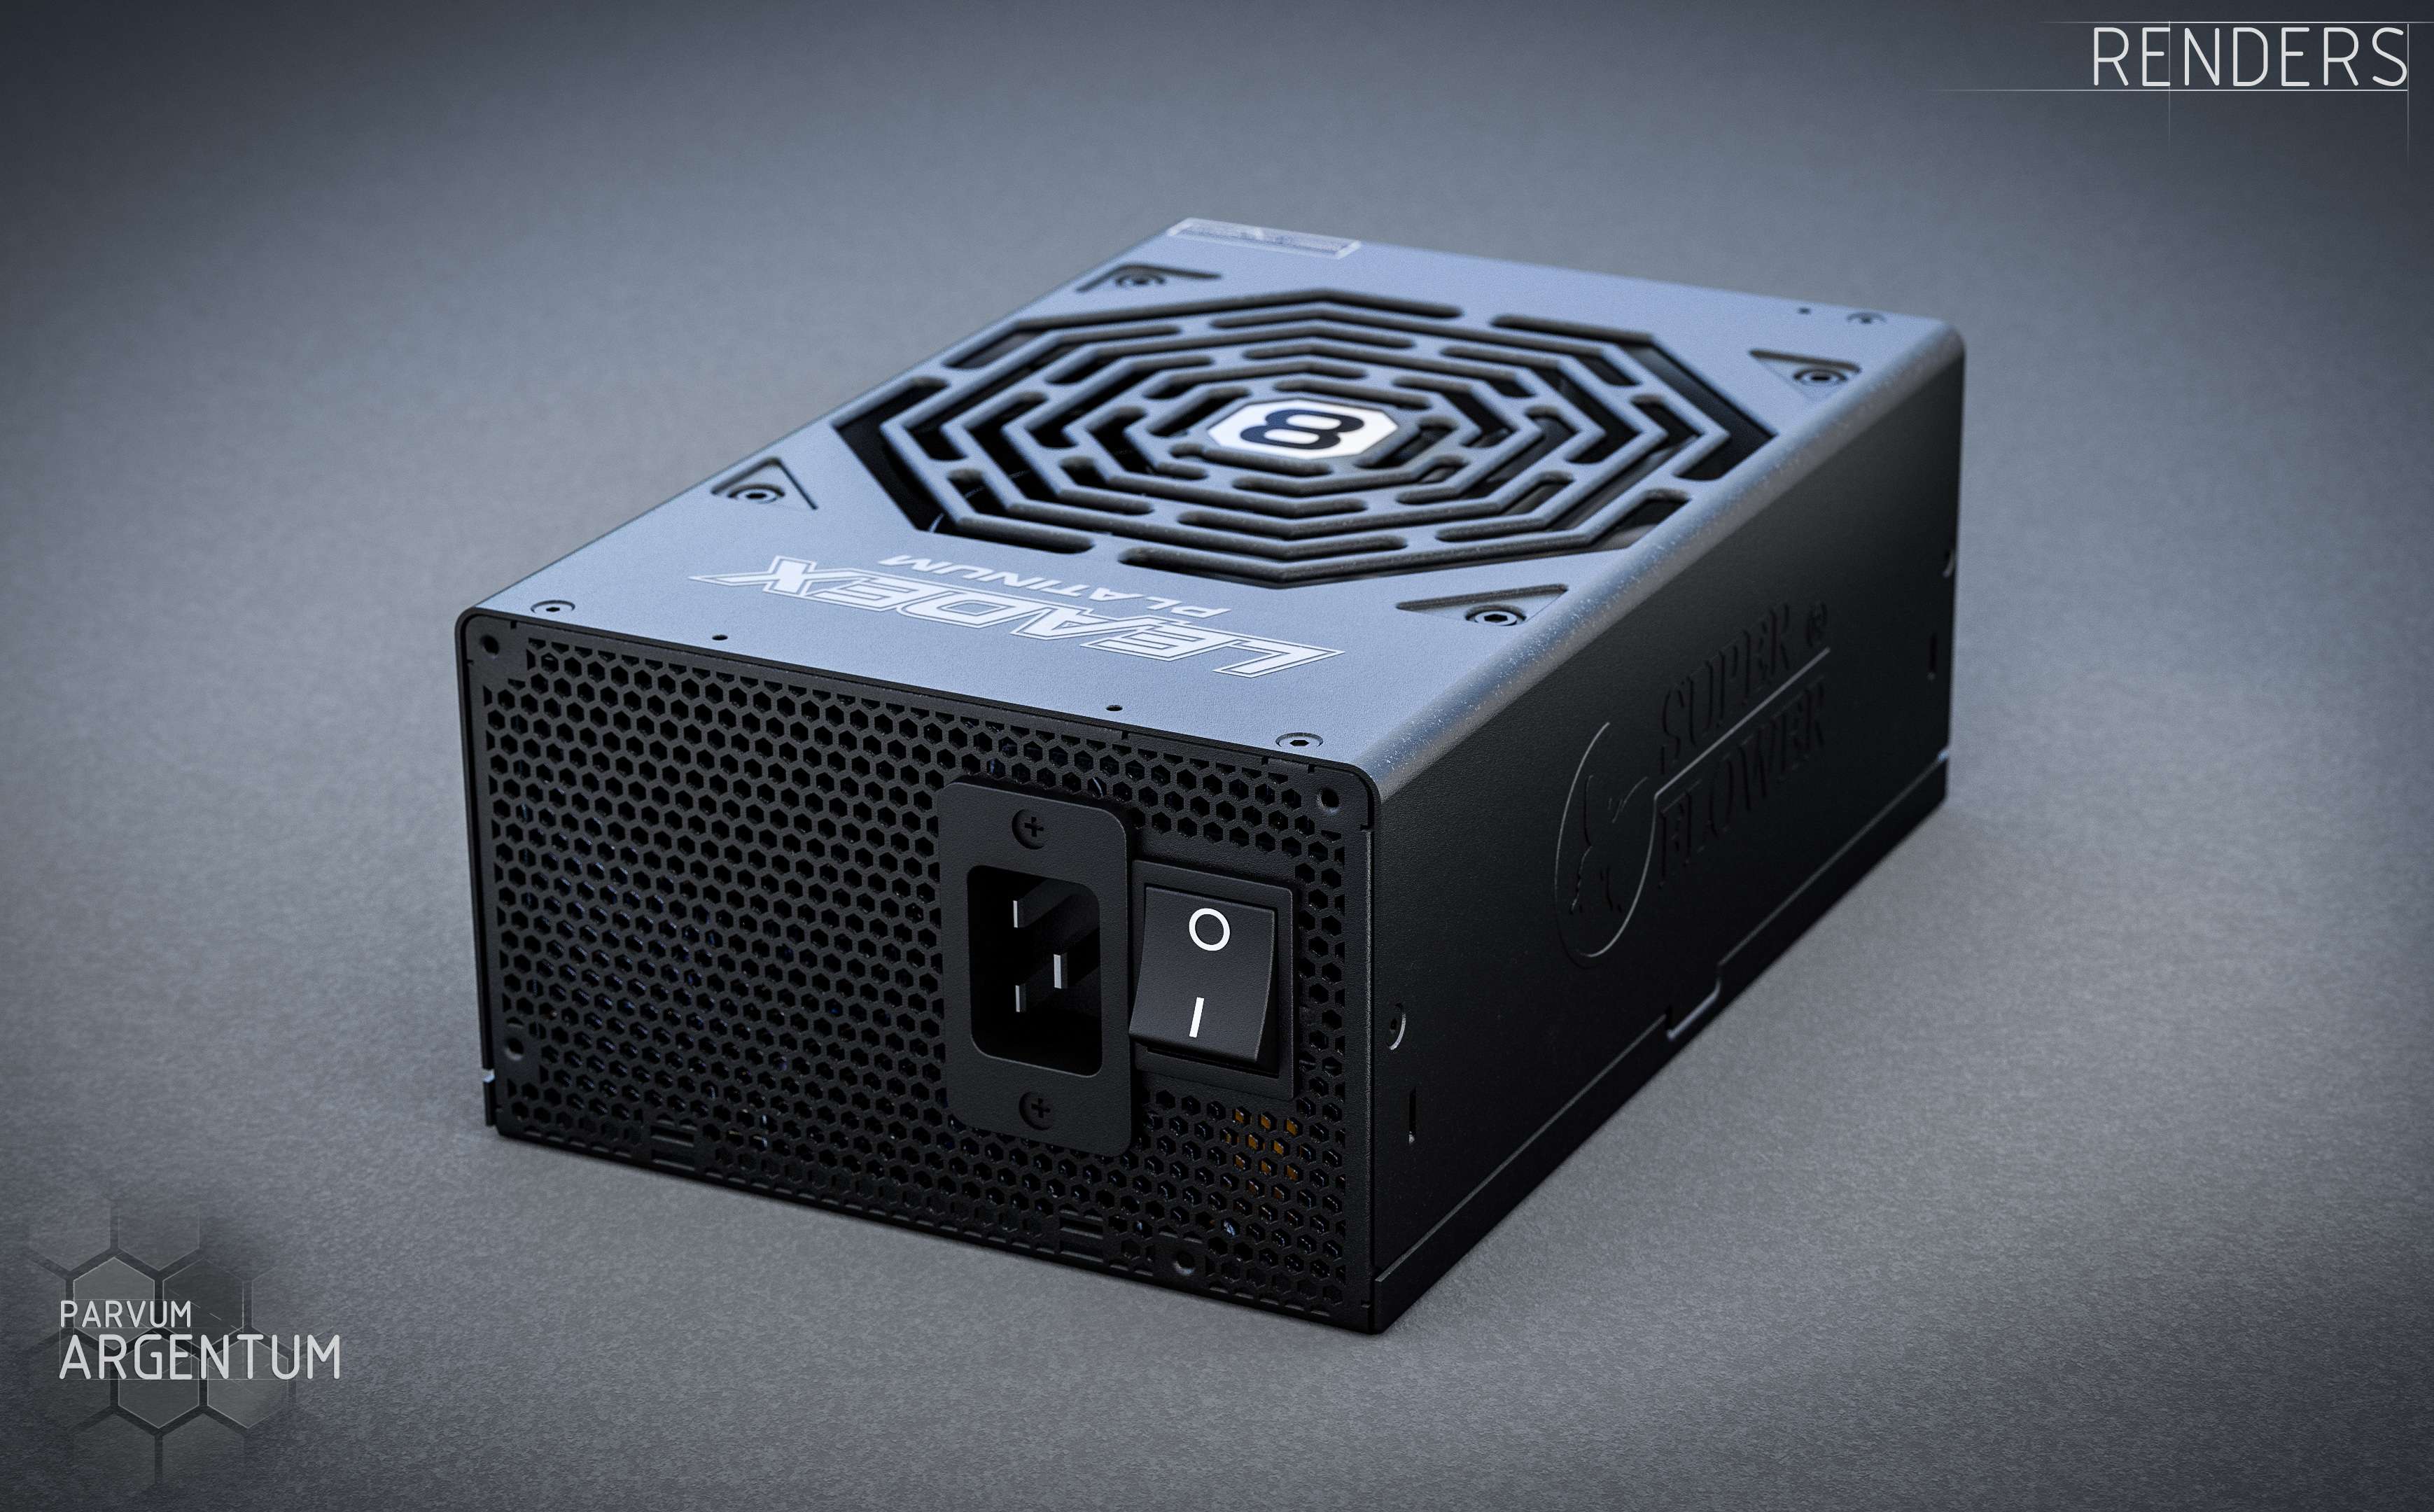
Power Supply: SuperFlower Leadex Platinum 2000W 8-Pack Edition (kindly supplied by SuperFlower)

Cooling:

4 x 480mm rads
4 x Laing D5
Aquacomputer Aquaero 6 for fan control
Rest is TBD


First Goodies:

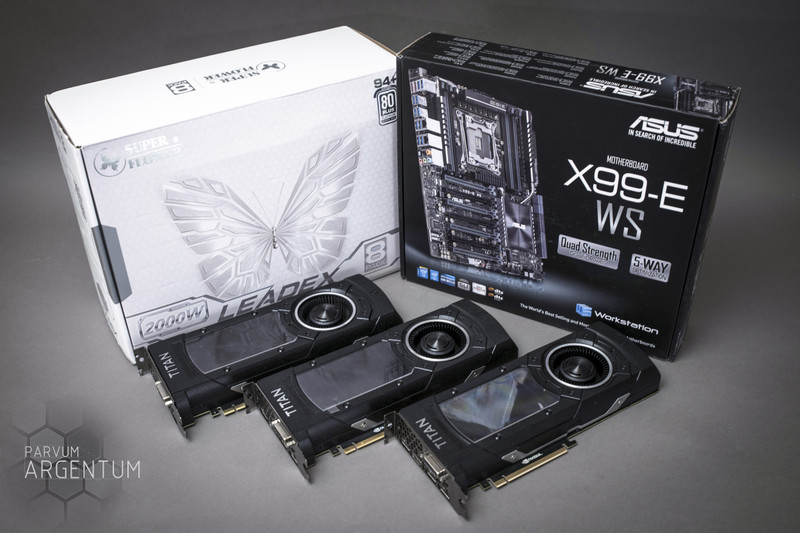
Here are the first components to arrive:
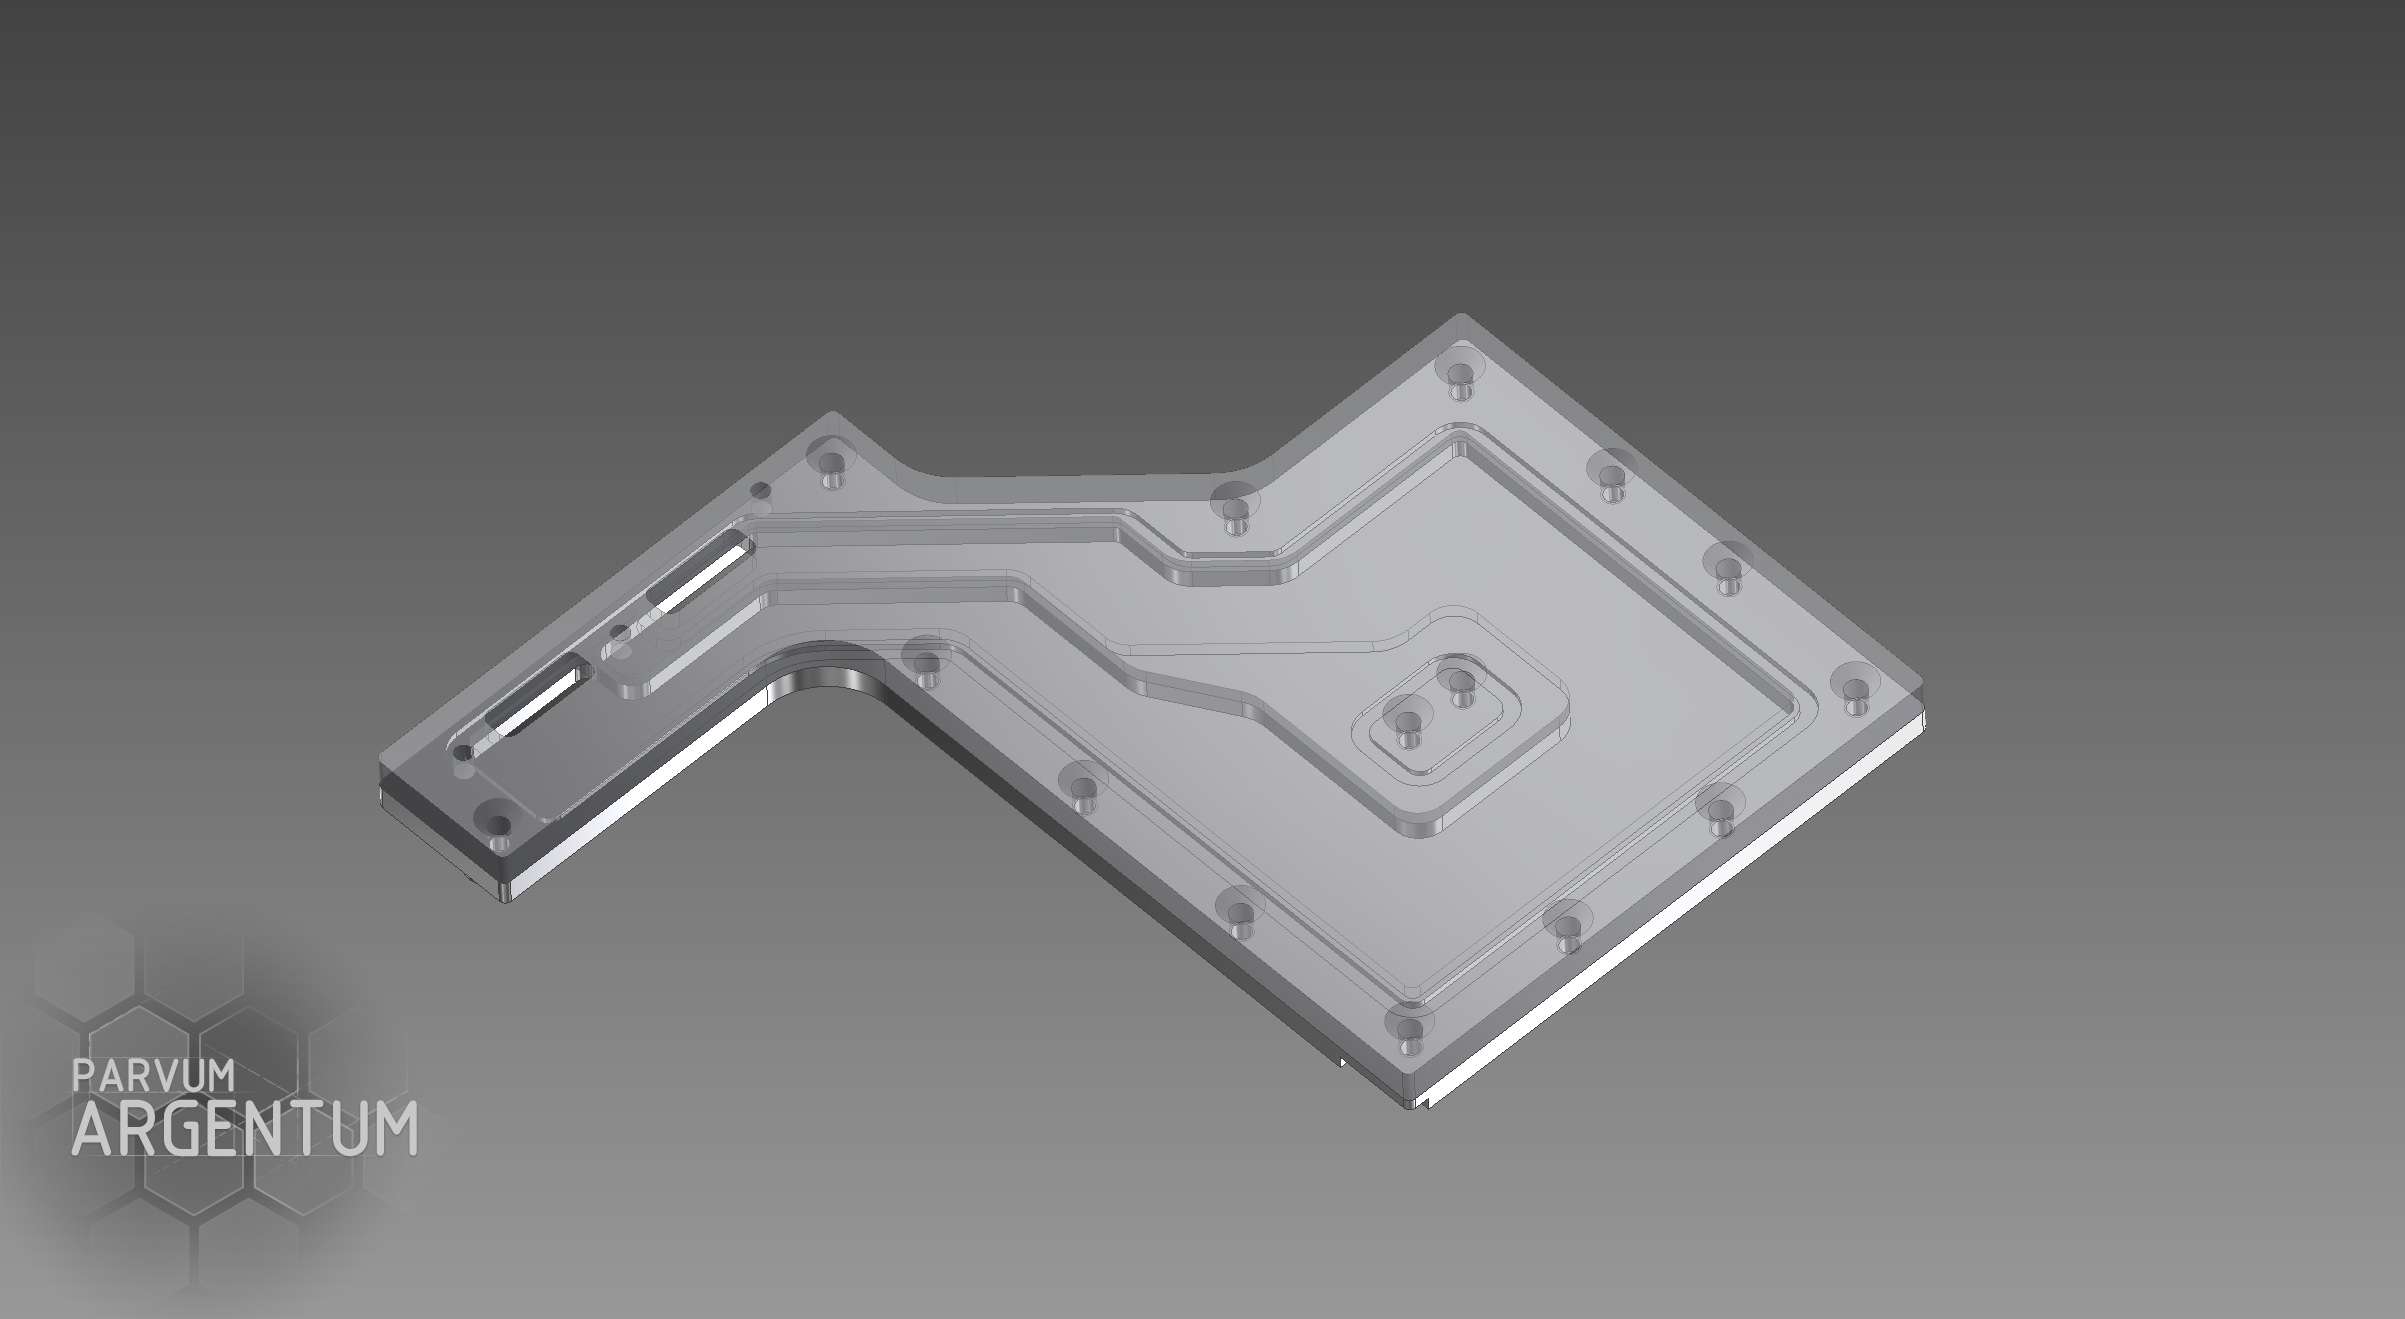
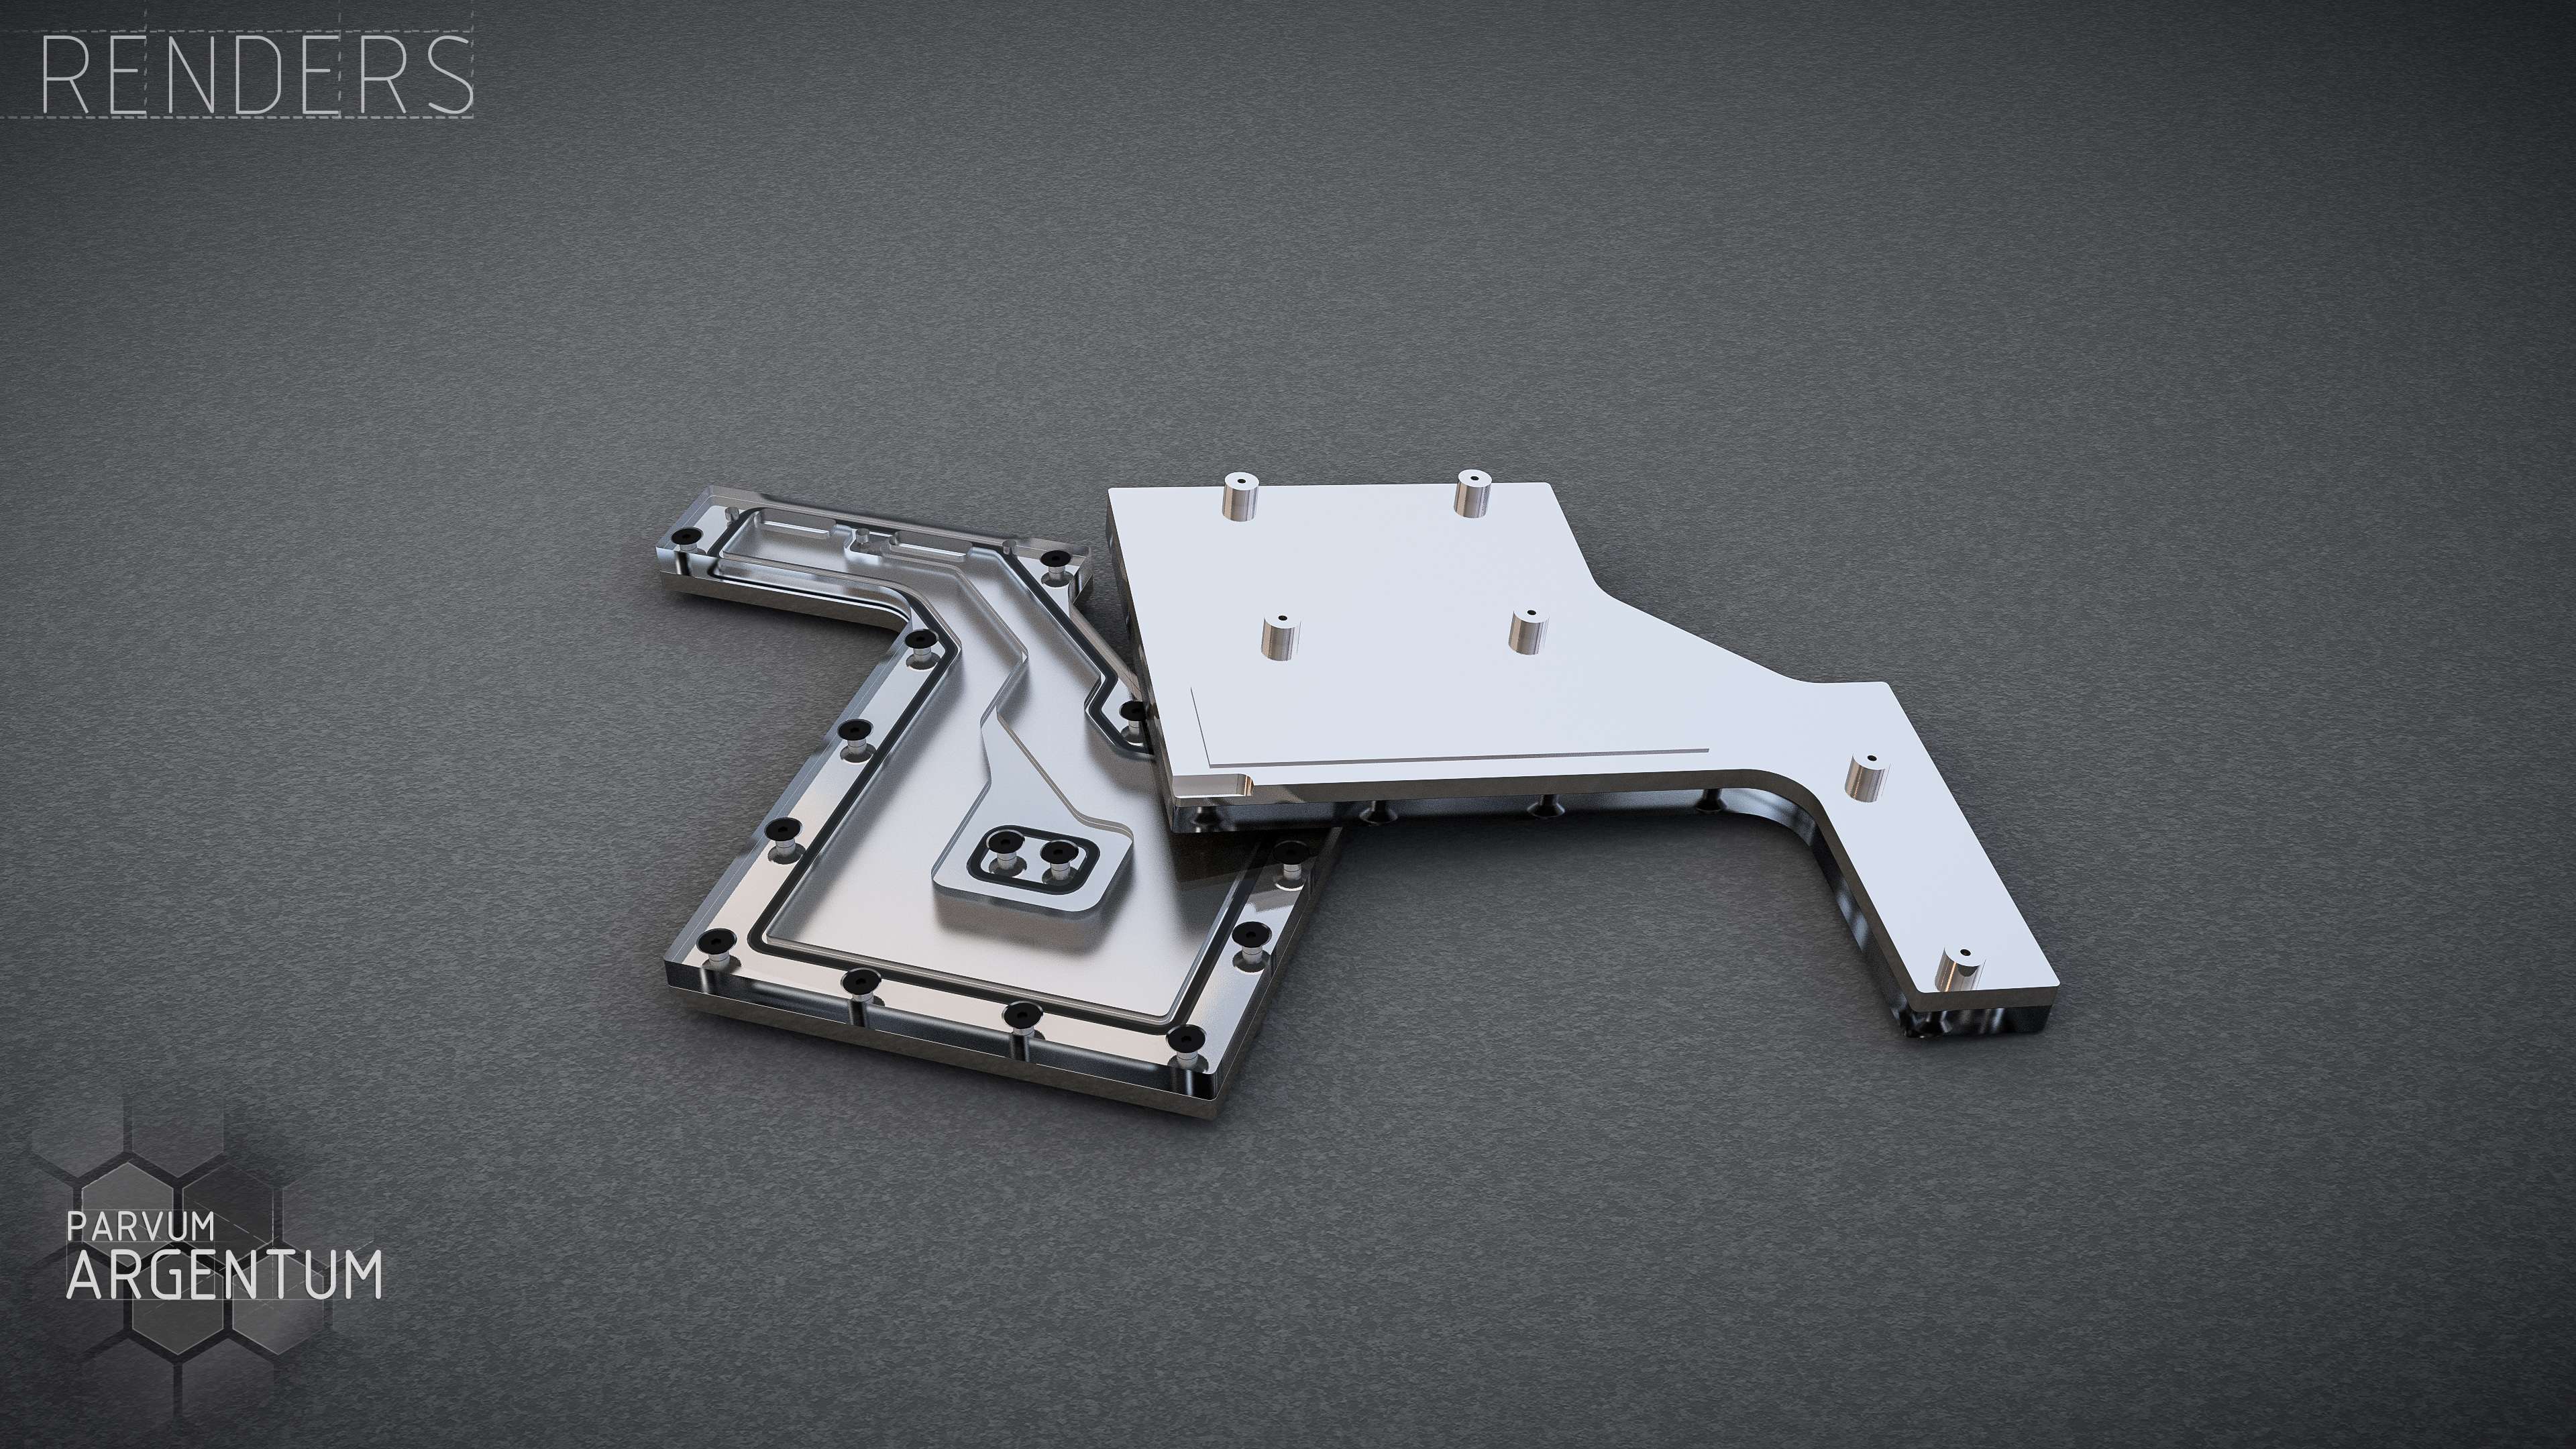
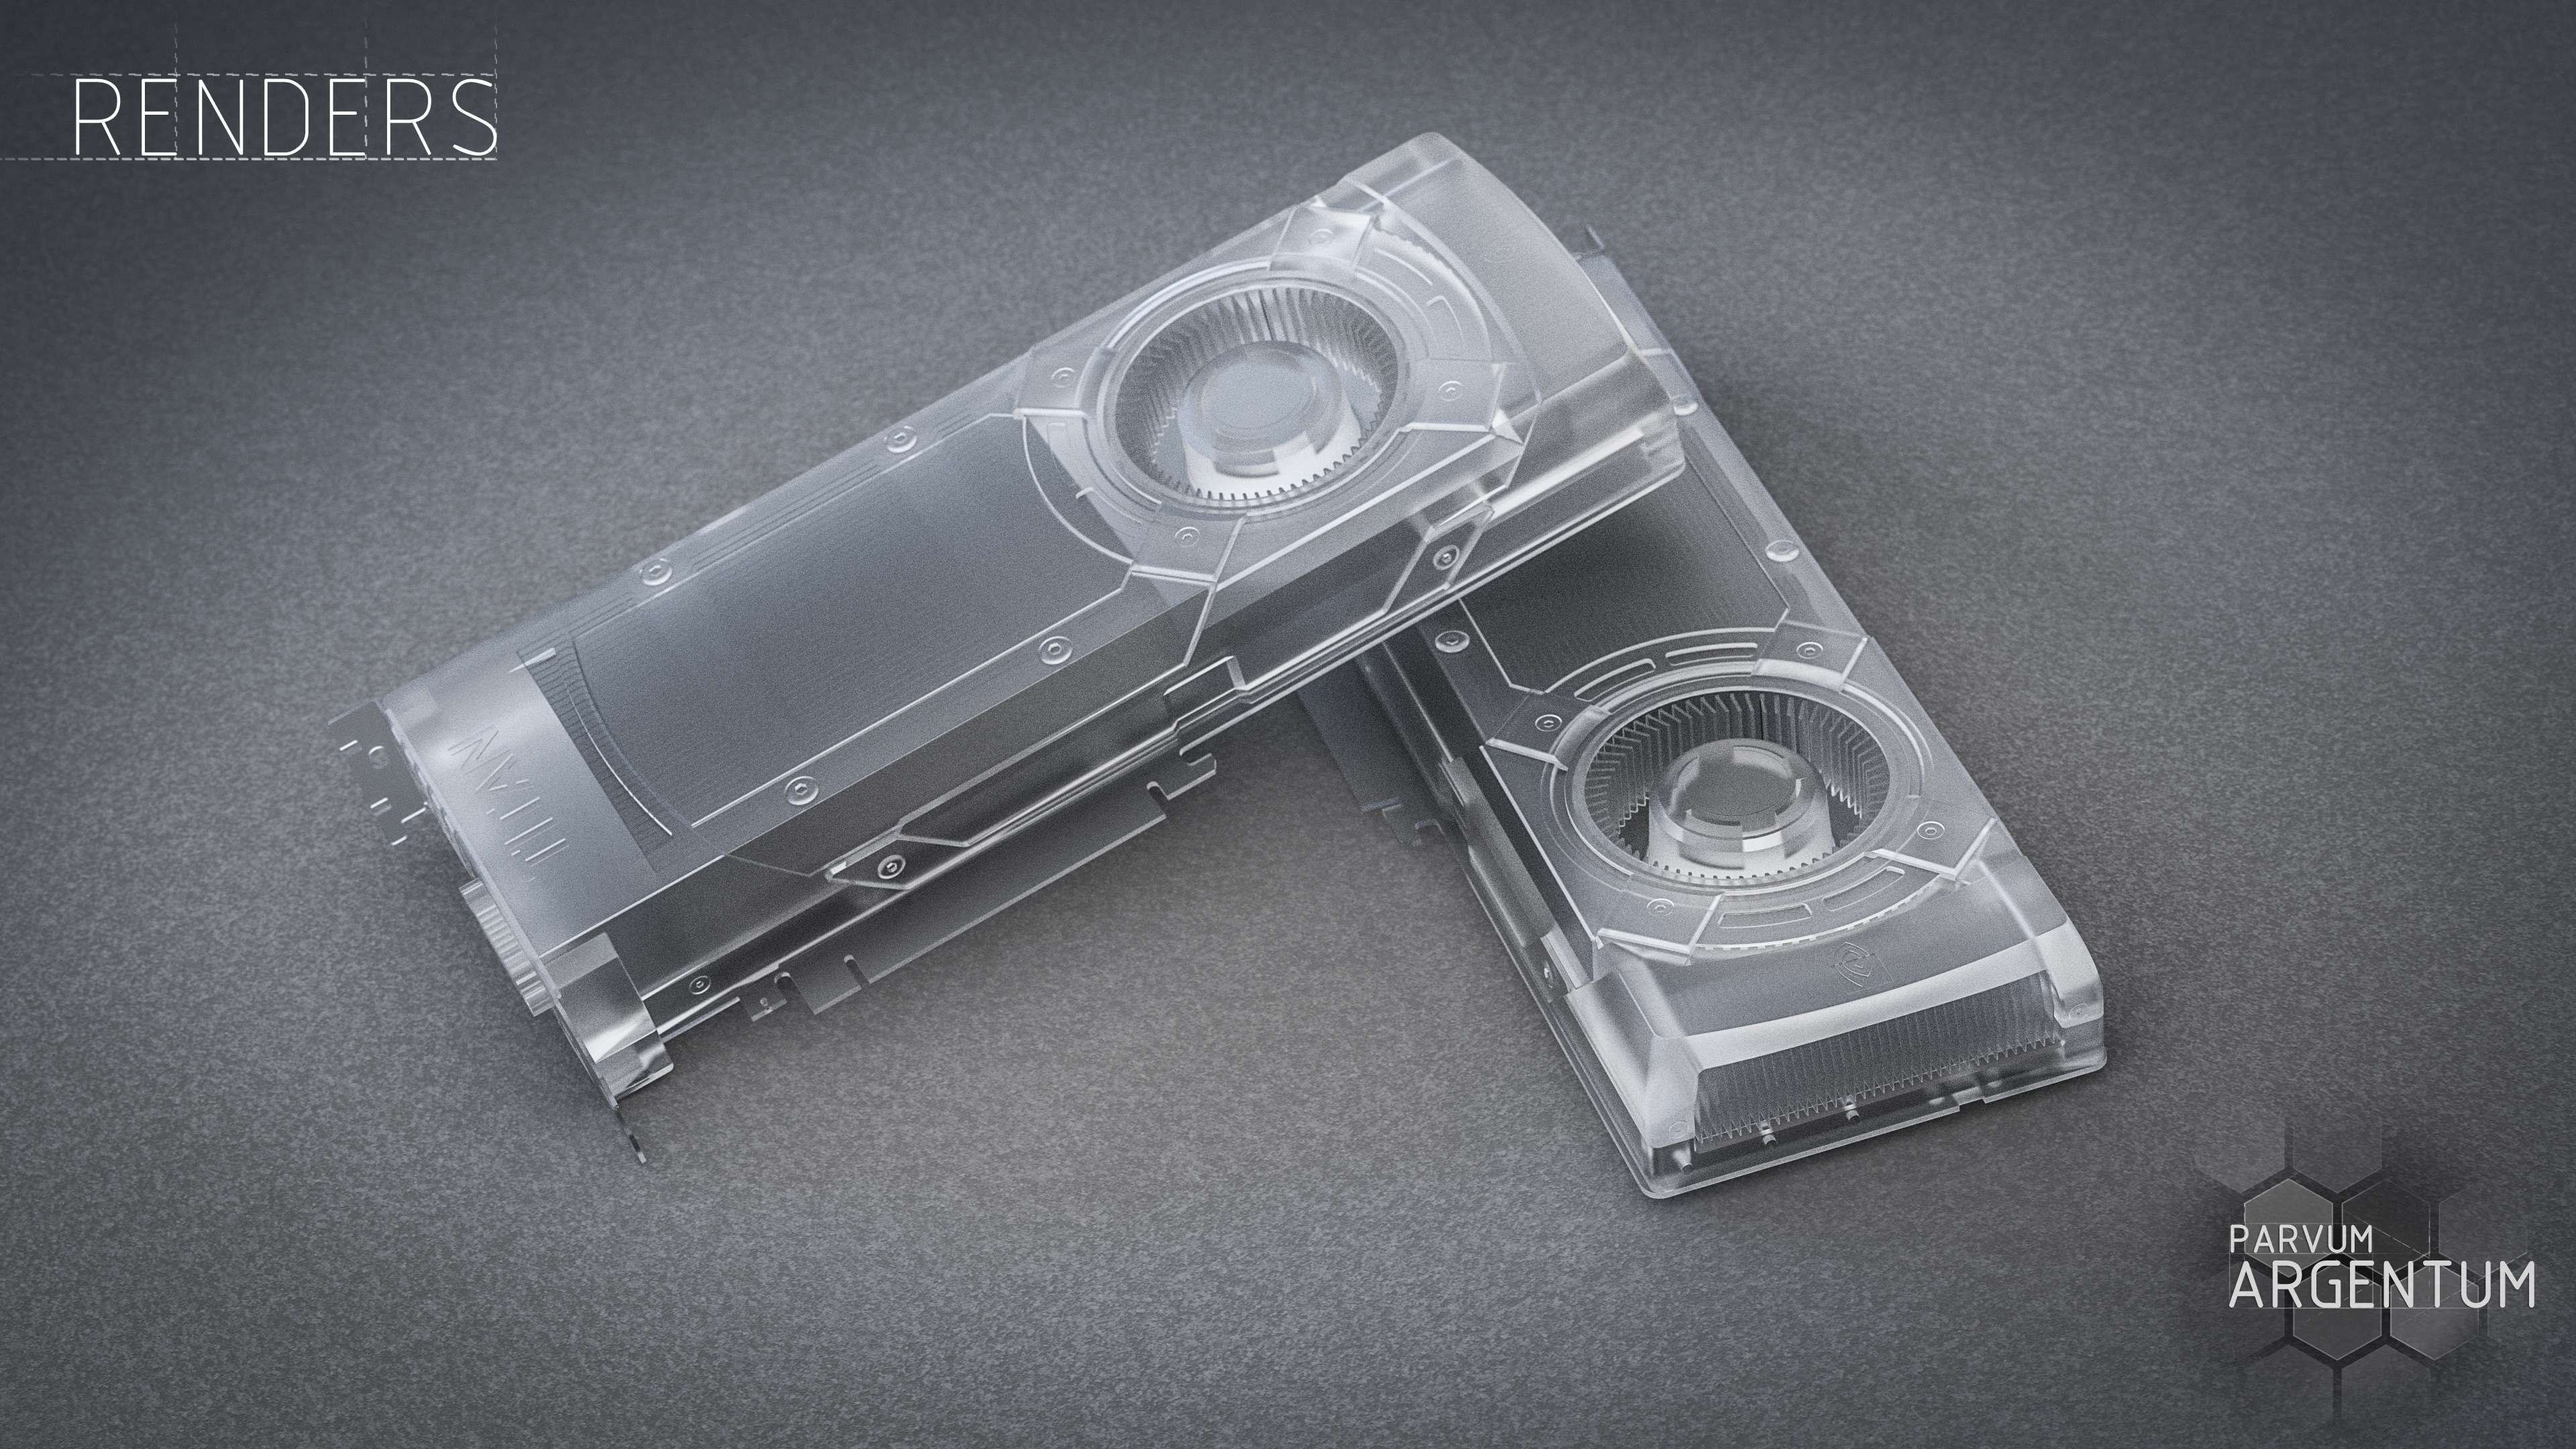


First Renders:

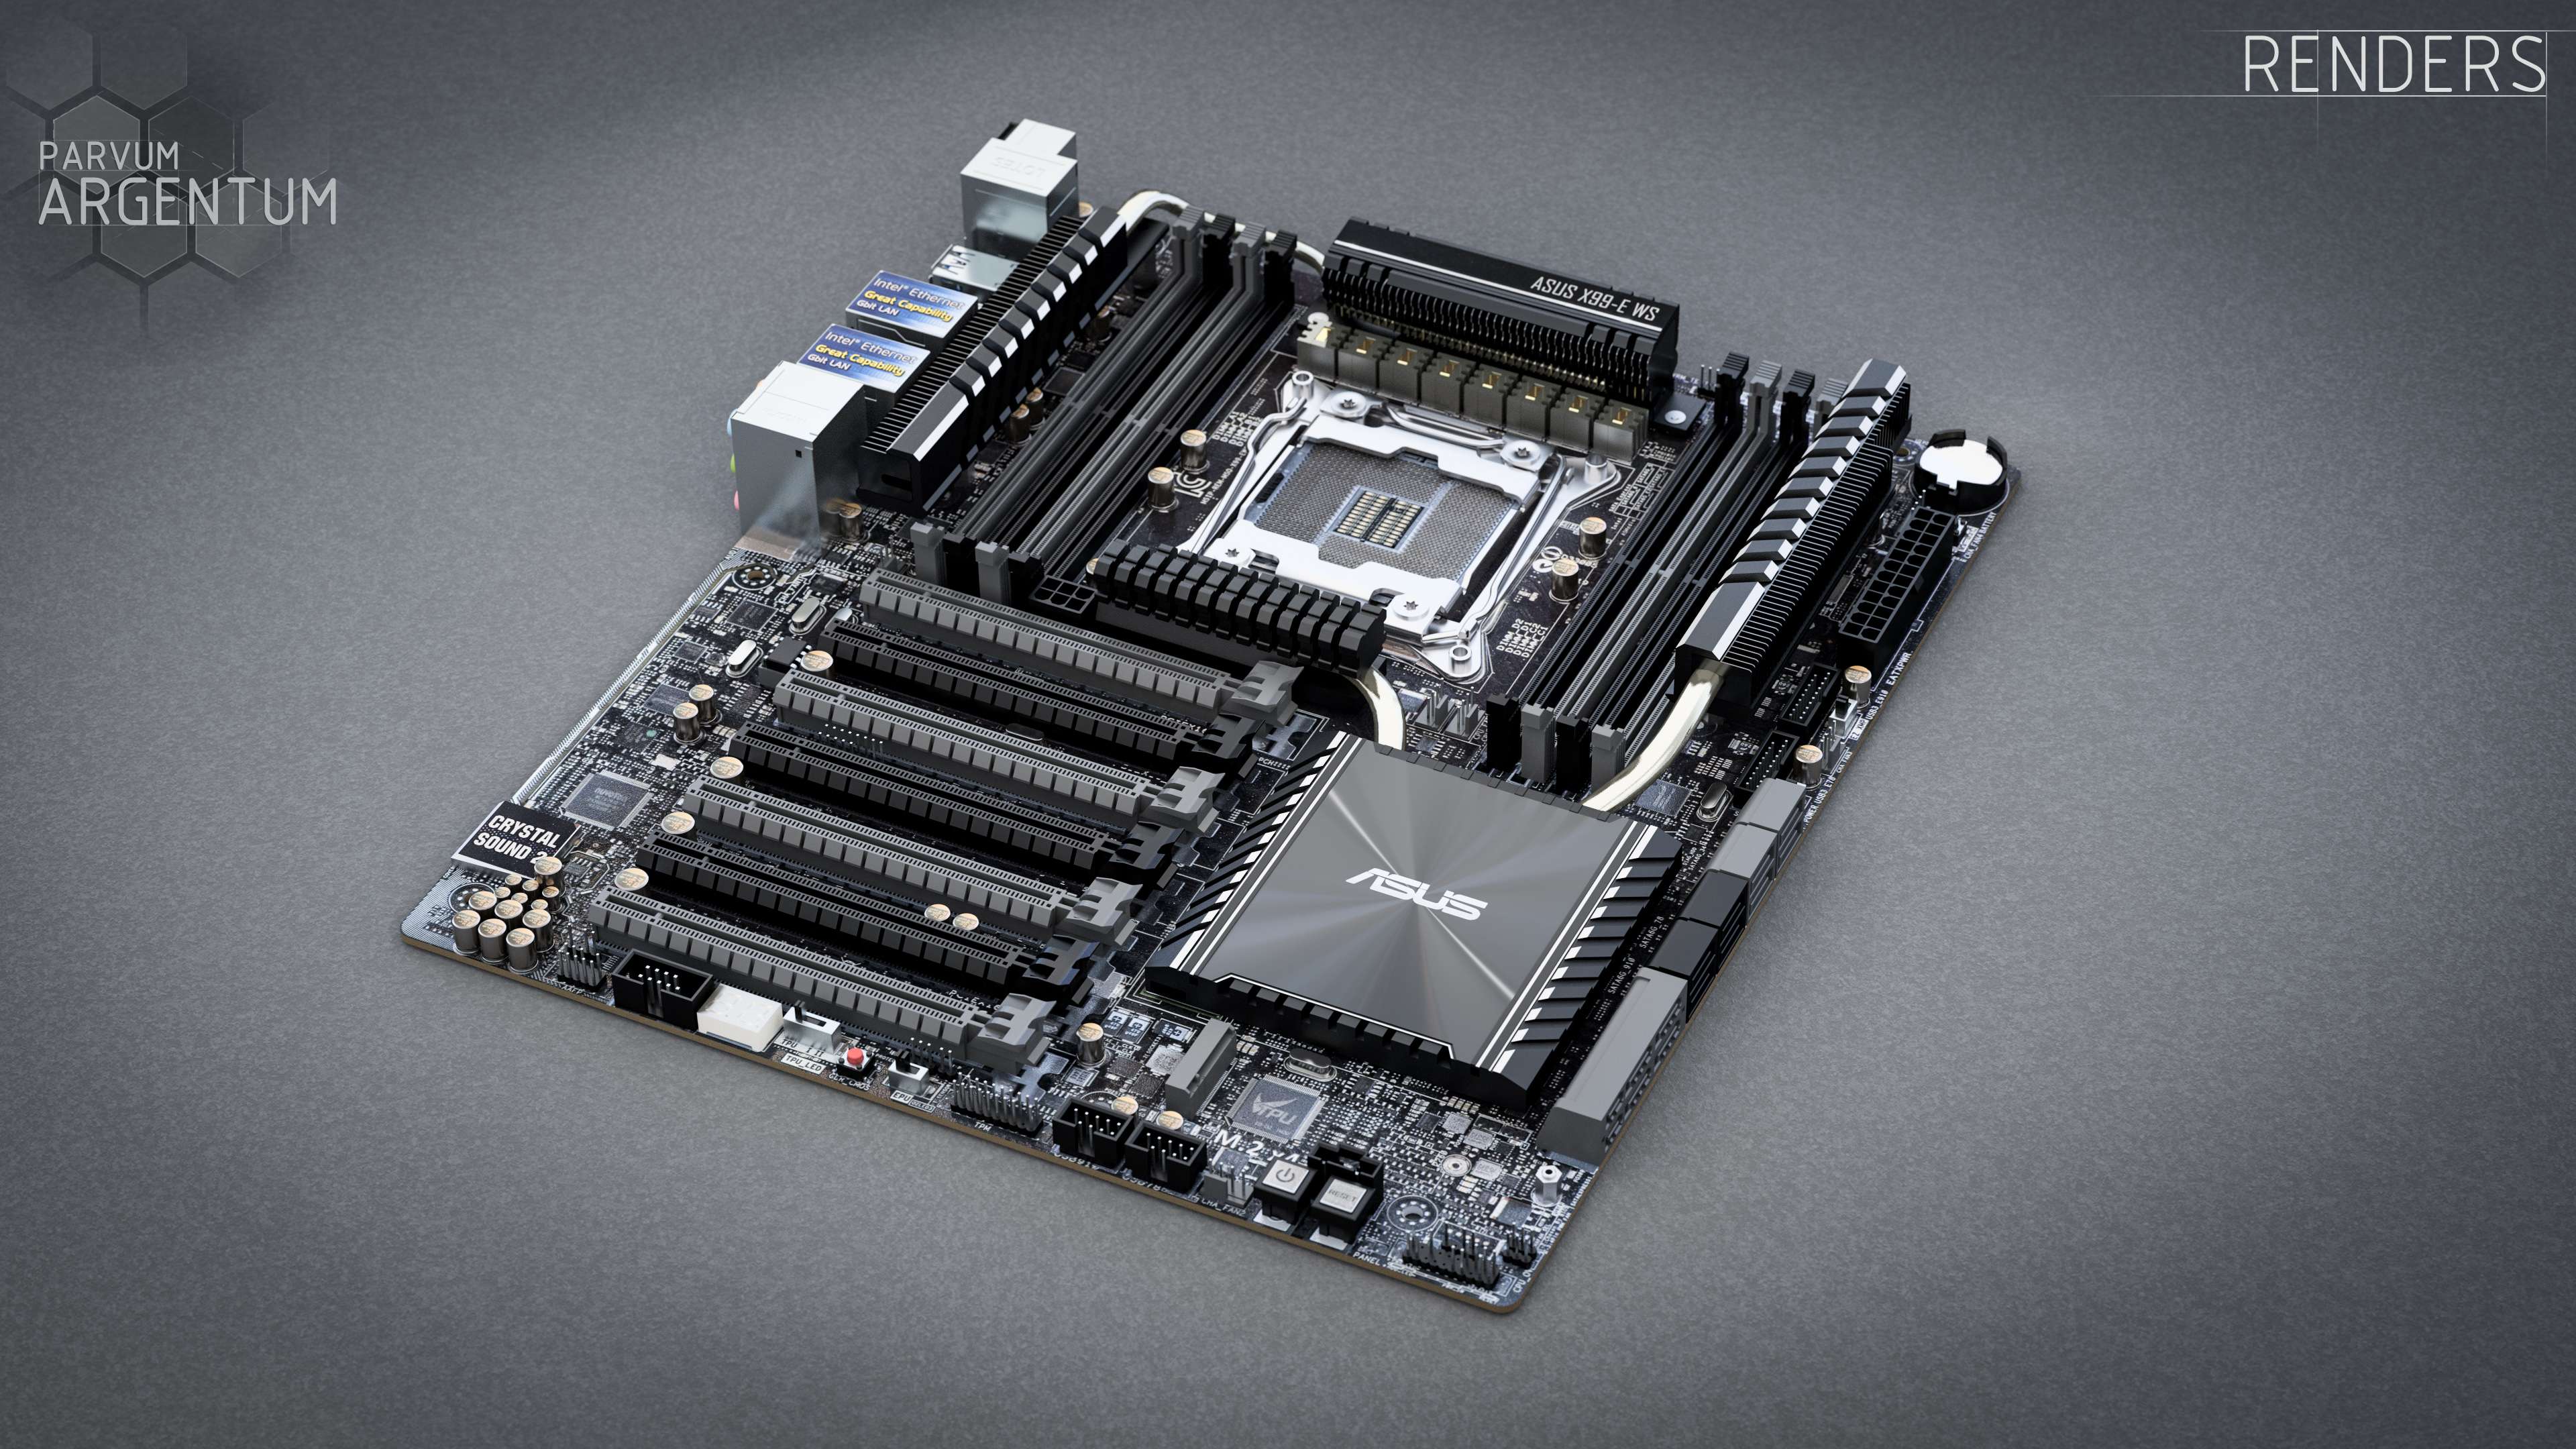
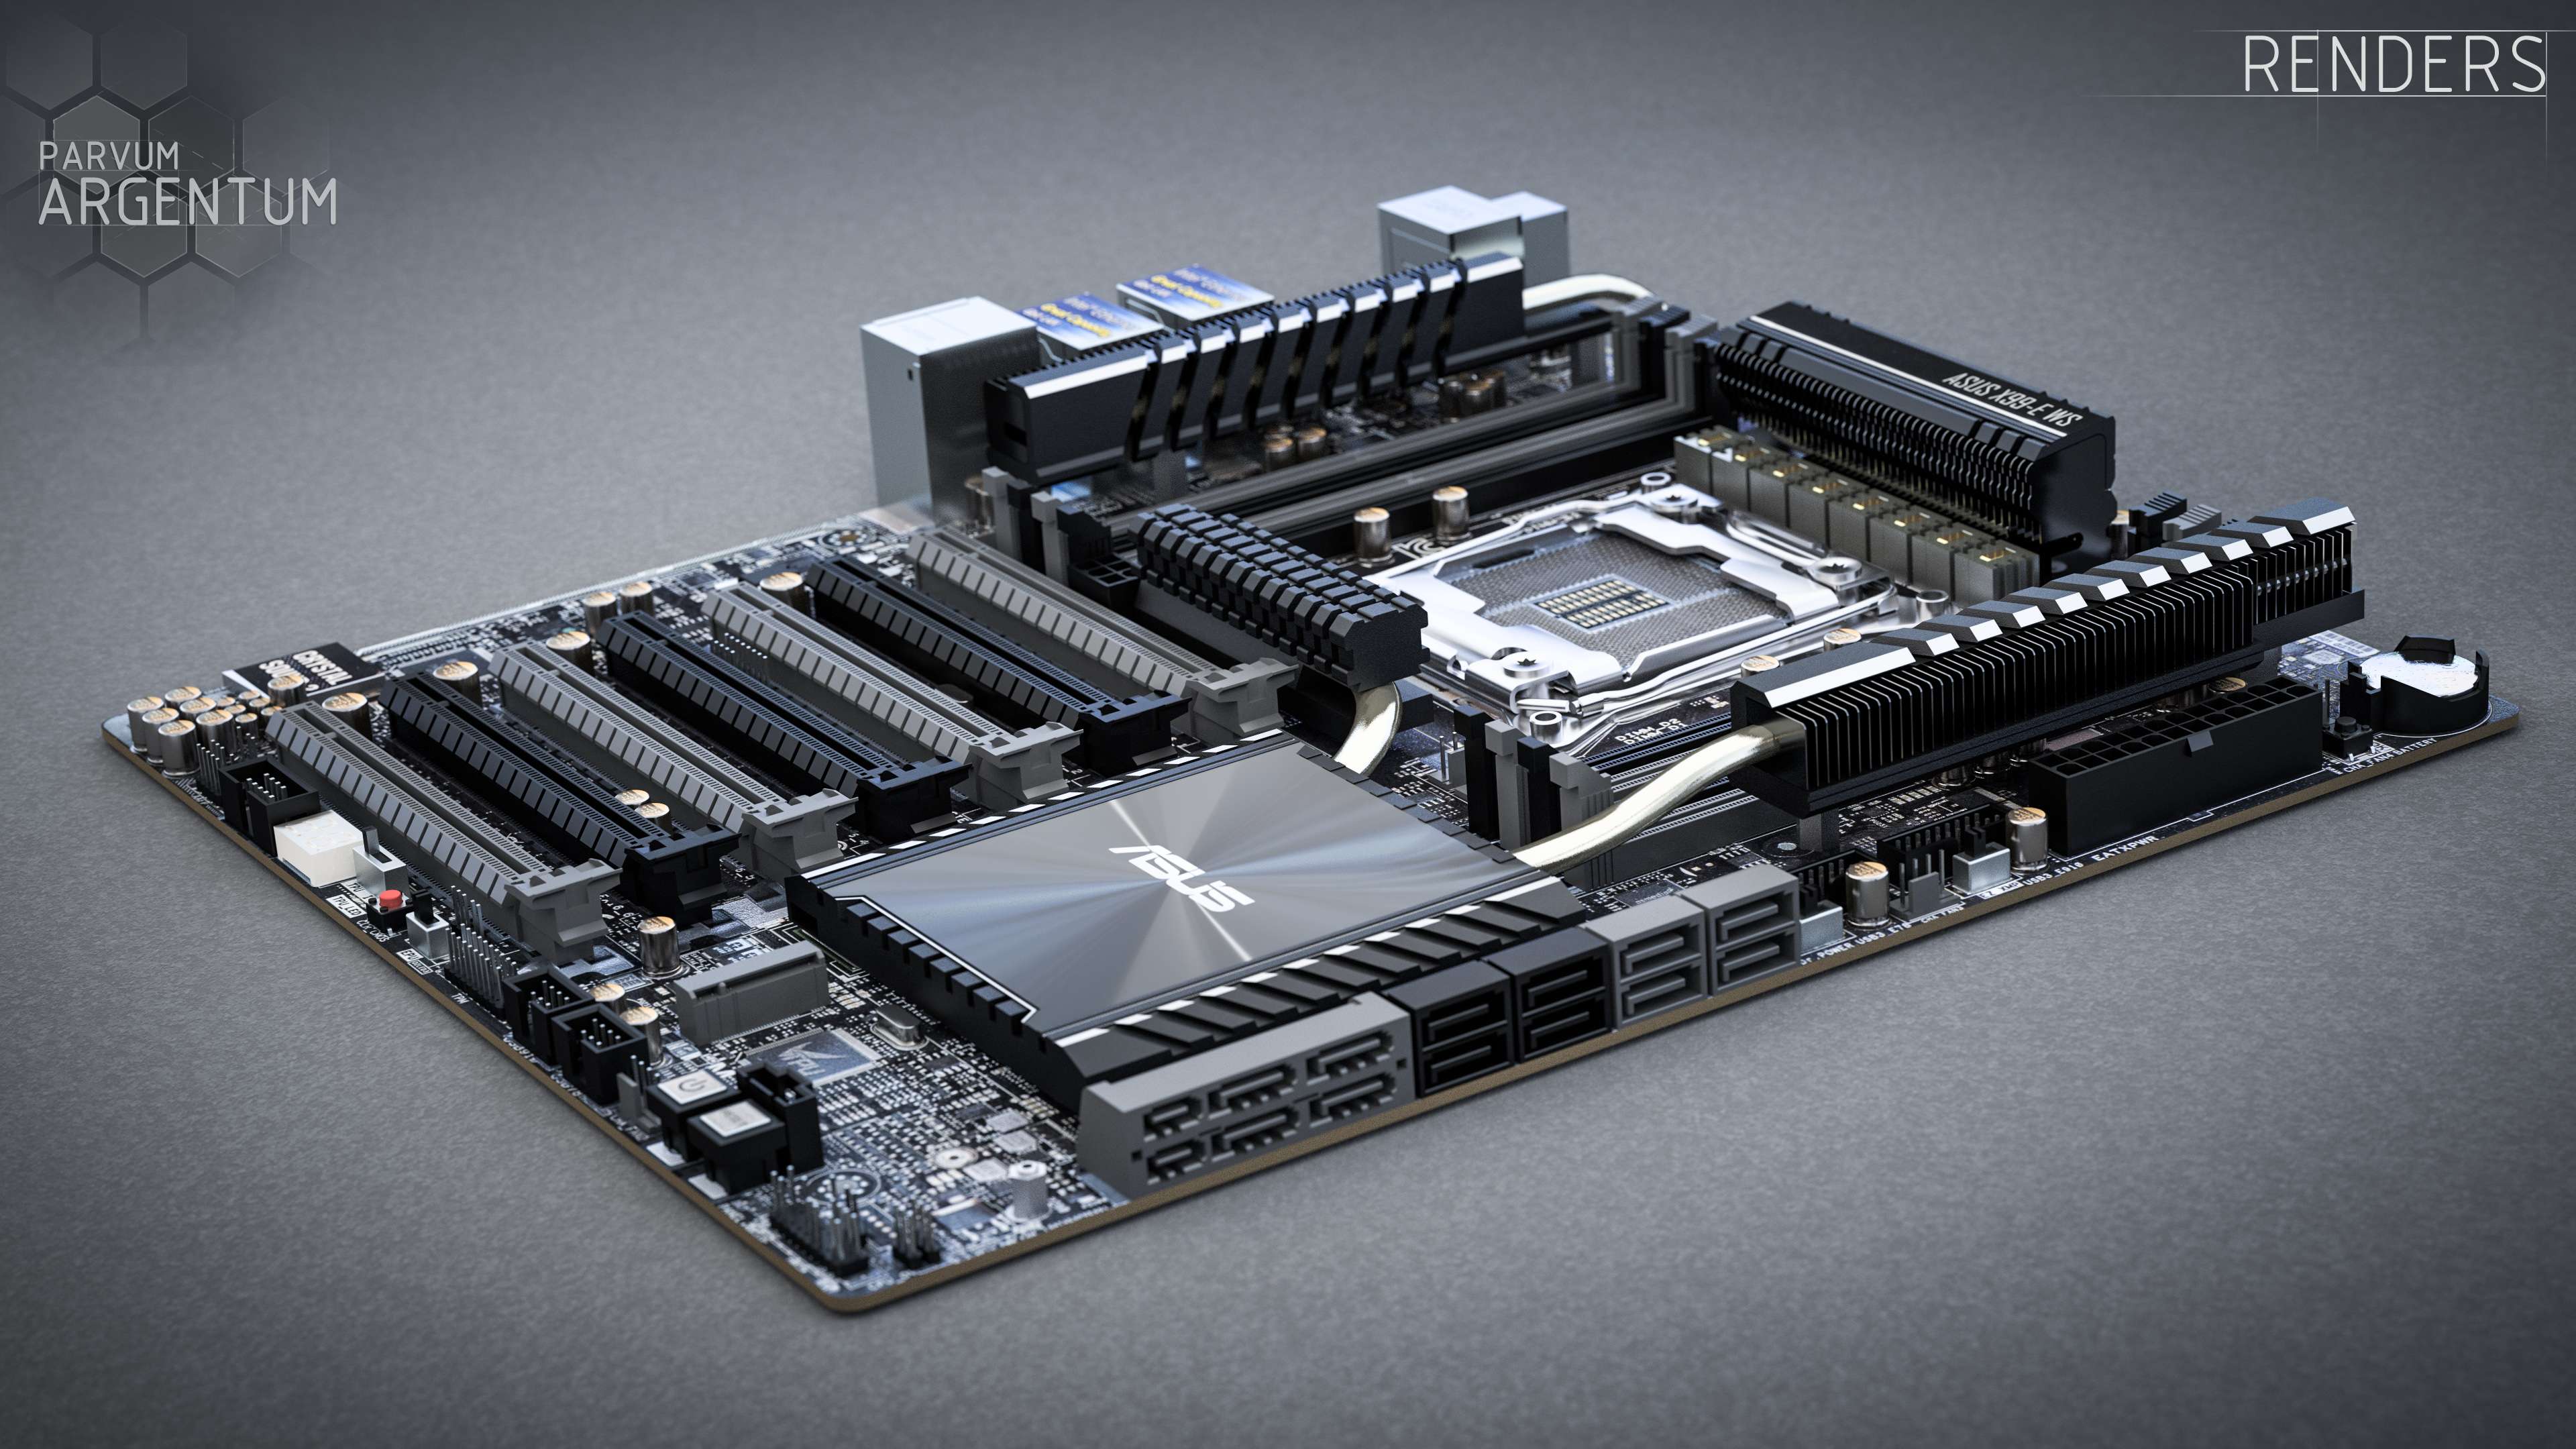
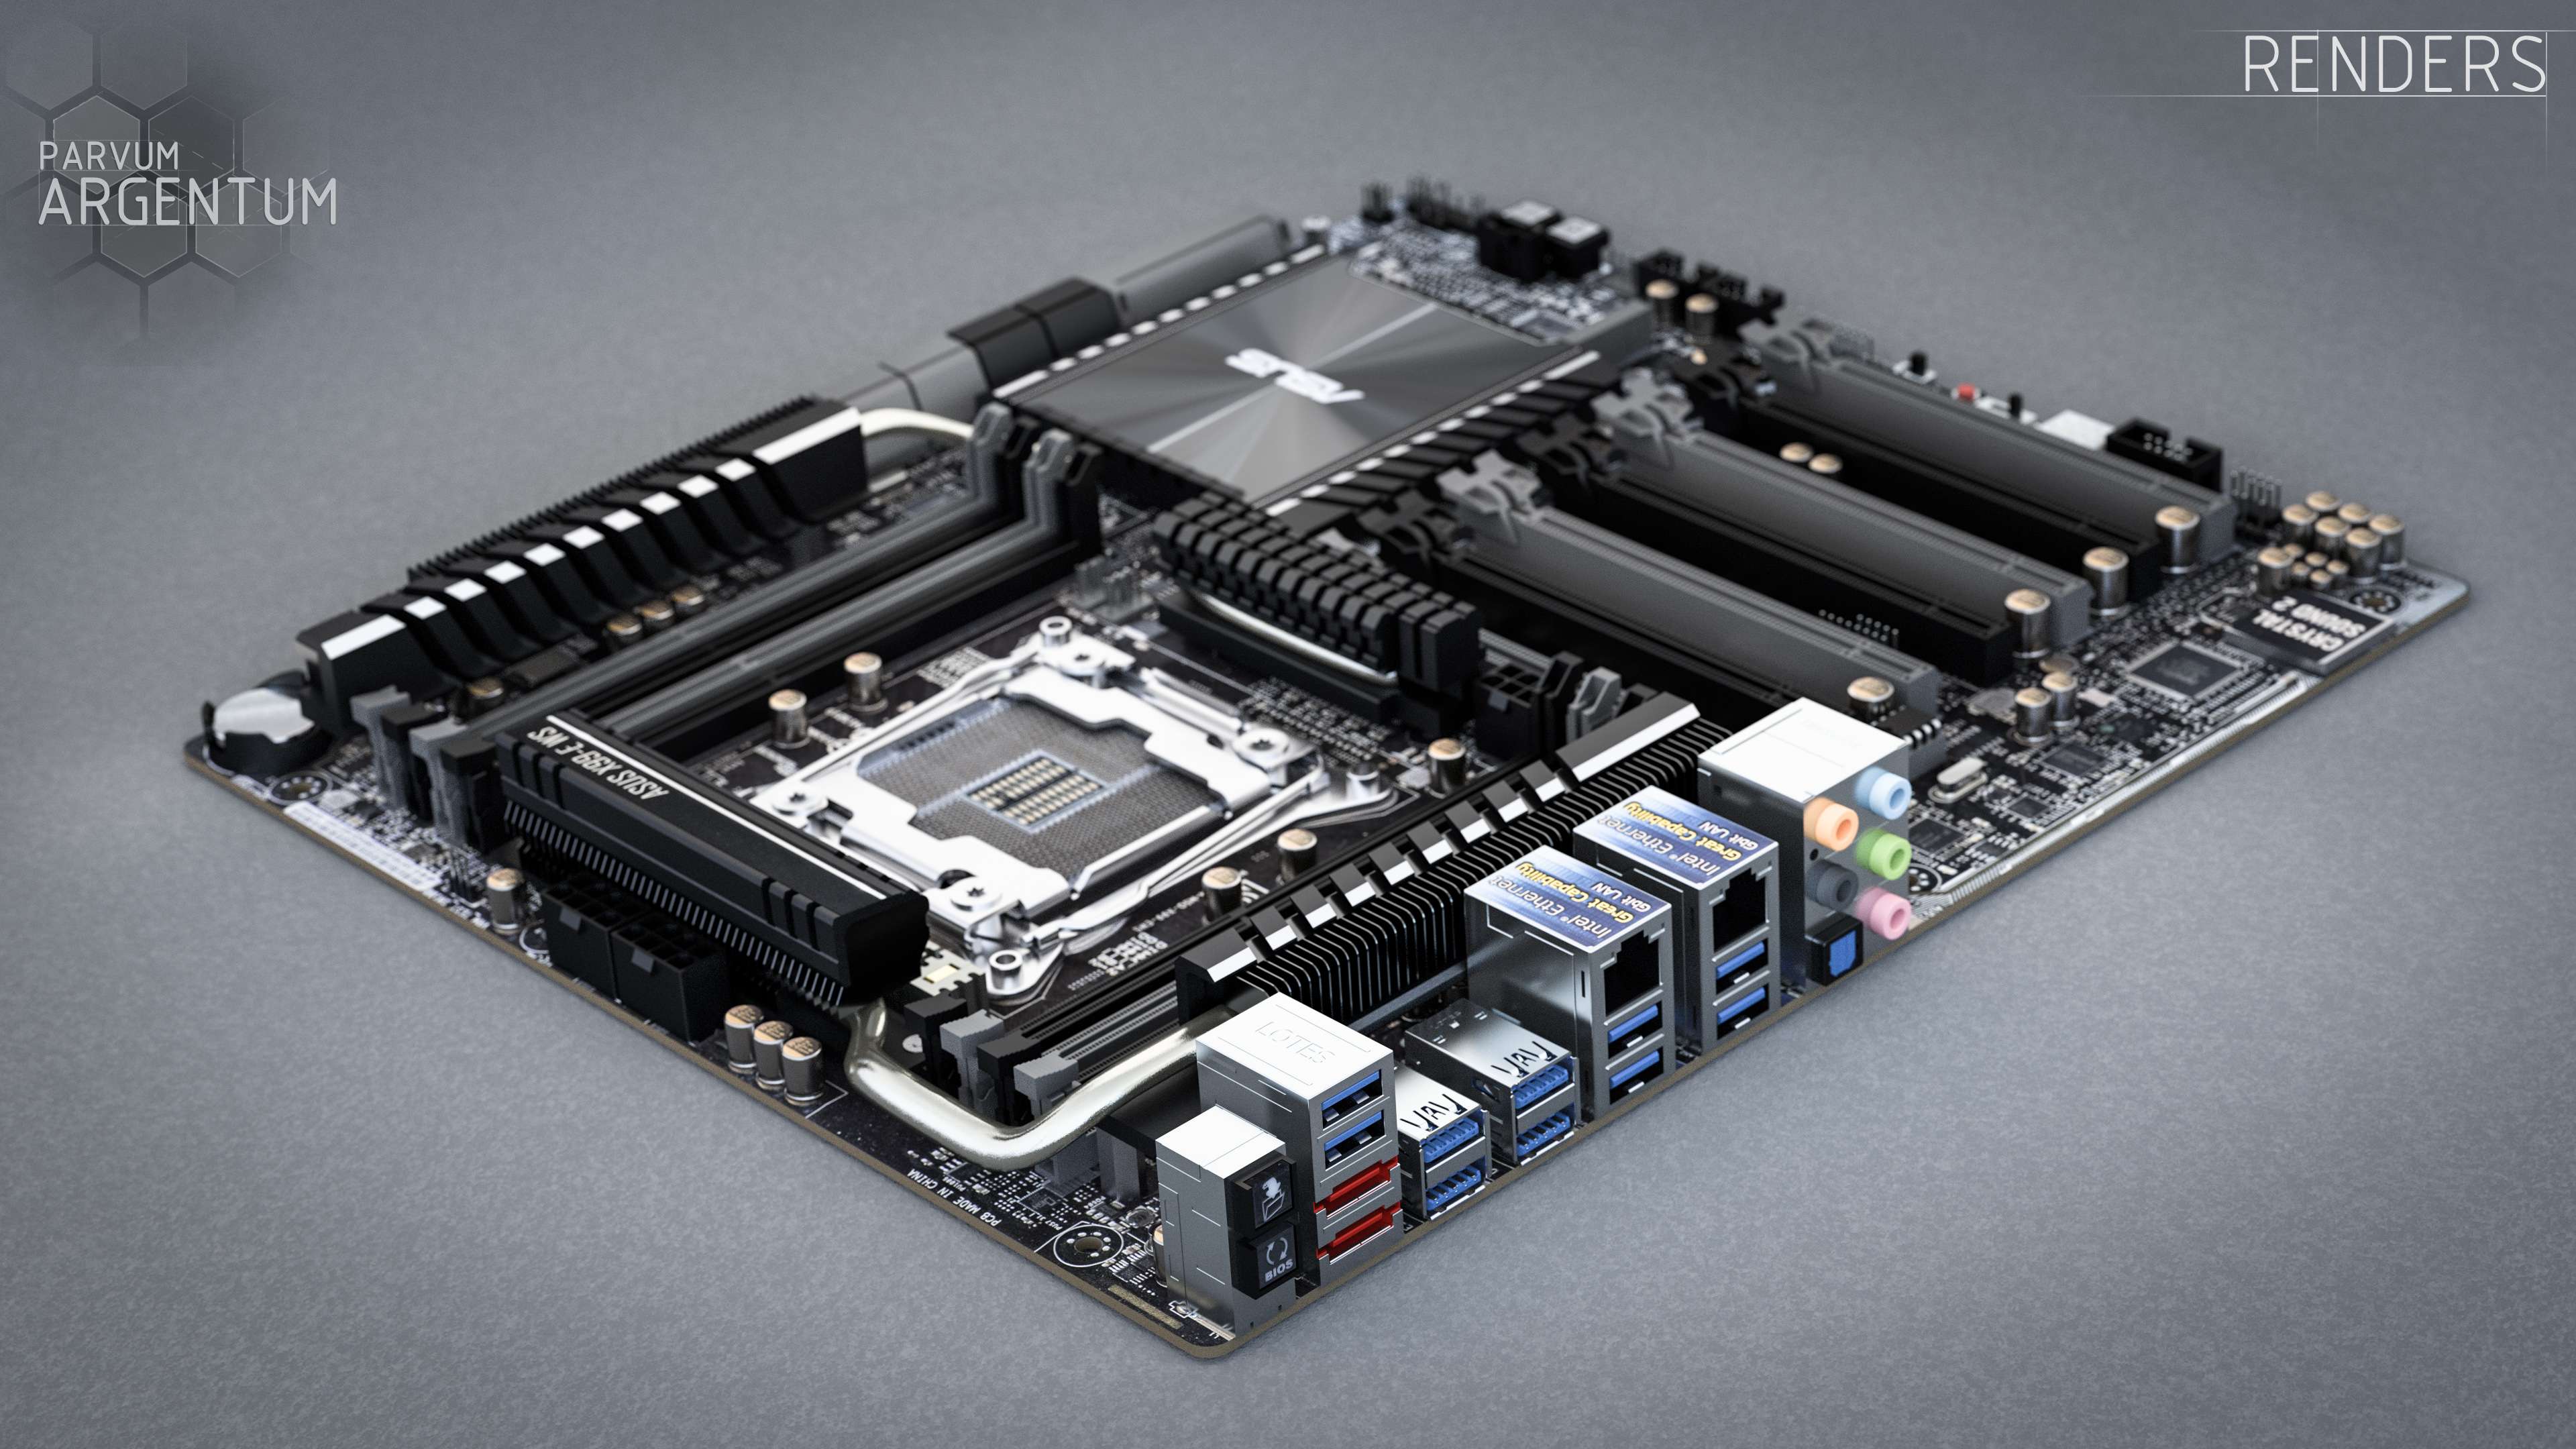
The plan is to do a fully rendered version of the build, like I did for Loramentum. As such, I began to model the components that were sent, chiefly the PSU and motherboard. The following images were made using Autodesk Inventor and Blender (using Cycles to render the images).


Last edited:
Associate
Joined
17 Mar 2009
Posts
2,474
Location
Scotland
First off, I'm glad you decided to stop lurking and join the forum proper. This looks like its going to be something we'd all like to see.
Second I'm damn jealous of that kit, extreme in the extreme !

I have some questions if you have the time to answer.

1) How do you draw the motherboard etc to such detail? Do you somehow scan it and its drawn for you or is it done from scratch? (I've no clue about this)
2) Why do you do a full render of the build, to what purpose does this serve? I'd imagine its rather time consuming?
3) The enclosure for this must be huge, considering the hardware and rads. Can you tell us the dimensions?

I'm seriously gonna have to give up doing projects, I've got a feeling this will make my efforts look like Homer Simpson nailed a shelf upside down to a cat !

I'm subbed and look forward to seeing more :D
 
Associate
OP
Joined
6 Aug 2015
Posts
11
Location
London
Can't wait! Sounds sweet.


Thanks guys!

you make me feel so poor

Aah the advantages of not actually having to pay for all of it myself :p

should be an interesting build

Hopefully it'll live up to the hype!

First off, I'm glad you decided to stop lurking and join the forum proper. This looks like its going to be something we'd all like to see.
Second I'm damn jealous of that kit, extreme in the extreme !

I have some questions if you have the time to answer.

1) How do you draw the motherboard etc to such detail? Do you somehow scan it and its drawn for you or is it done from scratch? (I've no clue about this)
2) Why do you do a full render of the build, to what purpose does this serve? I'd imagine its rather time consuming?
3) The enclosure for this must be huge, considering the hardware and rads. Can you tell us the dimensions?

I'm seriously gonna have to give up doing projects, I've got a feeling this will make my efforts look like Homer Simpson nailed a shelf upside down to a cat !

I'm subbed and look forward to seeing more :D

I do it all from scratch using just a pair of digital vernier calipers. I do most of the modelling in Autodesk Inventor, which for the most part is fairly simple to use. I've found it's mostly a matter of practice. After a while you become better and better at working out which basic shapes and features combine to make a full object, basically breaking something down into it's component forms.

The renders themselves serve a number of purposes really. The first is for actual CAD use. I try to make the models as accurate as I possibly can, which helps a lot with scaling, positioning etc. This makes the building phase much simpler as I have a definitive plan of action. The next aid is in thematic mods. Having very accurately modelled and textured parts allows me to picture almost exactly what something will look like before committing to it. By having models to hand, I can see what something will look like if painted, gold plated, removed and so forth. This is particularly handy for expensive components where I might not get a second chance to redo them. The last point is for promoting the build. Simply put, people really like detailed 3D models. They're fun and draw quite a bit of attention as they make something that's at first rather banal and turn it into a feature. They're also great for pitching to sponsors as they get a really good idea of what you want to do.

Aha it's interesting that you should mention the enclosure. This won't be going in some massive case or wardrobe-like structure. Instead it will be open air and fairly planar, mounted inside the frame itself. Dimension wise it'll be pretty large yes, but it will also be pretty narrow. The concept is drawn from my last project which had much more modest hardware:


As soon as I saw 4x Titan I was all in.

Haha they do have that effect it seems, really beastly cards. They may not have the high clocks of some of the recent 980tis but they have 12GB of VRAM, which is all that matters to me for the most part.
 
Associate
Joined
17 Mar 2009
Posts
2,474
Location
Scotland
OMG that's your last build ! Its very nice..

Thanks for taking the time to explain to this layman, how long did it take to "make" the motherboard say?

Off to find your other project log now, must see :D
 
Soldato
Joined
26 Aug 2013
Posts
8,393
Knew your name sounded familiar. Came across the pictures of your last project a few weeks ago, and loved it... reservoir inside the motherboard tray, amazing design and execution. So clean.
 
Associate
OP
Joined
6 Aug 2015
Posts
11
Location
London
OMG that's your last build ! Its very nice..

Thanks for taking the time to explain to this layman, how long did it take to "make" the motherboard say?

Off to find your other project log now, must see :D

Took about 4 days in total I reckon, not sure how many hours though. Motherboards are fairly straightforward really as most of the components are pretty stock meaning you just need to focus on the heatsinks and part locations. Thanks btw!

Please share links to previous projects! That one above looks amazing!

I don't have them hosted here so hopefully this is okay (since LTT isn't a shop or something). These are my three most recent ones:

Vesper

Loramentum

Moderne

The renders are very impressive, looking forward to seeing the finished project.

Hope you enjoy the ride!

Wow, this looks like its going to shape up to be damm fine. Especially if that picture of your previous build is anything to go by :eek:

Ahh but now I've set the expectations high so it's going to be tougher to live up to them, fingers crossed.

Knew your name sounded familiar. Came across the pictures of your last project a few weeks ago, and loved it... reservoir inside the motherboard tray, amazing design and execution. So clean.

Cheers! Yeah it was a great build to work on, so many new techniques that I'd never tried before and had to learn.

uf89C7.jpg


JeXrAA.jpg


So I thought I'd share some of the stuff that's been going on recently. The plan is to make a monoblock for the Asus X99E-WS that will cool everything important on the board. The stock heatsinks are beautiful, but apparently the PLX chips can get a little toasty when using 4 GPUs, which we will be doing. According to some owners they've experienced random crashes when the chips get too hot. The solution is just provide a bit of airflow, which is very easy in a normal case. However, since this is open faced, I can't guarantee that will always be available. That and we thought it would be cool.

Here's the lower section thus far:


The above model is a little out of date as I've since added some extra cutouts that are needed for it to fit properly. The test block is going to be machined tomorrow, don't want to have the final one milled only to realise it doesn't fit rofl.

I also spent some time making a short video showing the motherboard model:

 
Last edited:
Associate
OP
Joined
6 Aug 2015
Posts
11
Location
London
Pure computer pr0n! Love it :D

Only the finest PC fap material here :p

Wow those renders are unreal and your last project is phenomenal!

Thanks!

uf89C7.jpg


JeXrAA.jpg


Right so whilst I'm waiting for the motherboard PLX test block to be machined, I figured I'd update with some of the most recent renders. I meant to post these a week back but I was snowed in with work and my head just froze up. Now that things are slightly less hectic, let's get to it.

Nvidia, about a month back, asked if I could also render the Titan X cards going into the build. Now I was a little hesitant about this as since the cards are going to be watercooled, the stock coolers won't be present later on. They also didn't respond when I asked if they could provide an official CAD file. The coolers themselves look simple, but they're actually incredibly complicated to model. There are curves, lofts, chamfers and fillets everywhere, and some of them quite subtle, almost none of the surfaces are completely flat.

In any case, I did end up modeling the things, and so here they are:


Clay render showing the model itself sans textures:


This was actually and accident when I misclicked and applied a frosted acrylic material to the whole thing, thought it looked cool though.


Last edited:
Back
Top Bottom