• Competitor rules

    Please remember that any mention of competitors, hinting at competitors or offering to provide details of competitors will result in an account suspension. The full rules can be found under the 'Terms and Rules' link in the bottom right corner of your screen. Just don't mention competitors in any way, shape or form and you'll be OK.

Installing An Arctic Accelero Xtreme III To A HIS R9 290.

Soldato
Joined
13 Apr 2013
Posts
12,878
Location
La France
Full before and after photos and temps to follow, but first a few Public Safety Announcements for those considering doing this.

1. Don't attempt this when full of Man Flu as you will forget things..

2. The standard Accelero Xtreme III kit doesn't come with enough VRAM heat sinks. You will need to buy these separately. I used the Alpenfohn Passive DRAM / VRAM Coolers kit.

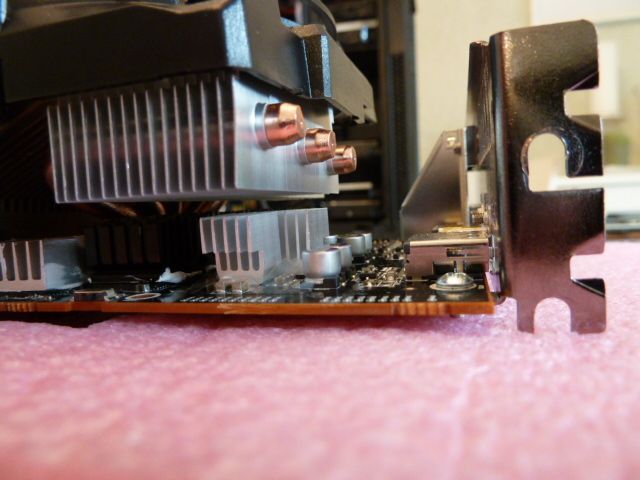
3. Be patient. This will help avoid having to remove too-high VRAM coolers that clash with the Accelero's heat pipes at midnight..
 
Last edited:
Ahh just the man I want to ask!
Can you screw down the VRM heat sink from the Alpenfohn Passive DRAM / VRAM Coolers kit? opposed to sticking it on with tape to hold it in place? It looks like there are screw holes in the pics.
and also looking forward to seeing the results! :)

Didn't use it as it's too tall and clashes with the Accelero's heatsink.
 
So, this took a little longer than expected..

PC Specs:

Corsair Carbide 300R case / Asus P8P67 MB / 16GB 1866 RAM / i5 2500K @4.3GHz


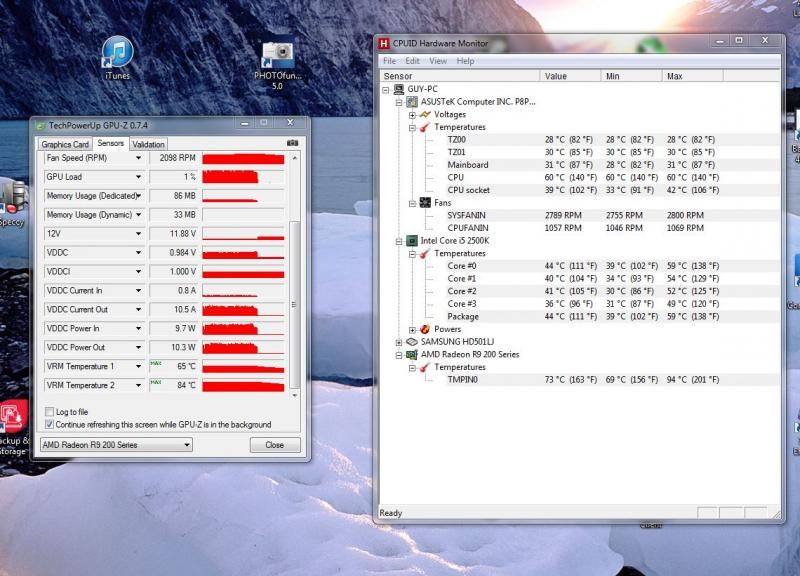
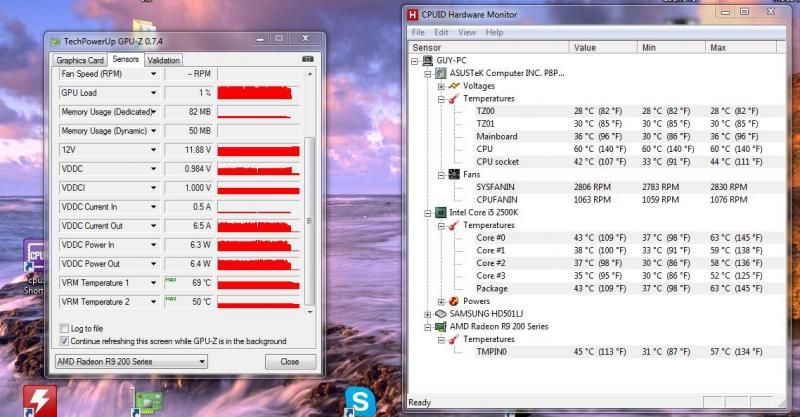
GPU and VRM temps stock HIS cooler:


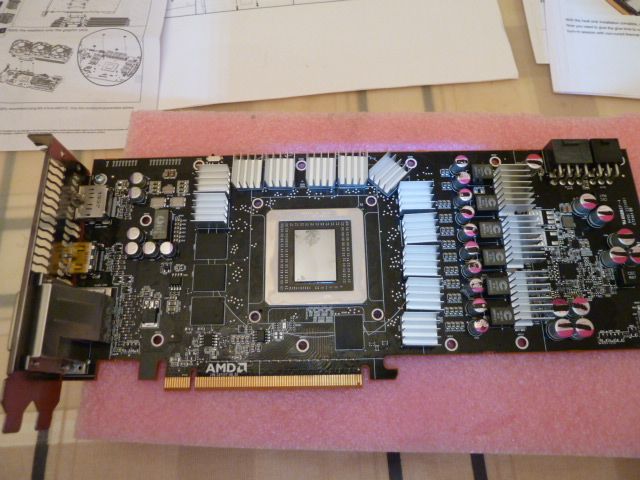
Number of heatsinks in standard A X 3 kit:

 
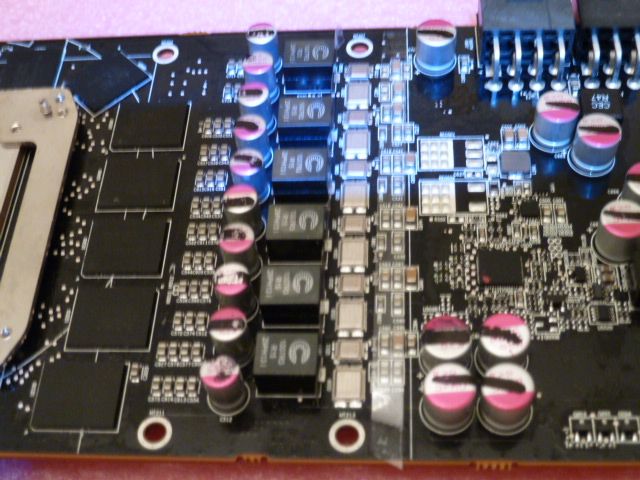
Insulating strips for voltage regulators:


Laying out the Alpenfohn heatsinks. Can anyone spot what I missed?


* Hint : top left of above photo...

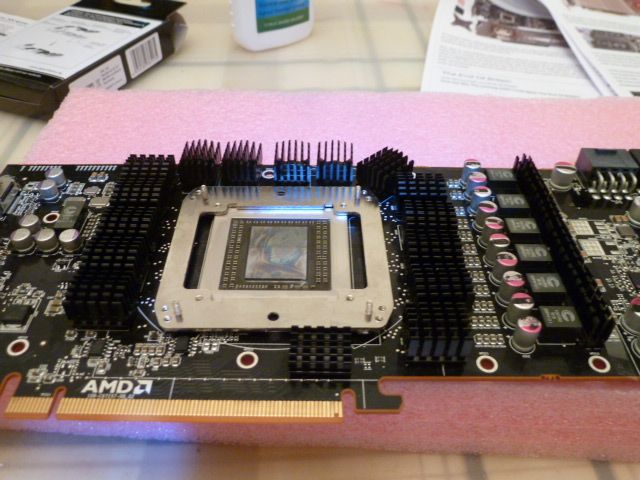
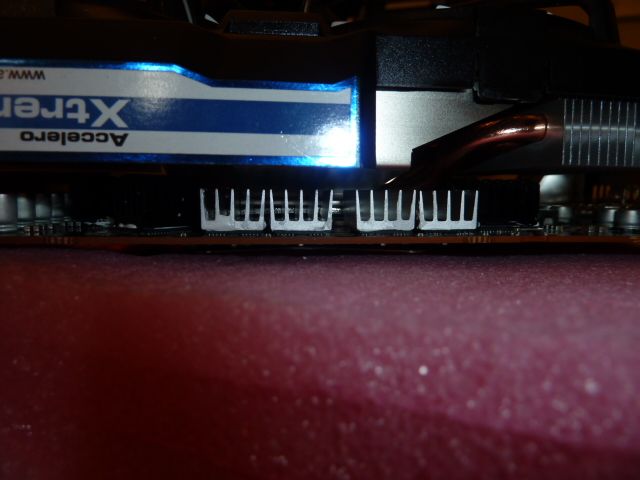
The 4 Arctic heatsinks I had to use as the Alpenfohn ones didn't let the XAccelero seat correctly:


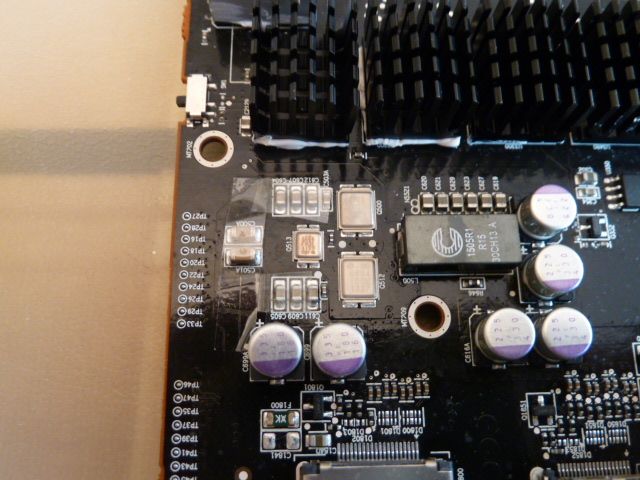
Insulation for the last 3 heatsinks:


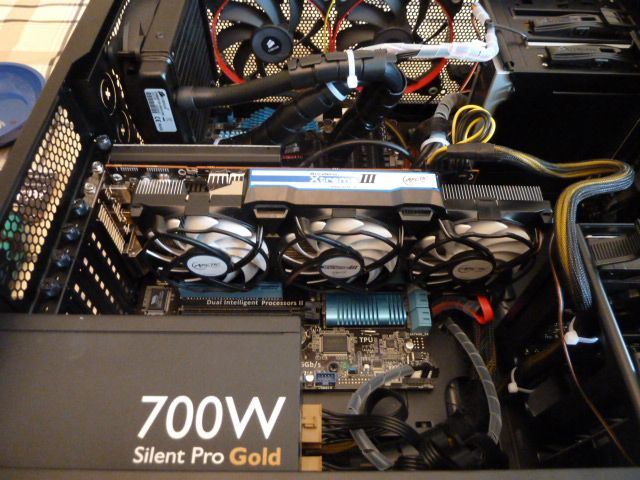
Together at last:

 
Issues encountered:

1. Arctic needs to spend 5 minutes updating the mounting instructions for the R9 series they now claim to support.

2. Standard AX III kit doesn't have enough VRAM heatsinks - 4 short and nothing low profile enough to cover the IC partially covered by the AX III mounting plate.

3. Alpenfohn VRAM heatsinks too tall to be used on the 4 VRAMs closest to upp edge of PCB.

4. Used the Arctic VRM heatsinks as I didn't feel the Alpenfohn ones had enough contact area nor cooling area.

Conclusions:

1. The swearing and working through my Man Flu was worth it.

2. Using the 12V feed to the AX III's fans is quieter than the stock cooler at idle and way quieter under full load. Is much quieter than my HIS IcyQ 7950 Boost under full load. AX III's fans are only just audible over my fairly quiet case fans.

3. The AX III's 3 fans sit dead opposite the extra fan mounting grille on the 300R's side panel and are drawing additional cool air into the case where the stock cooler was leaking heat into the case.

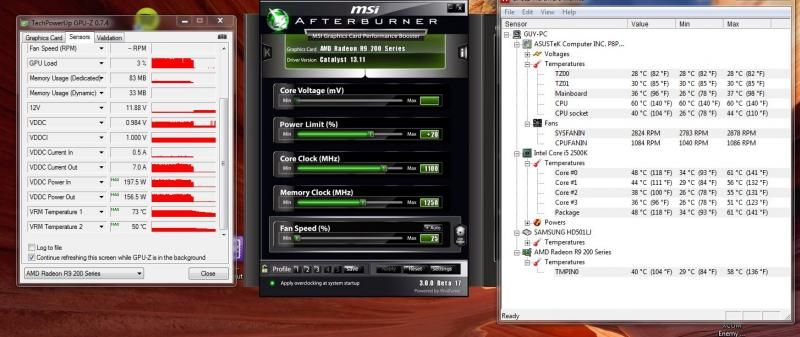
4. GPU temp full load is down to 57 deg C from 95 deg C.

5. VRM1 temp seems to have increased by 2-3 deg C, so perhaps this is the one component that the stock cooler actually works well on.

6. VRM2 temp is down to 5o deg C from 84 deg C.

So, for a total of £350, I have a quiet and cool R9 290 now instead of mid-January that I'll spend the holidays overclocking and being rubbish at BF4 with..
 
Terminal_Boy, did the cooler come with deent thermal paste and glue for the heatsinks or did you buy another brand

I mainly used the thermal adhesive which came with the AX III, but as I left the lid off (as I thought I was done), it had cured so I used the thermal adhesive with came with the Aplenfohn VRAM heat sinks to secure the last 3 heat sinks on the components at the top left side of the PCB that I'd missed.

The main cooler comes pre-loaded with thermal paste which I didn't mess with as the Tom's Hardware article didn't mention it being a problem.
 

That's pretty much what I followed, but I still missed those 3 heat sinks in the top left corner...

52.5mm holes (hole 2 in Arctic guide) and the 2.5mm (shortest) white nylon spacers.

Be careful with the self-adhesive discs you get to secure them as they're a bit fragile. Double sided Cellotape is a good replacement.

I fitted the cooler mounting bracket BEFORE the various heat sinks as per the Arctic guide to ensure the spacing was okay and removed it after the adhesive had cured.
 
Last edited:
Using the 12V feed to the fans, they run at a constant speed regardless of load.

Slightly quieter than the stock cooler at idle and way quieter under full load. Much quieter than my HIS IcyQ 7950 Boost under full load. AX III's fans are only just audible over my fairly quiet case fans.
 
So all you need to buy is these 2 products:
1. ARCTIC COOLING Xtreme III
2. Alpenföhn Passive DRAM / VRAM Chip Coolers

They will include EVERYTHING you need to do the above mod? ie. it includes all the thermal paste/ insulating strips etc..

Overall, how long did it take from start to finish?

Yes, you only need those 2 items.

Thermal paste is loaded onto the main GPU heatsink, so you don't need to buy any more of this.

Both the Xtreme III kit and the Alpenfohn chip coolers come with a tube of thermal adhesive, so you don't need to buy any of that either.

I'd recommend getting some heatsink cleaner (I used the Akasa one) and plenty of cotton buds/Q-tips to get everything clean.

If I hadn't made any errors, I reckon an hour to strip, clean and fit the chip coolers. I left the thermal adhesive to cure over night.

Then 30 minutes to fit the main cooler, , install the card into the PC, supply the 12V fan feed from the PSU, re-fit the case side and fire it up.
 
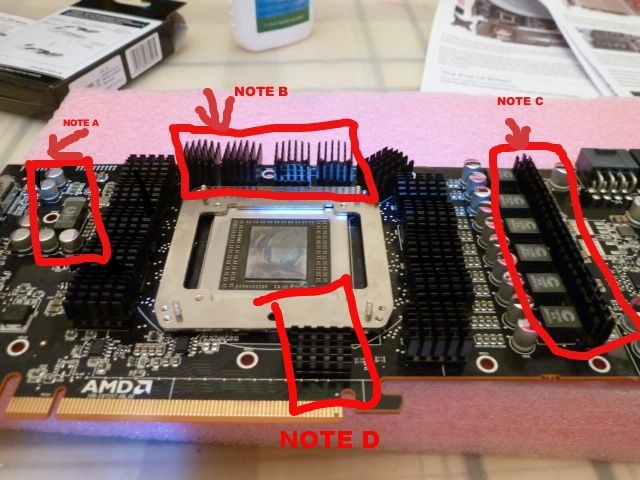
This might help..


Note A: Don't forget to fit the 3 tall "F" shaped chip coolers from the A X III kit here.

Note B: The Alpenfohn chip coolers are too tall to sit here. Use the A X III ones.

Note C: I ended up using the A X III VRM coolers here as they looked to have a better foot print.

Note D: This cooler only covers 2/3 of the chip, so I put a piece of thermal tape on the other 1/3 so it touches the mounting plate.
 
Back
Top Bottom