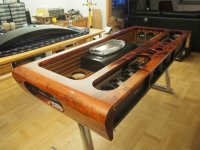
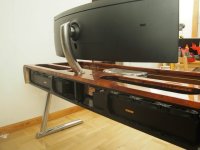
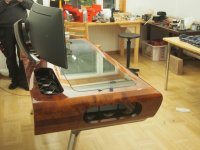
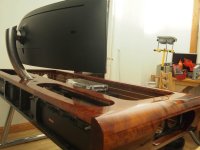
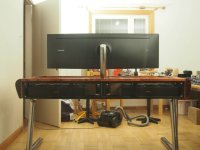
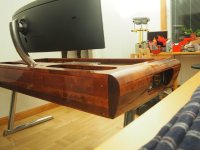
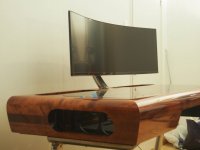
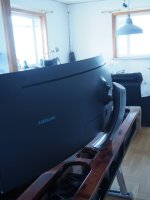
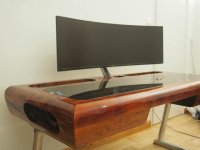
Mahogany/Steel Computerdesk [SCRATCHBUILD] Dreamhack Summer Masters Winner

Associate
OP
Joined
10 Dec 2017
Posts
49
Time for some time consuming but neccecary stuff

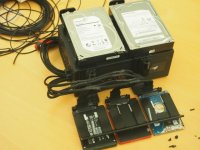
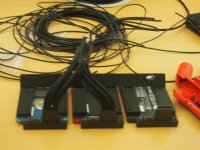
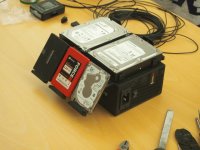
All the harddrives and ssd custom cables have been done. Some small fixes to be made still but it's all there and it works
KJOi5Cfl.jpg

My custom stand for it all if anyone forgot :)
SkjRcfPl.jpg

Not a fun cable to make:S

r4zV1O7l.jpg

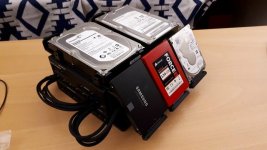
All done just gonna tuck it a bit and the cables will flow perfectly
3o4Jjx0l.jpg

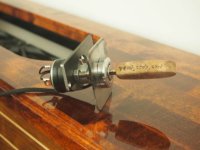
And yeah the key ignition is up and running!
Th5ImjQl.jpg
 
Associate
OP
Joined
10 Dec 2017
Posts
49
Components are coming in a bit more rapidly now :)

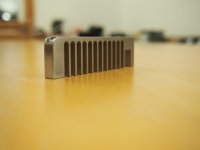
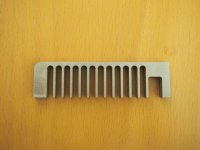
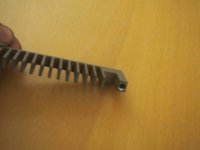
Last night the 8 temp monitors. Had to make the weirdest cable for this. So I converted the ends from molex to 3 pin fan connectors and then rerouted a molex to not feed 12 volt (didn't realize this at first though so the monitors got some good ol' frying time:D) and theeen another molex end made for the pumps. But all in all it worked well and 10 components running off 1 cable seems very efficient and clean so I'm happy.
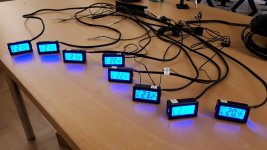
h3RlH9E.jpg

Here's a list of what's happening and needs to be done:

-Drive to Sweden to get my chromeplated parts back (first week of february).
-Fasten those parts and get special glue to fit the hinges to the glass
-Redo the monitor stand and route said cables through the stand. These cables also have to be custom sleeved
-Route said cables from motherboard to the stand
-Get cableclamps drilled, sanded and painted.
-Order pumps and then make custom stands for them aswell as lathe new backparts.
-Slight remake of the top part of the legs.
-Get the new monitor stand, legs and a few smaller parts to chrome.
-In the meantime finish the cable work and install the watercooling.
-Do the lighting
-Make custom external ethernet and power cables
-Make internal AC power splitters to power screen, ODAC and computer

So yeah there's a bit to go but I'm getting there and I have a buildfriend thank god because some of these things are not fun to do alone :)
 
Associate
OP
Joined
10 Dec 2017
Posts
49
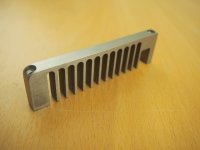
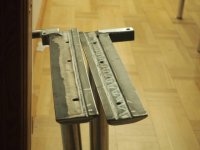
Got them cableholders done. Had to outsource the drilling because it was so incredibly tight. Needed 4 mm drilled holes straight through 5 mm of steel. They're ready for paint now.
nCeR8HTl.jpg

QJmof1Ul.jpg

Pretty happy with them but it was too tight. Next time I'll get some more margin to work with

ShEPgCul.jpg

I got 8 of them

1AbBOx0l.jpg
 
Associate
OP
Joined
10 Dec 2017
Posts
49
Well I got a huge update coming in 2-3 weeks but here's a sneakpeak:)

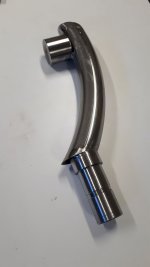
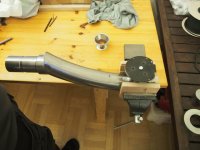
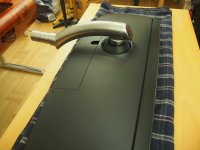
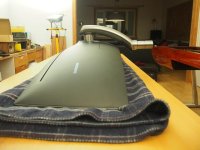
This is what will become the new screenholder for the 49 inch samsung. And jesus christ it was hard to find someone willing to bend a 60mm pipe to my specifications. Had to travel quite far to get this done, wasn't cheap either:S Props to Mikael for the welding.

NIOSqnG.jpg
 
Associate
Joined
26 Jul 2011
Posts
191
Location
West Yorkshire
Just found this project log and read through it all, absolutely amazing job. I just made a desk for my pc; noggins screwed to the wall painted in wall colour, 18mm sheet MDF painted in bright orange and 2 coats of floor varnish but this project log makes me want to do MORE! Can't wait to see it finished.
 
Associate
OP
Joined
10 Dec 2017
Posts
49
Just found this project log and read through it all, absolutely amazing job. I just made a desk for my pc; noggins screwed to the wall painted in wall colour, 18mm sheet MDF painted in bright orange and 2 coats of floor varnish but this project log makes me want to do MORE! Can't wait to see it finished.
It's a somewhat crazy amount of work though :)
 
Associate
OP
Joined
10 Dec 2017
Posts
49
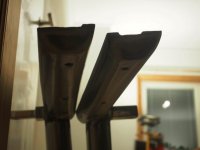
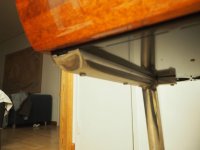
Well here we go, the legs have been redone. They now have a more smooth and round shape at the upper part.

tA7VKJ7l.jpg

Also increased the surface area and therefor strengthened the structure with about 150% more surface area.

pkJoHg0l.jpg

Obviously the legs will get sanded down and chromed.

RHoRvkEl.jpg


Time to get that screen onto this table then :)

FRhR1yml.jpg


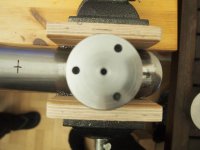
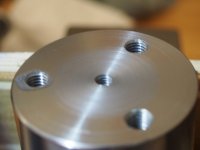
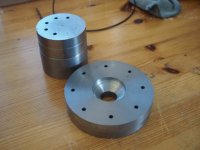
Screenholder getting bored and threaded

I5wEmSIl.jpg

Using a 65 mm thick shaftsteel to hold the screen in place

KAQJlVCl.jpg

t1XnTg3l.jpg

Trown in place

3xvAwgLl.jpg

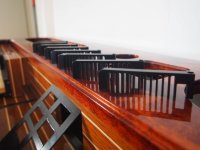
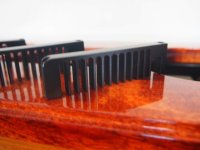
Tried to get the shape of the screen emulated and keep the same curvature of the wood

ELfrefol.jpg

And mounted in place!

KjEO3Cjl.jpg

6lF8fmGl.jpg

66ism3jl.jpg

It's a heavy piece now:)

3IhYwl2l.jpg

Testfitting the back wood panel.

NbnAigFl.jpg

svyTvvYl.jpg

hkVUArEl.jpg

kfiOVEUl.jpg

Next up is sanding and getting back some of the things from chrome
 
Associate
OP
Joined
10 Dec 2017
Posts
49
Thanks for the kind comments!

Time to do a small update. Getting my chromeparts back the 17th of marsh

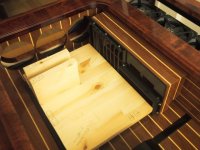
Got my cableholders back from powder coating. Each hole holds 6 MDPC 16 gauge wires and the bigger hole on the righthand side keeps 5 satadata cables.

wsHNUg9l.jpg
YL9Plogl.jpg

Had to make a truly wooden pc to do the cables for the motherboard without ripping out my motherboard in my current pc

3dvSNtsl.jpg

eIIAmDwl.jpg

Gt9GGm5l.jpg

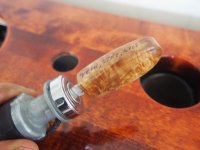
Got a few layers of the key as well to keep the grease and dirt of my fingers away from the wood. The wood is Flaming Birch


yQsDmJIl.jpg

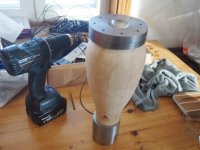
And here's my lamp that will be in the same room as my desk. Just for the luls


WFuGLv2l.jpg

mySEqVQl.jpg

Just started with this and it's not really a priority but if anyone wanna make a lamp here's 1 way to do it :)
 
Soldato
Joined
22 Oct 2008
Posts
11,491
Location
Lisburn, Northern Ireland
What are your ideas on the air flow within the desk once it's sealed up? you going to look to positive internal pressure or how are you forseeing the airflow when the desk and components are up and running?

....jaw dropping craftsmanship by the way. Amazing work squire.
 
Back
Top Bottom