hey all
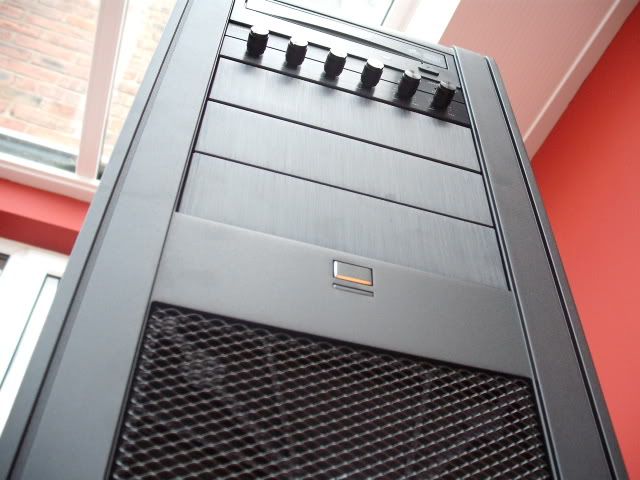
Well i finally got all the cables i need to get going with my re-build into the silverstone case, hope you like it
Im not 100% satisfied yet with cable management yet, but i ran out of time the other day so may have an update over the weekend if i get time. But overall i think it came out ok
I kind of forgot to take pics when building, but here are some of how it stands atm.


After building in it, my overall impression of the case is fantastic, its lowerd my CPU temps a massive 11C...which i was pretty amazed about. Although i did also clean the heatsink when building so that would have contributed to it.
The main thing i like about this case though, is the noise reduction it gave me. Anyone who owns a raptor knows they are stupidly noisy, i can hardly hear it at all in this case.
Im currently deciding if i should put a small red LED in there to light it up abit, what do you think? would you?
edit: The Specs!
[email protected]
Asus P35 P5K-E
4GB Kingston PC2-8500
GTX 260-216
150GB Raptor
250GB F1
Corsair 520w
Asus Xonar DX
Hope you like it, thanks
Well i finally got all the cables i need to get going with my re-build into the silverstone case, hope you like it

Im not 100% satisfied yet with cable management yet, but i ran out of time the other day so may have an update over the weekend if i get time. But overall i think it came out ok

I kind of forgot to take pics when building, but here are some of how it stands atm.


After building in it, my overall impression of the case is fantastic, its lowerd my CPU temps a massive 11C...which i was pretty amazed about. Although i did also clean the heatsink when building so that would have contributed to it.
The main thing i like about this case though, is the noise reduction it gave me. Anyone who owns a raptor knows they are stupidly noisy, i can hardly hear it at all in this case.
Im currently deciding if i should put a small red LED in there to light it up abit, what do you think? would you?
edit: The Specs!
[email protected]
Asus P35 P5K-E
4GB Kingston PC2-8500
GTX 260-216
150GB Raptor
250GB F1
Corsair 520w
Asus Xonar DX
Hope you like it, thanks

Last edited:


