New Parvum Systems Cases & we are give a special limited edition white/gold Parvum Systems case away

Well I was expecting to be in all day waiting for the case
But on my return from walking my son to school I saw the DPD van outside my house!
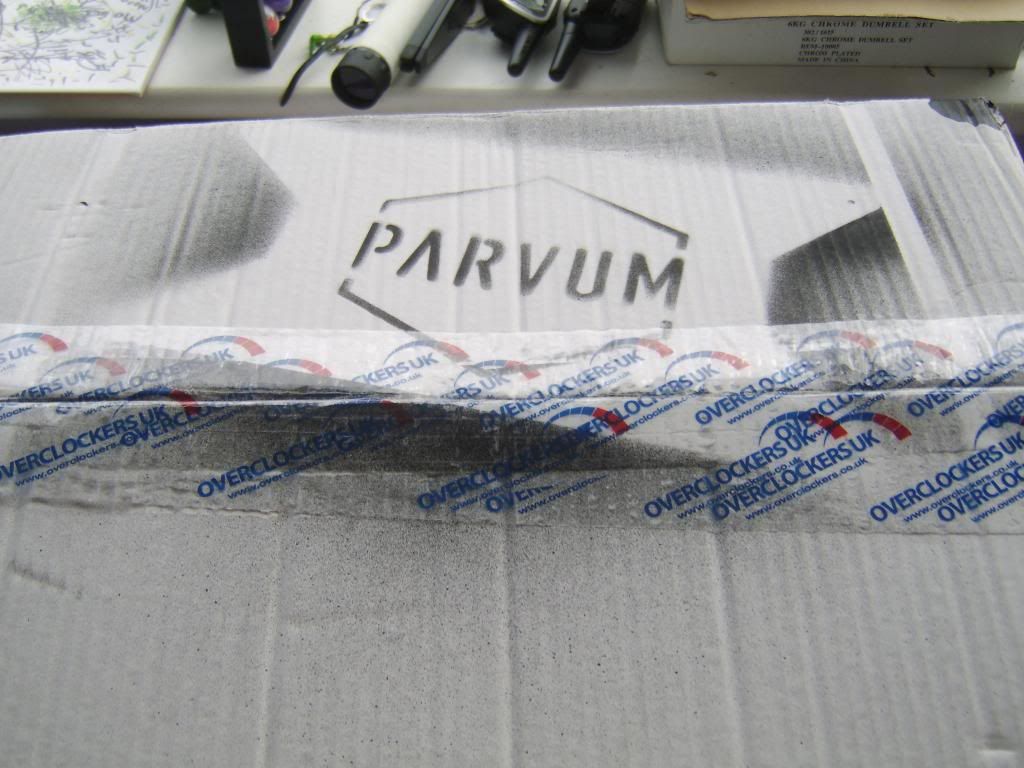
A quick sprint and the boxes were mine (yes two boxes!)

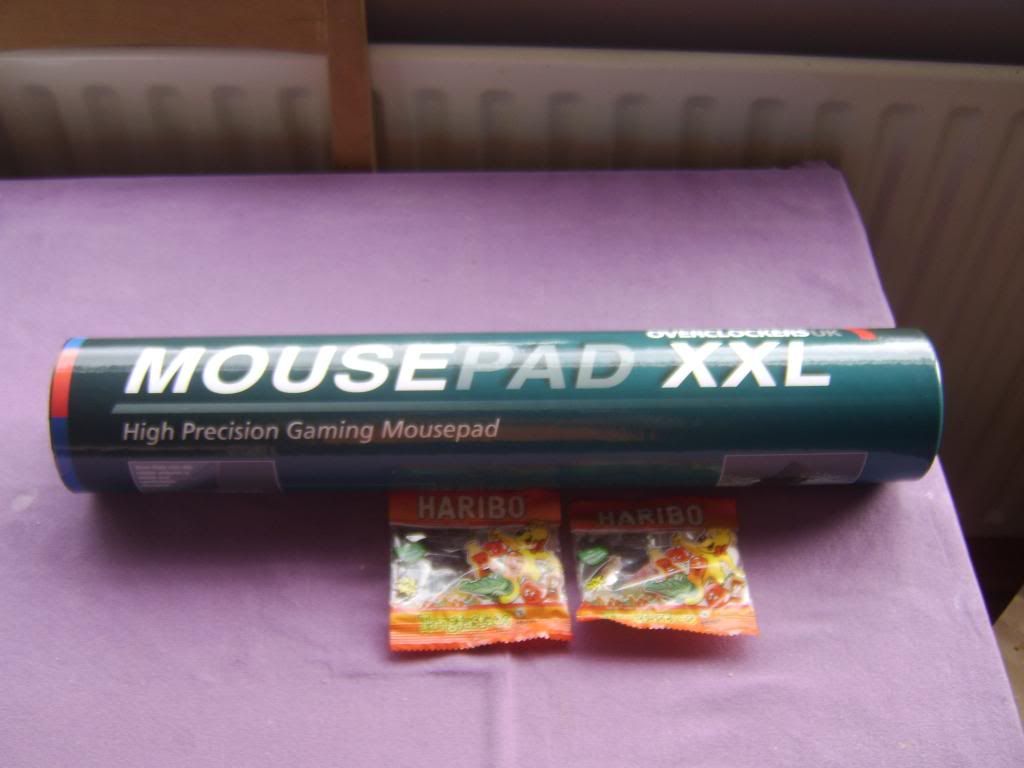
So firstly a big thanks to Ace for the bonus XXL mat and haribo's
My son will be please :)
STA78316.jpg


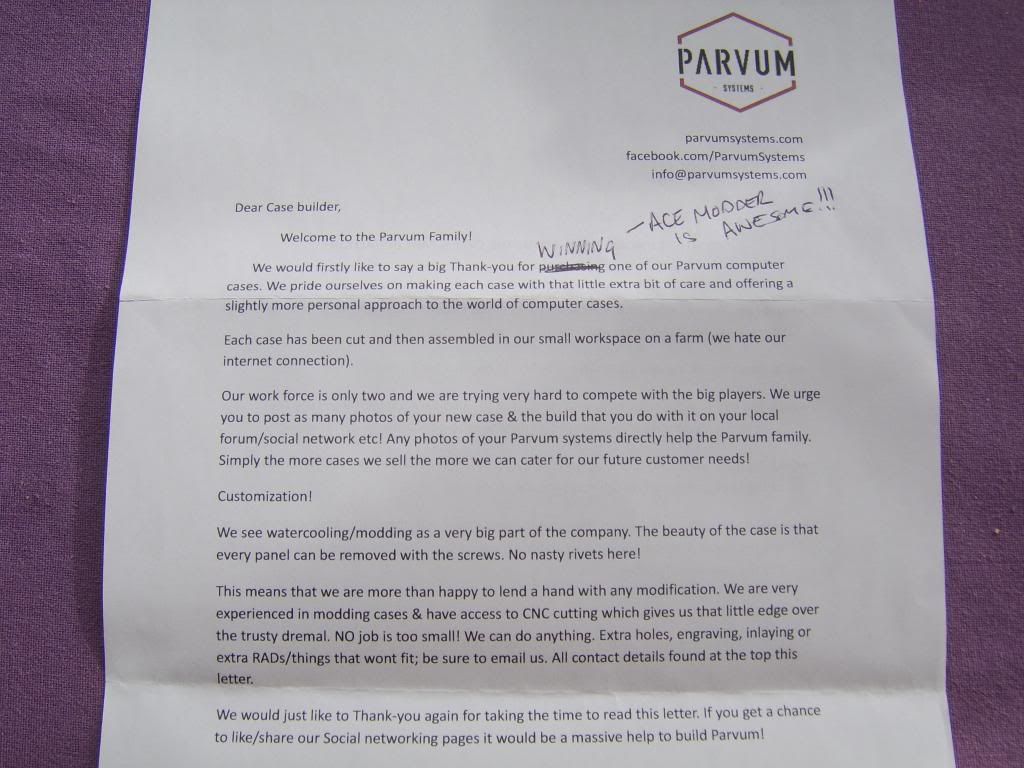
he also personalised my Parvum letter

STA78317.jpg


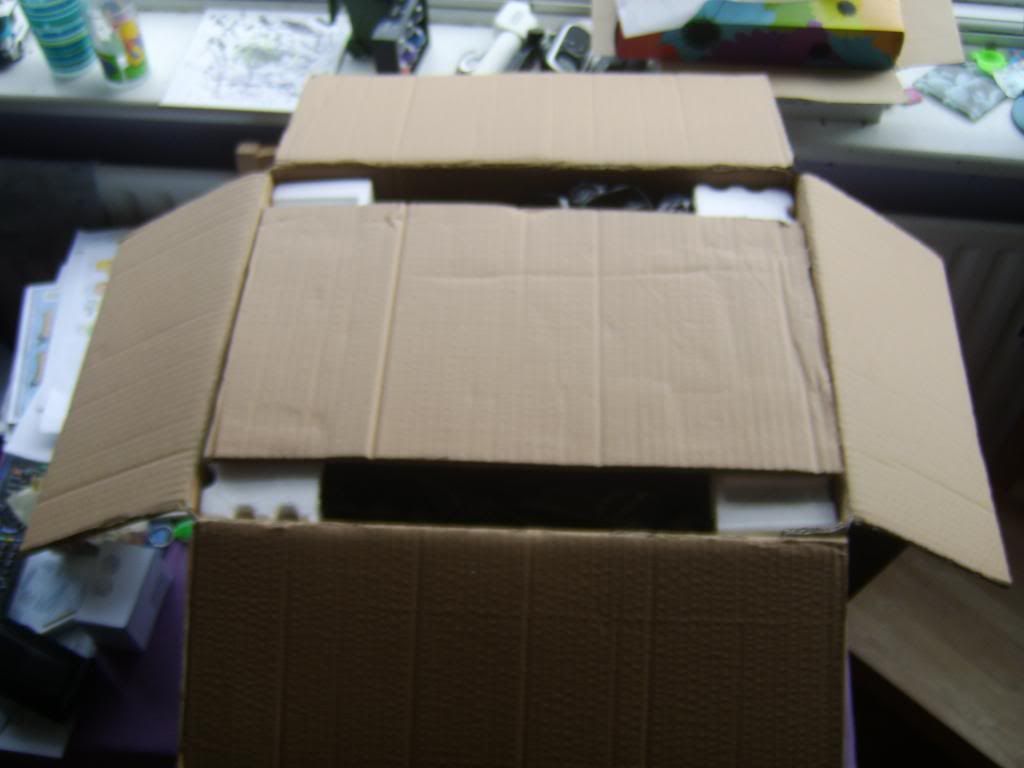
Anyway on too the unboxing.
I don't usually do this, as lets face it packaging isn't that exciting is it.
Well it can be... or it can be very utilitarian but this was neither.
As a few hundred of you know, when I sell something via MM I pack it 'overly' well.
If I don't have the original box. I'll make one! or some other kind of protective cocoon with what every I have available at the time.
Opening the airbrushed box was like opening one of mine...
I still can't decide if this is a good thing or not.
Completely protected yes and shouts fledgling business and 'hand made' but not high-end or premium.
Would I want so see a higher price due to packaging cost, NO
Do I like the fact no recyclable polystyrene is used only where needed, YES
Shall I shut up and get on with it... OK sorry for the muttering, on with the show.

STA78318.jpg


STA78319.jpg


STA78320.jpg


STA78321.jpg


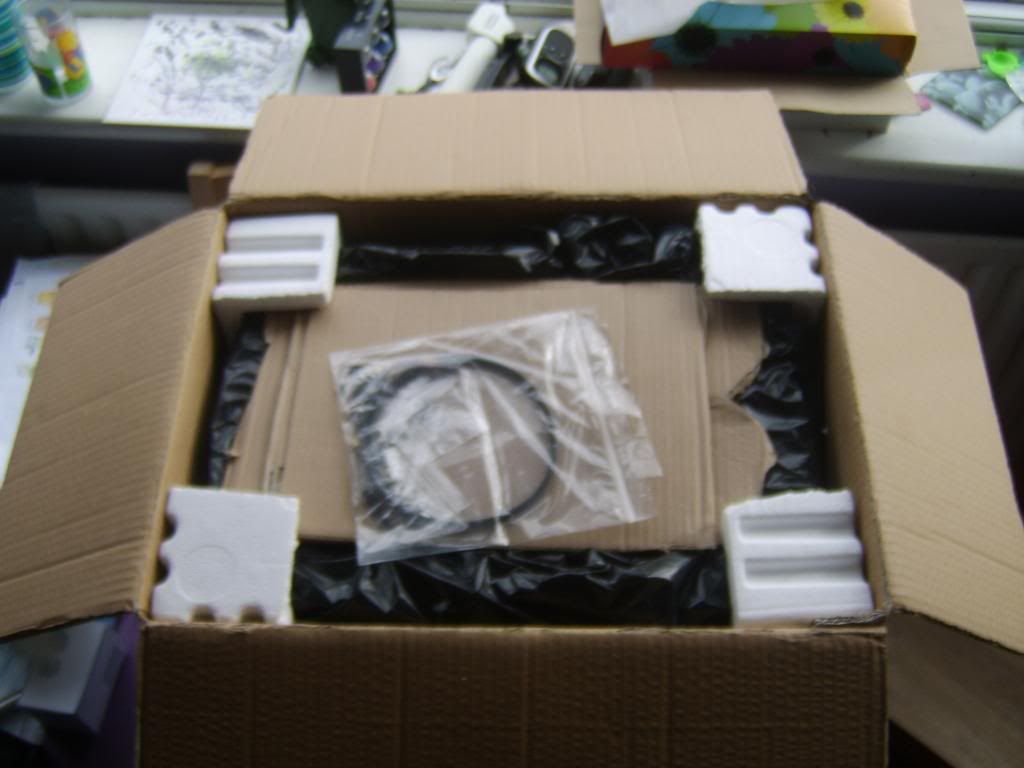
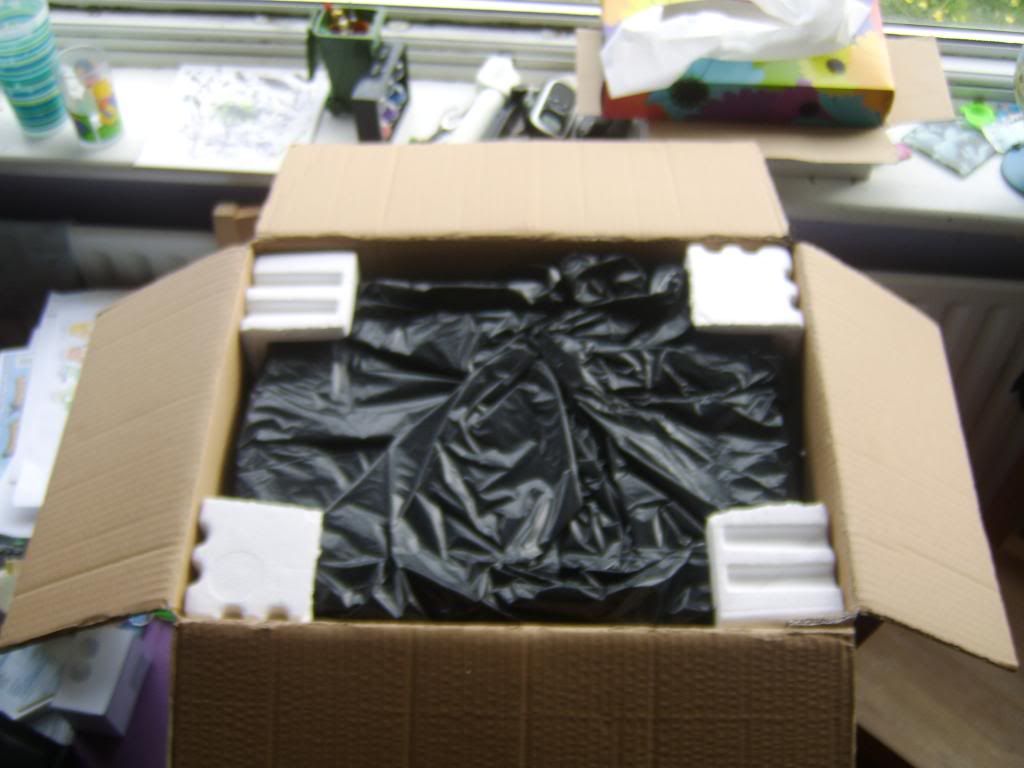
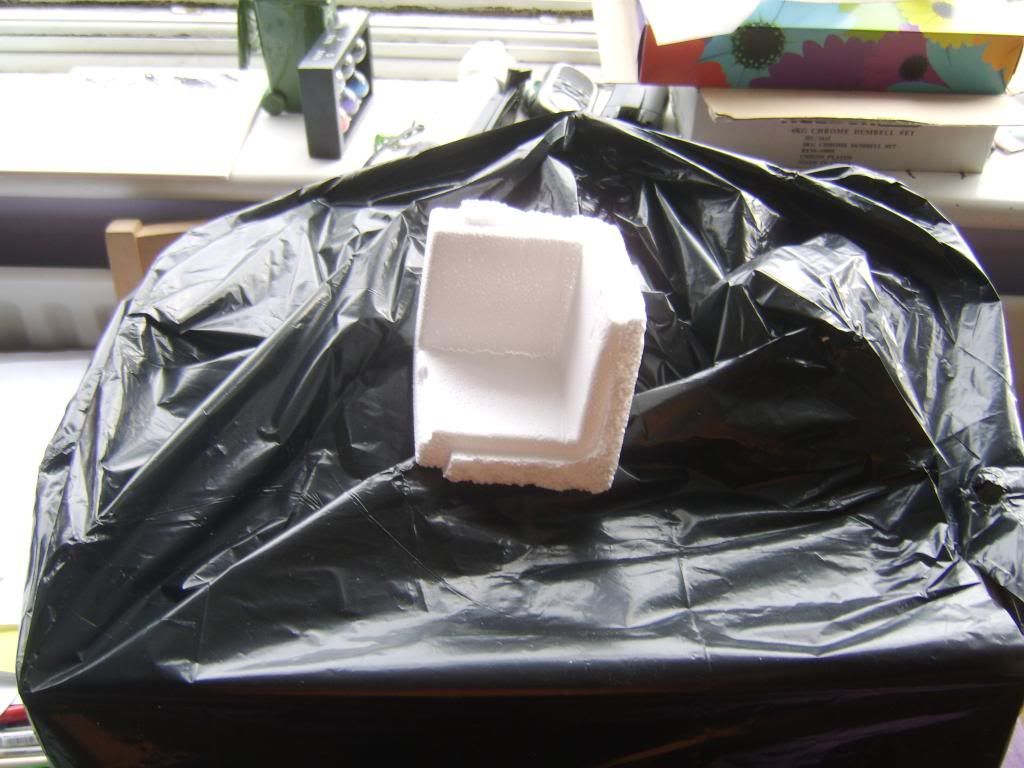
All four corners protected with polystyrene - and yes that is a black rubbish sack
STA78322.jpg
 
Last edited:
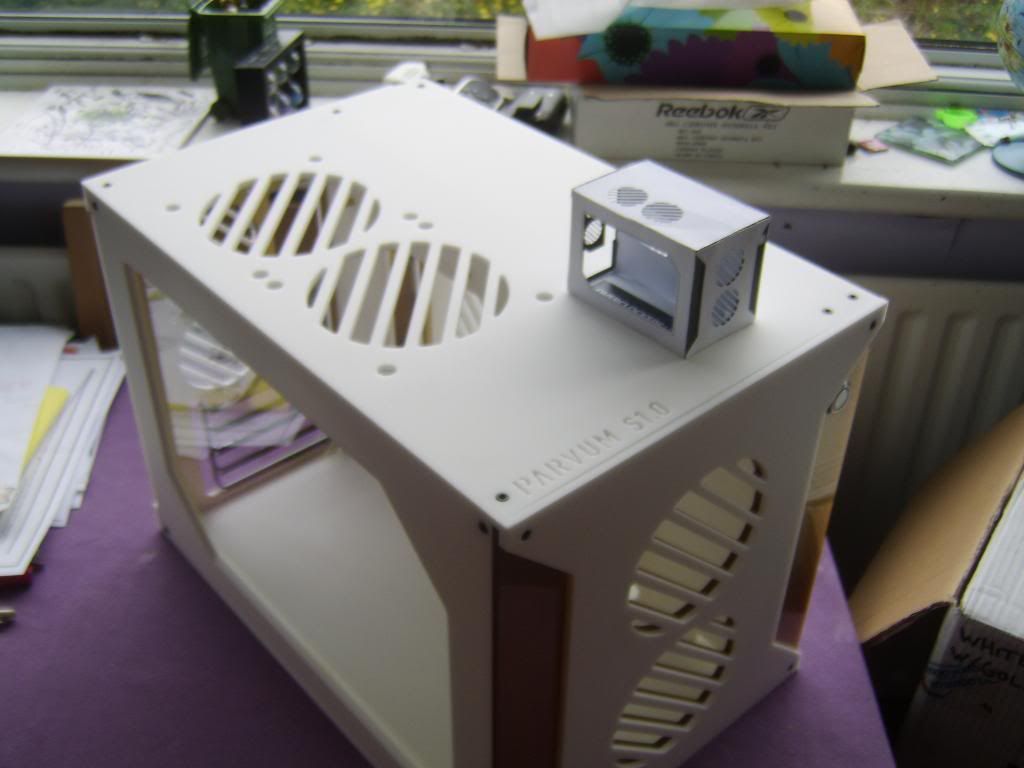
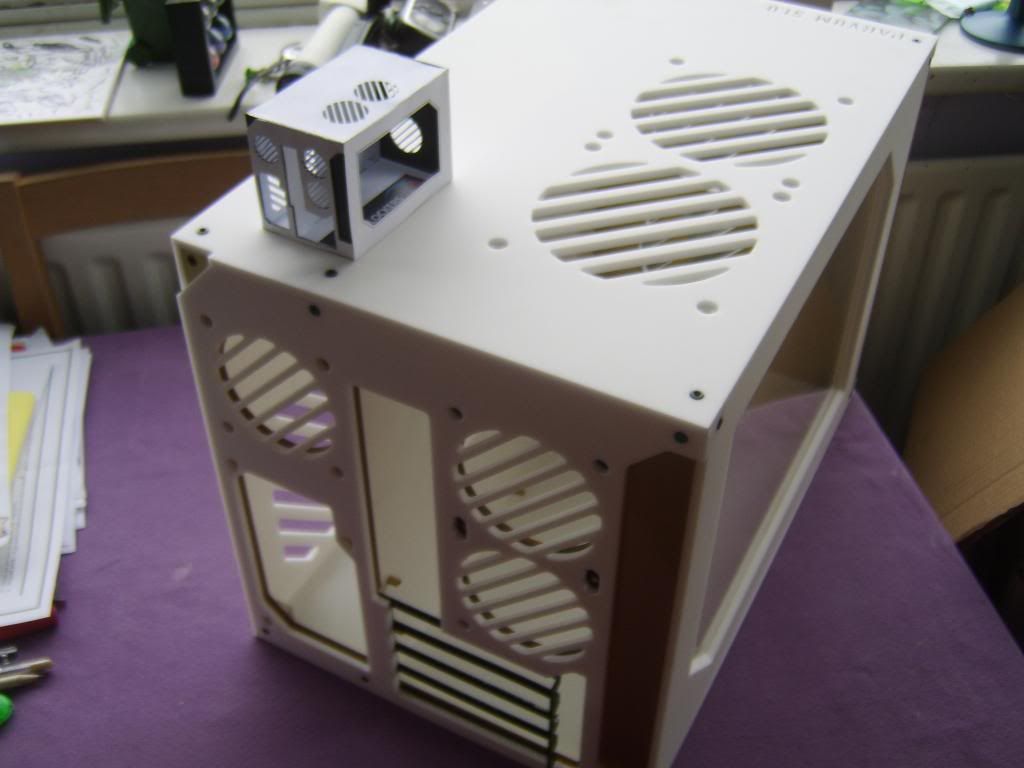
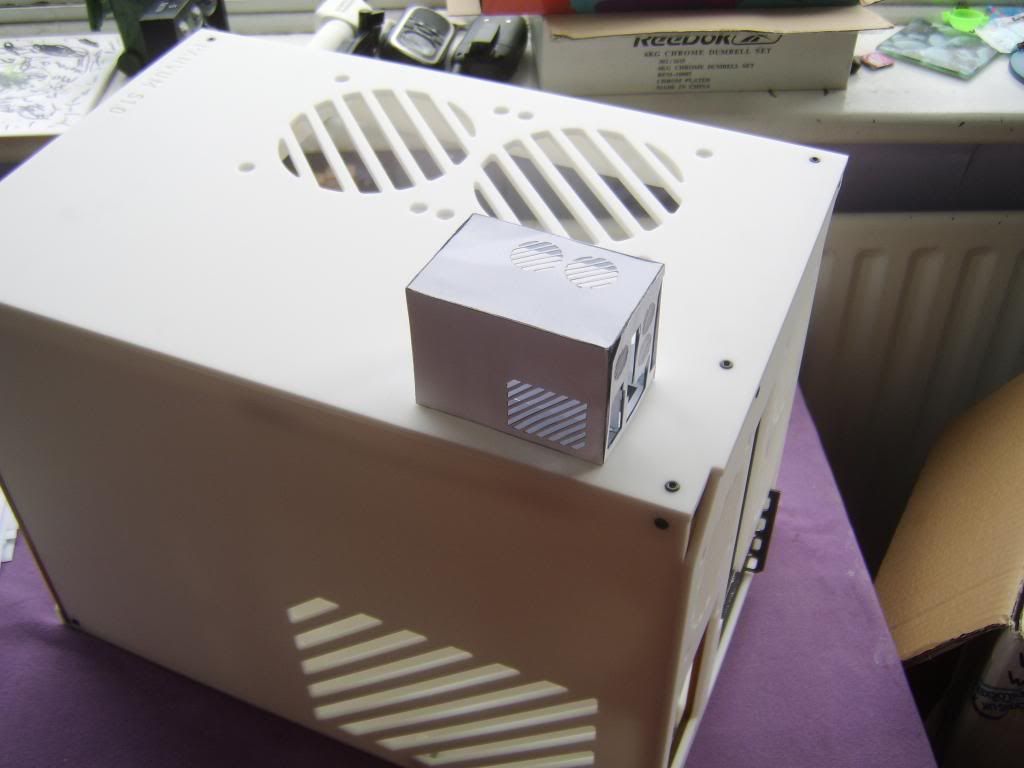
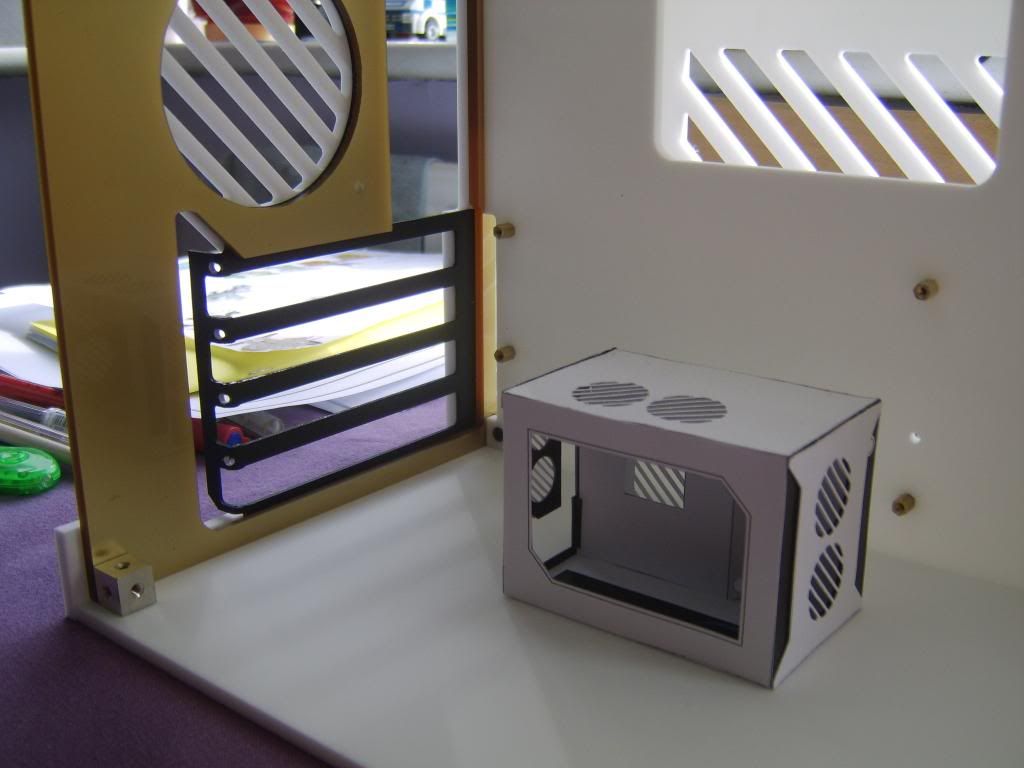
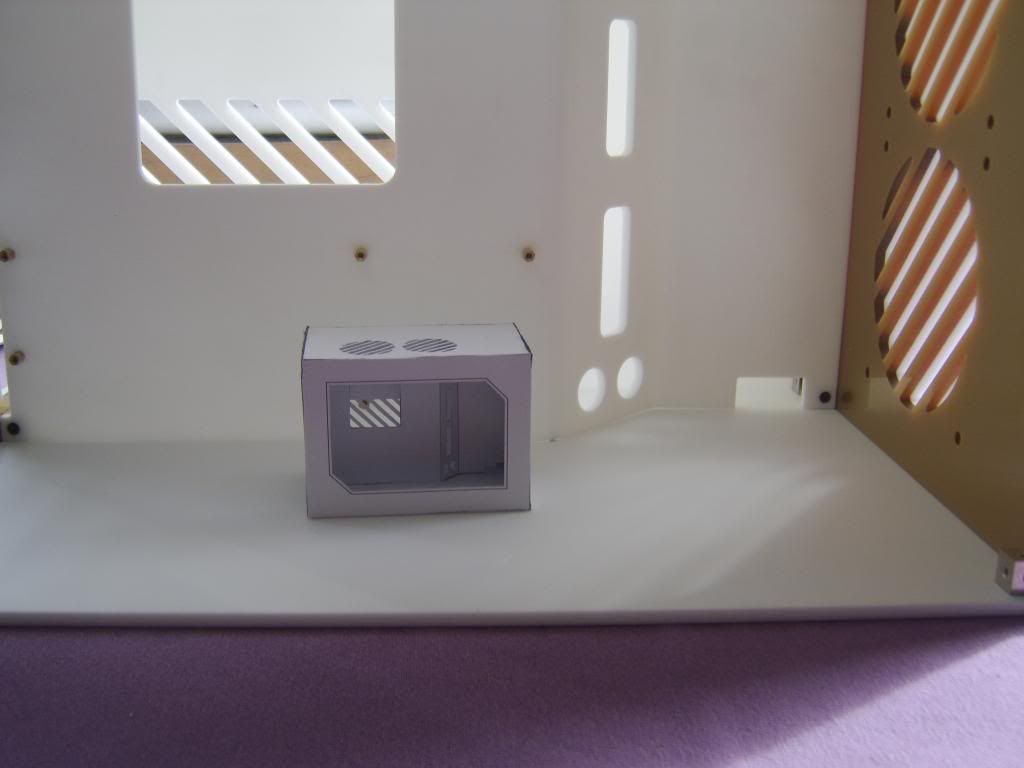
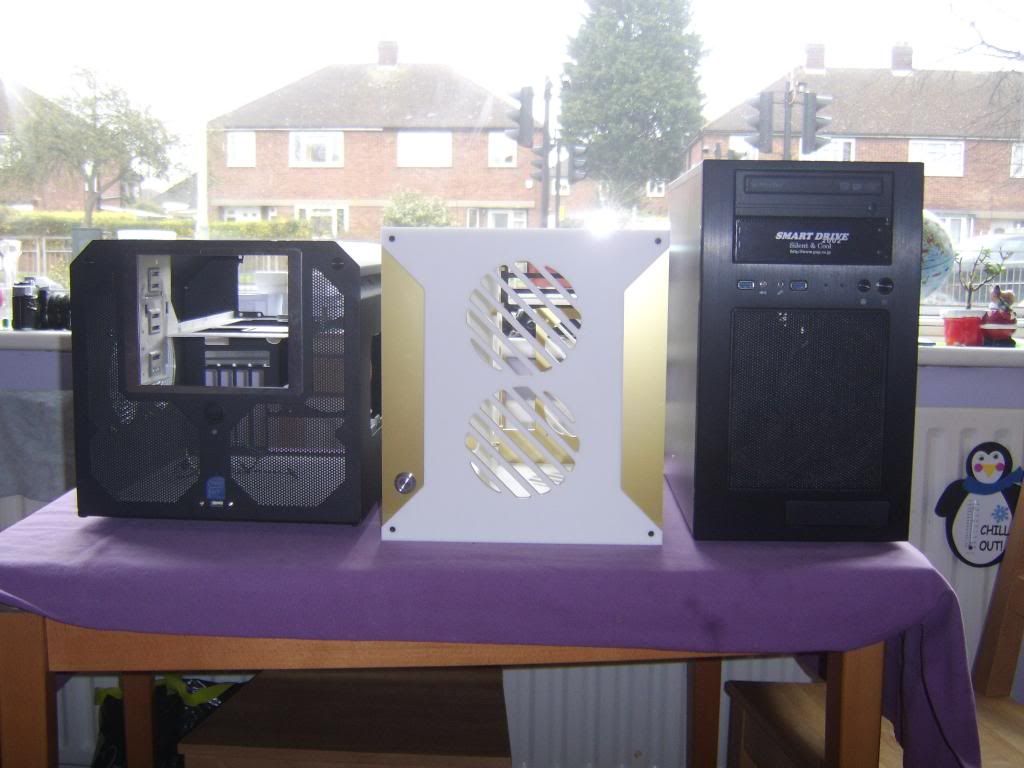
My 1:5 model and the actual case - sorry for the poor focus on some of the shots.
Should have used the tripod but wanted to play.

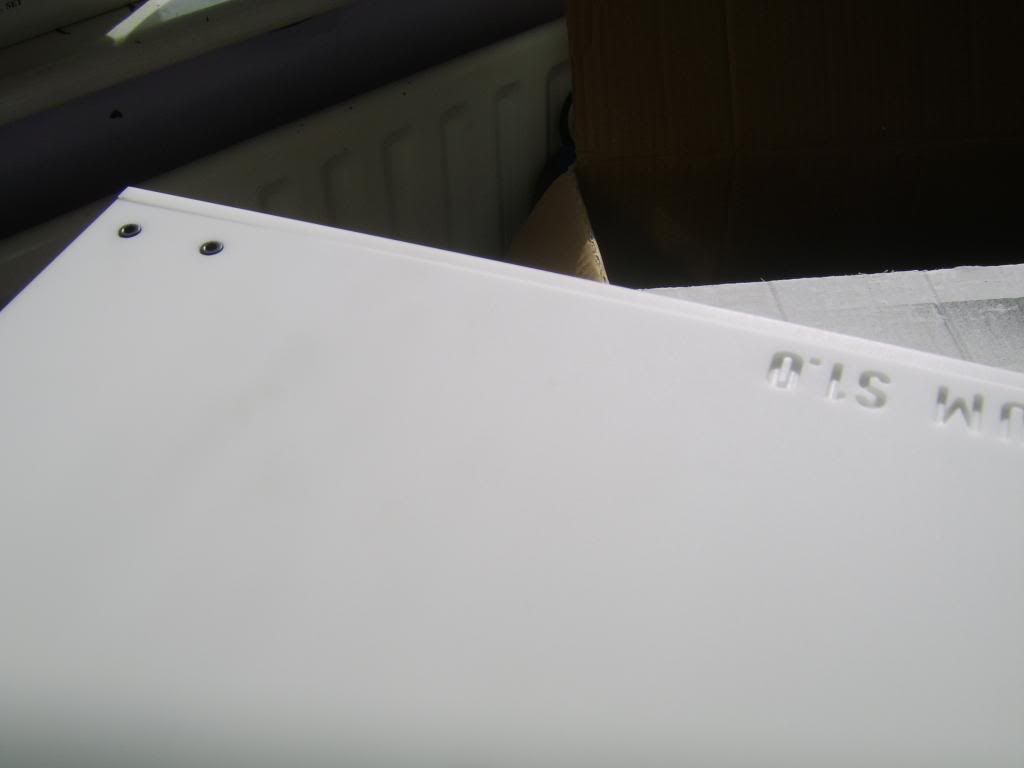
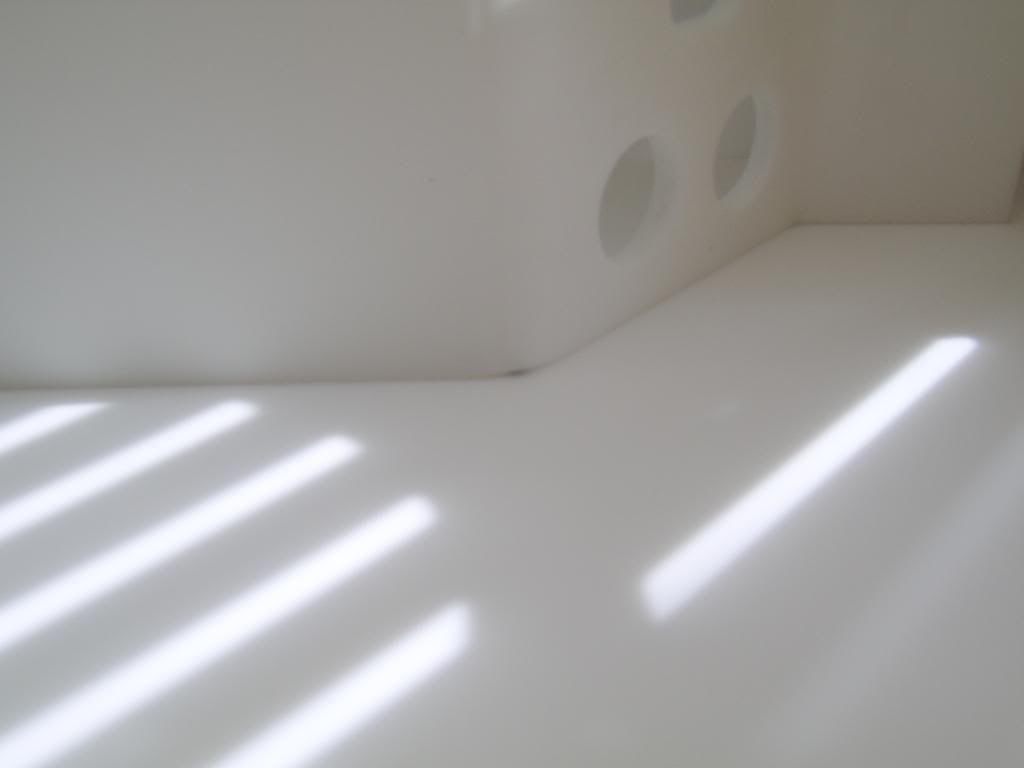
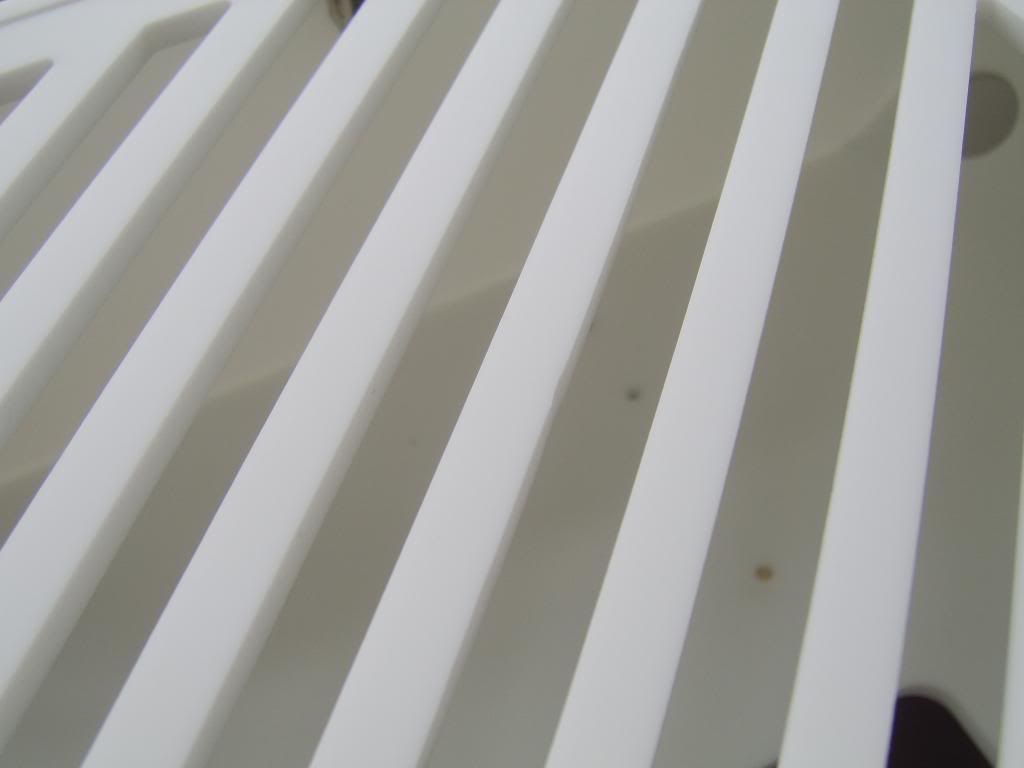
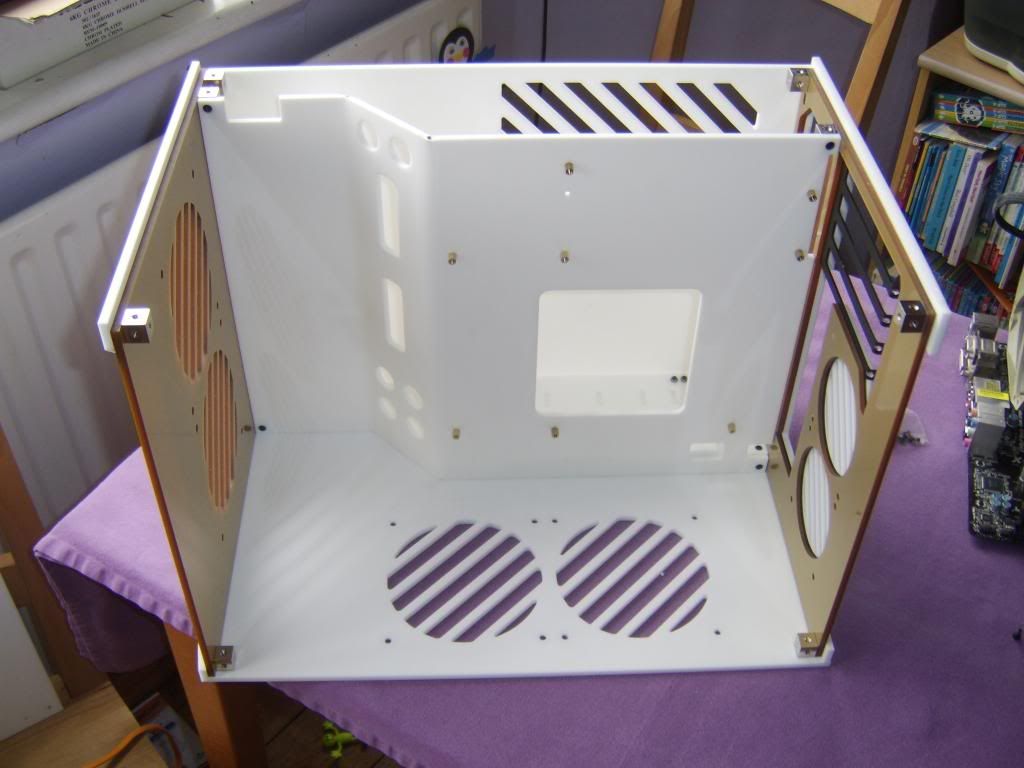
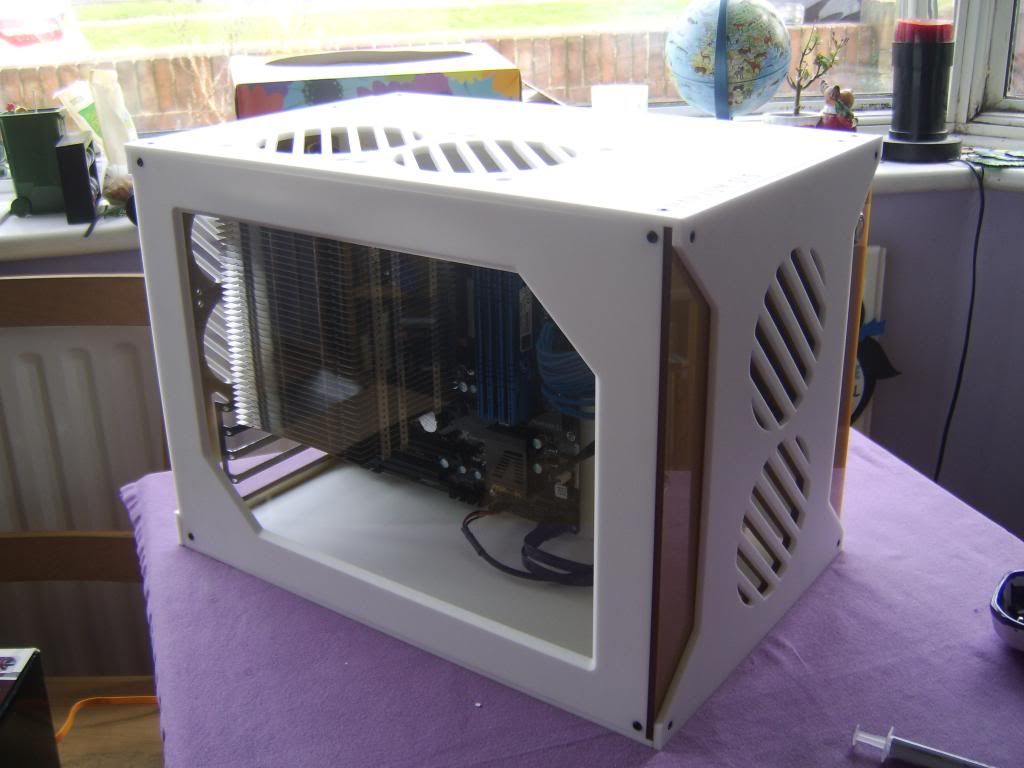
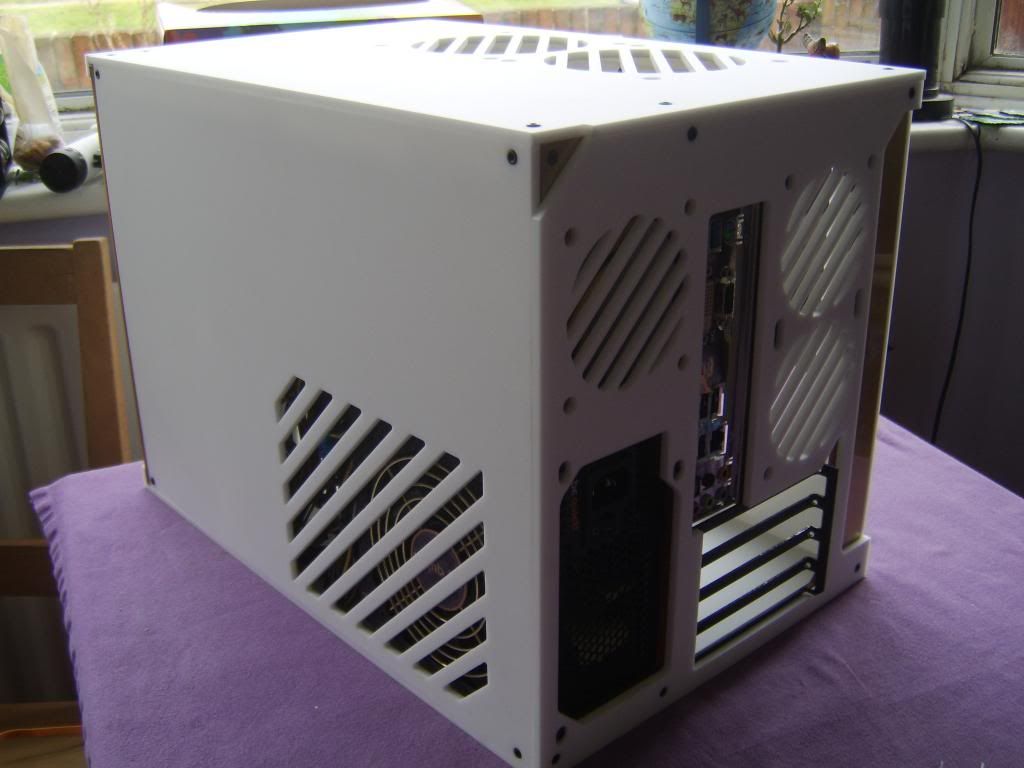
The white panels have a finish, the satin side of matt, but are 5-10% translucent.
This gives them that 'whiter that white' look that is something really special.
It also opens up options for shadow play and halo's if you want to internally light the case.
I wasn't expecting it at all tbh - and it's such a USP that I'm surprised it's not made more of.
No idea if the black panels have the same quality, I guess not.
But if you like the white aesthetic, and can live with Matx I'll stick my neck out and say this is the best case bar none!
The white is soooo good it's worth putting on your window ledge for every ray of sunlight to illuminate.

STA78323.jpg


STA78324.jpg


STA78325.jpg


Complete with cable/tube cut outs for those that didn't spot them when the model was on my son's head.
The small circles for tube runs were a night mare to cut - but it would seam well worth it in the end (thanks again OcUK)

STA78329.jpg


STA78328.jpg
 
Last edited:
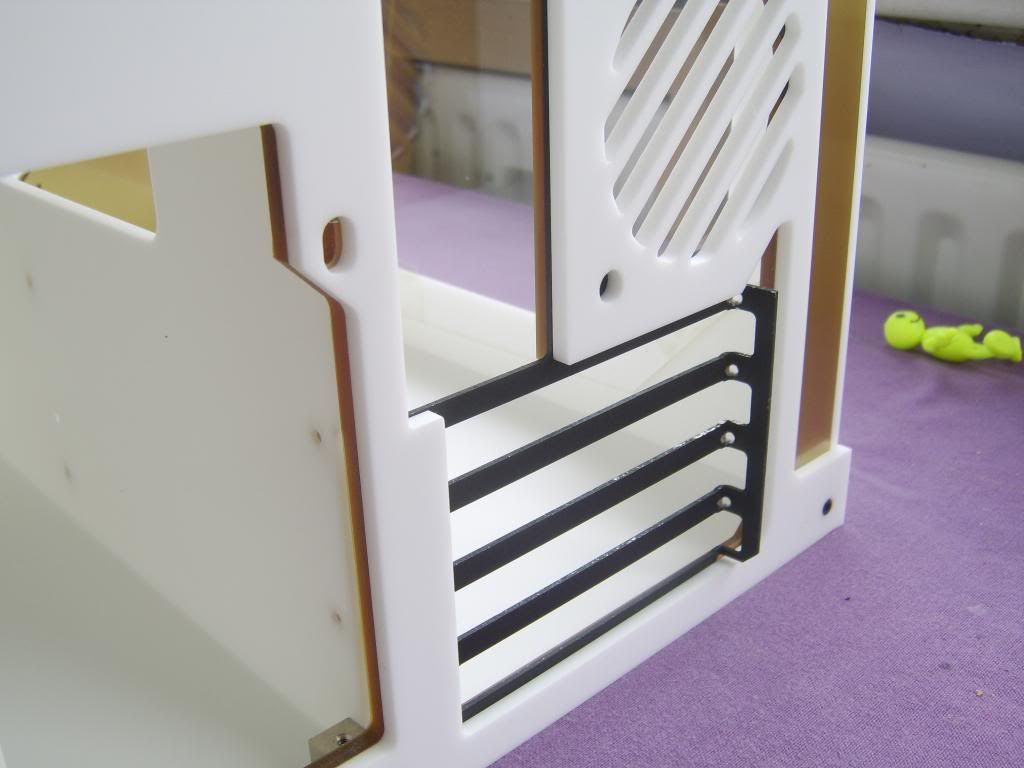
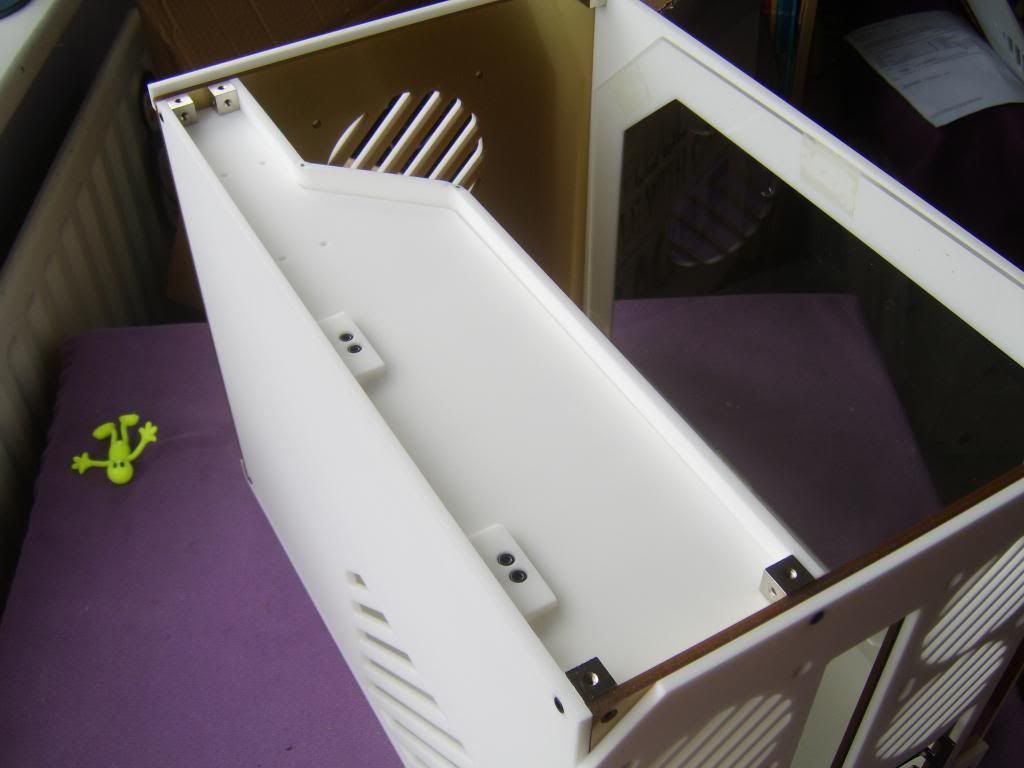
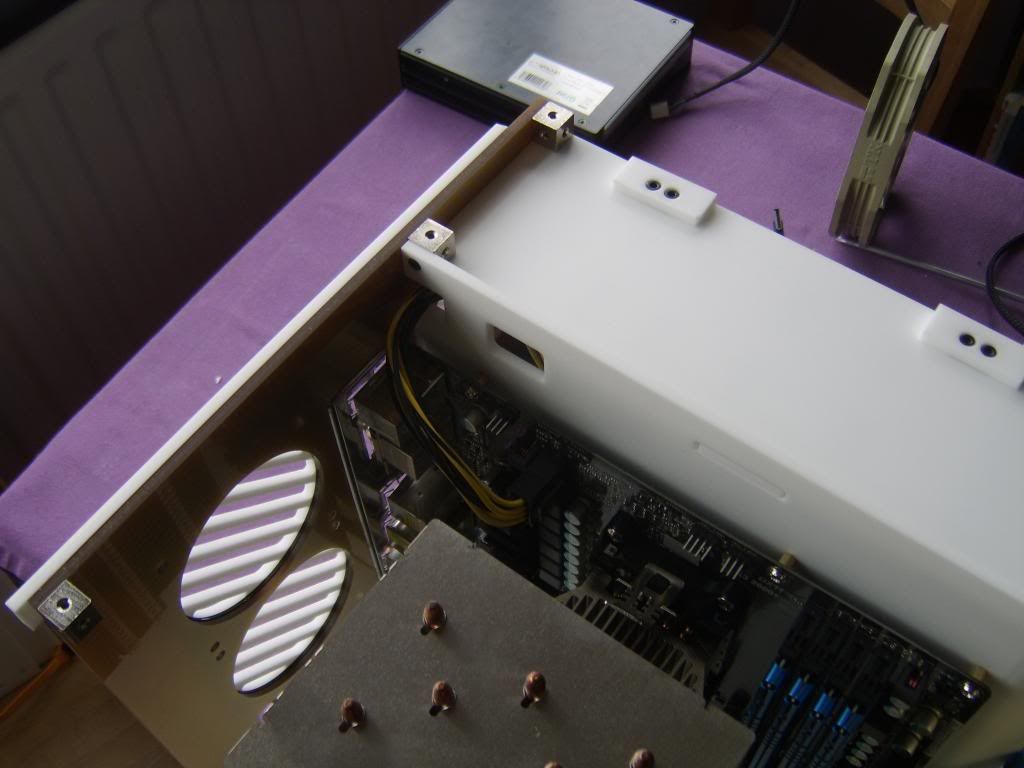
A closer look clearly shows that the Parvum guys are serious about case design, there are a lots of small details that shout quality.

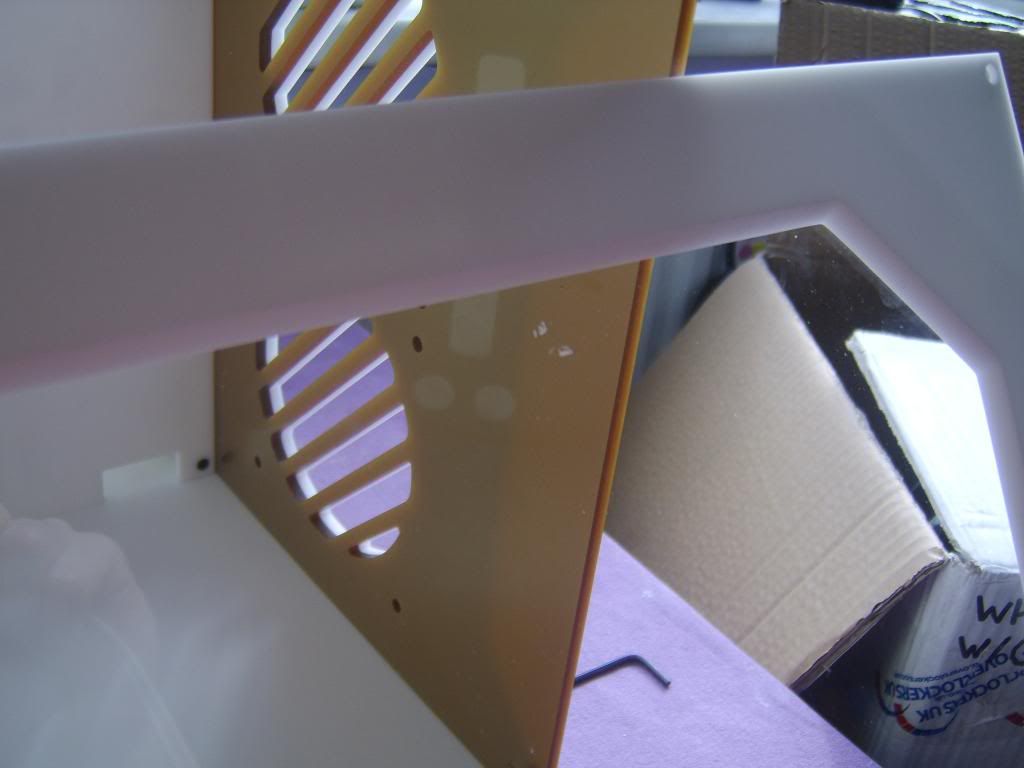
The top panel can be easily alined due to the front being 5mm higher and acts as a guide
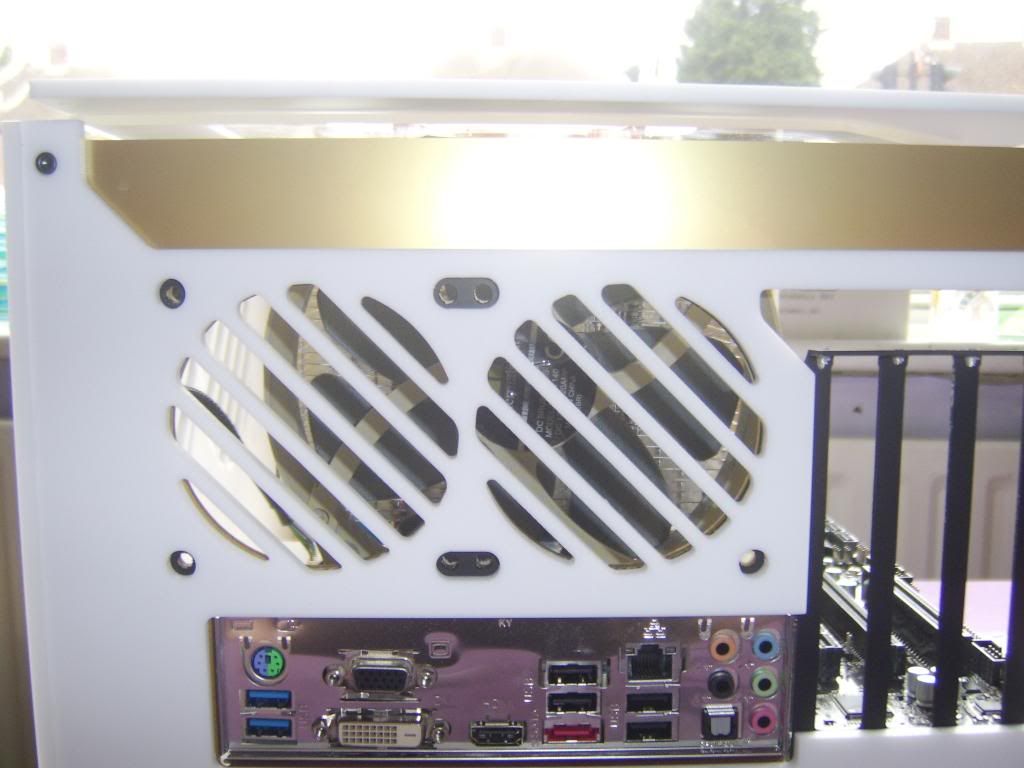
The twin front and back panels so the fan fixing are hidden (shame this isn't also on the roof)

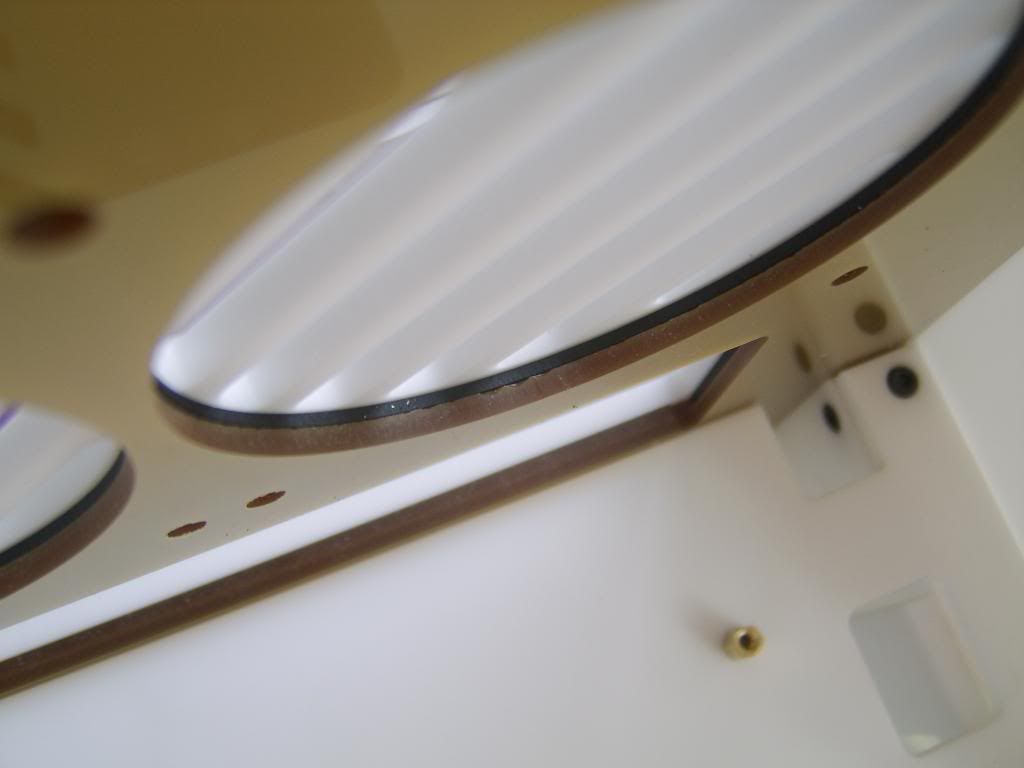
Rounded edges on all the cut outs are a product of the manufacture process, but are still most welcome.
In key areas (mobo tray) larger radius have been used by design, instead of the default tooling generated corner.
The manufacture of an external corner doesn't have this radius - which is perfect to keep the case looking cubic overall
As a design ethos (rounded internal, sharp external) I can't help but want the two sharp corners on the real panel to break the rule.
But understand why they don't. But it's a 1 minute job if you want to change it.

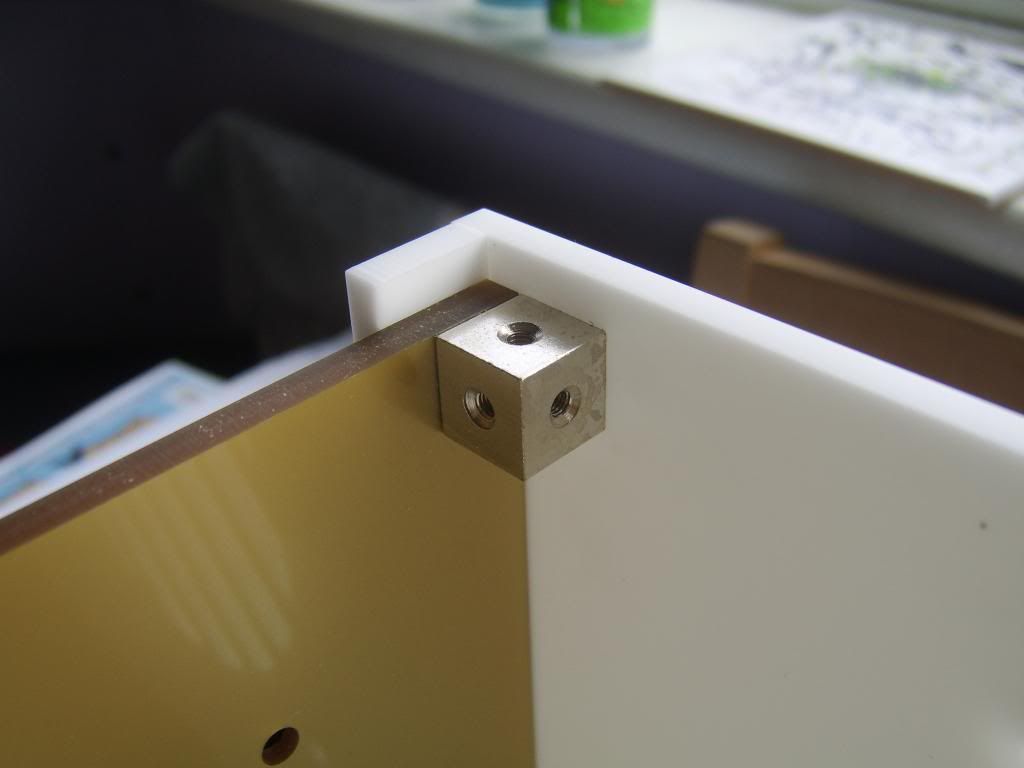
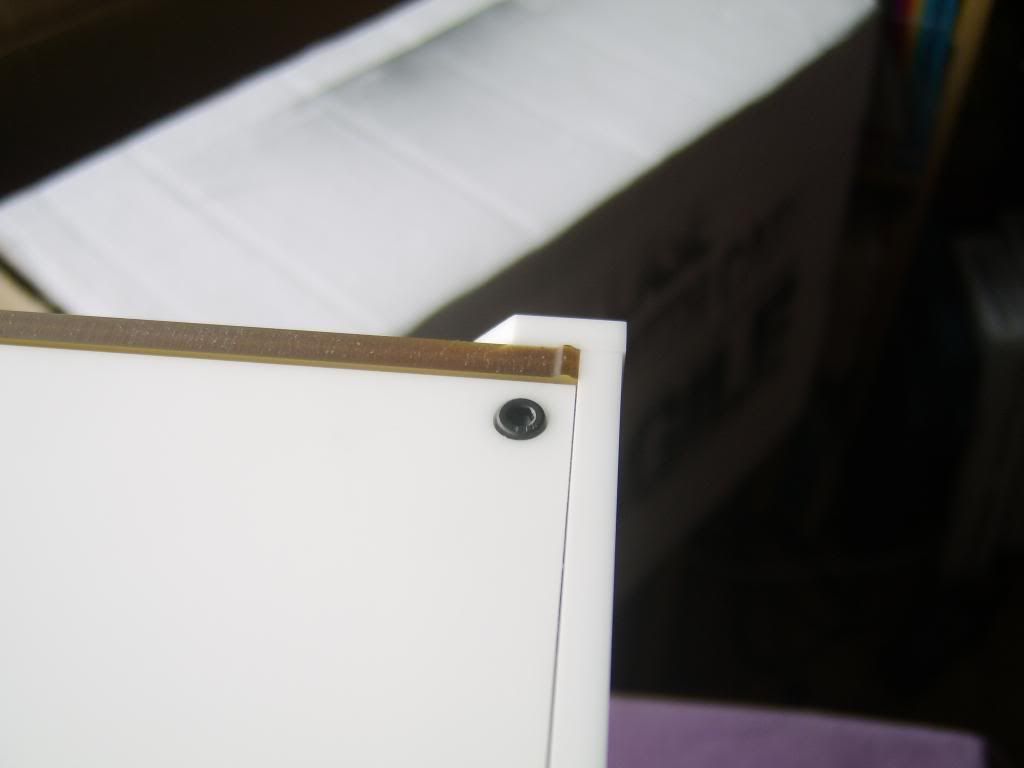
This shot also shows the largest defect of the case - poor paintwork (or lack of primer/prep)
A large chip of paint the size of a fingernail is also missing from the metal insert (but it not visible when fully build)
Again it's an easy mod but shouldn't really need doing on a +£100 case.

STA78345.jpg


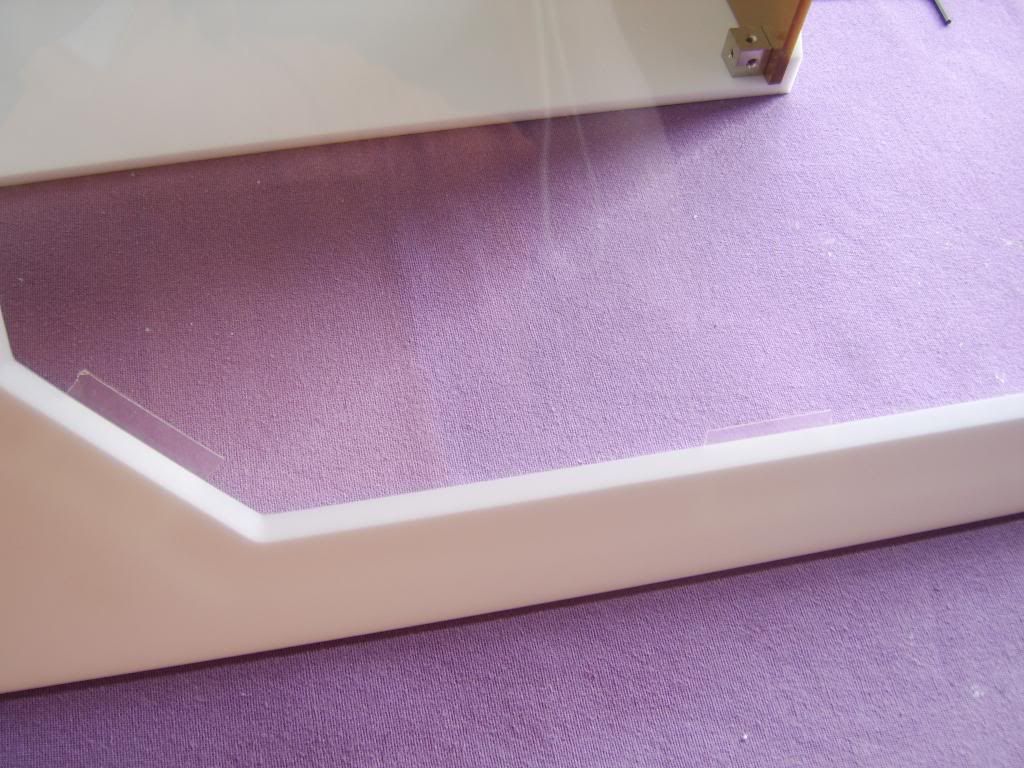
The incorrect positioned window and scratches to the inside of the window most likely happened at OcUK HQ
As there are not on the op shots but are on ace's 5th April post (well the tape can be seen in the wrong place anyway)
Again an easy reposition I hope, but the scratches are annoying and show how easy a Perspex window is to damage (as with any case)

STA78326.jpg


STA78327.jpg


Swarf - again an easy fix but shows it's a small business finding its feet.

STA78335.jpg


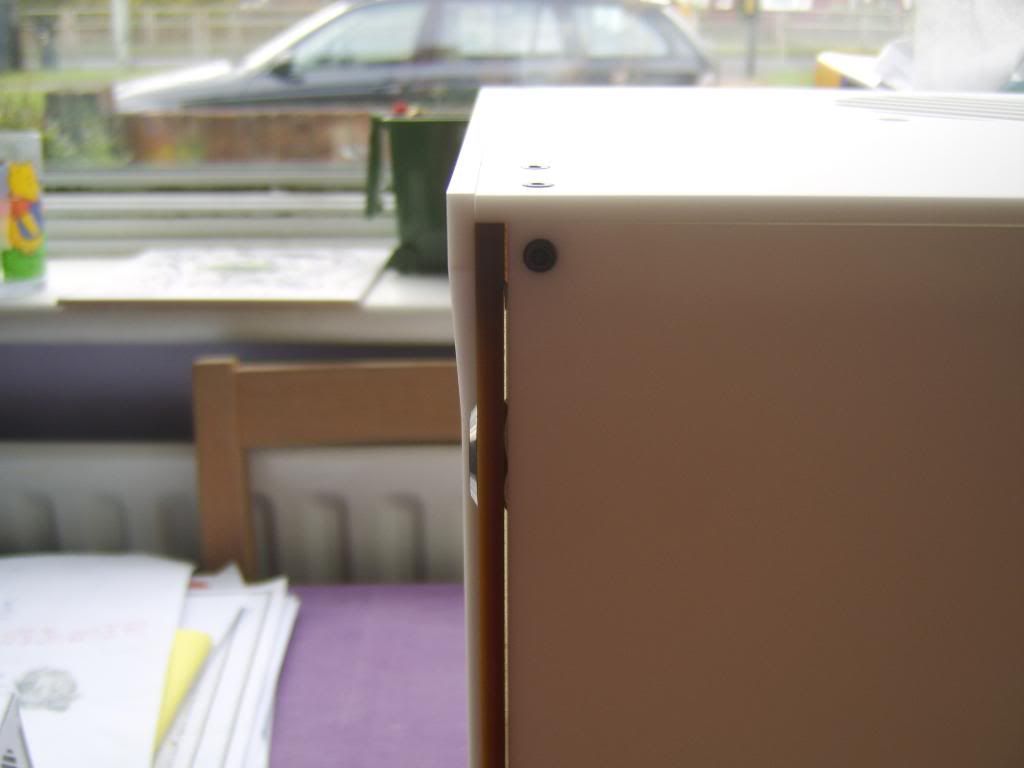
Non perfect edges - For a flexible panel with limited fixing I actually think even getting this close to flat is excellent
I needed to glue the total length of my model to get it to sit true and that's just not an option with a fully modular case.
The gap in the second shot is the only one on the whole case - every other junction is perfect, even this one is within .5mm tolerance
It's just the nature of a butt joint - if it's not perfect on very close inspection it shows.

STA78334.jpg


STA78344.jpg


The whole case could have done with a clean tbh - but then it's not factory fresh so can't blame Parvum
To many haribo in the OcUK office leads to sticky fingers ;0

STA78336.jpg


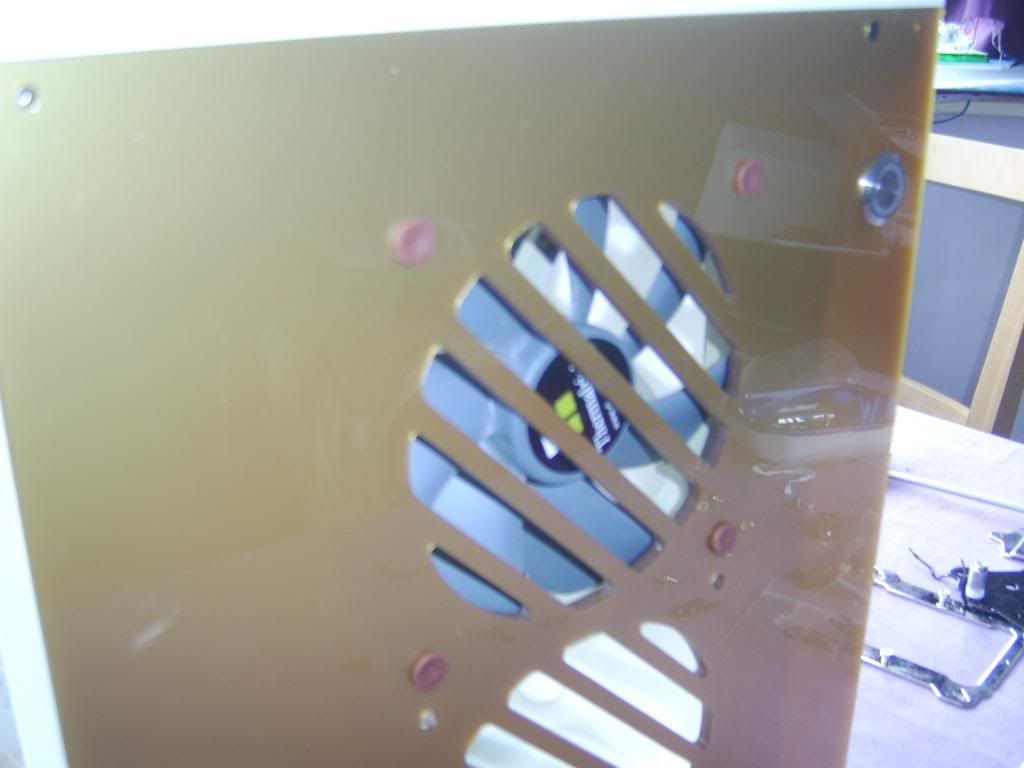
It's possible the 'gold' isn't used as a stock colour due to chipping - again only a minor issue

STA78338.jpg


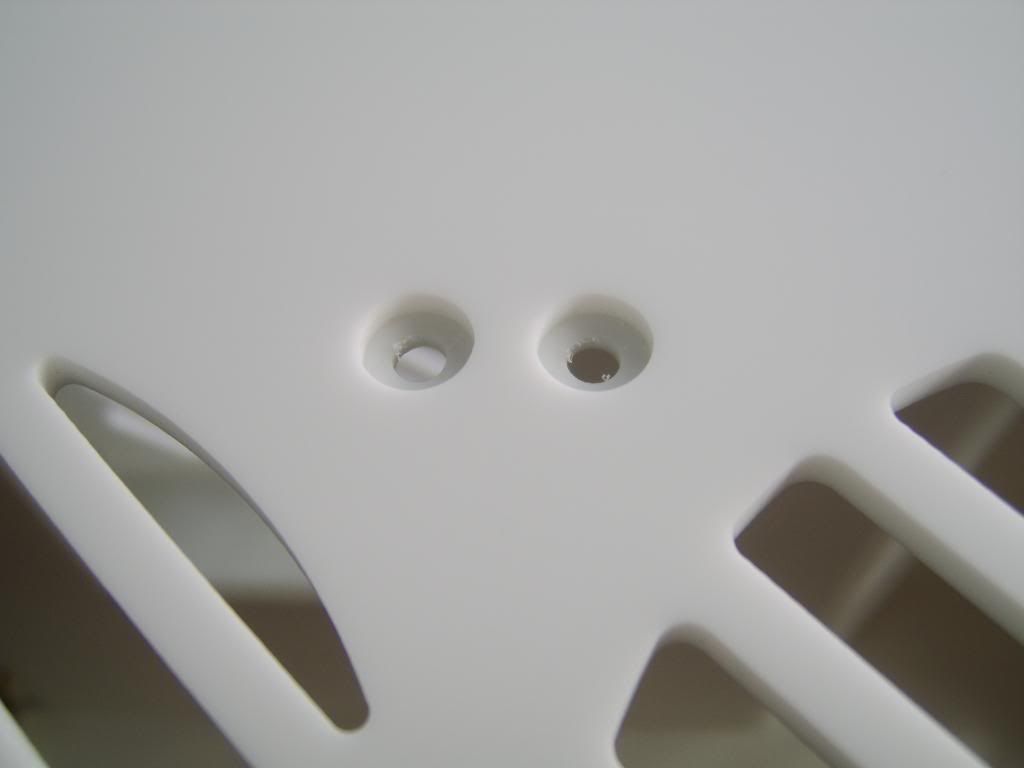
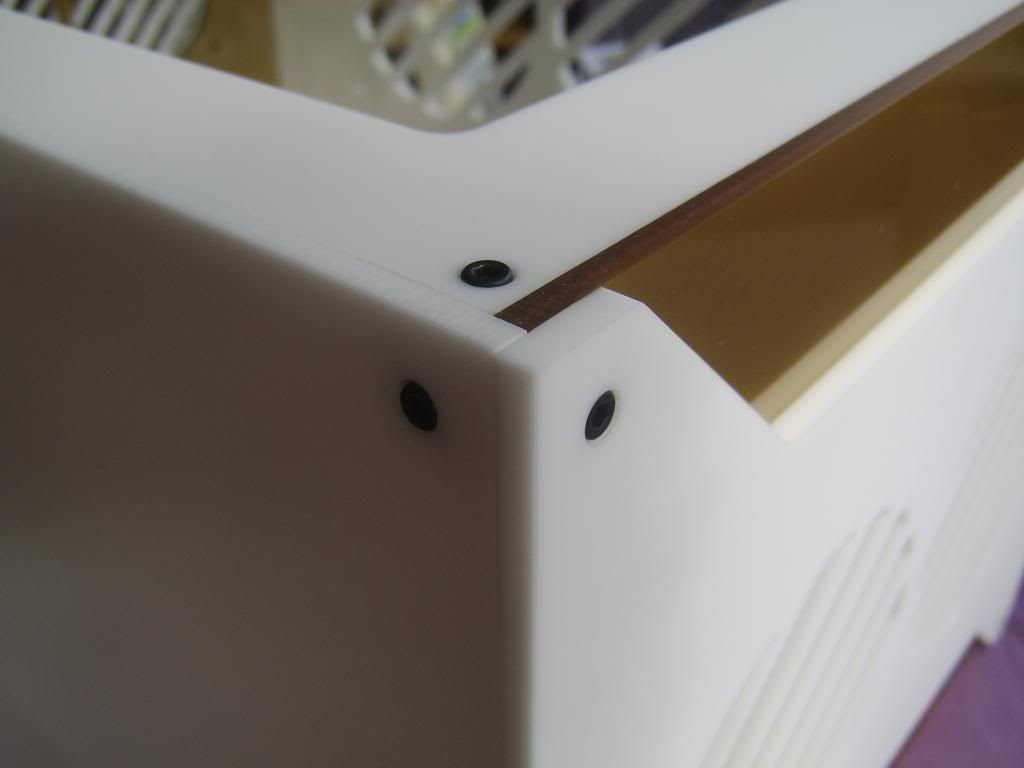
Apart for the paint work this might be my biggest issue - uneven screw levels.
Some are rebated, most are flush, some are proud.
The picture is of a corner so three different panels but even on the same panel there are +1mm depth differences.
Again some careful hand drilling will sort this but it's my biggest disappointment.

STA78339.jpg


Another small niggle is a black marker was used to mark the bend of the mid panel - the black mark is visible when fully built.
Again an easy fix - clean or file off - but imho use a pencil or clean off the pen prior to building the case.

STA78342.jpg


STA78332.jpg


The following small machining errors I quite like, they make the case a one off, human, non mass produced
My personal taste is more Wabi-sabi (beauty that is imperfect, impermanent, and incomplete) that slavishly trying for glossy mag perfect.

STA78340.jpg


STA78341.jpg
 
Last edited:
Pre build thoughts

I love this case - I'll most likely swap out the gold (as it's just not me) but love the fact that I can.
The modular design with it's fully removable / replaceable / mod-able panels is perfect for me.
The luminous white finish is a revelation.
Looking forward to installing my trinity system in it (will update with how that goes this week)
I hope the photo's show the case as a quality product, near smooth machined edges, near perfect tolerances, high grade materials, design integrity, original design, classic looks.

An hour with a file and hand drill will sort out most of my issues - some of which I really shouldn't need to do.
Is this acceptable?
Well many will not even notice and to the few that do - we write a build log including our personal modifications.

I don't think it's perfect out of the box - but has masses of potential - S1.0 is a very fitting name.
I'll know more when I've actually moved my system into it.
 
Last edited:
There will be a build log - but I'll get the saw out for that - most likely later this month.
But I will post up some picks of the case with a system inside.
I need to do this anyway as how easy a case is to set up is half the reason to buy one.
That and some dims on how much smaller I can make it :)
 
Shadowscotland I glad you like the case, and yes they are not 100% perfect, but that is the nature of a hand made product, I feel it adds quirkyness and a personal touch to it.

Either way, the cases are great and has masses of scope for usage. I know you will enjoy the case. Kinda wish I didnt give it away now I would have preferred to have kept it and took it home for myself ;)
 
I think you will like it Abz, especially having read this you will not expect perfection.

I guess my expectations were to high. For a case build in a farm shed it's fantastic.
And I fully agree with Ace on how most of the 1% defects = quirkyness and a personal touch

Afterall I love my Lian Li S80B and Silverstone CW01 but still heavily modified them.

Ok some more images for you all - and my continued thoughts
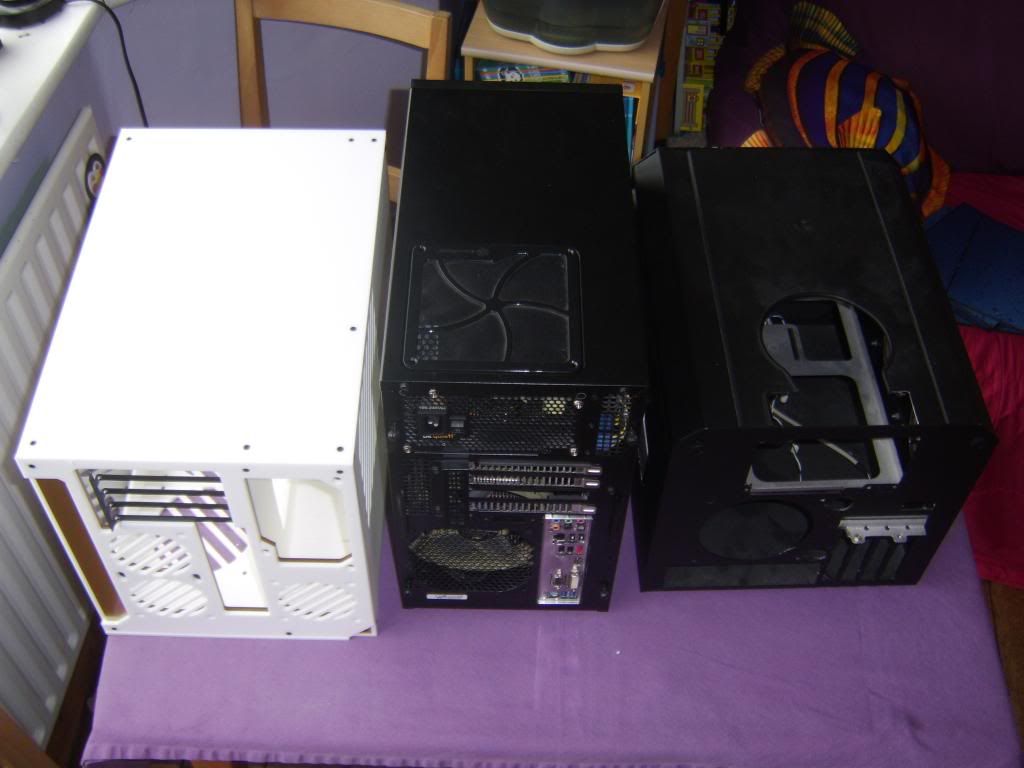
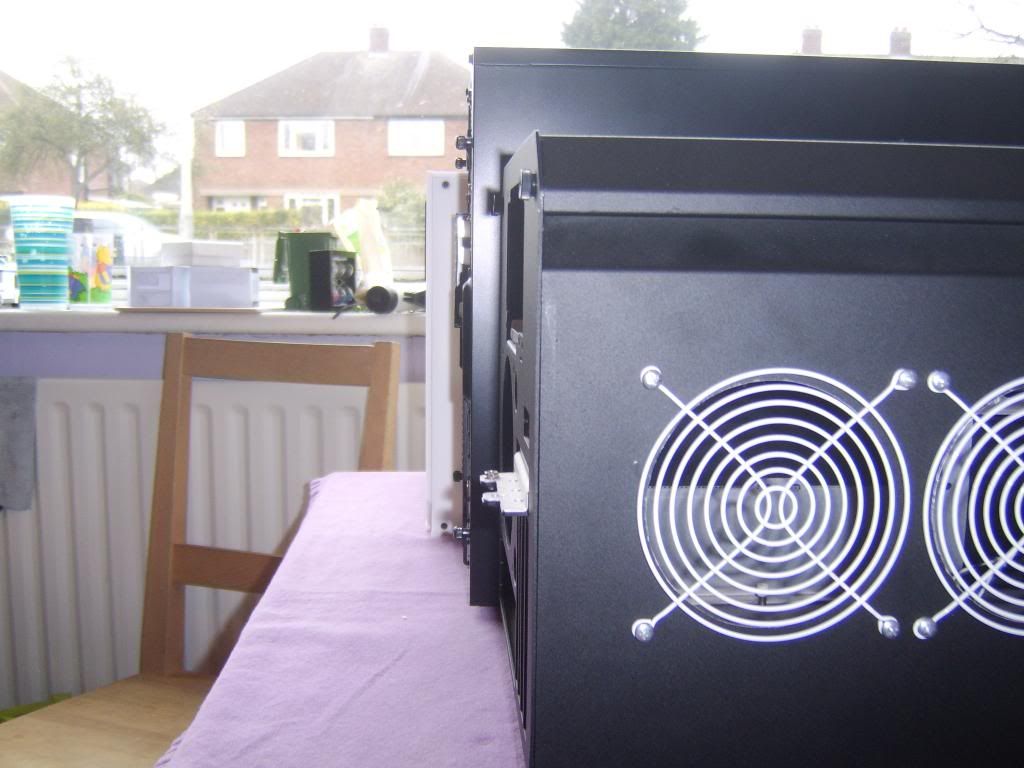
It's quite big for a SFF Matx case. Shown here with a PC Design Labs QMicra V2, and Silverstone TJ08B-E

STA78346.jpg


STA78347.jpg


STA78348.jpg
 
Side and bottom off ready to install
STA78349.jpg


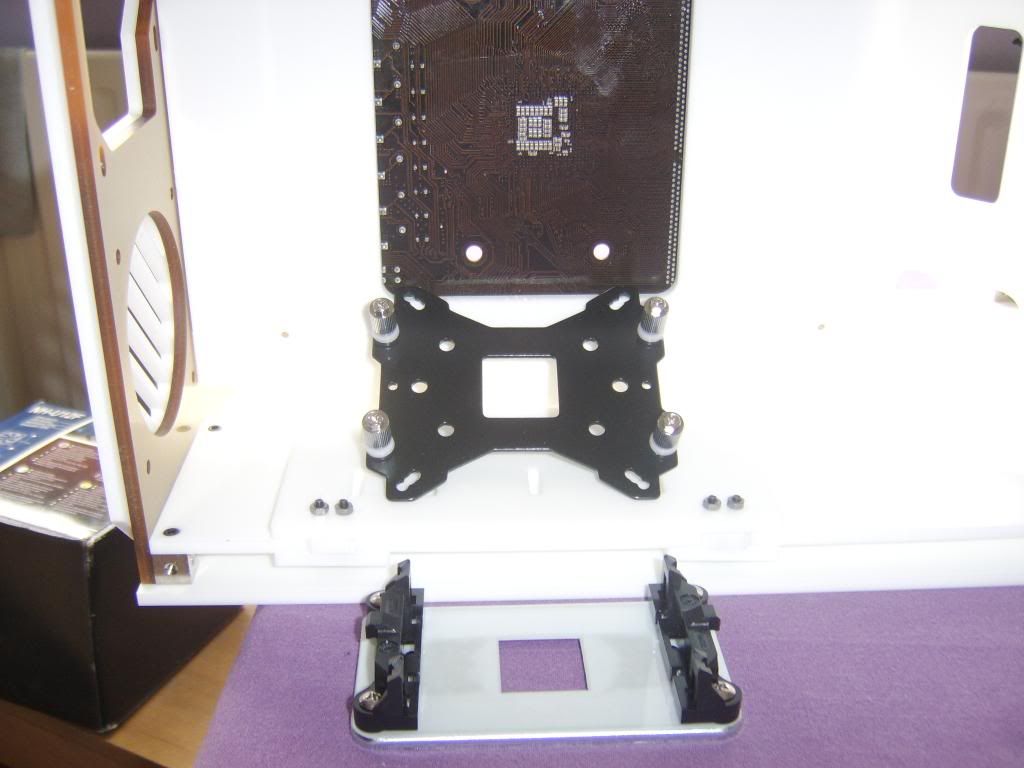
Doh! the thermalright Macho is too big
STA78351.jpg


Off with the backplate and back with the stock bracket - The mobo cut out making life easy
STA78352.jpg


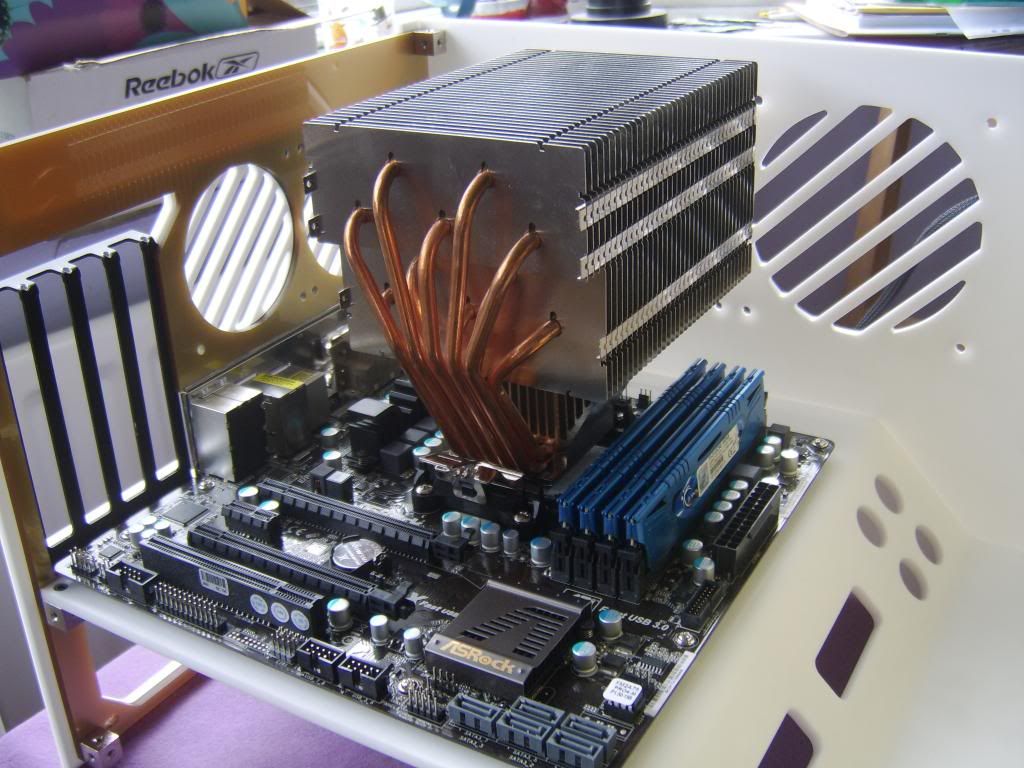
Scythe's massive Orochi cooler - Passive cooling to the max
Never been able to mount this cooler the 'best' way round until now.
Only just fits rotated 90 degrees in most cases
STA78353.jpg


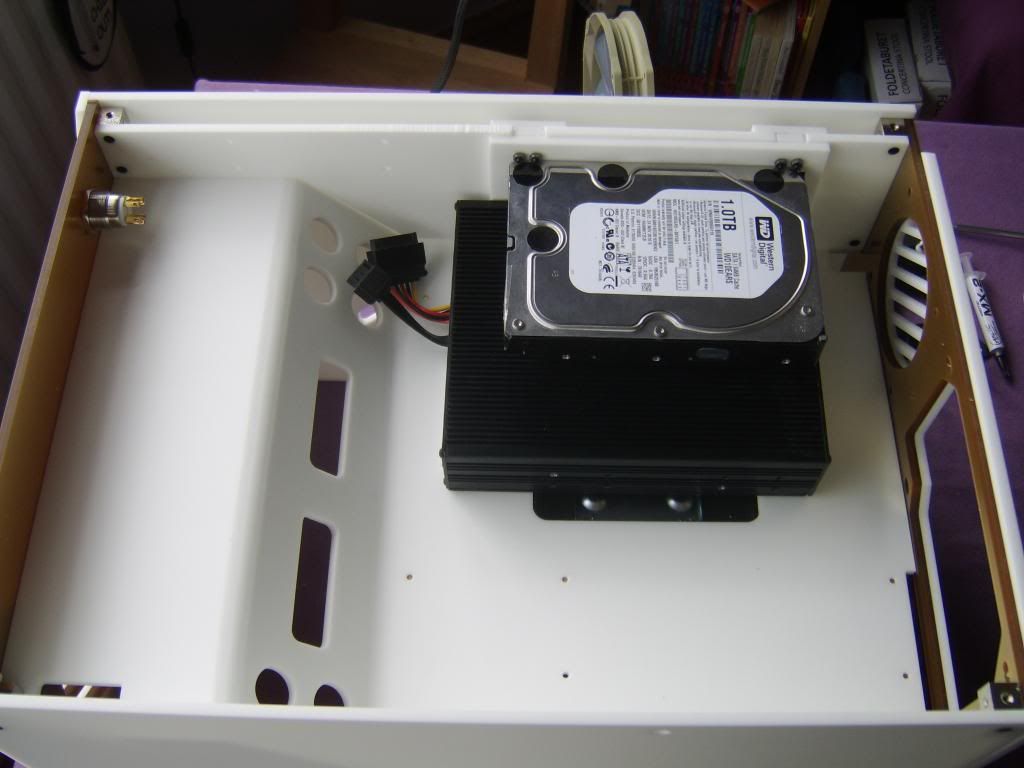
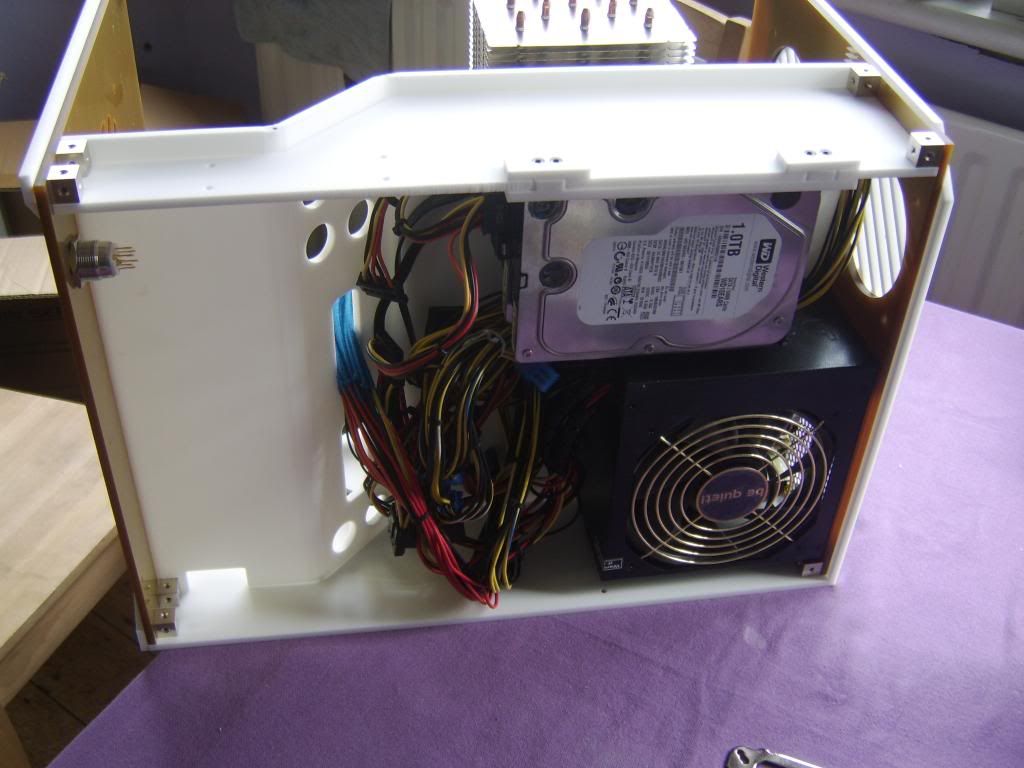
HDD's going in - the GUP silent drive will not fit due to the PSU :(
HHD noise in this case is an issue - one I mean to fix
STA78354.jpg


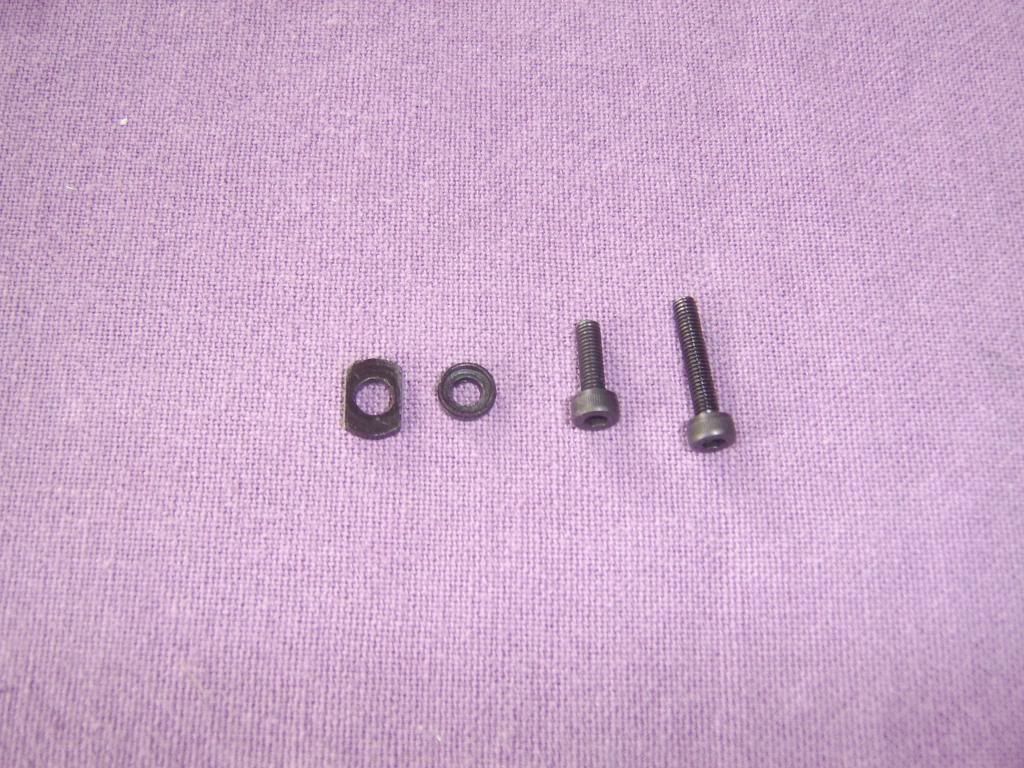
On the subject of the PSU - the include 'long' screws were to long (they hit the PCB inside my Bequite)
They also needed washers to work - the slots are machined slightly to wide and the head of the machine screw goes straight though the panel.
A quick job if you have a well stocked bit's box but a pita if you don't.

STA78355.jpg


Back to the good points - fully removable panels.
Getting the 8 pin mobo power plugged in with the heatsink on is a pig in the TJ08B-E
STA78357.jpg


Snake pit all hidden away
STA78358.jpg
 
STA78360.jpg


STA78361.jpg


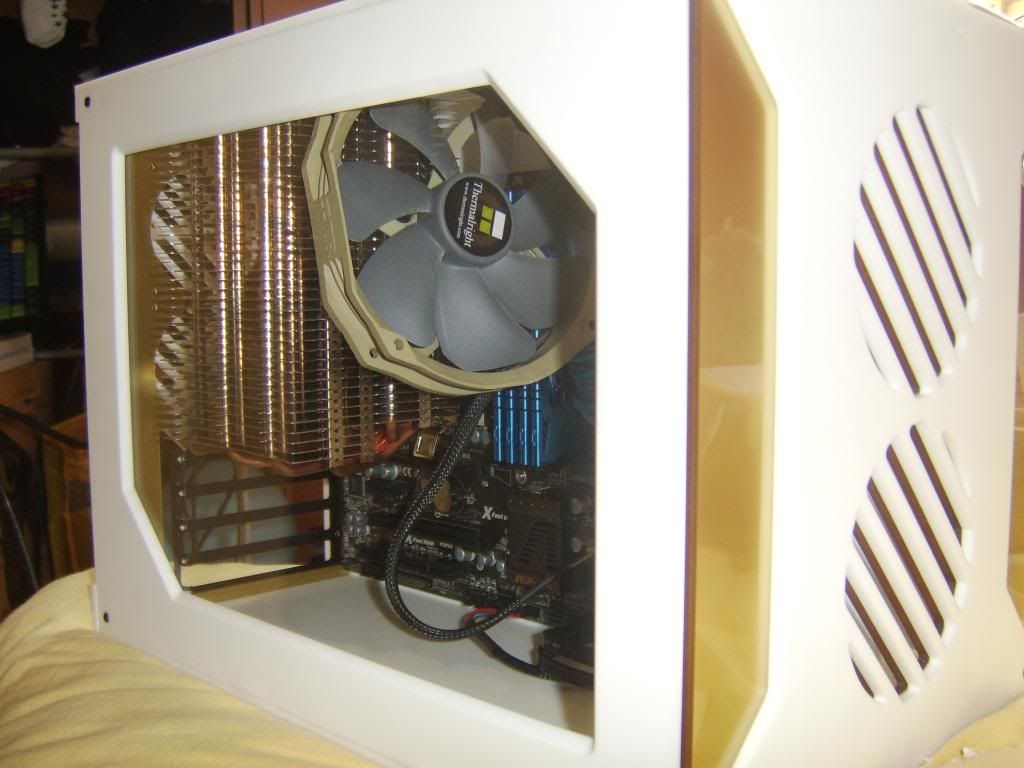
I did have a TY-140 on arrows at the front but the case reverberates the sound of the Thermalright fan really badly, at 12v and 7v :(
So moved it - it's touching the window atm but that doesn't amplify the noise of the fan like the front panel does.
A bit ghetto but does the job

I also managed to reposition the window to where it should have been
Slow and carefully done, but an easy job - tape now fully hidden

With no manual and no spare pc, wiring up the switch was a bit annoying.
Pins 3 & 4 for the power and + & - for the light so you know.
I guess they expect buyers to know this - well I didn't but now I do :)

So much space - and really easy to build a system in.
When the HHD's are still it's quieter that my TJ08-E
Looking forward to making it smaller and more me (aka inaudible)
Still in two minds about watercooling the A10-5800K - or just sticking with air

STA78359.jpg


STA78362.jpg
 
Last edited:
Try some rubber fan mounts and use them on 7v for the front fans? Also no PCI Slot blanking plates as standard? :(
 
Last edited:
I did use rubber arrows and 7v!
Fan noise was loud with the front panel off
and even louder with the panel fixed to the case!
Like how a speaker cone sounds louder when installed in a box.

Pulled the fan off the rubber arrows and instantly quiet.
It might me because it's a 140 fan on a 120 hole...
Might just be the movement of the fan

Will try with my 120mm noiseblocker tomorrow / or this evening

And no blanking plates.
 
Last edited:
Back
Top Bottom