

Associate
Been ages since i last took a look in here, nice to see the rig more complete.
Awesome job
Awesome job

")

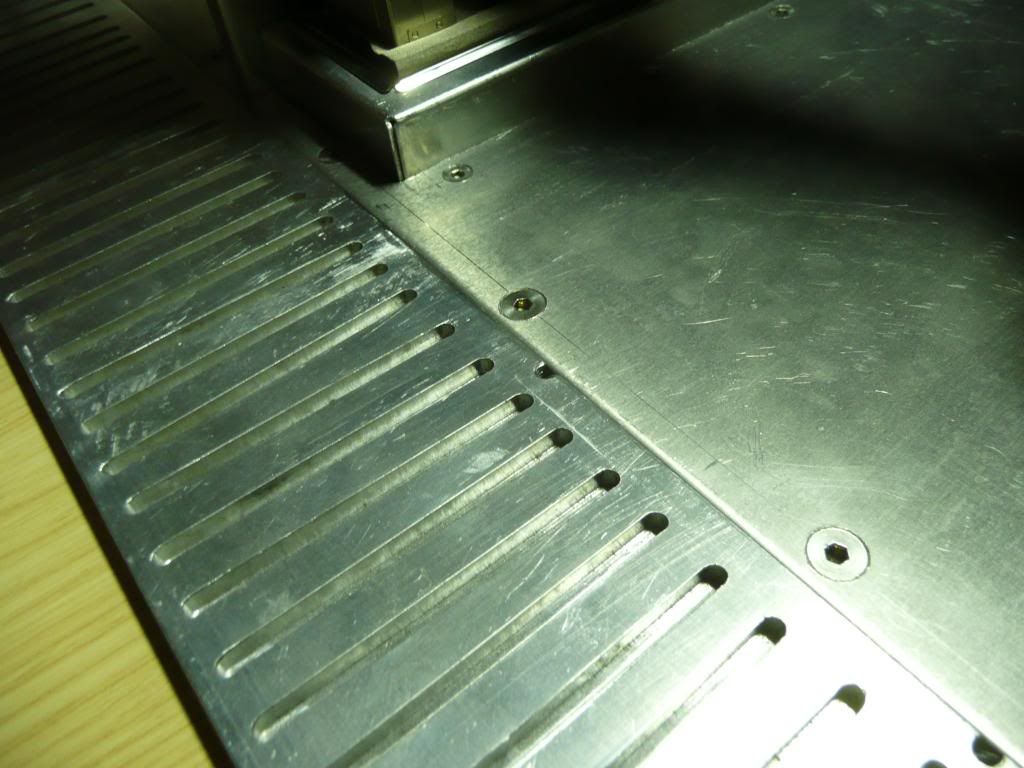

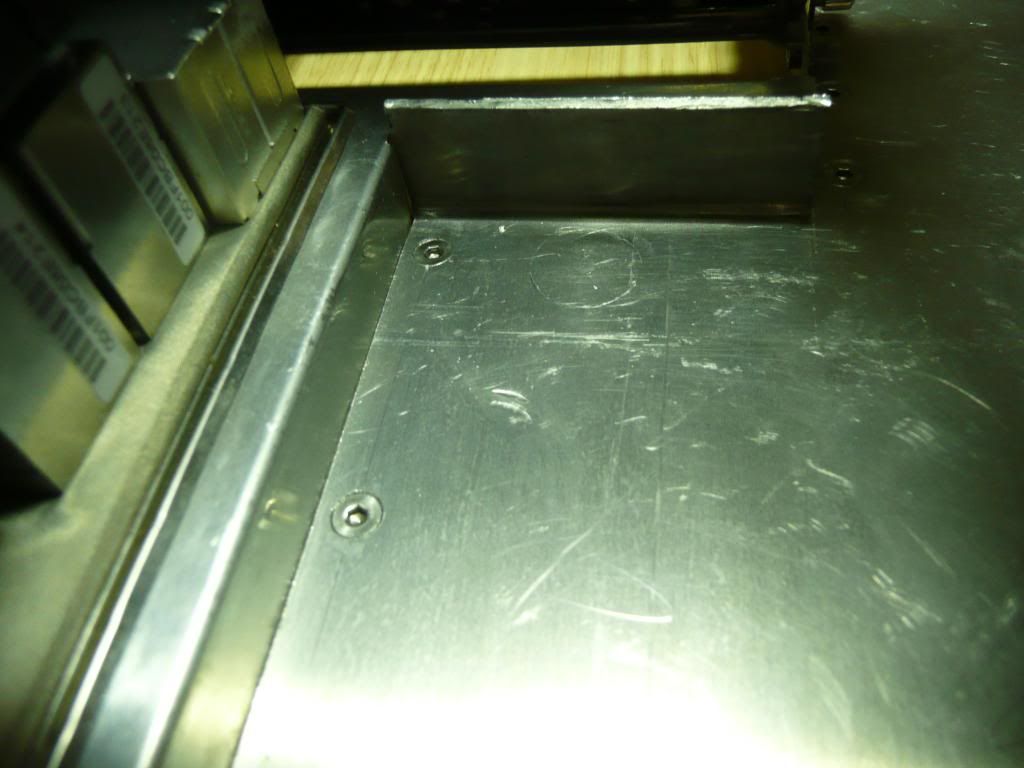
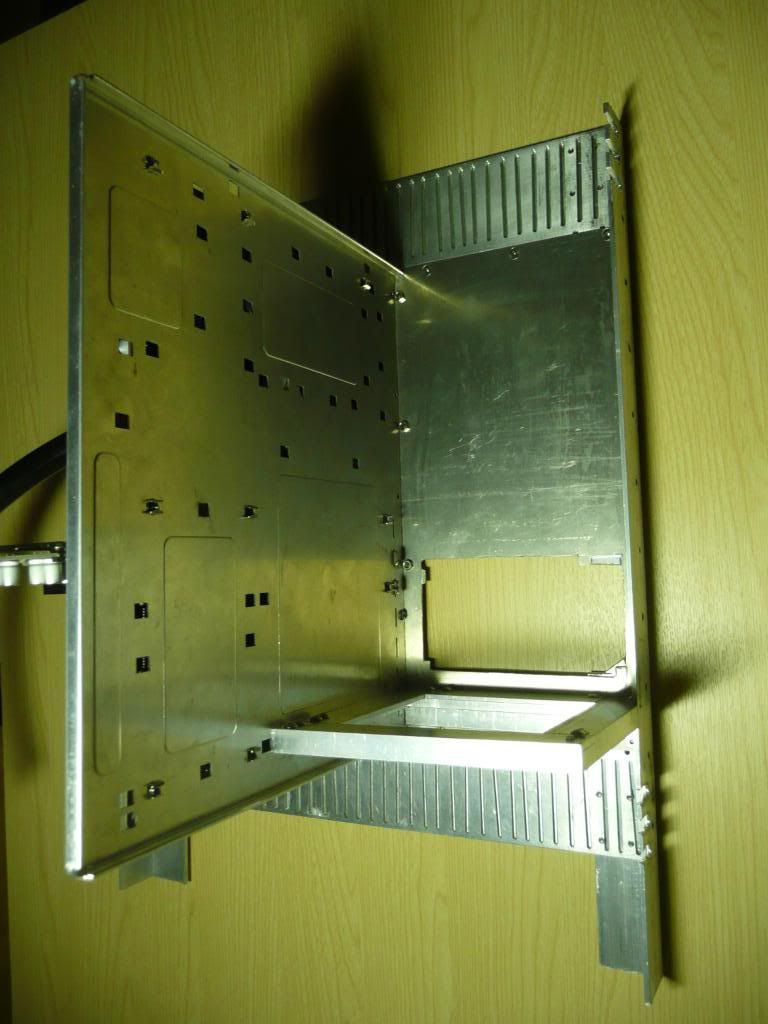
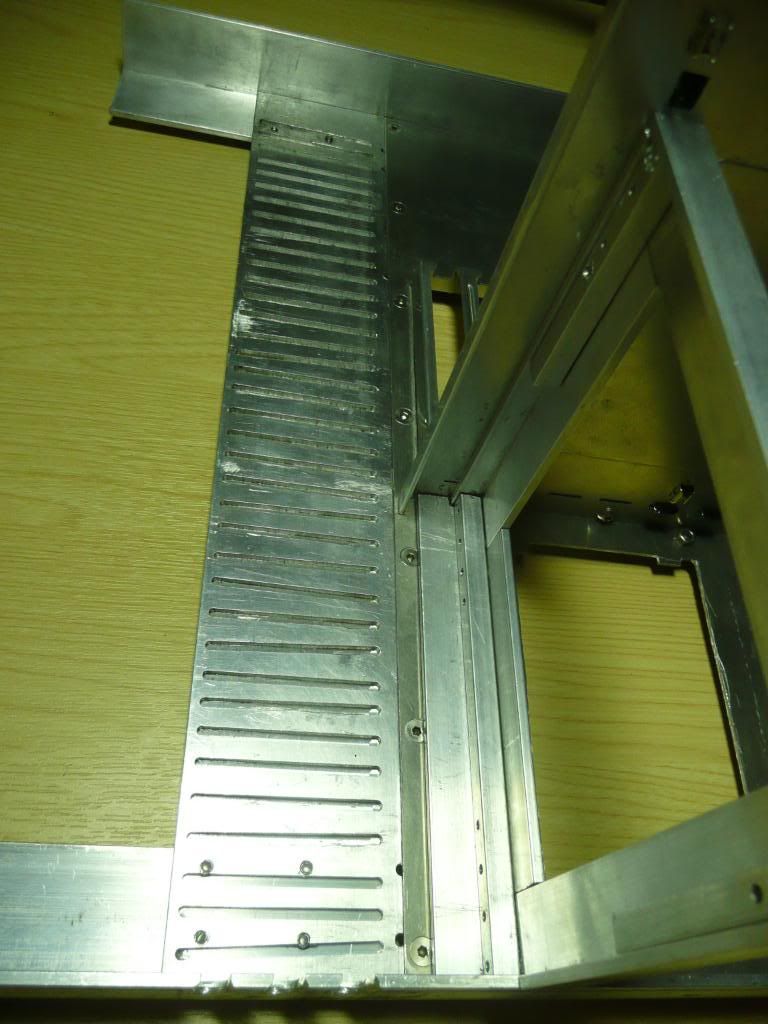
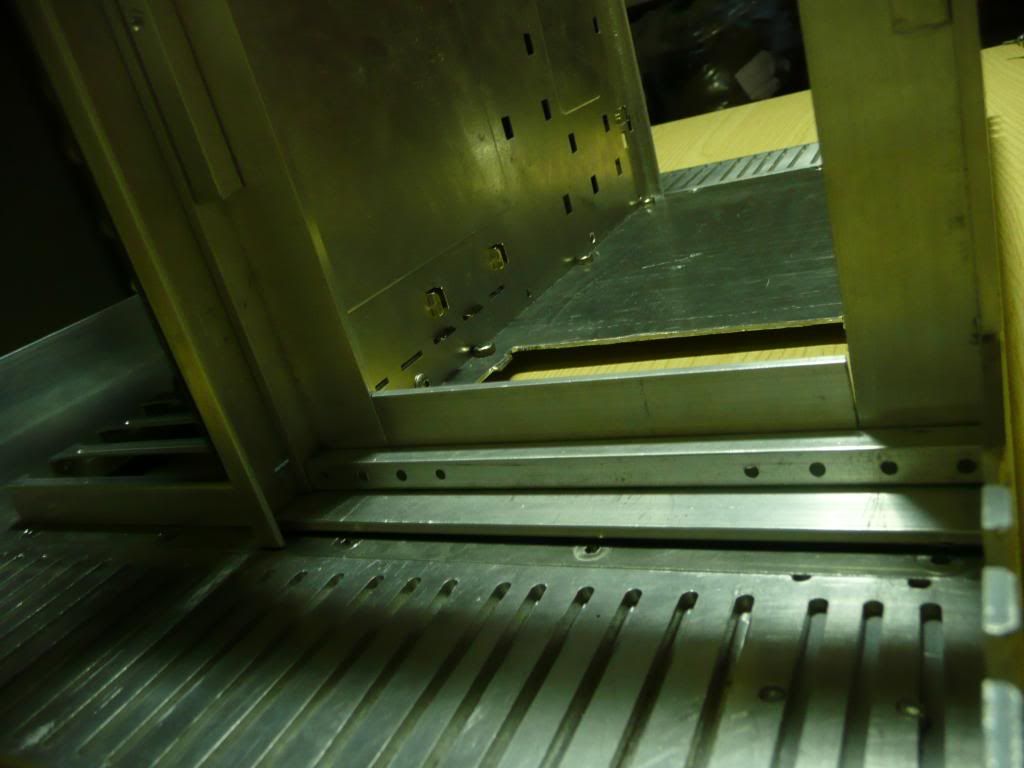
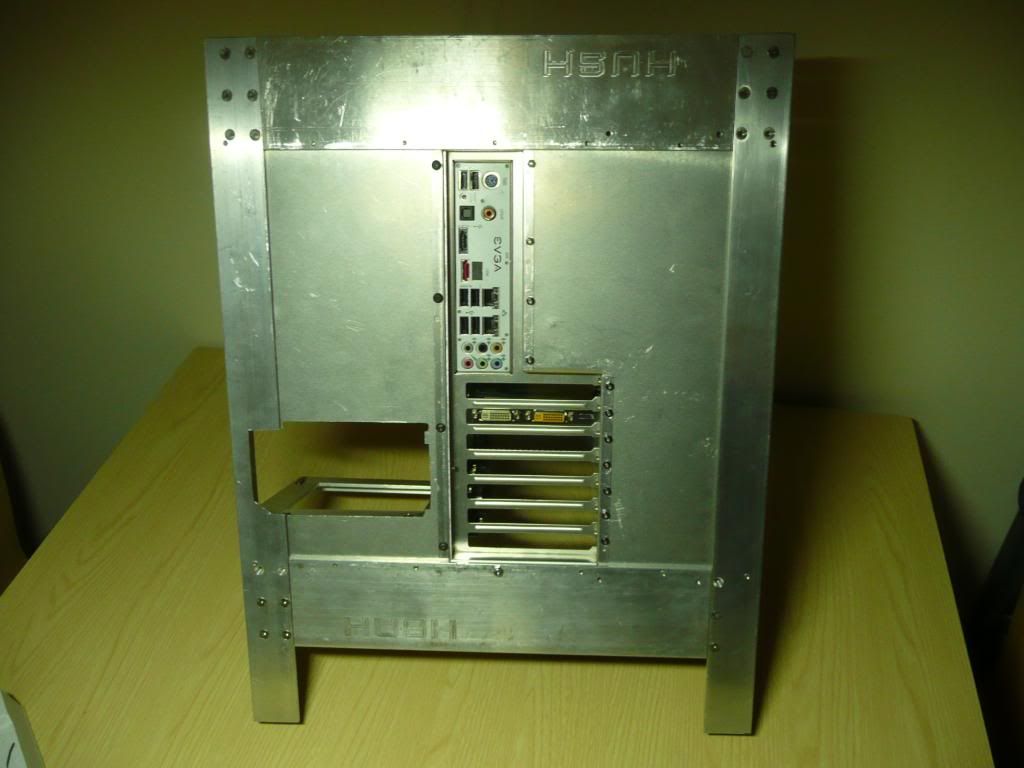
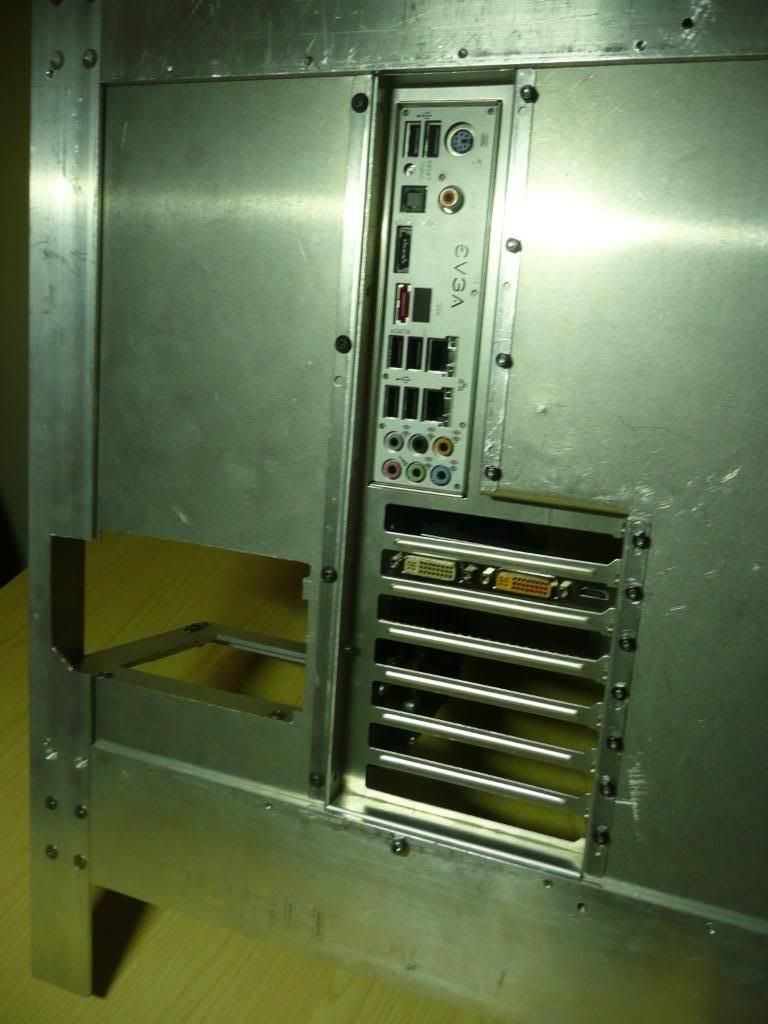
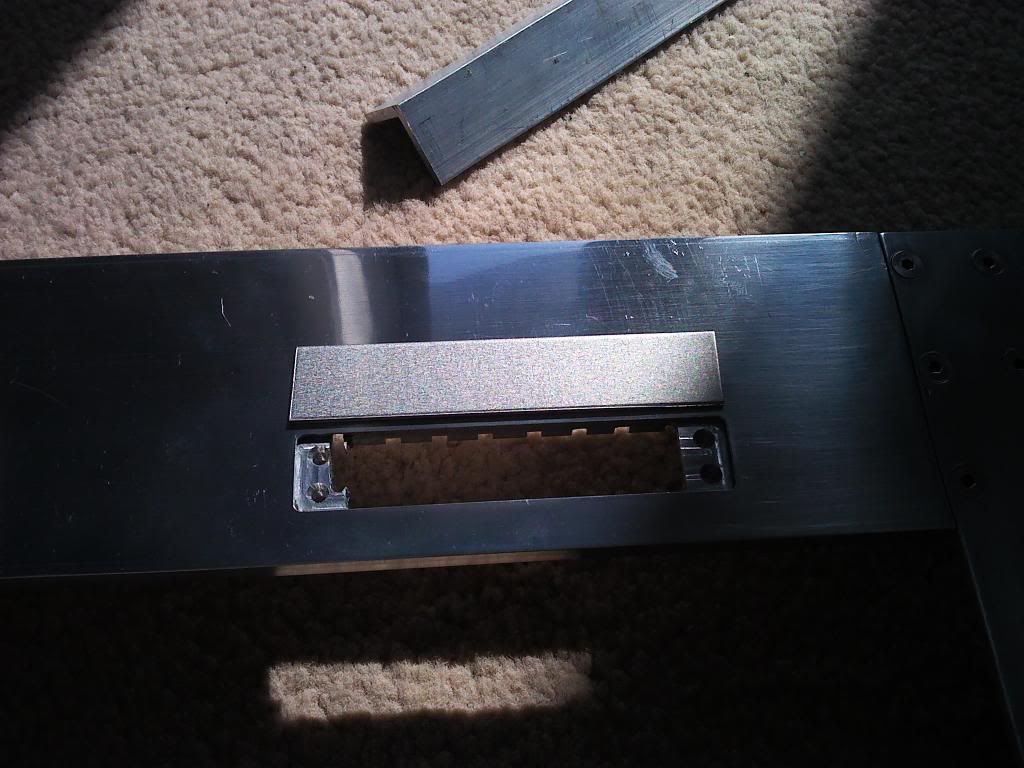
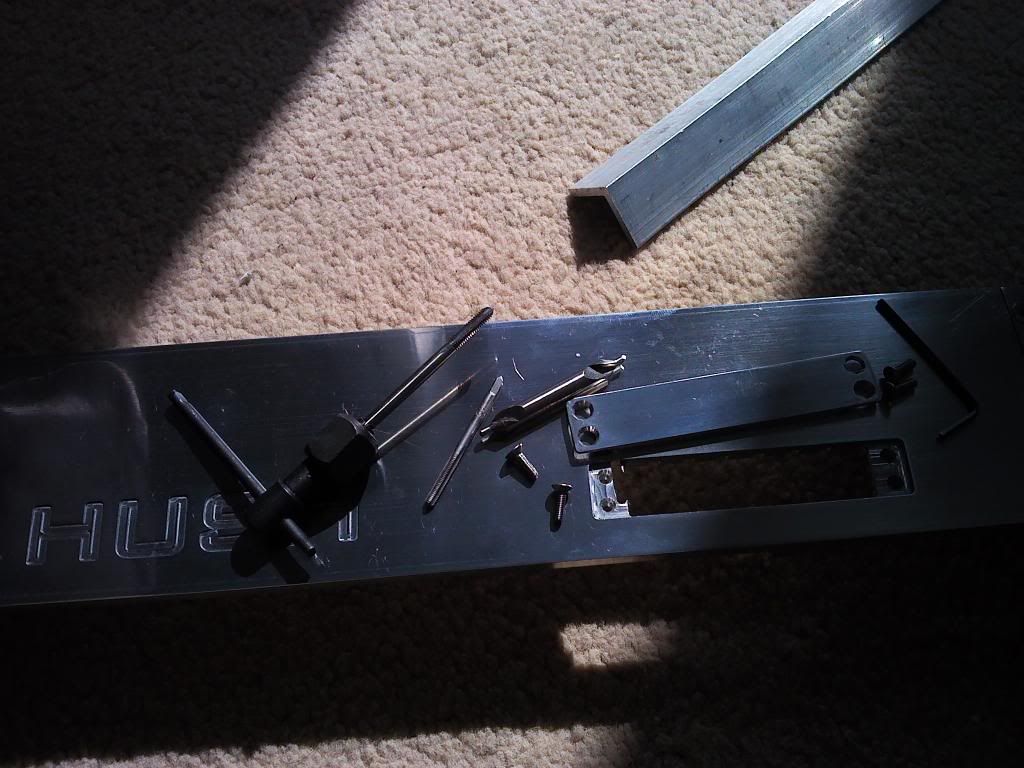
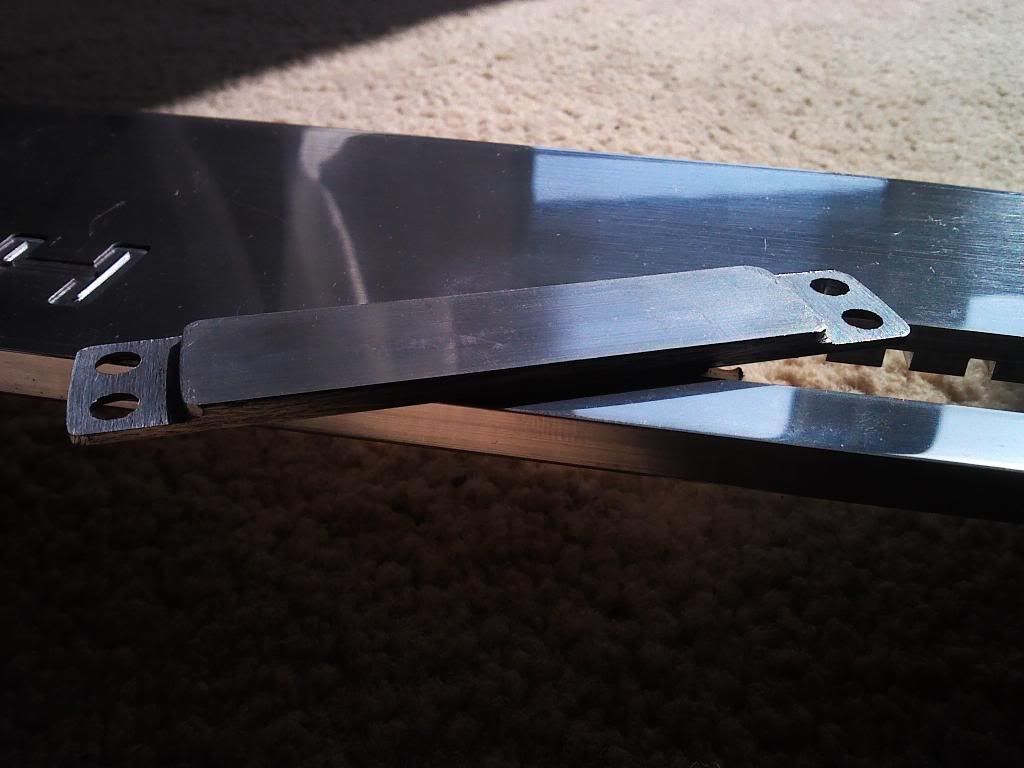
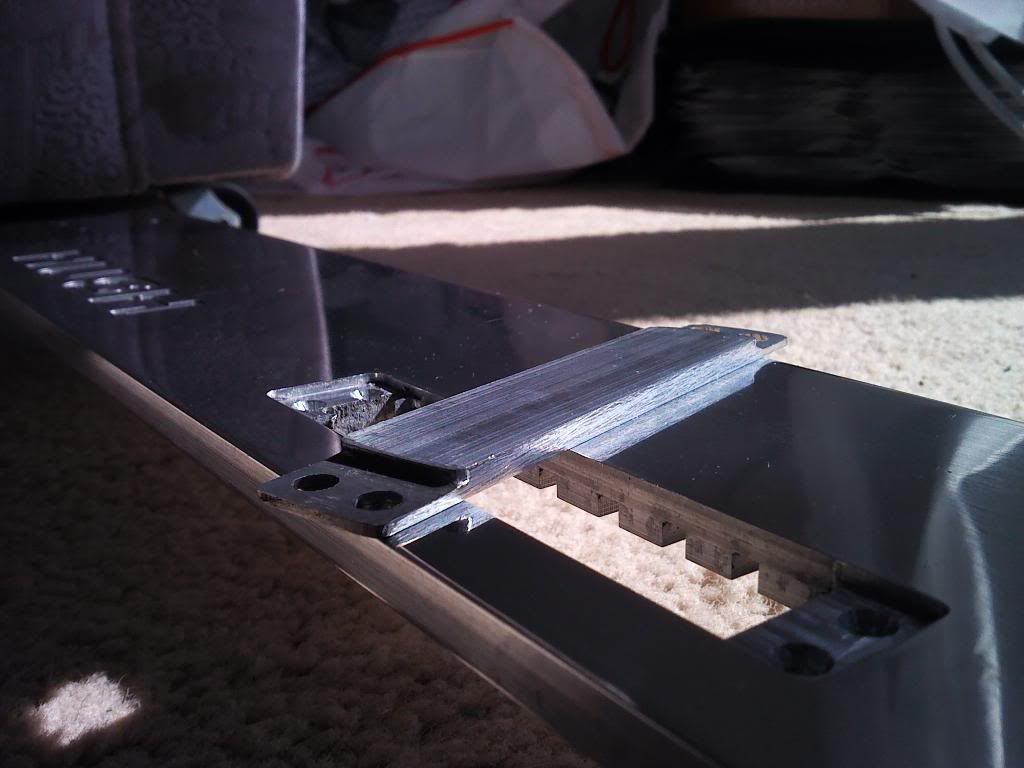
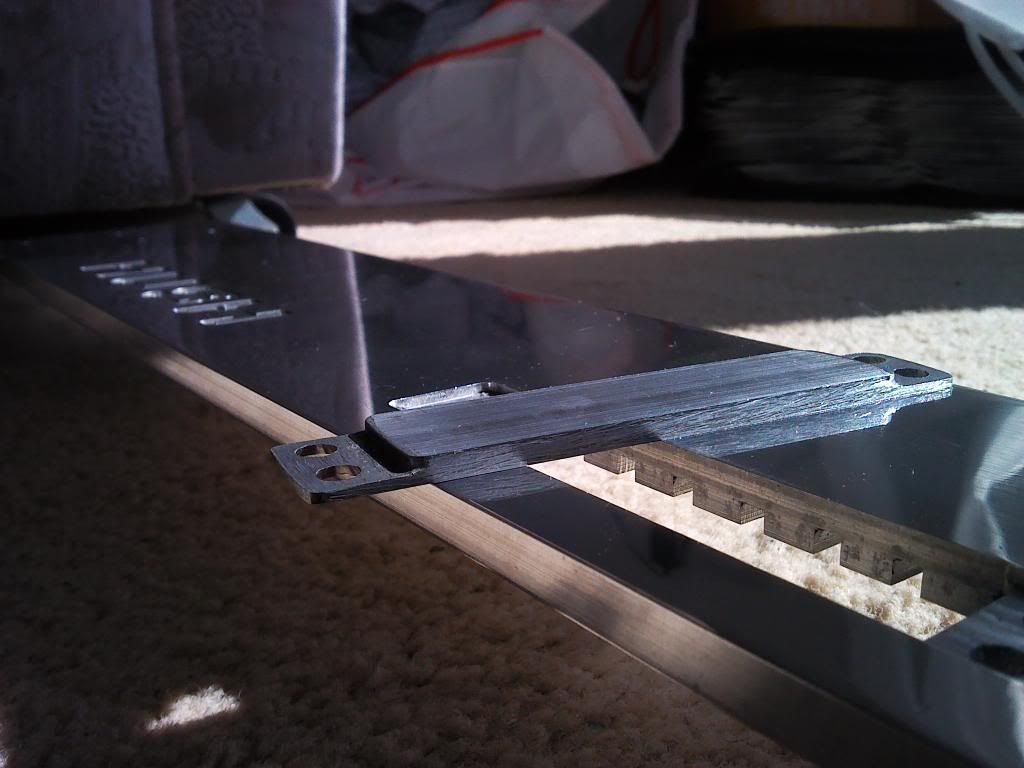
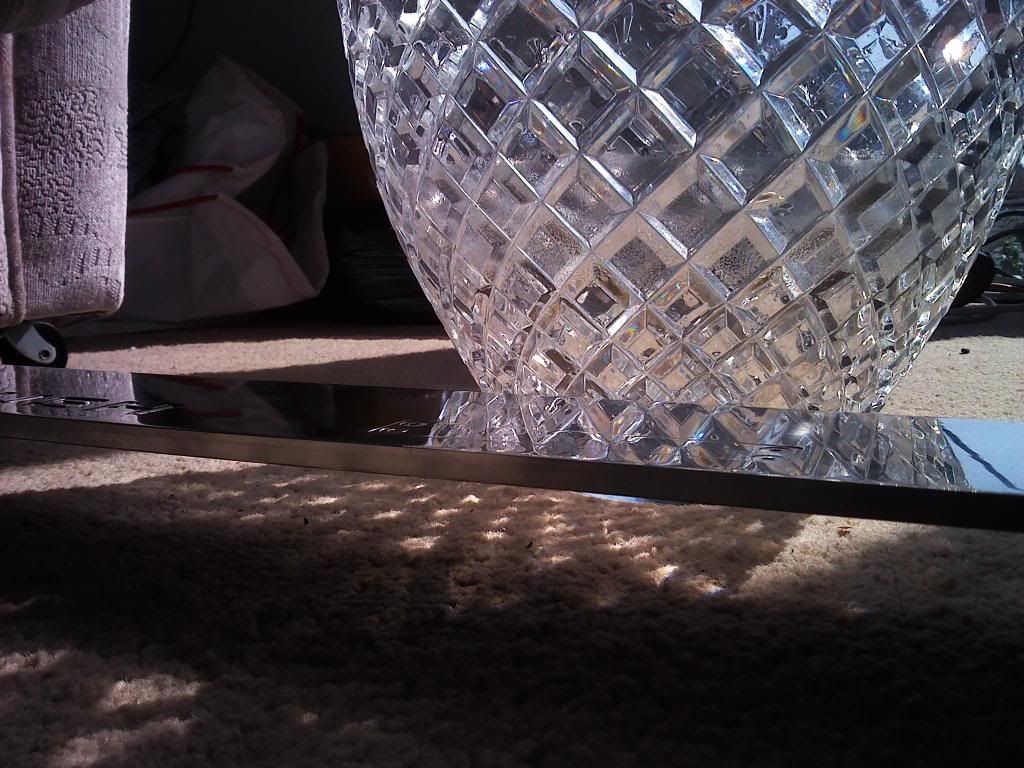
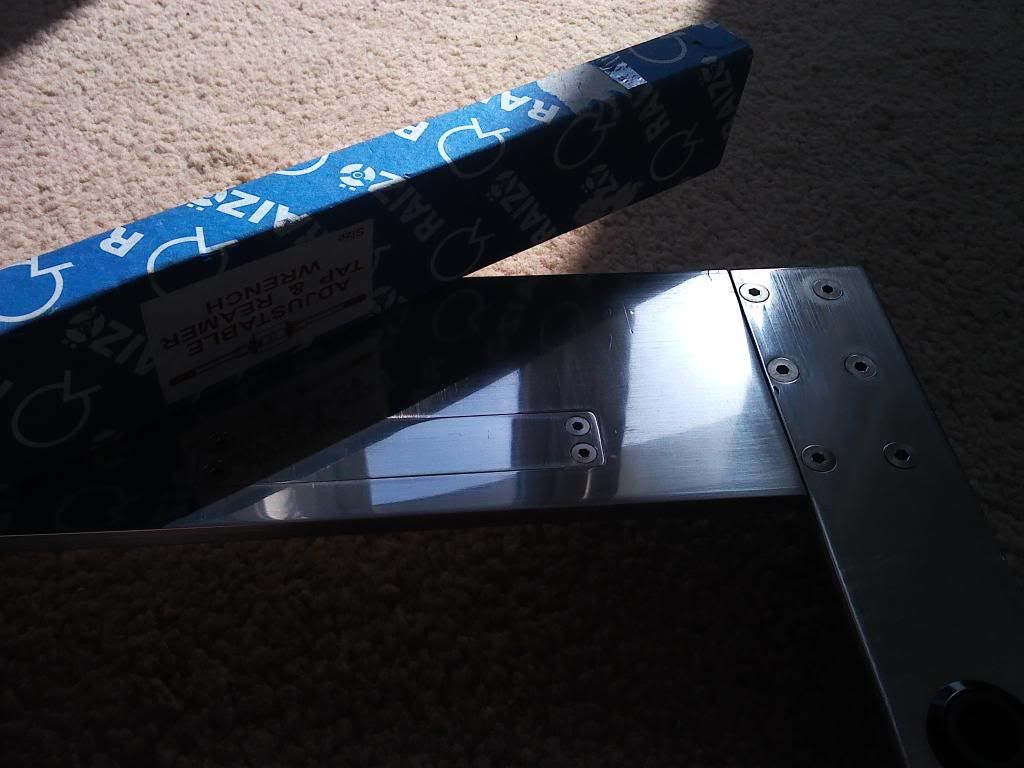
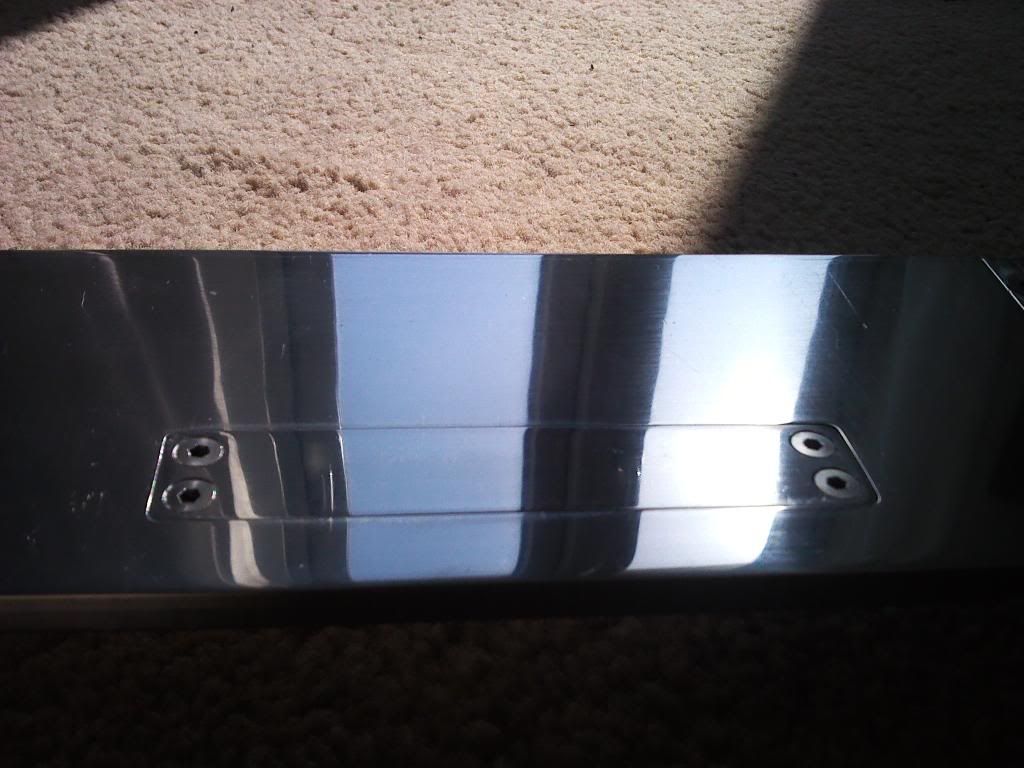
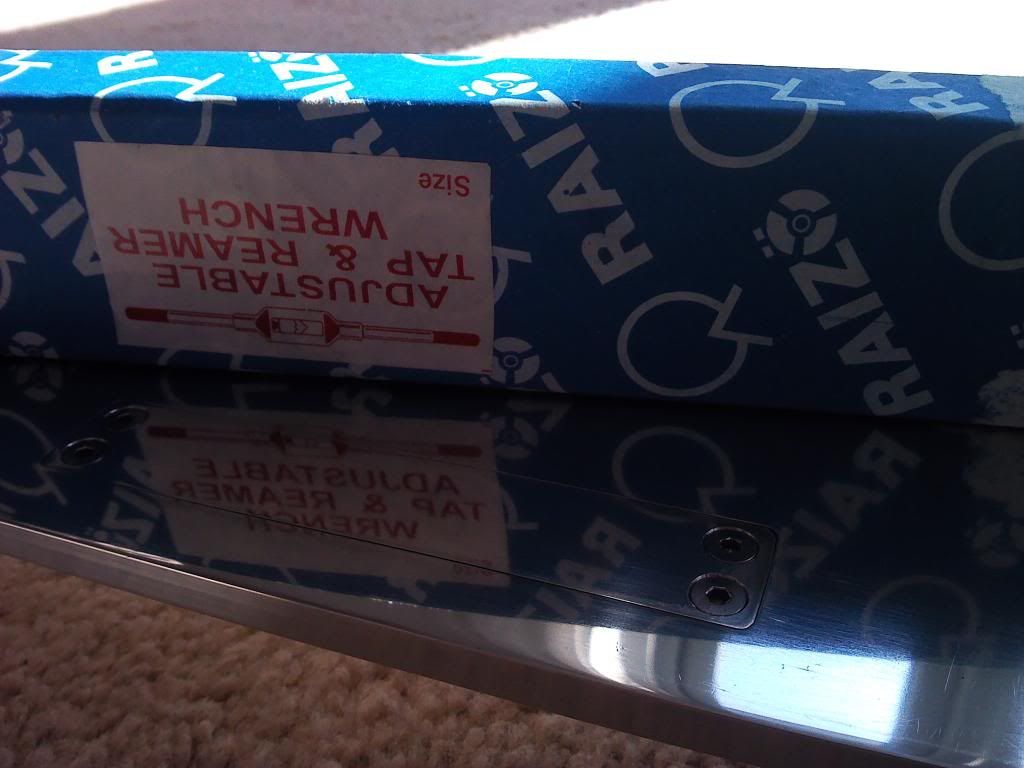
Here's the back of the case - Using countersunk screws inside means I need to have nuts on this side.
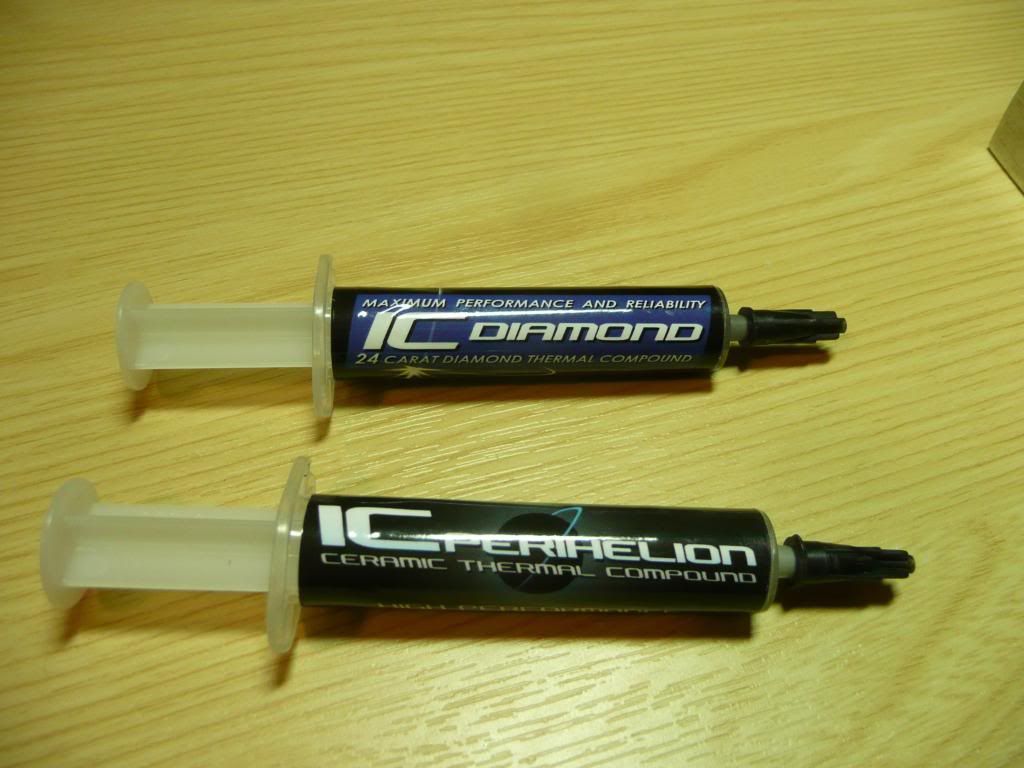
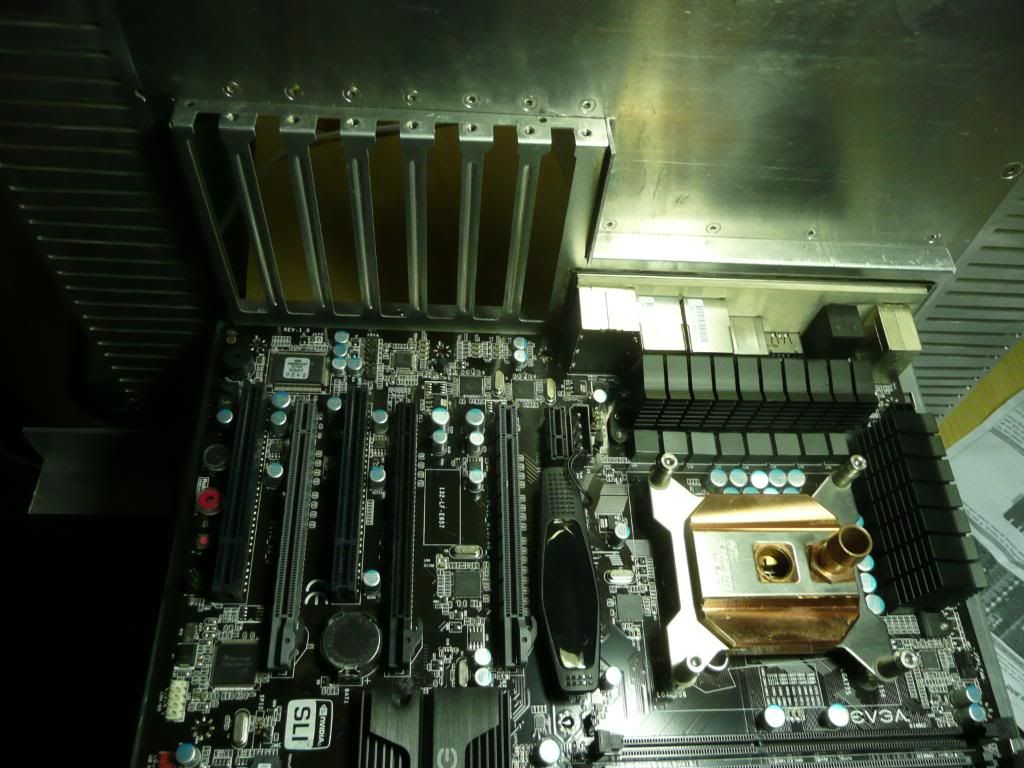
IC cooling are kind enough to send out free samples of their Thermal interface material if you agree to test it against your previous paste and send them the results.
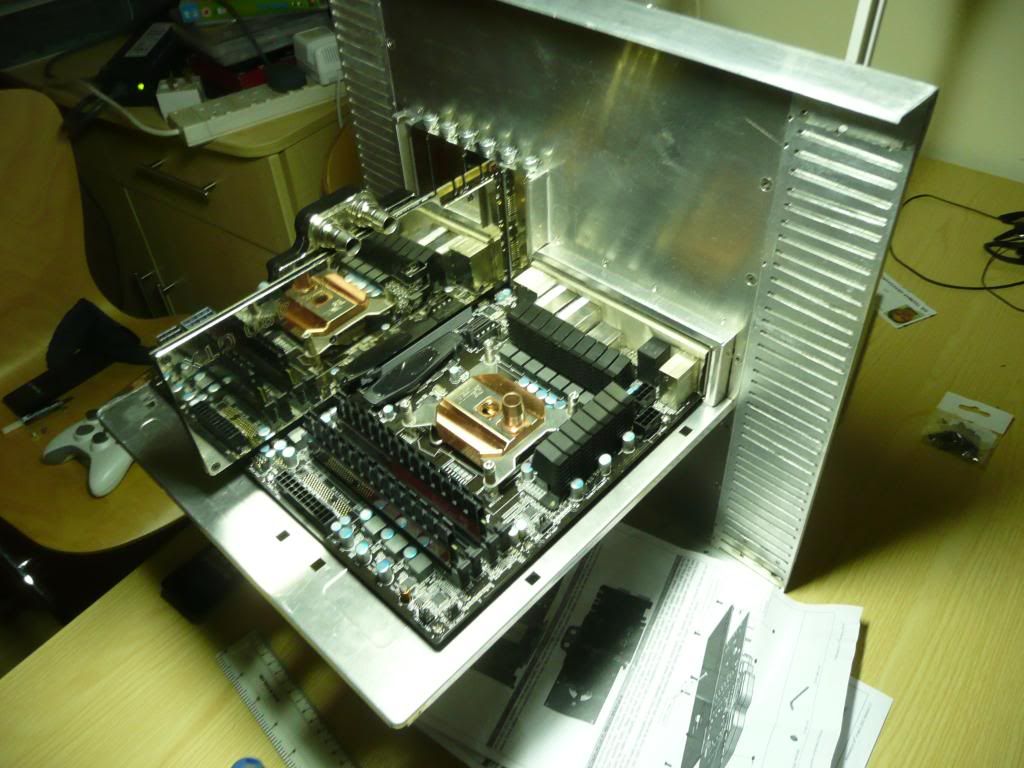
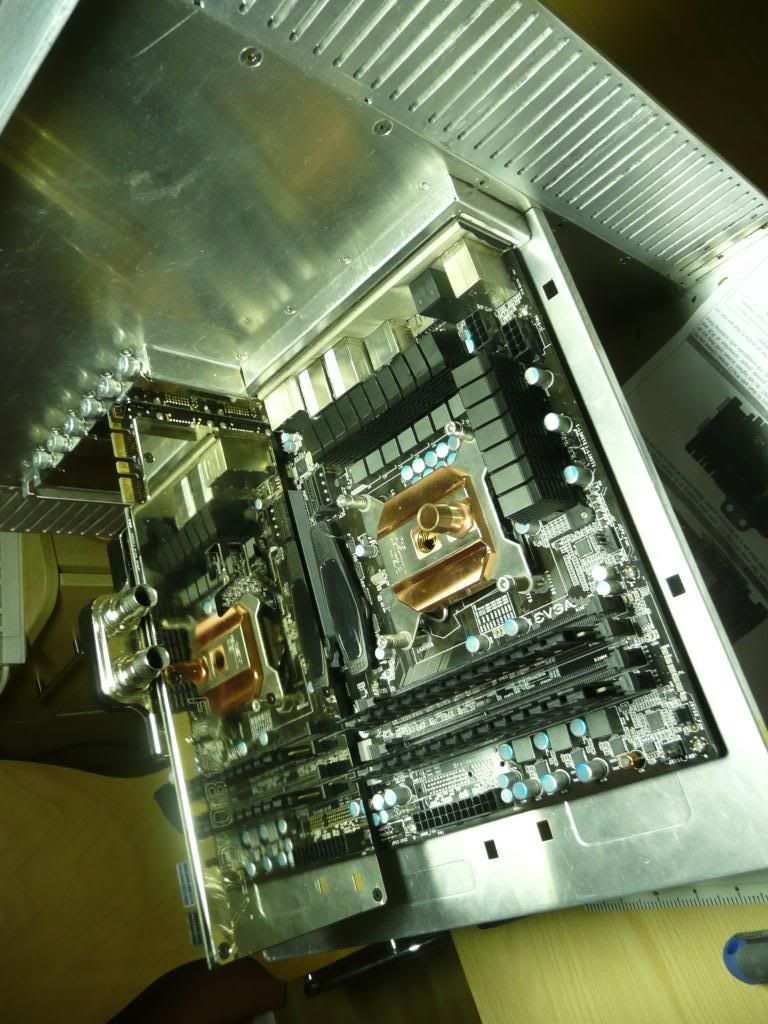
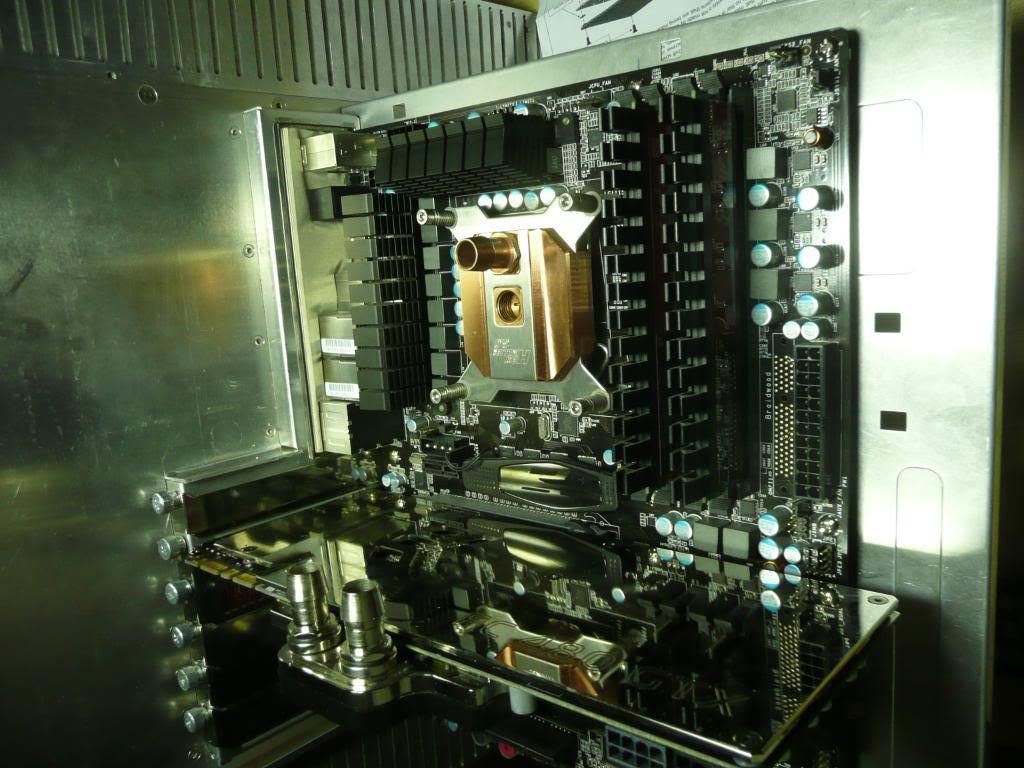
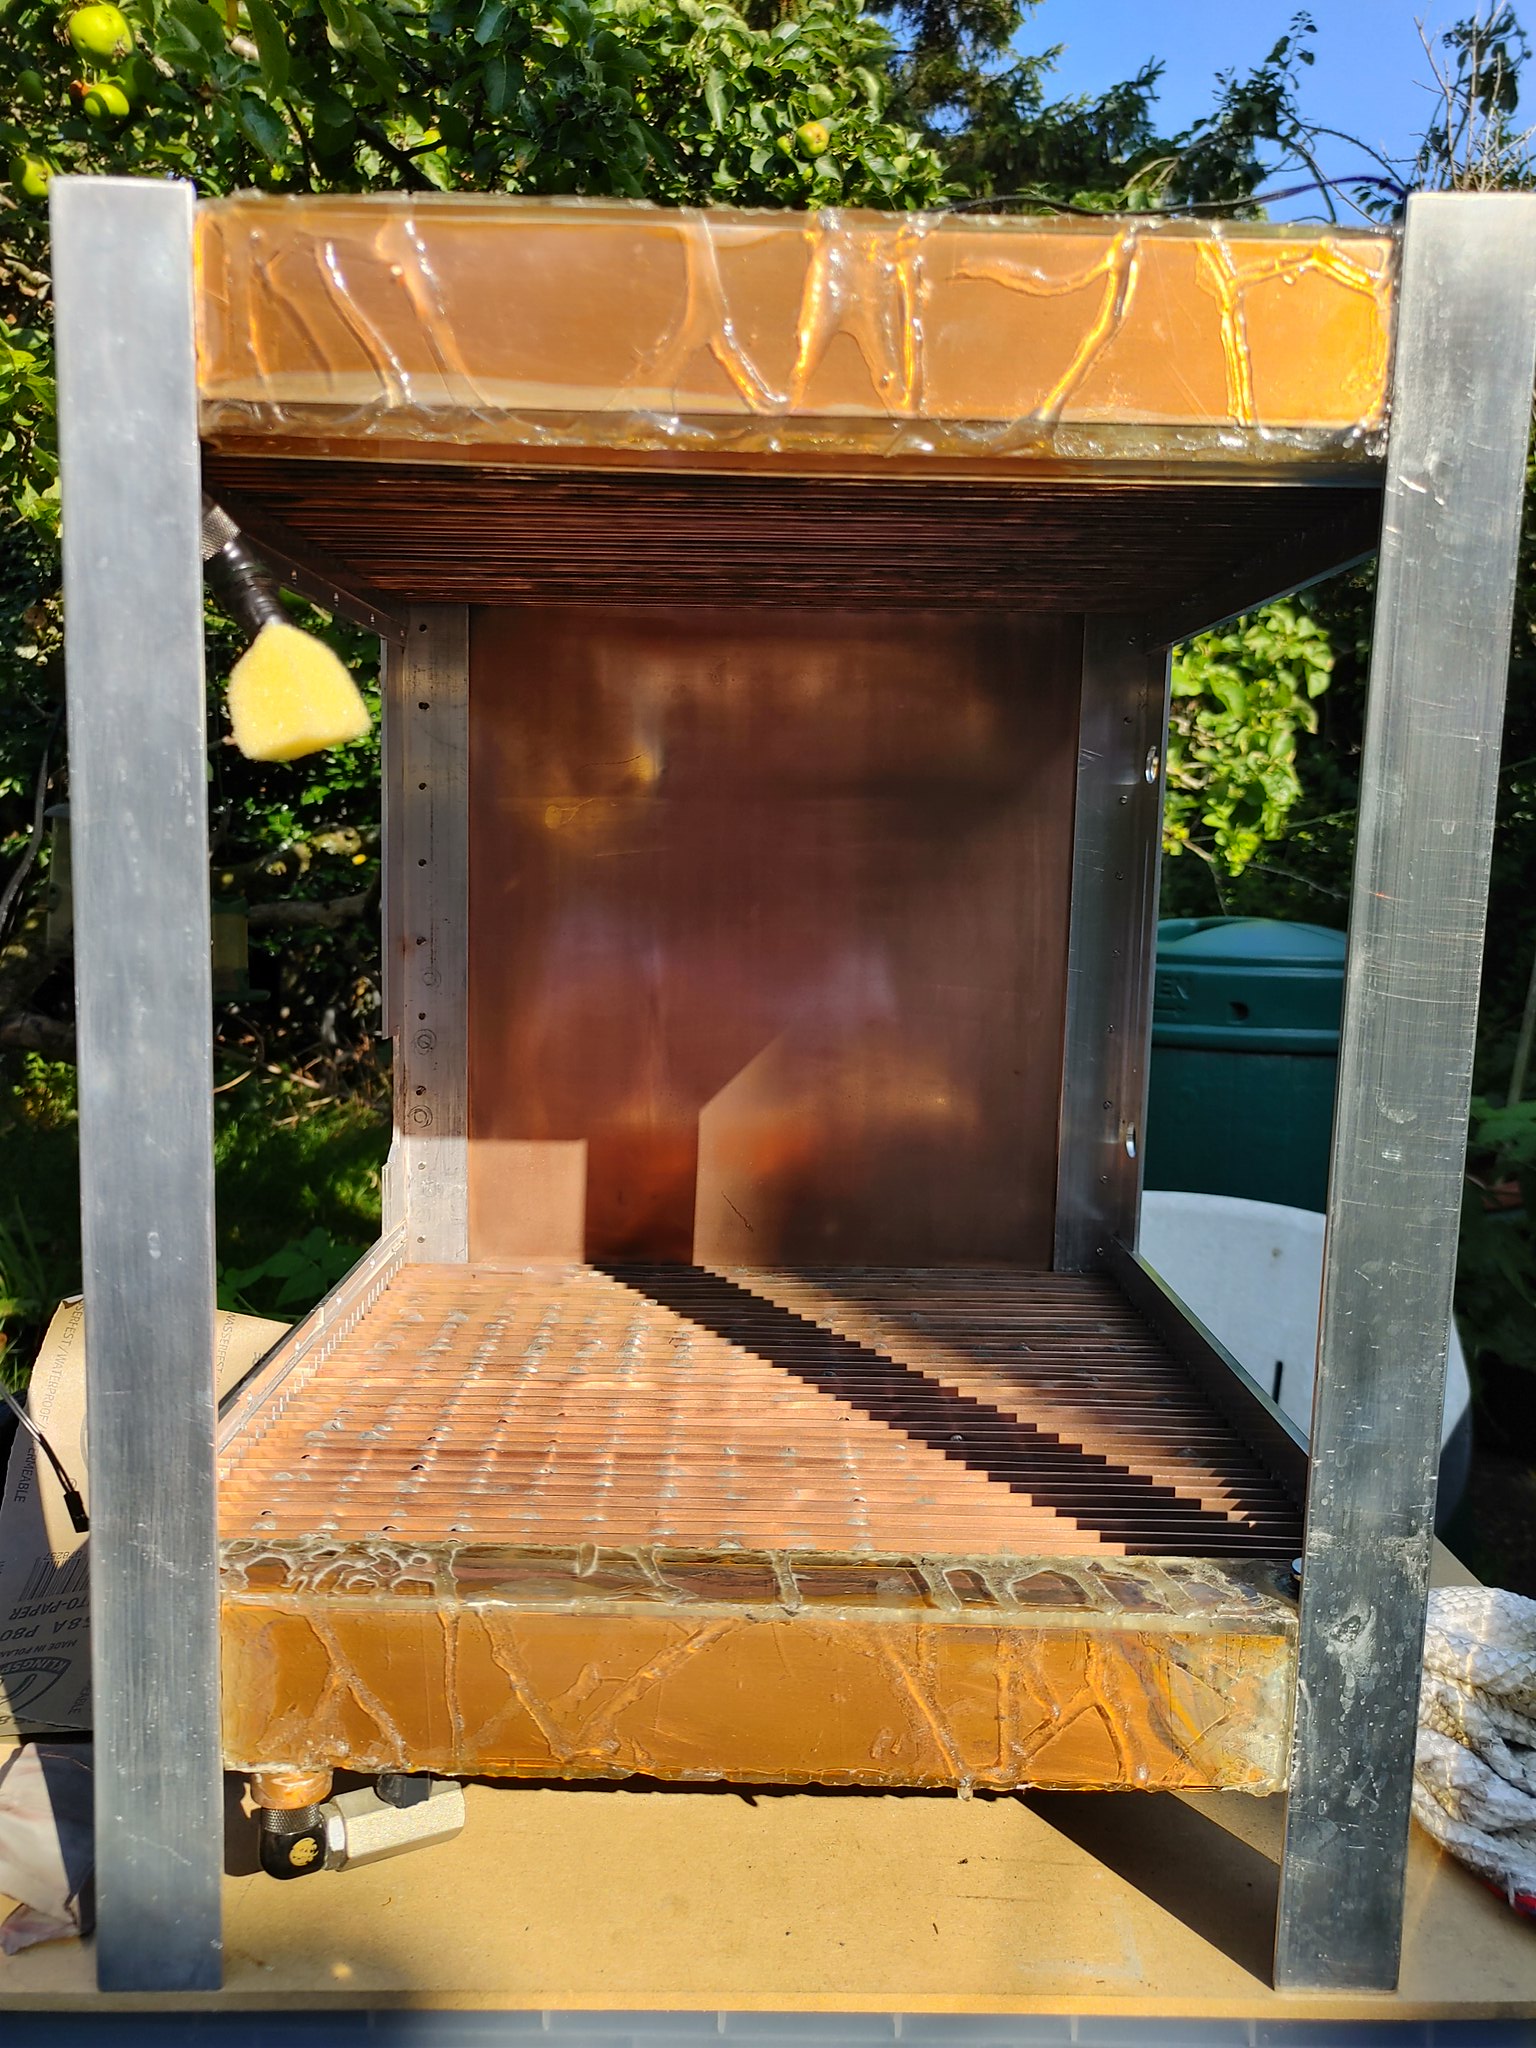
So after sorting out the kink in the watercooling loop and testing my previous paste, MX-3, using Intel Burn Test, and using InterBurnTest and MSI Kombustor/Furmark simultaneously (to produce as much heat as possible - around 550W!) I swapped out the TIM and remounted the blocks.
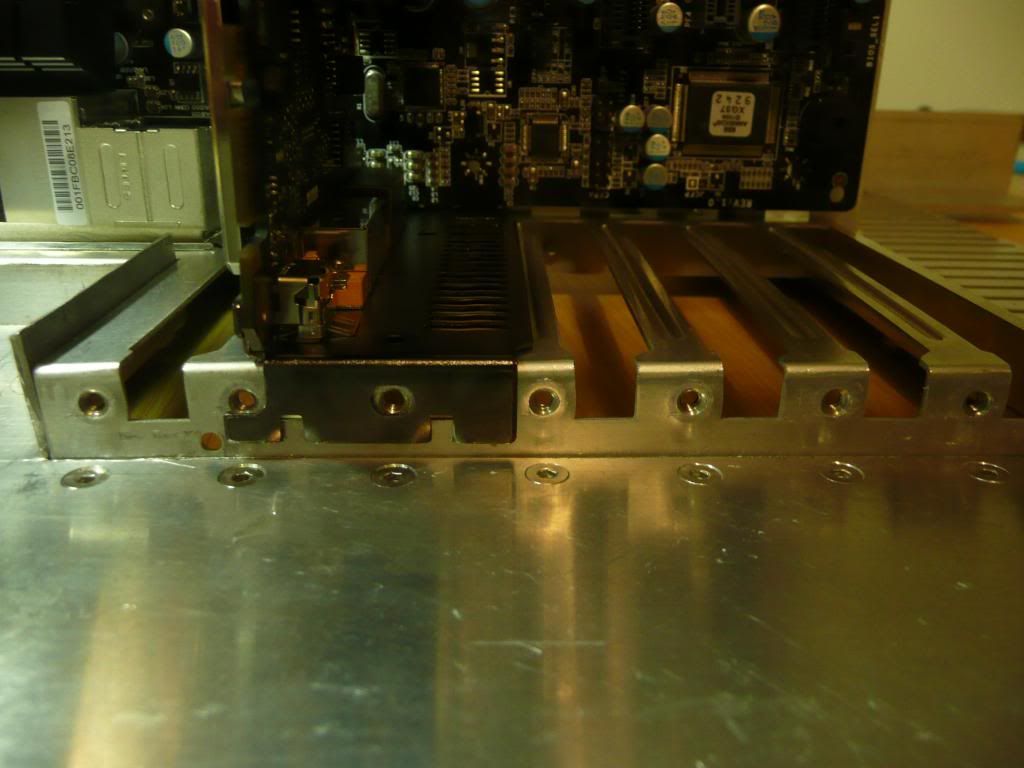
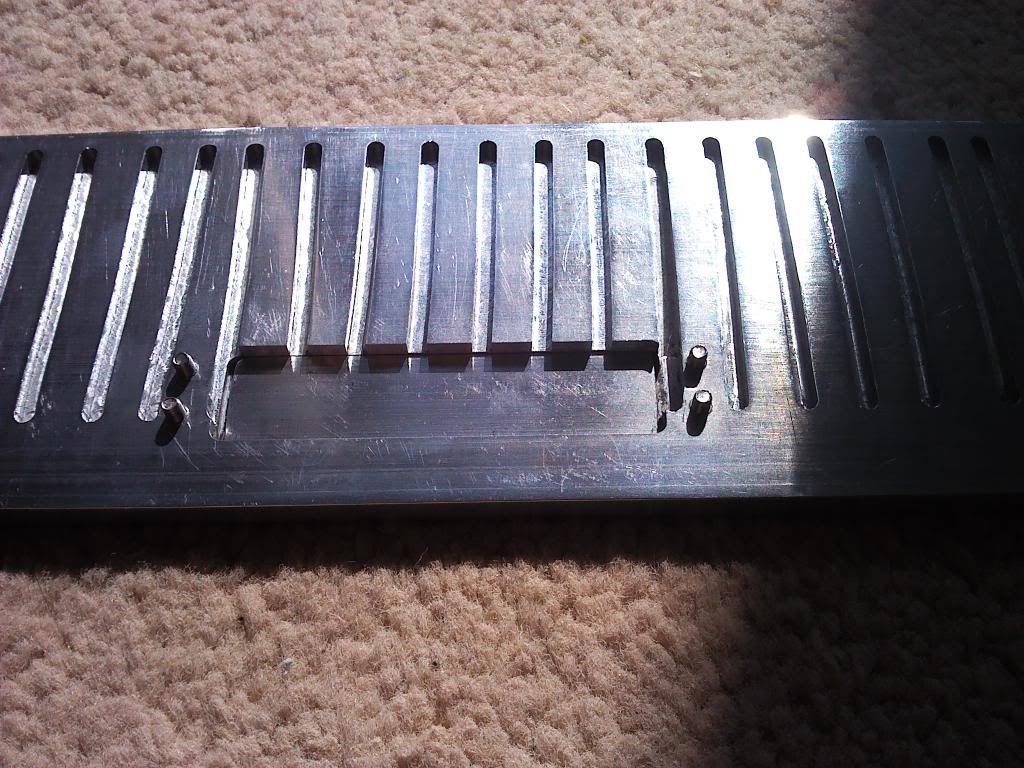
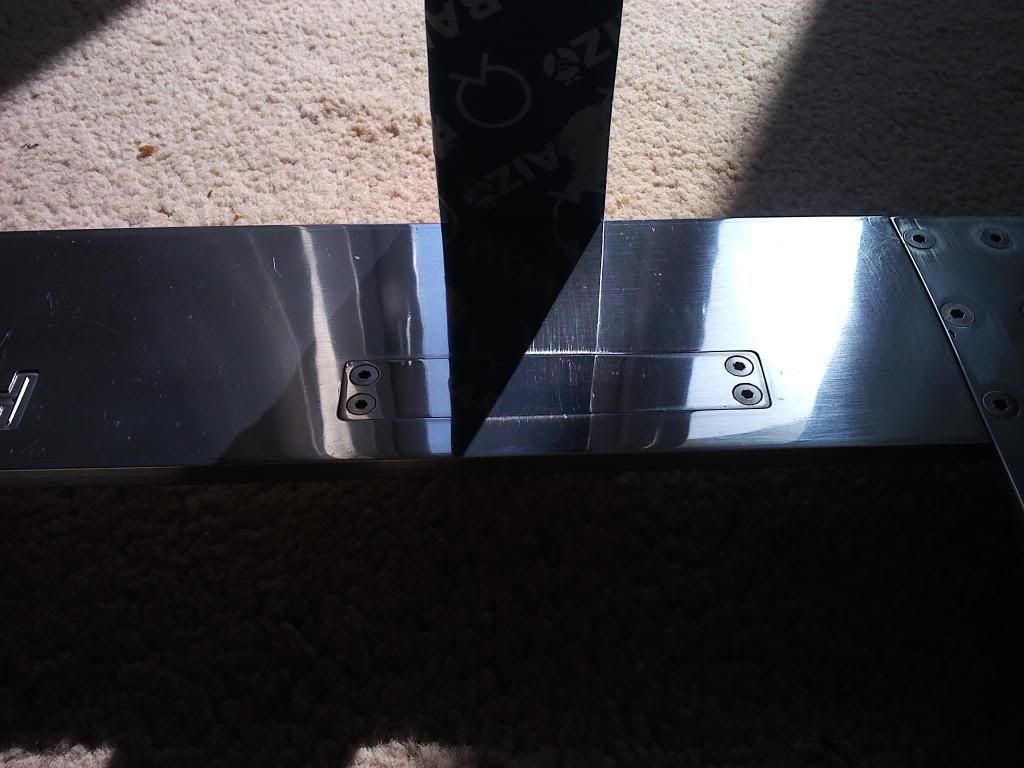
Those rivet nuts aren't bad - bit big though, and I'd like to still be able to take the panels off in the future should I need to.


 20210719_175552_HDR
 20210719_175559_HDR
 20210720_210723
 Screenshots_2022-05-11-22-50-04
 20211031_211556_HDR
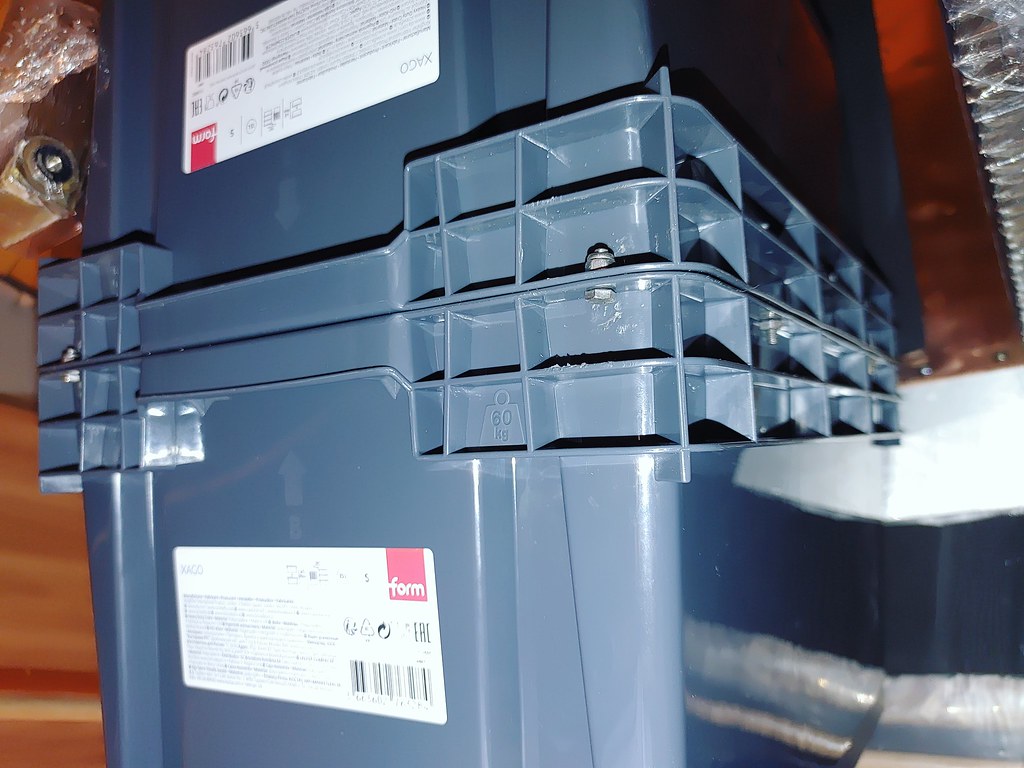 20211123_005727
 20211123_005636
 20211124_232137
 20211121_154135
 20211124_232152
 20211219_054205
 20211125_205916
 20210822_175028_Edited
![[IMG]](https://live.staticflickr.com/65535/52067401169_1e327c3eea_b.jpg "[IMG]") 20211101_101436
20211101_101436![[IMG]](https://live.staticflickr.com/65535/52067169951_dbfb1981db_b.jpg "[IMG]") 20211031_211803_HDR
20211031_211803_HDR![[IMG]](https://live.staticflickr.com/65535/52067657420_7213c11ac8_b.jpg "[IMG]") 20211101_130618
20211101_130618 20220124_125827
 20220124_141258
 YouCut_20220512_013031616
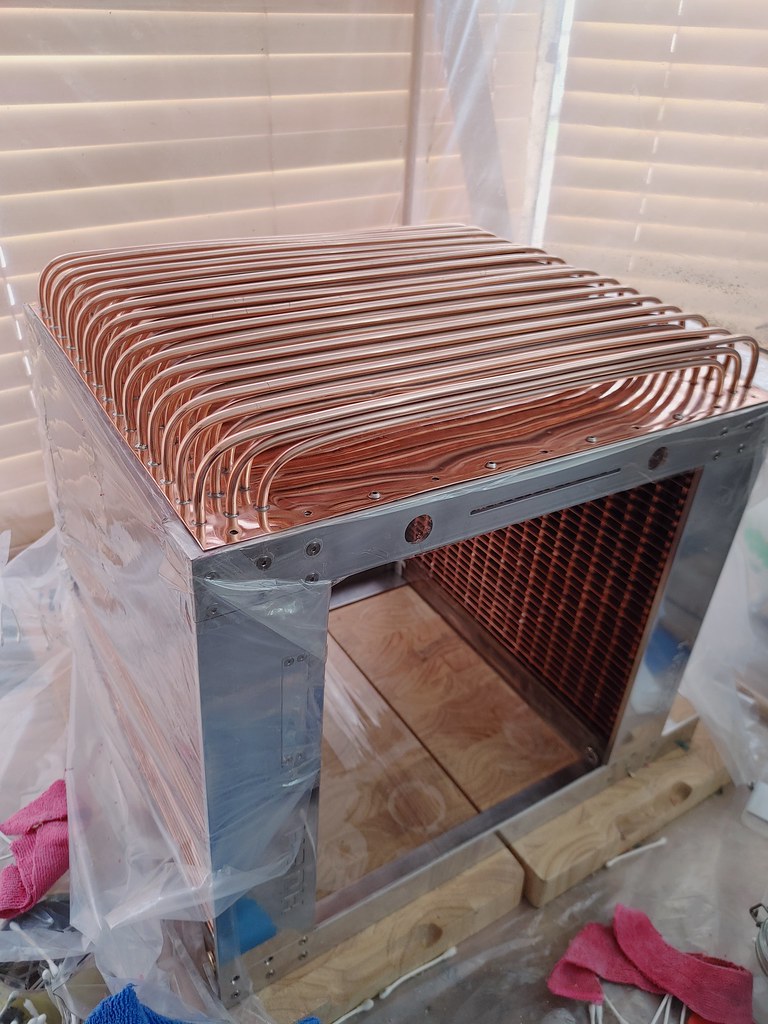 20220404_181116_HDR
 20220327_165039
 20220122_161833
 20220122_161934
 20211031_224433
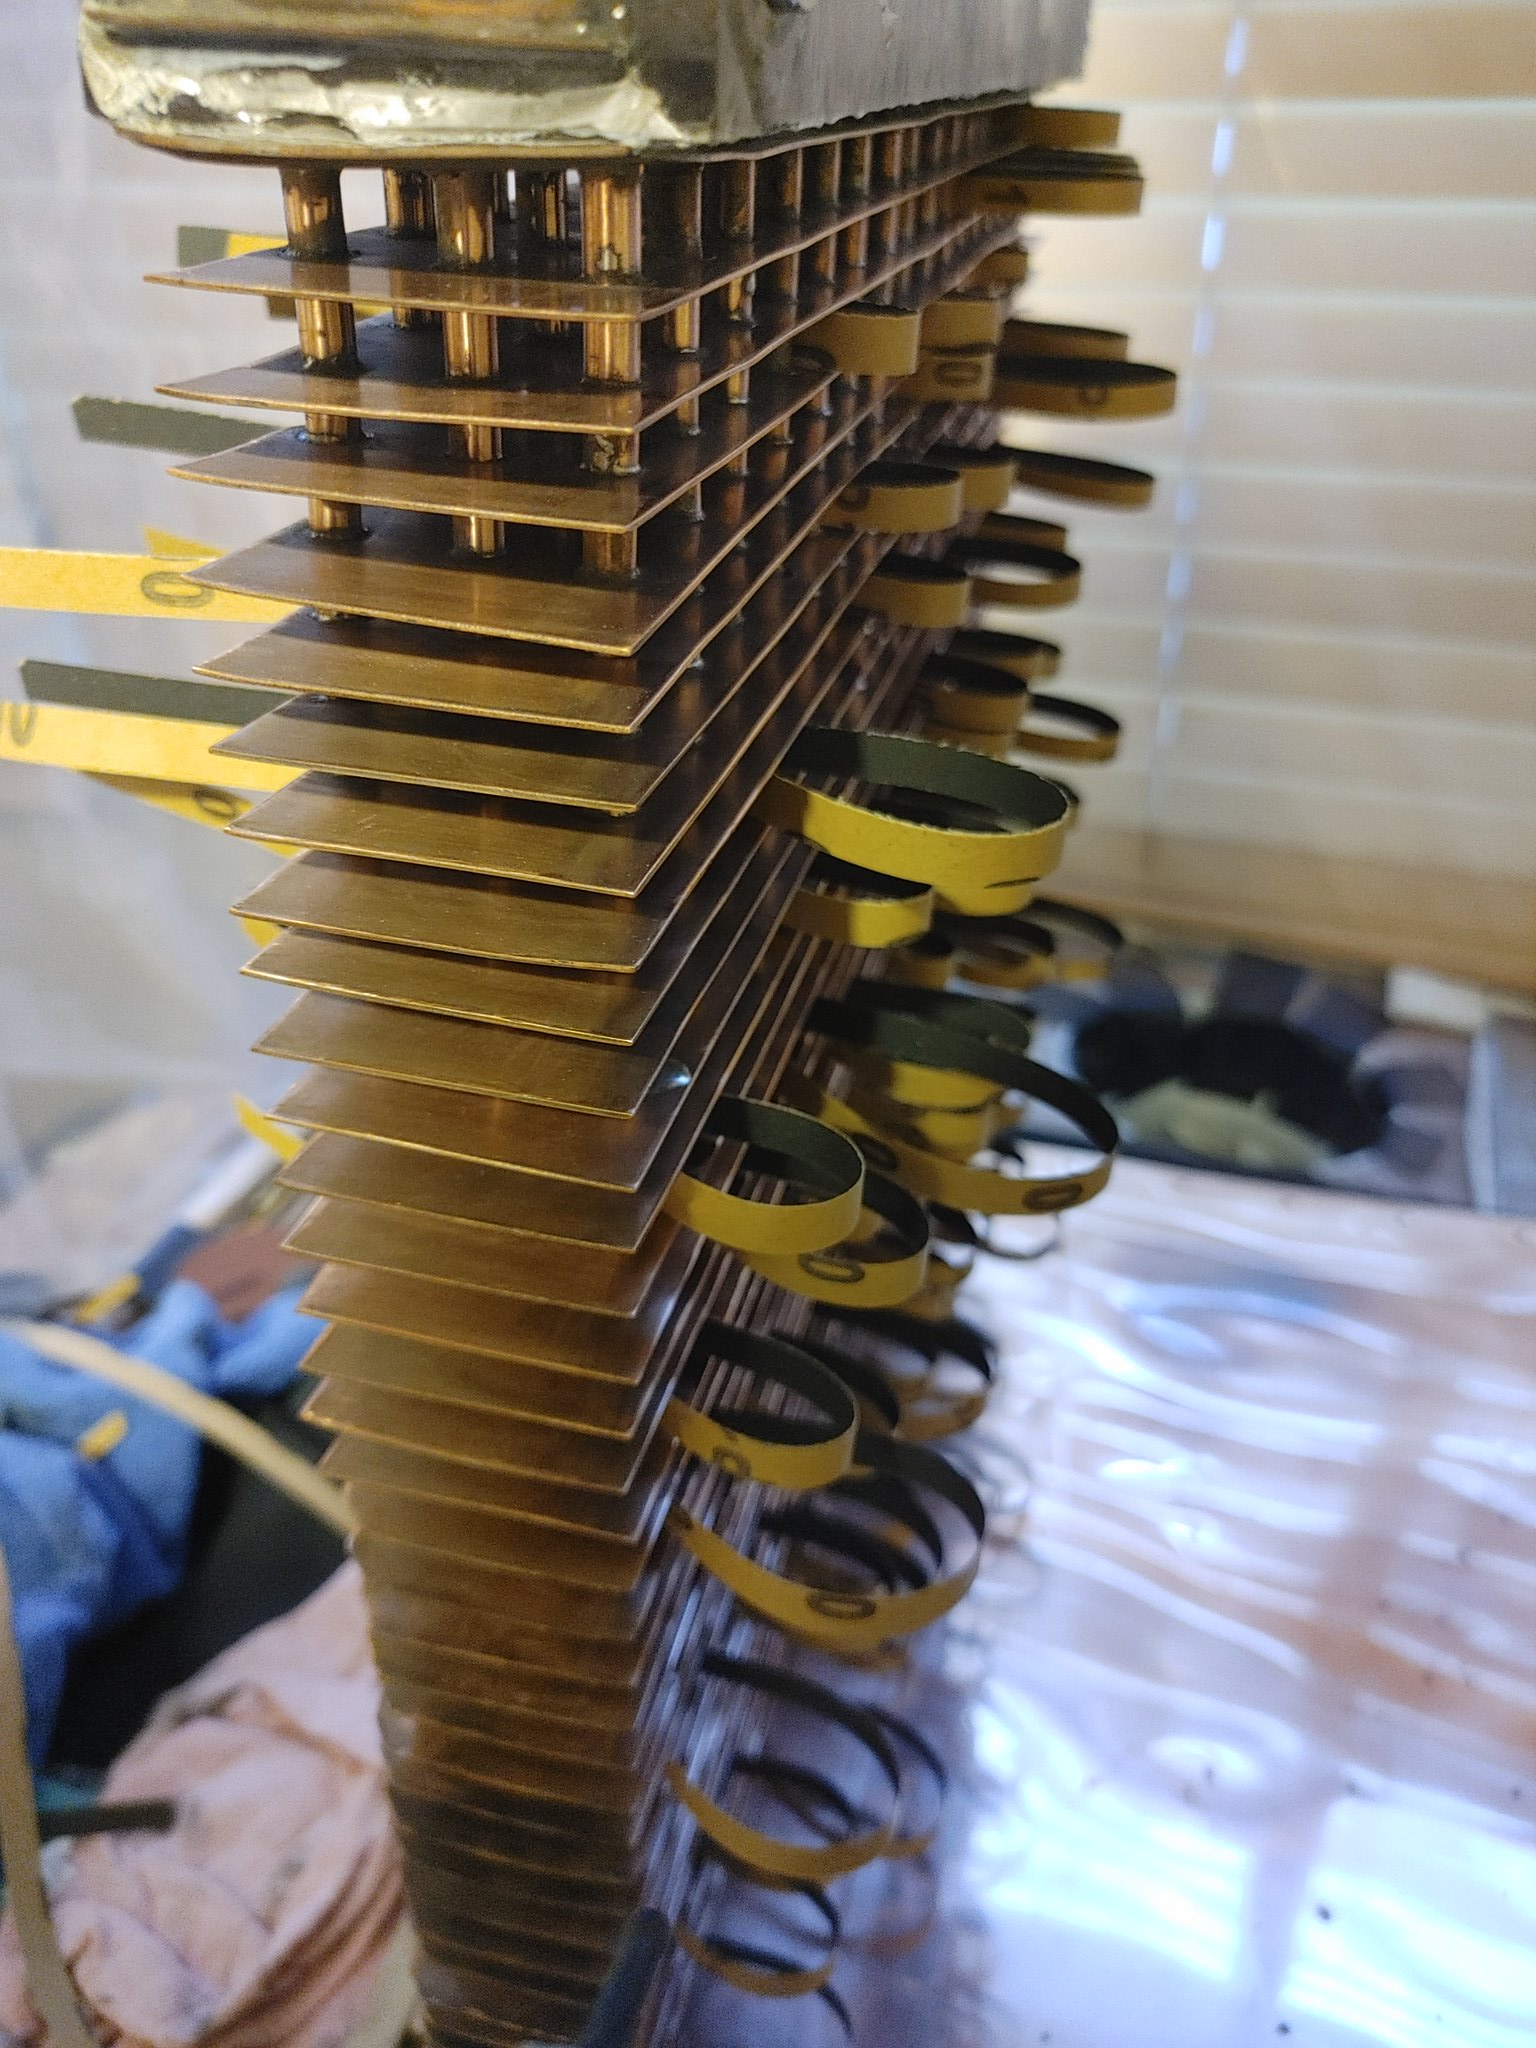 20211112_162027
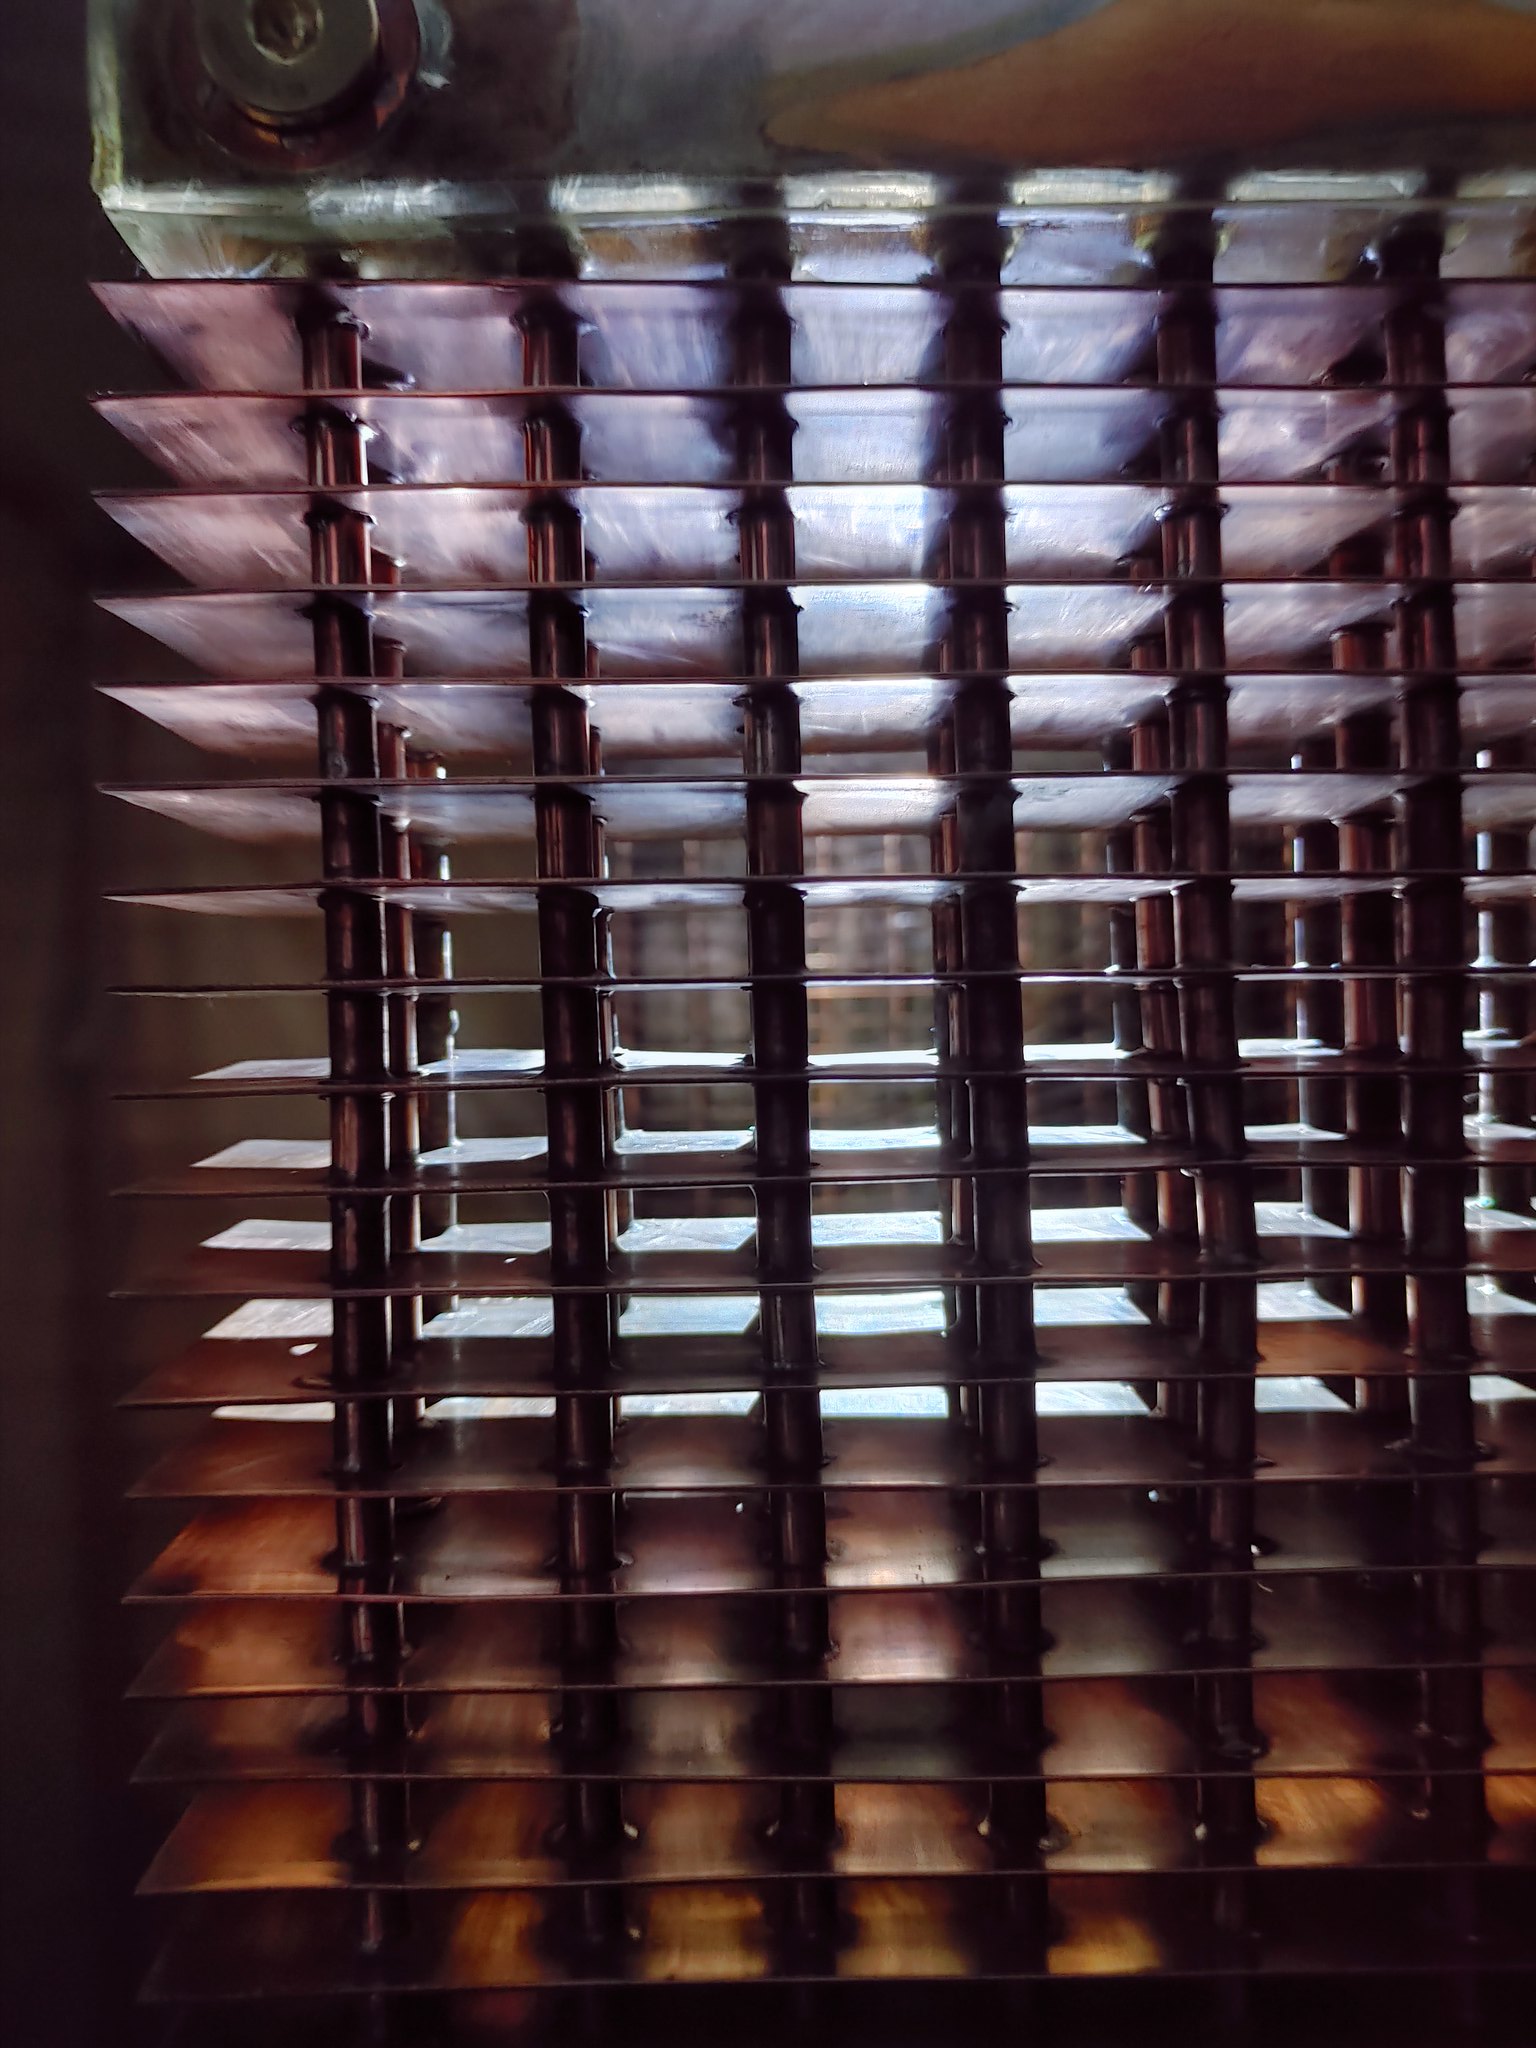 20220130_190612_HDR
 20211112_161905
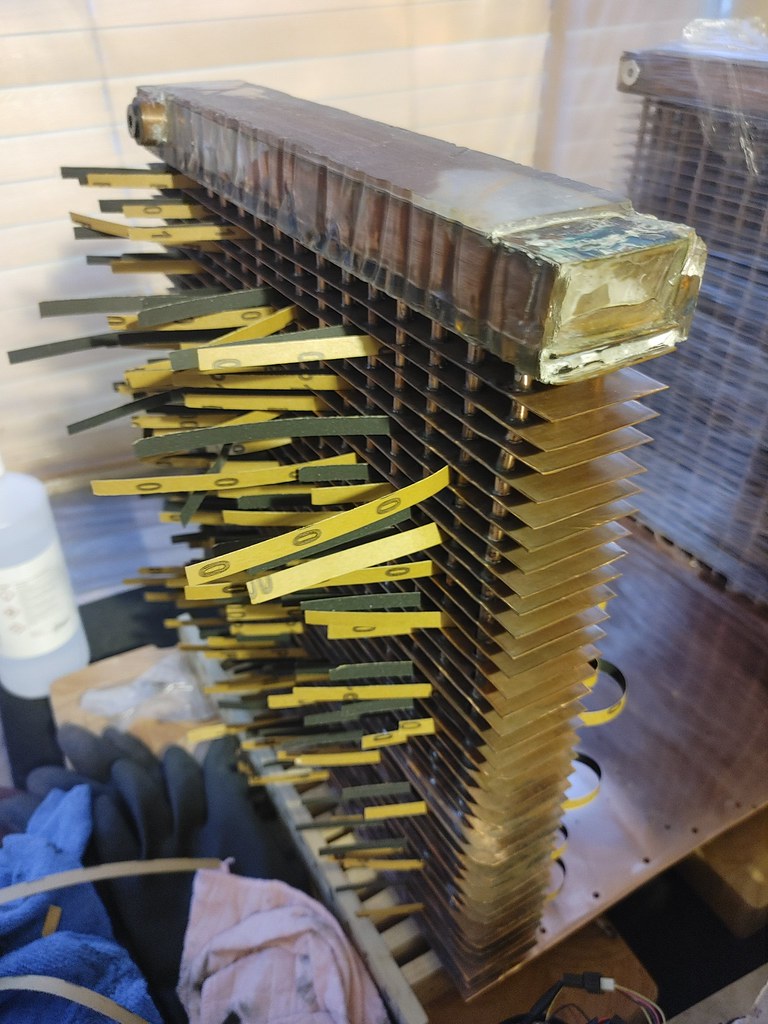 20211112_161916
 20220210_155437_HDR
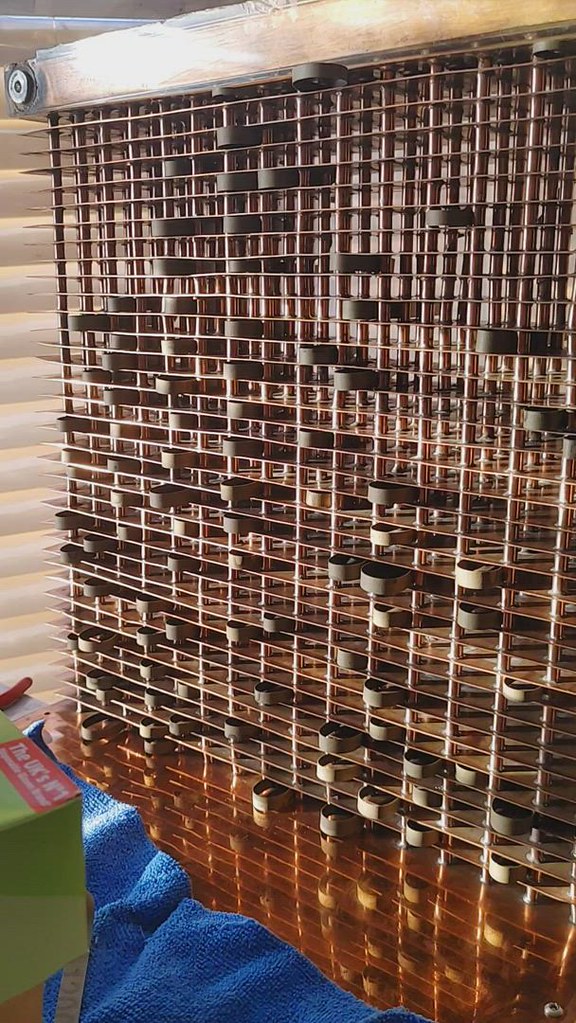 20220210_155125
 20220228_134132
 20220216_015928 Video - excuse the extractor fan noise!
 20220217_224259
 20220217_225553 (shiny, noisy video!)
 20220124_125808
 20220217_152030_HDR
 20220404_181116_HDR
 20220317_112454_HDR
 20220317_112518_HDR
 20220317_112522_HDR
 20220319_162236_HDR
 20220319_161132_HDR
 20220317_112647
 20220503_182206
 20220319_162630
 20210723_155345
 20210723_155437_(1)
 20210723_160259