

- Joined
- 13 Mar 2006
- Posts
- 6,712
Bit of progress - lots of small diamond filing of the resin manifolds (bit boring, no pics), and some sanding and polishing of the g1/4 bsp copper ports.
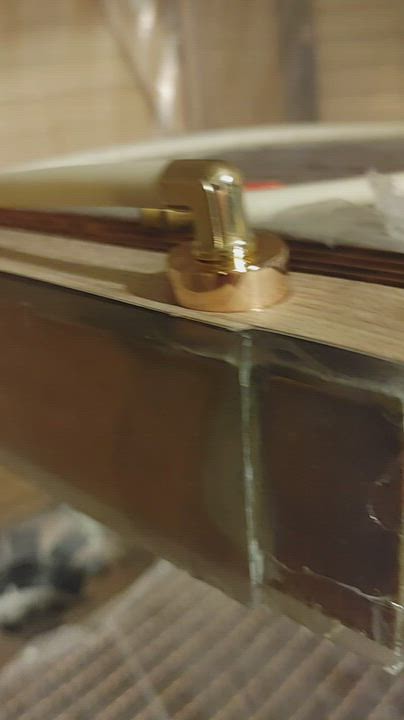
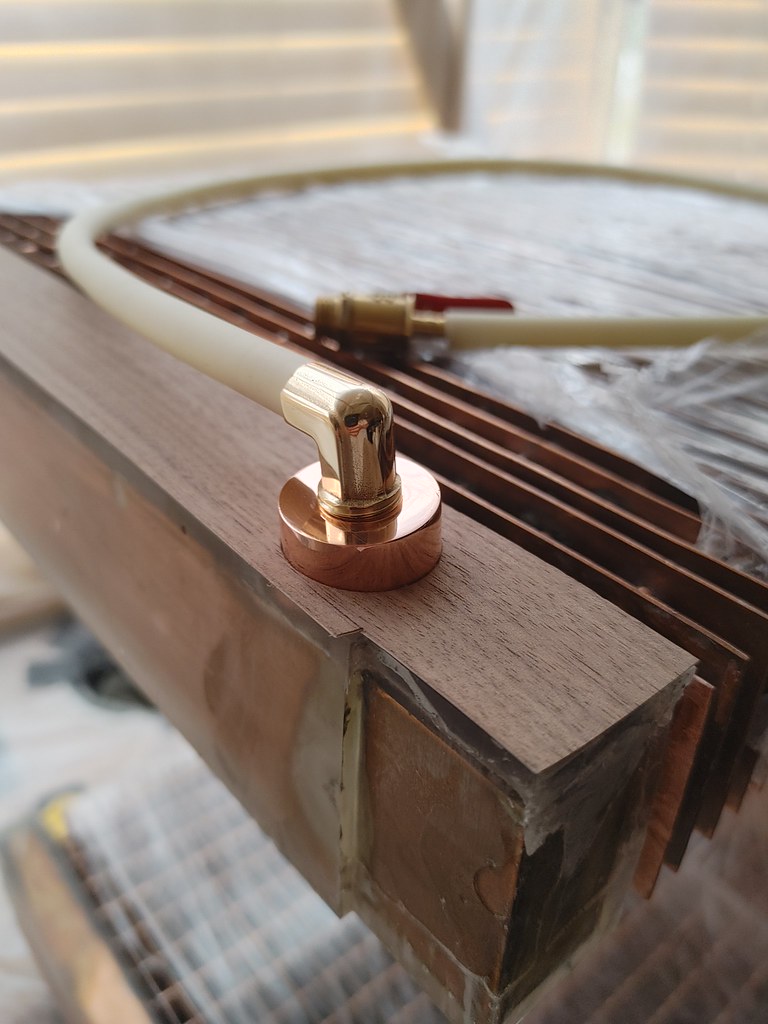
The case is upside down here - this is the drain port with an incompletely polished 1/4" right angle barbed connector with the 1m of 1/4" ID norprene drain pipe with a largely unsanded little 1/4" ball valve on the end. The norprene will be trimmed to around 35cm or so and the ball valve tucked away when finished.
Videos:
 YouCut_20220618_221335882
 YouCut_20220618_182149571
Photos:
 20220618_181238_HDR
 20220618_181044_HDR
The case is upside down here - this is the drain port with an incompletely polished 1/4" right angle barbed connector with the 1m of 1/4" ID norprene drain pipe with a largely unsanded little 1/4" ball valve on the end. The norprene will be trimmed to around 35cm or so and the ball valve tucked away when finished.
Videos:
YouCut_20220618_221335882YouCut_20220618_182149571Photos:
20220618_181238_HDR20220618_181044_HDR
Last edited:

 20220622_185156_HDR
 20220622_185310_HDR
 20220622_190554_HDR
 20220625_191618_HDR_(1)
 20220625_191655_HDR_(1)
 20220626_135336_HDR
 20220626_165548_HDR
 20220627_193132_HDR
 20220627_193211_HDR_(1)
 20220627_193309_HDR_(2)
 20220630_133137_HDR
 20220630_155453_HDR
 20220630_194139_HDR
 PSX_20220702_144235
 20220702_123850_HDR
 20220702_133446_HDR
 PSX_20220702_143216
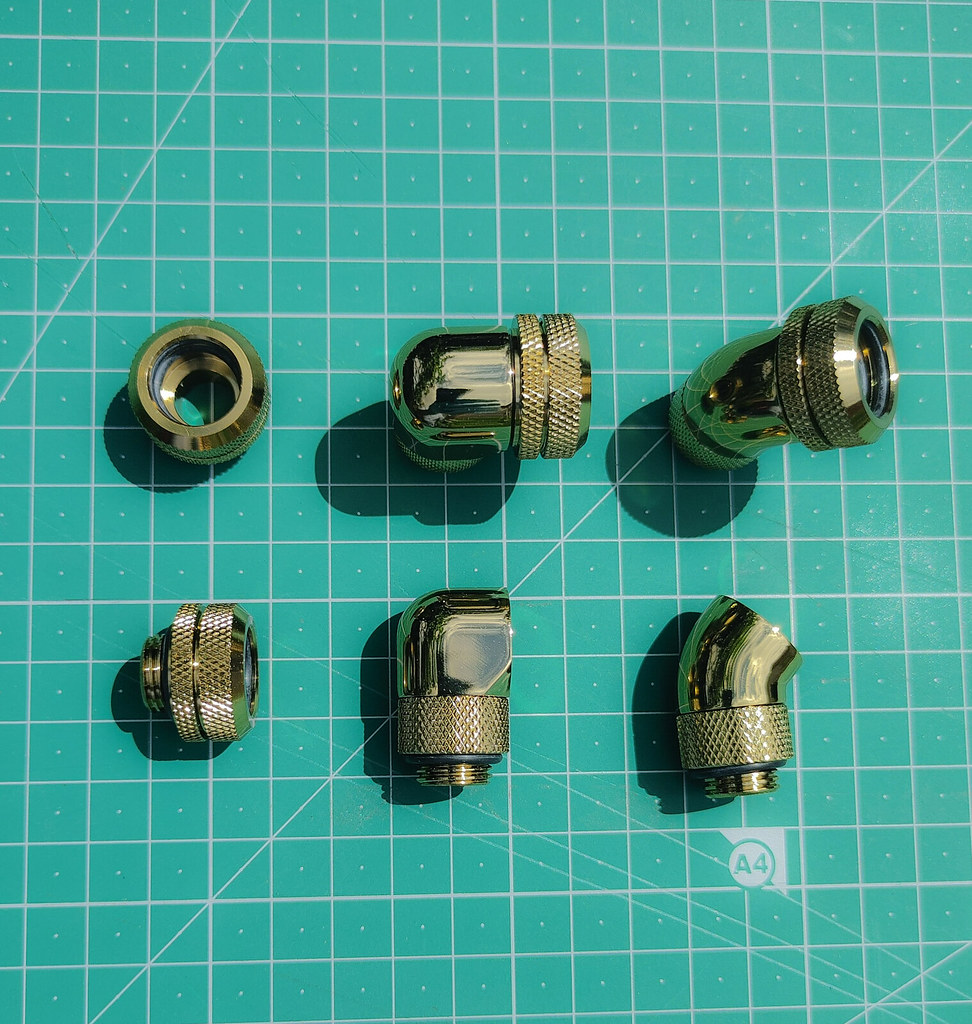 PSX_20220702_142822
 InShot_20220715_204810869