2022 Update to Project Black Hole
 forums.overclockers.co.uk

Welcome to my build
Background
Last year when I visited the OcUK HQ I was given a tour of the facility I was lucky enough to get a sneak peek at the first 8Pack System, now the Supernova. That was my first time seeing a CaseLabs case in person and I knew then I would have to have one!
With my current system being over 2 years old now (3960X, GTX 680 3-Way SLI) it is due for an upgrade and with X99 and Maxwell cards on the horizon I thought I would do things right this time and have the case and cooling system well sorted before the hardware arrives.
So this build will be inspired by the 8Pack Systems and if it looks like I am trying to copy them a bit, well I am
I started off with the idea of doing one big loop but have since changed my mind and will be doing two separate loops, for aesthetics with different coolent colours and I will only have to drain half of it to change something.
The colour scheme I am going for is all black with purple and blue coolants and matching MDPC braided power cables.
I am open to suggestions with the remaining TBD parts of the Cooling system and am open to sponsorship if any manufacturer thinks they would like to see their products used in this system.
Planned Hardware:
Intel Haswell-E Core i7-5960X
Asus X99-E WS Motherboard
G.Skill Ripjaws 4 3000MHz 15-15-15 16GB
3x Nvidia GTX Titan X
Corsair AX1500i
Samsung 1TB SSD 850 PRO
Cooling
Dedicated GPU and CPU/Mobo Water Cooling Loops
Aqua Computer Aquaero 6 XT
16x Noiseblocker eLoop B12-3 fans
2x Aqua Computer D5 Aquabus Pumps with Aqualis pump top Adapters
2x Aqua Computer Aqualis 450ml Reservoirs - Glass with Nano coating
2x Aqua Computer Flow Meters
4x XSPC RX480 V3 Radiators
EK Supremacy EVO Nickel Plexi I2/J3
EK FC Titan X Nickel Plexi
EK FC Bridge Triple Serial Plexi
Bitspower Matte Black 7/16 Fittings
PrimoChill Advanced LRT 7/16 Clear
Coolant: Mayhems Pastel with Mayhems Dye
Links to main log updates as I go:
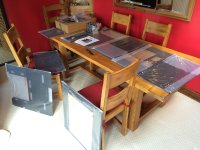
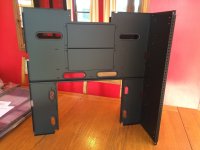
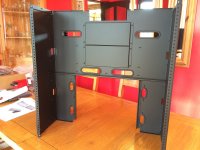
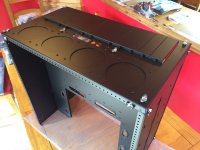
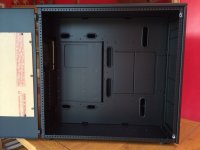
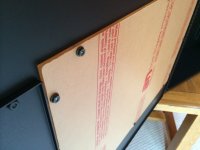
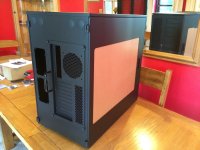
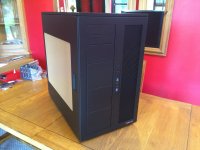
1. CaseLabs TH10A Assembly
2. Aquaero 6 XT Heat Sink & Bezel
3. Painting bits and mounting Aqualis combos
4. Making Radiator Fan Harnesses
5. Radiator Cleaning with Mayhems Blitz Pro Kit
6. Filter, Fan and Rad Mounting
7. Full Custom Corsair AX1500i Cables by James at Pexon PCs
8. Blocks Arrive
9. Hardware in the house!
10. A few more bits
11. It's alive!
12. Block and Tubes = Watercooling
13. Project Black hole 2022 Update!
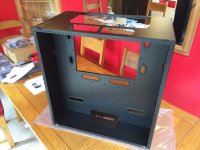
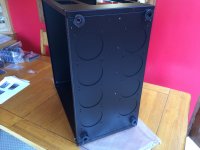
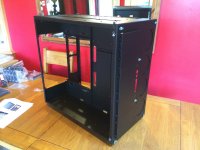
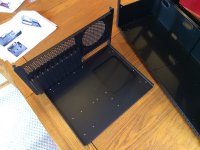
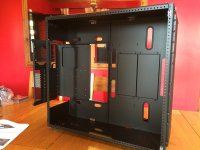
[Project Black hole] - CaseLabs TH10A
That is good to hear, thanks for the comment! Big post on cleaning the rads with the Mayhems Blitz Pro kit tomorrow night, just waiting for my final test to finish :) I'm considering buying that kit shortly, so will await big post... :D

Welcome to my build

Background
Last year when I visited the OcUK HQ I was given a tour of the facility I was lucky enough to get a sneak peek at the first 8Pack System, now the Supernova. That was my first time seeing a CaseLabs case in person and I knew then I would have to have one!
With my current system being over 2 years old now (3960X, GTX 680 3-Way SLI) it is due for an upgrade and with X99 and Maxwell cards on the horizon I thought I would do things right this time and have the case and cooling system well sorted before the hardware arrives.
So this build will be inspired by the 8Pack Systems and if it looks like I am trying to copy them a bit, well I am

I started off with the idea of doing one big loop but have since changed my mind and will be doing two separate loops, for aesthetics with different coolent colours and I will only have to drain half of it to change something.
The colour scheme I am going for is all black with purple and blue coolants and matching MDPC braided power cables.
I am open to suggestions with the remaining TBD parts of the Cooling system and am open to sponsorship if any manufacturer thinks they would like to see their products used in this system.

Planned Hardware:
Intel Haswell-E Core i7-5960X
Asus X99-E WS Motherboard
G.Skill Ripjaws 4 3000MHz 15-15-15 16GB
3x Nvidia GTX Titan X
Corsair AX1500i
Samsung 1TB SSD 850 PRO
Cooling
Dedicated GPU and CPU/Mobo Water Cooling Loops
Aqua Computer Aquaero 6 XT
16x Noiseblocker eLoop B12-3 fans
2x Aqua Computer D5 Aquabus Pumps with Aqualis pump top Adapters
2x Aqua Computer Aqualis 450ml Reservoirs - Glass with Nano coating
2x Aqua Computer Flow Meters
4x XSPC RX480 V3 Radiators
EK Supremacy EVO Nickel Plexi I2/J3
EK FC Titan X Nickel Plexi
EK FC Bridge Triple Serial Plexi
Bitspower Matte Black 7/16 Fittings
PrimoChill Advanced LRT 7/16 Clear
Coolant: Mayhems Pastel with Mayhems Dye
Links to main log updates as I go:
1. CaseLabs TH10A Assembly
2. Aquaero 6 XT Heat Sink & Bezel
3. Painting bits and mounting Aqualis combos
4. Making Radiator Fan Harnesses
5. Radiator Cleaning with Mayhems Blitz Pro Kit
6. Filter, Fan and Rad Mounting
7. Full Custom Corsair AX1500i Cables by James at Pexon PCs
8. Blocks Arrive
9. Hardware in the house!
10. A few more bits

11. It's alive!
12. Block and Tubes = Watercooling
13. Project Black hole 2022 Update!
Last edited:


