Permabanned
- Joined
- 9 Aug 2008
- Posts
- 35,707
Bad science? It was scientific science of the finest sort. I dunno what you lot are talking about... bad science psh...
Make it a clear coolant vince and then add some floating fish to the res lol
Bad science? It was scientific science of the finest sort. I dunno what you lot are talking about... bad science psh...
")
Lol
You guys are crazy
In a good sort of way though
 He's an oldish guy looks like he is getting ready to go to a prom or something! I would get photos but he's gone in now lol
Is he wealthy?Not as crazy as some guy I just seen out my window mowing his garden lawn in a tuxedo.
Is he wealthy?
If so he's not crazy
Wealthy people are eccentric
 - Sad times.
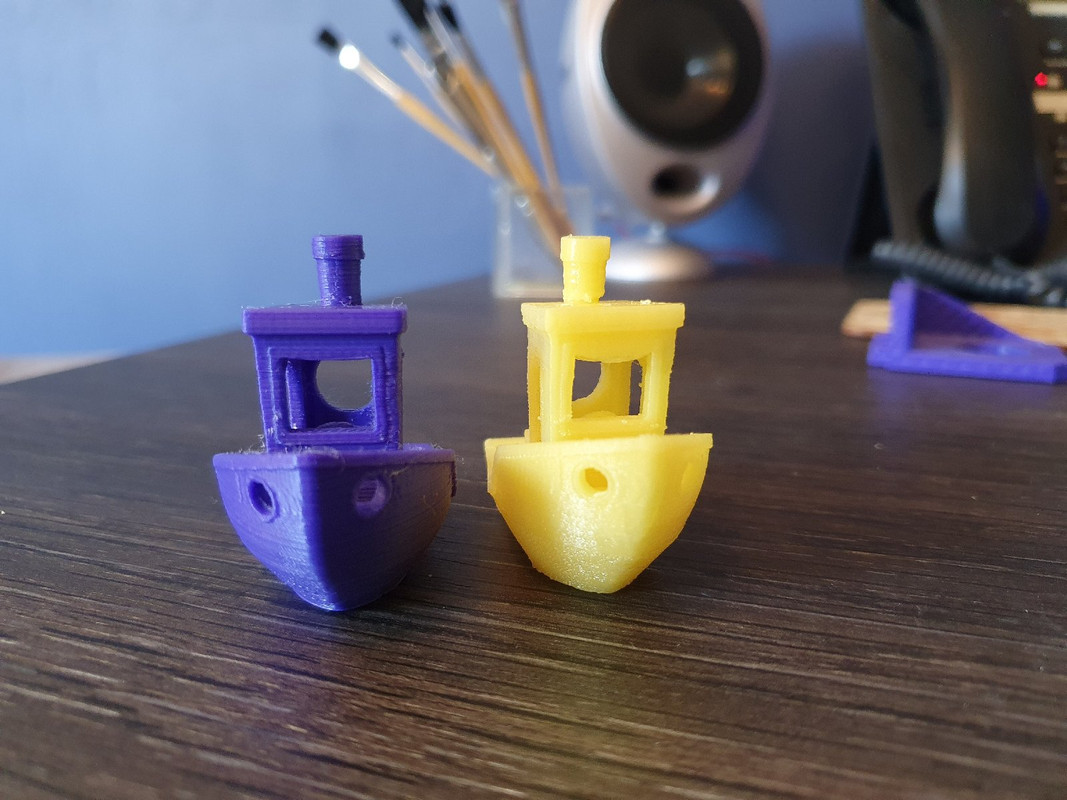
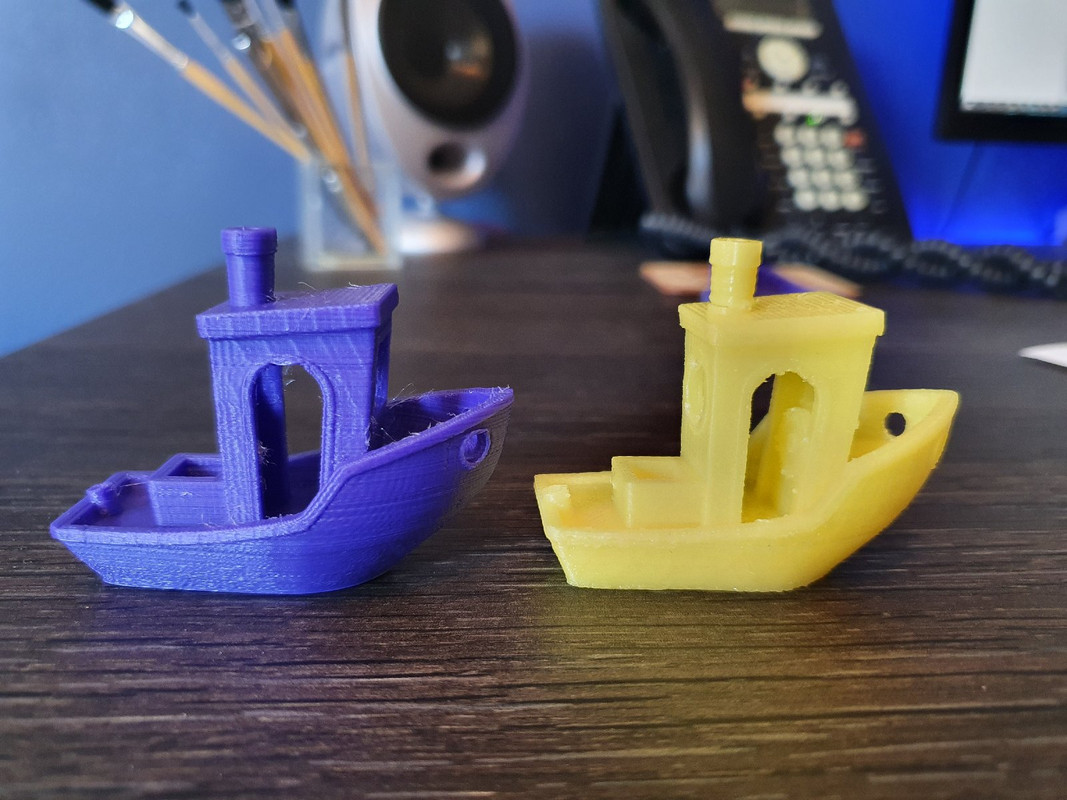
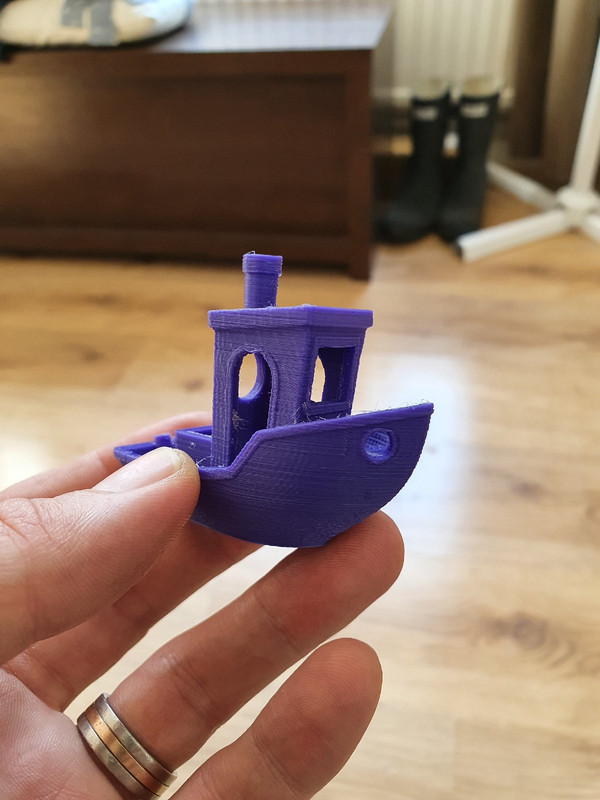
 Benchy is looking good!
Honestly I'm more interested in following the 3D printer saga now! Looking good, second boaty is looking sharp!

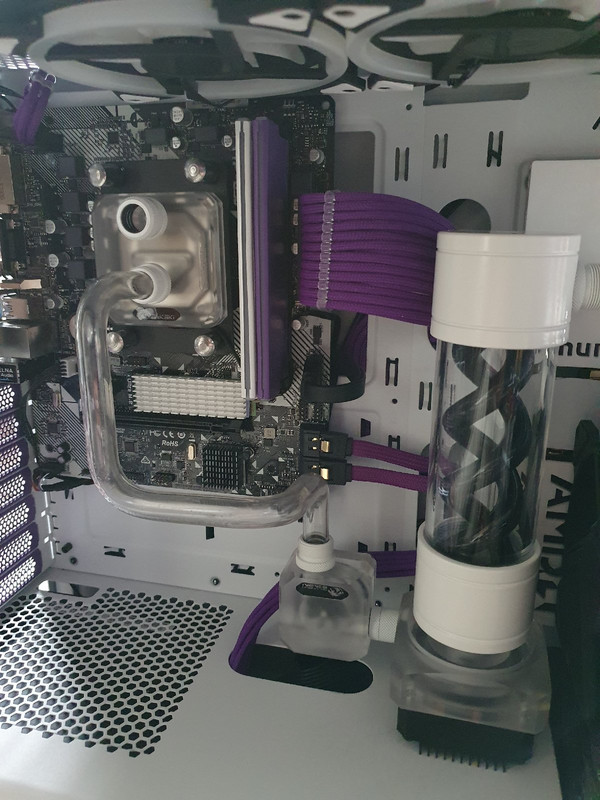
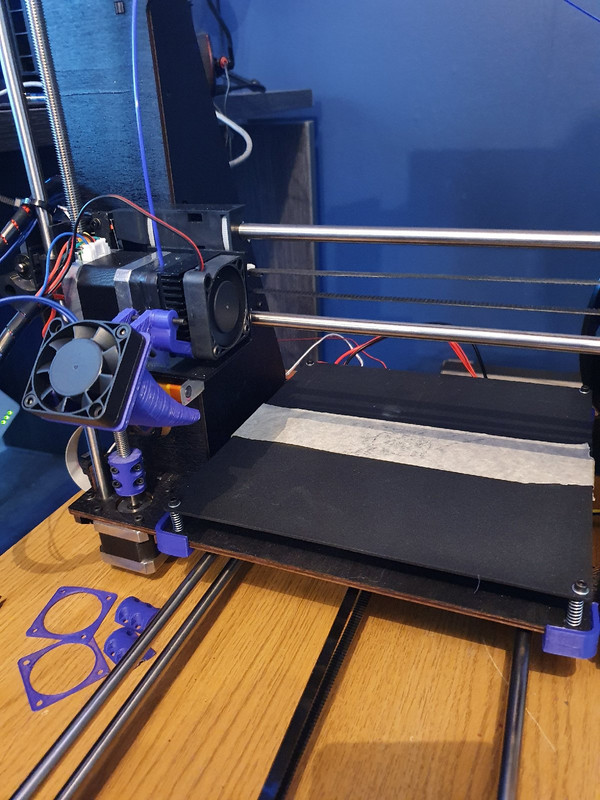
YayWell after buying the wrong thing no less than 3 times the 11mm inner diameter bendy thing is here. Updates to come over the next day or two
Yay
Was thinking we hadn't heard from you for a while

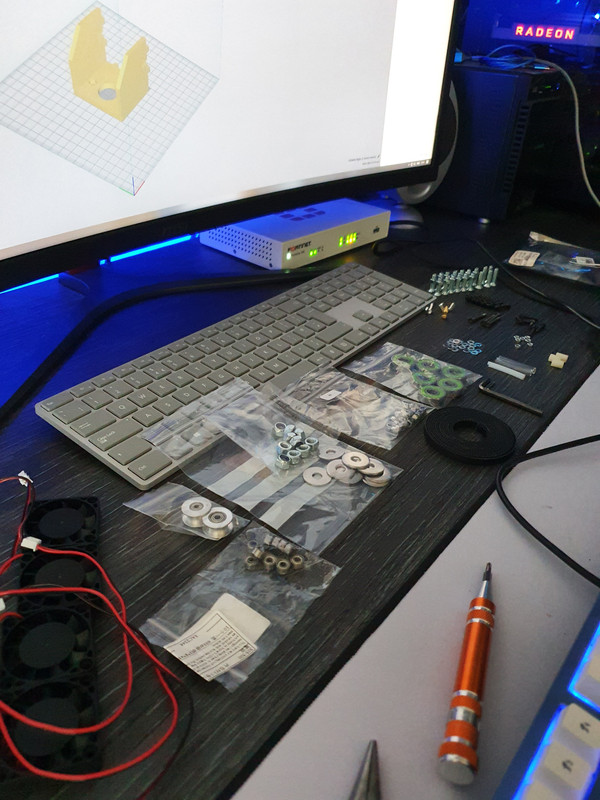
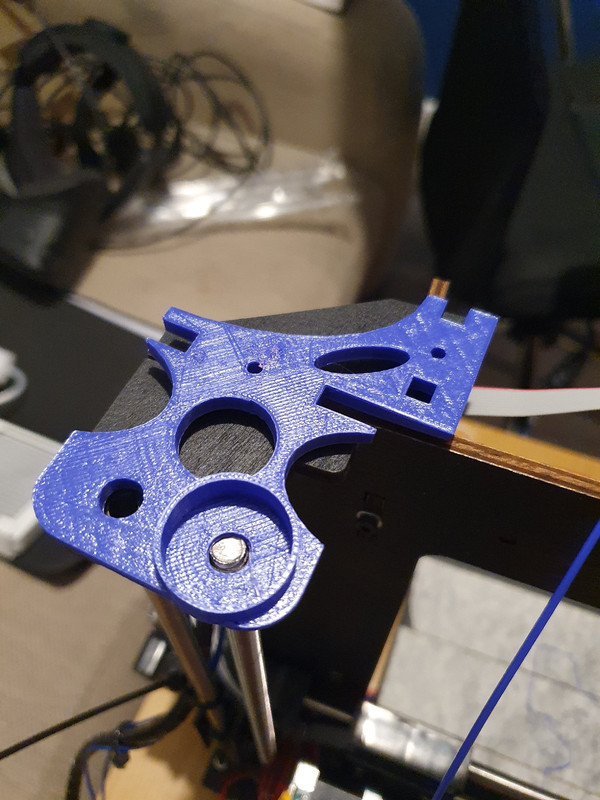
Nice to see you put the printer straight to something really usefulBeen a bit busy printing these: