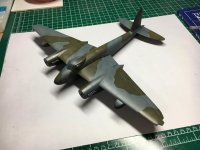
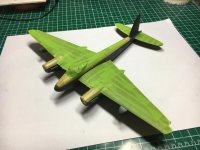
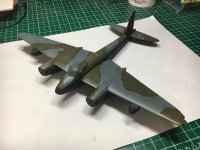
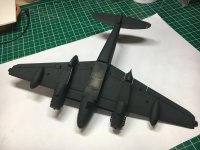
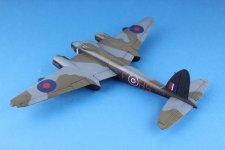
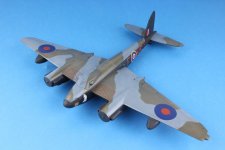
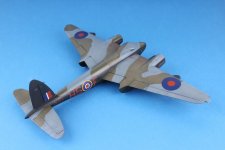
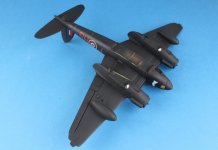
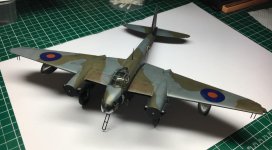
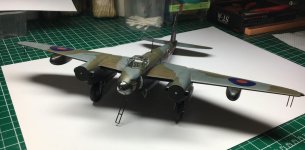
Not sure if people are interested in a model build thread but I'll put this one up as its going to be for my Dad who is 80 in June.
The De Havilland DH.98 Mosquito is a British twin-engine shoulder-winged multi-role combat aircraft, introduced during the Second World War, unusual in that its frame is constructed mostly of wood. It was nicknamed The Wooden Wonder, or "Mossie". Lord Beaverbrook, Minister of Aircraft Production, nicknamed it "Freeman's Folly", alluding to Air Chief Marshal Sir Wilfred Freeman, who defended Geoffrey de Havilland and his design concept against orders to scrap the project. In 1941 it was one of the fastest operational aircraft in the world.
Originally conceived as an unarmed fast bomber, the Mosquito's use evolved during the war into many roles, including low to medium-altitude daytime tactical bomber, high-altitude night bomber, pathfinder, day or night fighter, fighter-bomber, intruder, maritime strike aircraft. It was also used by the British Overseas Airways Corporation (BOAC) as a fast transport to carry small, high-value cargoes to and from neutral countries through enemy-controlled airspace. The crew of two, pilot and navigator, sat side by side. A single passenger could ride in the aircraft's bomb bay when necessary.
The Mosquito FBVI was often flown in special raids, such as Operation Jericho – an attack on Amiens Prison in early 1944, and precision attacks against military intelligence, security and police facilities (such as Gestapo headquarters). On the 10th anniversary of the Nazis' seizure of power in 1943, a morning Mosquito attack knocked out the main Berlin broadcasting station while Hermann Göring was speaking, putting his speech off the air.
The Mosquito flew with the Royal Air Force (RAF) and other air forces in the European, Mediterranean and Italian theatres. The Mosquito was also operated by the RAF in the South East Asian theatre and by the Royal Australian Air Force (RAAF) based in the Halmaheras and Borneo during the Pacific War. During the 1950s, the RAF replaced the Mosquito with the jet-powered English Electric Canberra.
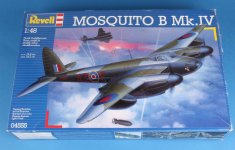
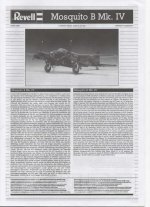
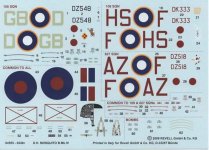
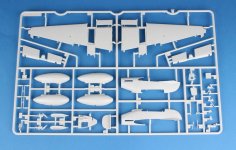
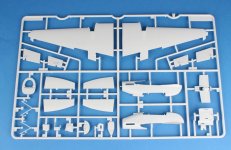
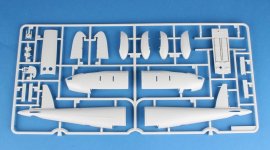
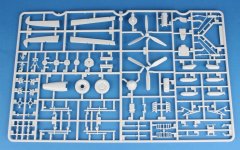
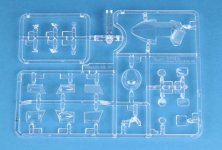
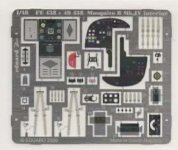
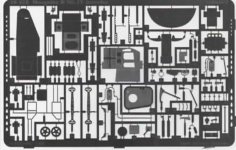
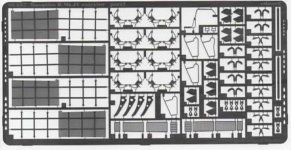
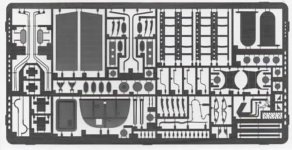
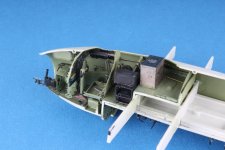
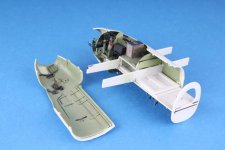
So made a start on the cockpit with the Eduard PE being fitted as per the instruction. Test fitting of the fuselage halves show the radios needed to be moved to allow the 2 halves and the canopy to fit properly.
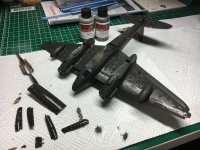
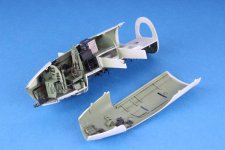
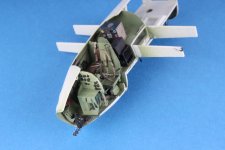
Coloured PE was left off and the interior areas of the cockpit, bomb bay and U/C bays were primed with badgers white primer then painted with MRP-111, Interior-Grey Green.
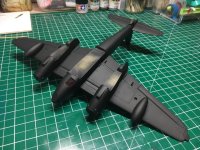
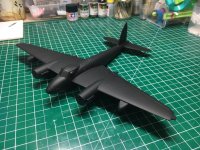
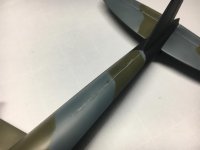
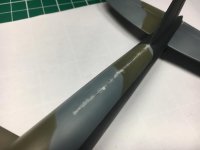
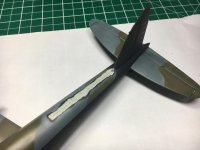
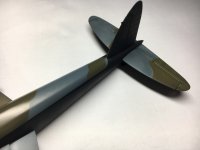
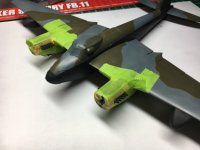
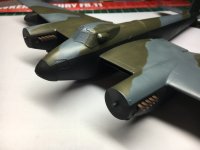
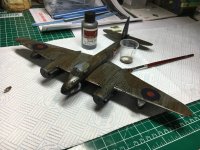
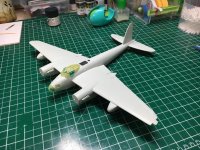
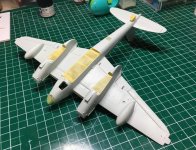
The remaining PE was fitted and final assembly carried out with minimal test fitting and no real filler required.
The De Havilland DH.98 Mosquito is a British twin-engine shoulder-winged multi-role combat aircraft, introduced during the Second World War, unusual in that its frame is constructed mostly of wood. It was nicknamed The Wooden Wonder, or "Mossie". Lord Beaverbrook, Minister of Aircraft Production, nicknamed it "Freeman's Folly", alluding to Air Chief Marshal Sir Wilfred Freeman, who defended Geoffrey de Havilland and his design concept against orders to scrap the project. In 1941 it was one of the fastest operational aircraft in the world.
Originally conceived as an unarmed fast bomber, the Mosquito's use evolved during the war into many roles, including low to medium-altitude daytime tactical bomber, high-altitude night bomber, pathfinder, day or night fighter, fighter-bomber, intruder, maritime strike aircraft. It was also used by the British Overseas Airways Corporation (BOAC) as a fast transport to carry small, high-value cargoes to and from neutral countries through enemy-controlled airspace. The crew of two, pilot and navigator, sat side by side. A single passenger could ride in the aircraft's bomb bay when necessary.
The Mosquito FBVI was often flown in special raids, such as Operation Jericho – an attack on Amiens Prison in early 1944, and precision attacks against military intelligence, security and police facilities (such as Gestapo headquarters). On the 10th anniversary of the Nazis' seizure of power in 1943, a morning Mosquito attack knocked out the main Berlin broadcasting station while Hermann Göring was speaking, putting his speech off the air.
The Mosquito flew with the Royal Air Force (RAF) and other air forces in the European, Mediterranean and Italian theatres. The Mosquito was also operated by the RAF in the South East Asian theatre and by the Royal Australian Air Force (RAAF) based in the Halmaheras and Borneo during the Pacific War. During the 1950s, the RAF replaced the Mosquito with the jet-powered English Electric Canberra.


So made a start on the cockpit with the Eduard PE being fitted as per the instruction. Test fitting of the fuselage halves show the radios needed to be moved to allow the 2 halves and the canopy to fit properly.
Coloured PE was left off and the interior areas of the cockpit, bomb bay and U/C bays were primed with badgers white primer then painted with MRP-111, Interior-Grey Green.
The remaining PE was fitted and final assembly carried out with minimal test fitting and no real filler required.


