[Sponsored] --- "TEARS IN RAIN" --- (Blade Runner inspired Threadripper, Parvum build)

Associate
Joined
20 Jul 2014
Posts
164
Location
South San Francisco, CA
lCE7l1wh.png.jpg
All, it's been a while. After a very tough couple of years filled with loss among other things, I'm back with a new idea, and build... This one is inspired by the world Blade Runner. With the new film, Blade Runner 2049 on the horizon, and the original as one of my favorite movies of all time, I was struck recently with inspiration. More on that below. I have every intention of this being the best build I've ever done, as well as the case by the legendary Parvum Systems being the most ambitious, and unique thing they've ever done for someone. Also I will make sure the content is also the best I've ever done, with new ideas for video and photo work, beginning with the inspiration video below. I'm starting this build log from the very beginning, directly after having the idea. Currently I am designing the case and will have updates soon.


nlu0waIh.jpg


I want to kick this build off a little differently... I've made a video below to provide a visual of what was going through my mind when I was inspired to do this build. Recently I was out for a jog and I was listening to a song by Fred V and Grafix called 'Bladerunner'. I've loved the song for a while and it's sci-fi sound is very reminiscent of the movie 'Blade Runner' it was obviously inspired by. Well as I was listening to the song, also having recently seen the trailer for 'Blade Runner 2049', I started seeing images in my head from the movies, visualizing the atmosphere and world of Blade Runner. I listened to the song several times in a row, seeing various scenes from the original film and the trailer from the new one. I kept visualizing world and city nightscape... Then it struck me - with the new film on the horizon I have to do a build inspired by the world of Blade Runner... I spent several, several hours creating the video below, using the same song and using various scenes from the movies to try and give you insight to the inspiration that washed over me. To the best of my memory and ability, the video below represents what I saw in my head that day. Hope you enjoy.


yC1HfPVh.jpg


Main Components:


Case - Parvum Systems L1.0 (Highly Customized)
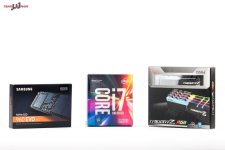
CPU - AMD Threadripper 1950X
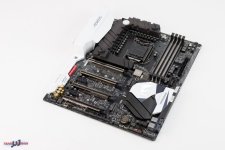
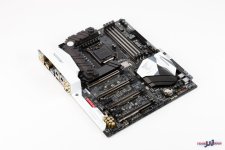
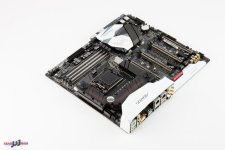
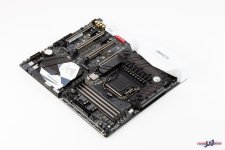
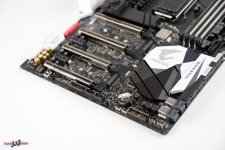
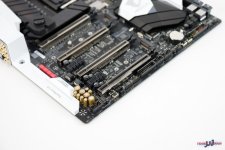
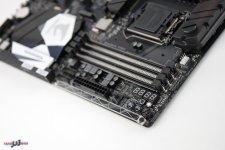
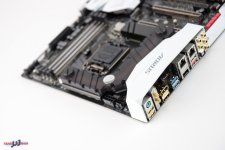
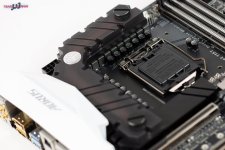
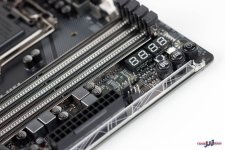
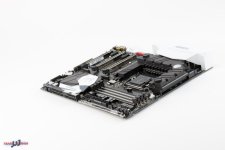
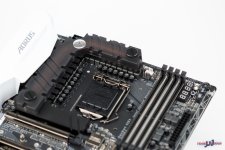
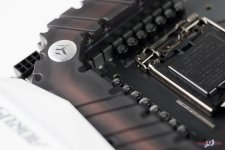
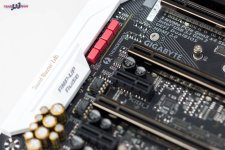
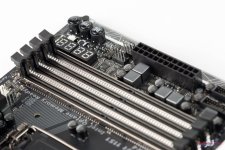
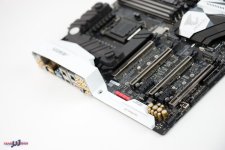
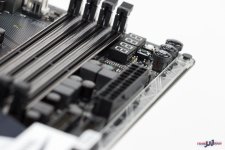
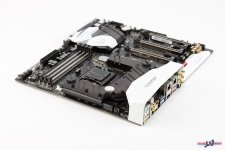
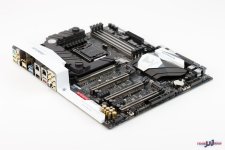
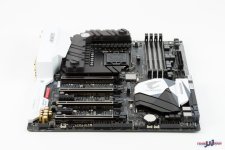
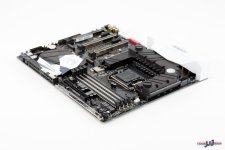
Motherboard - GIGABYTE X399 AORUS Gaming 7
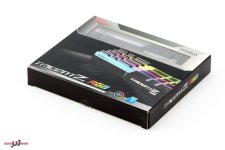
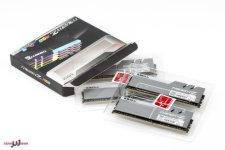
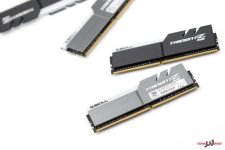
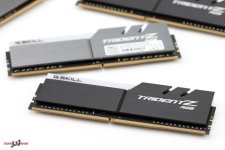
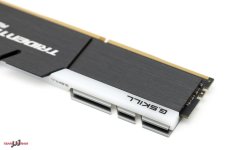
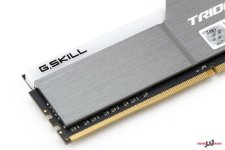
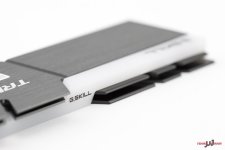
Memory - 32GB G.Skill DDR4 TridentZ RGB 3200Mhz
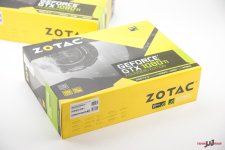
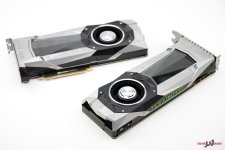
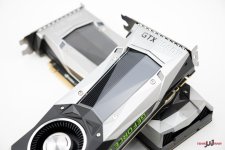
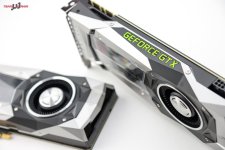
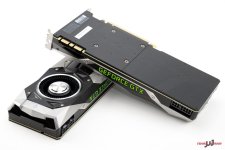
GPU's - 2 x Nvidia GTX 1080 Ti Founders Edition
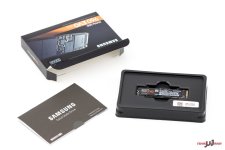
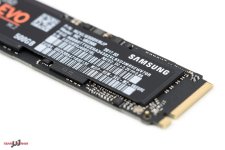
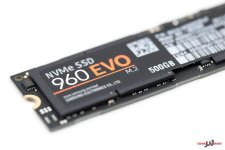
SSD - 2 x Samsung 960 EVO 500GB PCIe NVMe - M.2
HDD - 2 x Seagate BarraCuda Pro 10tb
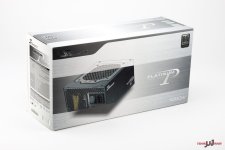
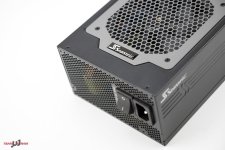
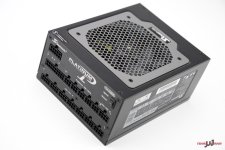
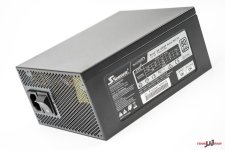
PSU - Thermaltake ToughPower RGB 1250W TITANIUM

Watercooling Components:


CPU Block - Watercool Heatkiller IV PRO Threadripper
GPU Block's - 2 x Watercool Heatkiller IV, Acryl Ni-Bl + Backplates
Radiators - 2 x EK Coolstream PE 240mm, 1 x EK 360mm
Pump - 2 x Swiftech MCP35X
Pump Tops - 2 x Watercool DDC Case LT
Fittings - Bitspower Black Sparkle (Various, C47 Tube Connectors)
Tubing - Bitspower Brass Link 12mm OD, Black Sparkle
Coolant - Mayhems Aurora (2 Colors, Undecided)


Miscellaneous:

Lighting - Darkiside RGB
Fans - 9 x Thermaltake Riing Plus 12 RGB Tt Premium Edition 120mm
Cables - Ensourced Custom Sleeved Cables
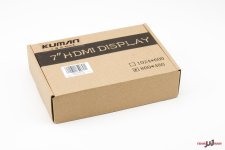
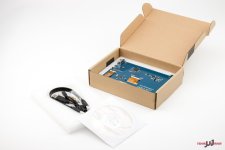
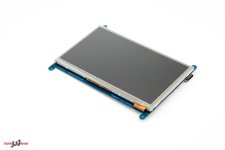
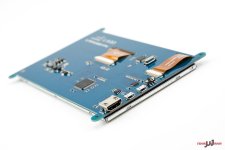
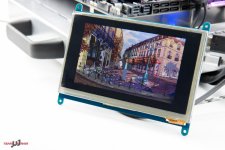
Built-in Display - Kuman 7 Inch Capacitive Touch Screen


*BUILD FINISHIED, FINAL VIDEO BELOW!*


Last edited:
Soldato
Joined
31 Dec 2006
Posts
7,224
Interested to see how this turns out. Bladerunner is one of my favourites also. Just ref your video though, while that music is fine in and of itself, to not use Vangelis with those visuals is a travesty IMO... even the new 2049 trailer didn't make that mistake lol! ;)
 
Associate
OP
Joined
20 Jul 2014
Posts
164
Location
South San Francisco, CA
Interested to see how this turns out. Bladerunner is one of my favourites also. Just ref your video though, while that music is fine in and of itself, to not use Vangelis with those visuals is a travesty IMO... even the new 2049 trailer didn't make that mistake lol! ;)

The reason I used the song is that's what I was listening to when I got the idea for the build :)

Plenty of Vangelis to come... ;)
 
Associate
OP
Joined
20 Jul 2014
Posts
164
Location
South San Francisco, CA


1gtqAmuh.jpg


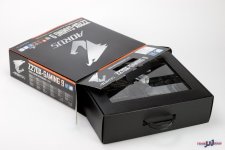
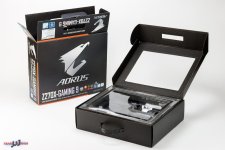
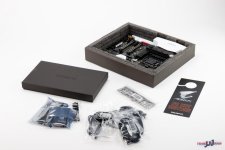
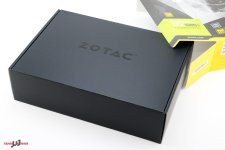
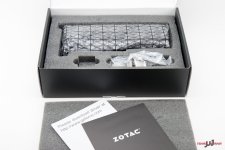
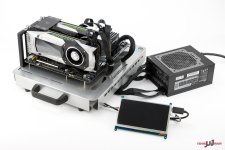
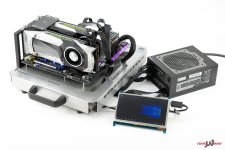
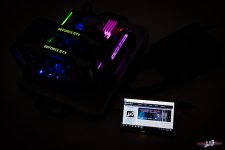
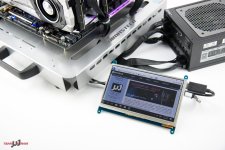
Mooooooore components for the build... Went with Zotac on the GPU's because, well, it seems like I never see them. I really dig the box, colors, design, and packaging quality in person. Also here's the wee little screen that will be implemented into the case... Much more on that to come. I also hooked everything up, tested, and installed the OS :)


Video:


Photos:


sw60KUph.jpg

bZ7nqNth.jpg

WEXTcP5h.jpg

dGJEXNDh.jpg

gbvFRrih.jpg

bYROEWCh.jpg

9RfDQNhh.jpg

E1jRPsdh.jpg

KJhJl8ph.jpg

xJLx8CHh.jpg

6mCnxODh.jpg

wNWOaCWh.jpg

DF1wPoOh.jpg

kf1yuZ1h.jpg

cazfZqSh.jpg

i5W3iR2h.jpg

yGm0gJuh.jpg

wGsbd8Th.jpg

osdb5Bsh.jpg

8QRFLQfh.jpg


Aannnd, in case anyone was wondering, it can run the best game ever made :p :


H8RO05gh.jpg

 
Associate
OP
Joined
20 Jul 2014
Posts
164
Location
South San Francisco, CA
tmtvwGWh.jpg


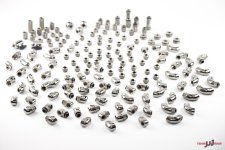
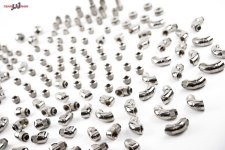
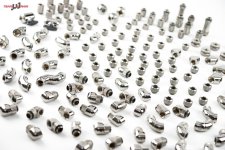
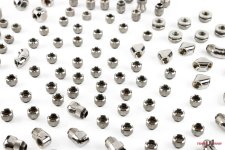
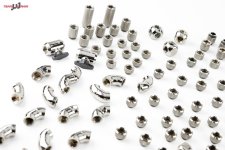
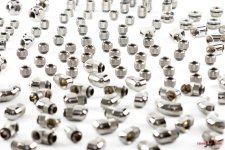
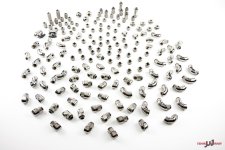
More component photo's... This time a delicious assortment of Bitspower Black Sparkle fittings! Some are new and some were thieved from Robocop's innards, rest his soul :(

I will also be using Bitspower's Black Sparkle tube for the build as well.


Video:


Photos:


9xWQgn7h.jpg

ZawVlgEh.jpg

DGdP0Dsh.jpg

HUjv0bph.jpg

aIg6LnUh.jpg

pR0AH0Lh.jpg

JyyhQIdh.jpg

5Ijohg2h.jpg

9pWUefFh.jpg

RFbjdL2h.jpg

Yo! :p

cCLTZdph.jpg

 
Associate
OP
Joined
20 Jul 2014
Posts
164
Location
South San Francisco, CA
Finally decided on fans for the build! I'm going to try out the Thermaltake Riing Plus 12 RGB Tt Premium Edition 120mm's. I ordered 9 of them as you can only order them in 3-packs, but I may only use 7. There's one 360, and two 240 rads in the build, and I may do one of the 240's in push/pull (the one in the lower chamber), just depends on room down there.

I chose these ones because they have software control which is an obvious plus.
 
Associate
OP
Joined
20 Jul 2014
Posts
164
Location
South San Francisco, CA
tmtvwGWh.jpg


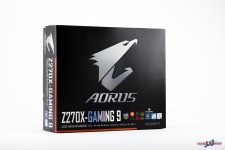
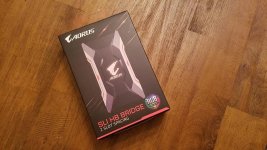
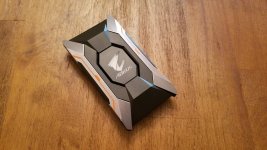
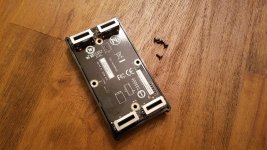
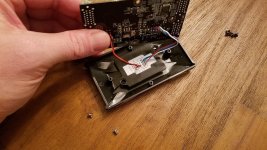
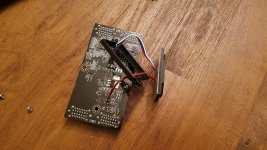
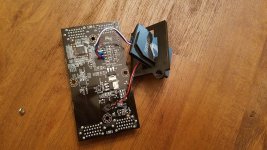
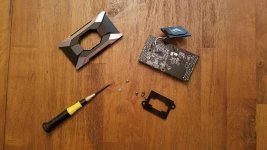
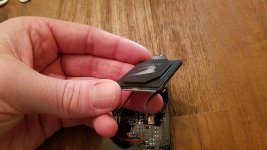
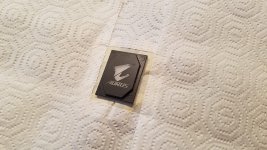
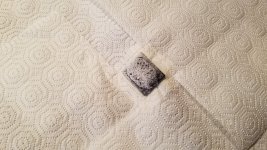
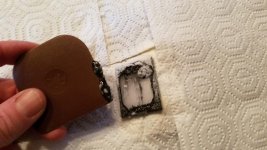
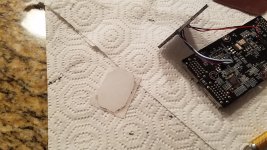
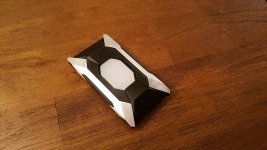
Ok, so, I nabbed one of these Aorus SLI Bridge's with the hope that I could easily modify it in some way to add a new graphic. Turned out to be pretty easy and the steps are below, along with some crude phone pics (this is how I did it - there may be other techniques, these were just mine). I will return back to this little piece in the log once the shell is painted and the new graphic is laid on the acrylic, I'll include steps for that too... :)


Here's the original piece:


d41mts9h.jpg


It has the Aorus logo I'll be replacing, as well as the orange painted stripes I'll be sanding off:

LUU0DTSh.jpg


4 small Philips screws on the underside reveal 2 more screws to release the LED panel:

f7UCTRih.jpg

IcYG7CIh.jpg


Once everything is unscrewed the little LED panel can be pulled through the little bracket that was held by the 2 screws:

0qd7X7xh.jpg

a3Hio6uh.jpg

L6CWxAGh.jpg


Remove the small strip of vinyl around the edge and then use a small flathead to break the top acrylic piece loose, mask up the loose piece:

yjsXr3qh.jpg

y2GXnkLh.jpg


I then used some spray paint stripper and left it on for a few minutes and scraped off the old painted on logo:

nnfWeuCh.jpg

Qsz2WPJh.jpg


Cleaning off took a little bit and I ended up using some 320 grit wet-sand paper in the edges. Once done it looked pretty great, and I used a dab of glue to remount the acrylic piece:


u0G14X5h.jpg


Now it's ready to lay a new logo on, which I'll be using my vinyl cutter for. The shell will also be getting painted along with other parts of the build. I removed the orange stripes on the shell with 320 grit wet-sand paper. Here it is all put back together, which I'll be taking apart in the near future and finishing it up:

hdY93Kuh.jpg

 
Soldato
Joined
31 Dec 2006
Posts
7,224
Yes, ditto above, very intrigued to see the case, which is going to be a crucial element here. What are your plans with it? Very intrigued to see what customisation work you're having done.
 
Back
Top Bottom