OcUK Staff
Our best selling Z170 Bundle authored and supported by yours truly just got even better value 
For a limited number of 100 sales we are giving away a triple whammy of freebies for our customers to salivate over and hopefully use! This is a proven "top class" overclocked bundle.
The freebies alone total almost £200.
So the bundle includes:
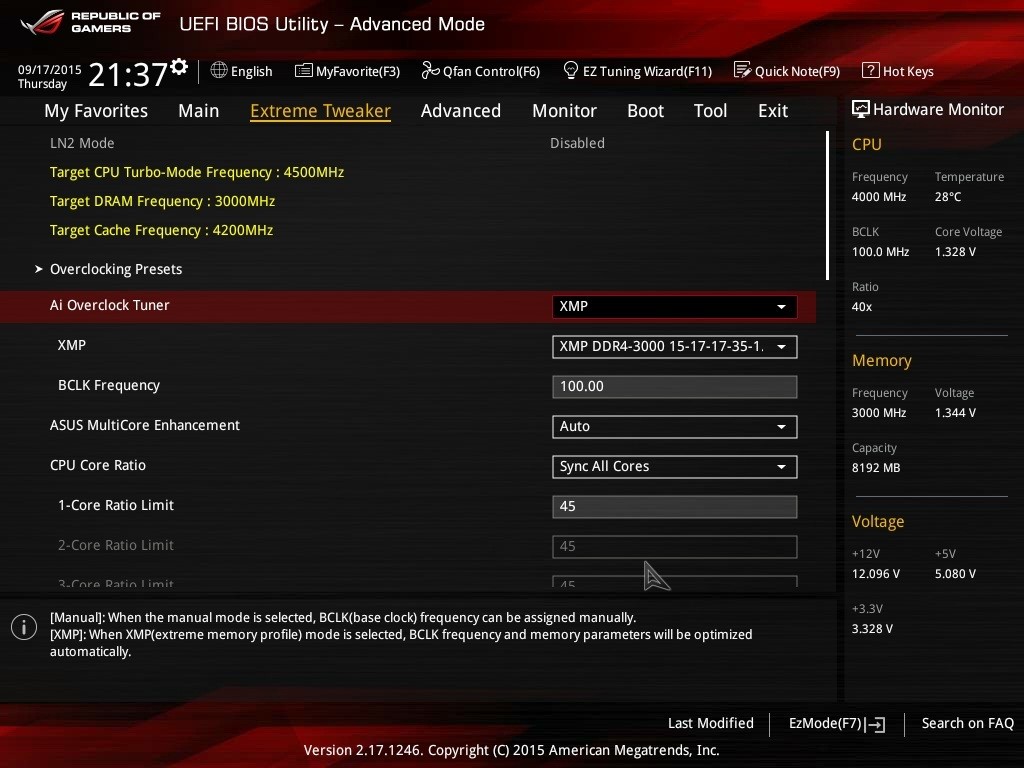
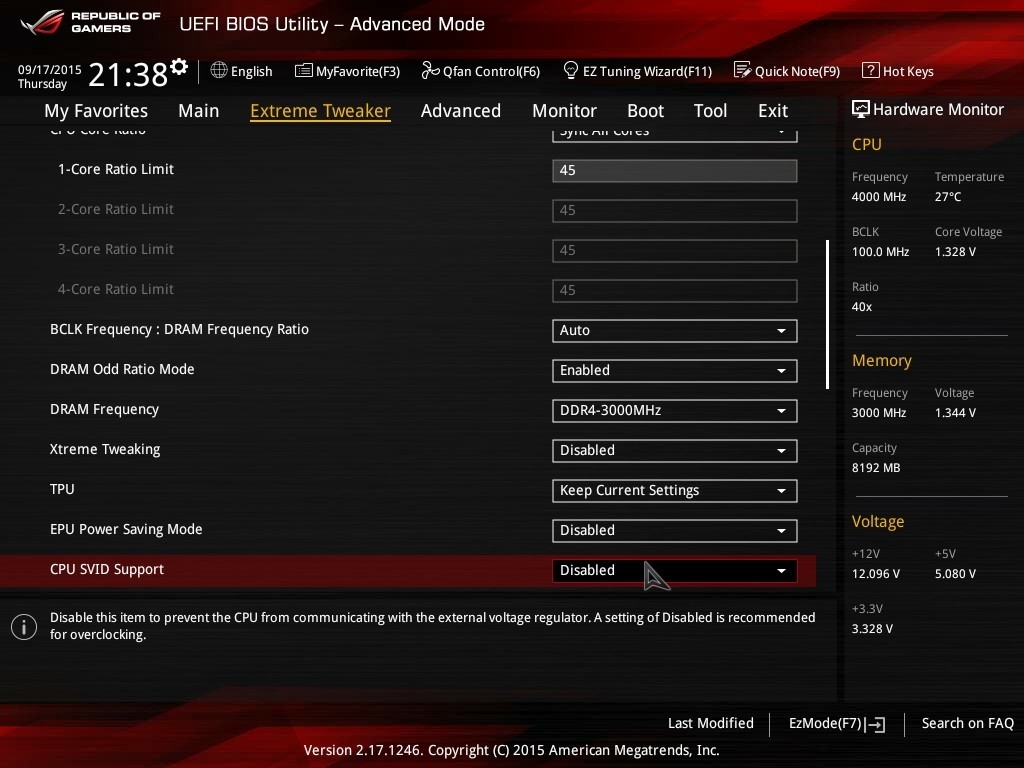
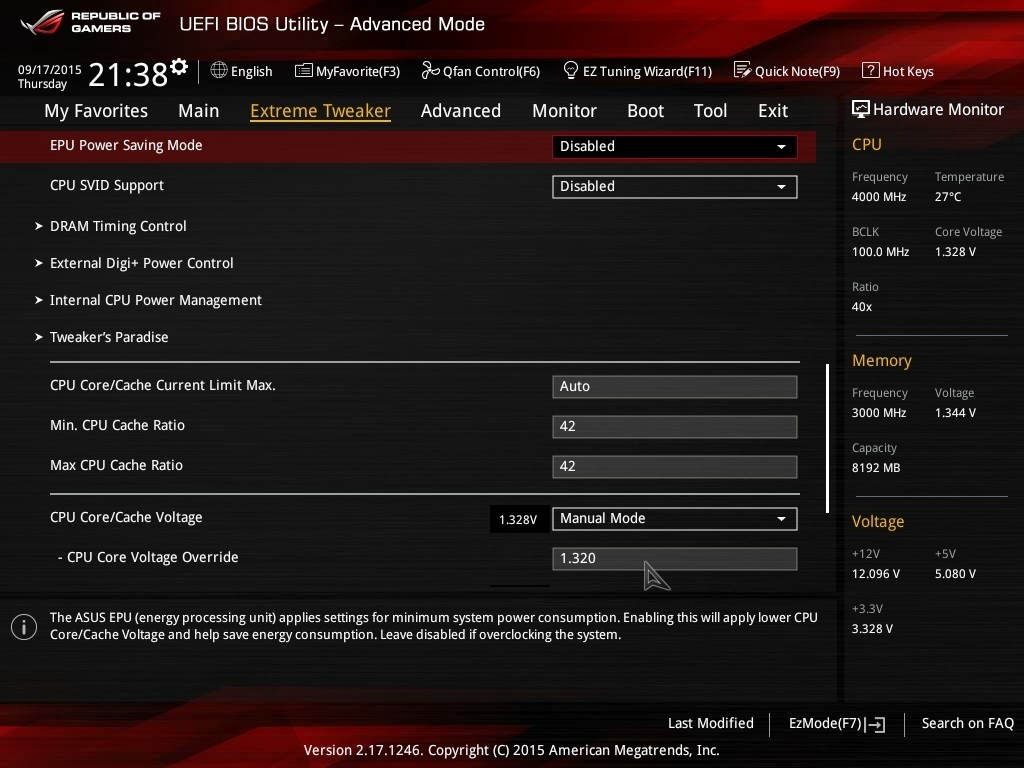
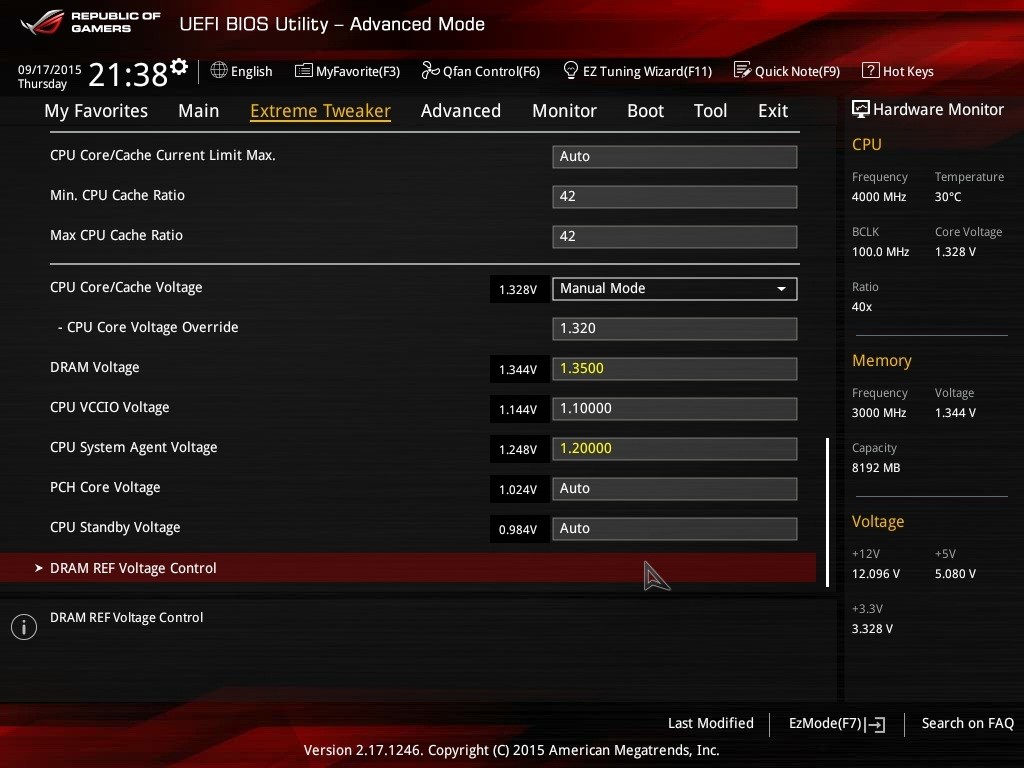
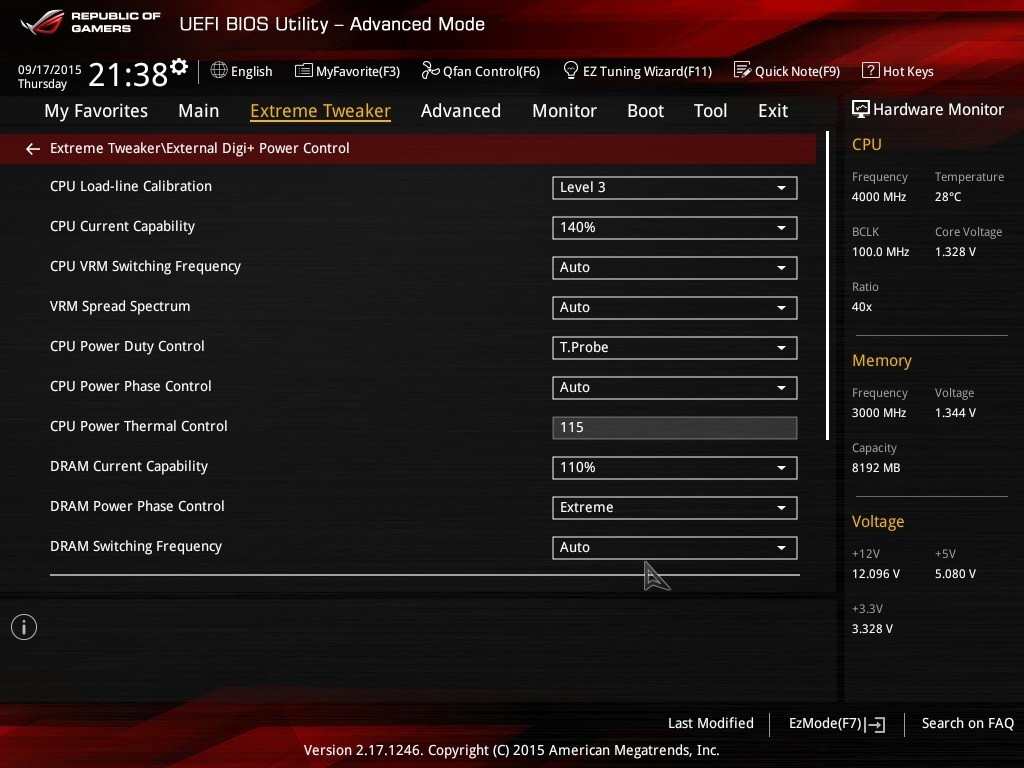
6700K Overclocked via the settings below to 4.5ghz
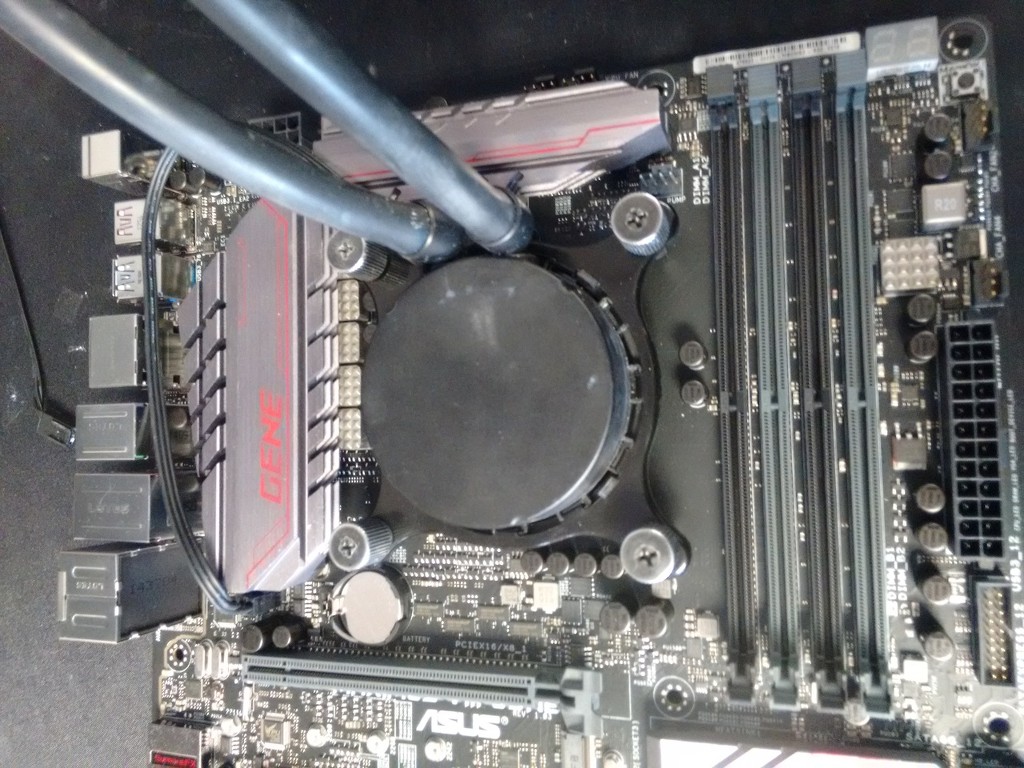
ASUS Maximus VIII Hero ATX motherboard
16gb DDR4 3200mhz Corsair Vengeance Memory.
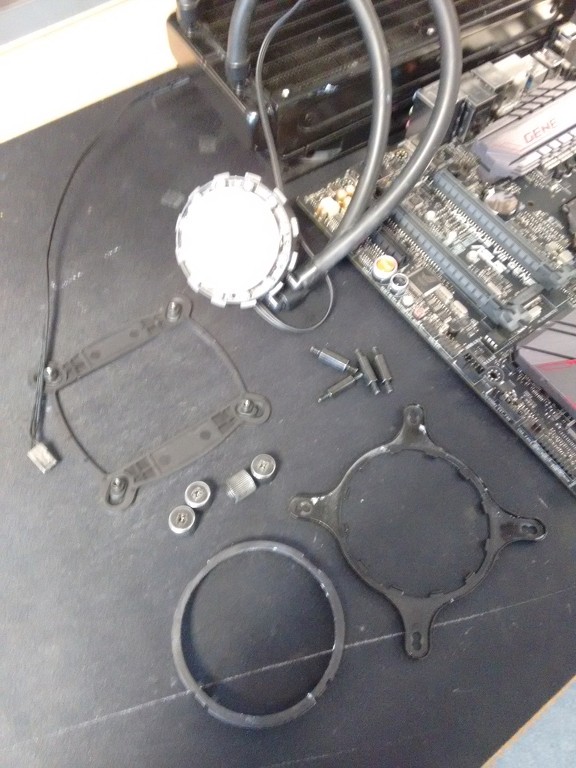
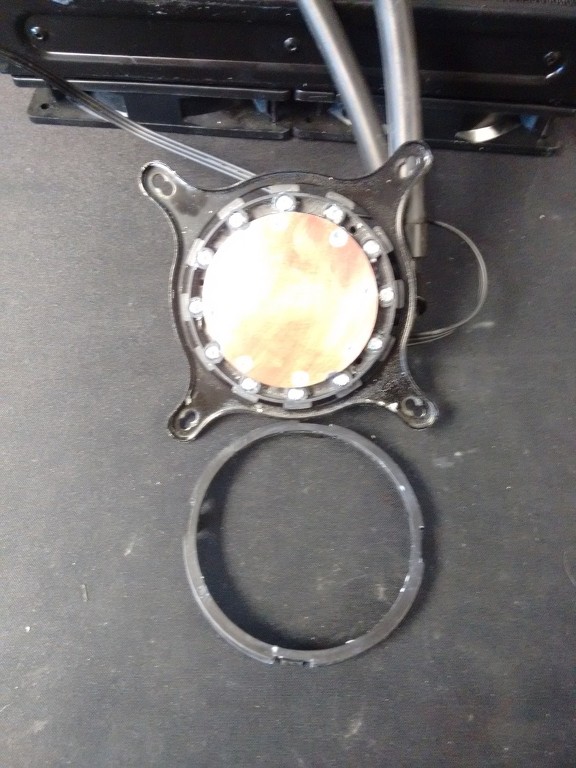
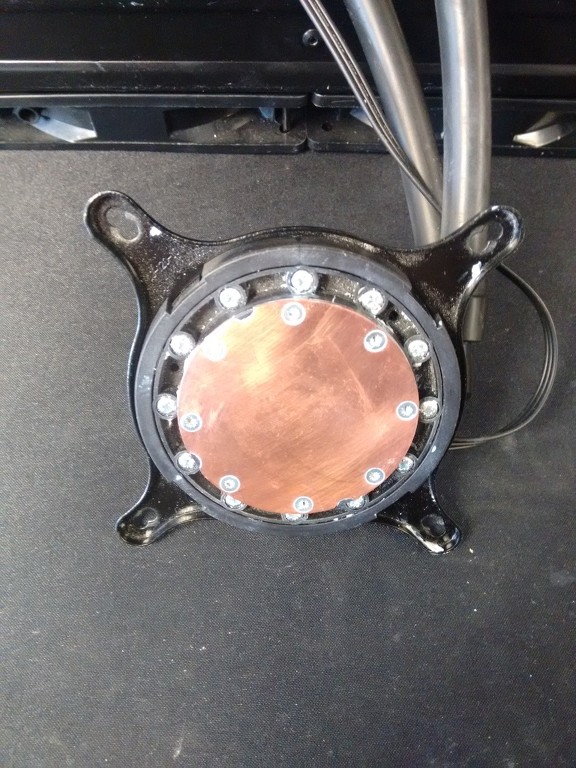
OCUK Techlabs 240mm AIO cooler and high 120mm Static pressure water cooling fans.
SO now onto the freebies:
1) 1x 500gb Samsung Evo 850 SSD
2) 1x Tom Clancy's The Division PC Game
3) Free shipping on your entire basket!
Oh and a tenner off too!! nice one Gibbo!
In the time its taken me to shake up my protein and eat a Rivita we already sold around 20 of these so get yours on this crazy offer before they sell out.
Nearly forgot here is the link to the product!
https://www.overclockers.co.uk/elit...16gb-3200mhz-ddr4-hybrid-coole-bu-044-as.html
Wellies on wade in!!

For a limited number of 100 sales we are giving away a triple whammy of freebies for our customers to salivate over and hopefully use!
 This is a proven "top class" overclocked bundle.
The freebies alone total almost £200.
So the bundle includes:
6700K Overclocked via the settings below to 4.5ghz
ASUS Maximus VIII Hero ATX motherboard
16gb DDR4 3200mhz Corsair Vengeance Memory.
OCUK Techlabs 240mm AIO cooler and high 120mm Static pressure water cooling fans.
SO now onto the freebies:
1) 1x 500gb Samsung Evo 850 SSD
2) 1x Tom Clancy's The Division PC Game
3) Free shipping on your entire basket!
Oh and a tenner off too!! nice one Gibbo!
In the time its taken me to shake up my protein and eat a Rivita we already sold around 20 of these so get yours on this crazy offer before they sell out.
Nearly forgot here is the link to the product!
https://www.overclockers.co.uk/elit...16gb-3200mhz-ddr4-hybrid-coole-bu-044-as.html
Wellies on wade in!!
Last edited:


