Vince's Ebay Repair Thread - (Console Repairs & Mods)

Well it made it here over the weekend!! Time to work out what to do with it. It's a Falcon console which I am not entirely sure what that means but the best ones are Falcon / Jasper. with Jasper being the most sort after. I have been doing some looking and there is all kinds you can do to these things. All kinds of crazy mods etc but I think for me lets just get the thing working and functioning as it should and decide from there. Thanks so much for shipping it my way! :D

No problem, Glad it got there safely! :D

Yeah it's exceptionally noisy, but at least it switches on (well I hope it still does lol!) It's been sat in the loft about 7 years and in my mancave for last 2 in a cupboard! I think new thumb sticks are needed on the controller as the coating seems to have broken down and disintegrated over the years!.

Interested to see what you end up doing to it and if the noise can be sorted as I'm sure they weren't that noisy normally! :eek:

I just happen to have another controller for this one anyway :) I had a pc version that im sure you can just hook up. Also if it doesnt work then thats also a win :D
 
Last edited:
Falcon and Jasper are the board revisions which mitigated the 3LOD issue - basically between the release model and the slim, several board/component revisions helped:

- lithography shrink on the GPU (2 times) and CPU (once)

- gluing the GPU down to stop it warping ( :eek: )

- upgraded GPU cooler with heatpipe and flying extra heatsink. The original was just a 15mm thick aluminium fin jobbie!

I had to reflow my second gen 360 twice and upgrade the cooler mount, before I actually got hold of the upgraded GPU heatsink and lapped it. There were even aftermarket fans you could buy, Talismoon Silent Whisper I had with LEDs! Ultimately I got a year or two more before it died again, and started lasting only days or hours between rebuilds. I didn't have the heart to keep tearing her apart :(

Picked up a Slim though and that's still fine! Very clever to do die shrinks on existing hardware IMO.

Interesting - there is lots of talk about replacing the 90nm chip with a 65nm one so that could be a lot of fun and something I think we could attempt if I grab a re-ball template!
 
Also - Franken switch lives!!!


So many weird and wonderful faults with this board but finally we have some action! Waiting on my mod chip kit, clear case etc so while im waiting I might start designing some parts to replace some of the internals to get that look im going for!
 
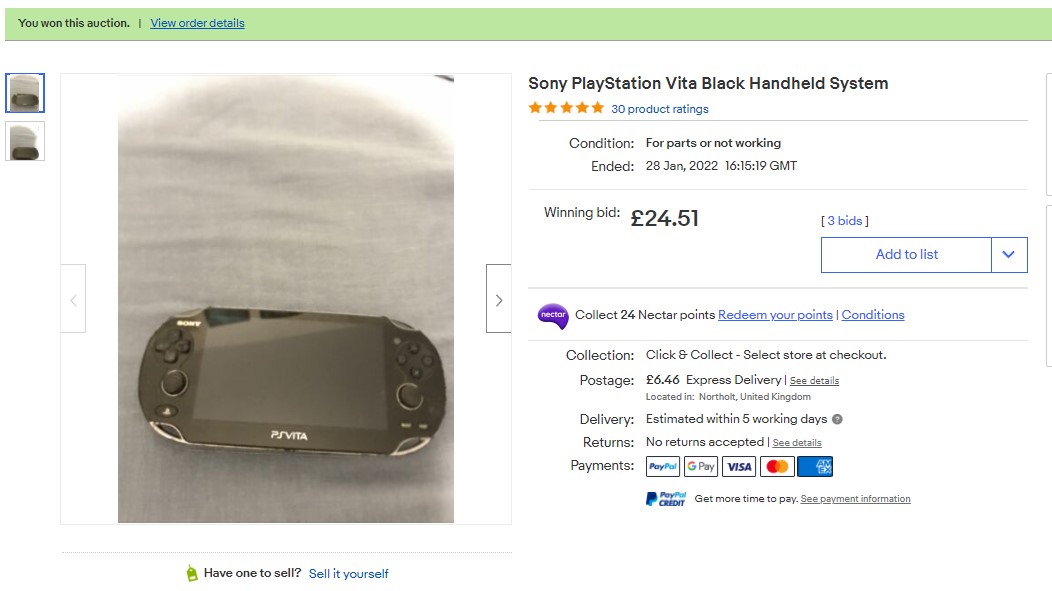
Well nobody wanted this Vita really so don't mind if I do!


I better not win everything I am bidding on otherwise I shall be skint :cry:
 
love my vita, got it with a damaged buttons, fixed them all up and works ace :) , sorry been away a bit, found myself in hospital with some chest pains! , signed off work 3 weeks now so guess plenty of time to work on stuff
 
love my vita, got it with a damaged buttons, fixed them all up and works ace :) , sorry been away a bit, found myself in hospital with some chest pains! , signed off work 3 weeks now so guess plenty of time to work on stuff

Not the covid? Hope you are feeling better dude! Good to see you back!
 
wish it was, have abnormal ECGs, heart rythem is strange! awaiting chest pain clinic to see me.

ah well back to retro stuff , good times :)

Ahh mate I hope it all works out! Least you now have 3 weeks to potter about - Not that that is really any consolation.
 
Gots me another switch:


£60 offer accepted and this is the one I am going to do a full recording of the process :D simply because I have all the spares you might need and shouldn't need to wait for parts.

I have 3 spare donor boards, spare m92's, spare ports, spare BQ's - I must have enough parts to repair this bad boy in a single video!
 
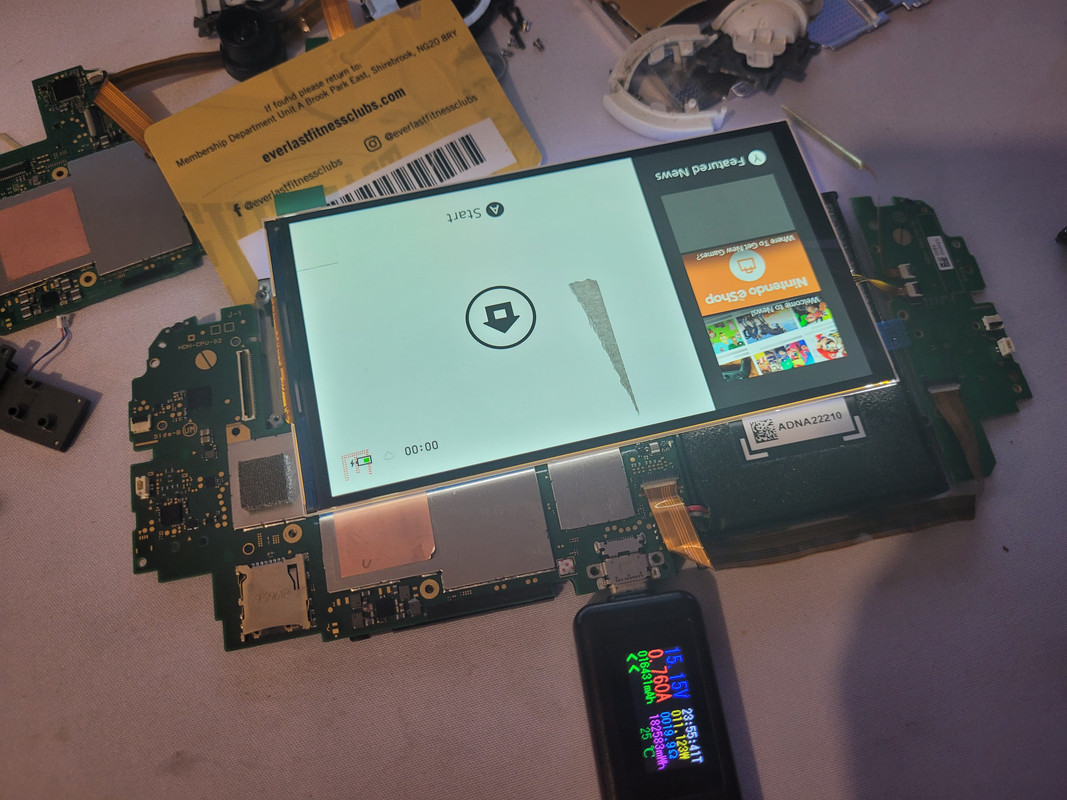
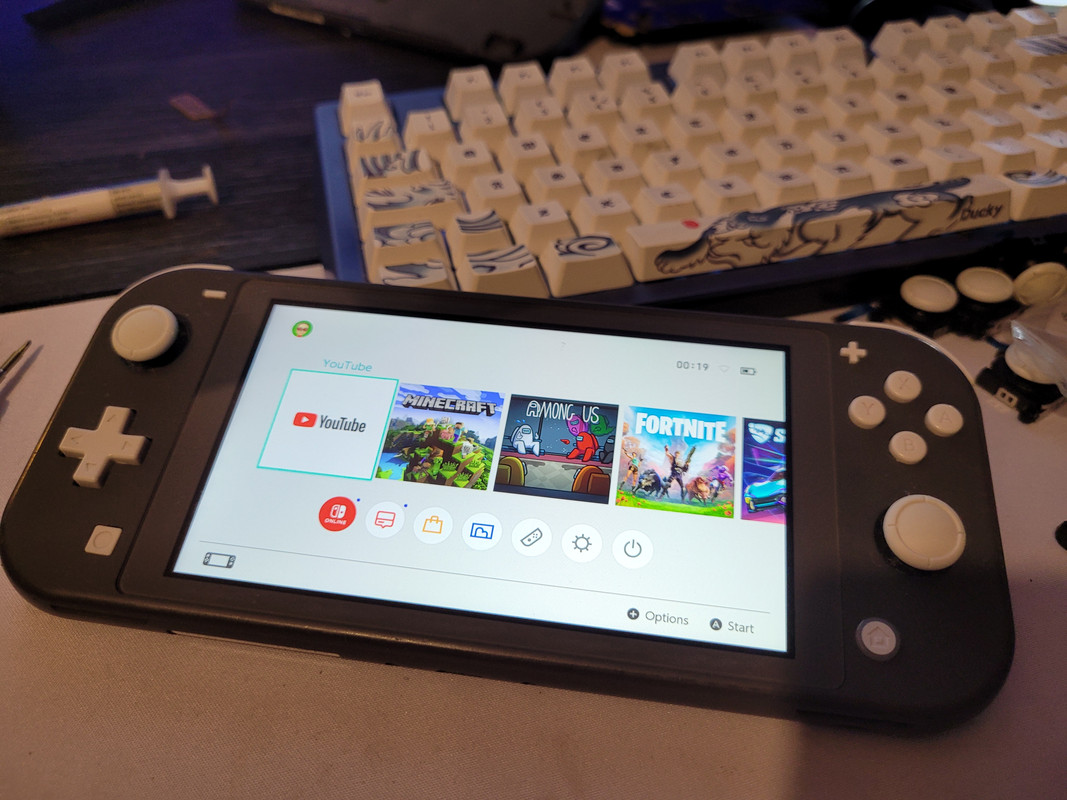
Tonight I put franken switch into one of the broken grey chassis so I could test everything. I did change over a few connectors on the daughter board from one of my donors which I forgot to take photos of but here we have it...


Everything works exactly as it should so when the chassis and mod kit get here we are ready to go!

I have decided that I'm going to spray/ modify the silver shroud. I have a spare shroud so am going to have a play about with that at some point tomorrow. I have started to buy bulk switch repair parts from China, yesterday I bought 20 charge ports, 20 m92's and a ton of new analogue sticks in different colours. Charge ports in the UK go for £2.50 plus postage, from China I managed to source them for only 40p each. Same goes for pretty much everything else. I bought the k10 60 degree pots for the switch controller earlier in the thread, again I just grabbed 10 of them as they are cheap in China but almost impossible to source here.
 
Last edited:
Decided to have a quick look at that 1050ti I have to see what it's doing. It had a 12v short to ground on vcore power delivery. I was hoping it was just a mosfet that failed but it appears to be a 12v directly to the gpu short :( I don't think gpu cores much like 12v.


End of the line for this little 1050ti... I can take the GPU off of the card to see if the short goes away if anybody is interested?
 
Last edited:
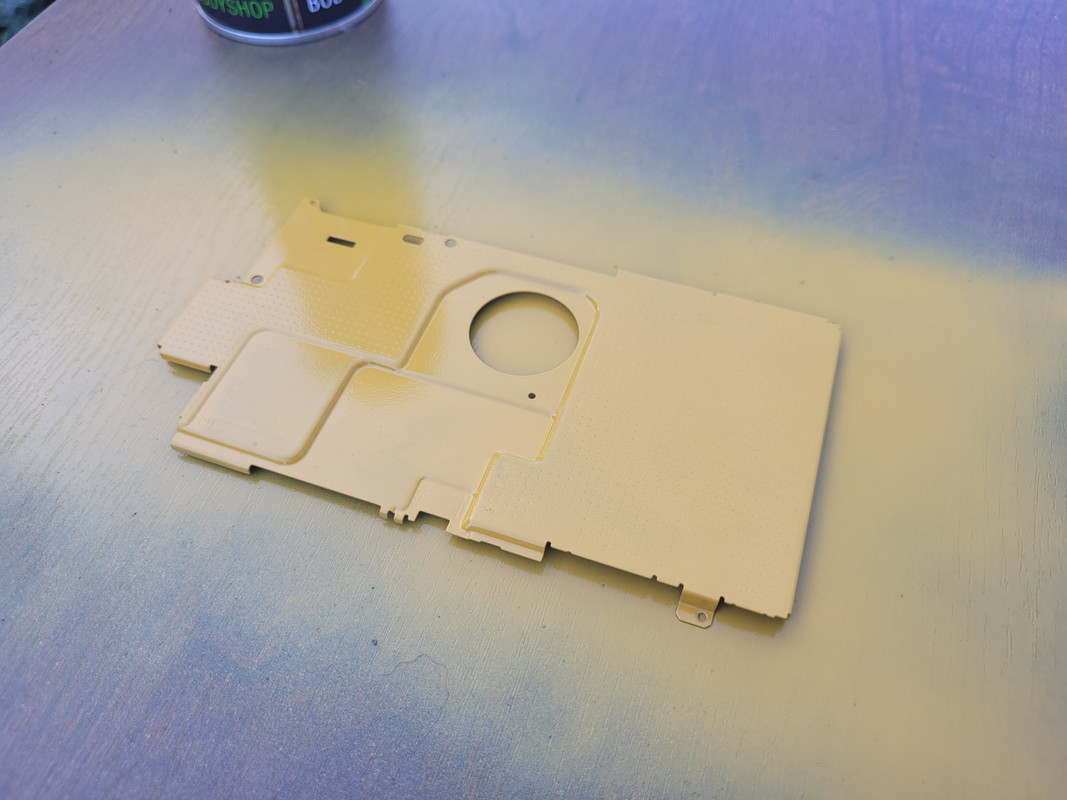
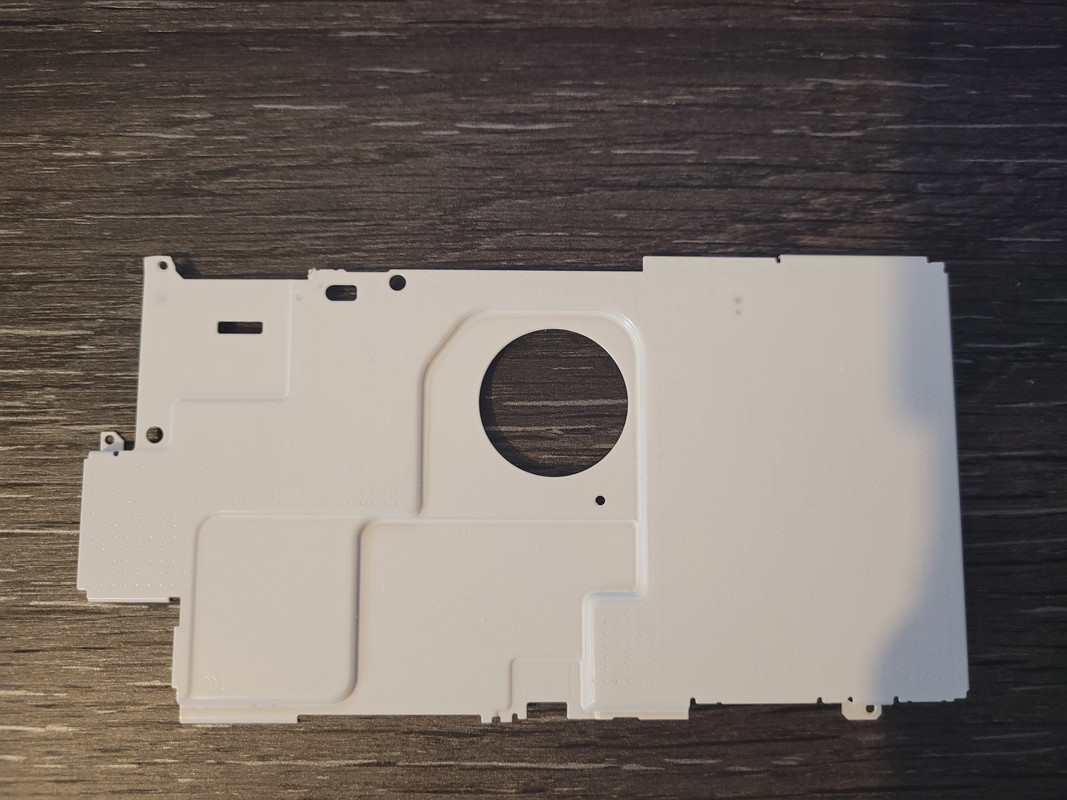
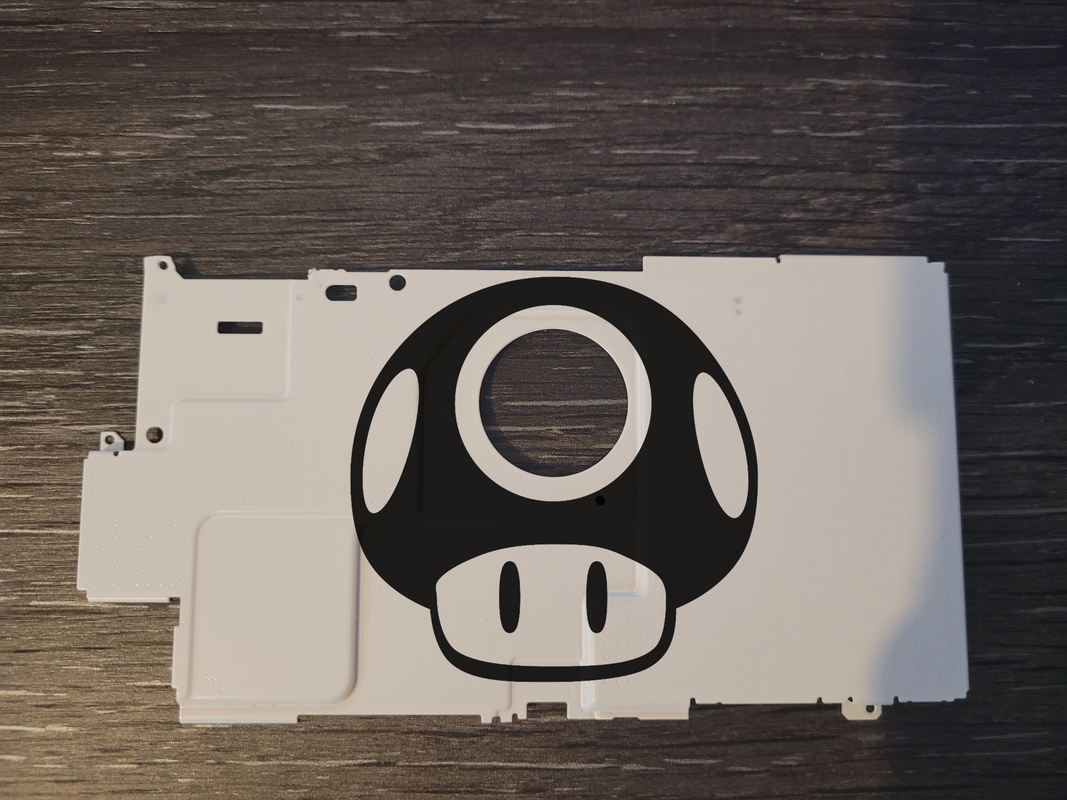
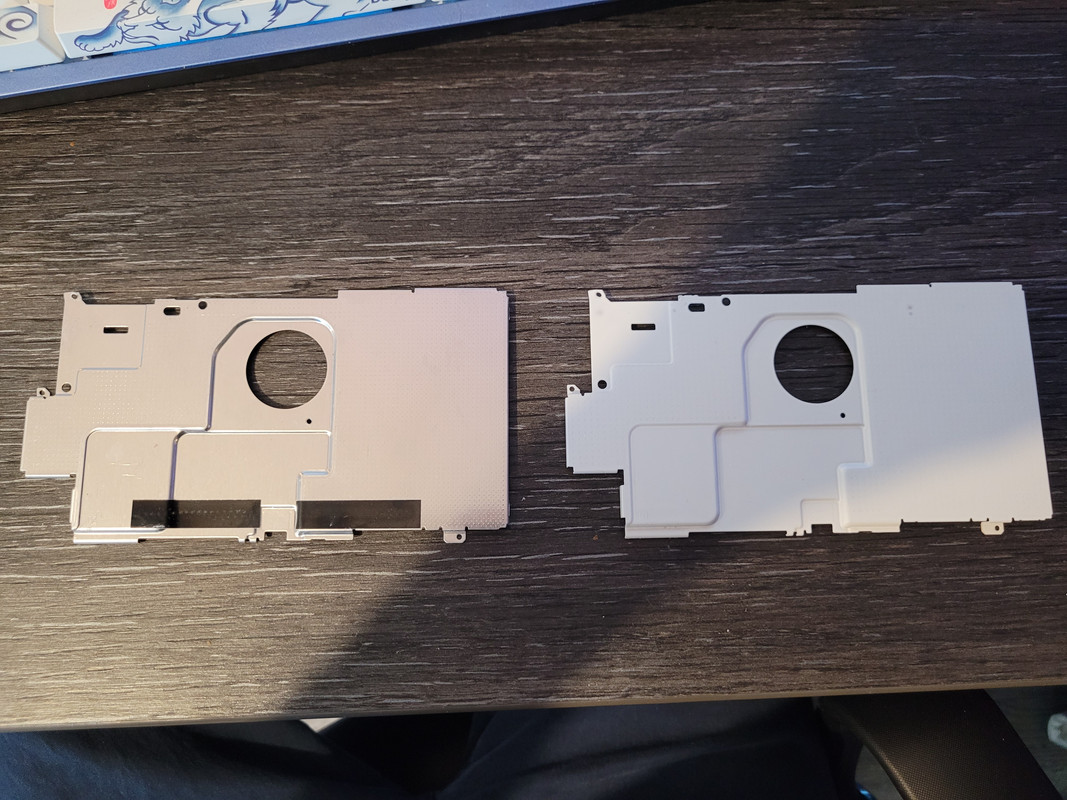
Working on some designs as well for my see through switch... At first I was all lets do a fallout type design, then the board came out much cleaner than I thought so I started playing with other more nintendo type designs... most of the back is covered by a flimsy silver shield so I started having a little play about with that:


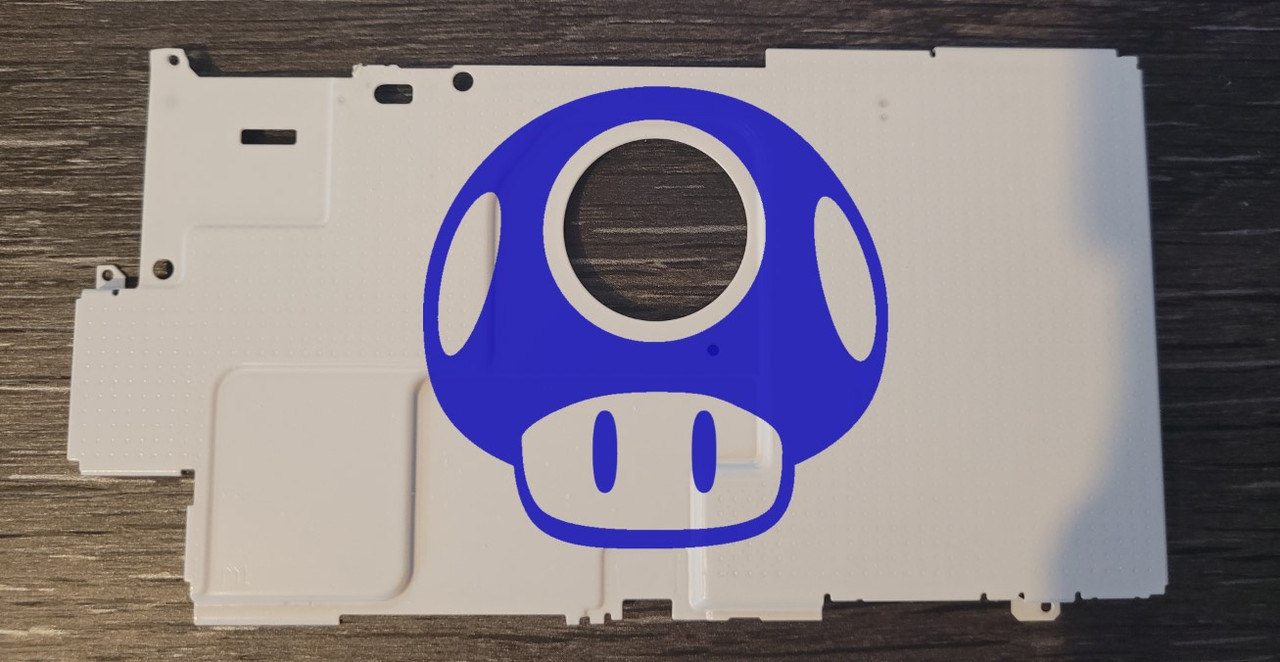
Still not entirely sure what I want to do with it but the shroom with a fan in his head could be pretty cool - I did a quick photoshop mock up let me know what you think. The actual shield is only in first coat so I will address the areas that need it on second coat like just above his head to the right etc.
 
Hey Vince. Got my Game Gear screen and bits over from China. Just waiting on the capacitor kit. Would you still be interested in fitting / restoring it?

Of course dude - If you swing me a trust ill send you my address, send it all over in a box and i'll hook you up :D I will also jump it to the top of my queue as ive been patiently waiting to do another game gear! I will also do a video and detailed write up on your one with photos so you can address any quality issues as we go :cry:
 
Last edited:
Well that looks amazing , 3d printing yourself?

No this is just me throwing some paint over the original silver shroud. I was going to get rid of it entirely and design my own "but" im sure nintendo have the airflow sorted better than me and also given that I ended up fixing the dead pad, replacing every burnt connector etc on the console I thought perhaps a more clean build still with a mod chip but also some custom designs inside.

Here is the part before spraying:


The designs are just me playing around with line art in photoshop :D but whatever i decide ill probably template it out and make it real. I've baked the part now for an hour or so, so i'm just giving it some prep for a second coat of white. All my current consoles are blue/white and custom so this switch will be the same. Design wise I just want it to be different to every other one you see.
 
Last edited:
Back
Top Bottom