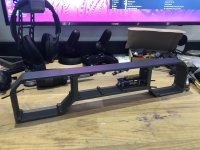
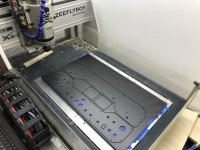
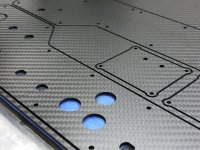
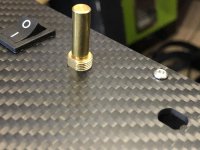
Thought this could perhaps do with its own thread as a separate project so that it doesn't get scattered in my main sim rig build (link here...) Button boxes are quite simple to make once you've figured it out and thought having this all in one place might be useful for anyone thinking about making one!
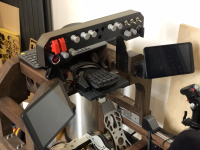
So I wanted to make a multi-function button box that I can use for both flying and driving, though it will primarily be used for flying games and space games... as such I decided to model it somewhat as an FCU (flight control unit) style device which also keeps it up out of the way of my touchscreens on the rig.
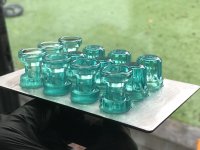
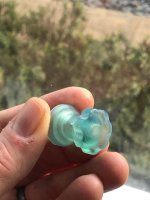
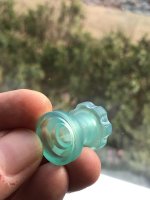
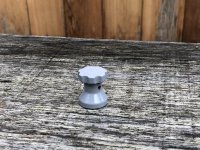
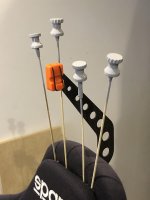
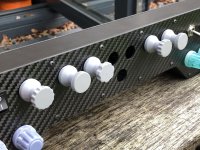
I modelled it very vaguely off an Airbus for familiarity - I will be using it in VR too so need to be able to feel the different controls, and I decided that given I'm familiar with the airbus style buttons that would be a good choice, they also have a different head shape for different functions on the FCU like speed/HDG etc which helps identify them by feel.
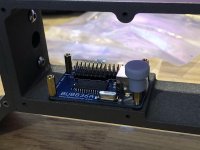
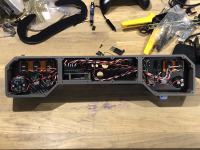
First things first I did some research into the electronics side and settled on the Leo Bodnar BU0836A and it's associated breakout matrix board. The latter does require soldering in some pins but nothing particularly challenging. That defined the number of encoders/switches/potentiometers I could have and so I set about designing my button box!
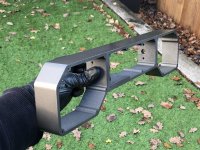
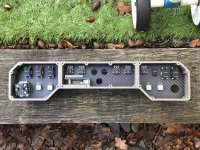
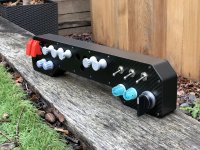
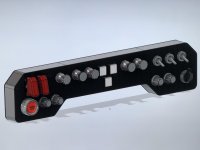
Here is the design I ended up with, 5 rotary encoders with push along the top, 3 square momentary buttons in the centre, two guarded toggles, 3 unguarded toggles, 4 potentiometers, one master switch, a start switch and a two way momentary rotary. I may later add a remote module for gear/flaps/mixture too.
So let's crack on!
So I wanted to make a multi-function button box that I can use for both flying and driving, though it will primarily be used for flying games and space games... as such I decided to model it somewhat as an FCU (flight control unit) style device which also keeps it up out of the way of my touchscreens on the rig.
I modelled it very vaguely off an Airbus for familiarity - I will be using it in VR too so need to be able to feel the different controls, and I decided that given I'm familiar with the airbus style buttons that would be a good choice, they also have a different head shape for different functions on the FCU like speed/HDG etc which helps identify them by feel.
First things first I did some research into the electronics side and settled on the Leo Bodnar BU0836A and it's associated breakout matrix board. The latter does require soldering in some pins but nothing particularly challenging. That defined the number of encoders/switches/potentiometers I could have and so I set about designing my button box!
Here is the design I ended up with, 5 rotary encoders with push along the top, 3 square momentary buttons in the centre, two guarded toggles, 3 unguarded toggles, 4 potentiometers, one master switch, a start switch and a two way momentary rotary. I may later add a remote module for gear/flaps/mixture too.

So let's crack on!
Last edited:


