You are using an out of date browser. It may not display this or other websites correctly.
You should upgrade or use an alternative browser.
You should upgrade or use an alternative browser.
Watercooled Case Gallery
- Thread starter MikeTimbers
- Start date
More options
Thread starter's postsAssociate
new case and mobo update
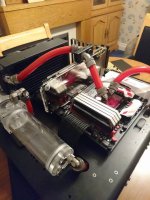
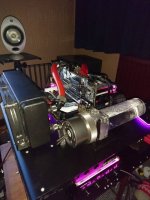
Fractal Design 1300 case; ASRock 970M pro3 mobo; Bitspower res; Alphacool UT60 240mm rad; Laing DDC1-t plus pump w/XSPC top.
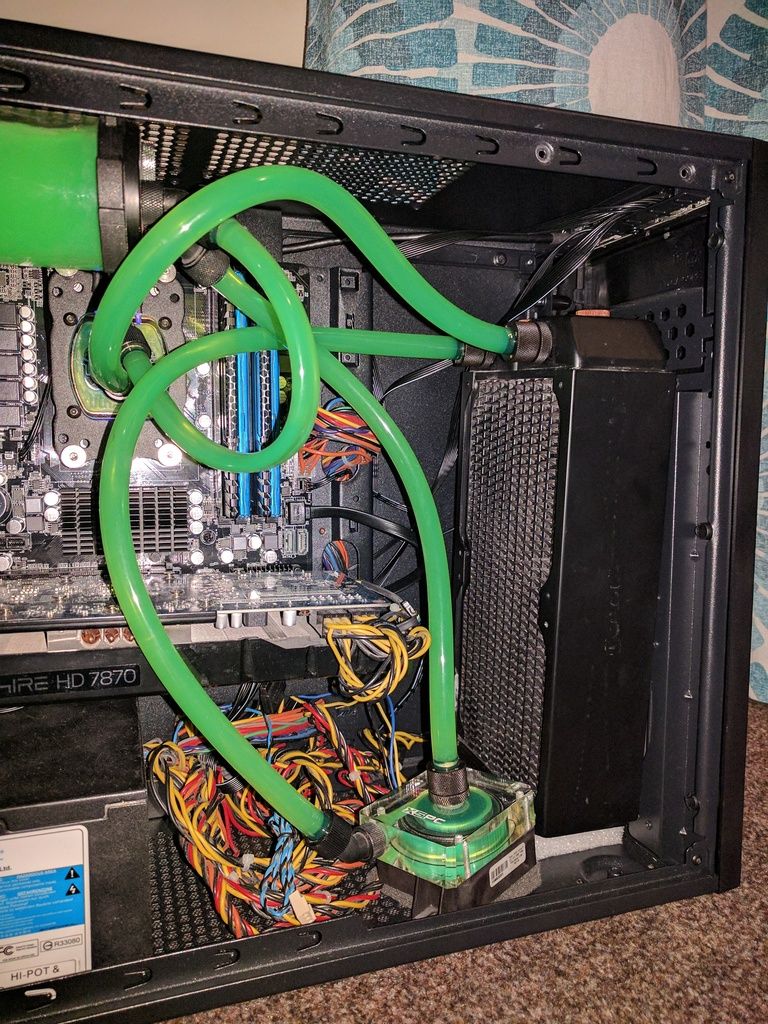
[URL=http://s1347.photobucket.com/user/UkayJa/media/Jasons%20PC%202_zpscm9fa9h9.jpg.html]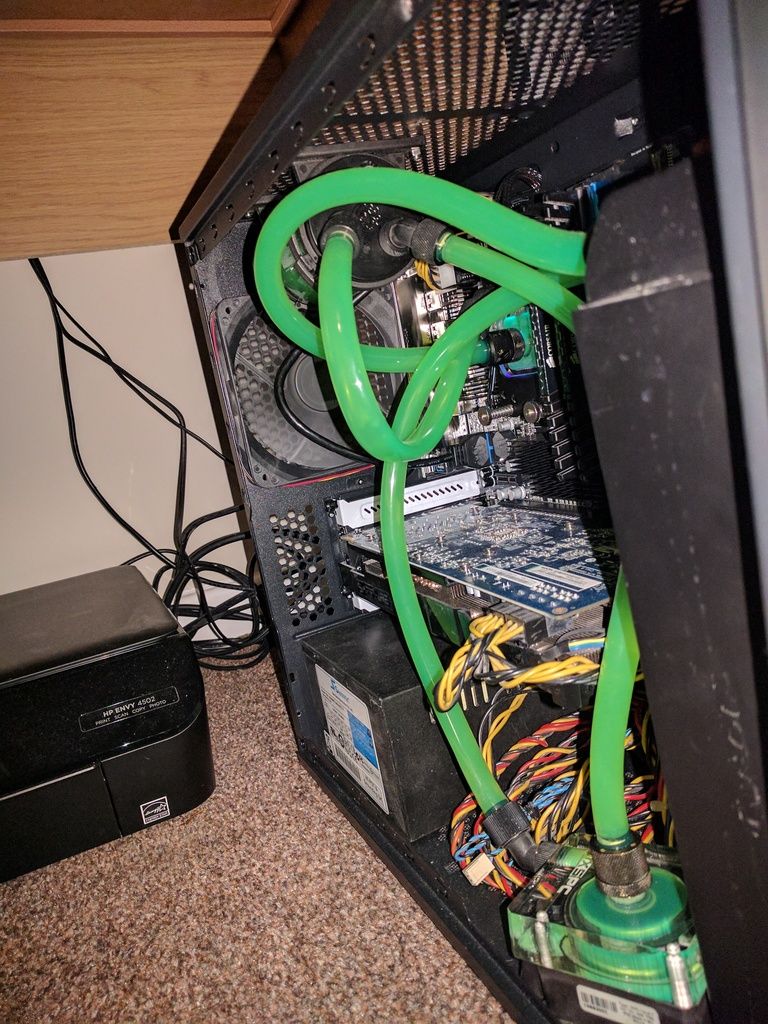 [/URL]
[URL=http://s1347.photobucket.com/user/UkayJa/media/Jasons%20PC%201_zpsdmcuuylr.jpg.html]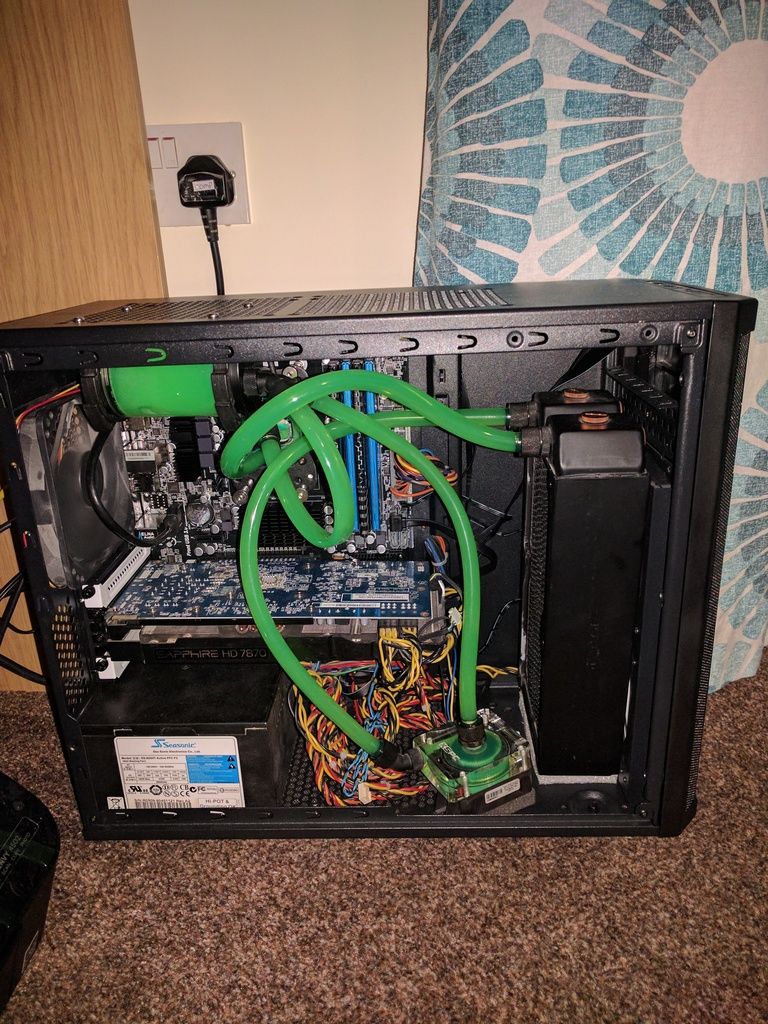 [/URL]
Cables for SFX PSU arriving today, fitted a rear fan since taking pics (got it free for subscribing to custompc - 5 issues for £5).
I may be replacing the whole loop, certainly CPU block as I've cracked it but still unsure whether to drill a hole under rad and create a drain port, plus it'll allow rad to fit properly with screws.
Also I would one day like a top rad but not sure if I can combine current pump and res or just mount them out the way.
Fractal Design 1300 case; ASRock 970M pro3 mobo; Bitspower res; Alphacool UT60 240mm rad; Laing DDC1-t plus pump w/XSPC top.

[URL=http://s1347.photobucket.com/user/UkayJa/media/Jasons%20PC%202_zpscm9fa9h9.jpg.html]
 [/URL]
[URL=http://s1347.photobucket.com/user/UkayJa/media/Jasons%20PC%201_zpsdmcuuylr.jpg.html]
 [/URL]
Cables for SFX PSU arriving today, fitted a rear fan since taking pics (got it free for subscribing to custompc - 5 issues for £5).
I may be replacing the whole loop, certainly CPU block as I've cracked it but still unsure whether to drill a hole under rad and create a drain port, plus it'll allow rad to fit properly with screws.
Also I would one day like a top rad but not sure if I can combine current pump and res or just mount them out the way.
My rig is completed for the time being.....already looking at a new bay res but that's for a rainy day.
I've upgraded the front rad to an Alphacool Monsta 280 and put the XT45 which was originally the front rad in the top. Upgraded the exhuast fans on the front rad with some Alpenfohn Wingboost. Also popped one in the rear of the case.
I've also replaced the run from the Monsta to the bay res with some angled fittings to clean it up a bit.


Shil
I've upgraded the front rad to an Alphacool Monsta 280 and put the XT45 which was originally the front rad in the top. Upgraded the exhuast fans on the front rad with some Alpenfohn Wingboost. Also popped one in the rear of the case.
I've also replaced the run from the Monsta to the bay res with some angled fittings to clean it up a bit.


Shil

Last edited:
Associate
- Joined
- 25 Sep 2015
- Posts
- 32
Oooh, what case is that? I've never seen it before. I've wanted a design like that where a ra diator draws air from the bottom and exhausts at the top. Phanteks Enthoo Primo and HEX Gear R80 are like that.
Associate
Oooh, what case is that? I've never seen it before. I've wanted a design like that where a ra diator draws air from the bottom and exhausts at the top. Phanteks Enthoo Primo and HEX Gear R80 are like that.
Amazing scratch build followed the chap's log on another forum.
Hellish amount of work and design gone into this case

Associate
- Joined
- 25 Sep 2015
- Posts
- 32
Amazing scratch build followed the chap's log on another forum.
Hellish amount of work and design gone into this case
Since it took so long for someone to reply, I figured it was a scratch build and my dreams were crushed.
 The CaseLabs SM8 supports (at least used to) radiators at the bottom and provides a bracket to hold the PSU in the center of the case, but it's not the way I would do it. This is the closest I've seen to what I would want:
It's one of my favourite builds. It's almost three years old by now, but I love it. It's not as perfect as that system above, though. Having the top panel solid but with openings on the side for the air to vent to and from is brilliant. BeQuiet employ such a technique and it's one of the reasons why I dig the Dark Base 900.
Soldato
I know this thread is supposed to be photos only, but I feel bound to share my experience. So here we go, bit of a long post...
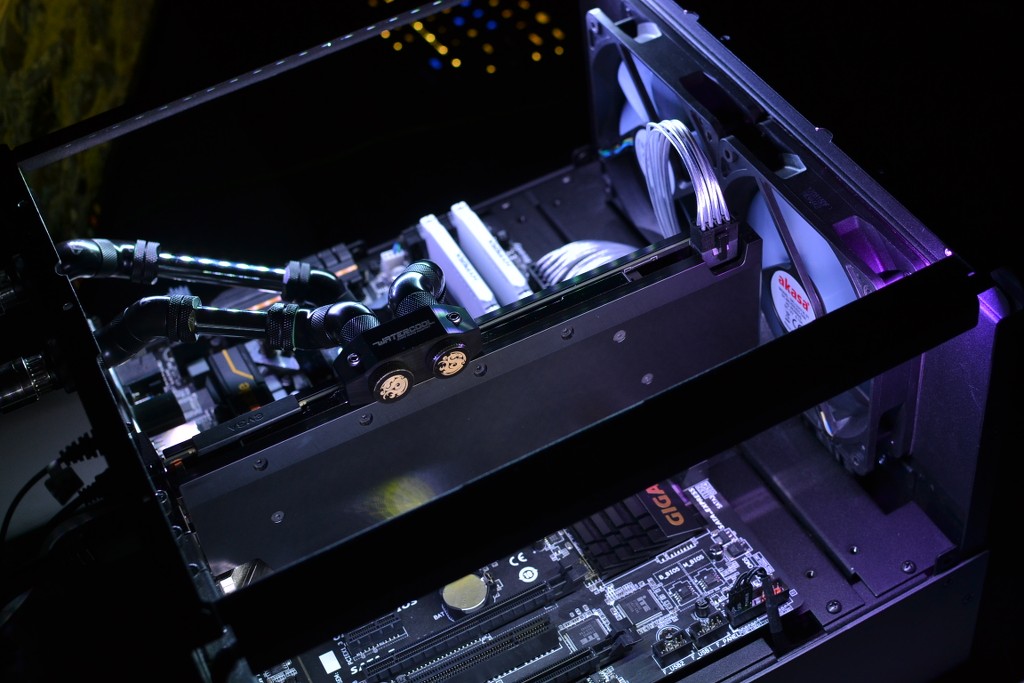
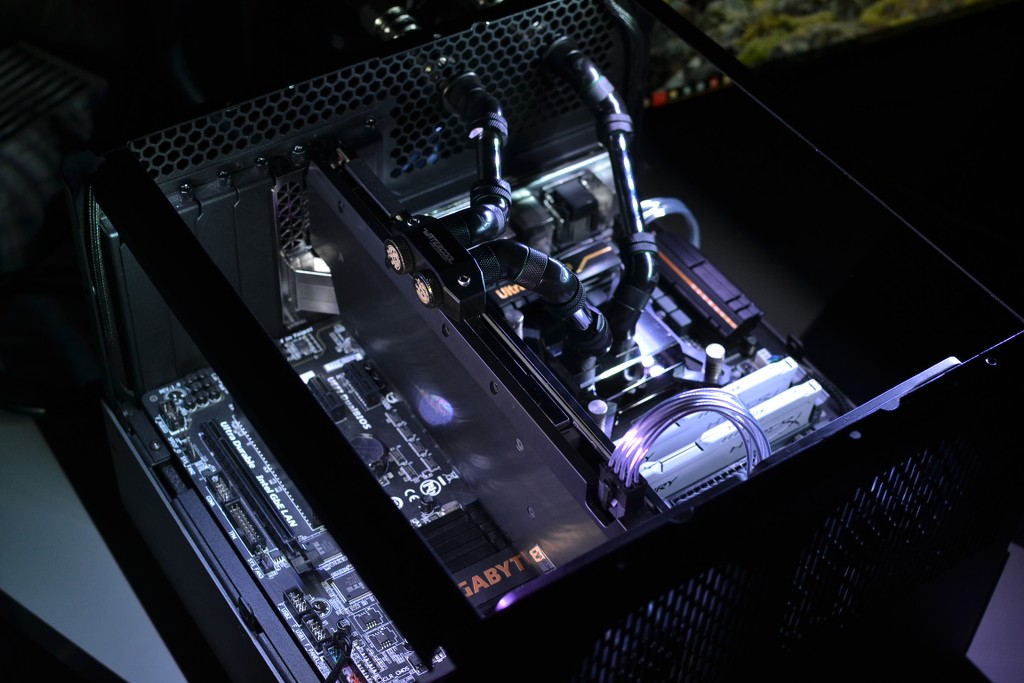
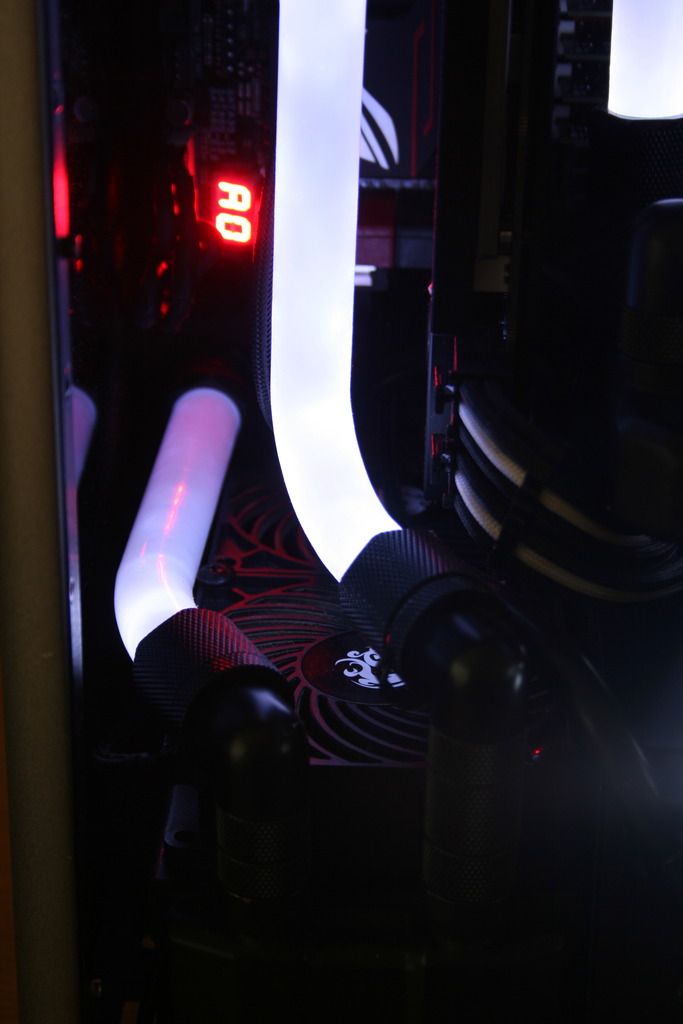
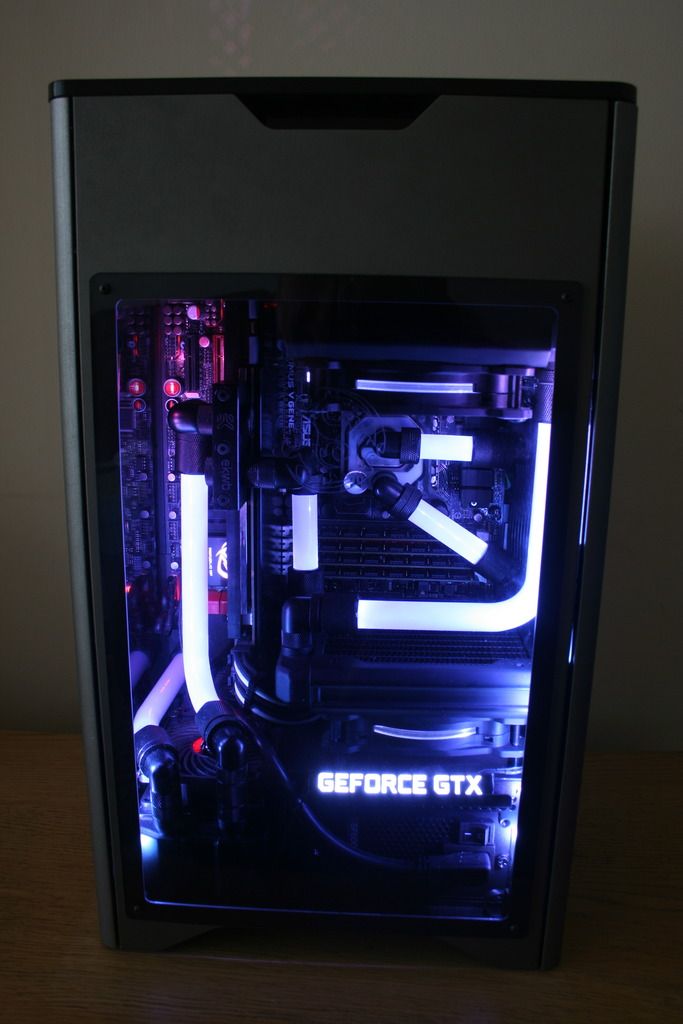
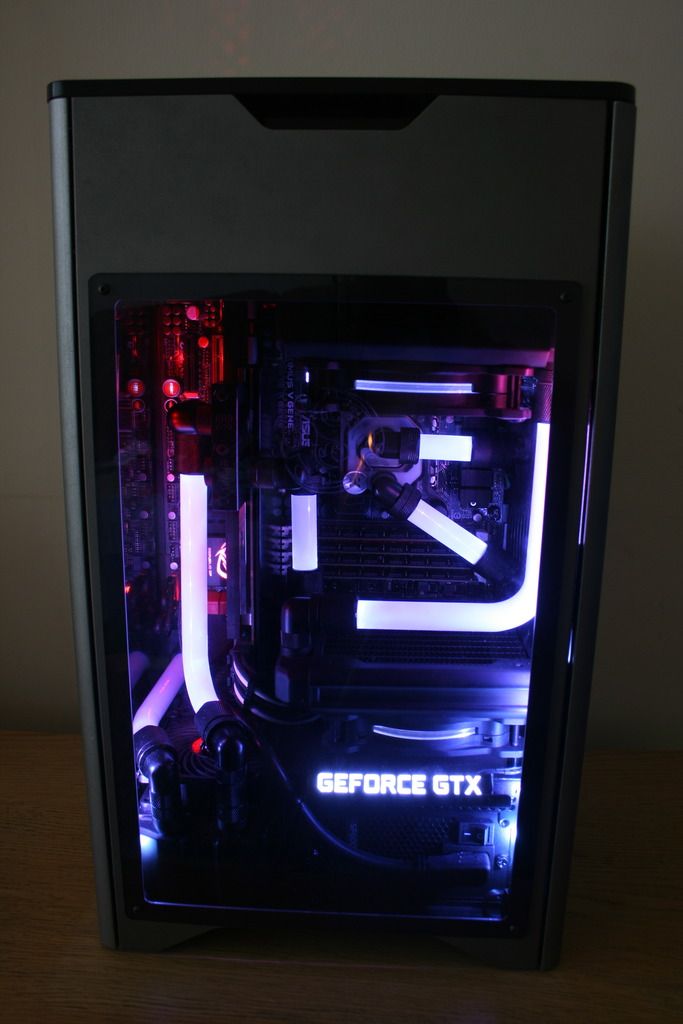
I decided my Silverstone FT03 needed some TLC, so I rebuilt my existing rig,
modded the case a bit to fit another 120mm rad, bought loads of LED hardline fittings from Germany and boxes and boxes of PETG tubing
I haven't seen any other builds using LED fittings so I'll be happy to claim this is a first, but not without expressing just how much a pain in the **** these fittings are to build with.

The LED's are on a circular PCB which sits over male barb with two o rings:
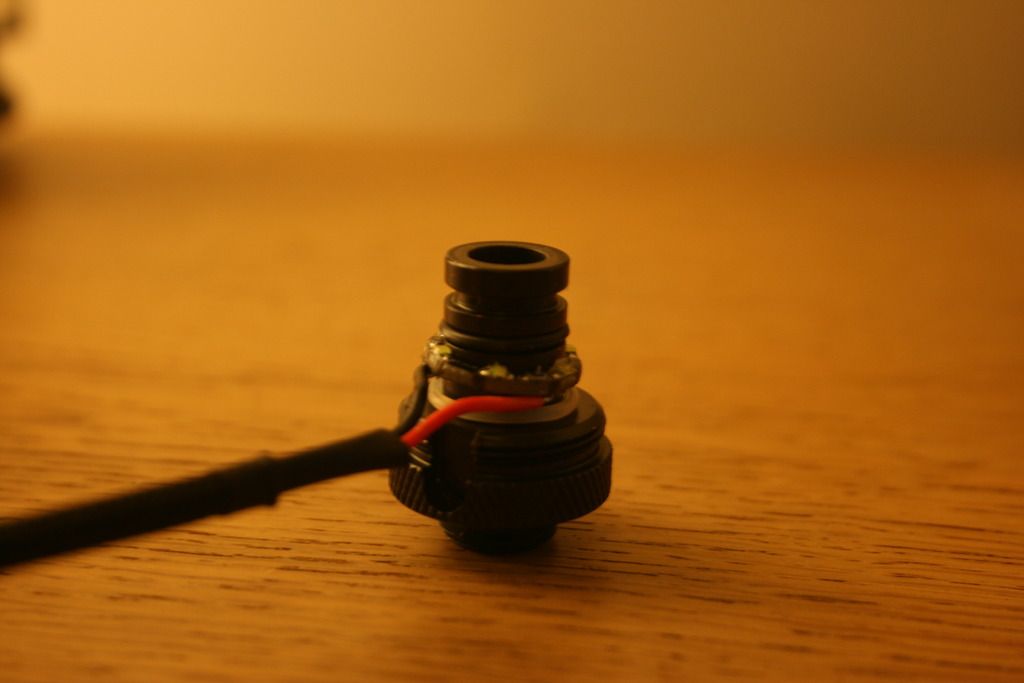
The fittings come in a box with the o rings fitted, the cable with the LED is loose in the box so it means having to fit it yourself.
To begin you need to remove the o rings, then very very (VERY) gently slide the LED pcb ring over the barb. With it being such a tight fit and the surface LEDs being so close to the edge of the pcb, even if you're incredibly careful it is easy to knock one off. If you do knock a LED off, the other LED's will stay lit, but the effect over a length of tubing is dulled and looks out of place compared to the rest.
With the LEDs being so tiny, I find it hard to believe the manufacturer can accurately place and solder each LED identically on the pcb. Any inconsistency pretty much guarantees you're going to lose a LED during fitting. I was really really careful and I Ended up with 5 rings missing a LED and another with a damaged trace which causes it to flicker when lit.
Then comes the fun with the tubing
No other hardline fittings use an internal diameter barb. At least I can't think of any..
When the tubing is manufactured, I would assume the manufacturer prioritises accuracy of the outer diameter over the accuracy of the inner diameter. Thinking about it, internal diameter is relatively unimportant to most fittings, I doubt it is much of a concern.
Out of 4 large boxes of the Alphacool 13/16mm PETG tubing I found only one batch of the tubing to be a perfect match to the barb I say perfect match because if it isn't and it's out by as little as 10th of a mm... the fittings will leak like crazy (you can imagine how much time it took rebending each piece and leak testing before I realised some batches of tubing will never work)
For these reasons, and many more, I would thoroughly not recommend buying these fittings and trying this yourself. If you value your hair and sanity I wouldn't even think about it lol.
Saying this, the results well.. I'm very pleased
I hope you guys like it.
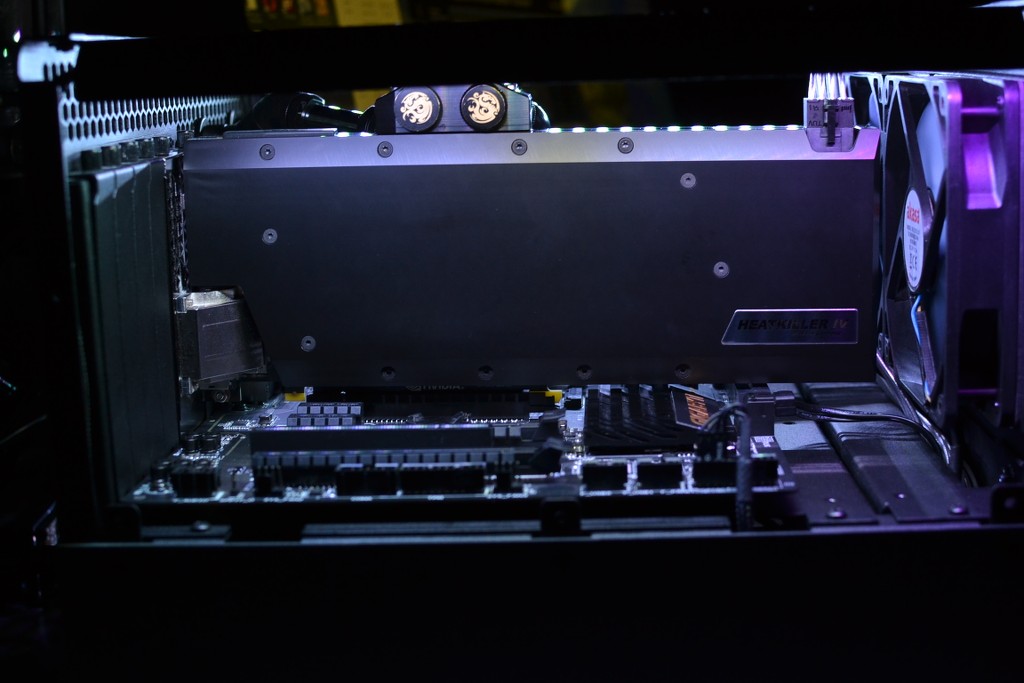
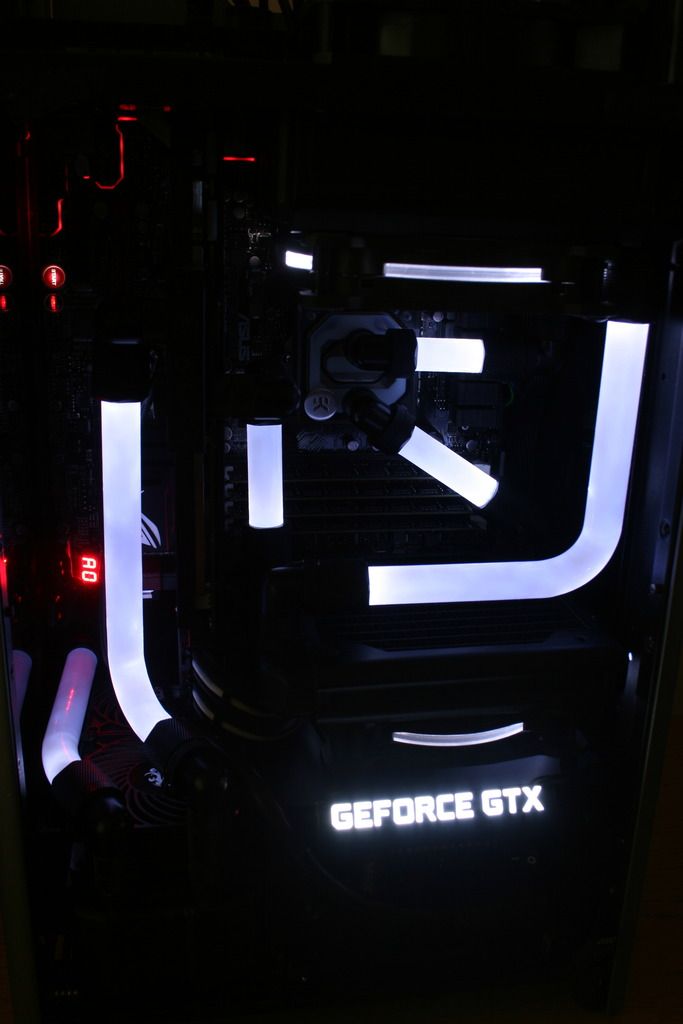
Forgive the poor photos but here she is:
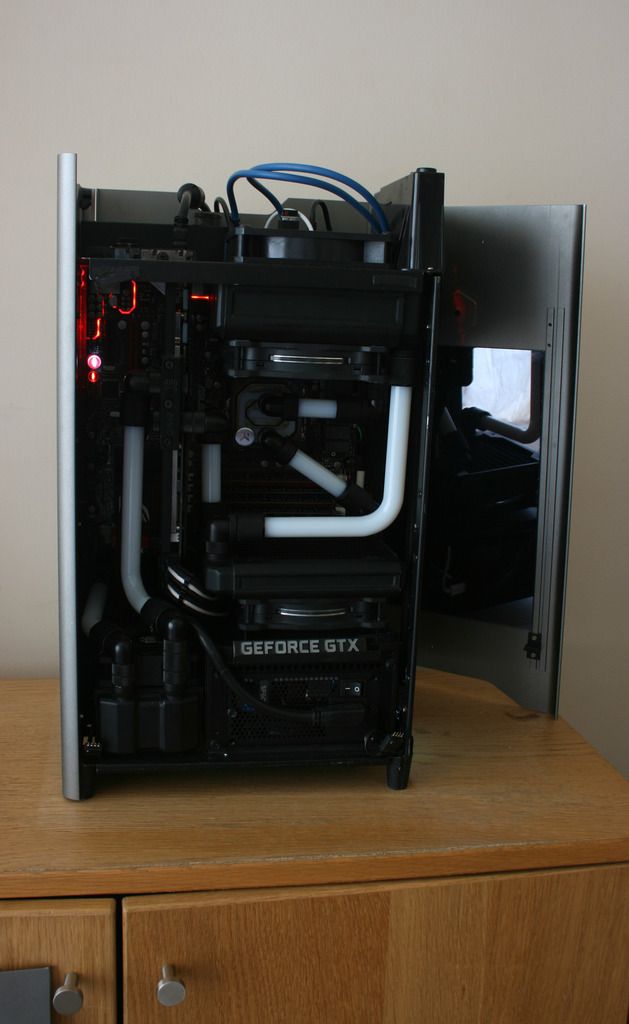
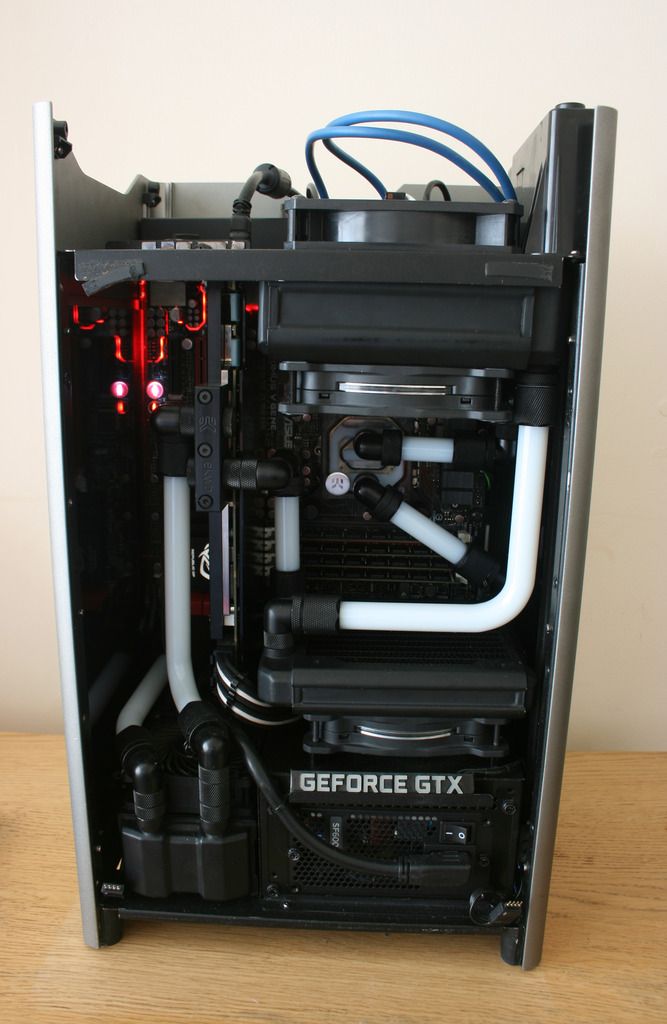
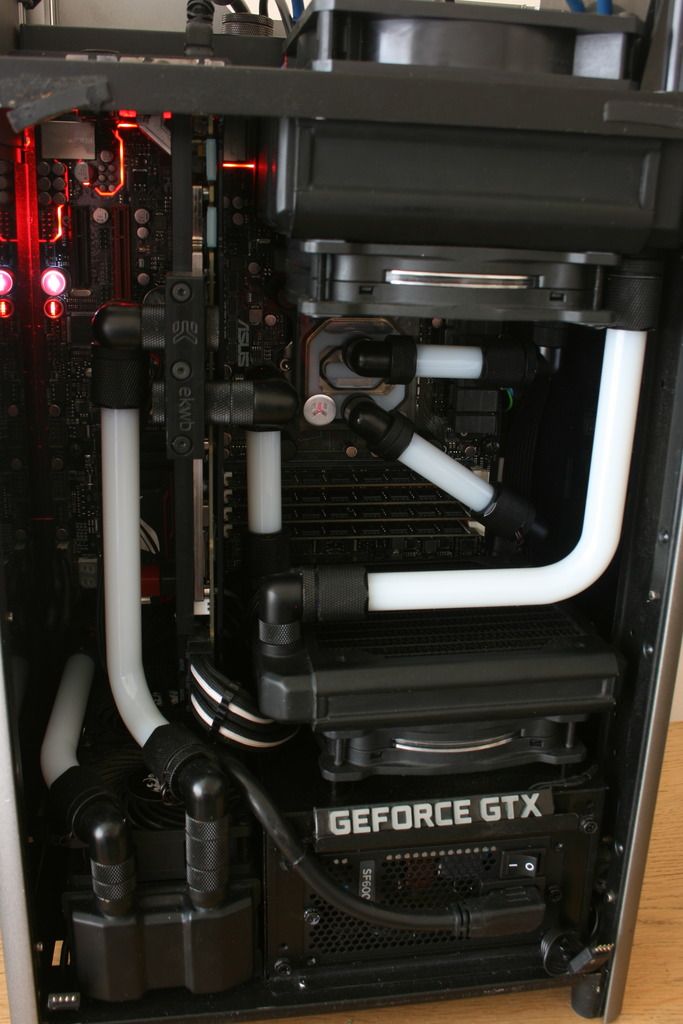
Hardline LED lighting on on:
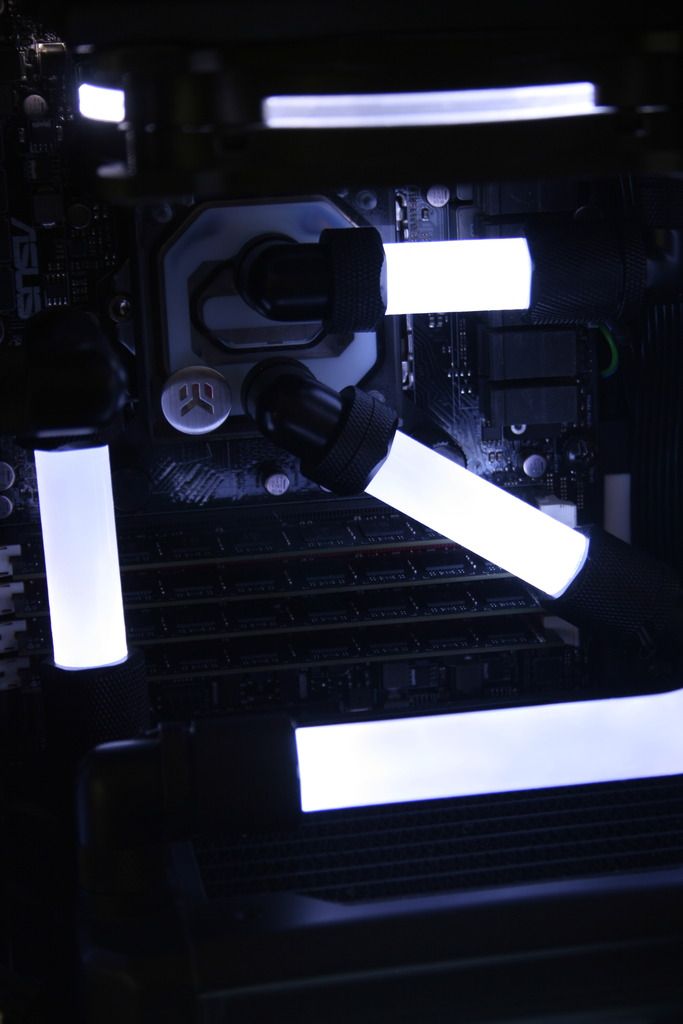
Side panel back on with NZXT Grid lighting:
I decided my Silverstone FT03 needed some TLC, so I rebuilt my existing rig,
modded the case a bit to fit another 120mm rad, bought loads of LED hardline fittings from Germany and boxes and boxes of PETG tubing

I haven't seen any other builds using LED fittings so I'll be happy to claim this is a first, but not without expressing just how much a pain in the **** these fittings are to build with.


The LED's are on a circular PCB which sits over male barb with two o rings:

The fittings come in a box with the o rings fitted, the cable with the LED is loose in the box so it means having to fit it yourself.
To begin you need to remove the o rings, then very very (VERY) gently slide the LED pcb ring over the barb. With it being such a tight fit and the surface LEDs being so close to the edge of the pcb, even if you're incredibly careful it is easy to knock one off. If you do knock a LED off, the other LED's will stay lit, but the effect over a length of tubing is dulled and looks out of place compared to the rest.
With the LEDs being so tiny, I find it hard to believe the manufacturer can accurately place and solder each LED identically on the pcb. Any inconsistency pretty much guarantees you're going to lose a LED during fitting. I was really really careful and I Ended up with 5 rings missing a LED and another with a damaged trace which causes it to flicker when lit.
Then comes the fun with the tubing

No other hardline fittings use an internal diameter barb. At least I can't think of any..
When the tubing is manufactured, I would assume the manufacturer prioritises accuracy of the outer diameter over the accuracy of the inner diameter. Thinking about it, internal diameter is relatively unimportant to most fittings, I doubt it is much of a concern.
Out of 4 large boxes of the Alphacool 13/16mm PETG tubing I found only one batch of the tubing to be a perfect match to the barb I say perfect match because if it isn't and it's out by as little as 10th of a mm... the fittings will leak like crazy (you can imagine how much time it took rebending each piece and leak testing before I realised some batches of tubing will never work)
For these reasons, and many more, I would thoroughly not recommend buying these fittings and trying this yourself. If you value your hair and sanity I wouldn't even think about it lol.
Saying this, the results well.. I'm very pleased

I hope you guys like it.
Forgive the poor photos but here she is:


Hardline LED lighting on on:


Side panel back on with NZXT Grid lighting:


Last edited:
Associate
- Joined
- 25 Sep 2015
- Posts
- 32
That is so worth it. Well... speaking from someone who didn't have to do anything.
Osssh those LED fittings look great! Well done
Also love Tomson's build - Awesome with the 2 x 480s
Actualy thease are 2x560s hardware labs sr-2

Actualy thease are 2x560s hardware labs sr-2
Awesome! Love the whole build mate really nice!
What sort of temps are you getting with this setup? Do you run it with the fans off at all? Have you got a build log or anything?
Cheers
Shil
Awesome! Love the whole build mate really nice!
What sort of temps are you getting with this setup? Do you run it with the fans off at all? Have you got a build log or anything?
Cheers
Shil
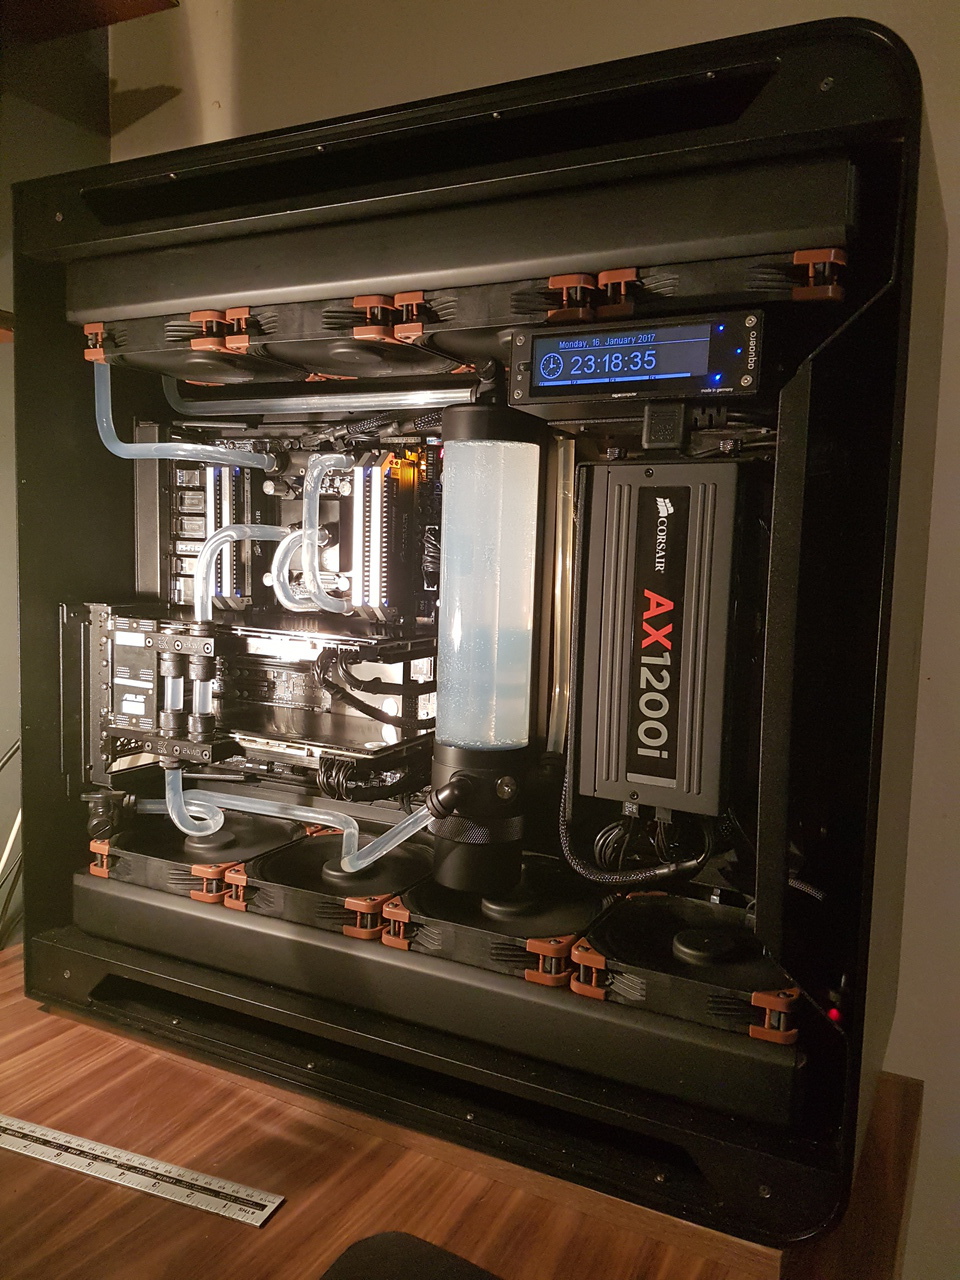
Fans are on all the time, got set curve in aquaero, what temps u want to know ? cpu gpus water etc ? load idle i got build log on some forums but not to mutch in yet, needs to add pictures and redag it first
 be more when i will get som time
Soldato
That is so worth it. Well... speaking from someone who didn't have to do anything.
Osssh those LED fittings look great! Well done
Cheers lads
 Hopefully the design will be revised and improved in the next few years and LED fittings will become the new standard. Lots of potential there for epic looking builds
Hey guys,
I have built a few loops now with soft tubing but this is my first attempt at PETG rigid tubing after purchasing my latest case. I largely moved most of the hardware from my previous case - Phanteks - and just bought new 480mm radiators and a second bigger res.
Let me know what you think!
PS - I didn't include all the progress pictures because I didn't want to bore you. I could do another build thread for that I suppose.
The lighting in here is multi colour LED strips so I can change by remote, that is why in the one picture it is very bright purple, and in most the one I prefer like a light blue lol.
Some of the first pictures are without the top/etc on, in the last one it's completed.
I do have a nice sound card to add in also but haven't done that yet.
Excuse my camera, it's either the camera on my Samsung Galaxy Note 4 is crap or I'm crap at taking pictures. It never looks good lol.
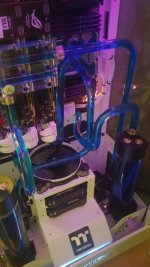
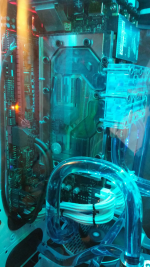
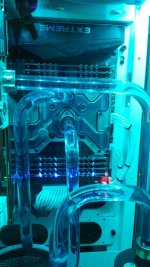
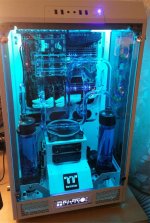


Associate
My rig. I'm not very good at taking pictures!


Soldato
I haven't seen any other builds using LED fittings so I'll be happy to claim this is a first, but not without expressing just how much a pain in the **** these fittings are to build with.
The LED's are on a circular PCB which sits over male barb with two o rings:
The fittings come in a box with the o rings fitted, the cable with the LED is loose in the box so it means having to fit it yourself.
To begin you need to remove the o rings, then very very (VERY) gently slide the LED pcb ring over the barb. With it being such a tight fit and the surface LEDs being so close to the edge of the pcb, even if you're incredibly careful it is easy to knock one off. If you do knock a LED off, the other LED's will stay lit, but the effect over a length of tubing is dulled and looks out of place compared to the rest.
With the LEDs being so tiny, I find it hard to believe the manufacturer can accurately place and solder each LED identically on the pcb. Any inconsistency pretty much guarantees you're going to lose a LED during fitting. I was really really careful and I Ended up with 5 rings missing a LED and another with a damaged trace which causes it to flicker when lit.
Then comes the fun with the tubing
No other hardline fittings use an internal diameter barb. At least I can't think of any..
When the tubing is manufactured, I would assume the manufacturer prioritises accuracy of the outer diameter over the accuracy of the inner diameter. Thinking about it, internal diameter is relatively unimportant to most fittings, I doubt it is much of a concern.
Out of 4 large boxes of the Alphacool 13/16mm PETG tubing I found only one batch of the tubing to be a perfect match to the barb I say perfect match because if it isn't and it's out by as little as 10th of a mm... the fittings will leak like crazy (you can imagine how much time it took rebending each piece and leak testing before I realised some batches of tubing will never work)
For these reasons, and many more, I would thoroughly not recommend buying these fittings and trying this yourself. If you value your hair and sanity I wouldn't even think about it lol.
Saying this, the results well.. I'm very pleased
Hi,
What brand are those LED fittings?
Asking because it doesn't look like the TT ones, since the logo is missing and the cabling doesn't look the same.
Last edited:


