Project: Helios

Associate
Joined
14 May 2012
Posts
1,160
So,

I've done a complete redesign of my home network and this will be the first part of it!

Quick overview
My new home network will consist of:
My Desktop - Helios
Media PC - Iris

NAS / Windows Storage Server - Athena
VM Host - Olympus

So this is basically a rebuild of my 900D (currently seen in my sig).

Kit:
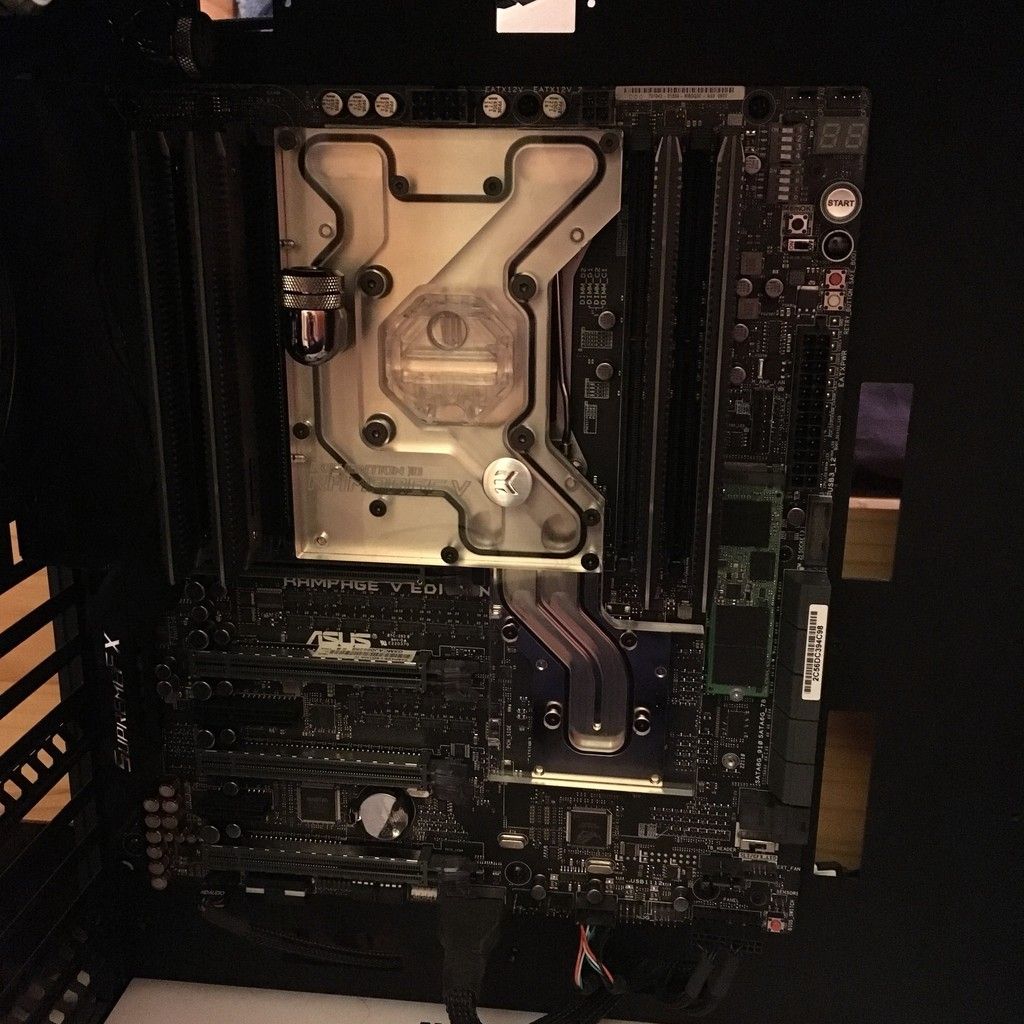
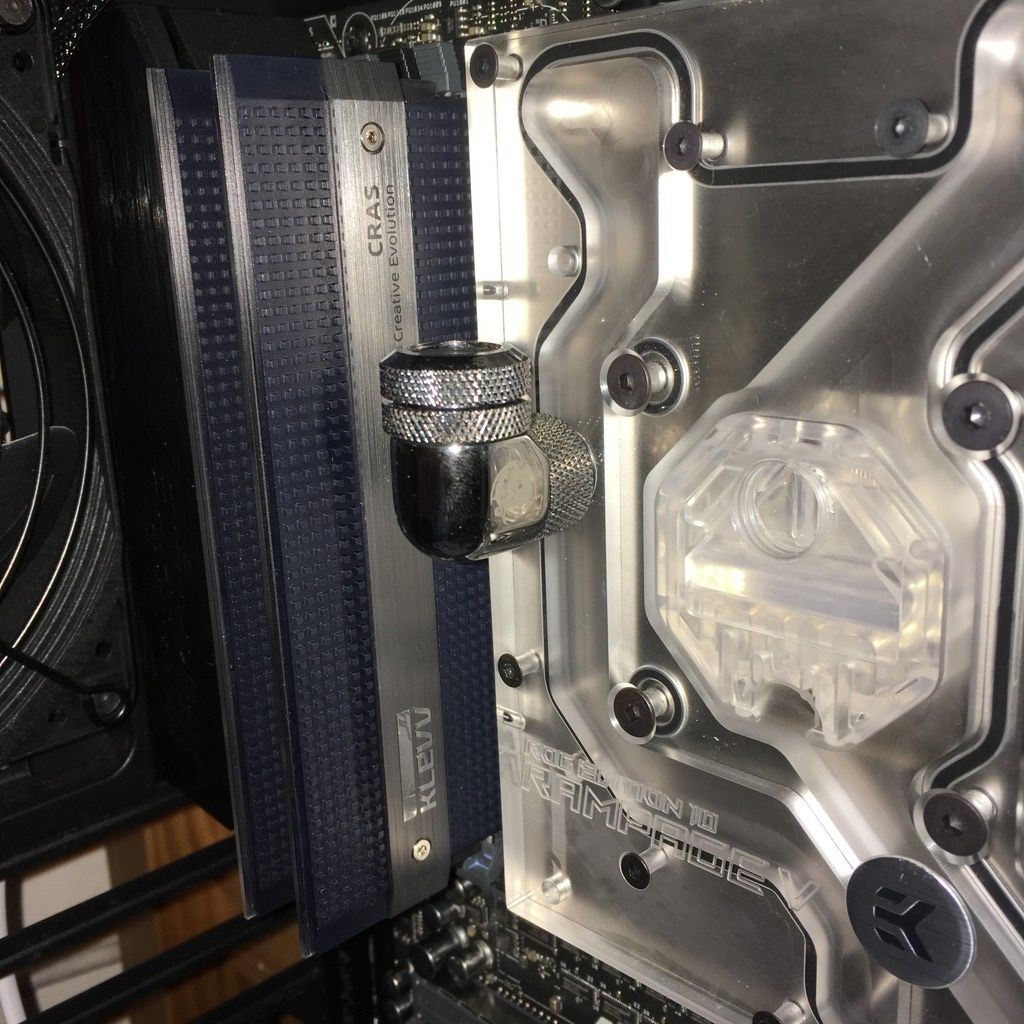
Motherboard: Asus Rampage V Edition 10
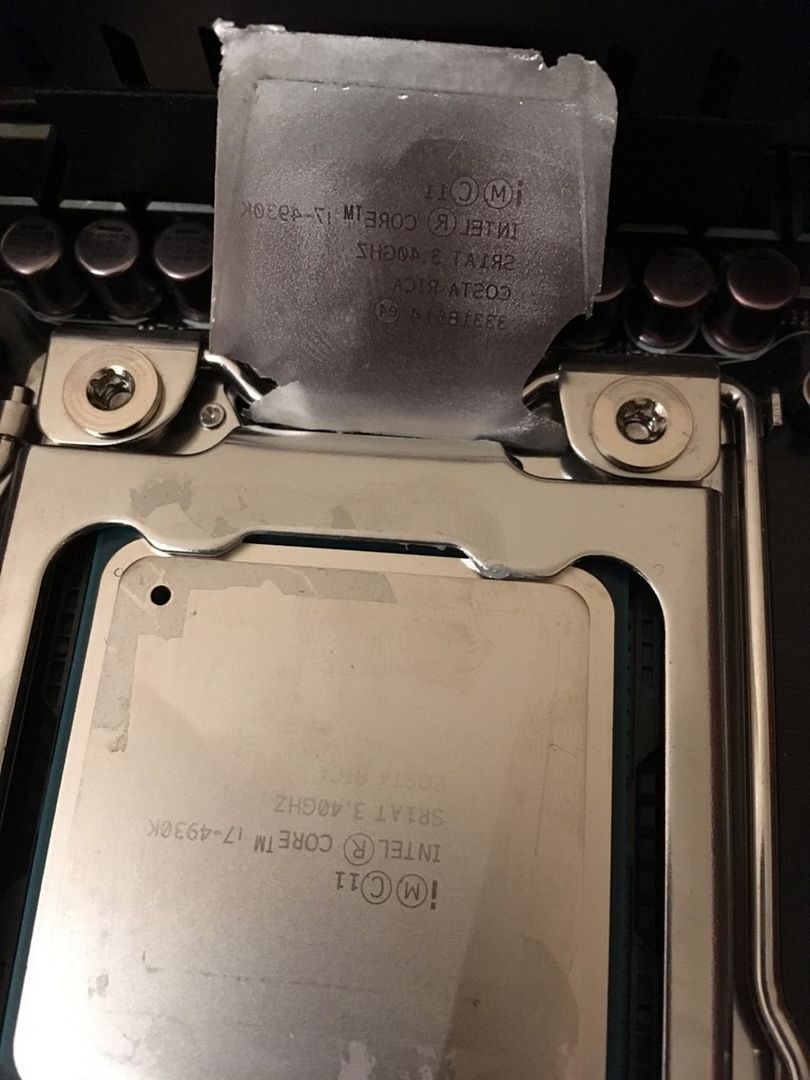
CPU: Intel I7 6850k
Ram: Klevv Clas
Graphics: SLI EVGA 1080's
HDDs: Samsung SM951 256GB
2 x 1Tb Samsung Evo 850
1 x 4Tb WD Caviar Black
Powersupply: Corsair AX1200i

WaterCooling:
2x 480mm XSPC AX radiators
1x 240mm EXWK PE Radiator
2x AquaComputer D5 pumps with USB & Aquabus
2x EKWB D5 top (old style) might be changed
10x Noctua NF-F12 Fans
2x Gentle Typhoon 1850
1x Noctua NF-A14 Fan (Industrial)
1x AquaComputer Aquaero 5 LT
1x AquaComputer Aquaero 5 XT
10mm ID Bitspower Black Sparkle fittings
EKWB Acrylic Tubing
Mayhems Ice White Pastel Coolant
Various Dyes

Other:
Corsair 900D Case
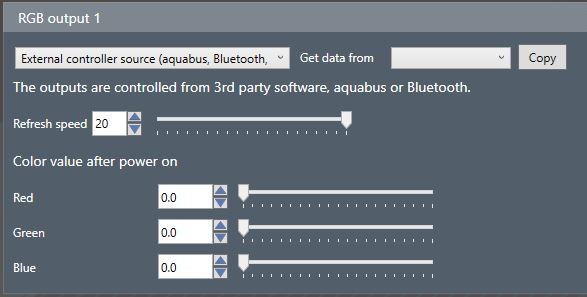
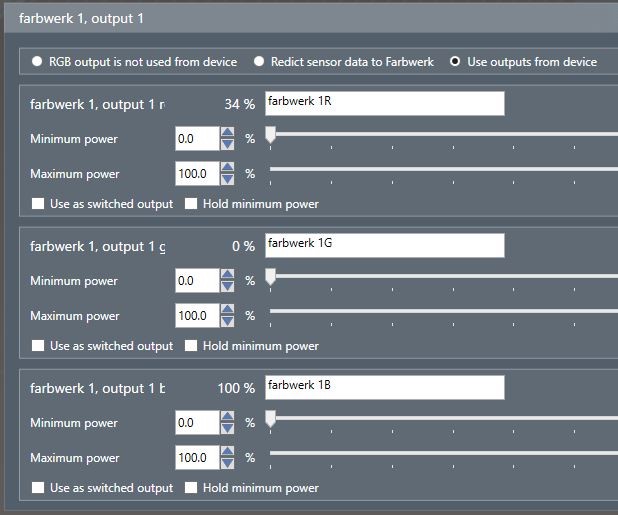
1x AquaComputer Farbwerk
1x ColdZero Motherboard Tray
1x ColdZero HDD Bay cover
1x ColdZero Lightbox - Full
Other ColdZero bits to mod the case
1x E22 Custom frontplate
E22 Cable combs
E22 Wires
Telios Sleeving

I think that's it....
 
Last edited:
Associate
OP
Joined
14 May 2012
Posts
1,160
So first update:
I'm waiting on the Monoblock from EKWB.... it's ordered... buuuuuut it's processing...

So I started taking the motherboard apart.... and er there was an accident....

KL3eiLk.jpg

This came off... but it became:

pjNXJ6Y.jpg

Ah well... I bit more work with the pliers and the IO cover went back on:

xwxJzdB.jpg

It doesn't look too bad now, a bit more work and a coat of paint and no-one will notice... RMAs could be an issue; so it's a good job it's been tested!!

So with all of this removed:
76DVDwz.jpg
zr976R6.jpg
It was time to have mess around with some of the parts:

The South Bridge cover comes off as it's self adhesive...

O6k1THe.jpg

Apparently you can replace this with 3d printed parts!
So that's the CPU installed, and the SSD installed.... happy days... just waiting now!!
 
Associate
OP
Joined
14 May 2012
Posts
1,160
So unfortunately I got a bit distracted over the last few weeks / months.

But I have completed:
Project: Athena
Kit:
Motherboard: SuperMicro X10SDV-4c-TLN4F
CPU: Integrated
Ram: 16gb ECC Registered
HDDs: Samsung SM951 128GB
2 x 250Gb Samsung Evo 750
5 x 4Tb WD Caviar Red NAS drives
Powersupply: Silverstone SFF 500W
Case: Silverstone D380 NAS Case

Project Olympus:
Motherboard: SuperMicro X9DRi-f
CPU: 2x Intel E5-2670
Ram: 8 x 8gb ECC Registered
HDDs: 2 x Patriot 120Gb SSD
Powersupply: Silverstone Strider 1000W
Case: Phanteks Enthoo Luxe

Watercooling
EK Dual D5 Top
2x PWM D5 Pumps
1x 420mm Watercool Mo-Ra 3 Radiator
2x Watercool Heatkiller 4 Narrow ILM waterblocks
BitsPower Multi-Z 150mm Reservoir
Monsoon Chain Fittings - Blood Red
Bitspower Angled fittings - Black Sparkle

I have also recieved the Klev RAM for this build and a new case for my HTPC, although its going to get a little bigger than it was.

The second 1080 should arrive on Thursday and I'll post some pictures over the next day or so.
 
Soldato
Joined
4 Jun 2007
Posts
2,632
Location
Watford, UK
Bad luck with the heat pipe. Good job you're going monoblock though.
There looks like an awful lot of removable stuff from that board! All of it with SMD RGB LEDs?
 
Associate
OP
Joined
14 May 2012
Posts
1,160
Yeah, it's all RGB LEDs.

Fortunately the shroud went back on after the heat pipe broke, so it's not all bad.

Also the backplate fits even with the Acrylic back I have in my 900D

FOo4Z9C_zpsid5nebq6.jpg~original


1_zpscsvg9hxy.jpg~original
 
Last edited:
Associate
OP
Joined
14 May 2012
Posts
1,160
I'm slightly disappointed that I can't use Indigo Extreme TIM on this build, I've found that it gives a really good connection between the CPU and the Heatsink...

This good in fact:

2_zpsom67gcjb.jpg~original

Yes, you can actually see the text reversed in the TIM once it comes off!!
 
Soldato
Joined
4 Jun 2007
Posts
2,632
Location
Watford, UK
Looks pretty but damn, that's pricey stuff! Especially as it looks like it's a one-shot effort. They do one for the 2011-3 socket though. Are you using something else in preference then?

Monoblock looks good but I wish to complain! ...your one has pre-drilled LED holes. I had to drill my own! :eek:
 
Soldato
Joined
4 Jun 2007
Posts
2,632
Location
Watford, UK
I wouldn't have thought it would make a difference - not that I'm pretending to be any kind of expert here! It seems to be the processor it's fussy about (different versions for 2011, 2011-3 and 115x) but the heatsink is likely to be different for a lot of people so I'd have thought that as long as it's flat it'd be ok. Only potential issue I can see would be lining it up but if you get it on the cpu and make sure the block goes straight down it should be ok. Kryonaut seems to be doing a fairly good job for me if not. Can't be specific about temps because I delidded (used CLU under IHS), changed to Kryonaut between IHS and monoblock and also upgraded my entire loop all in one hit. About 20°C lower over all under load on the CPU - which I'm very pleased with but couldn't tell you how much each was responsible for.
 
Associate
OP
Joined
14 May 2012
Posts
1,160
As teased in my Overhaul build log I have now installed the new custom front plate for my 900D

81fe4848-518d-4b31-b0f1-2adeb3e82d6f_zps1zsqvth5.jpg~original


This is actually only a test fit and it needs everthing wiring up behind it...
 
Soldato
Joined
4 Jun 2007
Posts
2,632
Location
Watford, UK
Ach, it's all easy until you get the spaghetti out and lace it all together!

Looks good but I'm trying to work out what's on the back. The Aquaero 5 XT is obvious and I'm guessing the set of screws below that is the 5 LT in slave mode. What's the small set below that, a pump?
You can make up some nice short Aquabus cables with just 4-pin (PWM) fan plugs, crimp-on pins and some wire. They're just wired one to one. Sleeve the four wires as one and it looks quite neat.
 
Associate
OP
Joined
14 May 2012
Posts
1,160
Ach, it's all easy until you get the spaghetti out and lace it all together!

Looks good but I'm trying to work out what's on the back. The Aquaero 5 XT is obvious and I'm guessing the set of screws below that is the 5 LT in slave mode. What's the small set below that, a pump?
You can make up some nice short Aquabus cables with just 4-pin (PWM) fan plugs, crimp-on pins and some wire. They're just wired one to one. Sleeve the four wires as one and it looks quite neat.

Actually all the cabling is already done, it just needed plugging in.

There is:
Aquaero 6 Pro
Aquaero 5 LT
Farbwerk
NZXT IU01 (velcro).
 
Soldato
Joined
4 Jun 2007
Posts
2,632
Location
Watford, UK
Ah, a Farbwerk. Have you got it set up yet? They seem a bit finicky. Run it off USB and it's often very slow to respond. Run it off Aquabus and nothing happens. You have to configure from USB to be controlled externally and then you can set up control from the Aquaero over Aquabus without USB. If you've not already got it sorted I can pull up the settings for you.
 
Associate
OP
Joined
14 May 2012
Posts
1,160
Ah, a Farbwerk. Have you got it set up yet? They seem a bit finicky. Run it off USB and it's often very slow to respond. Run it off Aquabus and nothing happens. You have to configure from USB to be controlled externally and then you can set up control from the Aquaero over Aquabus without USB. If you've not already got it sorted I can pull up the settings for you.

I'm not 100% sure exactly how it's configured at present.

I'll let you know as soon as my PC is back up and running, but that could be great.


Why does "cool" stuff always come out just as I'm in the middle of an upgrade, but just after I've purchased the component which has just been upgraded?

That's right EK RV Edition 10 RGB waterblock I'm looking at you....

Although it's not clear acrylic... so that makes me feel a little better!
 
Soldato
Joined
4 Jun 2007
Posts
2,632
Location
Watford, UK
You can DIY it if you're in that devil-may-care frame of mind. You'd need to widen the existing 3mm holes (assuming they're 3mm) to 5mm so it'll take RGB LEDs which are only available in 5mm (the fully controllable ones rather than ones that just cycle). You need something that will control them though. The Farbwerk will do it but you need a connector for the plug (cut off the strip connector) and then you need some Common Anode RGB LEDs - which are, of course, the uncommon variety and don't seem to be available in the UK. Available in bags of 100 from China though. You can't wire them in series (because of the common pin) and you need a resistor per colour channel per LED. So for a pair for the block and assuming the same LED spec as I have, you'd need two 510 Ohm resistors (for the Red pin of each resistor) and four 430 Ohm resistors (for each of the green and blue channels of each resistor). It's a bit of a pain but it looks good. See the last page of my log (post 172)

Ok, Farbwerk settings so that you can control it from the Aquaero via Aquabus. The other option being that you have it separate from the Aquaero and communicate from Aquasuite via USB as an entirely separate device.

First, you need to set the controller tab of the Farbwerk:


Then the Output tab of the Aquaero:


Then add a controller to make it do what you want - either static colour, cycling or in this case colour depending on temperature:

 
Last edited:
Back
Top Bottom