PC display stand

Associate
Joined
31 Jul 2012
Posts
1,016
Location
Cheshire
PC display stand - complete

Hopefully it's ok to post here as it's not strictly a hardware build although it is to accommodate a PC I recently assembled. Feel free to move it if it needs to go somewhere else.

I have a desk which I made (most of) which doesn't have sufficient space to accommodate my PC. It's currently sitting on a cardboard box:


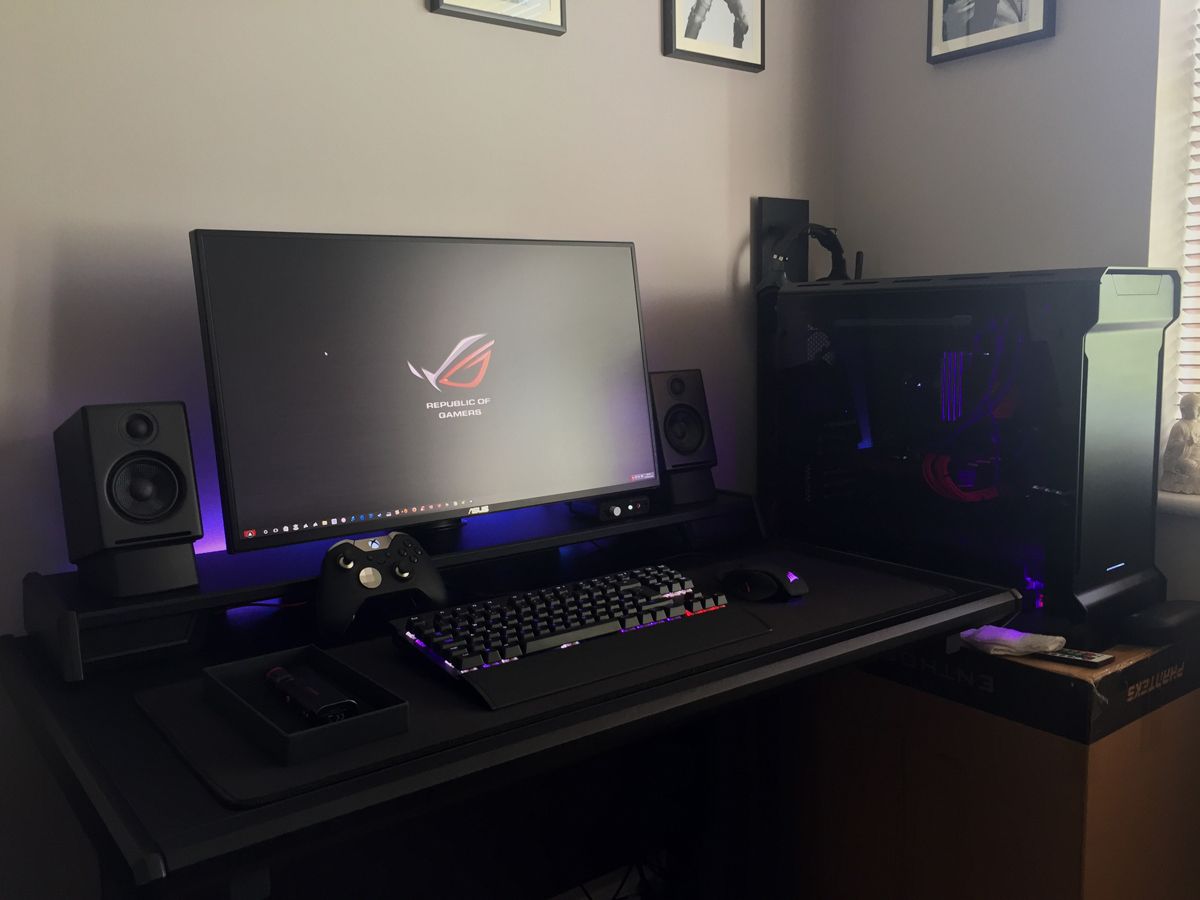
This project will be to build a display stand to sit it on and replace the box. It's going to be fairly minimalist so nothing too fancy and really shouldn't take long to complete. I also want it so that the design is in keeping with the other game related project builds I have in my room.
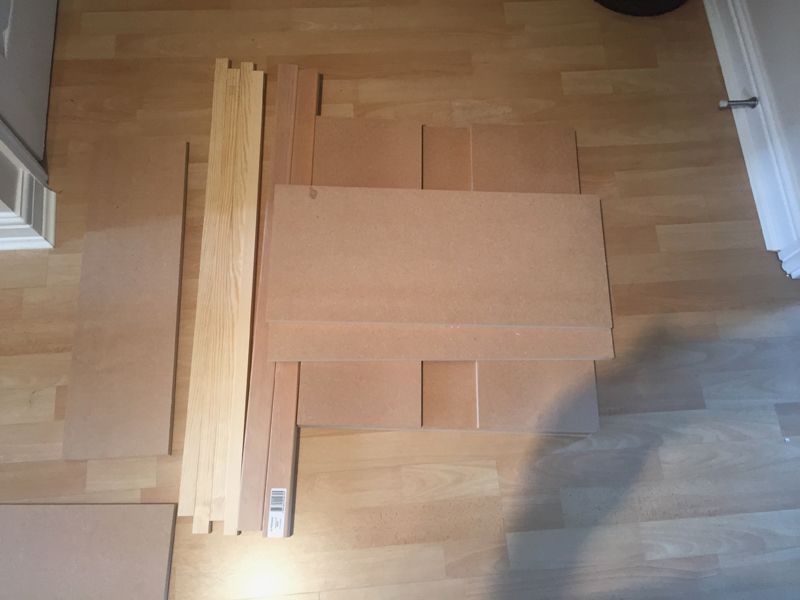
Panel pieces cut:


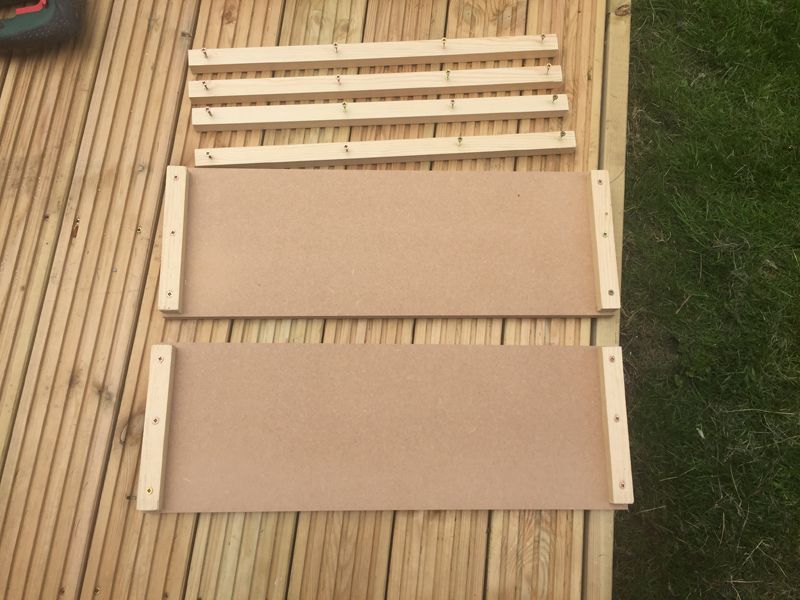
Batons cut and ready for assembly:

 
Last edited:
Associate
OP
Joined
31 Jul 2012
Posts
1,016
Location
Cheshire
It's coming along nicely.

Basic box assembled:


Access hole for the rear to hide the power strip and a whole lot of other gubbins:


Top piece (I'll use a flush trim router bit to get this to align perfectly):

 
Associate
OP
Joined
31 Jul 2012
Posts
1,016
Location
Cheshire
Cheers. After filling and sanding to get everything smooth, I'll use blackboard vinyl (much more durable and thicker than regular vinyl) to cover the sides. I may use ribbed rubber matting on the top but not sure yet.

It's the same stuff I used on my racing rig. You can see the rubber sheet (upper window on the side panel) and the vinyl (on the face behind the extinguisher) on my shifter pod:


Top and bottom pieces of the main unit have been screwed in place and flush trimmed:


The sides have been bevelled:


I'll also be attaching stabilising legs.


These will have self levelling feet attached to the bottom like the ones I used for my console cabinet (this also uses the same vinyl covering):

 
Last edited:
Associate
OP
Joined
31 Jul 2012
Posts
1,016
Location
Cheshire
While I'm at it, I might as well post a couple of pictures on the blanking plate I made for the Phanteks Enthoo Evolv tempered glass case. It's to hide the cabling on the right hand side as my cable management skills aren't too great.

I cut a sheet of 1mm high impact polystyrene to size, drilled holes for the retaining bolts and added a metal ROG sticker:


This was cleaned and dusted and attached to the back of the glass panel with black electrical tape:


In place on the case:

 
Associate
Joined
18 Oct 2002
Posts
633
Location
London
Awesome m8, I really want to build something like that, excellent craftsmanship.

I'm ok with general household diy, but your clearly on a different level. :p
 
Soldato
Joined
20 Feb 2011
Posts
3,665
Eye poppingly brilliant! Wish I had the patience to do something like this too. One thing - you mention self levelling feet. What are these as I've never heard of them before.
 
Associate
OP
Joined
31 Jul 2012
Posts
1,016
Location
Cheshire
Awesome m8, I really want to build something like that, excellent craftsmanship.

I'm ok with general household diy, but your clearly on a different level. :p

Thanks very much for that :)

Eye poppingly brilliant! Wish I had the patience to do something like this too. One thing - you mention self levelling feet. What are these as I've never heard of them before.

Cheers, it's appreciated!

The self levelling feet are basically adjustable feet with a ball and socket joint to allow for any unevenness on the floor:


These are screwed into threaded inserts which themselves are screwed into the underside on the leg:


I find they provide a much more stable base (which will be important for this tall, thin albeit heavy stand) and also make for a more professional looking finish.

I think I'll call this build 'Monolith' when it's done and will likely have a badge made for it. You can get name badges made which suit the purpose very well. I put one on my sim rig:


and also the arcade cabinet:

 
Last edited:
Associate
OP
Joined
31 Jul 2012
Posts
1,016
Location
Cheshire
Sweating buckets, I did some refilling and sanding and covered the Monolith in black vinyl:


I'll attack the ribbed rubber sheet for the top tomorrow. It'll look something like this:

 
Last edited:
Associate
OP
Joined
31 Jul 2012
Posts
1,016
Location
Cheshire
Thaks for that. It's great to make things from scratch as you can build things to your exact specifications.

Just applying the rubber sheet to the top at the moment. Hopefully I've put sufficient glue on it. I'll know within an hour ...
 
Associate
OP
Joined
31 Jul 2012
Posts
1,016
Location
Cheshire
Thats some pretty nice work there. Love the ROG sticker behind the glass panel, thats a nice idea.

Thanks for that. If my cable management skills were up to scratch, I wouldn't have made the panel but now it's there, I'm pretty pleased with it.

Finished up the top of the stand. I still have the legs to do which will radically change the way it looks but I've installed the PC on it for now. Not going to tidy all the cabling until it's finished:


Yes, It kinda looks like a box atm!
 
Last edited:
Back
Top Bottom