Associate
- Joined
- 25 Aug 2014
- Posts
- 282

Welcome everybody to my latest log! This one is a remake of a simple build done a few years ago for someone else,this time im remaking it for me,hopefully with none of the facepalm that comes with a sequel!
The latest victim is the 'hot from the press' Caselabs BH4,a case designed by Jim and his hardworking team to be a compact case for aircoolers....well...Challenge Accepted as I dont do aircoolers so this build will be a Sli,fully watercooled rig instead.
Most of you know,if you cut me in half then the words In Win can clearly be seen like a stick of rock....however,when a case gets my interest then Im going to have to have a go at stamping my style on it,this is one of those cases!
First off,lets look at the case.
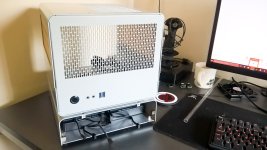
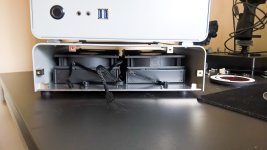
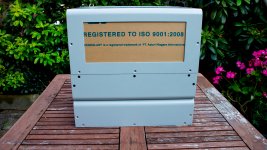
As usual,Caselabs have gone for a thick gauge Alu but opted for a clamshell design rather than the traditional frame and panel design favored by most manufacturers. This saves on weight and materials which is why im guessing Caselabs dont charge the earth for it. Its compact,really compact...however I have a second lower clamshell which will be flipped to make a small rad bay underneath (more on that in the pics). I also went for the dual window option because...who wouldnt?!? Finish is,for now,Caselabs excellent primer finish,I have used this before and found it excellent so I saw no reason not to use it again,thanks to Jim for that as i know its a PITA to change out colours and primers for just one case!
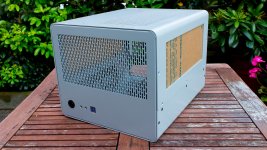
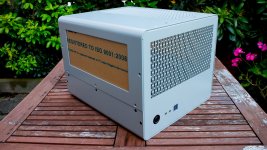
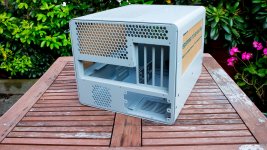
Caselabs provide well for storage fiends! 4x 2.5 and 2x 3.5 mounts no less.
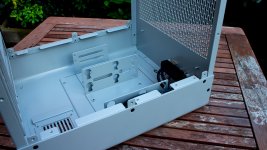
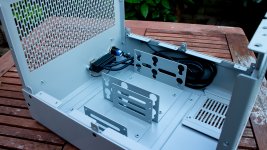
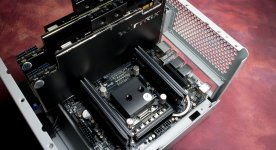
Board in place...
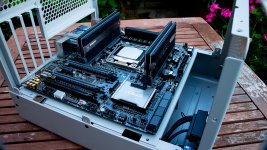

You can see from the pics that I have mounted standoff's to the lower section,this will mount the panel that will hold the rads and the vanity panel on the front.
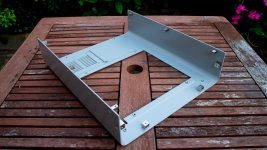
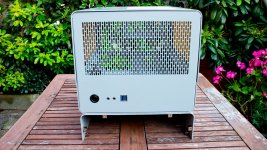
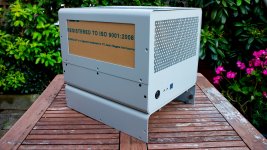
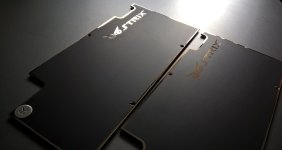
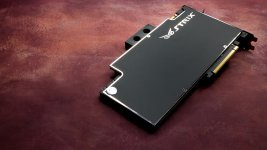
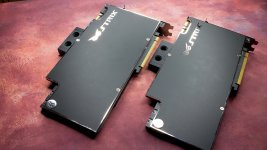
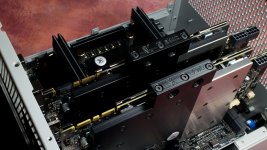
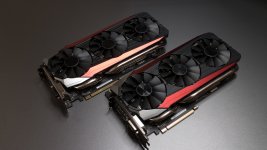
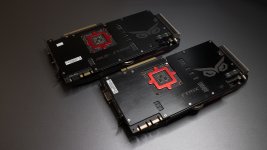
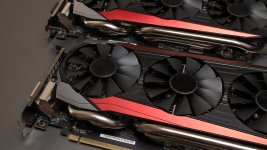
You will probably guess that fitting the GPU's with waterblocks will be hard...well,it is with my choice of cards,the excellent ASUS 980Ti Strix cards,as they are HUGE! Not to worry tho,there will be a form fitting cutout on top to allow the cards and blocks some space.
The GPU's,courtesy of ASUS UK! I went for the awesome 908Ti Strix as availability of a second 1080FE to go with the one I have already was next to non existent. Who cares tho when they are as good as this!
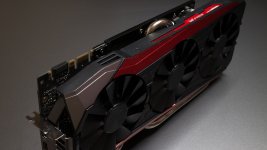
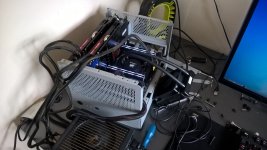
You can see how tight it is when I did the shakedown...
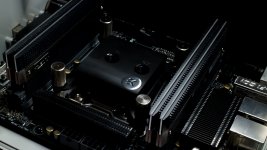
The RAM courtesy of the excellent team at KLEVV,a new sponsor for me and provider of some sexy sophisticated looking RAM,this is their DDR4 CRAS kit....so cool looking! Thanks KLEVV!
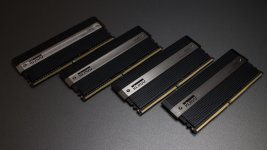
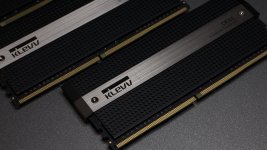
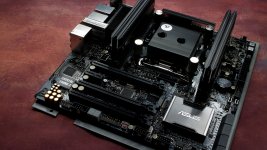
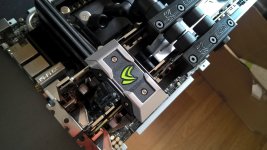
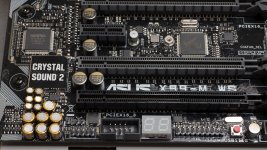
The motherboard,the awesome X99m WS platform,this was provided by my mate Tom Logan @OC3D,once he found out what I was doing and how much I wanted to use that board,he selflessly offered me his one from his ASUS pron stash!! Good Work that Man!!!
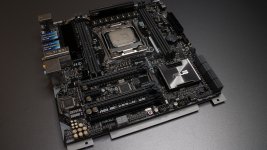

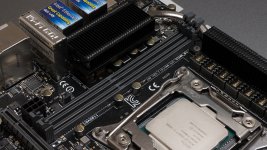
And with that gorgeous RAM in situ
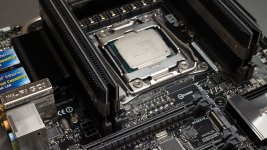
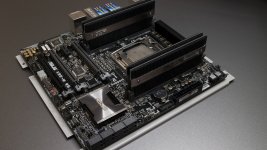
Its like KLEVV had a picture of that board next to the designers workstation with the memo 'Make it look awesome on that board'....
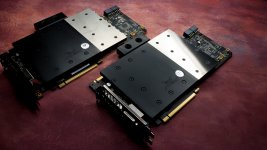
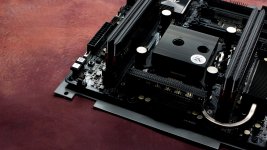
Watercooling ,as always,comes from the best,EK. Derick was excited to hear of my collaboration with the ever awesome Caselabs so it was not a hard choice to make!
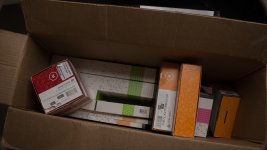
As you can see,this will need a post all of its own!
PSU's are in the form of dual Cors68air SFX series,no ATX will fit in the gap and those GPU's are not on a diet so the back panel will be modded to hold 2 of these,a 600w for the CPU and 1 GPU while the other smaller 450w unit has the second GPU and the ancillary equipment.
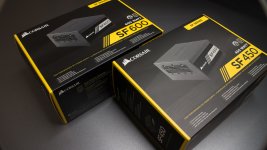
Im not giving to much away on this yet but you can count on paint,lots of metal cutting and a dirty great res in the front!!

Thanks to the teams at Caselabs,ASUS UK,KLEVV,The constantly awesome EK and me old mucker Tom Logan at OC3D for providing me with the support time and again to do what I love. Big kisses guys XX :thumb:
Last edited:


