The AACC. Alien Audio Control Center.

Soldato
OP
Joined
23 Apr 2010
Posts
11,896
Location
West Sussex
All of the component cables are finished :) this includes 4 x RCA audio and two video. One video to go into the back panel and one to go into the AV-HDMI box.


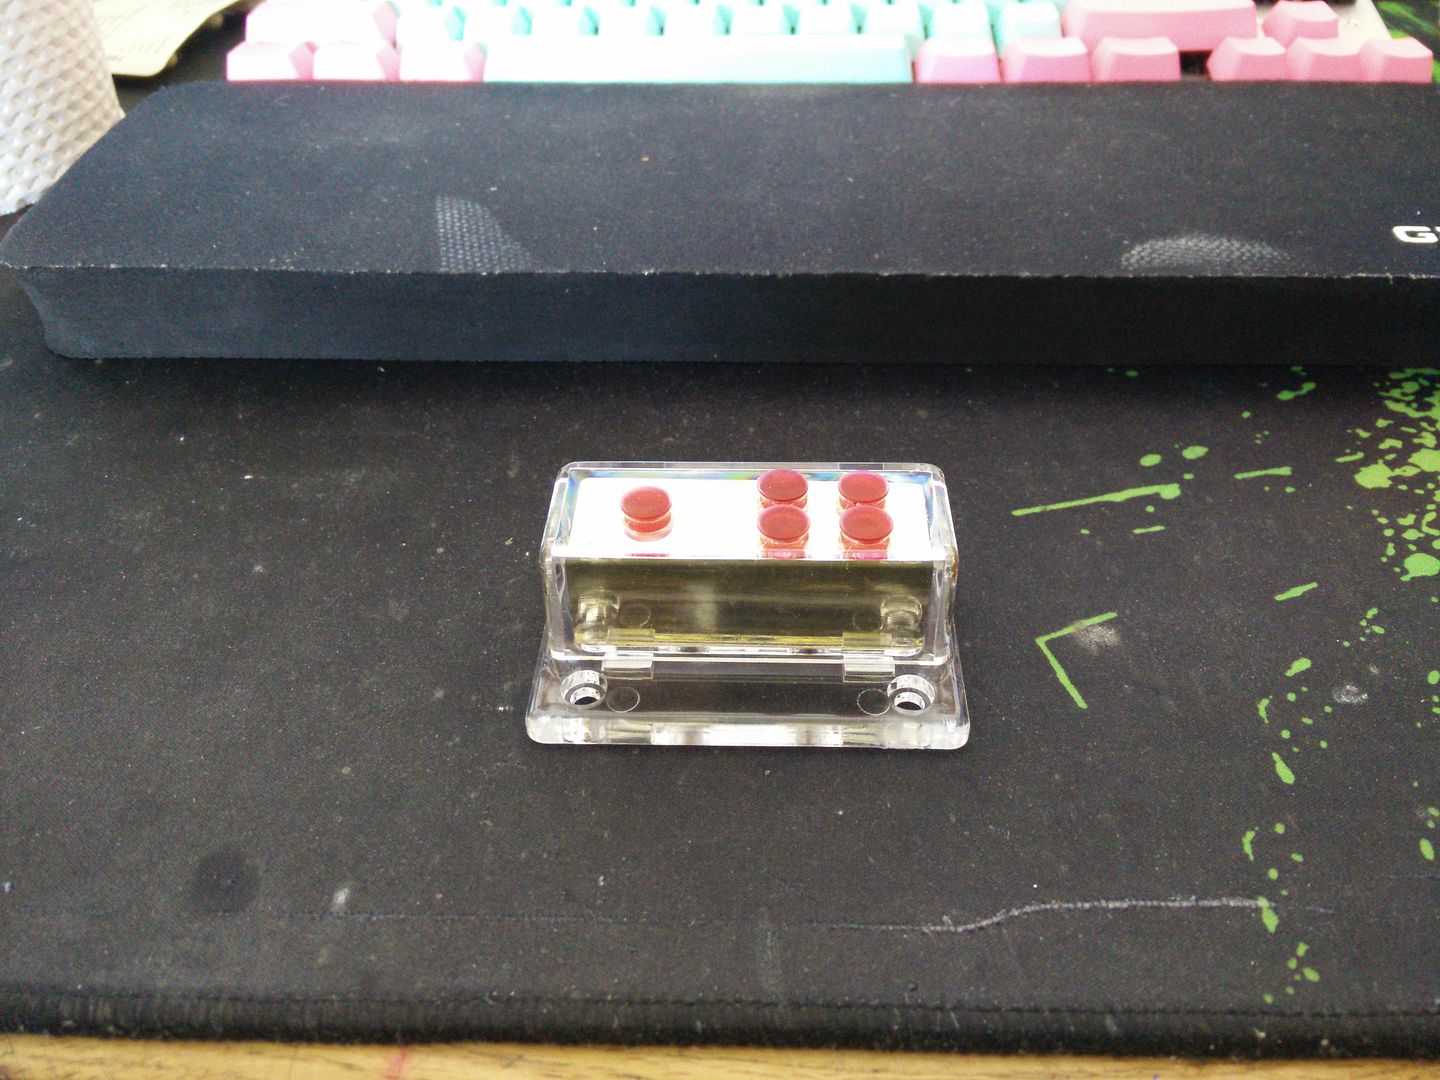
And the ground distro block came. I will paint the red caps black :)


Maybe later tonight I will make up the speaker cables that go to the back panel, then all of the wiring for that will be completed :)
 
Soldato
OP
Joined
23 Apr 2010
Posts
11,896
Location
West Sussex
Had a bit of luck on the HDMI plate.


I had a few different ones kicking around. Turns out all I needed to do was snip out two bars, perfect fit :)

I've ordered these as I don't have the correct drill bits atm.


I've now fixed the power supply down and once the football is finished later I will try and mock fit it as I am starting to worry everything is not going to fit in. I may need to mount a couple of bits on the back panel outside :)
 
Soldato
OP
Joined
23 Apr 2010
Posts
11,896
Location
West Sussex
Aerial cable shortened and braided.


Edit. I have cut a recess in the ground distro block.


So they can fit together.


I got a bit of a shock earlier. I fitted the back (upside down how I want it) and realised that space inside the case was at a severe premium. Whilst this is not a PC it's still an ITX case and a bloody small one at that.

With the distro block so that it fits the fuse the fuse will live under the 120mm fan right at the bottom/back of the case. The distro block did not fit until I cut it.

Thankfully I have some space up in the roof above the unit so I will likely fit the HDMI converter and the USB power block there, providing the block is not too big (worriedly goes off to Ebay to see if they state the size..)
 
Last edited:
Soldato
OP
Joined
23 Apr 2010
Posts
11,896
Location
West Sussex
Been a bit quiet for the last couple of days, but not because I stopped doing anything. I've mostly been working on the stereo's main plug and the wiring on it. Any way, today I wanted to fit the fuse and ground distro block.

I drilled a few holes.


Then bolted them in.


After doing some reading I realised that the permanent live switch (12v up to about 12 amps) needed to be beefier than the 12mm button I ordered. It has a claimed maximum amperage of about 4, nowhere near enough. So I decided to use one of those red switches as this thing can handle about 18 amps @ 12v. The initial problem was that these things lock a switch in the off position, not in the on position. I wanted it on and tamper proof so I ground off the tab on the plate.


The switch and back panel..


OK so I grabbed some green vinyl.


Then mapped the switch onto it.


And cut it out and stuck it down.


And fitted it. I had to fit it upside down due to clearance issues with the mains power socket, but I'm OK with that.


And this is how tight it was..


Some more wiring to to this afternoon. I can finally fit the main ground and 12v removing the ridiculous amount of excess from the PSU :D
 
Soldato
OP
Joined
23 Apr 2010
Posts
11,896
Location
West Sussex
OK so it isn't much but I just fitted the main 12v and ground. Very happy with how it looks !


I was going to paint the little red caps but instead I just bought this for £1.75


Which should (hopefully) punch out little black vinyl circles :D
 
Soldato
Joined
1 Dec 2015
Posts
18,514
sorry to drop a message non related to this build. but if you still have your UMX1 , are you able to tell me how much space is left between your GPU to the side panel?
looking at a card 12.9cm in height and i know CPU coolers can be max 13cm. cheers :D
 
Soldato
OP
Joined
23 Apr 2010
Posts
11,896
Location
West Sussex
sorry to drop a message non related to this build. but if you still have your UMX1 , are you able to tell me how much space is left between your GPU to the side panel?
looking at a card 12.9cm in height and i know CPU coolers can be max 13cm. cheers :D

I really don't remember dude.


IIRC you can only fit standard/stock cards due to the power connectors hitting the side panel.

EVGA are apparently releasing a thing that fits into the power socket and brings the cables around to the end of the card/s but they may only work on EVGA cards.
 
Soldato
Joined
1 Dec 2015
Posts
18,514
I really don't remember dude.


IIRC you can only fit standard/stock cards due to the power connectors hitting the side panel.

EVGA are apparently releasing a thing that fits into the power socket and brings the cables around to the end of the card/s but they may only work on EVGA cards.


No worries, the board is stock but the cooler has a wide ass
 
Soldato
OP
Joined
23 Apr 2010
Posts
11,896
Location
West Sussex
Then it won't fit dude. To get the card in there I had to do some serious origami. I could not get the GPU in with the PSU in so I would have to remove the PSU every time I wanted the GPU out. It was horrible to work in but nice once it was all put together.
 
Soldato
Joined
1 Dec 2015
Posts
18,514
Damn, was more worried about having the panel close then getting it in. Would be using a 14cm PSU to help out.
Even the 460 version is a bit wider with popes sticking out :/

Cheers for the info
 
Soldato
Joined
4 Jun 2007
Posts
2,618
Location
Watford, UK
I was trying to work out why you even need a 12V switch because you can just turn off the PSU. Are you needing a permanent live (for memory on the head unit) and a switched live to turn it on/off?
 
Soldato
OP
Joined
23 Apr 2010
Posts
11,896
Location
West Sussex
I was trying to work out why you even need a 12V switch because you can just turn off the PSU. Are you needing a permanent live (for memory on the head unit) and a switched live to turn it on/off?

Yes :)

Basically the PSU is going to be internal and I can only access it from inside, as the power button on the back of it sits about 2cm back from the main front panel.

So what I have done is basically left it switched on and will then run that big fat 12v line into the kill switch on the back (which locks the power on, rather than off) and then run the ACC (accessory, the red wire) to the main switch on the front (in the hole where the old power button used to be).

It means that the PSU's fan will always be on but it's inaudible to me so that doesn't matter much.
 
Soldato
Joined
4 Jun 2007
Posts
2,618
Location
Watford, UK
Presumably you desoldered all the ATX connector wiring and had to bridge the switch-on wire (pin 14) permanently to ground to get it to switch on without a motherboard? If you needed to be able to switch if on/off you could always extend that bridge out of the PSU and take it through a switch....or you could, of course, just yank out the power cable if you need to :D
 
Soldato
Joined
4 Jun 2007
Posts
2,618
Location
Watford, UK
Nice. Particularly like the AACC side-stripe.
I'm about to rip everything out of it's perfectly functional home and transplant it into the new case and new loop. First hardline bends will be sworn at today! Wish me luck!
 
Soldato
OP
Joined
23 Apr 2010
Posts
11,896
Location
West Sussex
Heh, one of those days. So I needed some cable ties (black) as I seem to have ran out. I was certain that somewhere I should have a load of red cable ties (from my wife's PC project) but instead found this.


I bought it for another project and it had never been used. I'd had the sense to take it apart and paint it all black, but I had put some silver Dinoc on it. Any way I was absolutely hell bent determined to use this thing as I know it could really help.


Of course, to find out if it would fit I had to pretty much rough assemble most of the unit before tearing it down again. It was supposed to be one thing, just soldering on a live wire and fitting it to the fuse at one end and the switch at the other :D

Any way, the upshot is that it fits lovely.


I had to make some temporary tags to hold the 12v wire in. Must go and buy some now.


I tested the blower at both 5v and 12v and tbh it's not really that noisy at 12v. I mean yeah, you can hear it but it's no issue as I have fitted a regular 3 pin fan connector to it and will just run it from the power aerial wire also.
 
Back
Top Bottom