

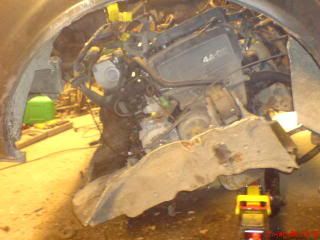
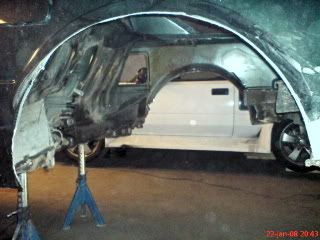
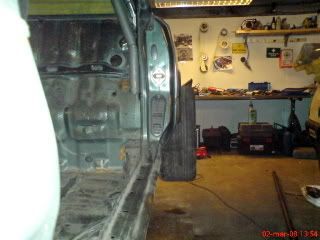
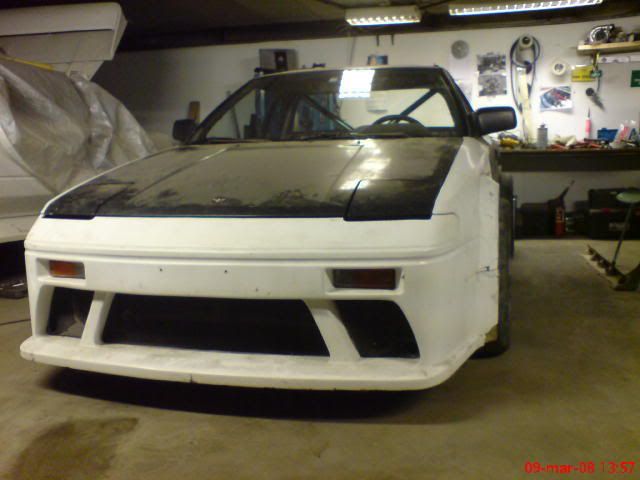
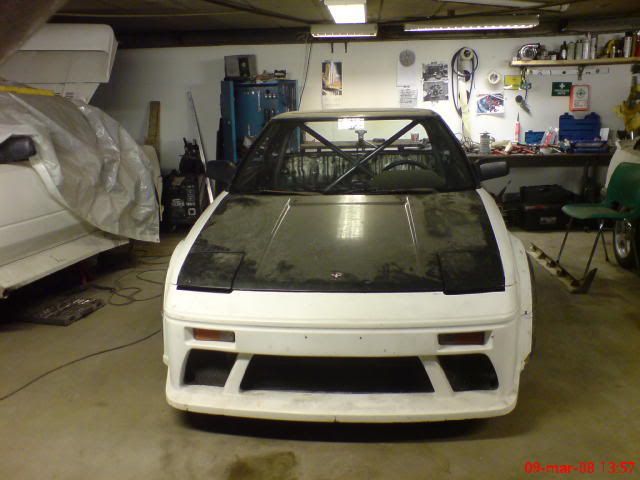
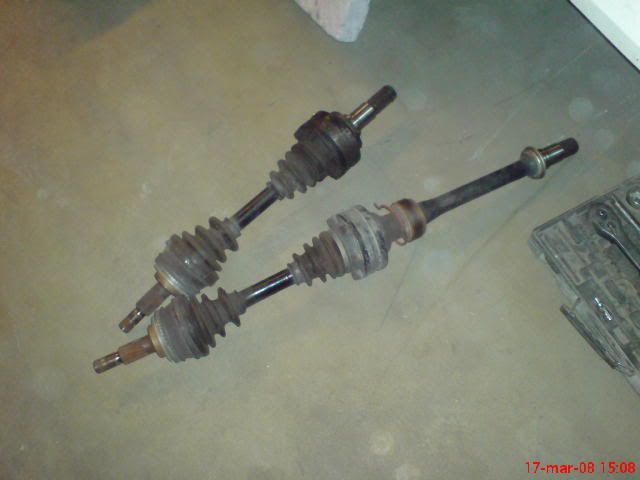
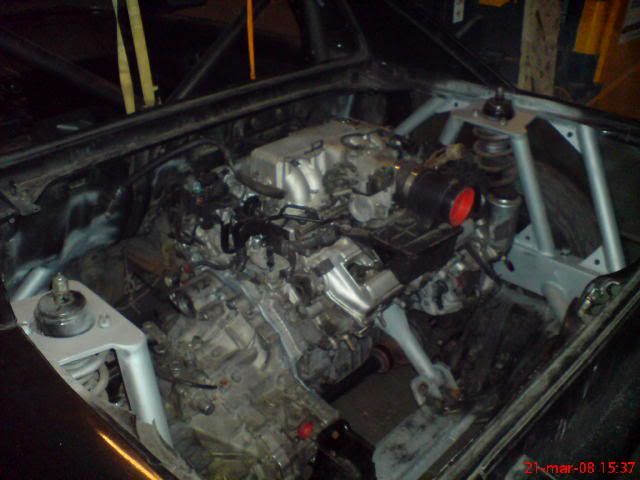
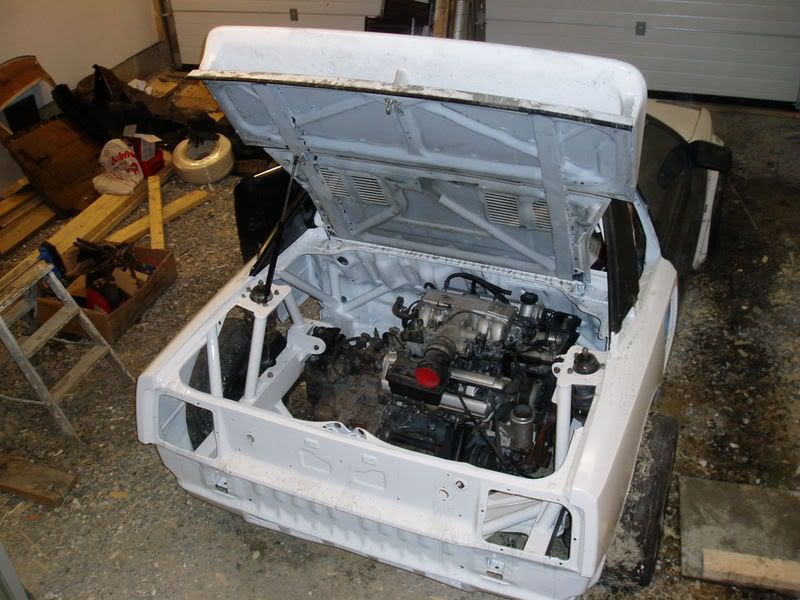
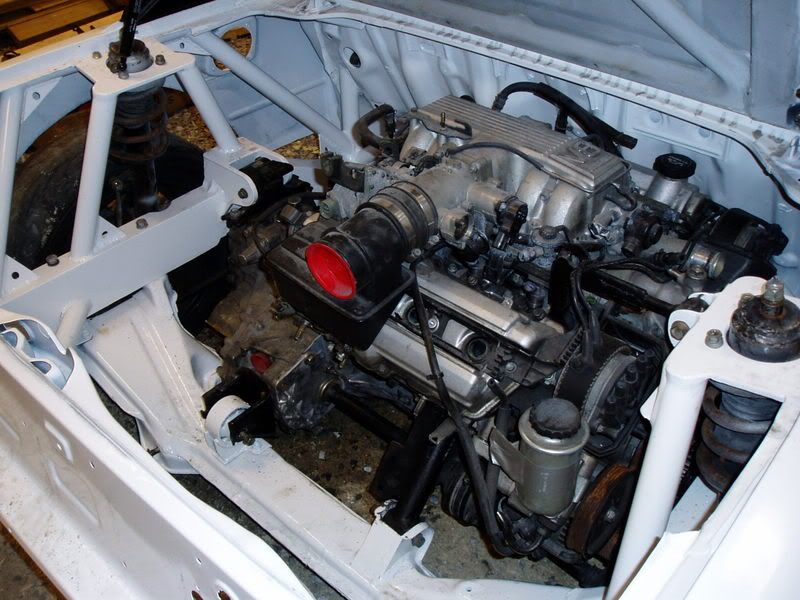
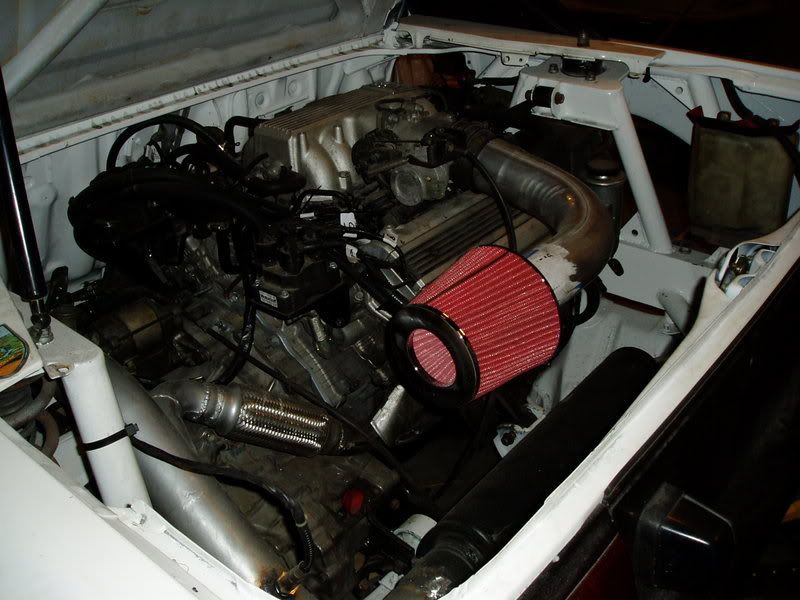
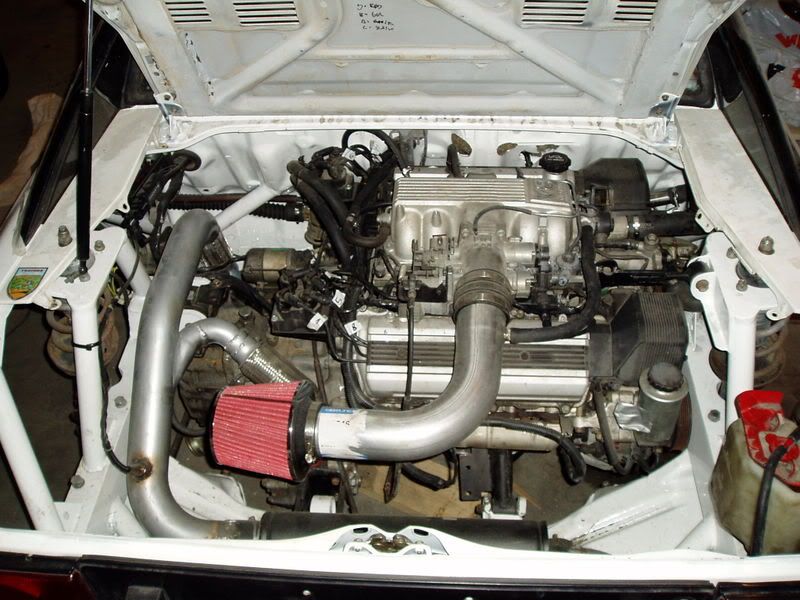
aek said:I would like to share my building progress with you in this great forum I am only "building cars" as a hobby so its going to take some time to finish. My engine will come to Norway in late spring, so first step is to make the new frame thats going to conect with the rollcage and body. Because of the great picture from podge in the sticky part I have som mesurement to work with:thumbsup: First step on the working list: Take out the 4age engine and make room for the big V8.
You are using an out of date browser. It may not display this or other websites correctly.
You should upgrade or use an alternative browser.
You should upgrade or use an alternative browser.
Mk1 MR2 V8 build thread Pictures and Video
- Thread starter Zip
- Start date
More options
Thread starter's postsaek said:Update:
Made new fram this weekend. 110cm from frame to frame, so my tire will stick out 9cm from the arches . I also moved the mk2 subframe 3cm longer from the front tire so my engine wont hit the wall. I have to make new arches anyway so I only move them 3cm longer to the back of the car.
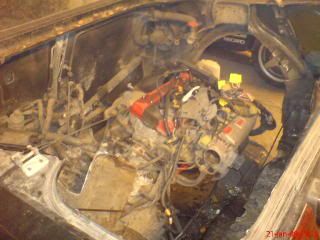
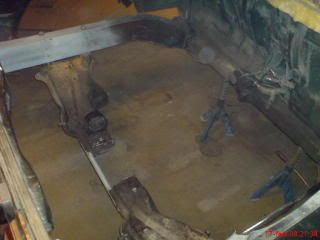
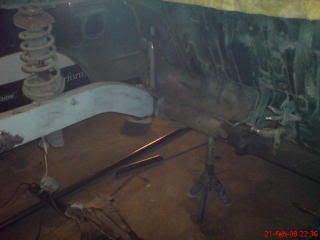
Here I have cut away the old frame

I made paper for mesurments

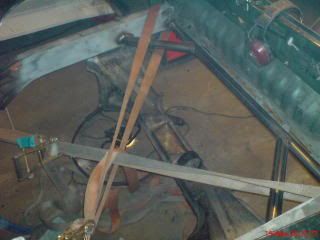
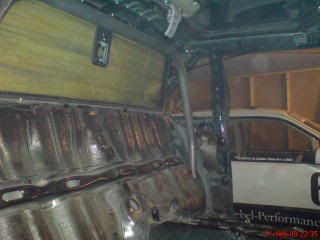
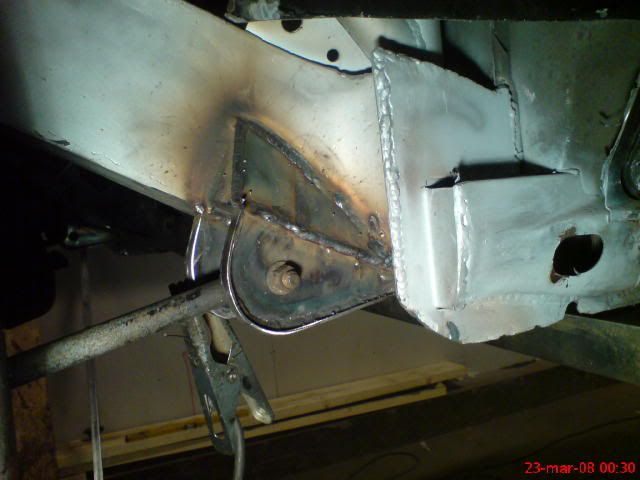
Here are the steel Inforcement welded in place
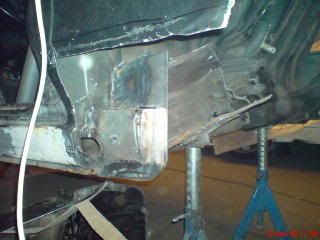
Inside the new frame, and the welding between new and old frame
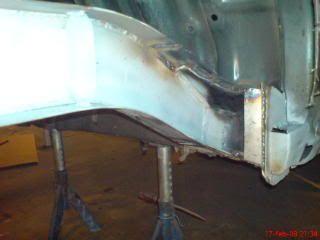
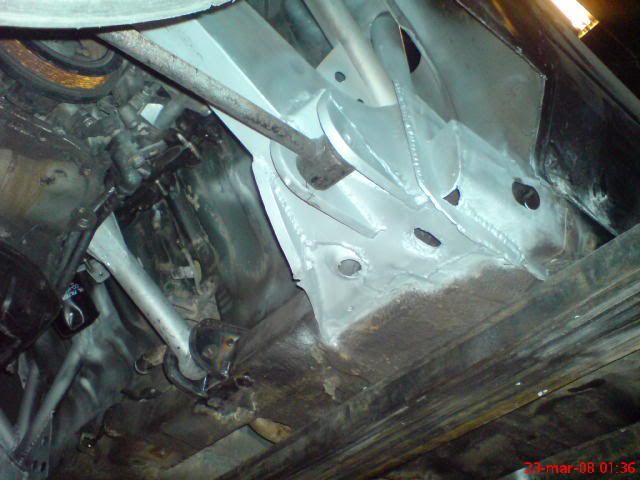
The frame finish on the driver side with mk2 subframe
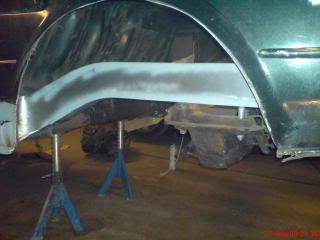
From top, the subframe need some more welding
I have to buy som more steel plates, I used 1,1m2 this weeken and need even more...
aek said:I wanted to make it E\W because its the same as its made from factory with the 4age. The reason why I make big arches its to make it as easy as I can but I have made mistakes beforelol and I like the DTM style. I will also move out the front wheels about 9cm on each side, but first I want the engine in. The biggest problem its the turbo driveshaft that I dont have and flywheel, all the other bits are on "track". The engine are now in Norway and will come to me in about two weeks time:
aek said:Update:
Today I have mesure the frame and weld it in place with some 42mm tubes so it wont twist. Welded together the mk2subframe, and its now 21cm longer than original.
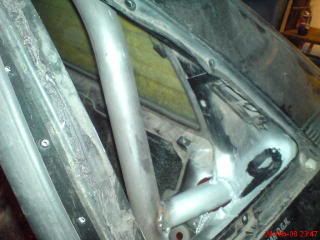
aek said:Made some progress today:
Welded the main pipe in my cage to the frame. Now I just have to conect the pipes that going to be the new towers to the cage...
Last edited:
aek said:Update.
Have been working on the new strut towers, but I need more pipes...

aek said:update:
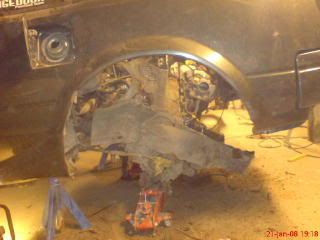
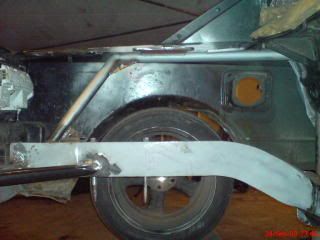
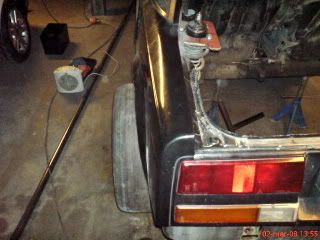
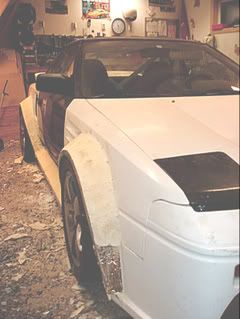
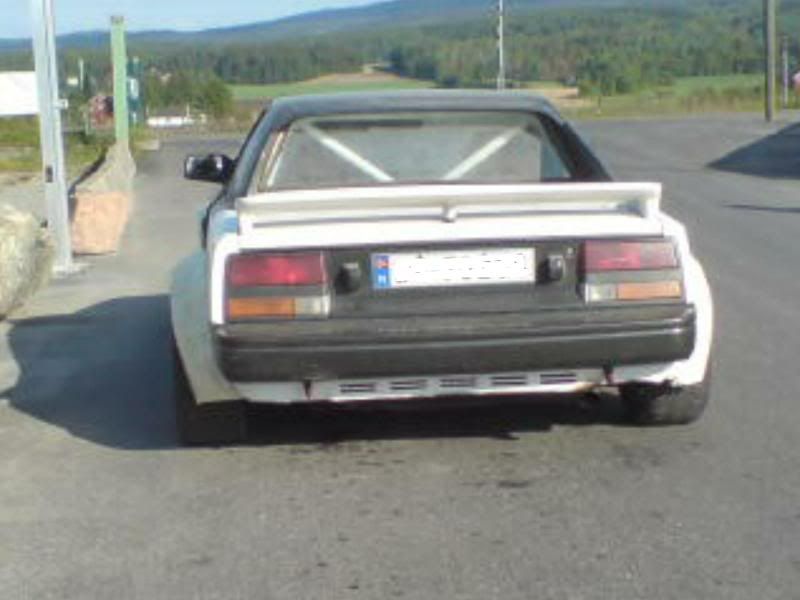
I have been working late this weekend, so there are no big progress...but the rear of my mk1 will be "big and fat" (I know my wheel looks wearn out, but its slicks for road use (toyo r888- 255\45-16 on 7,5"x16"))

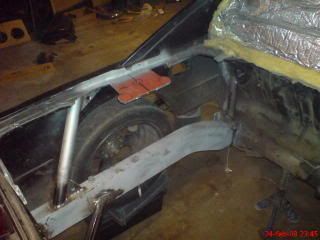
aek said:update:
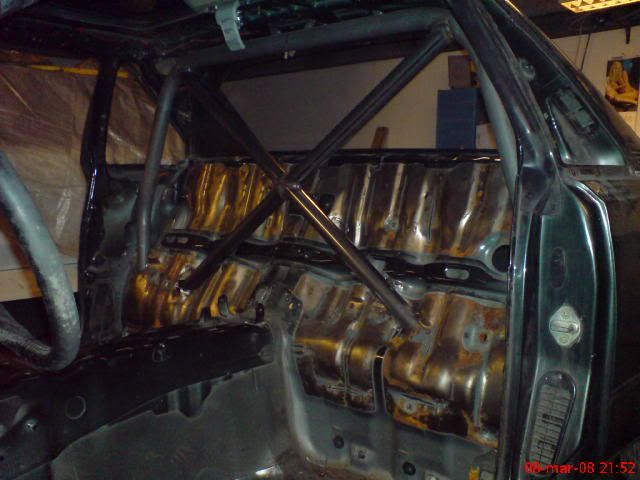
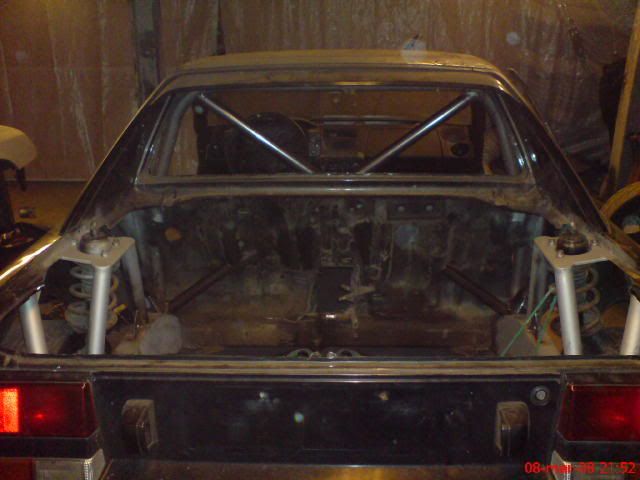
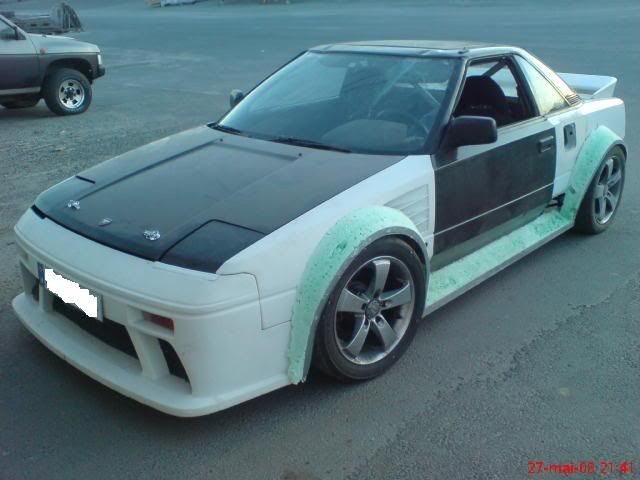
I have started to put on some pieces from my white car so I can make some glassfiber parts. Welded in some more pips and put on mk2 suspension parts in front and a 5cm spacer to make it wider in front. Now my front are 16cm wider than original and 20cm wider in the back....some pictures:
aek said:Thanks for the positive coments, its realy helps
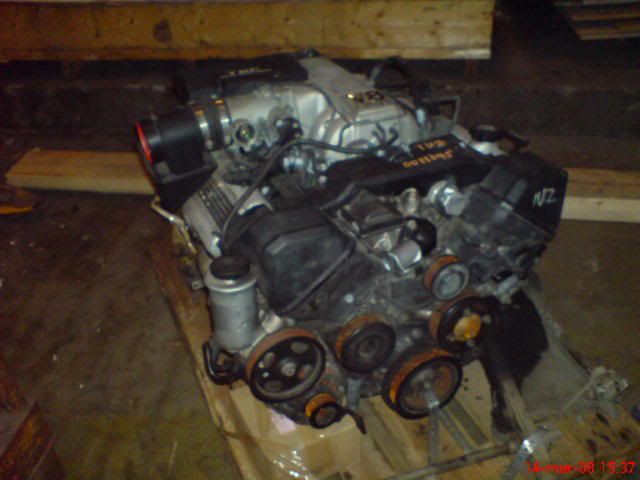
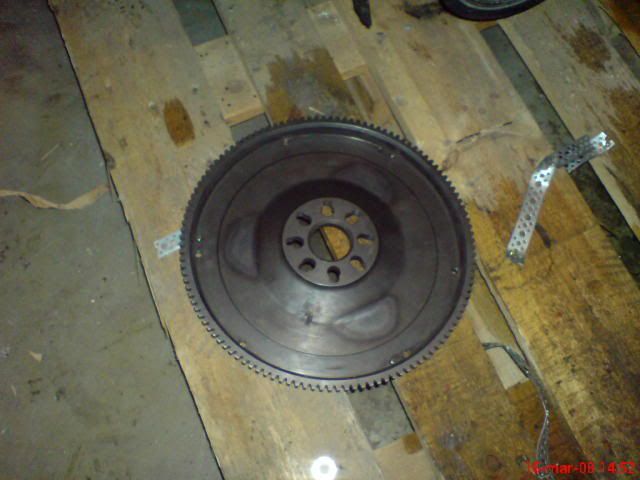
The engine got delivered this weekend and its huge, but not that hevy...my turbo gearbox its almost the same weight. I also got a 3sgte flywheel machined to fit the 1uzfe holes, now I have to make the adapter plate...
Some pictures
aek said:Some work on the adapter plate. I made it in 9mm steel because I felt it wold be stronger.
Delivery from Japan:
Steel plate on enginge:
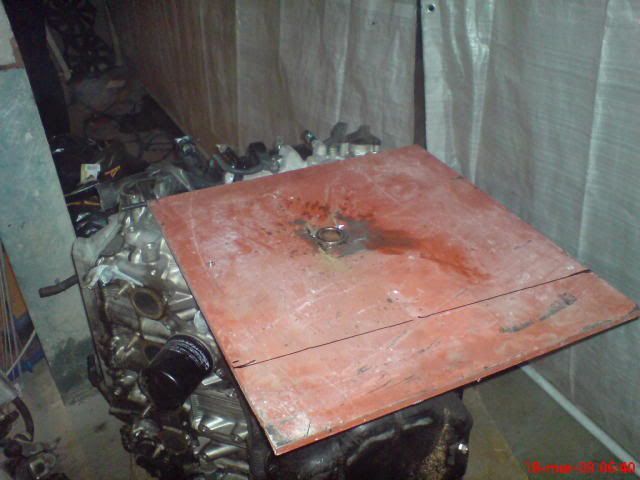
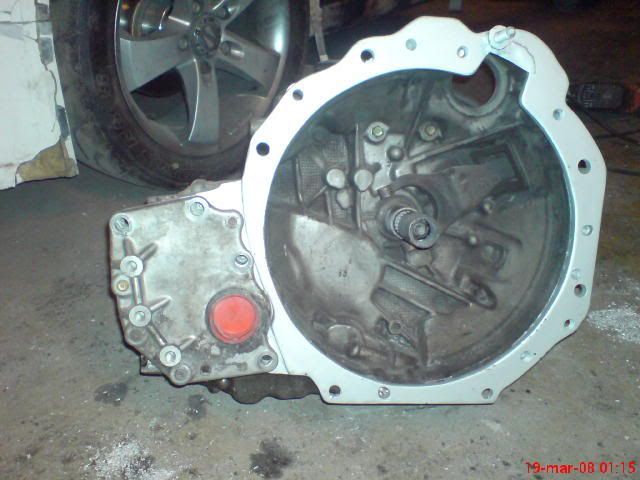
Gearbox on top for marking:
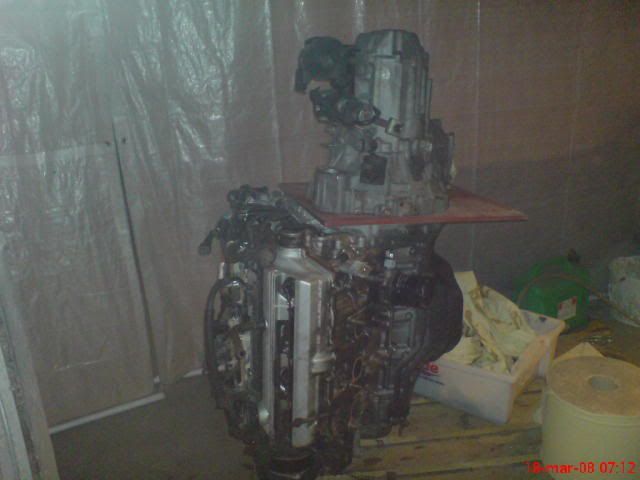
Painted:
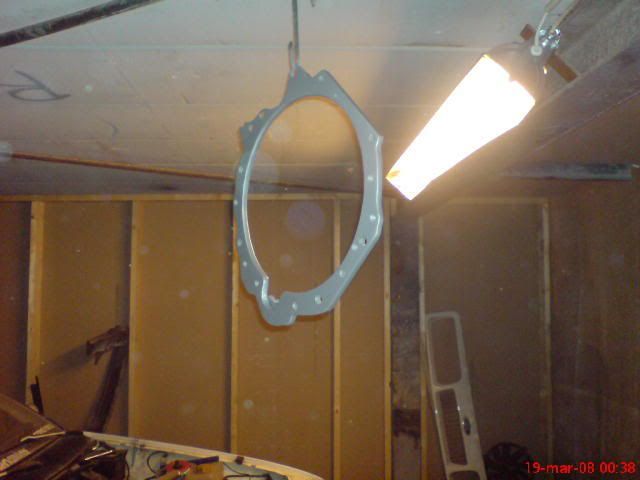
Adapter plate on gearbox:
Here you see how i grinded out some on the alu plate and steelplate to use the holes in that area:
aek said:Update:
Modefied the clutch arm for longer working area...
I had problem to decide what to do with my engine mounts, but desided to use som mk2 suspension parts to make them from. 2 original on my gearbox and 3 new on the engine, hope it wont twist to much
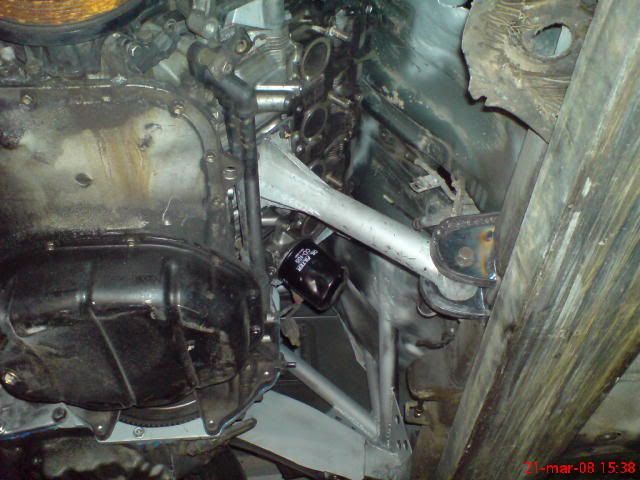
I have some problem with my drivshaft (the conection on it) hit my engine by ca 2-3mm...
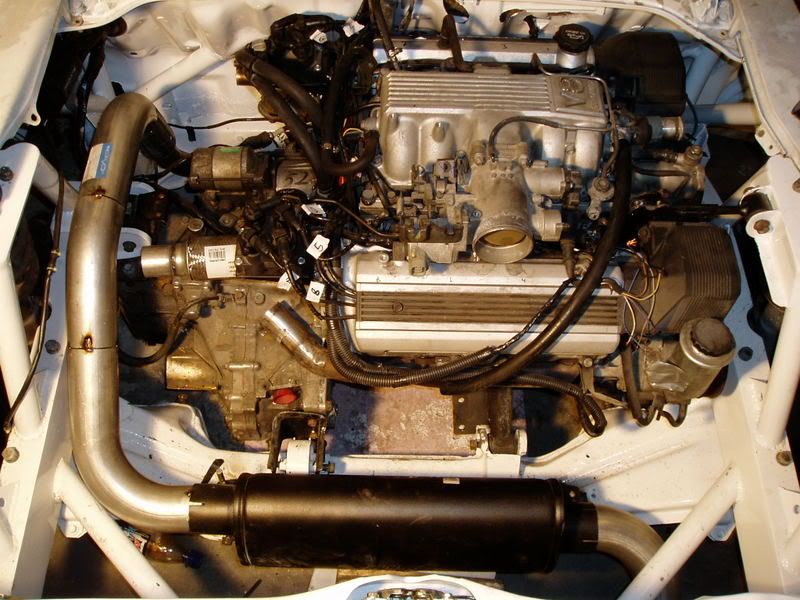
And the enginge are in, but I have to take it out for some more welding on my engine mounts.
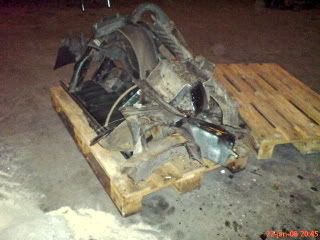
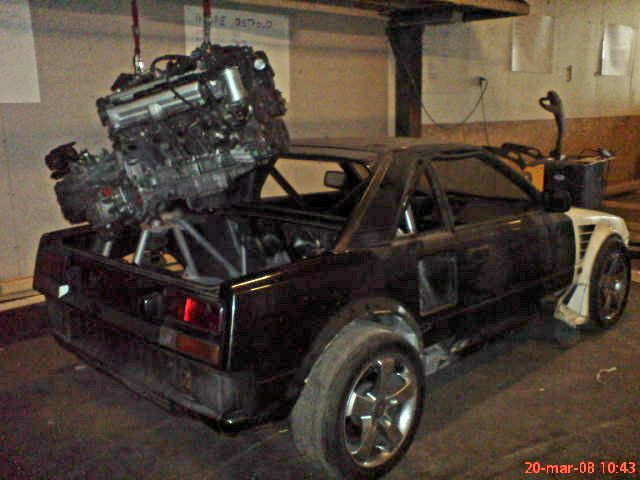
aek said:Not much have been done, but the engine are out so I can finish my welding and paint the engine bay. Made som new mounts for the suspension, they are now 10cm longer out on each side. I found a picture on my phone that show how big the engine are...
aek said:Update:
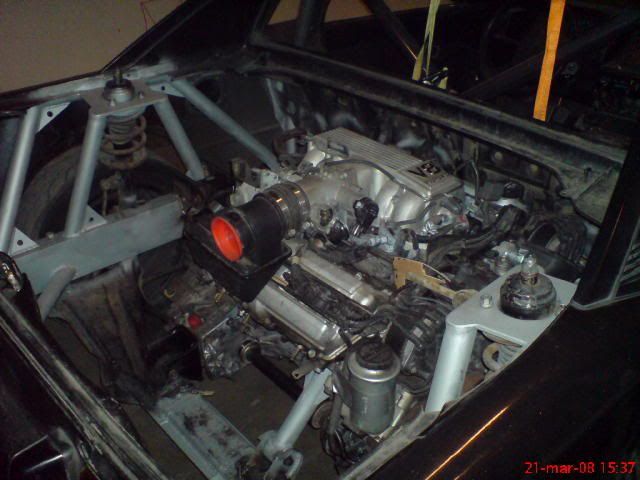
I have been busy on my job, so not much have been done to the car, but I have painted the enginge bay and mounted the engine in permanent. Some pictures:
Engine bay painted

Engine in, and I have taken some more parts from the V6...
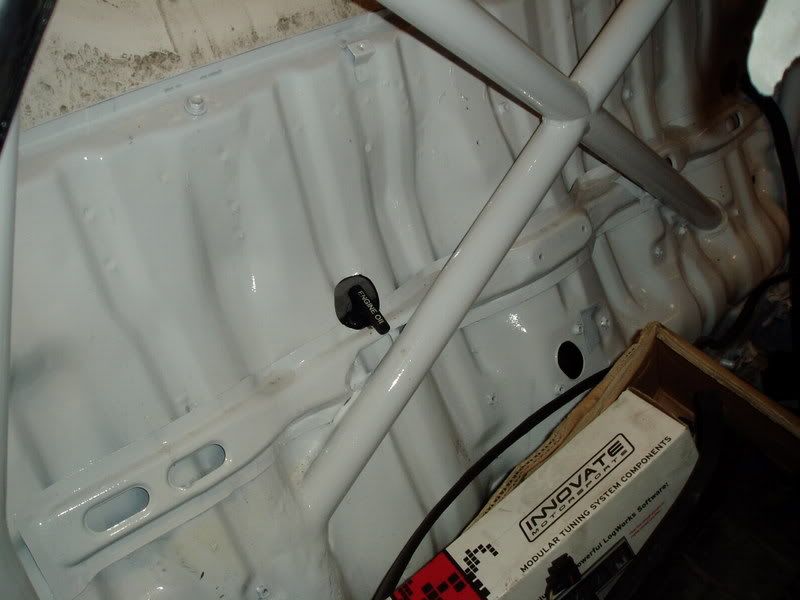
checking the oil inside the cabin 8)
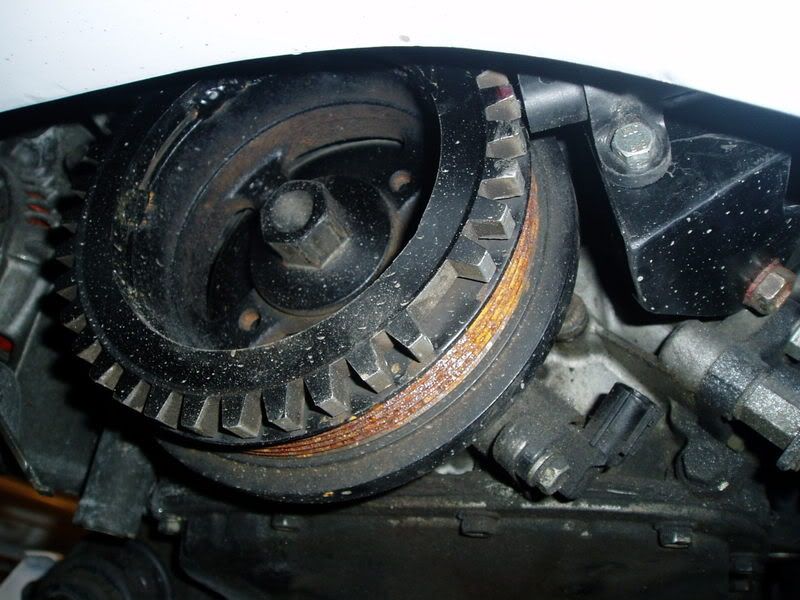
Edis 8 with 36-1 trigger wheel
aek said:I have a plan to make the car finish so i can drive it on a trackday in middel of may (no finish on chassi), but things can happen.
Here in Norway my friends have a slogan on all of my work and driving, and it goes something like this in English: Big ambisions, small uderstanding. Some pictures:
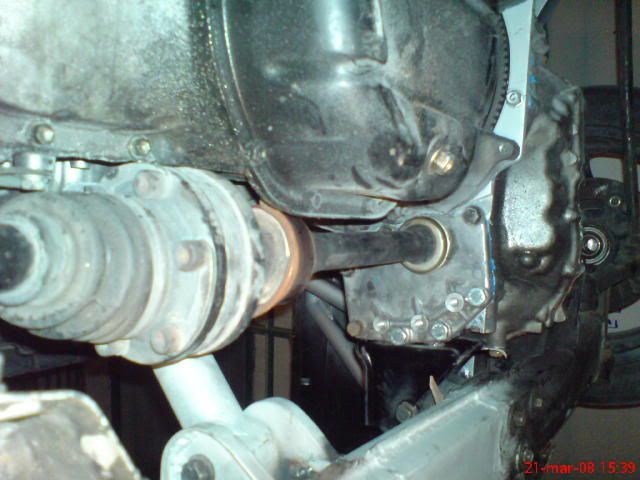
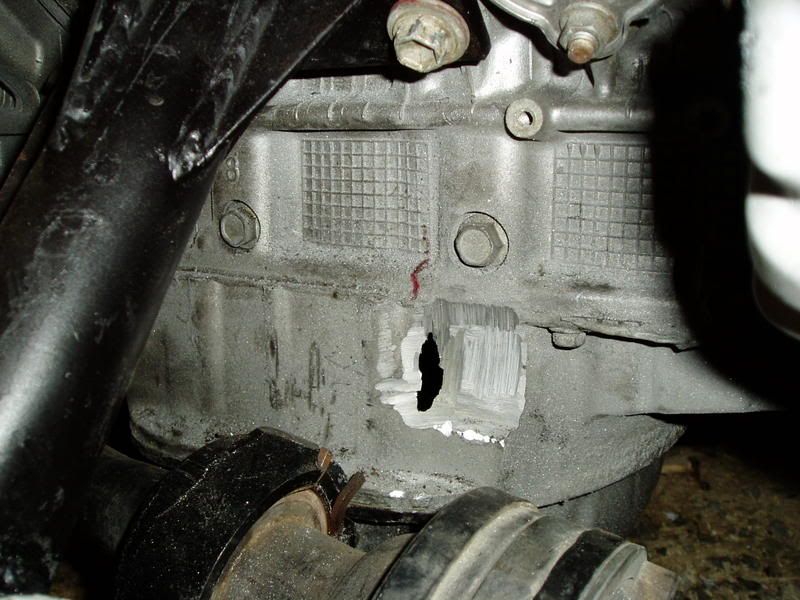
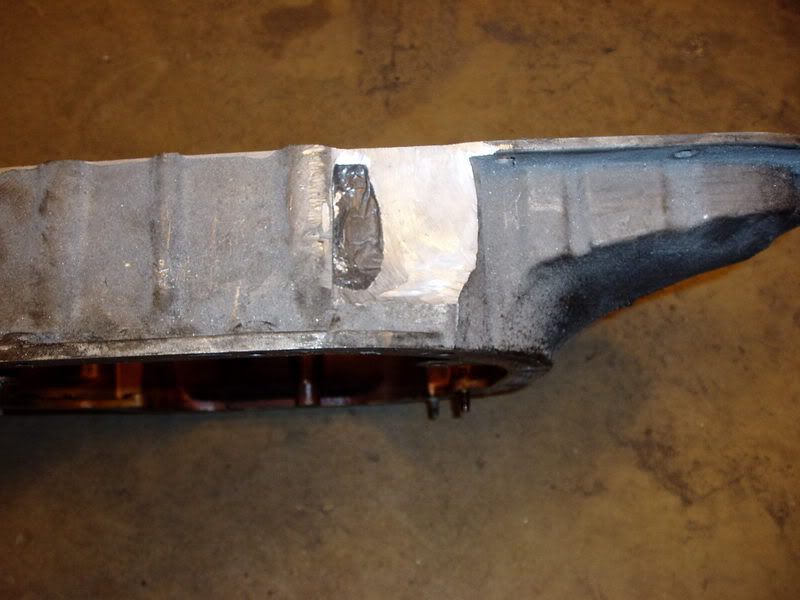
I had to cut in the engine to make rom for the axel, I will use some cemical steel to close the hole because I think welding it its to riski.
aek said:Wire time...got some wires from DIYautotune.com that are finish with tags and connection to the MegaSquirt2 and a Innovate Ls-1 lambda kit.
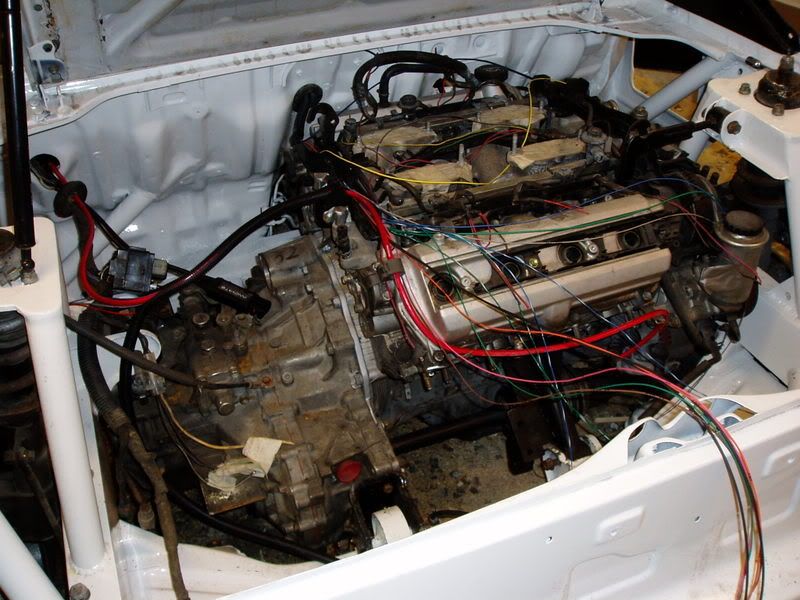
aek said:Update.
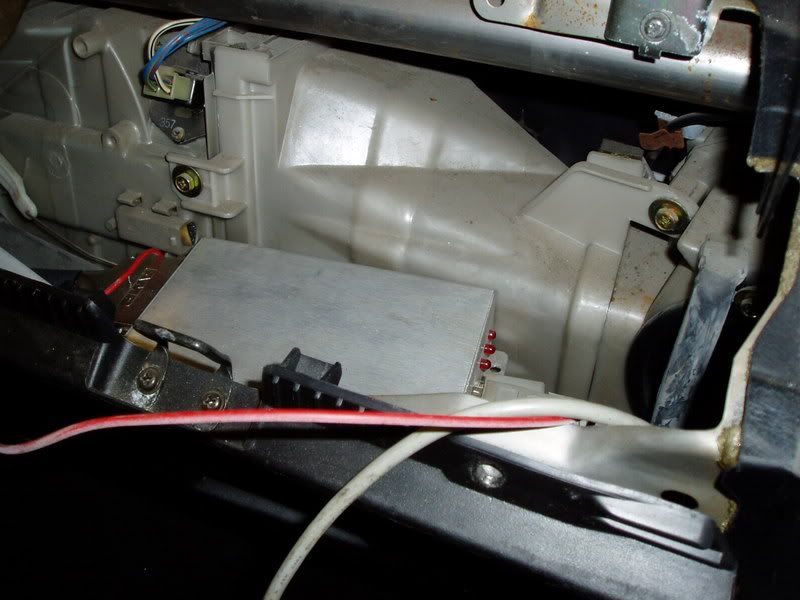
I have finish the wire work and mounted back the interior...
MegaSquirt placed in the glove box
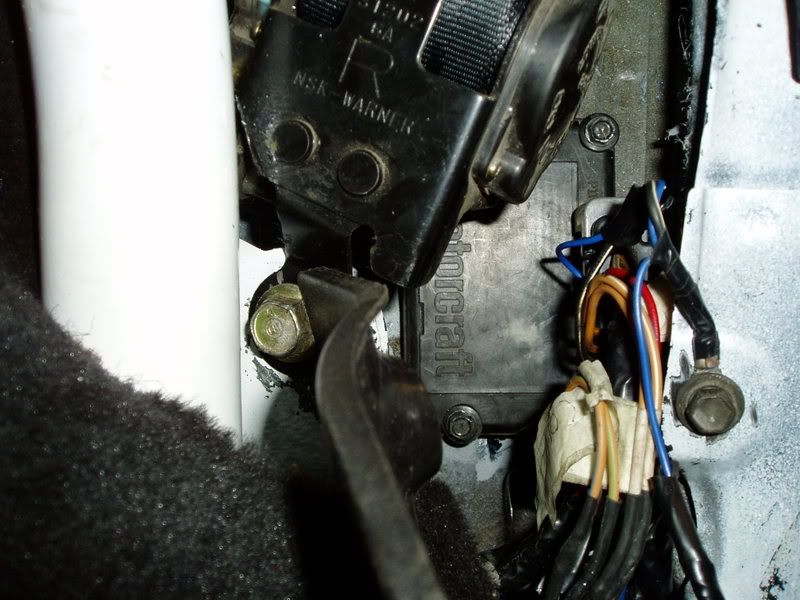
Edis-8 igniter mounted behind driver seat
Old wires conected to new wires
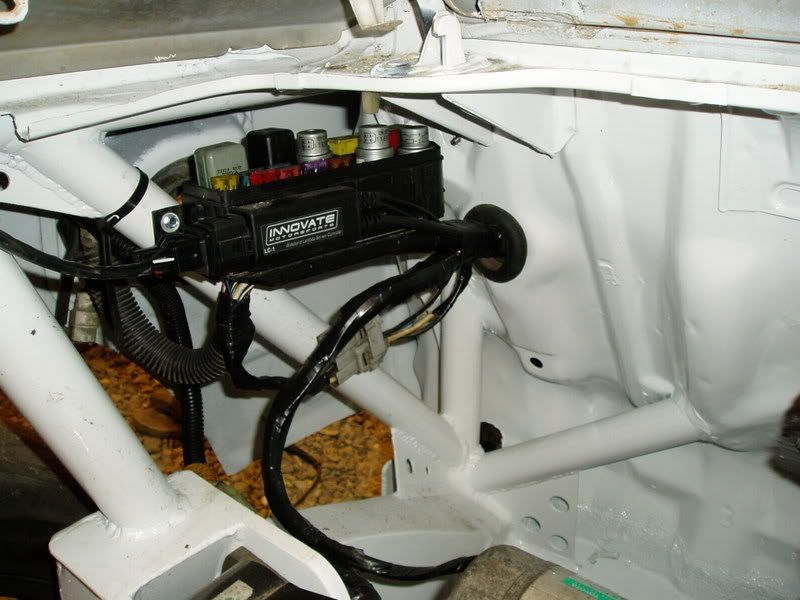
Ford coils..

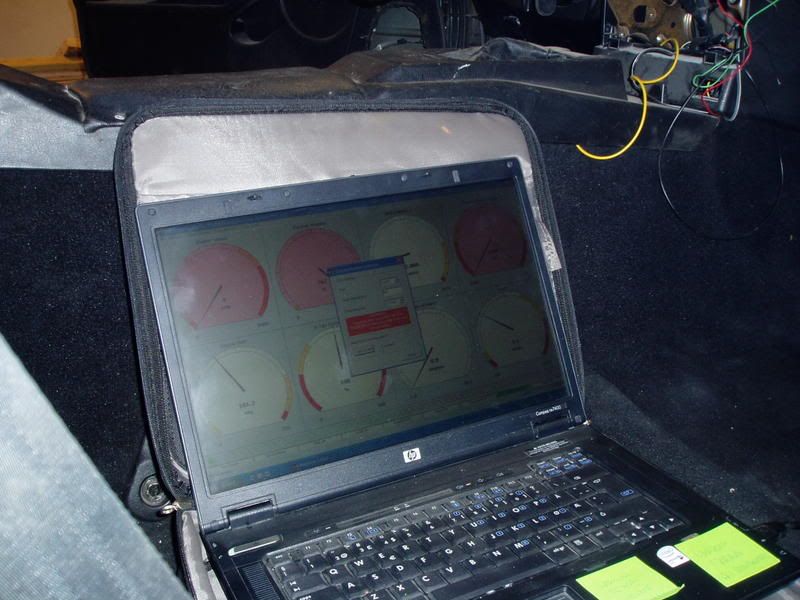
I got connection between computer and MegaSquirt...
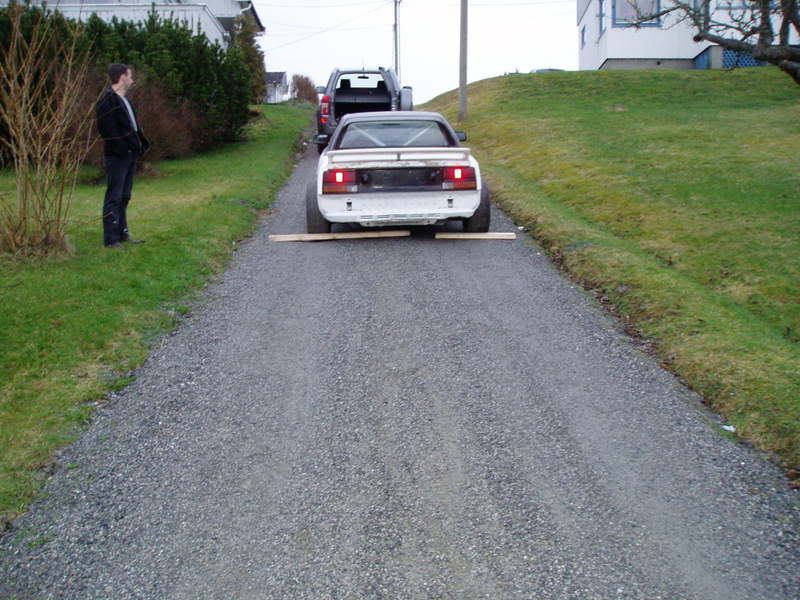
Moving the car from my house to my other garege I rent with my brother...and we have truck there so my work under the car will go much easier.
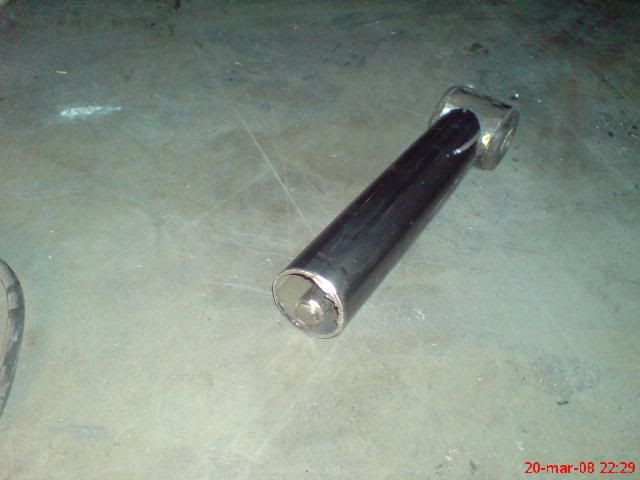
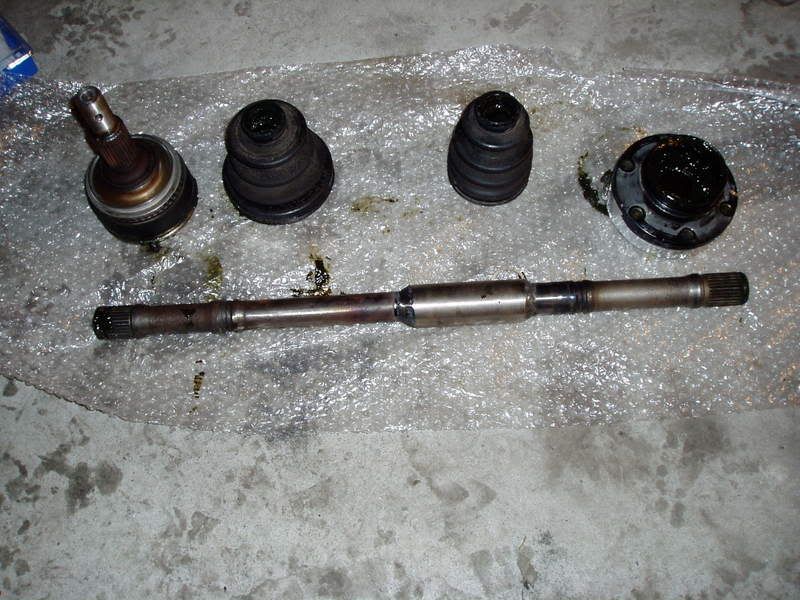
Amund said:I hope for your own sake that you are finished with most of the things on your to-do-list. Because I'm finished with your drive shaft!
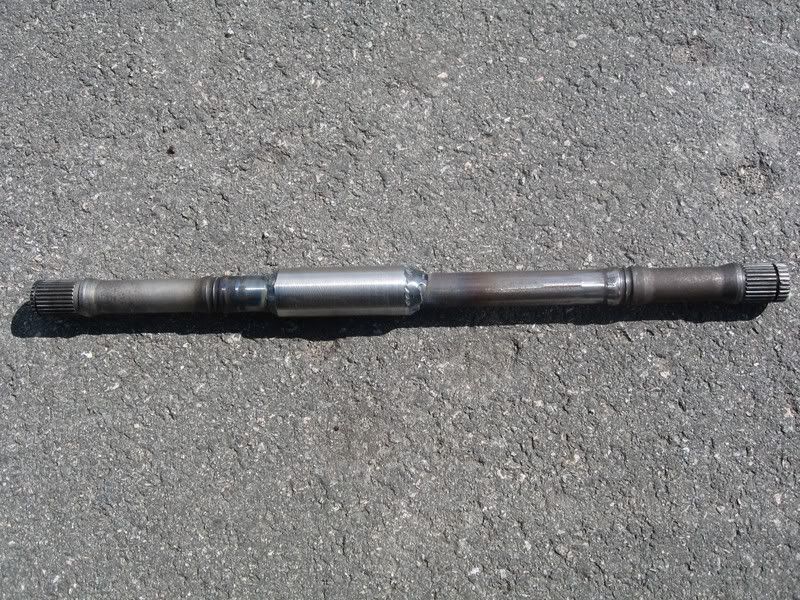
Not 100% happy with the result, the length of the shaft made it difficult to get it properly aligned...
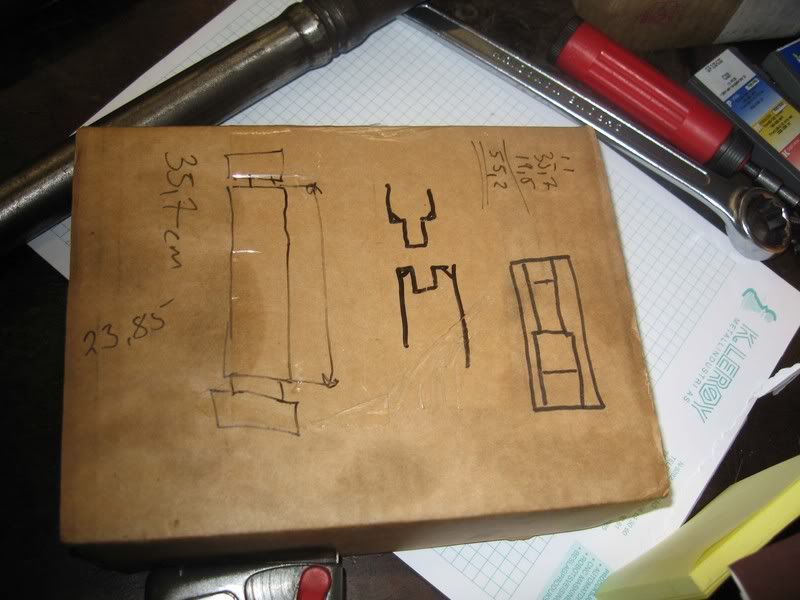
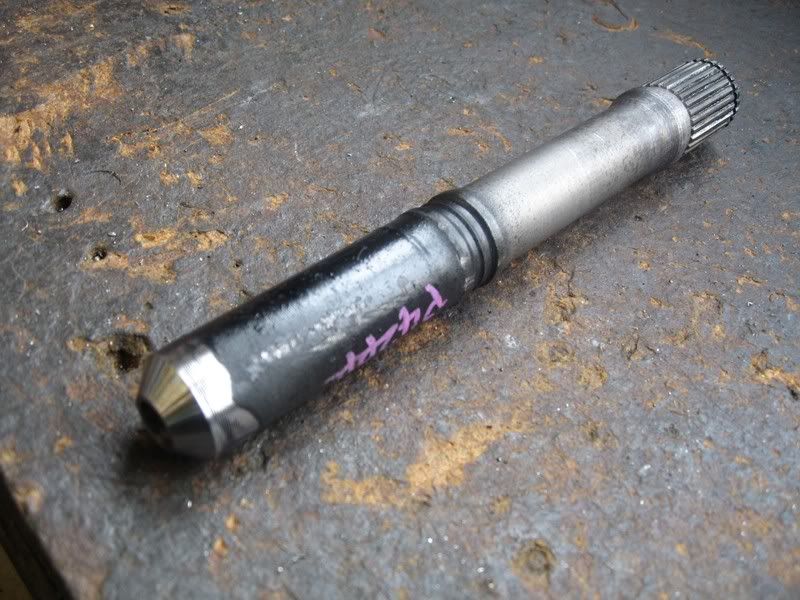
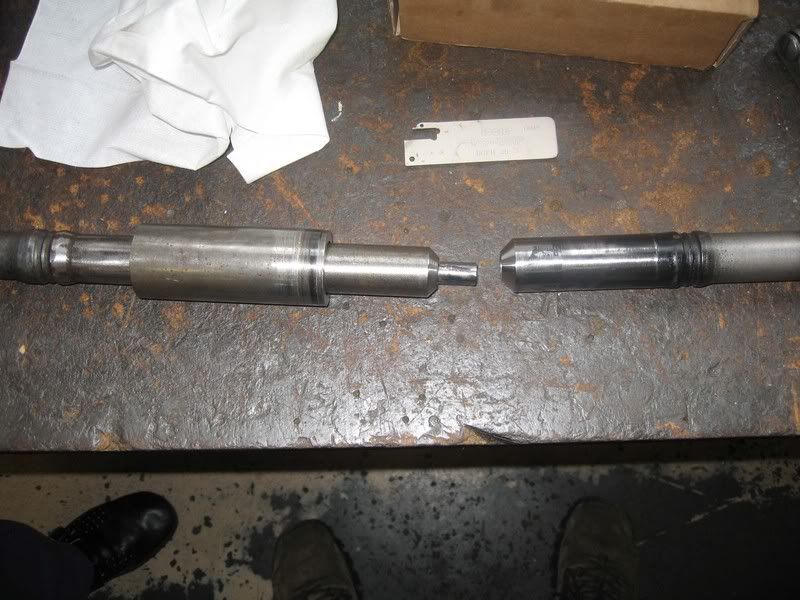
The shaft is a hybrid of one MR2 turbo shaft and one celica ST185 rear shaft. The celica shaft is 1.5mm smaller in diameter, but I don't think that will be a problem. Here's some pics from the making of the shaft:
We started with making a very accurate ISOmetric drawing
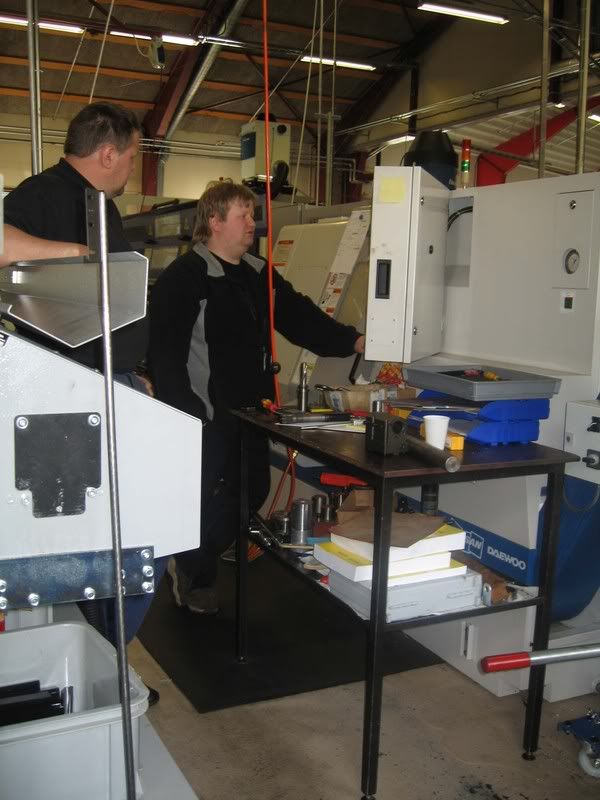
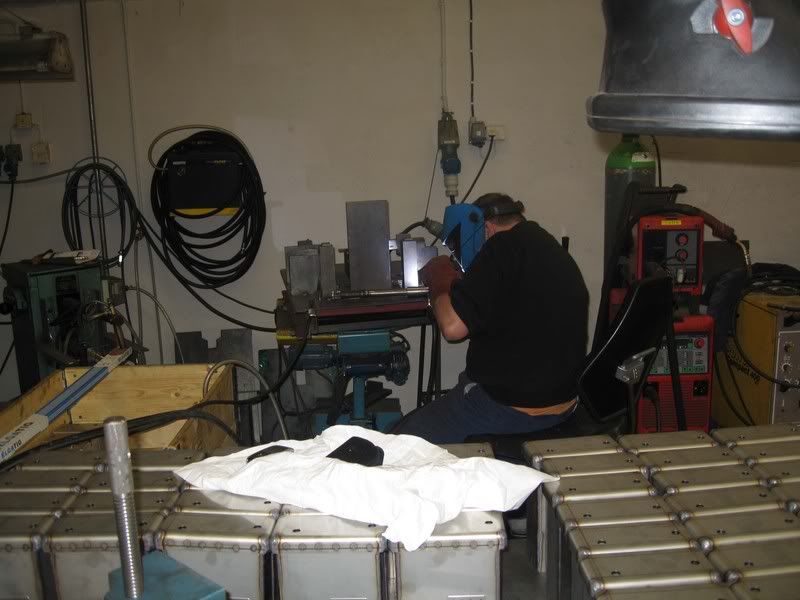
I was wey lucky to get help from a friend of mine that just happened to be at the "right" place. He's WERY good at his work!
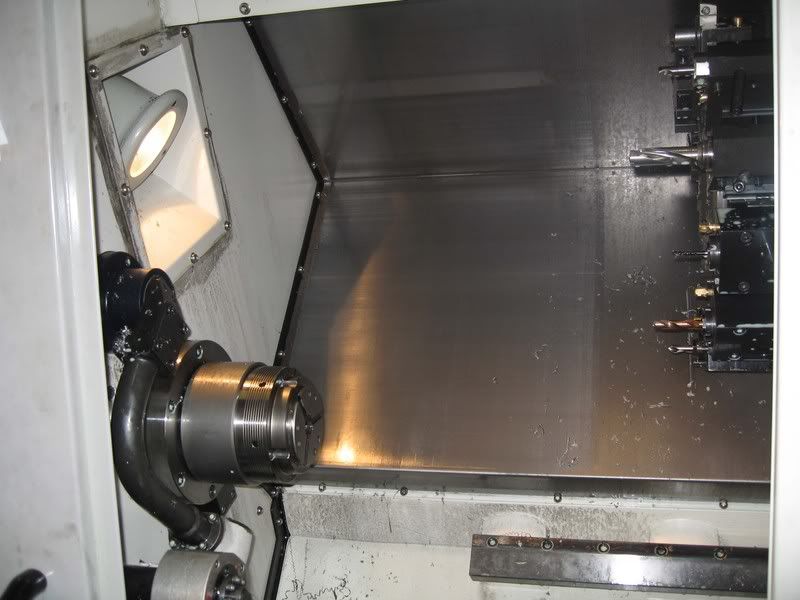
He used this macine:
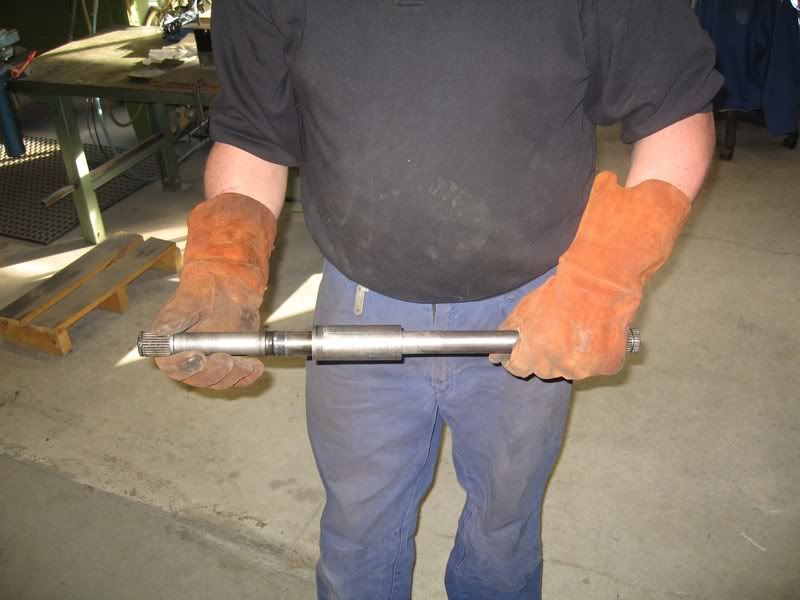
The MR2 half of the shaft finished:
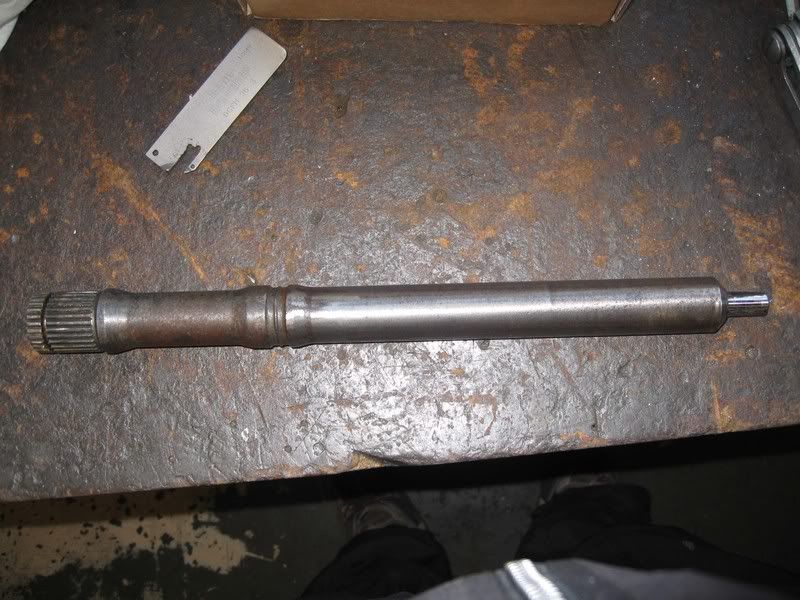
And the celica half finished:
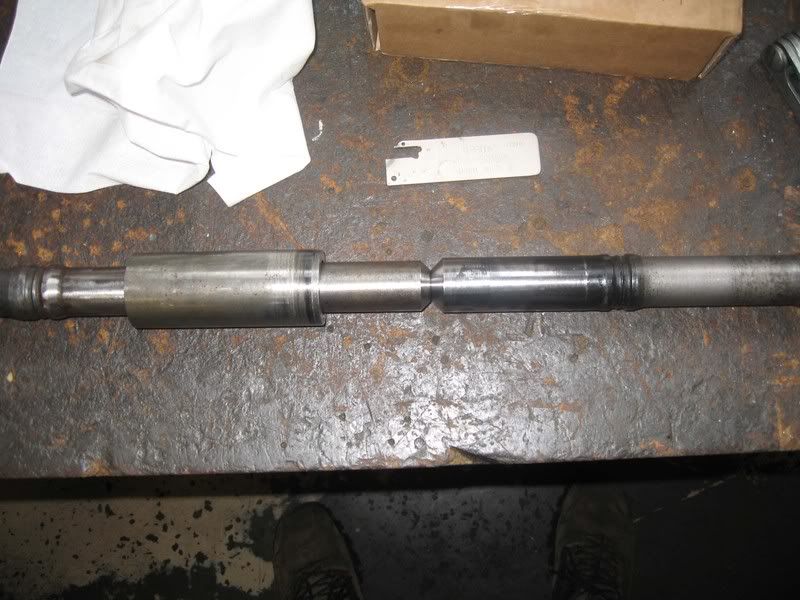
They slide nice and easy into eachother like this:
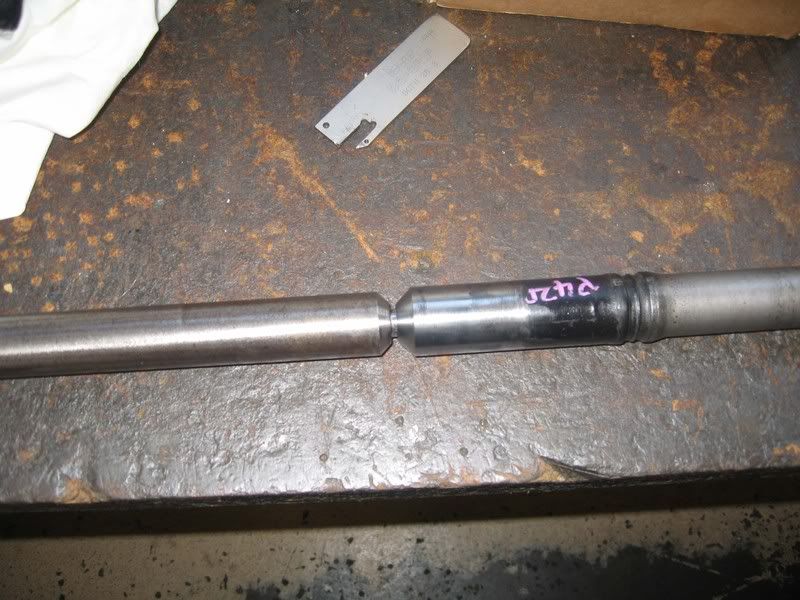
Looking good so far:

We made a sleeve to strengthen the joint:

Amund said:They slide nice and easy into eachother like this:
Looking good so far:
We made a sleeve to strengthen the joint:
Wich slides nice and easy on like this:
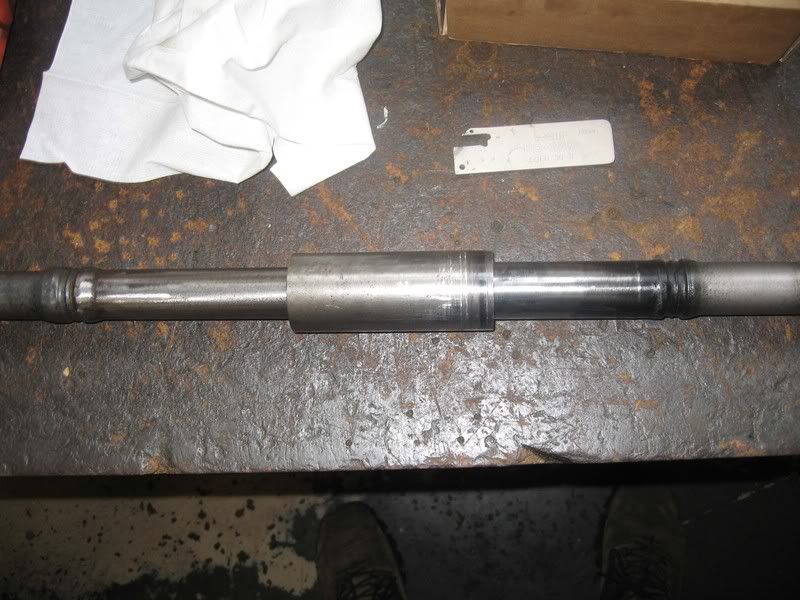
And a little TIG welding to ensure the joint is perfect:
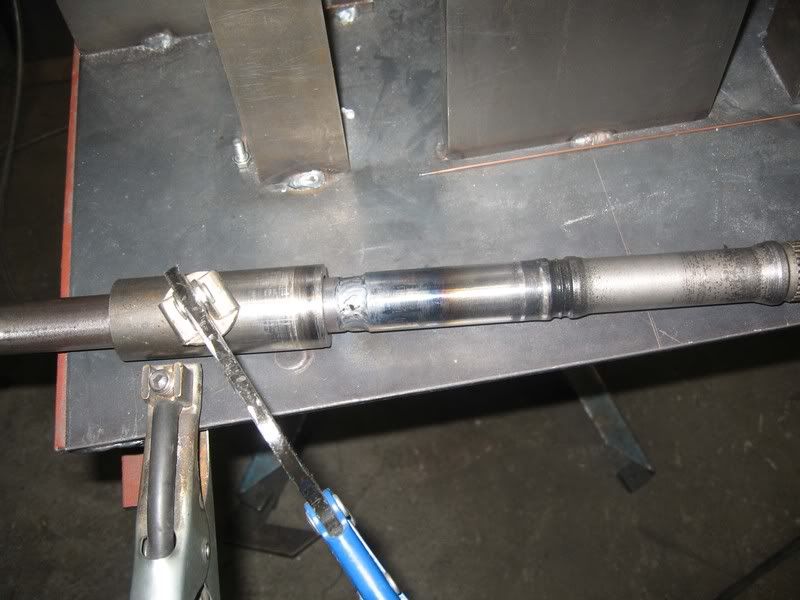
The sleeve was pressed over the forst weld, looking like this:
The finished result looking like this:
The shaft had some eccentricity, but I turned of some of the sleeve using a lathe. I have a theory about that, but I don't know how to explain it in english just right now .....
Just hope that Arne is happy with the result, and that it will work at "japsetreff" If it does, I have to get a ride with him!!
1UZ-FE?
If so, any idea which iteration of that motor it is? Because it changed a little bit across the years it was produced. Think it ended up gaining variable valve timing near the end along with a bump up to 290 horsies. Even the early ones put out a reasonably healthy amount of power, mind.....so I bet this thing'll shift once built!
If so, any idea which iteration of that motor it is? Because it changed a little bit across the years it was produced. Think it ended up gaining variable valve timing near the end along with a bump up to 290 horsies. Even the early ones put out a reasonably healthy amount of power, mind.....so I bet this thing'll shift once built!
aek said:Great work Amund, I could never done this swap without help from my friends
Here are some pictures before I go to my garage...
Exhaust work.
The hole are no longer a problem...

aek said:Update:
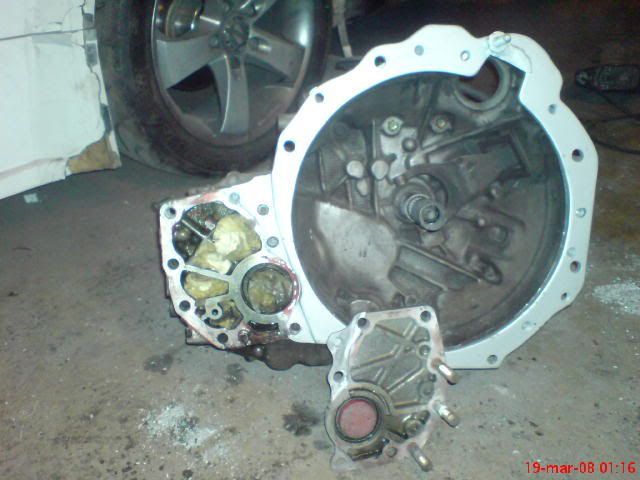
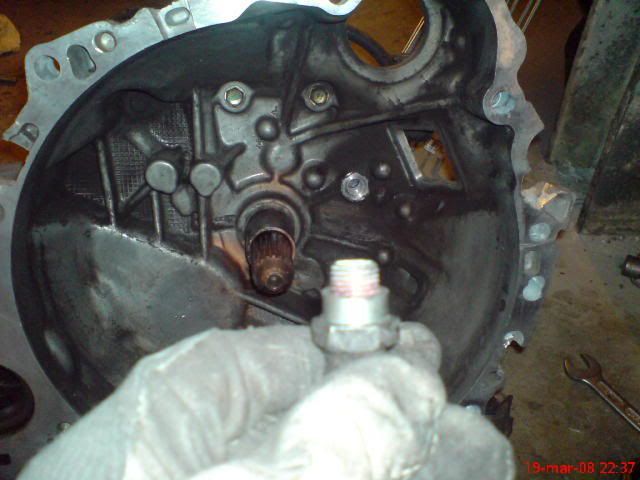
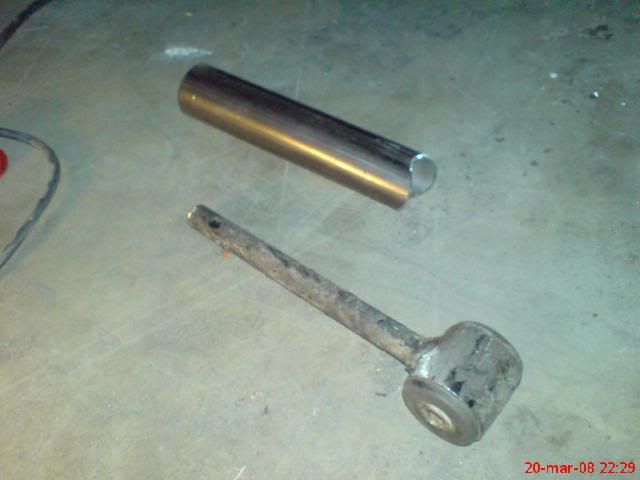
I have used very long time on smal things like moving brakets etc because I have moved the wheels 4cm longer back, and fix the starter ...and I got problems when I tried to take out the bearings, but l got some help from two friends that fix that...I dont have a big hydraulic machine. The engine are now finish and ready to start, but I dident get any signal from my "crank pick up", but its too late now...Its better to get some sleep...some pictures:
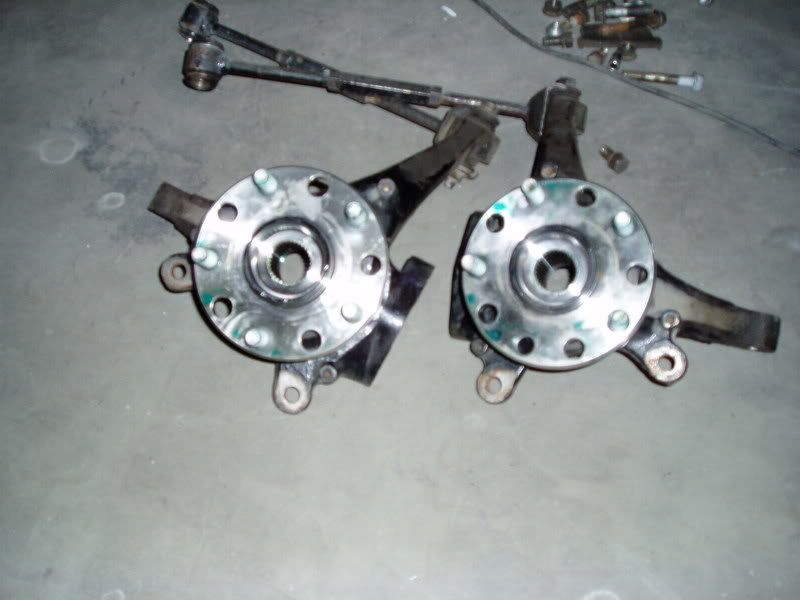
I going to put it back together, witch side goes were?
VIDEO TIME!
aek said:Okay, here are a bad video clip from today with my phone that proves that we now got a running mr2mk1 with 1uzfe:driving: ....the car runs but it dosent look greatNow it runs on a raw map...now I have to tune it and connect the Iac...
EDIT: The rev limiter its set to 5700 o\min because I want to run it safe in the start...
aek said:Hi.
Thank for the good words, but remember I am a simpel man with only "self learnd" car building experience...and cant even compere with mr woods that looks like he knows everything about mr2mk1
http://s61.photobucket.com/albums/h71/aek74/mr2mk1/?action=view¤t=MOV00661.flv
aek said:Thanks for replay:thumbsup:
Started with new arches..


Amund said:I think he did some unintentional modifying on the hood last week, :S
The hood opened on top of 3rd gear.... The picture I saw wasn't good at all
But I guess he will tell about that later...

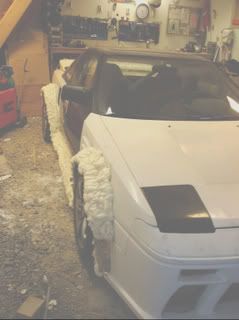
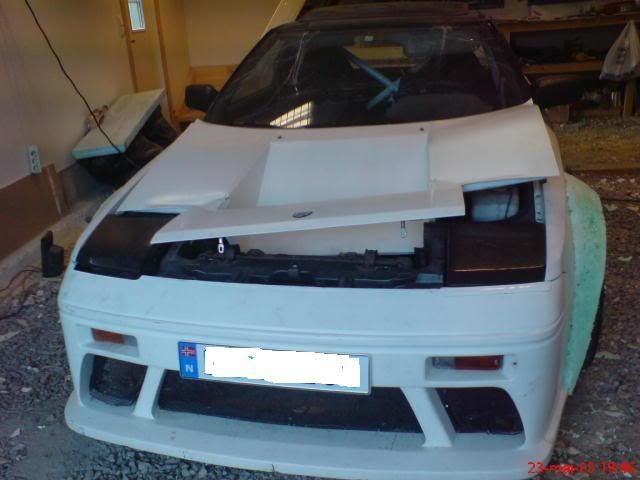
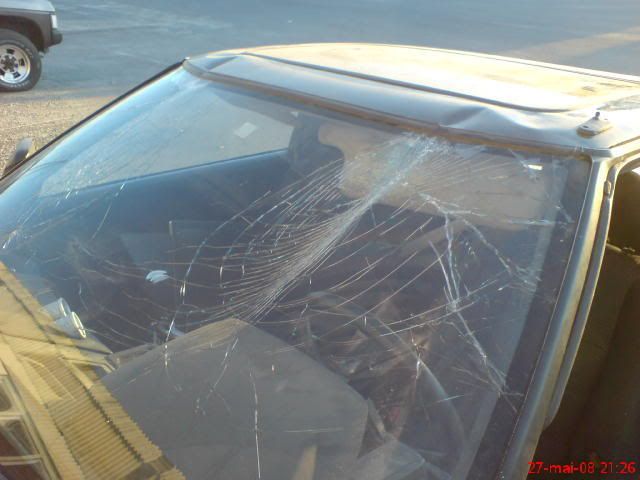
aek said:Update:
As Amund said I had a little problem with my hood. I was going on a trip, but I was using the car to my garage to get some thing I needed for the weekend but forgot to fasten the hood...and I was late so I was driving a little to fast. Here are some pictures that are telling more than my bad english.
Hood
...
How I make a frame for the foam to make a mould...
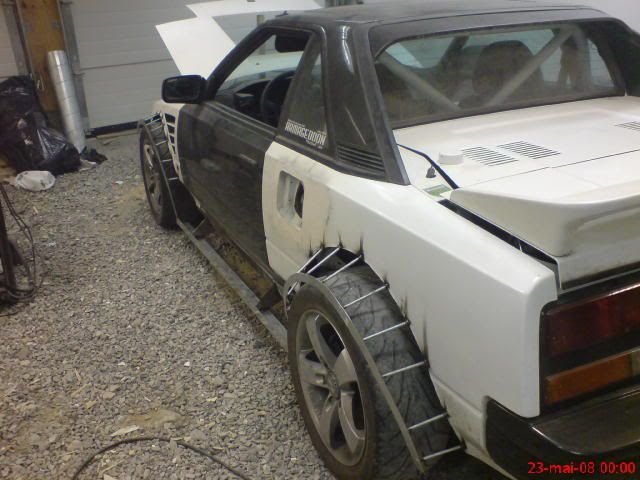
"..baby got back..."
Original hood in place with extra lock
Last edited: