

Just thought i'd share my build log with anyone interesting in going into the i7 series, or even any going into watercooling!
This was my first project where i had the budget to do something a little special, my pc spec was ok before, but it was never able to get the extreme's that i had always hoped for!")
However, things changed and i decided that i wanted to definitely go i7, and also took the plunge into watercooling, something i'd never done before and was a bit anxious about!
My previous setup consisted of:
Here's what i had managed to narrow the setup down to:
I already had an ATI 5850, and a Creative Labs Soundblaster X-Fi XtremeMusic sound card, so i kept these to save a bit of money so i could focus more on the other parts!
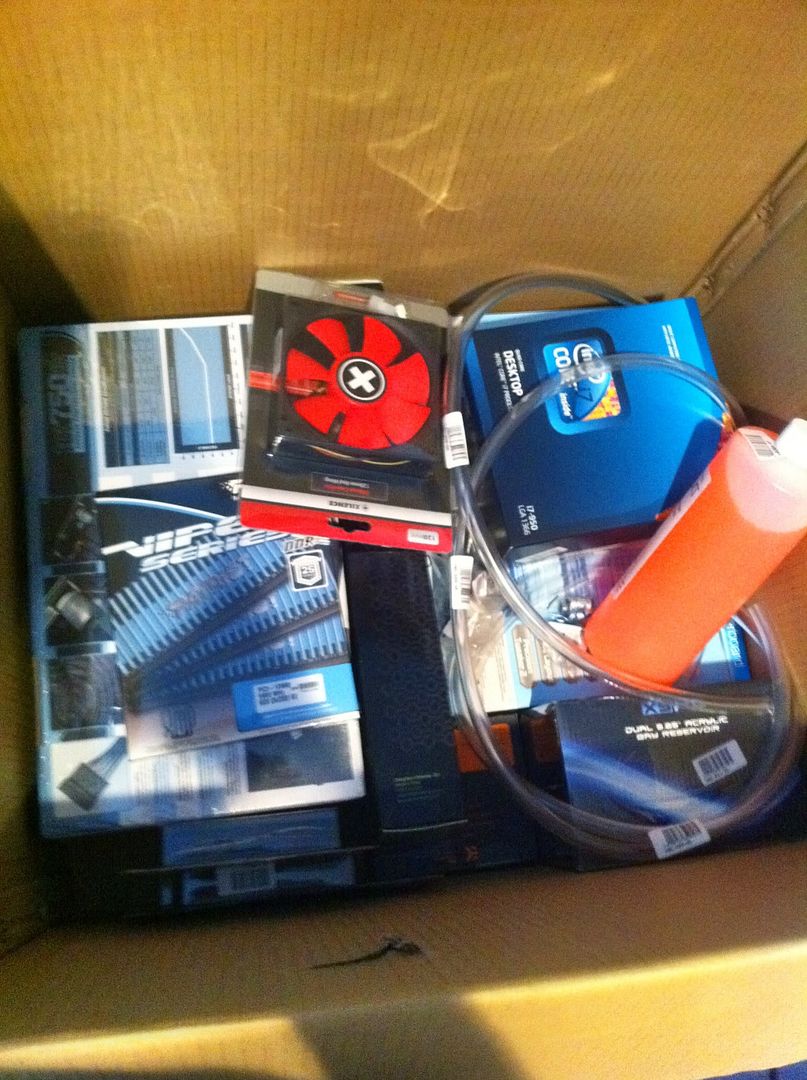
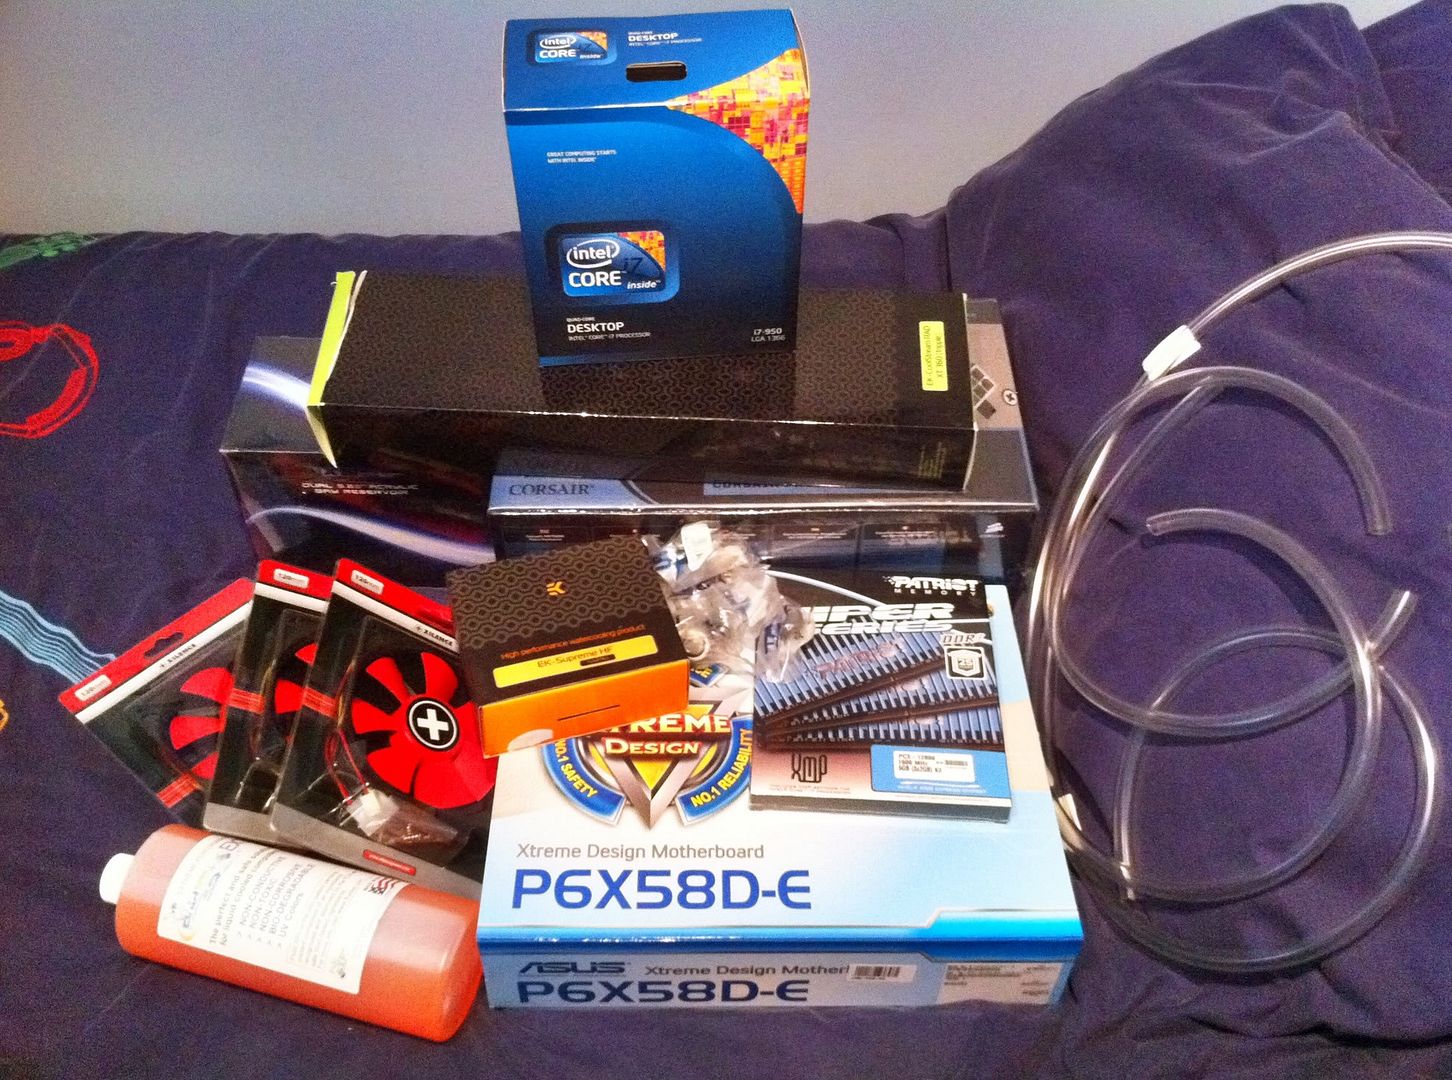
The parts finally came (pretty much last on the DPD rounds ), but nevertheless it was awesome to see all the new goodies i'd get to build together! Here's a few pics;
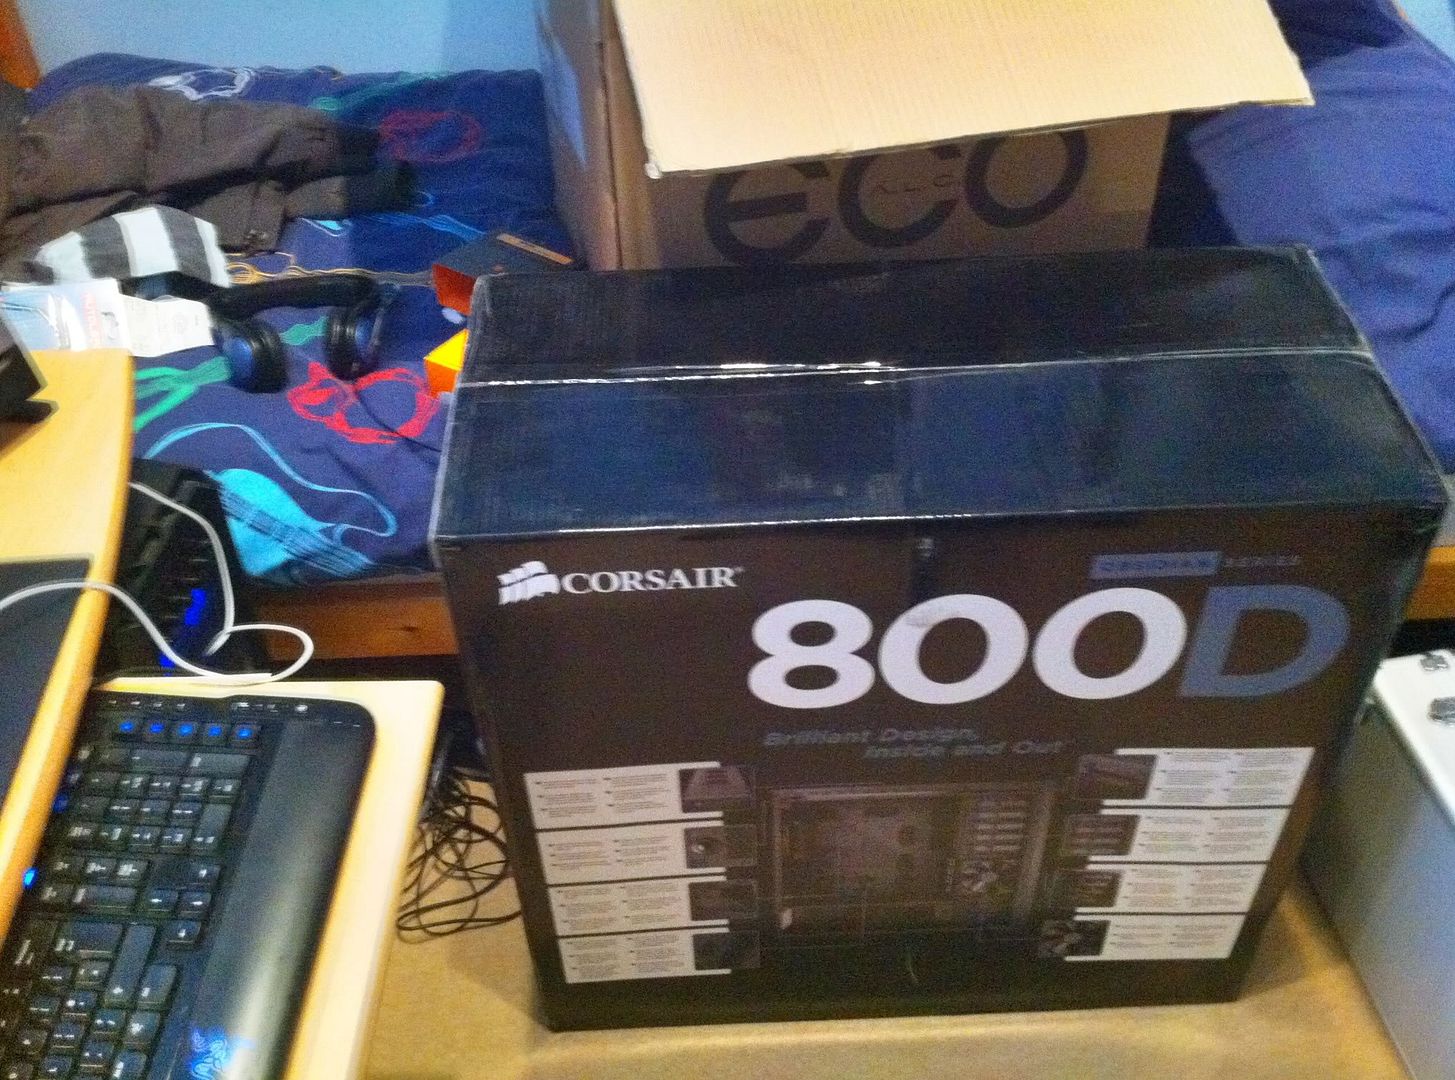
Notice the size of the 800D case, i knew it was going to be big, but we'll just have to see how big once opened
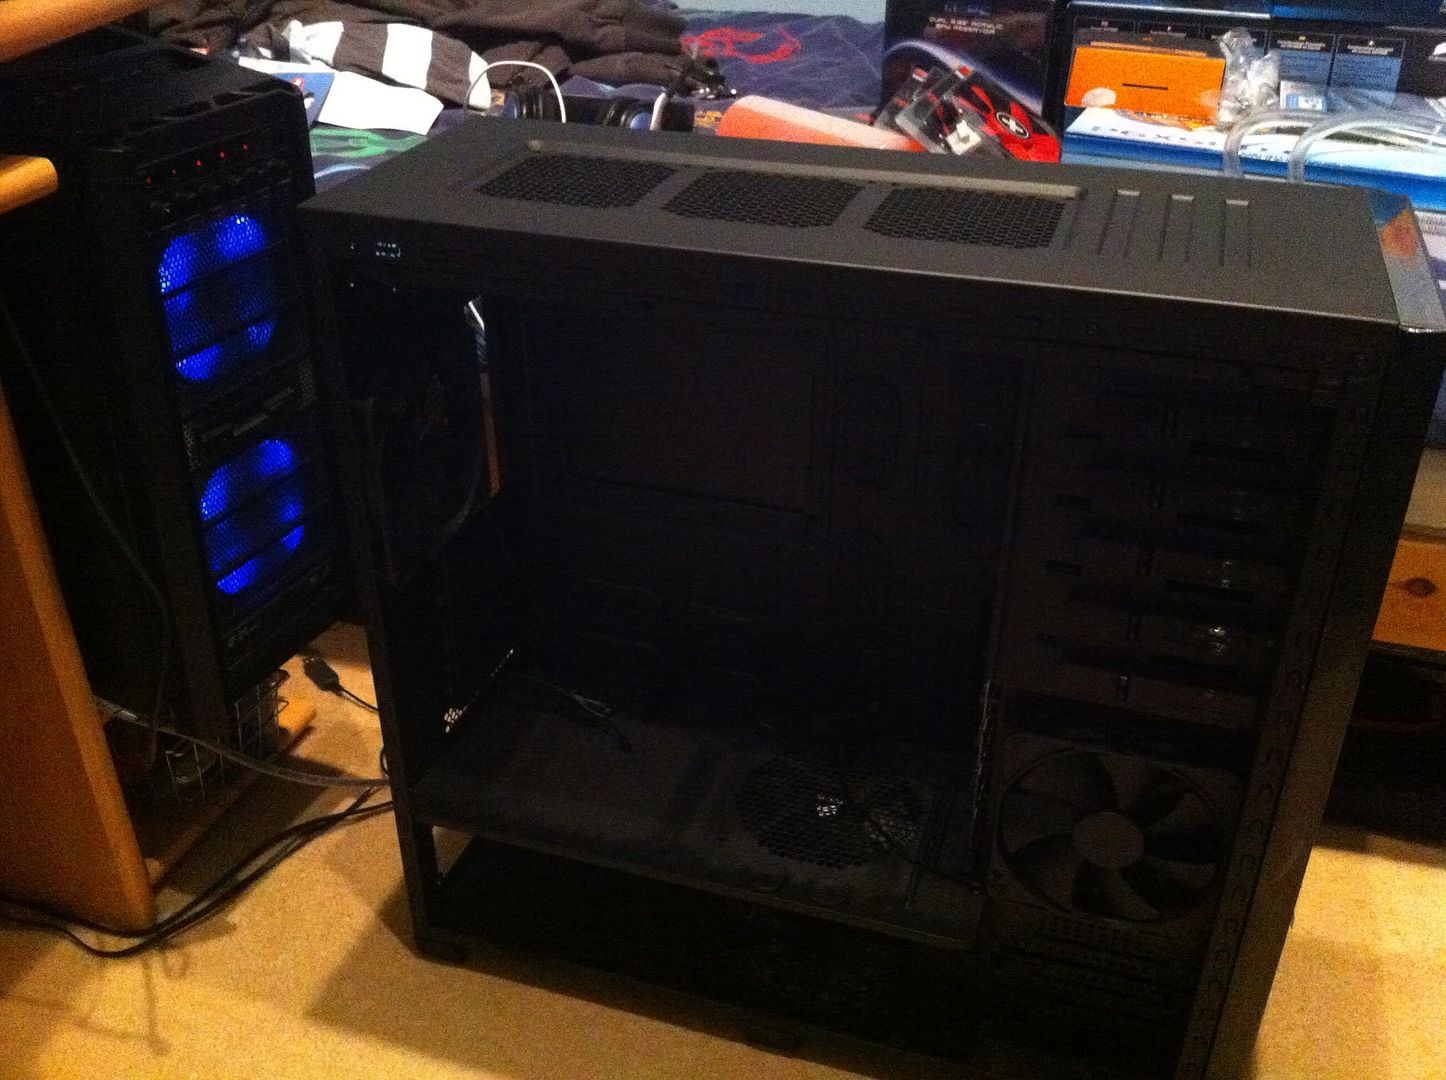
I then had time later on to start with the build, first things first was to check out the case after watching the in-depth video on youtube it was definitely going to be a step up from the Antec 900!
Initial thoughts;
I wasn't quite sure on the best way to approach the watercooling step now, as this would play a big role in the case build. As this was my first build i thought i'd take every necessary precaution to ensure i get no leak, but more importantly being that it doesn't leak onto the hardware, even if it is non-conductive liquid! I had put all of the compressions on to each component, and then temporary fixed in the Radiator and the Reservoir so that i could get estimate pipe lengths!
With them being cut, i assembled it and went for the plunge by filling the Reservoir and preparing to start the pump!
I used my handy little fileserver as the "power supply" as i didn't want to "hot start" my new one just in case i did something wrong and kill it! After an hour or so of testing, very very late testing, i found there to be no leaks, and would definitely recommend these compression fittings; they look awesome and seem to be a lot safer than barbs?
I pursued on the next morning fitting the power supply along with the motherboard!
Now came to fitting my first ever i7, and was quite nervous and as you may have seen on the forums i had to post to ensure that this extremely tight clamp was right! At first "attempted" clamping, it seemed too tight and felt like there was too much pressure on the cpu so i didn't do it up all the way and had to check on the forums to see if it was normal
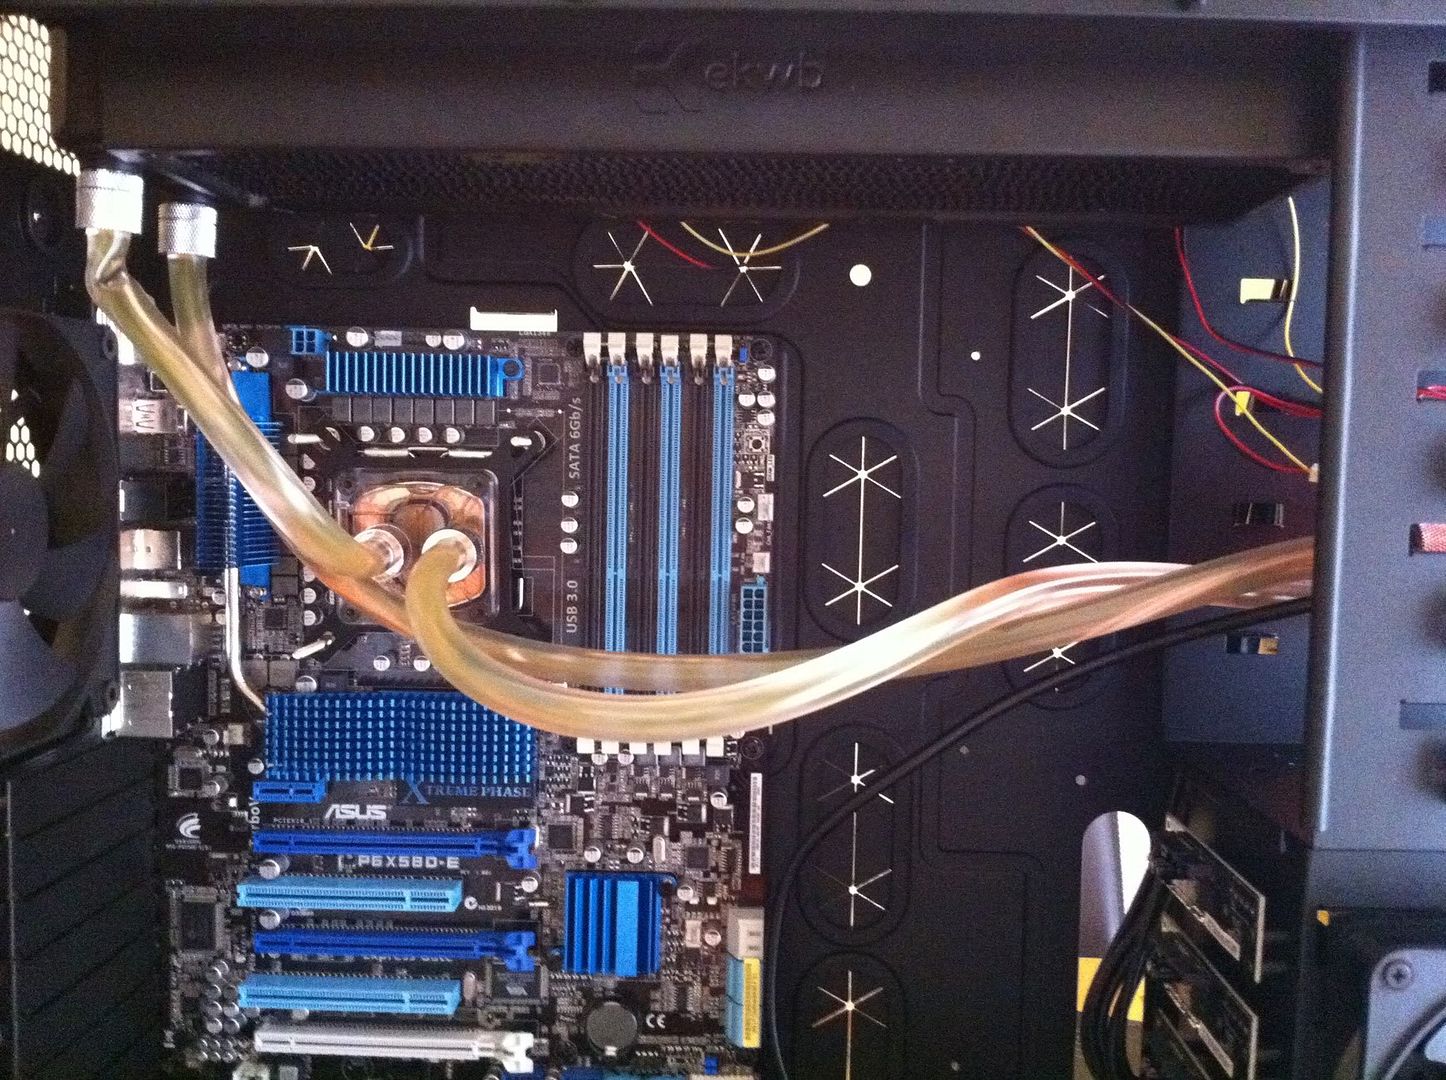
Once that was done fitting the CPU block was a breeze with the 800D, it's so useful that the back of the case has a detachable part of the motherboard tray which allows access to the mounting of the water block - i wouldn't want to tighten up the compressions with the block already on the board in fear of damaging it when tightening!
Unfortunately once it was mounted, i noticed a bit of a schoolboy error in my initial water build I had not twisted one of the pipes around enough and so it was slightly twisted when all the components were in, causing it to kink, which was definitely unacceptable. I also noticed that the pipe that connects to the entrance of the Radiator was stuck under the other pipes which was kinda of annoying and ruined the eye candy, however i decided to kill 2 birds with 1 stone.
I searched around local pharmacies and veterinaries to find a suitable sized syringe to suck the liquid out of the reservoir and back into the container so that i could undo the compress, fix the bottom cable and at the same time put it back on properly so it's not twisted or kinked!
I managed to find a 50ml syringe which would have to do, and it took about 20 fills to finally get enough liquid out of the system so i could undo it safely without anything leaking anywhere!
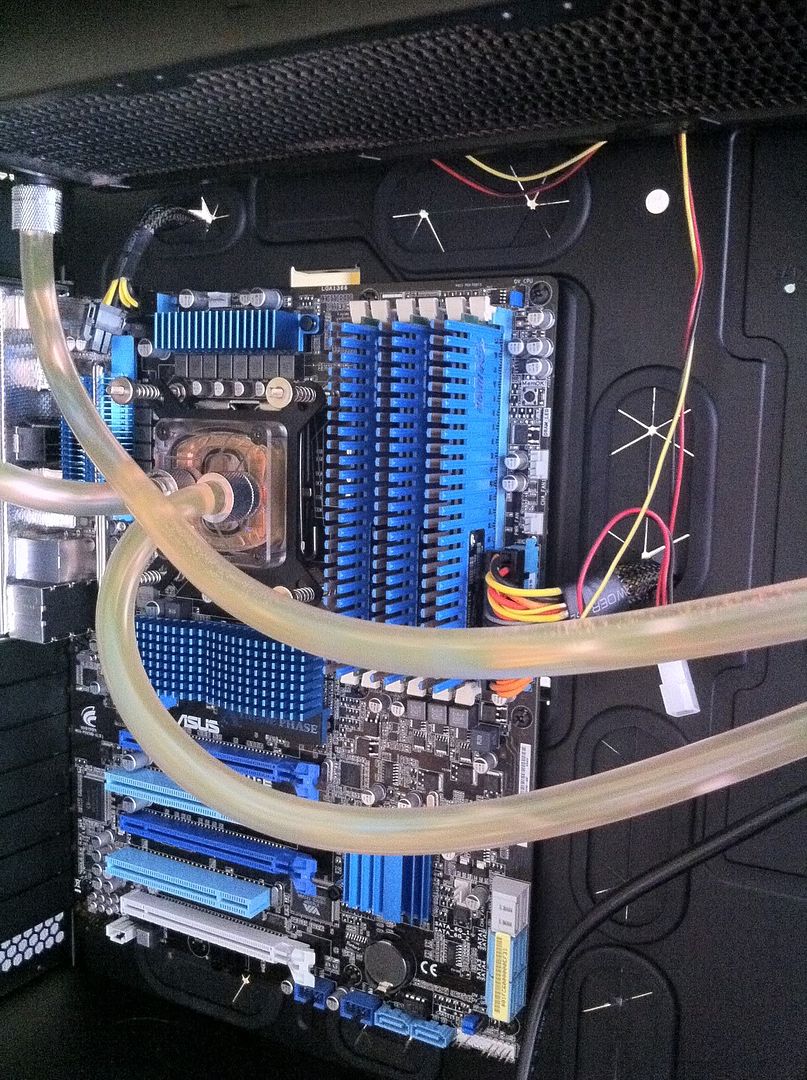
After this picture i think i'm glad did, the top piping is rather long, but must accommodate for the Reservoir coming out to add fluid or drain it, so this was nothing to worry about! After this i quickly filled it back up, and then had to bleed the air out of the radiator and a little bit in the CPU block. All went to plan and again there was no spillage
After this i started connecting up the motherboard and adding in the other components to the system!
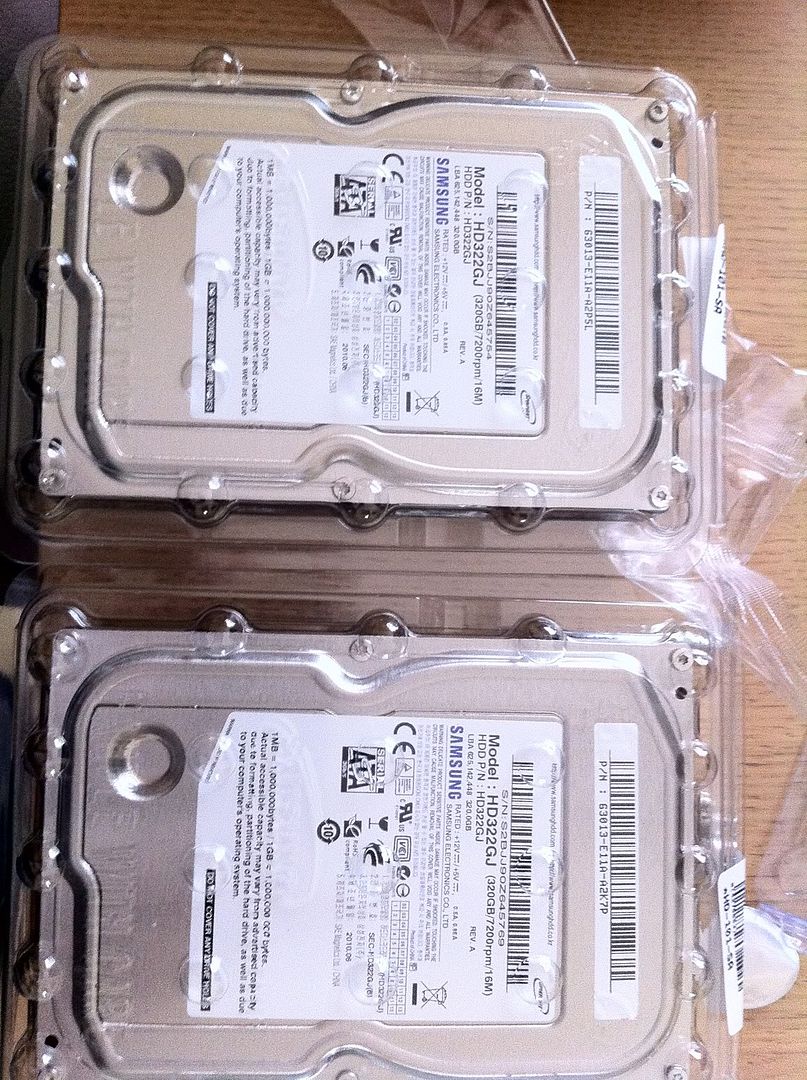
I decided that although i already had 3Tb, i wanted a new boot drive so that it wasn't being bottlenecked anywhere! I was looking at getting the Vertex 2E 120gb but after hours of searching around and thinking, i couldn't justify spending just shy of £200 for only 120gb, so i took the plunge and got 2x 320Gb of the new Samsung Spinpoint F4's that people seem to be going crazy about! These were actually delivered fairly early by DPD, which was a nice change and meant i would have the system up and running by the end of the night!
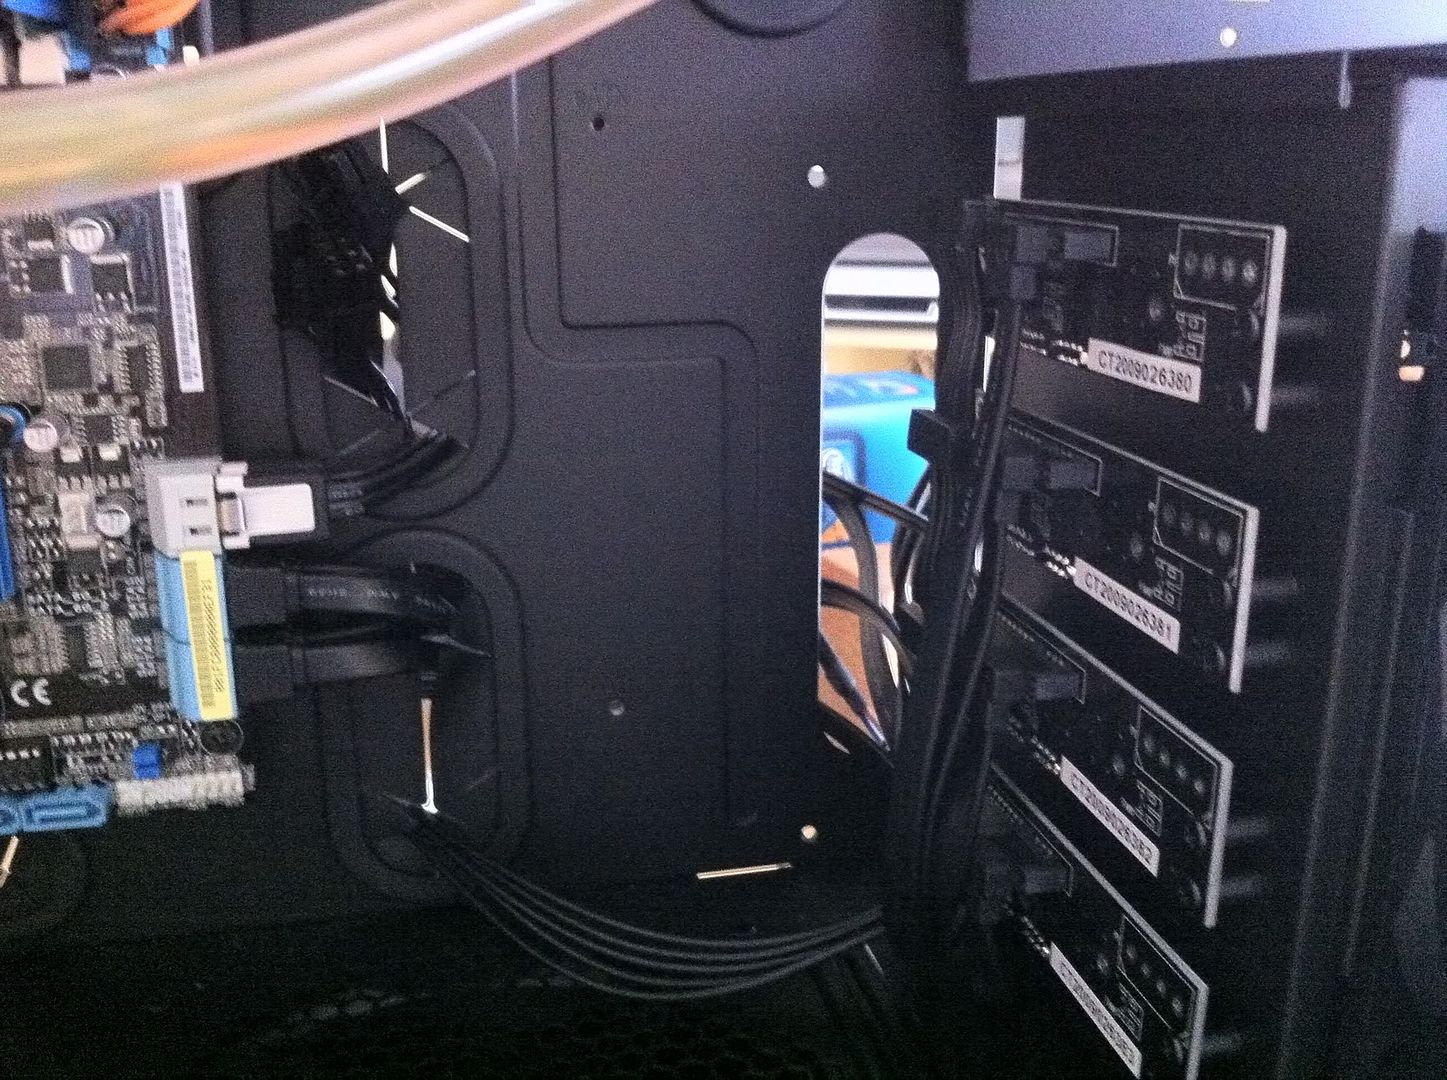
After installing the drives i set to work at installing the rest of the cables such as all of the sata cables needed for the hot swap drives! Even with the cover off these cables do look extremely neat, and i'm impressed with how Corsair designed it all.
A little while later all of the cabling was complete, and i just had the graphics card yet to put in, and then it was lift off!
With everything assembled it was time to boot! With so many changes to the system i couldn't wait to finish installing windows and get benchmarking/gaming on the new machine! Here's a couple of poor quality pics:

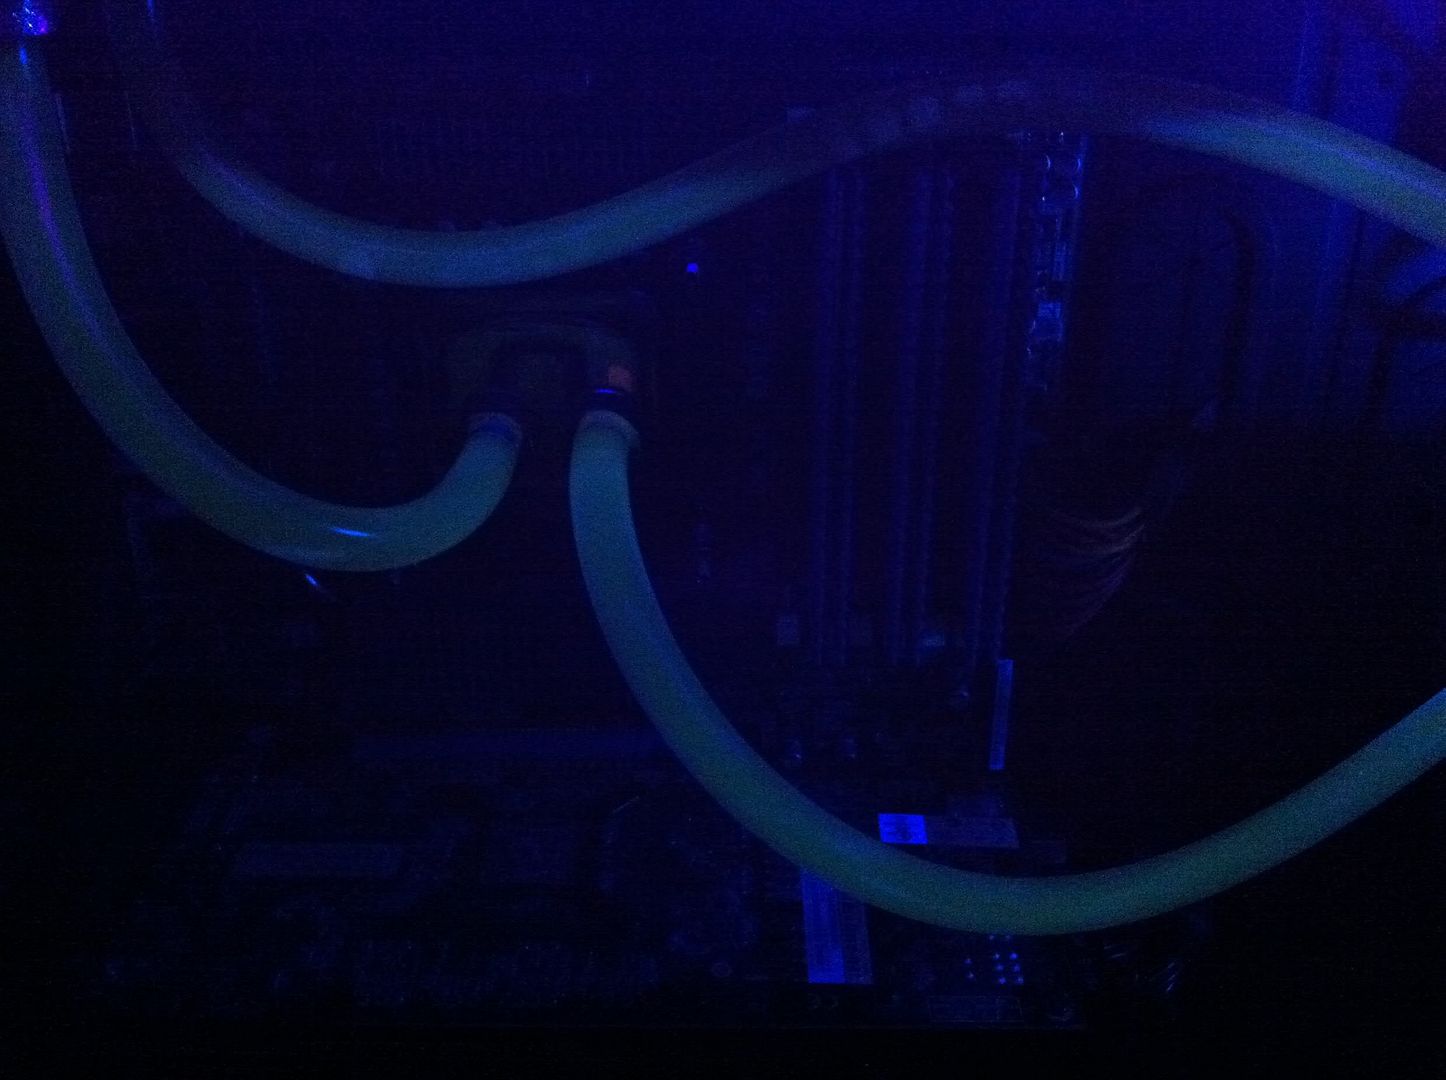
After the liquid i went for reacts under UV, i think i'll be getting some UV cold cathodes to show off the water cooling, the picture doesn't do it justice with the 10 year old cathode we already had, so i'll definately be getting some new ones!
This was my first project where i had the budget to do something a little special, my pc spec was ok before, but it was never able to get the extreme's that i had always hoped for!
However, things changed and i decided that i wanted to definitely go i7, and also took the plunge into watercooling, something i'd never done before and was a bit anxious about!
My previous setup consisted of:
- Intel Core 2 Quad Q6600 @ stock (b3)
- 8Gb OCZ Gold Ed. pc6400
- 3Tb Total w/ Raid boot etc.
- Sapphire ATi Radeon 5850 1Gb
- LG M227WD & LG 226WTQ
- Creative X-Fi Xtreme-Music
- Gigabyte P35-DS4
- Antec 900
Here's what i had managed to narrow the setup down to:
- Intel Core i7 950 3.06GHz (Bloomfield) (Socket LGA1366) - Retail
- Corsair Obsidian 800D Full Tower Case - Black
- Asus P6X58D-E Intel X58 (Socket 1366) DDR3 Motherboard
- Corsair HX 750W ATX Modular SLI Compliant Power Supply (CMPSU-750HXUK)
- Patriot Viper 6GB (3x2GB) DDR3 PC3-12800C8 1600MHz Low Latency Triple Channel (PVT36G1600LLK)
- XSPC Dual 750 Bay Reservoir & Pump - Clear
- EK Supreme HF Nickel Plexi (775/1156/1366/AM2/AM3/939/XEON) [3830046990204]
- EK CoolStream Radiator XT 360 (120.3) [3831109860021]
- Fluid XP+ Extreme Dr Jekyl/Mr Hyde Transformation Formula 944ml (32oz)
- Xilence XPF120R Red Wing 120mm Quiet Fan
- Masterkleer tubing PVC 12,7/9,5mm (3/8"ID) clear
- TFC Compression Fitting G1/4" Thread 3/8" ID/1/2" OD - High Flow
I already had an ATI 5850, and a Creative Labs Soundblaster X-Fi XtremeMusic sound card, so i kept these to save a bit of money so i could focus more on the other parts!
The parts finally came (pretty much last on the DPD rounds
), but nevertheless it was awesome to see all the new goodies i'd get to build together! Here's a few pics;


Notice the size of the 800D case, i knew it was going to be big, but we'll just have to see how big once opened

I then had time later on to start with the build, first things first was to check out the case after watching the in-depth video on youtube it was definitely going to be a step up from the Antec 900!
Initial thoughts;
- It's absolutely MASSIVE
 i knew it'd be large, but this is insane
 - Powercoated throughout is a brucey bonus that will definitely help the look of the build once complete
- There is a clear R&D into possible watercooling solutions, and it seems that whatever you wanted, they have thought of and included in the case!
- The hotswap drives will definitely be nice to use, although they still need to be screwed in unfortunately!
- The front of the case has an extremely nice aluminium brushed finish which will suit the Zalman fan controller i have (plus the XSPC res & pump facia!)
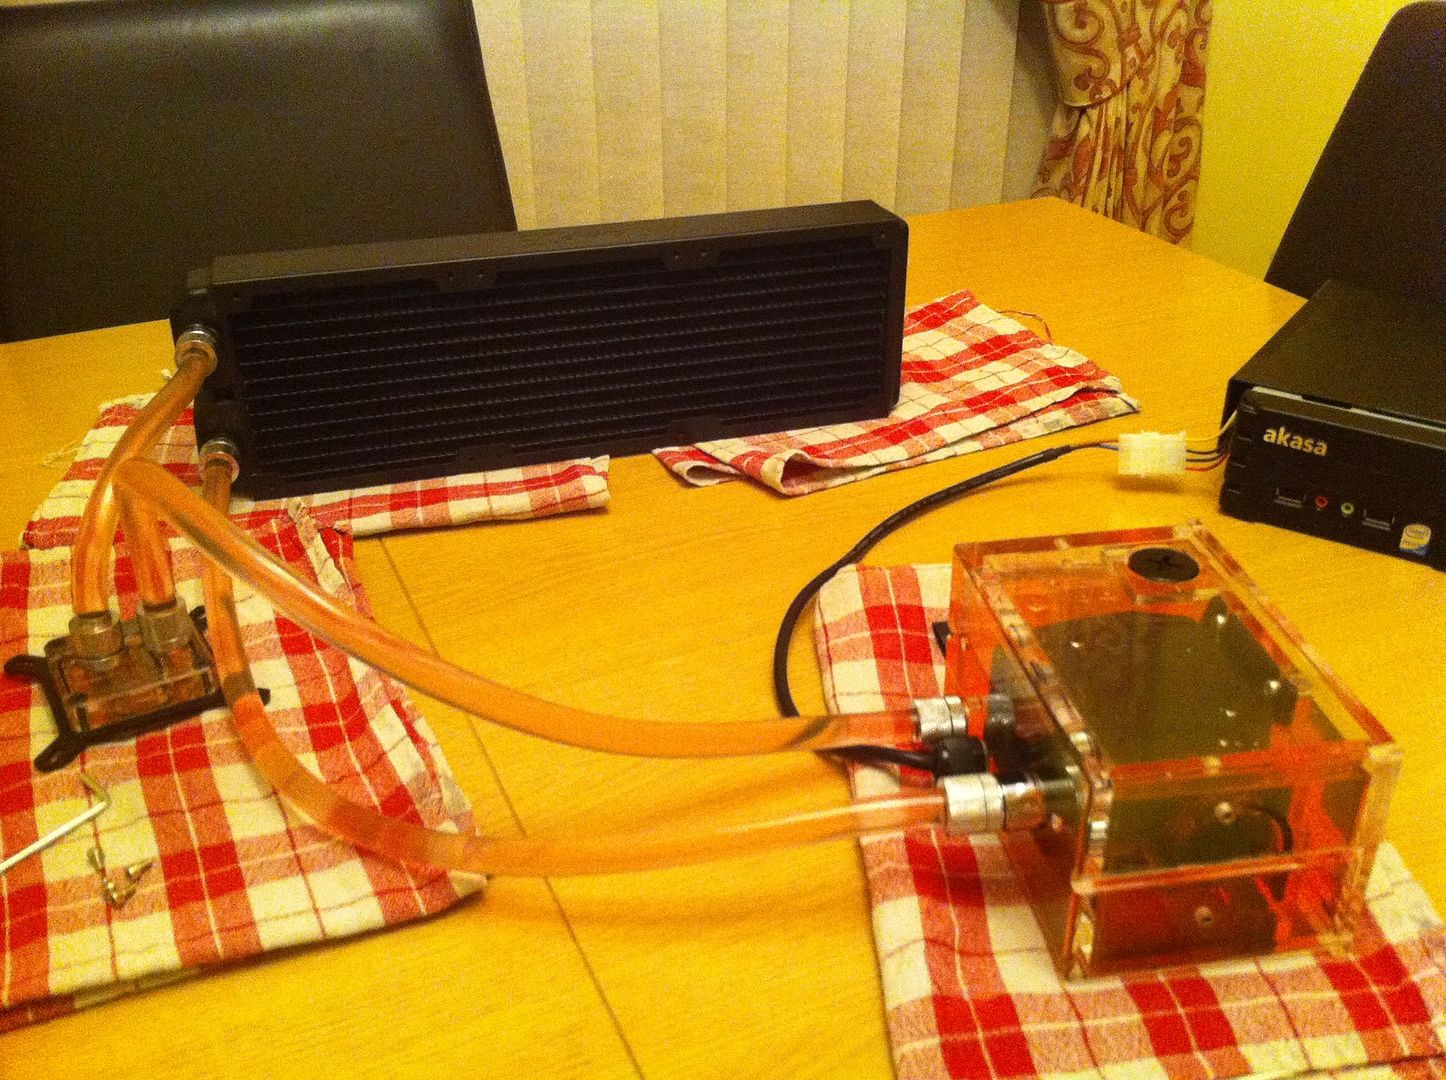
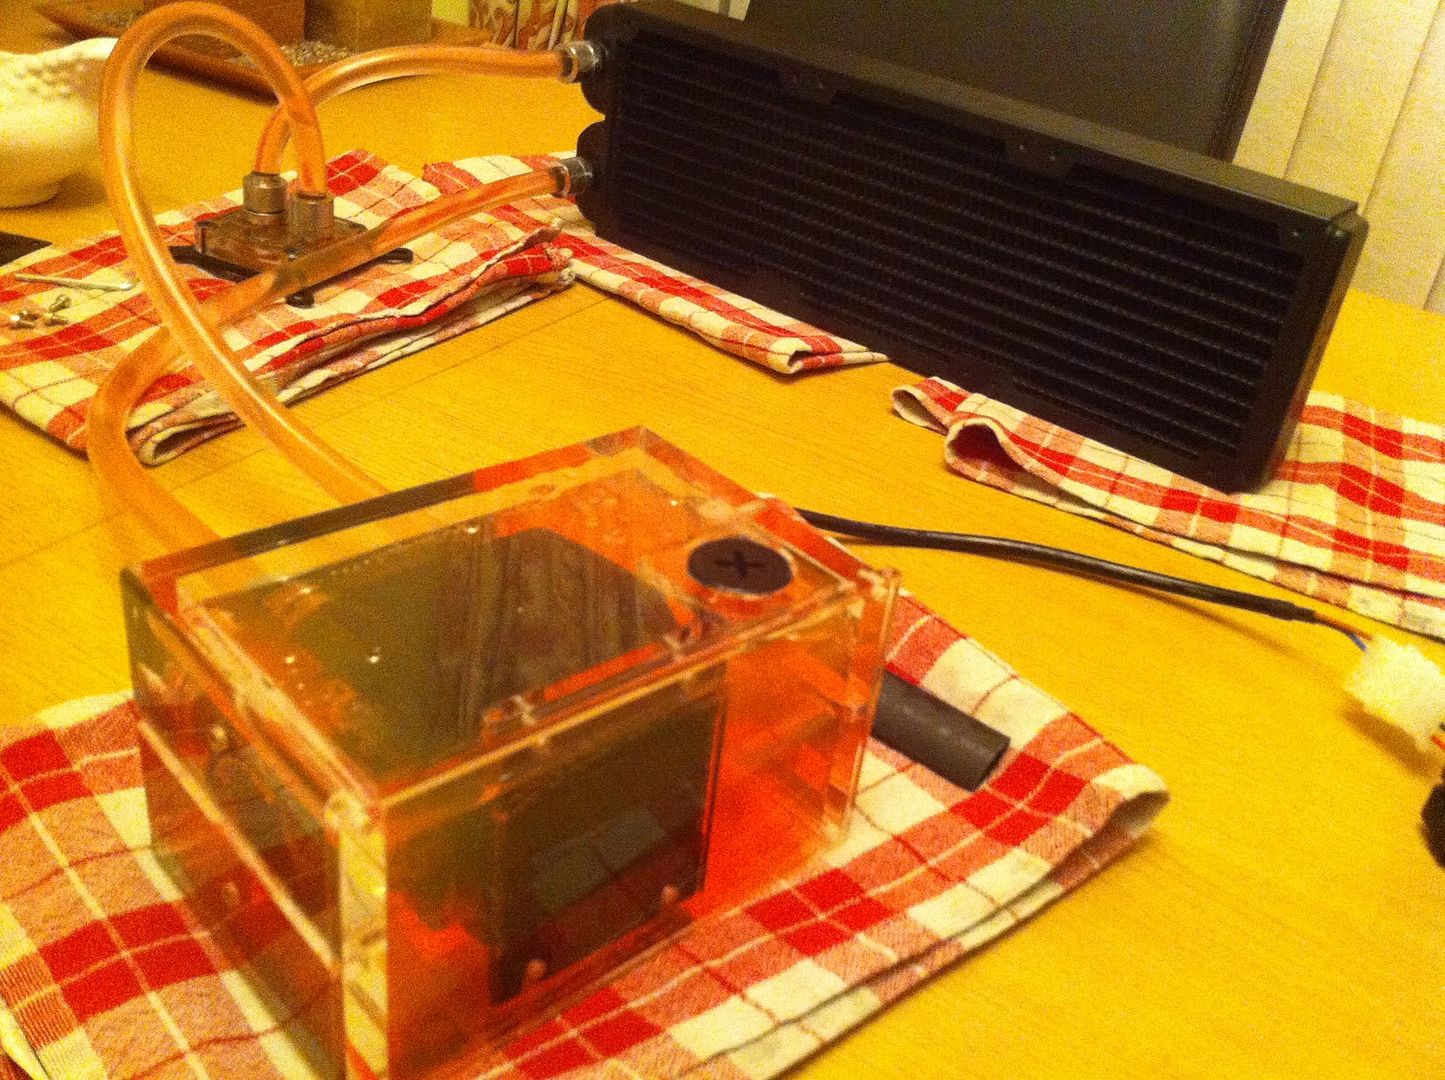
I wasn't quite sure on the best way to approach the watercooling step now, as this would play a big role in the case build. As this was my first build i thought i'd take every necessary precaution to ensure i get no leak, but more importantly being that it doesn't leak onto the hardware, even if it is non-conductive liquid! I had put all of the compressions on to each component, and then temporary fixed in the Radiator and the Reservoir so that i could get estimate pipe lengths!
With them being cut, i assembled it and went for the plunge by filling the Reservoir and preparing to start the pump!
I used my handy little fileserver as the "power supply" as i didn't want to "hot start" my new one just in case i did something wrong and kill it! After an hour or so of testing, very very late testing, i found there to be no leaks, and would definitely recommend these compression fittings; they look awesome and seem to be a lot safer than barbs?


I pursued on the next morning fitting the power supply along with the motherboard!

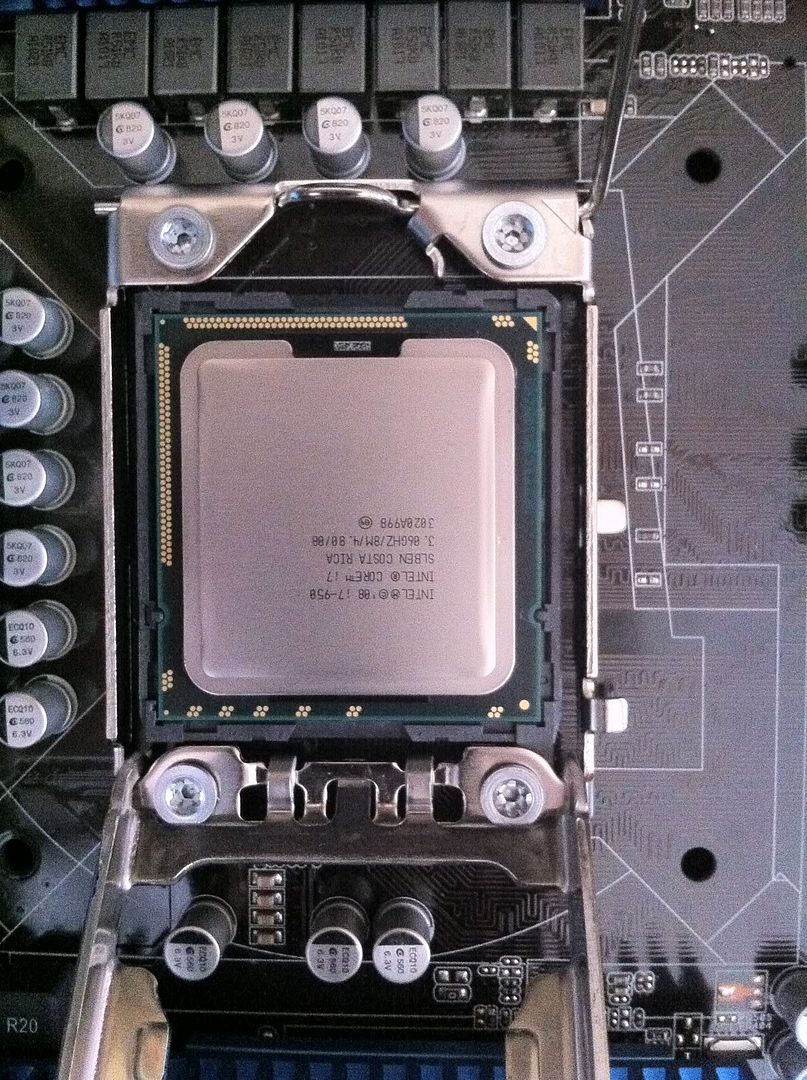
Now came to fitting my first ever i7, and was quite nervous and as you may have seen on the forums i had to post to ensure that this extremely tight clamp was right! At first "attempted" clamping, it seemed too tight and felt like there was too much pressure on the cpu so i didn't do it up all the way and had to check on the forums to see if it was normal

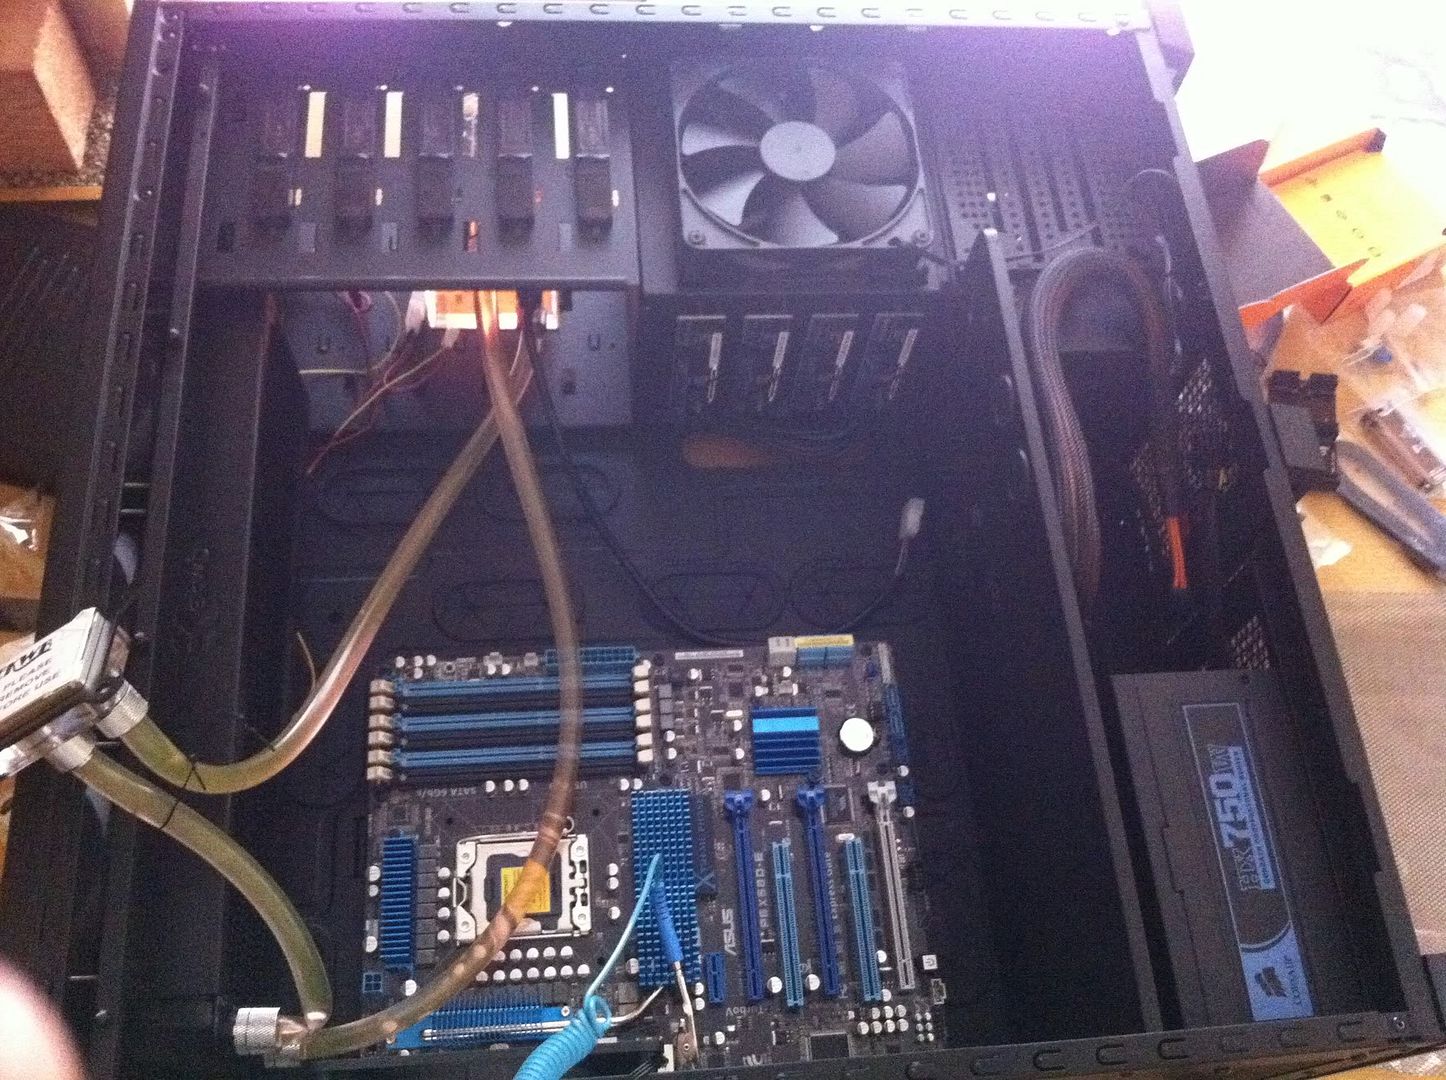
Once that was done fitting the CPU block was a breeze with the 800D, it's so useful that the back of the case has a detachable part of the motherboard tray which allows access to the mounting of the water block - i wouldn't want to tighten up the compressions with the block already on the board in fear of damaging it when tightening!
Unfortunately once it was mounted, i noticed a bit of a schoolboy error in my initial water build
I had not twisted one of the pipes around enough and so it was slightly twisted when all the components were in, causing it to kink, which was definitely unacceptable. I also noticed that the pipe that connects to the entrance of the Radiator was stuck under the other pipes which was kinda of annoying and ruined the eye candy, however i decided to kill 2 birds with 1 stone. 
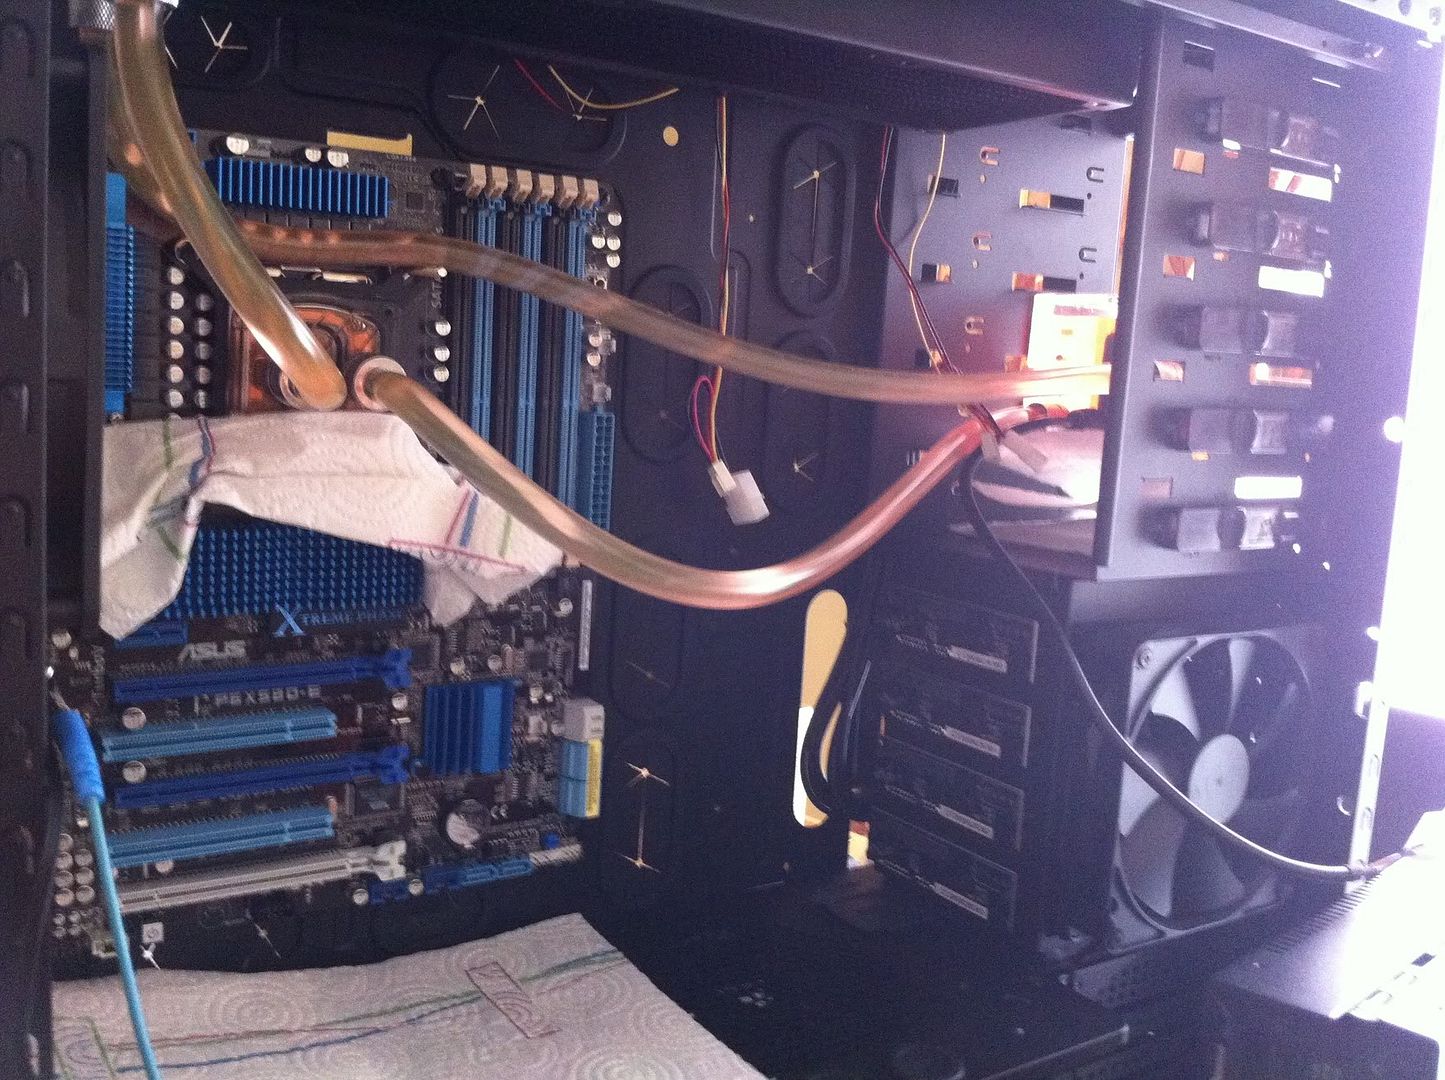
I searched around local pharmacies and veterinaries to find a suitable sized syringe to suck the liquid out of the reservoir and back into the container so that i could undo the compress, fix the bottom cable and at the same time put it back on properly so it's not twisted or kinked!
I managed to find a 50ml syringe which would have to do, and it took about 20 fills to finally get enough liquid out of the system so i could undo it safely without anything leaking anywhere!

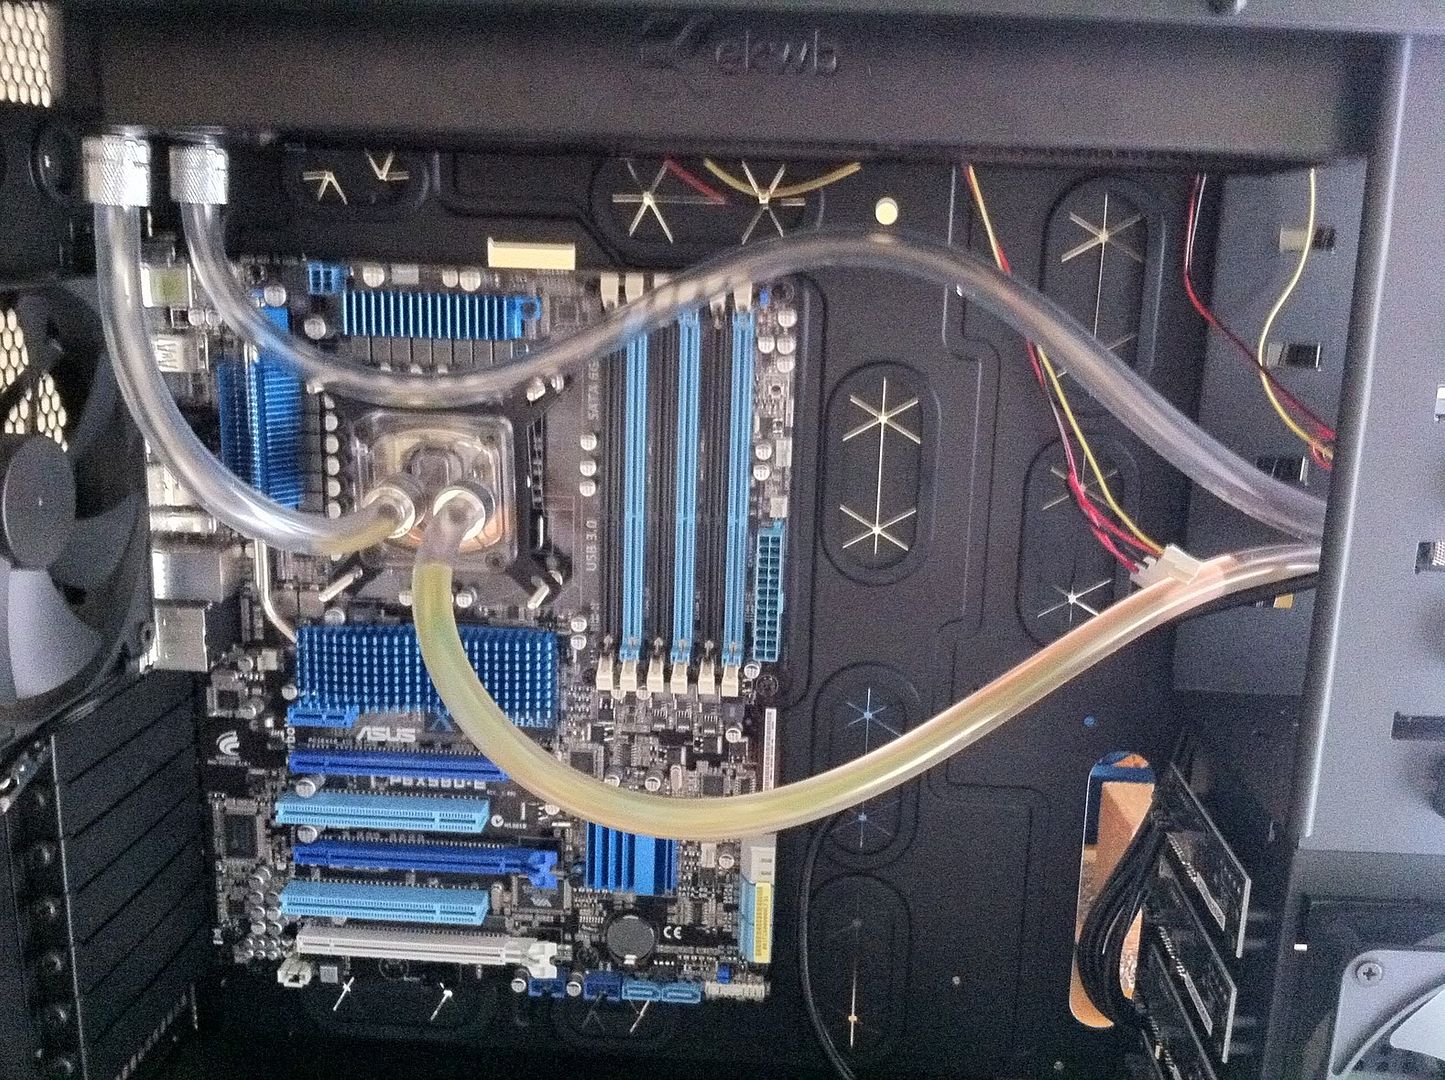
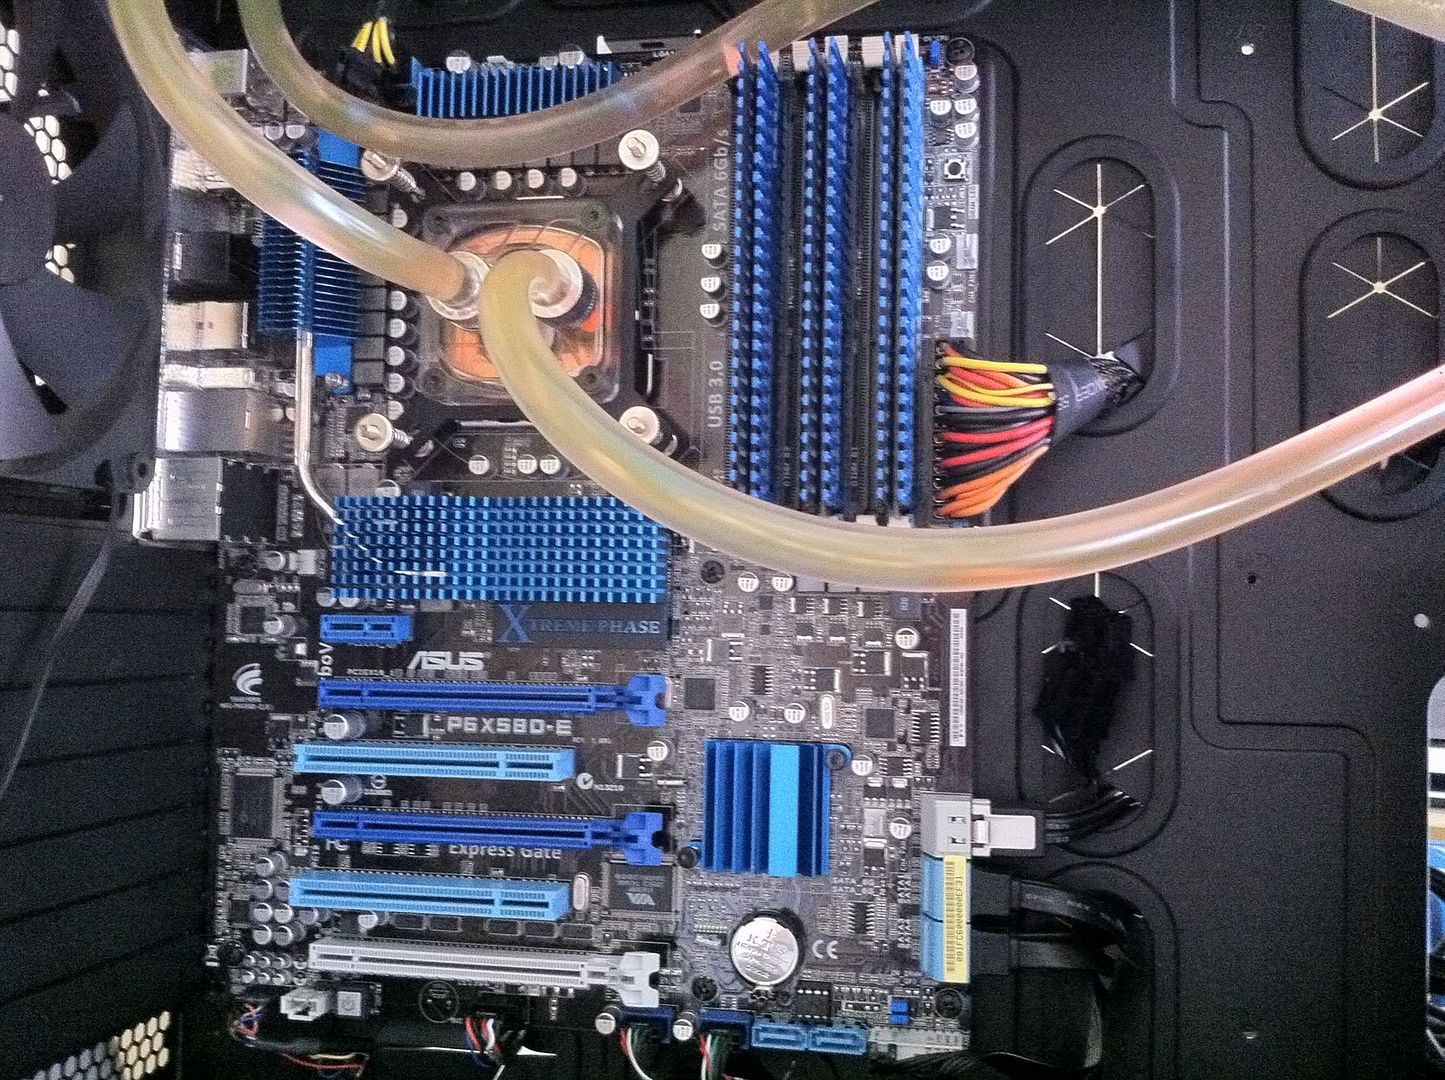
After this picture i think i'm glad did, the top piping is rather long, but must accommodate for the Reservoir coming out to add fluid or drain it, so this was nothing to worry about! After this i quickly filled it back up, and then had to bleed the air out of the radiator and a little bit in the CPU block. All went to plan and again there was no spillage

After this i started connecting up the motherboard and adding in the other components to the system!

I decided that although i already had 3Tb, i wanted a new boot drive so that it wasn't being bottlenecked anywhere! I was looking at getting the Vertex 2E 120gb but after hours of searching around and thinking, i couldn't justify spending just shy of £200 for only 120gb, so i took the plunge and got 2x 320Gb of the new Samsung Spinpoint F4's that people seem to be going crazy about! These were actually delivered fairly early by DPD, which was a nice change and meant i would have the system up and running by the end of the night!

After installing the drives i set to work at installing the rest of the cables such as all of the sata cables needed for the hot swap drives! Even with the cover off these cables do look extremely neat, and i'm impressed with how Corsair designed it all.

A little while later all of the cabling was complete, and i just had the graphics card yet to put in, and then it was lift off!

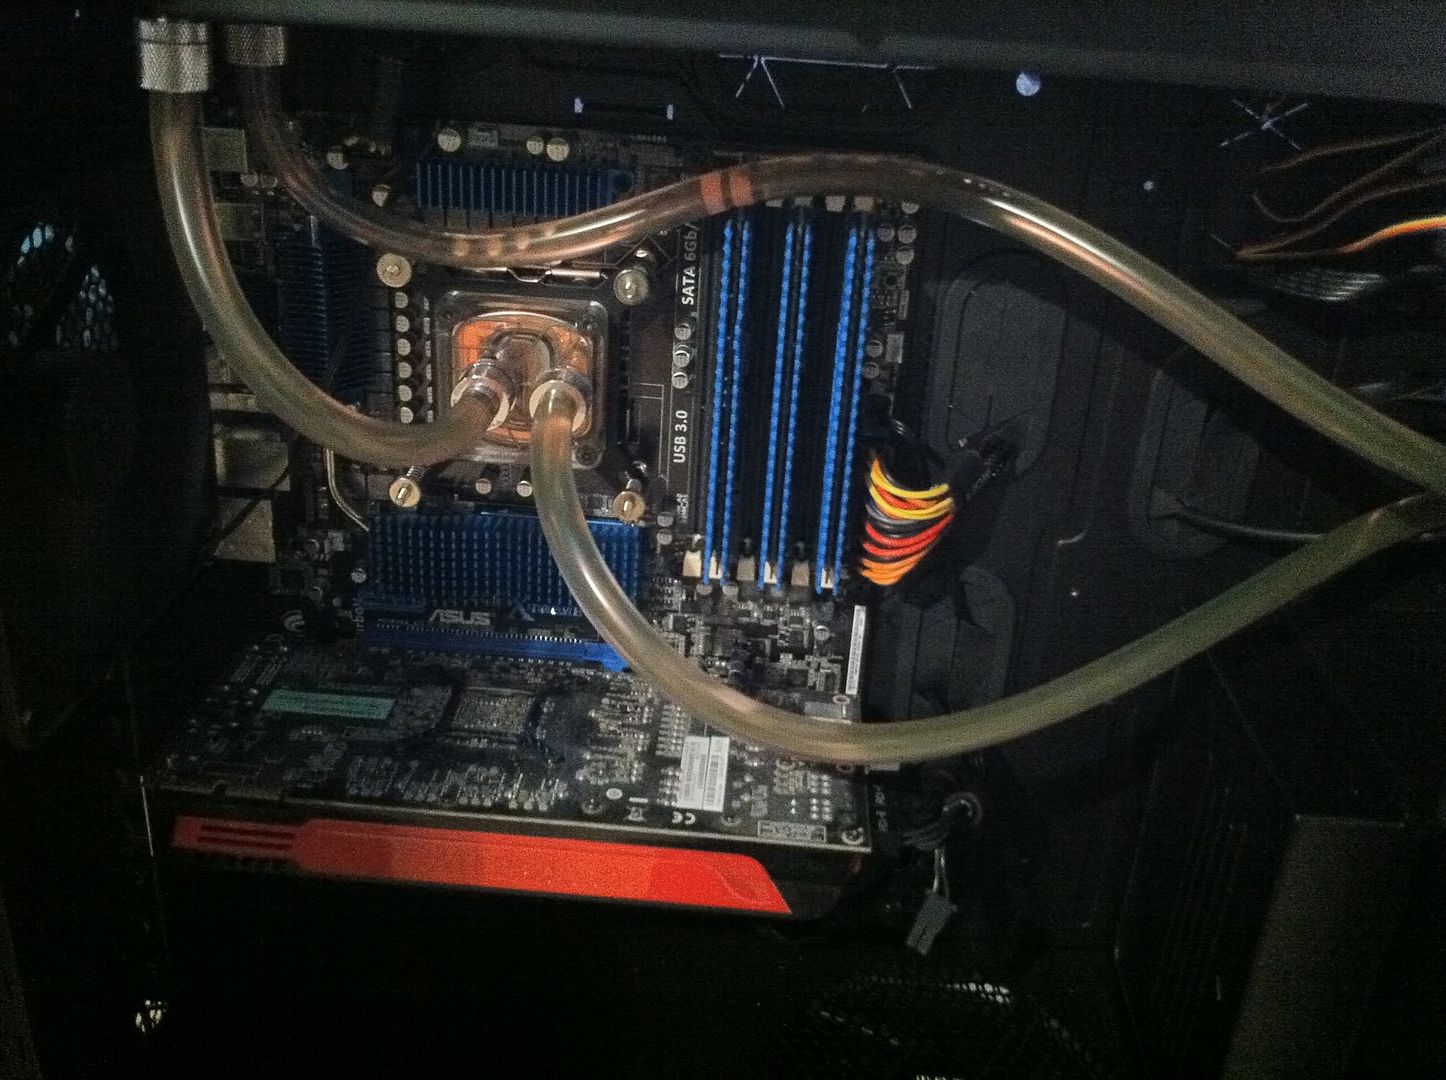
With everything assembled it was time to boot! With so many changes to the system i couldn't wait to finish installing windows and get benchmarking/gaming on the new machine! Here's a couple of poor quality pics:


After the liquid i went for reacts under UV, i think i'll be getting some UV cold cathodes to show off the water cooling, the picture doesn't do it justice with the 10 year old cathode we already had, so i'll definately be getting some new ones!
Last edited:


")

