This is my second build , so still lots to learn ")
Inspired by ( ok I was just going to copy it ) Subliminal Aura's build here I thought I'd have a go at a htpc to replace my WD media streamer .
I managed to pick up a ZOTAC IONITX-P-E mobo on a certain auction site and the same case as Subliminal Aura . I then realised that because I've got an old crt tv I couldn't connect to it using the hdmi , dvi or vga ports with out a convertor .
I had a graphics card from an old Dell with an s video out so I'm going to give that a go . Only thing ..... not really going to fit in the case .... solution make my own case using the fittings from the ebay one
So project : Lots of Letters ... an SFF HTPC running XMBC
Spec :
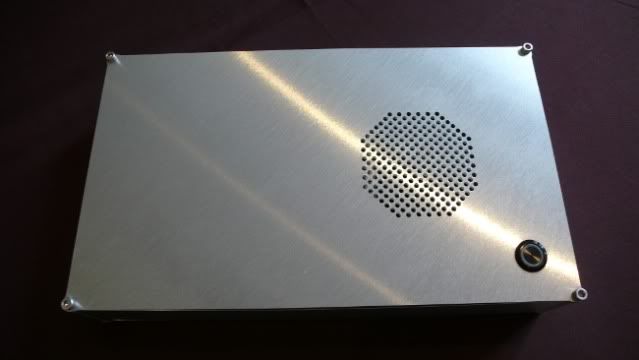
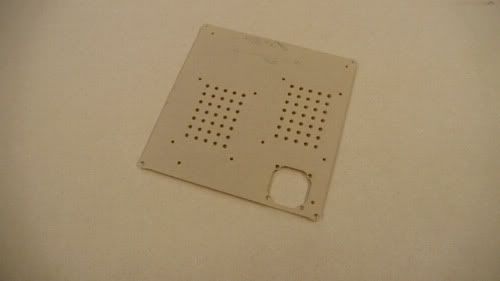
Case : Me
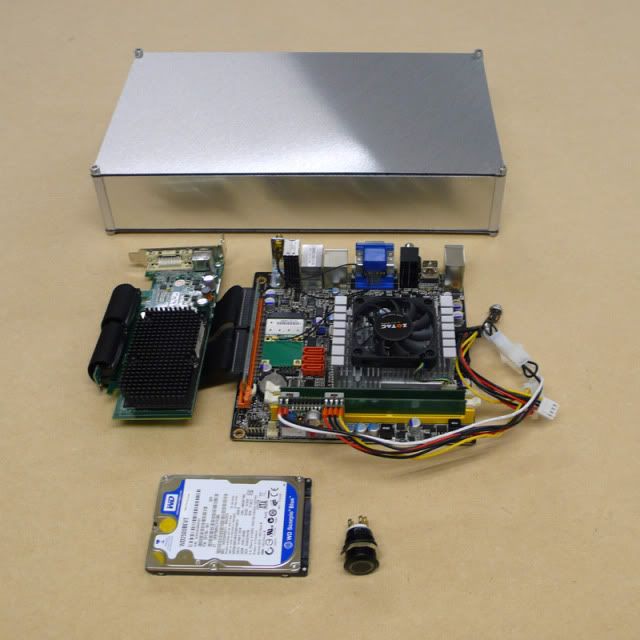
Mobo : ZOTAC IONITX-P-E
Ram : 2 by 1gb of Kingston value
PSU : Pico plus laptop brick
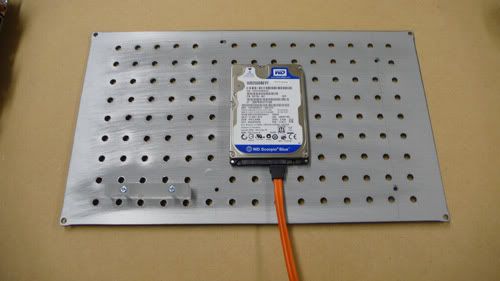
Hdd : WD Scorpio Blue 250gb
GPU : Not really sure
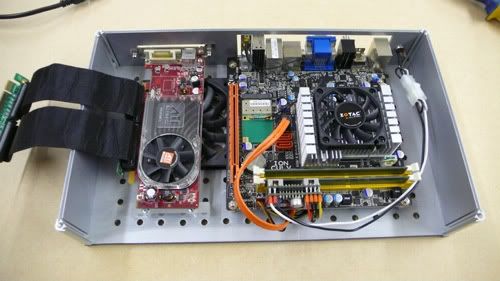
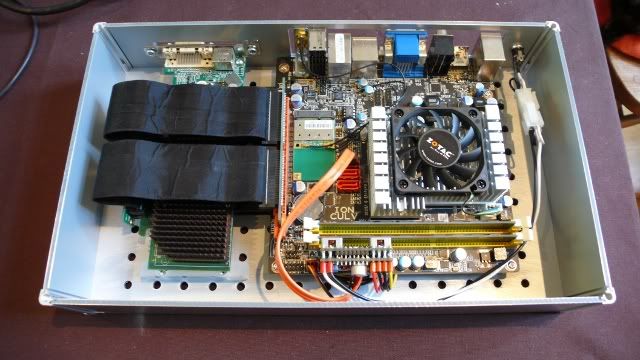
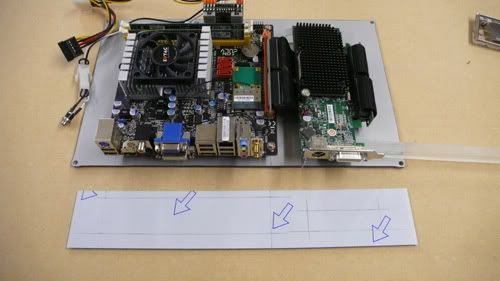
So I've made a start on the case and got all of the above stuff .
To do :
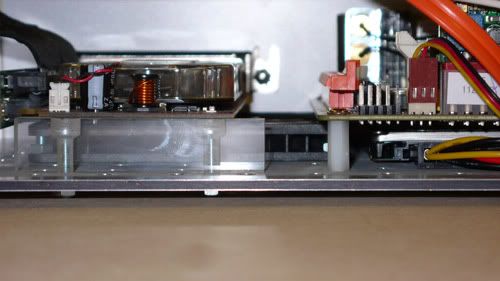
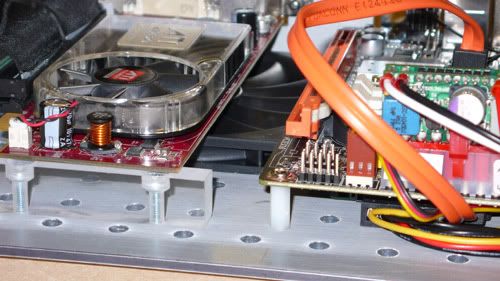
Finish the case , sort out some cooling and figure out the finer points of mounting the graphics card .
Get it built .
Sort out some sort of remote control , I've got an old one but the reciver is about the same size as the case . If I can get it to work I'll see if I can dismantle it and mount it internally .
Get it running with ubuntu and XMBC .... network it to my main pc ..... build a server .........
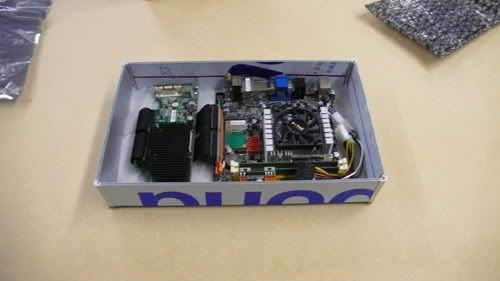
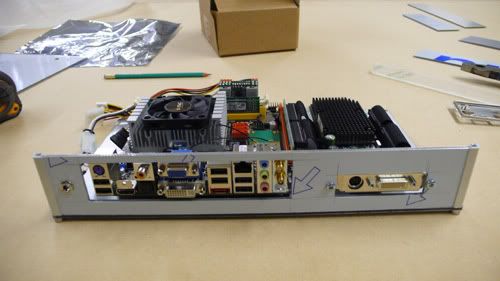
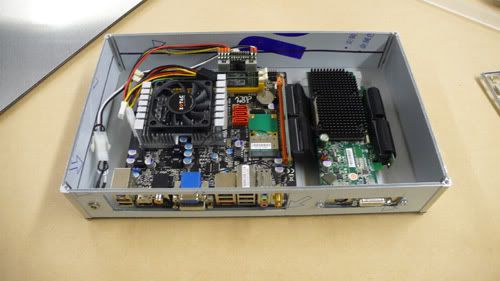
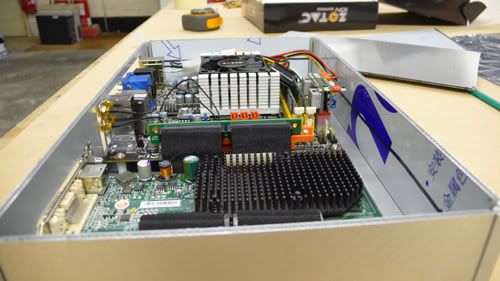
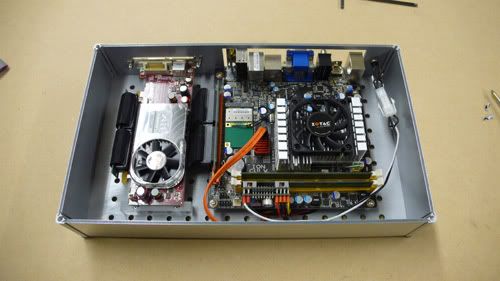
All the stuff :
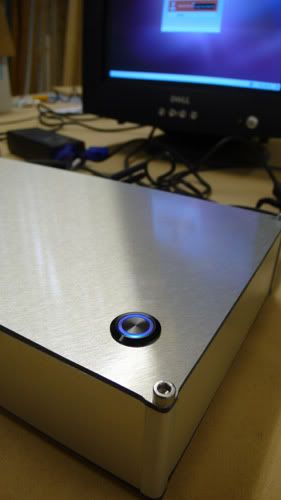
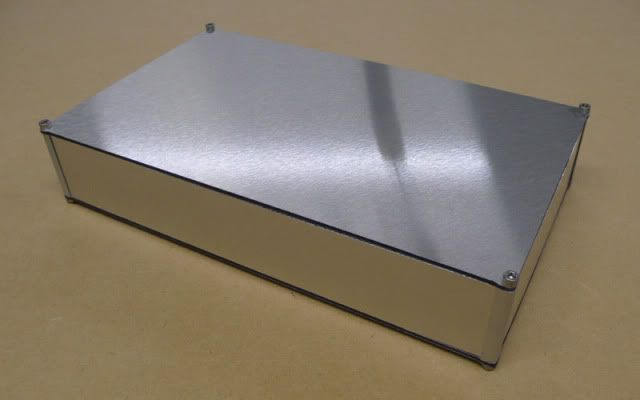
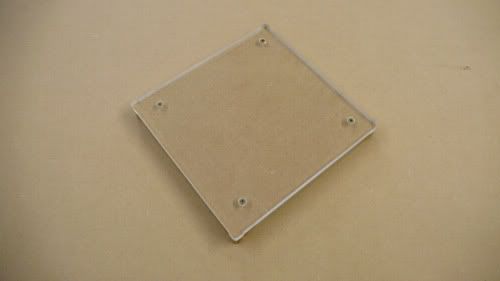
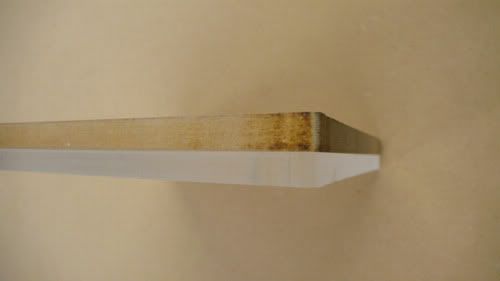
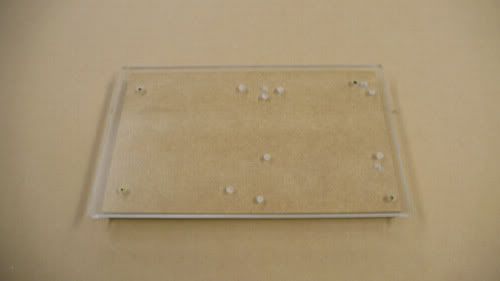
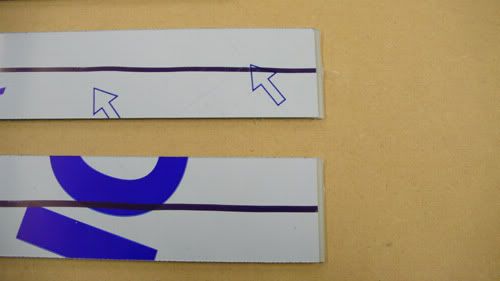
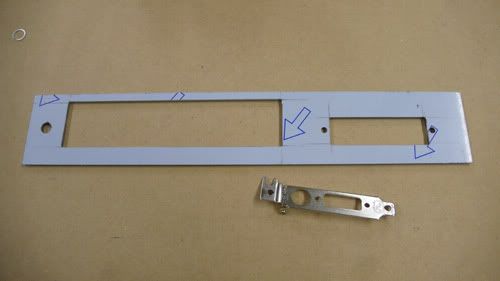
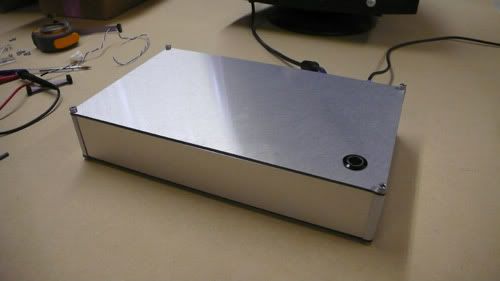
Just the case , it's 340mm by 200mm by 60mm :
That it so far !
Inspired by ( ok I was just going to copy it ) Subliminal Aura's build here I thought I'd have a go at a htpc to replace my WD media streamer .
I managed to pick up a ZOTAC IONITX-P-E mobo on a certain auction site and the same case as Subliminal Aura . I then realised that because I've got an old crt tv I couldn't connect to it using the hdmi , dvi or vga ports with out a convertor .
I had a graphics card from an old Dell with an s video out so I'm going to give that a go . Only thing ..... not really going to fit in the case .... solution make my own case using the fittings from the ebay one
So project : Lots of Letters ... an SFF HTPC running XMBC
Spec :
Case : Me
Mobo : ZOTAC IONITX-P-E
Ram : 2 by 1gb of Kingston value
PSU : Pico plus laptop brick
Hdd : WD Scorpio Blue 250gb
GPU : Not really sure
So I've made a start on the case and got all of the above stuff .
To do :
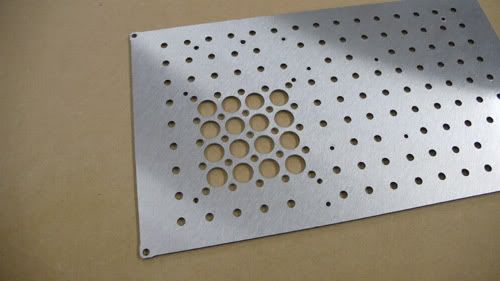
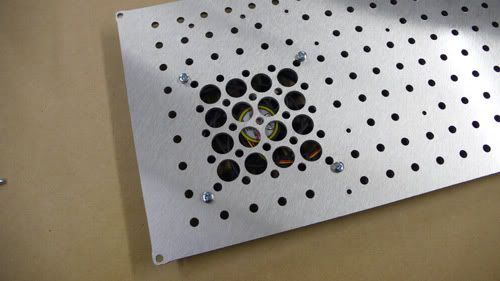
Finish the case , sort out some cooling and figure out the finer points of mounting the graphics card .
Get it built .
Sort out some sort of remote control , I've got an old one but the reciver is about the same size as the case . If I can get it to work I'll see if I can dismantle it and mount it internally .
Get it running with ubuntu and XMBC .... network it to my main pc ..... build a server .........
All the stuff :
Just the case , it's 340mm by 200mm by 60mm :
That it so far !
 .
.


 so universal one ordered