

Associate
- Joined
- 11 Dec 2012
- Posts
- 90
Hey guys,
For a long time i've been wanting to make a small pc for the tv so when i saw the announcement of the Intel NUC/Bit-tech competition i thought i would send in a design and see how it goes. Sadly I didn't get picked for the competition but in the true spirit of modding i bought all the parts instead so i can still make a case.
Background:
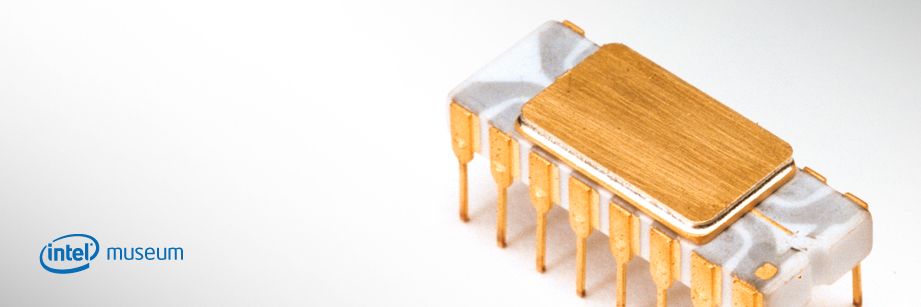
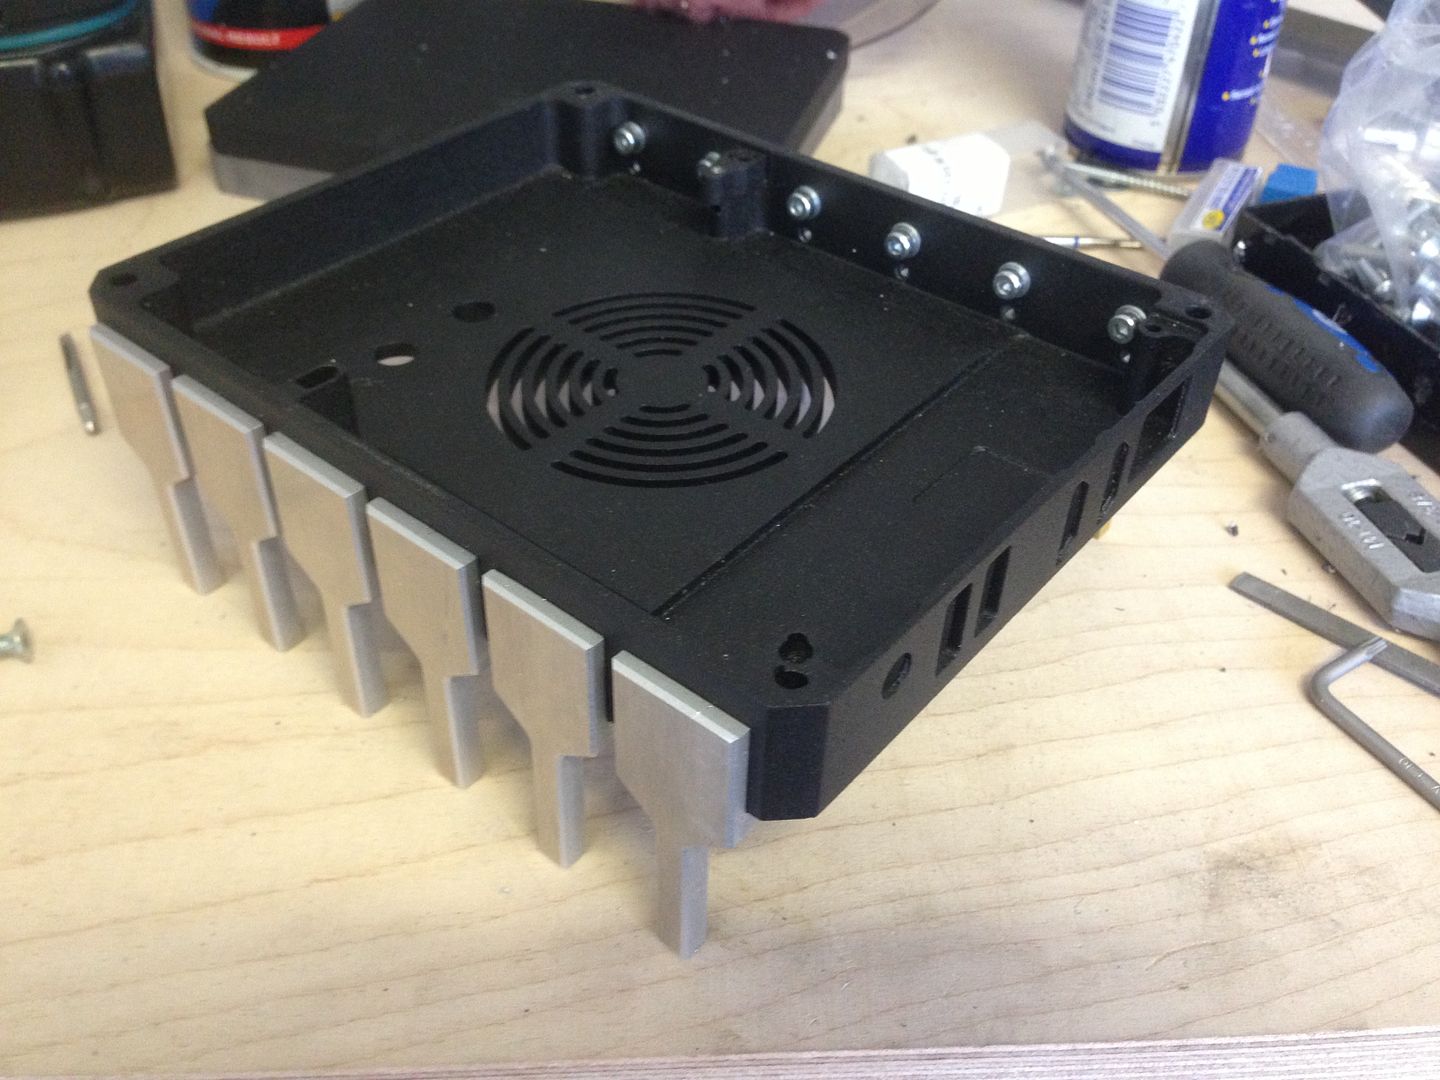
When i first saw the Intel NUC and its small size i knew it would be perfect for my needs. When thinking of a design for the competition i started looking at Intel's old microprocessors and what they meant for the general public back in the days. These nuc motherboards are a bit of the same in my mind seeing they are quite powerful for their very small form factor. Anyways, enough of that")
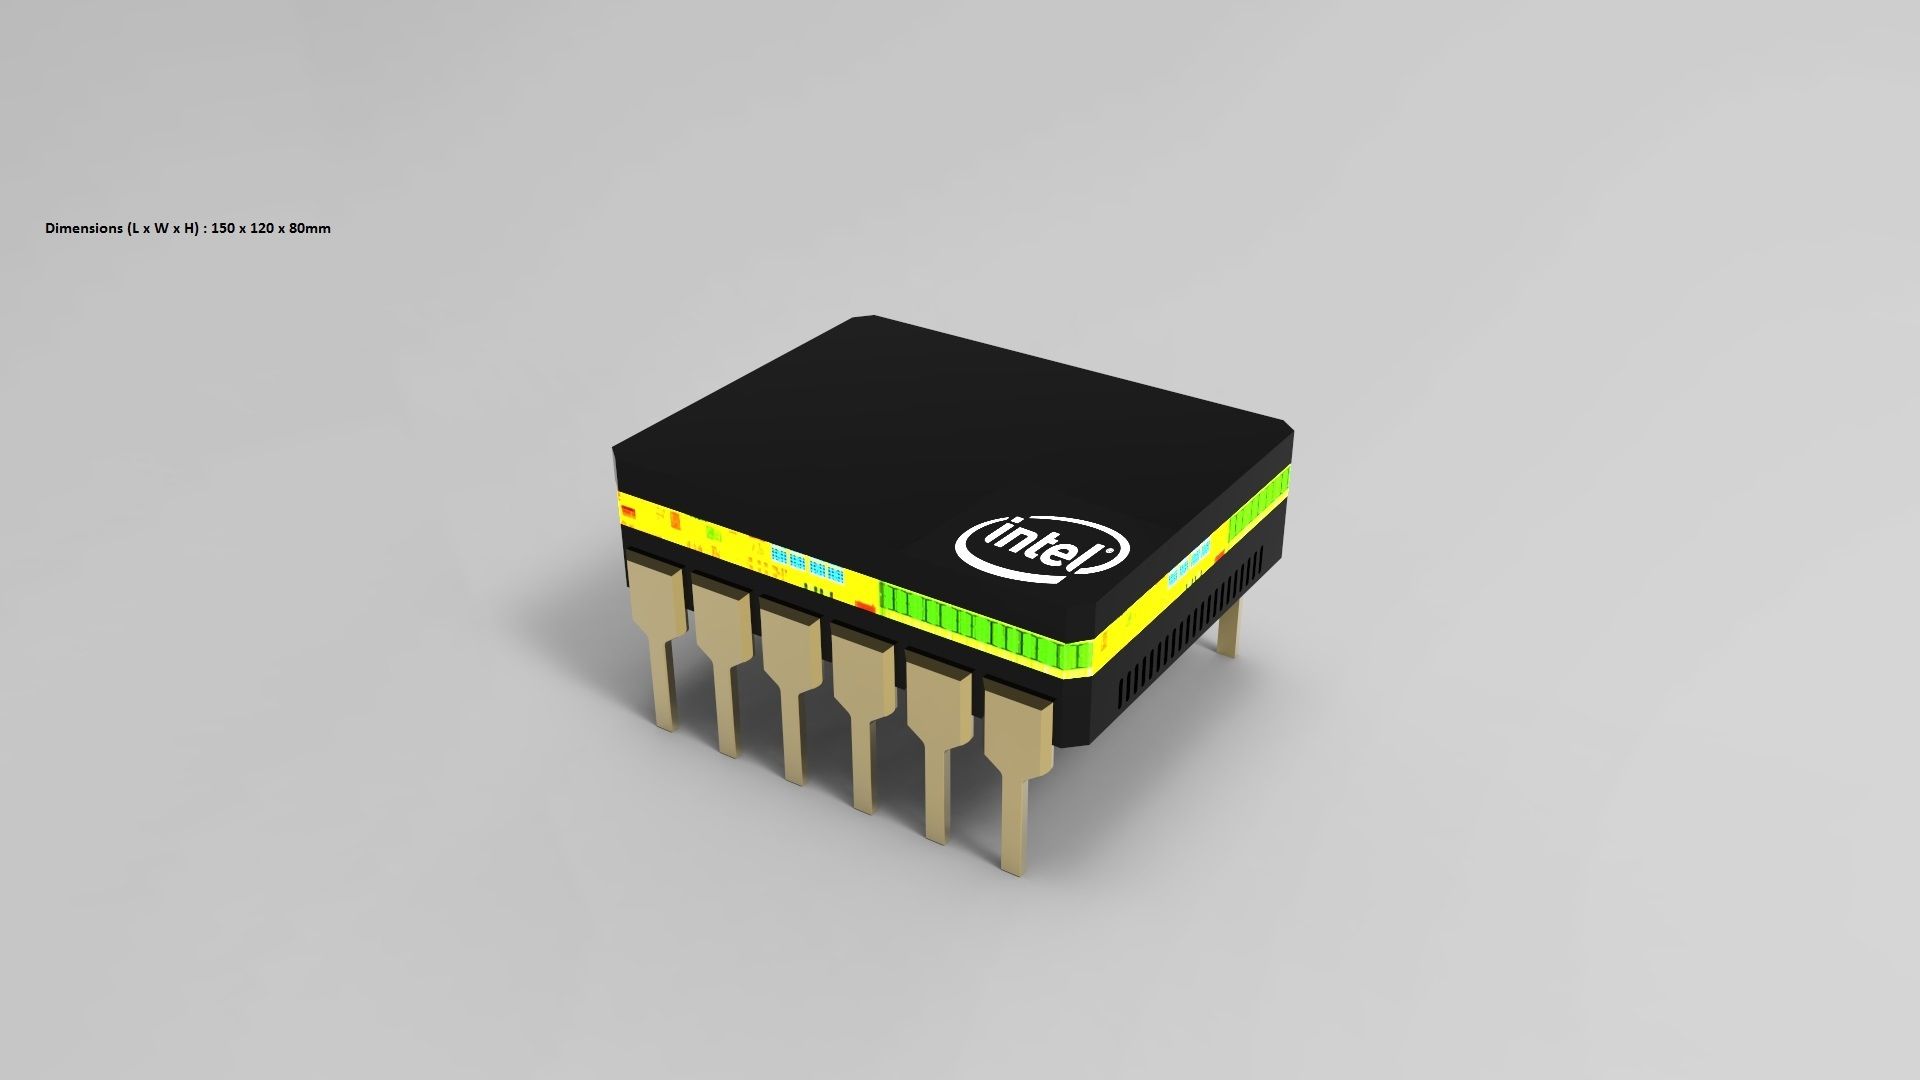
This is the design i sent in for the competition. It has changed quite a bit but i don't have any better ones.
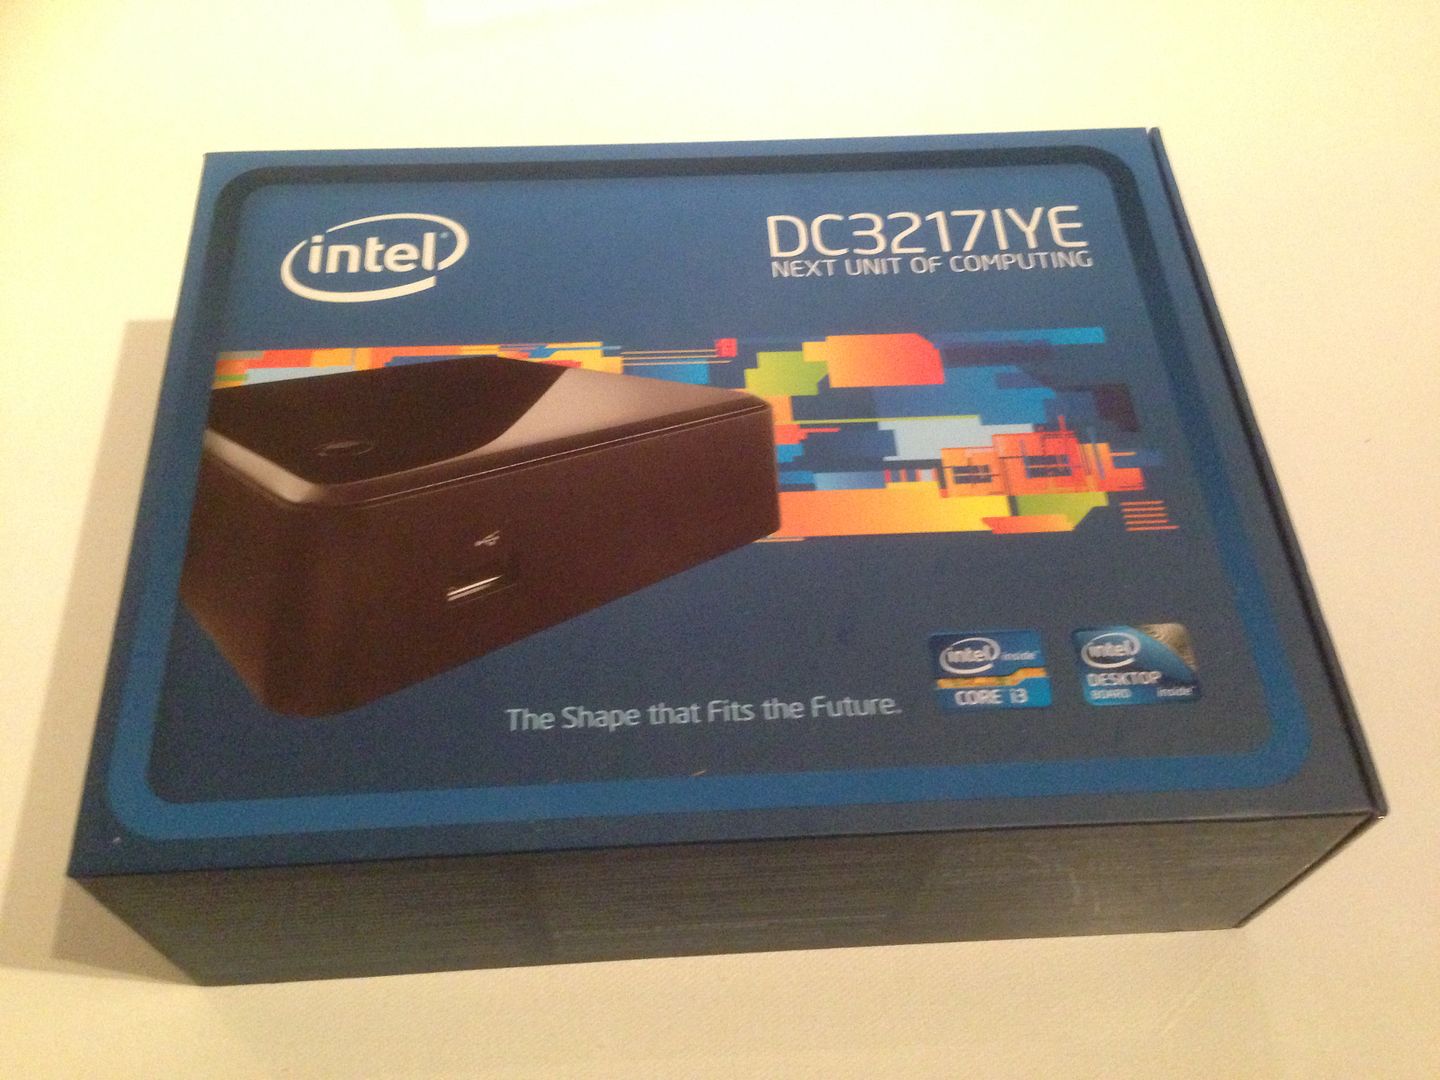
Decided on a different version (still an i3) but with an wired network and no thunderbolt as i have no need for thunderbolt as of now and it was a bit cheaper
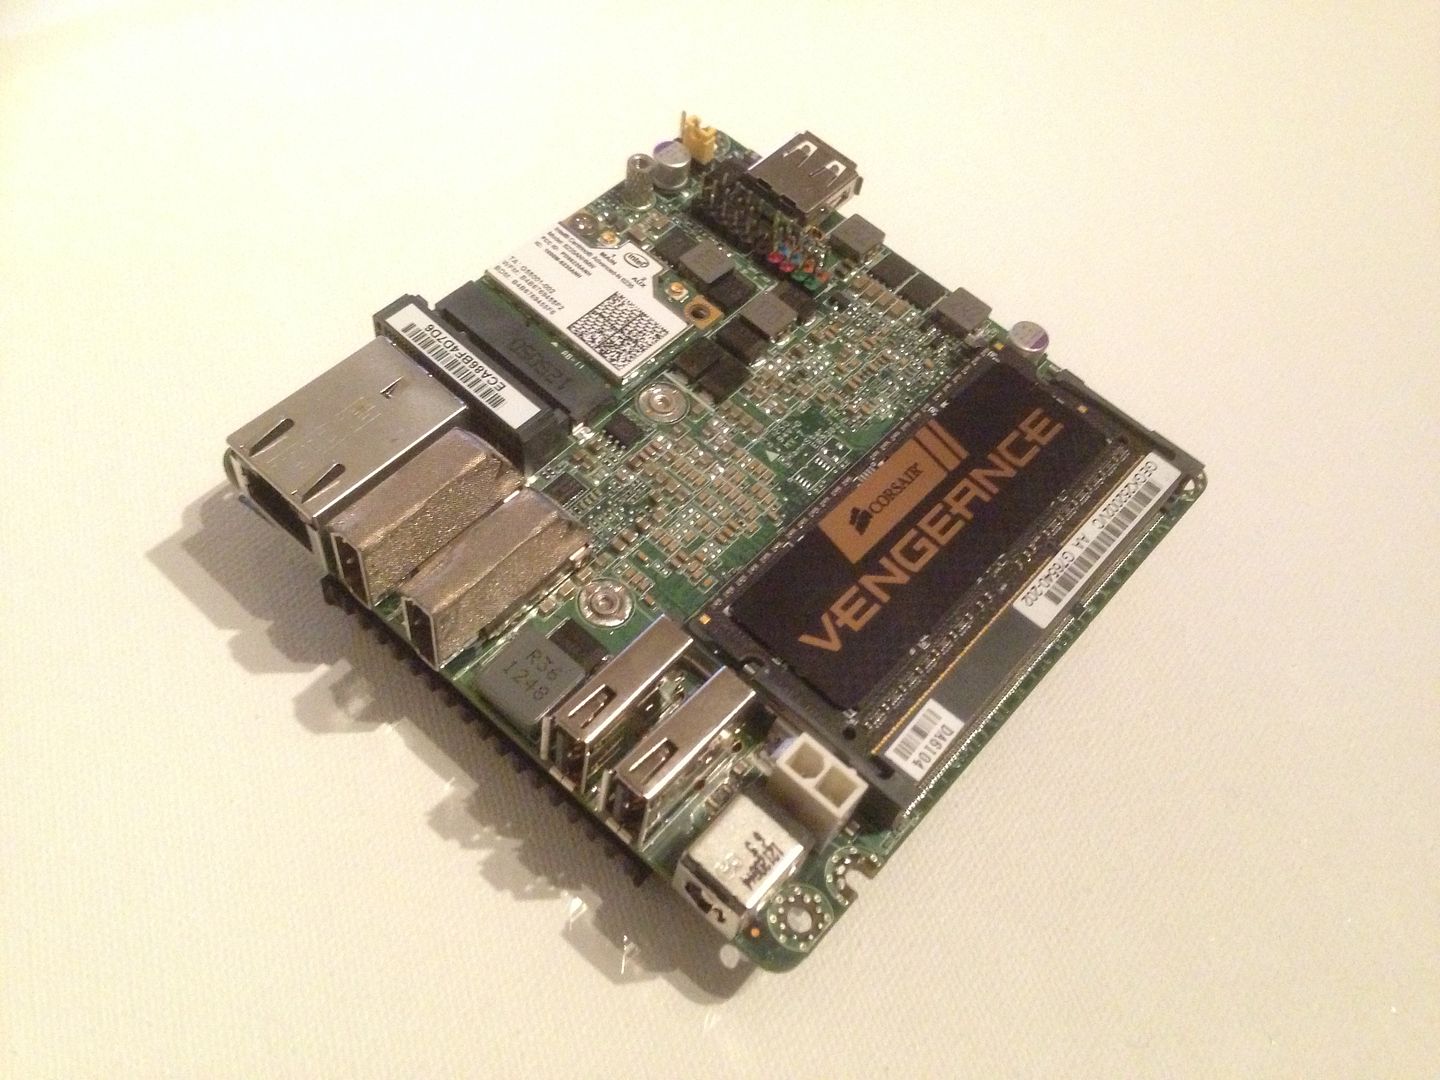
Nuc, 8GB of vengence 1600 ram and a wireless & BT card from Intel
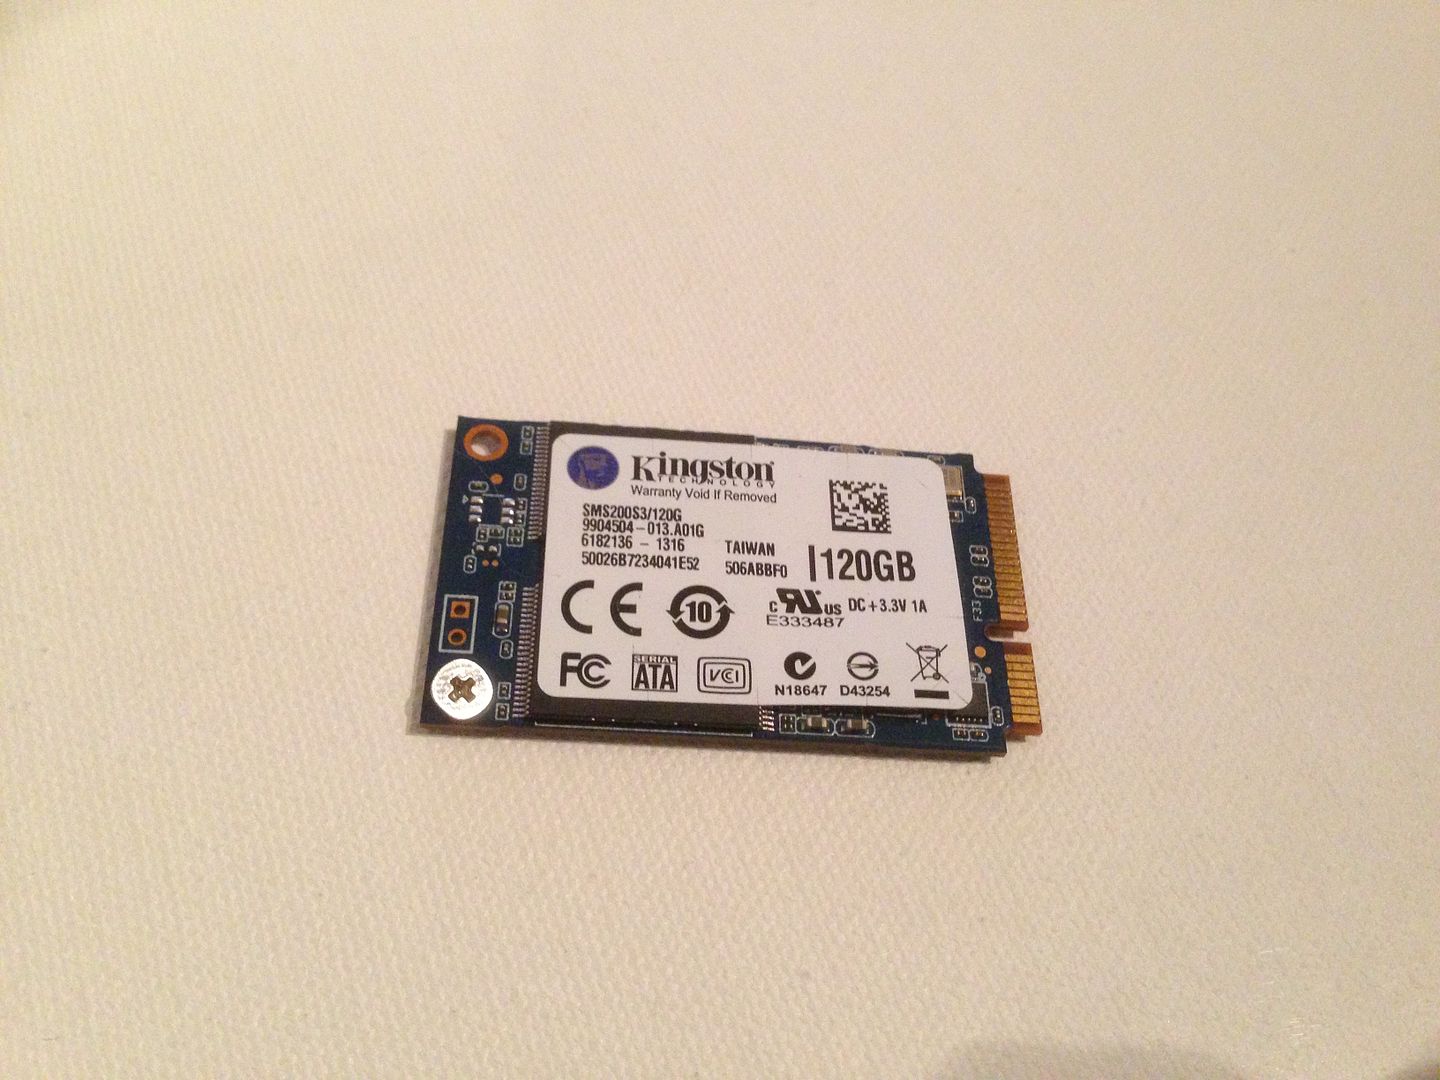
120GB Kingston SSD
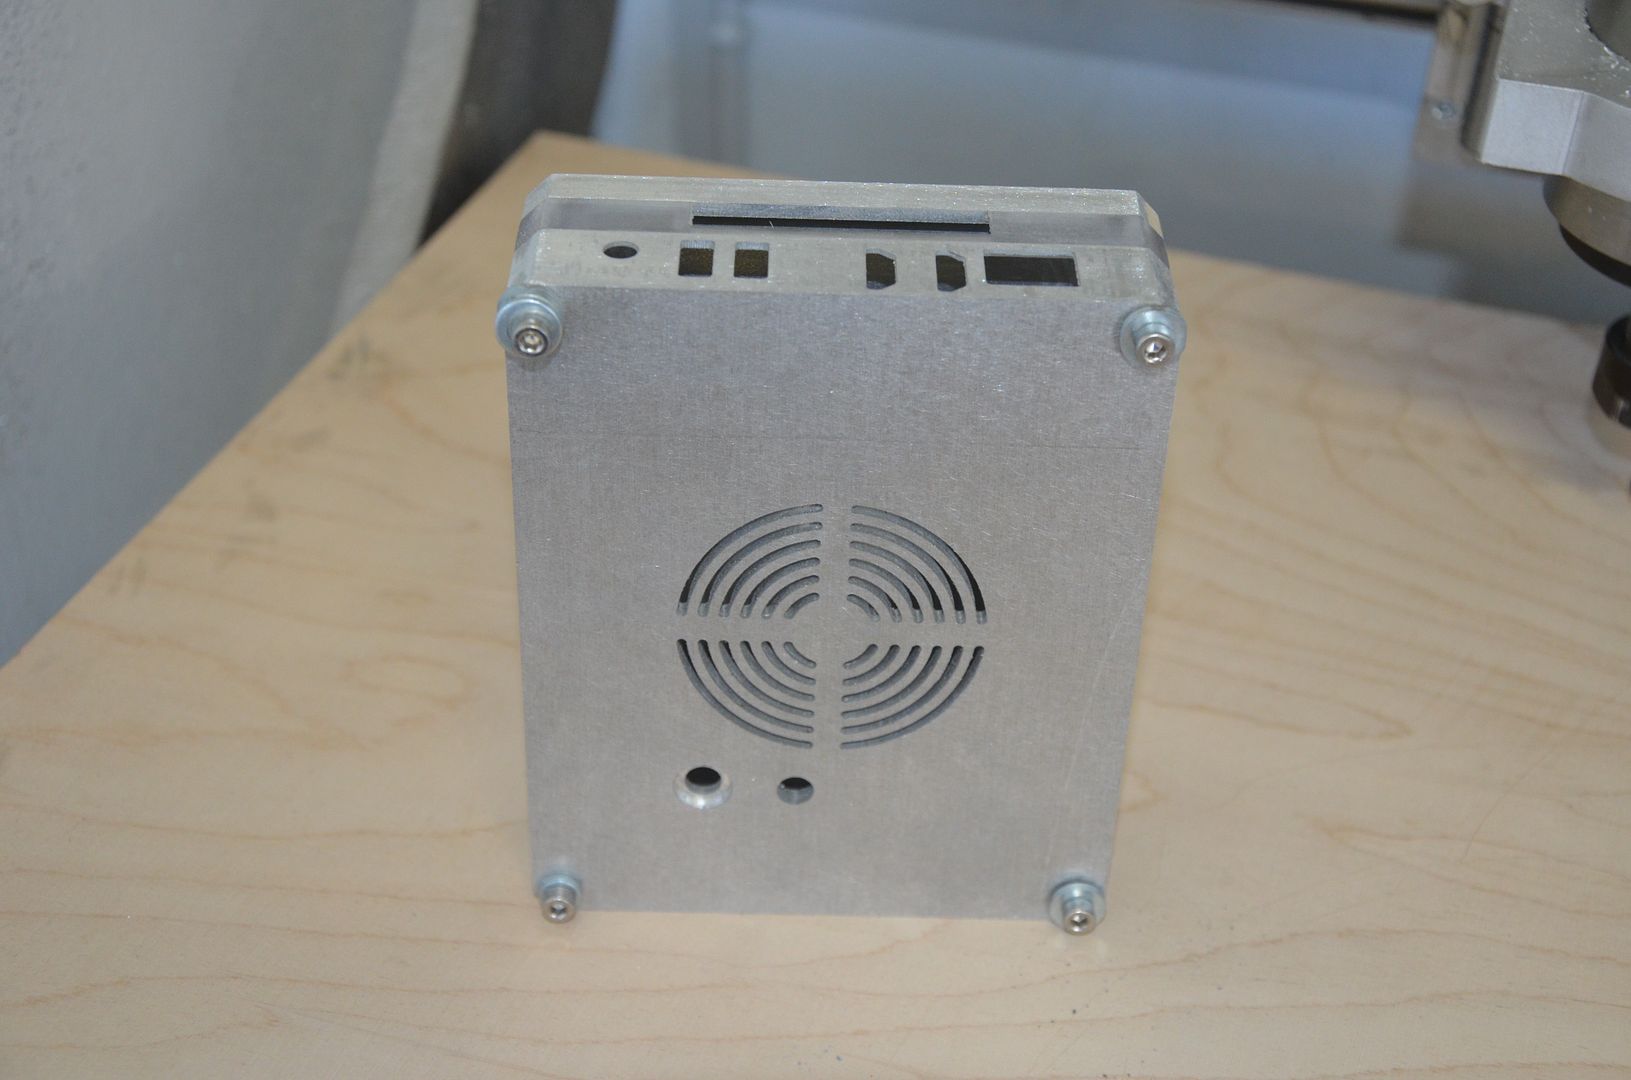
Now that that is over lets start with the build pictures
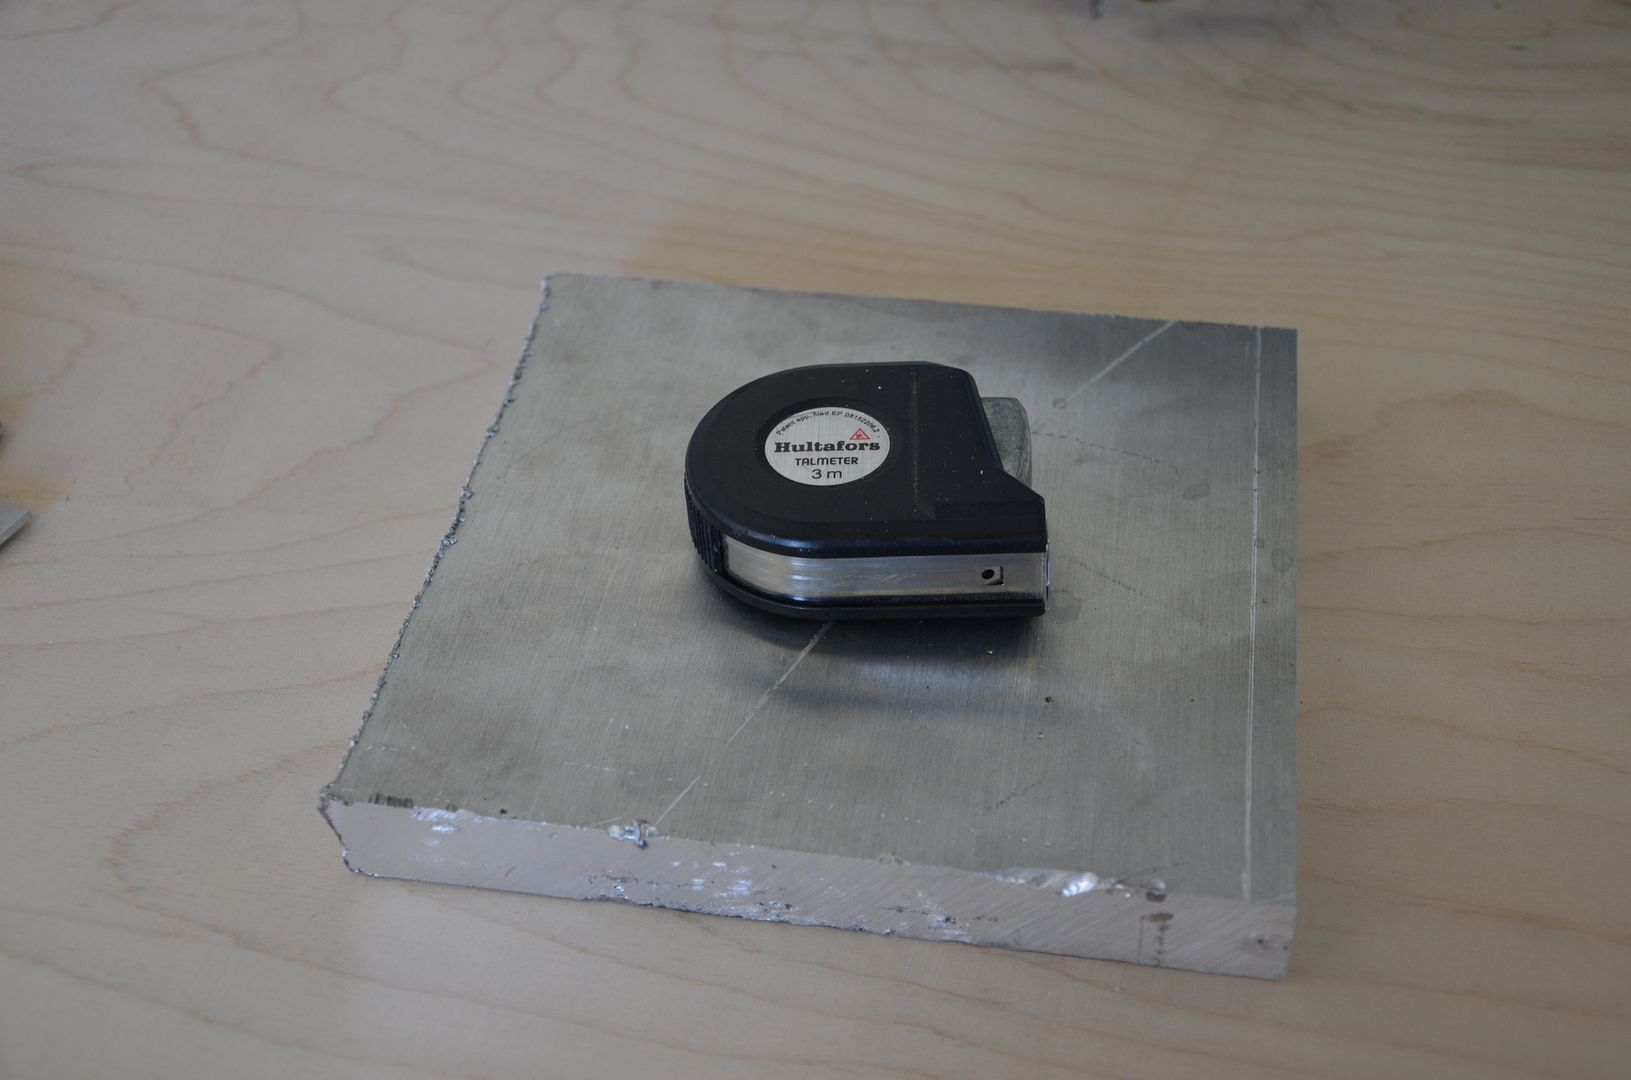
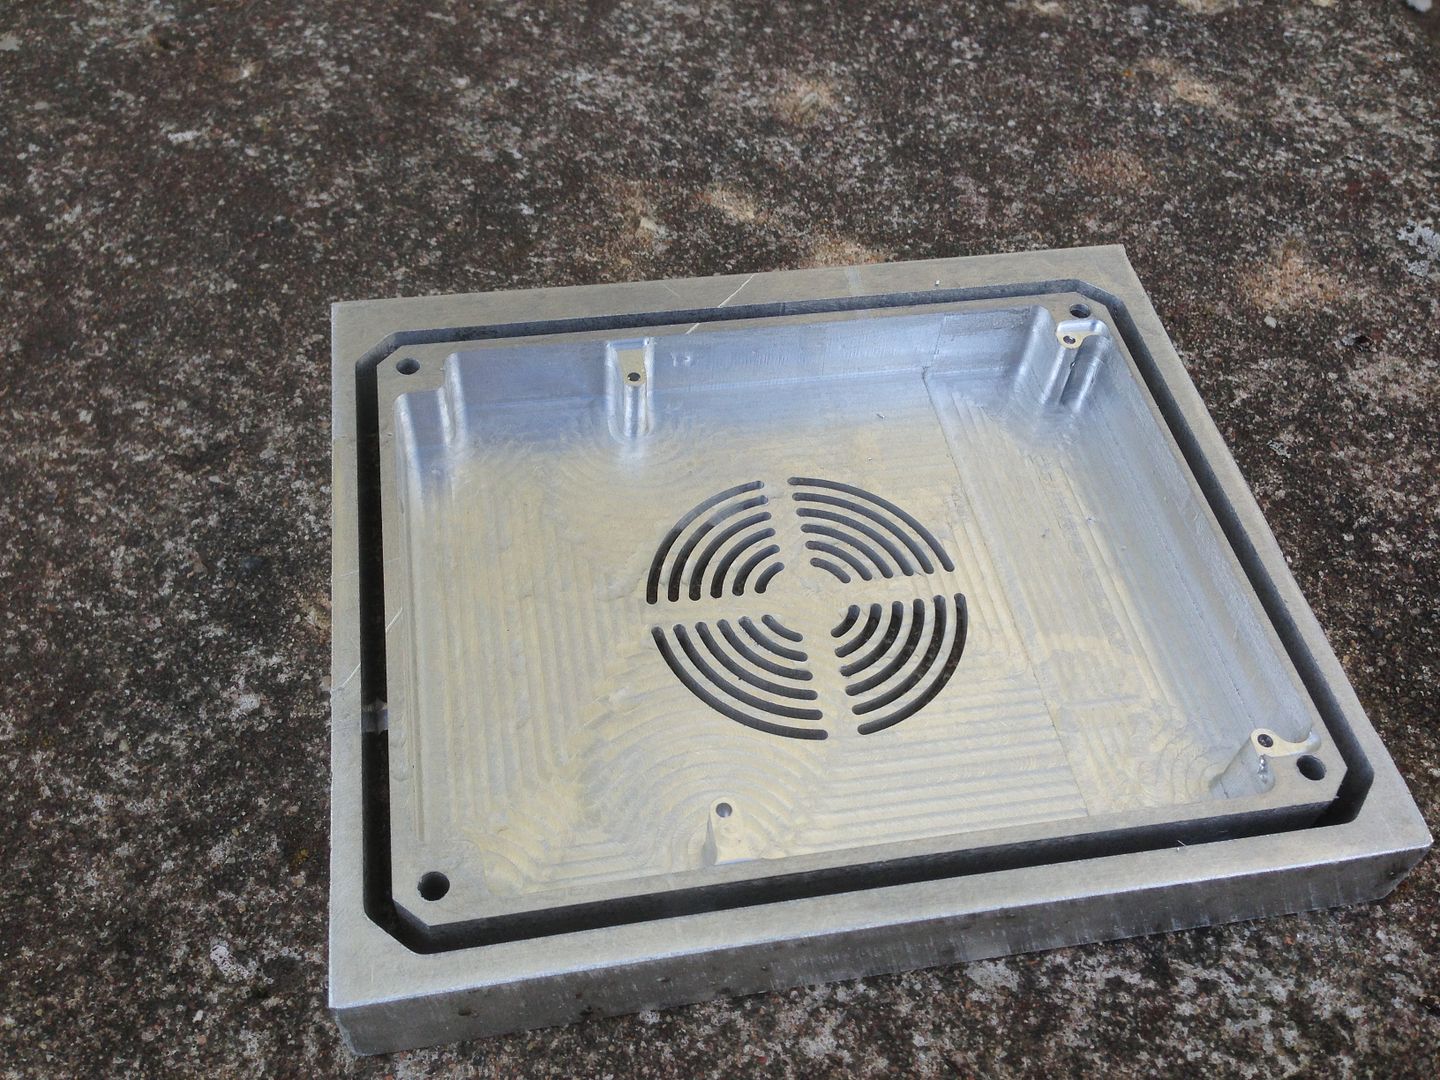
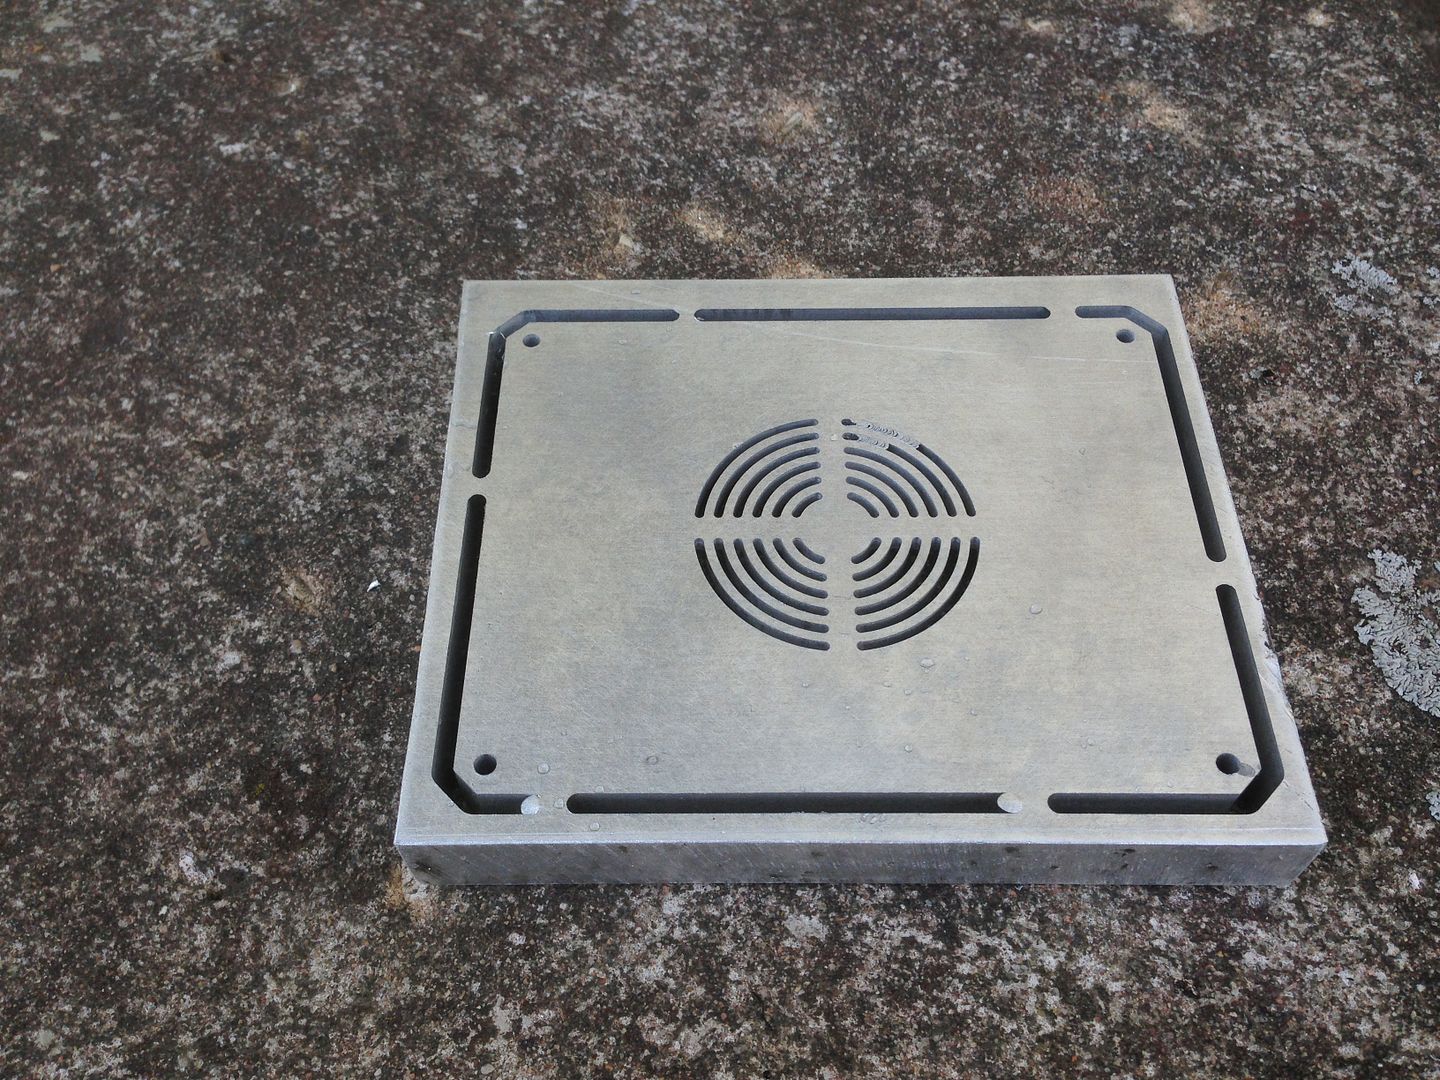
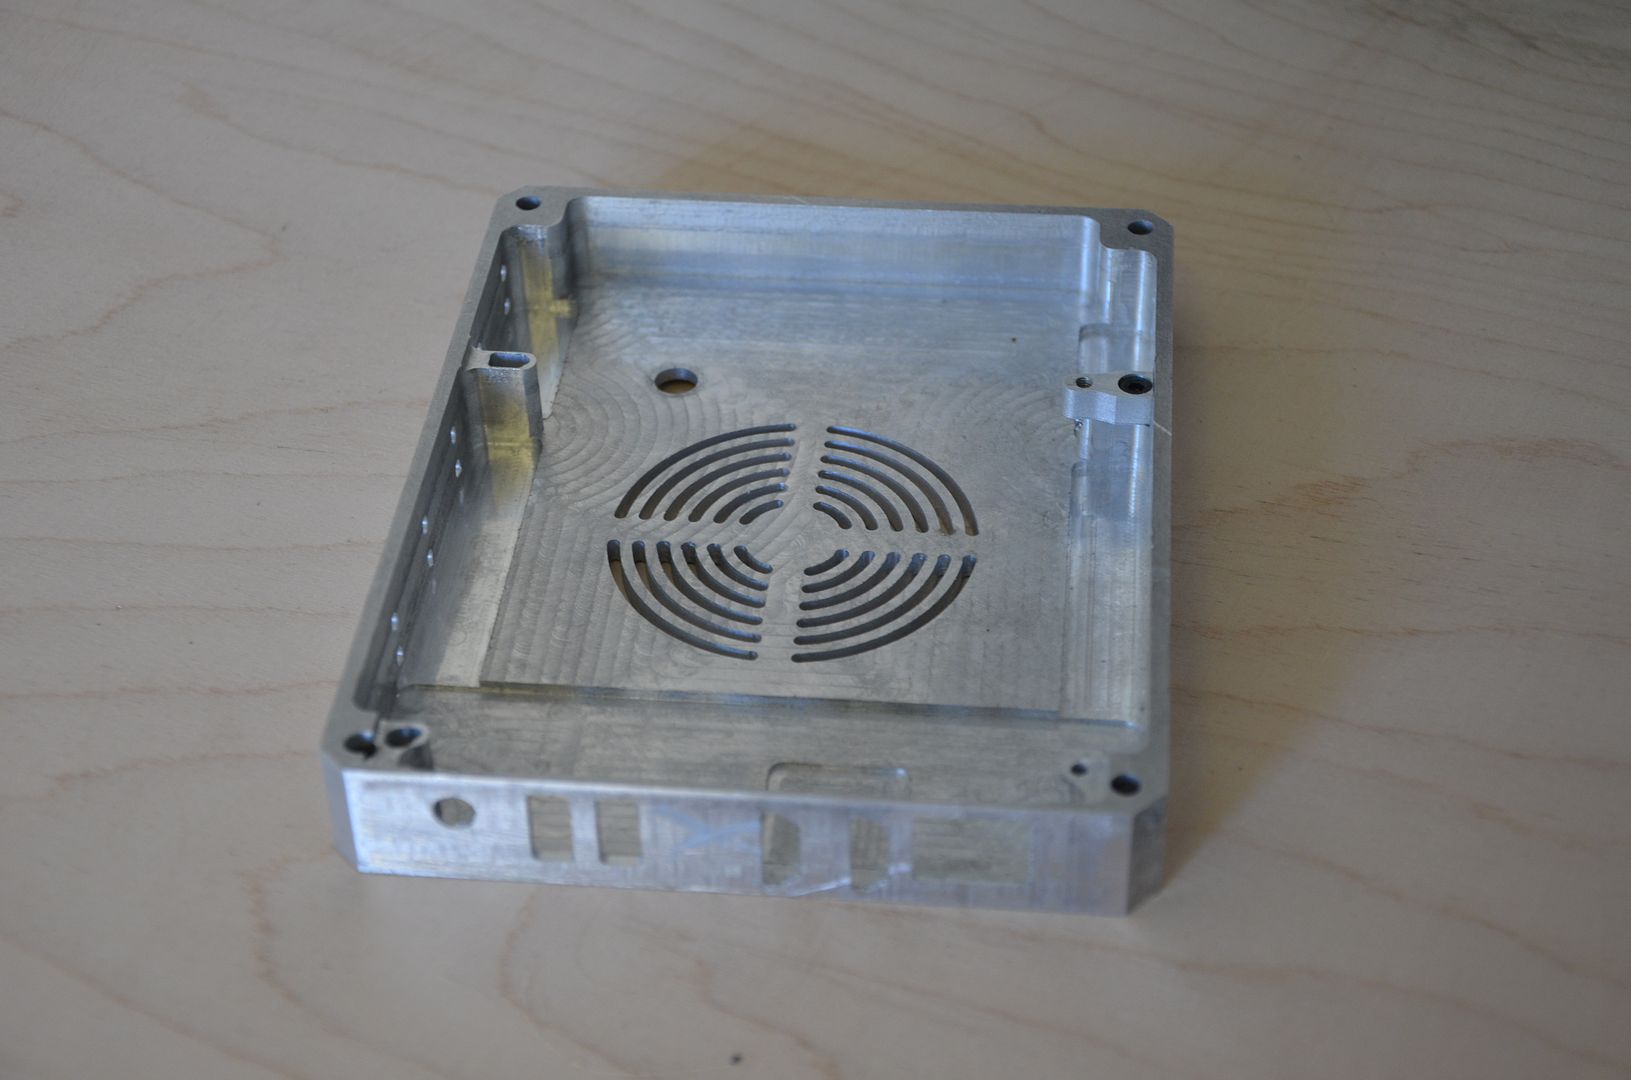
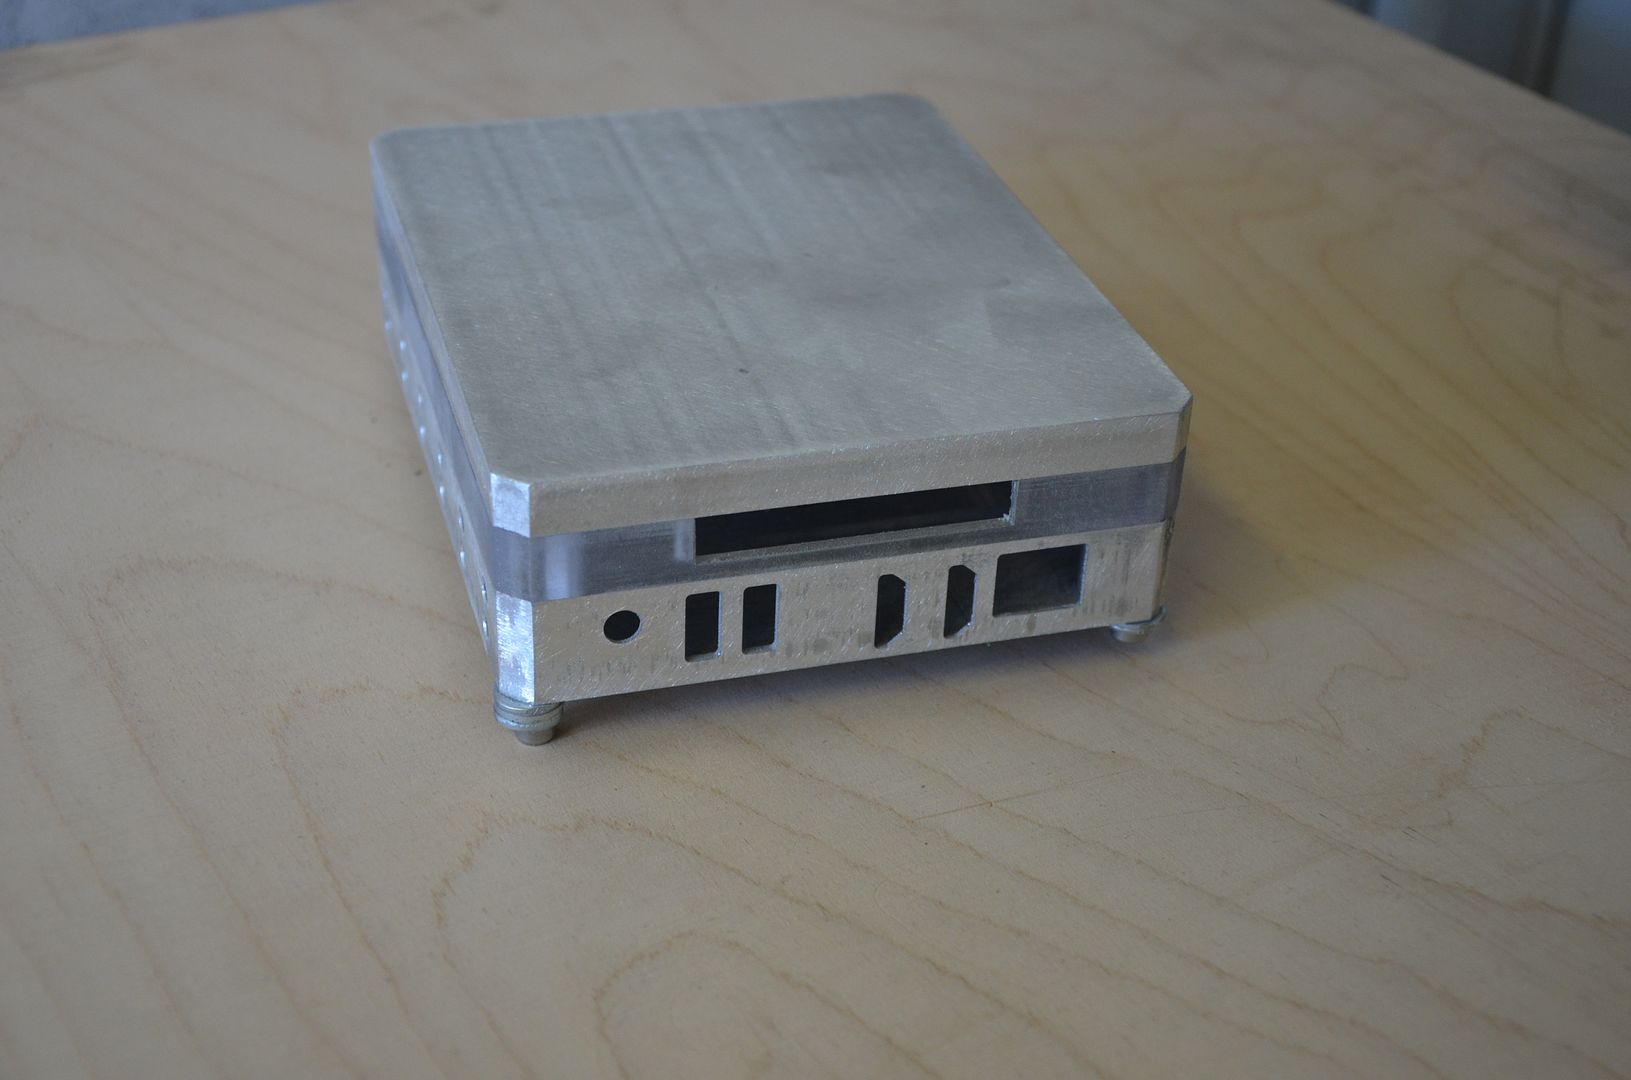
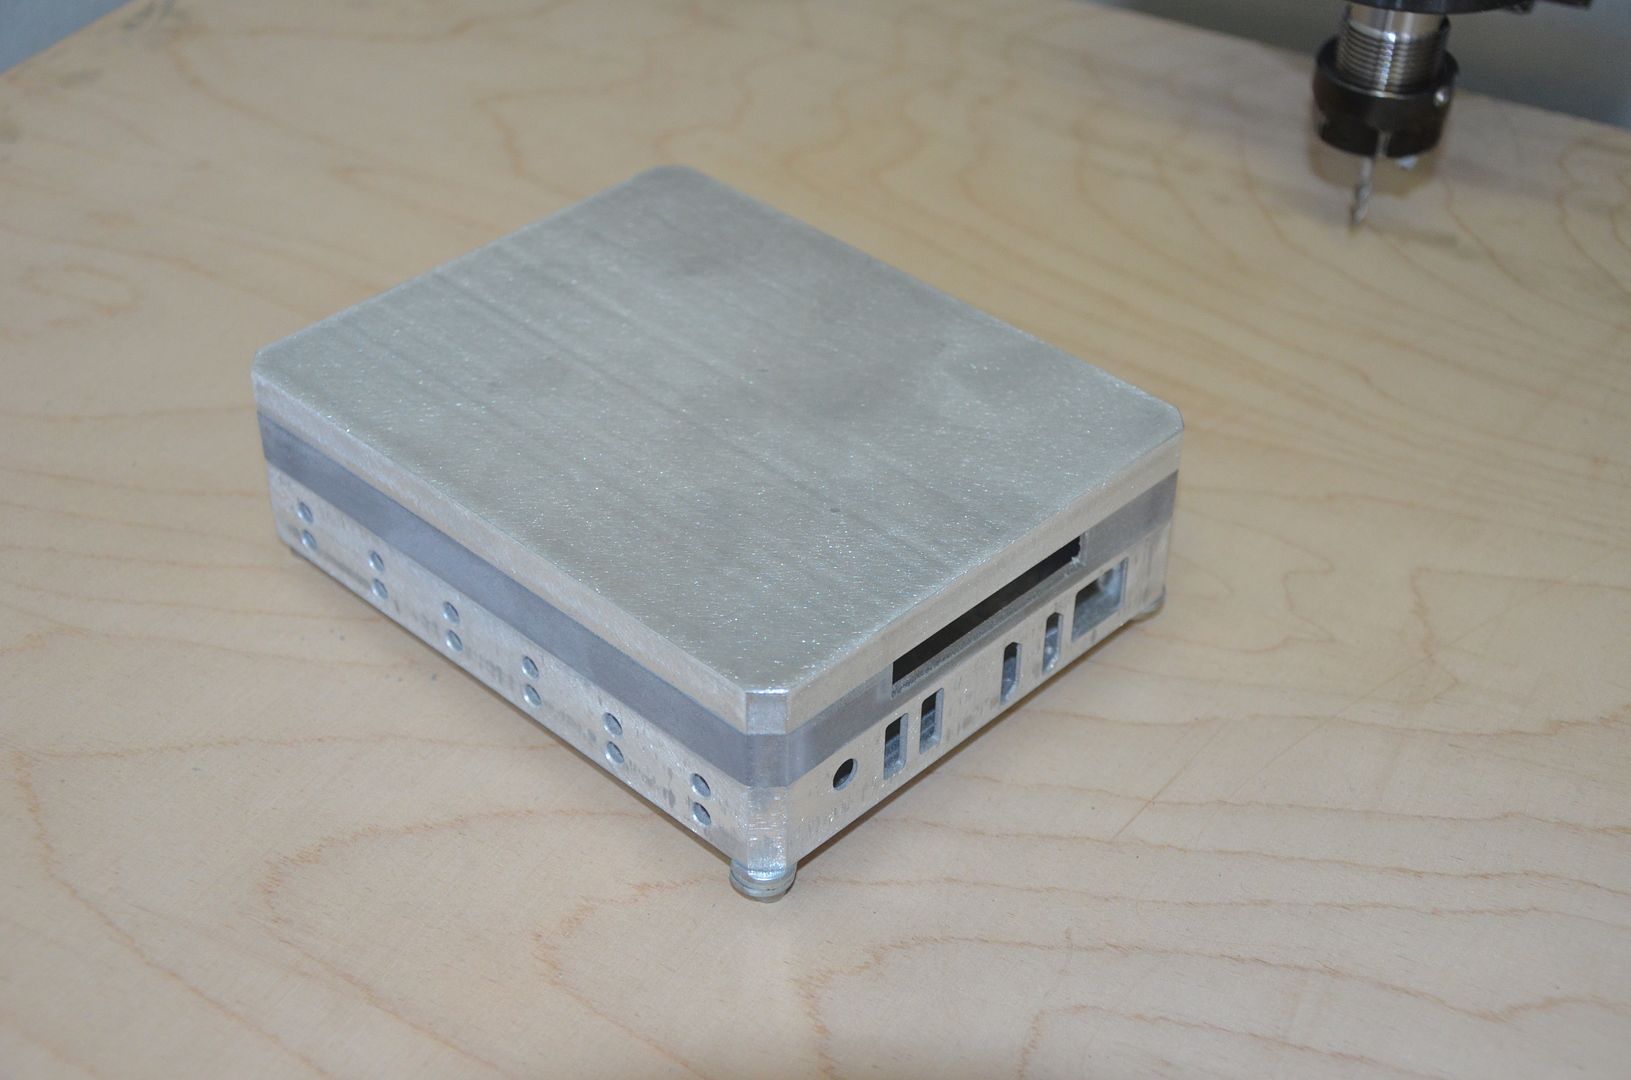
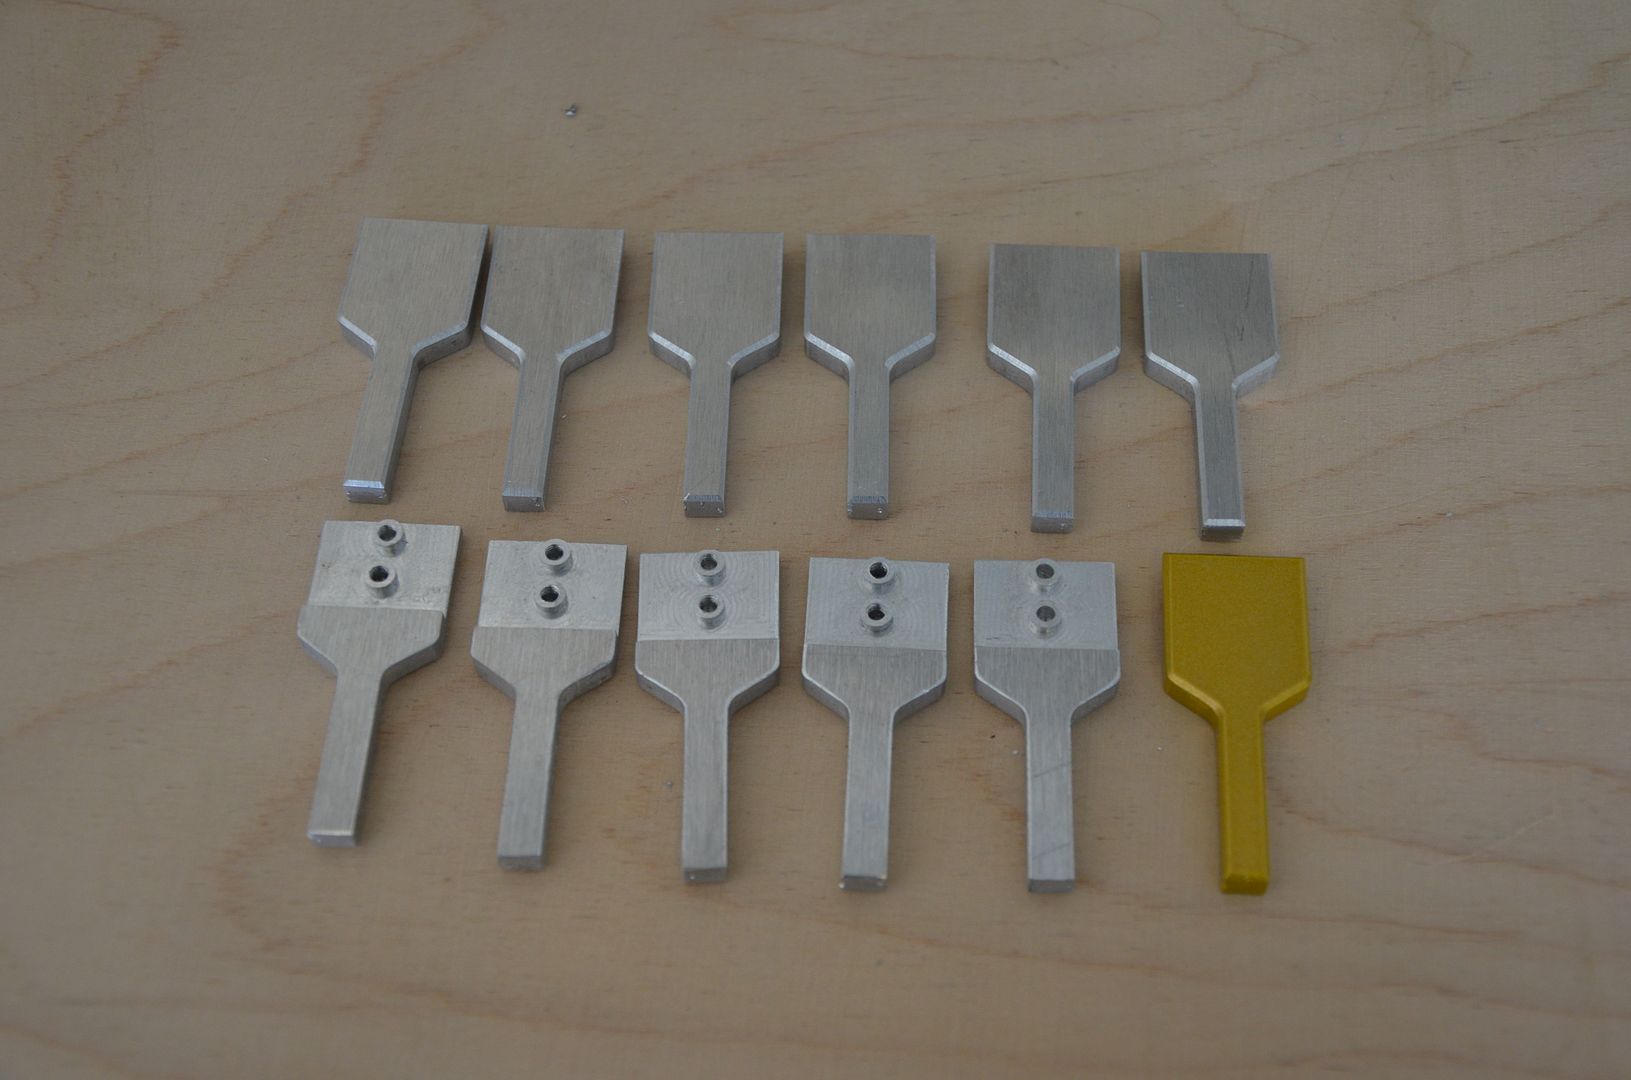
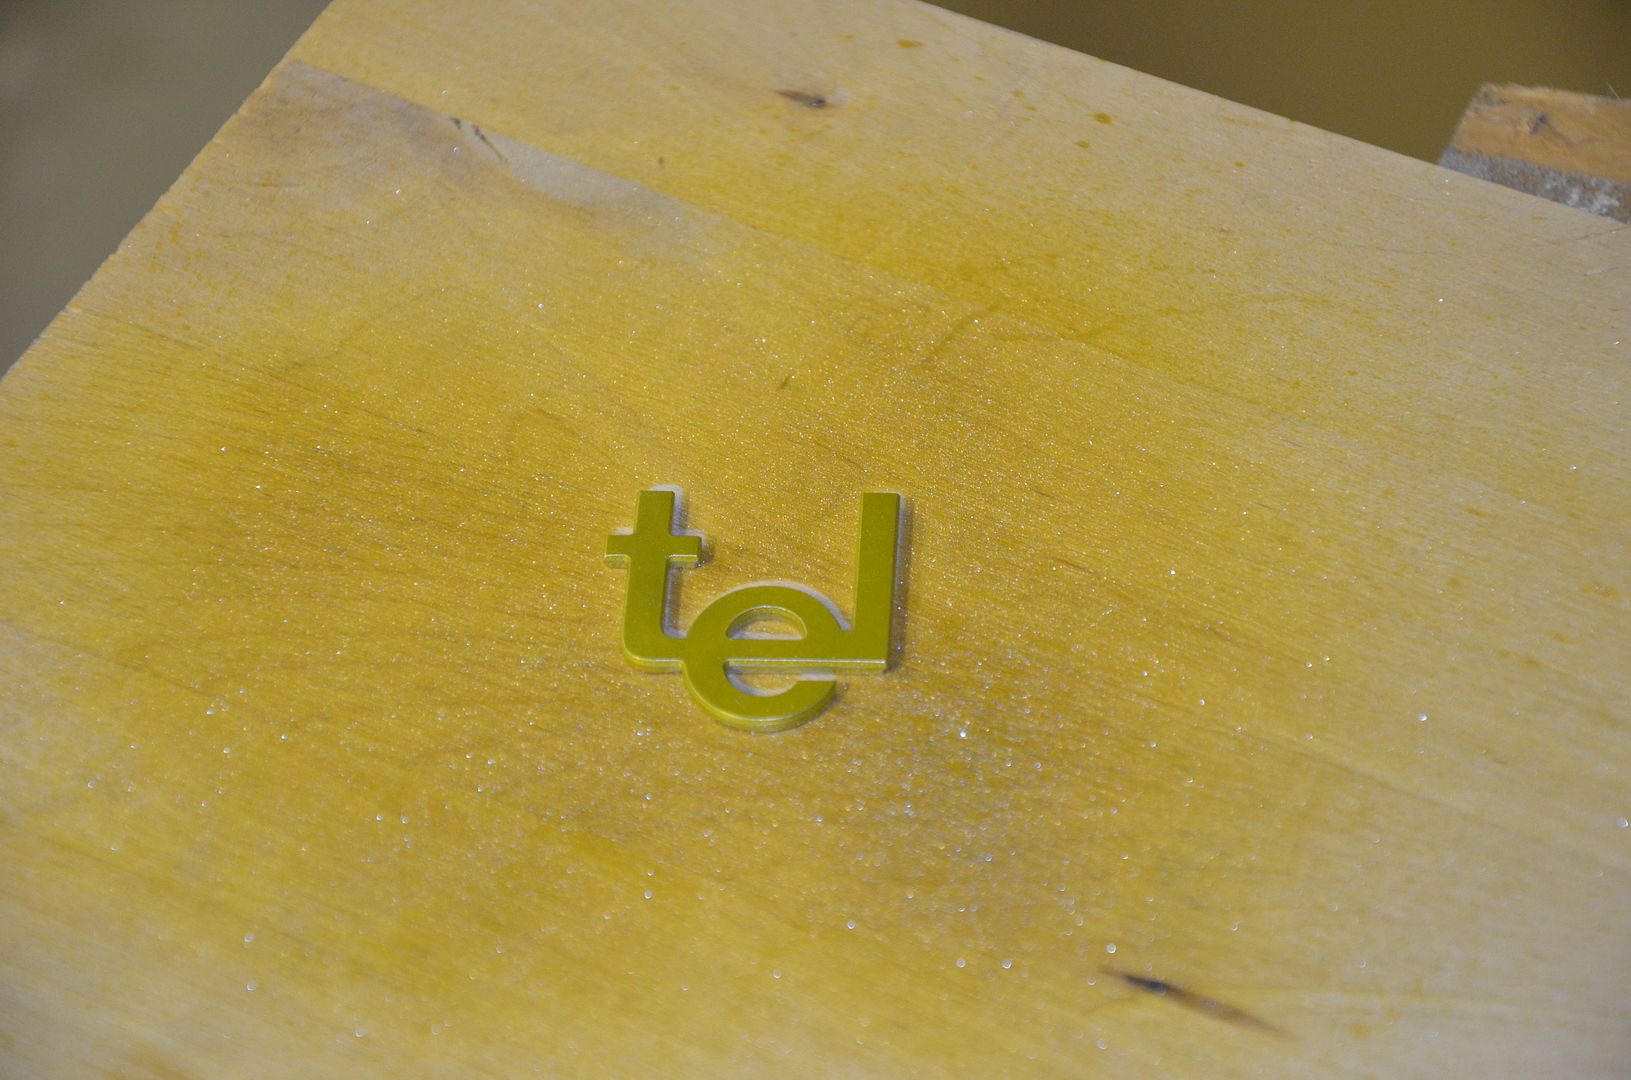
200x200x20mm piece of aluminum cut with a circular saw, worked a lot better than i thought it would.
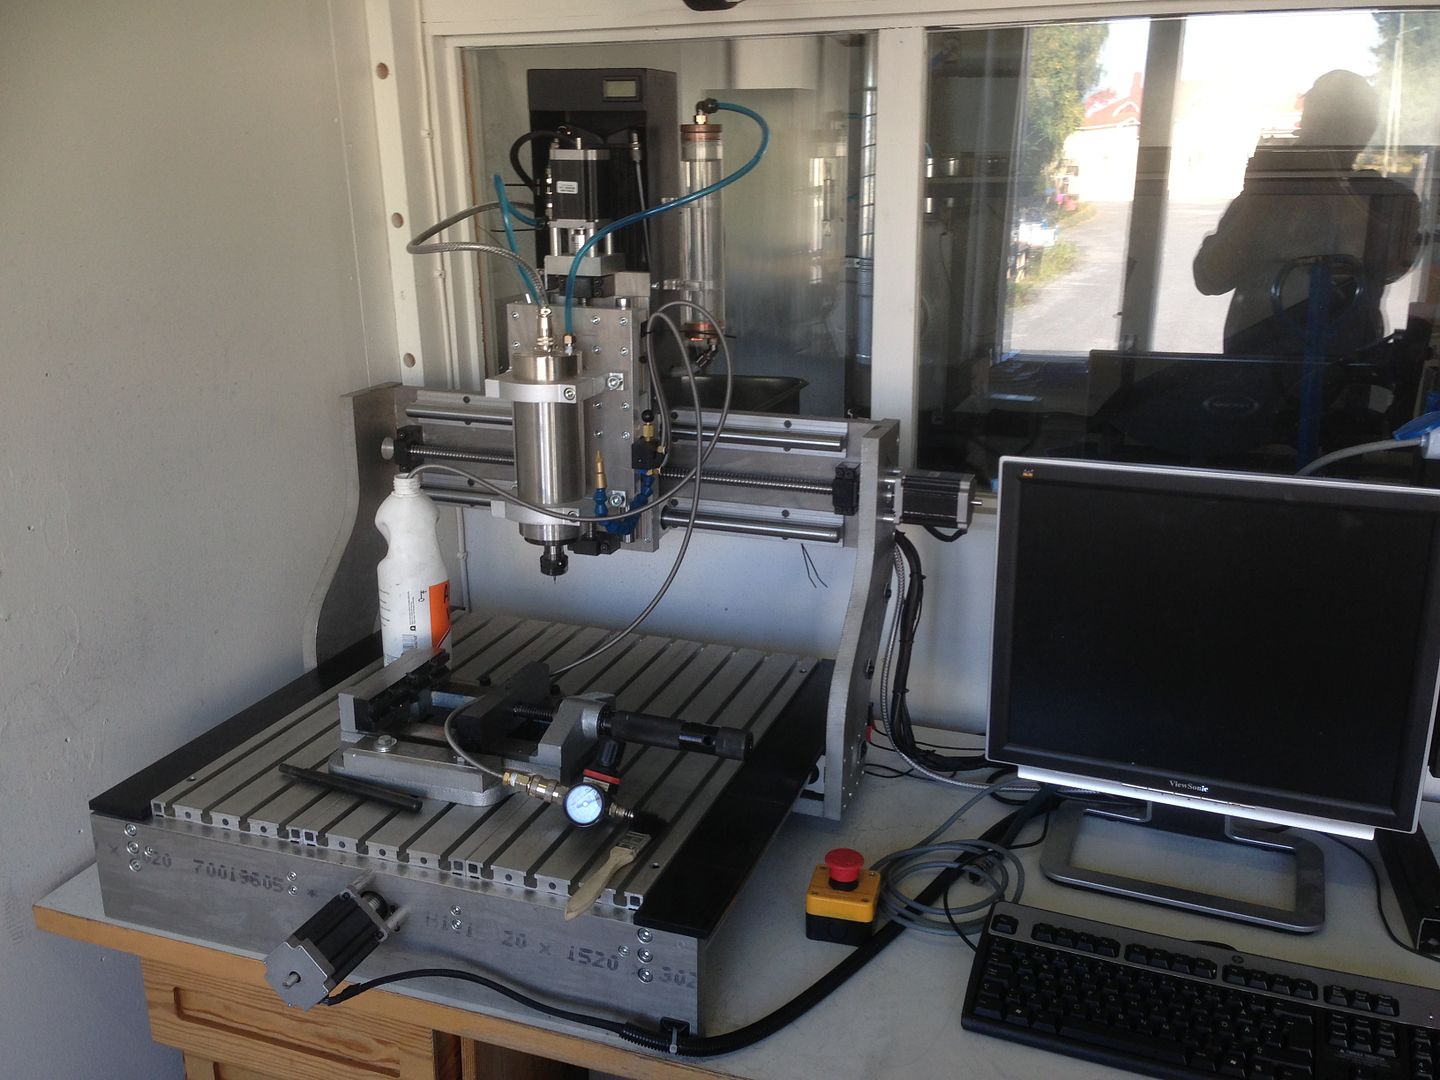
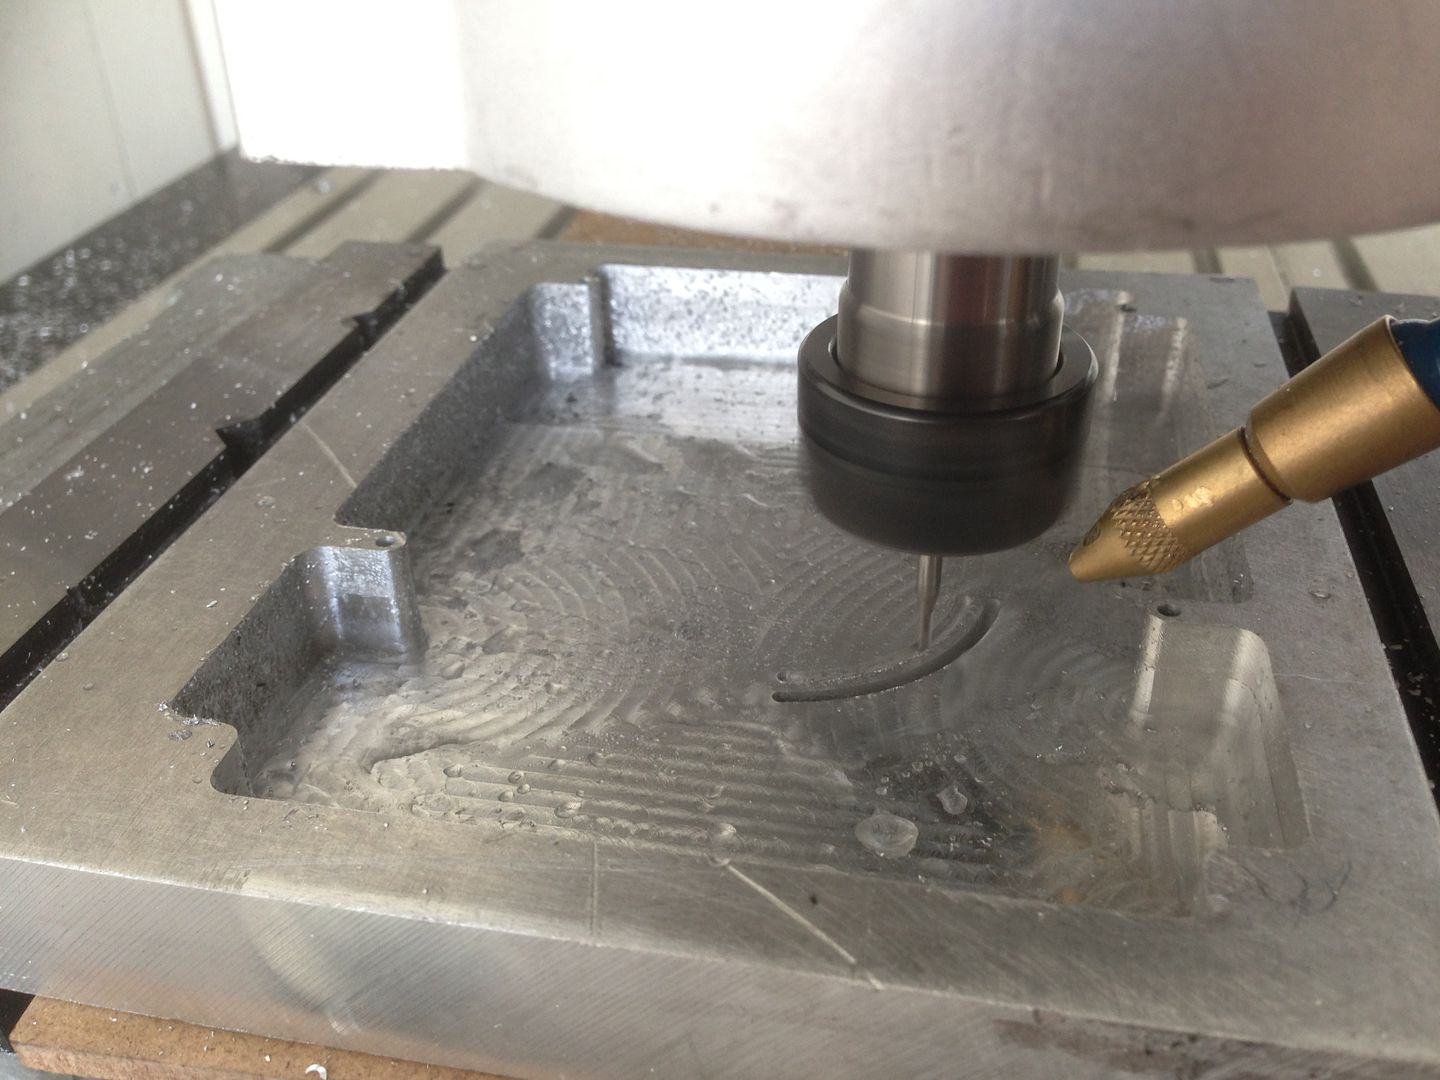
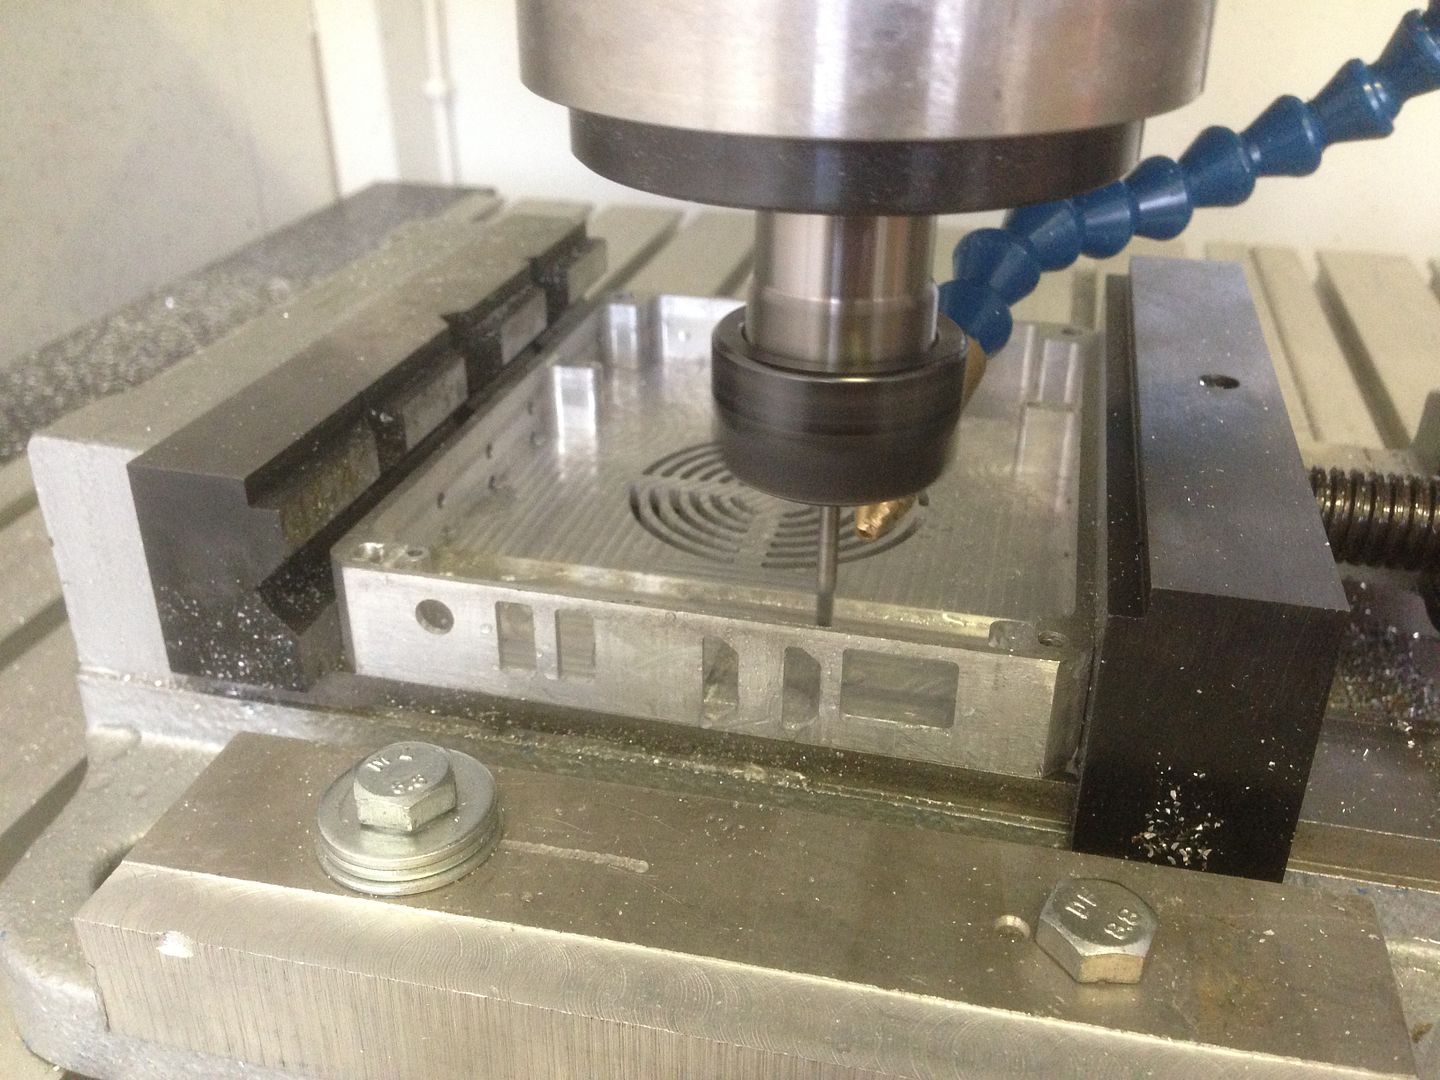
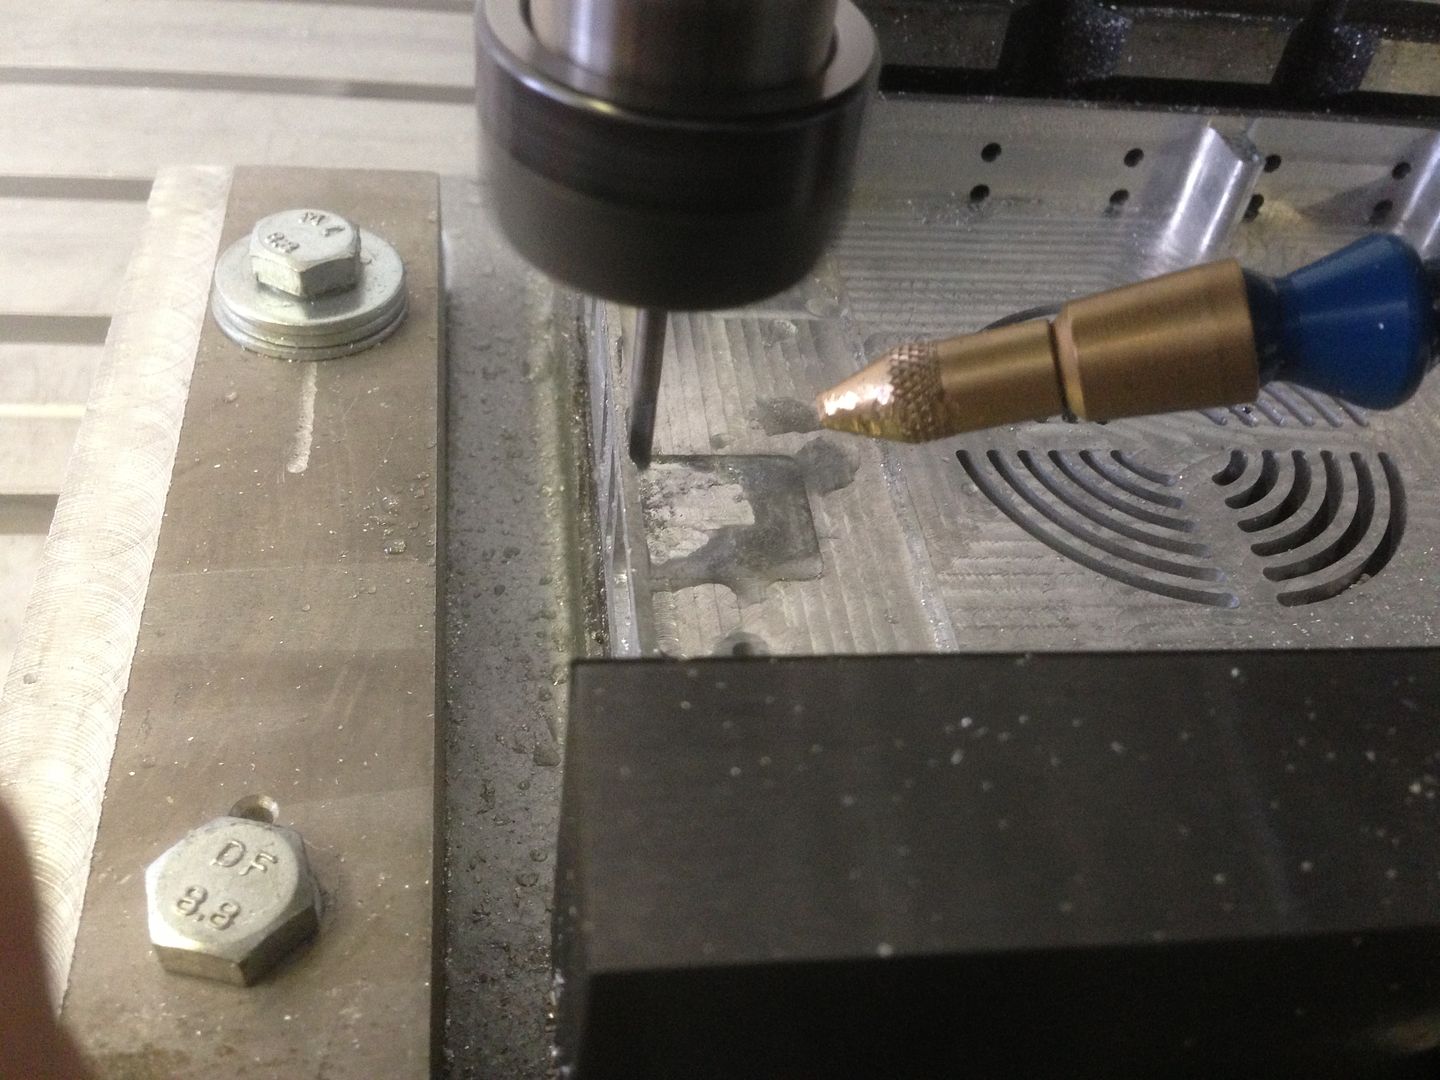
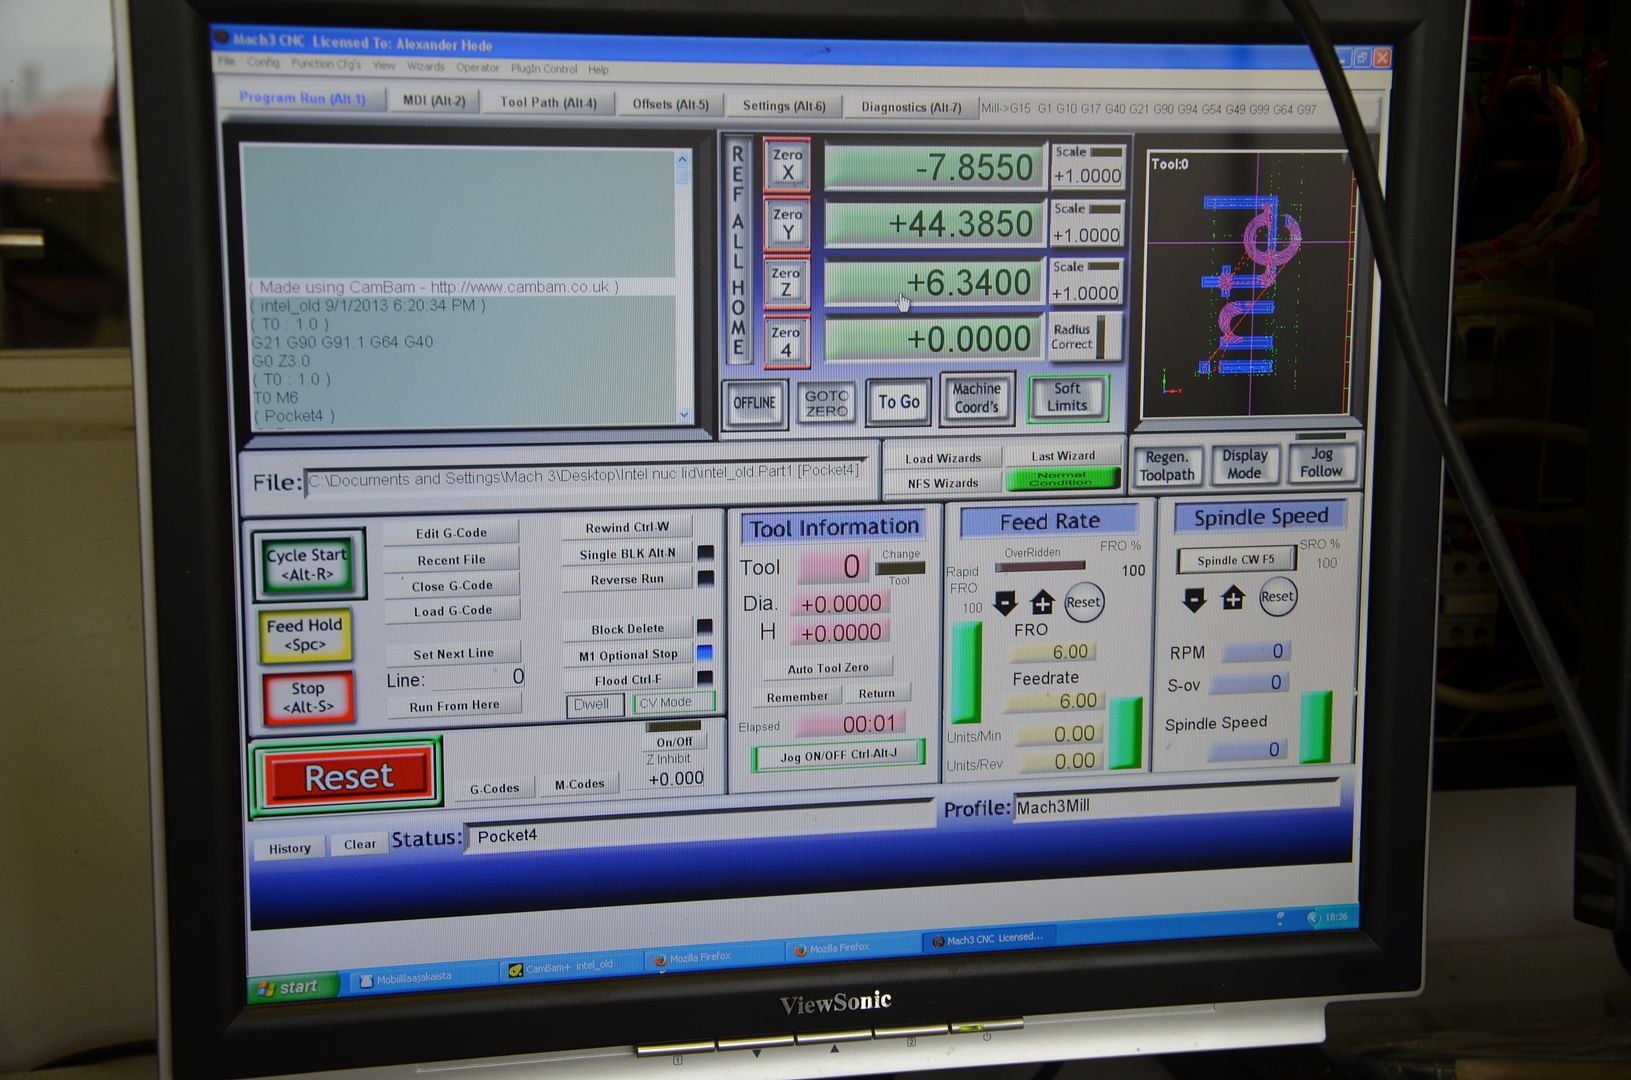
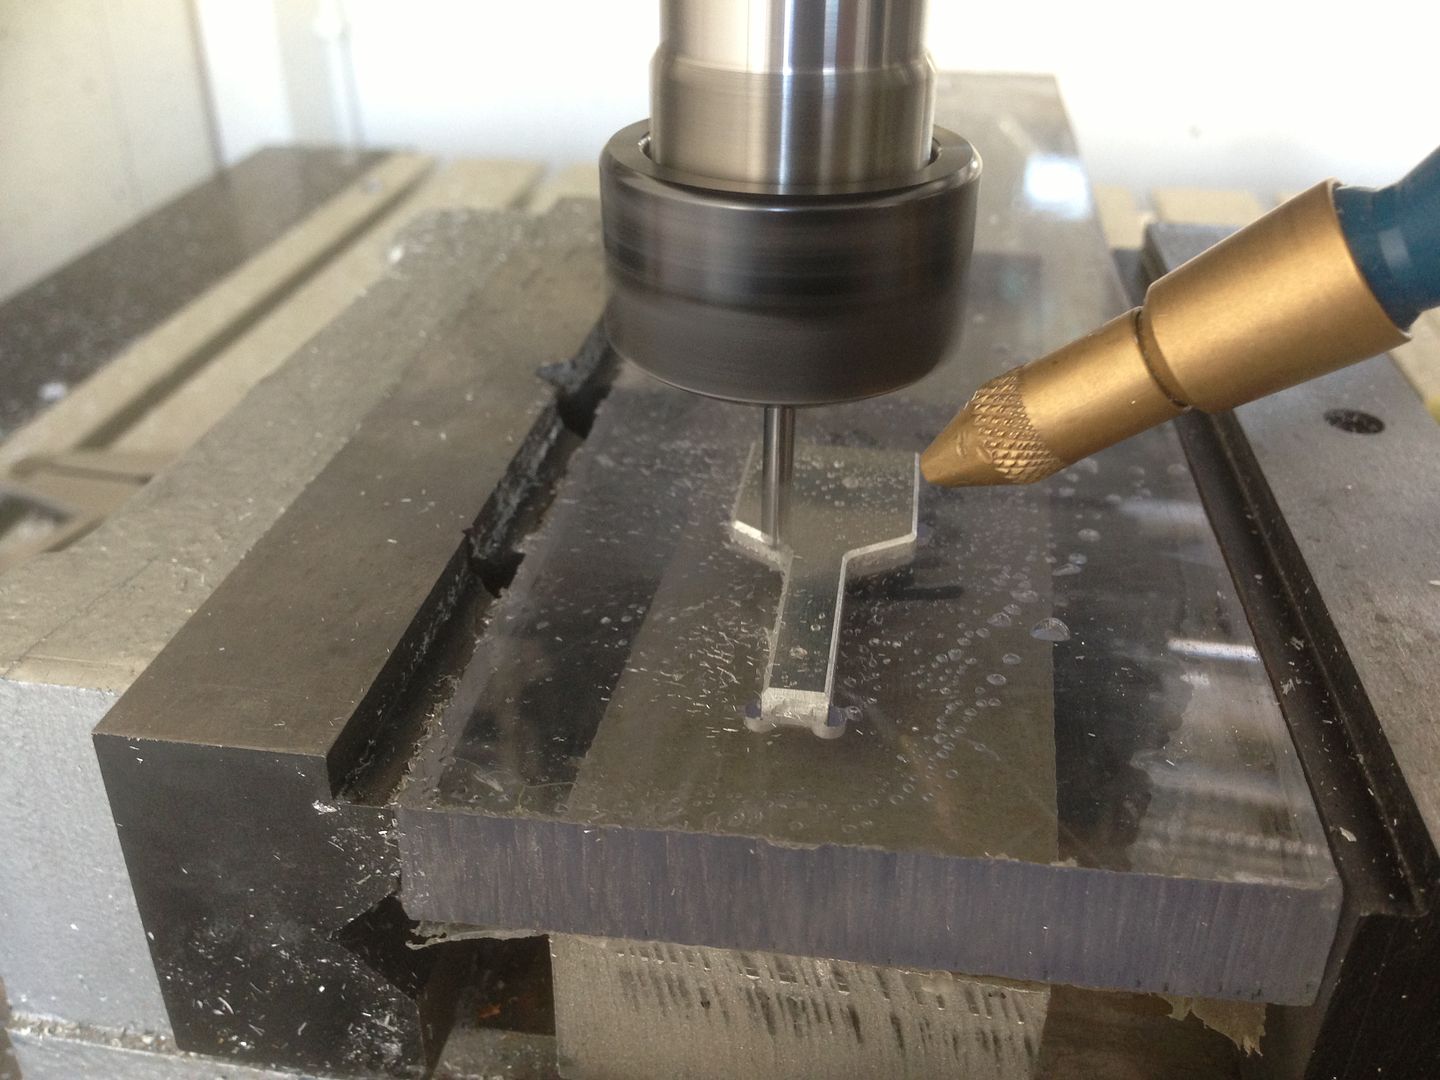
As i recently finished upgrading my homebuilt CNC mill/router i thought i would put it to the test during this build
The Mill
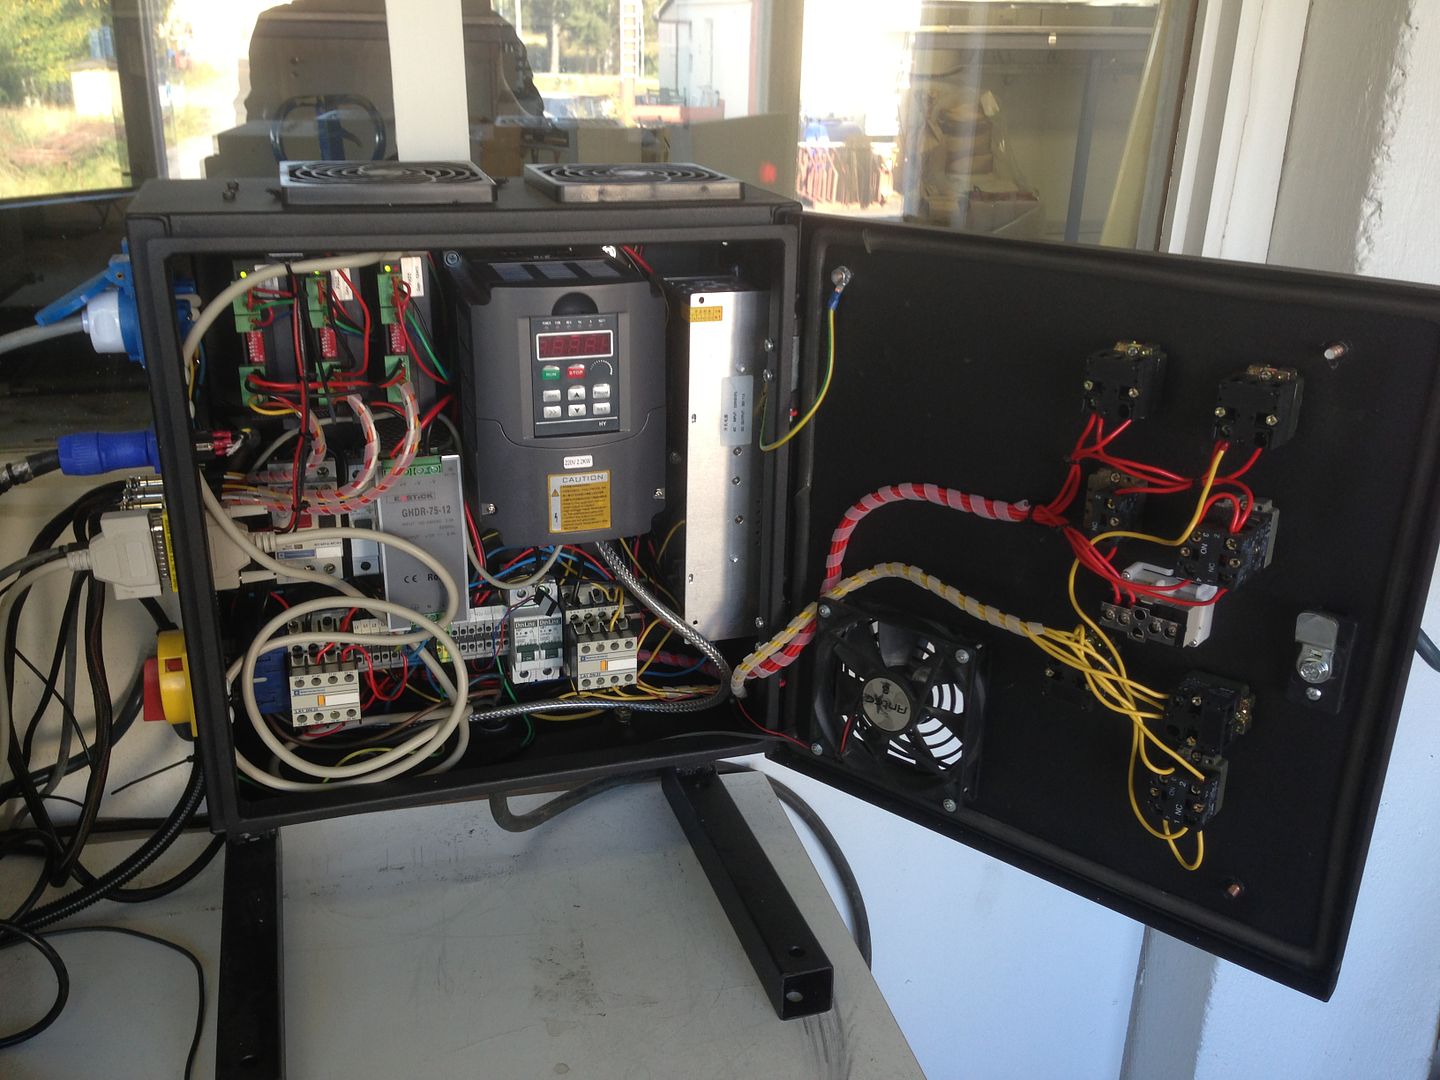
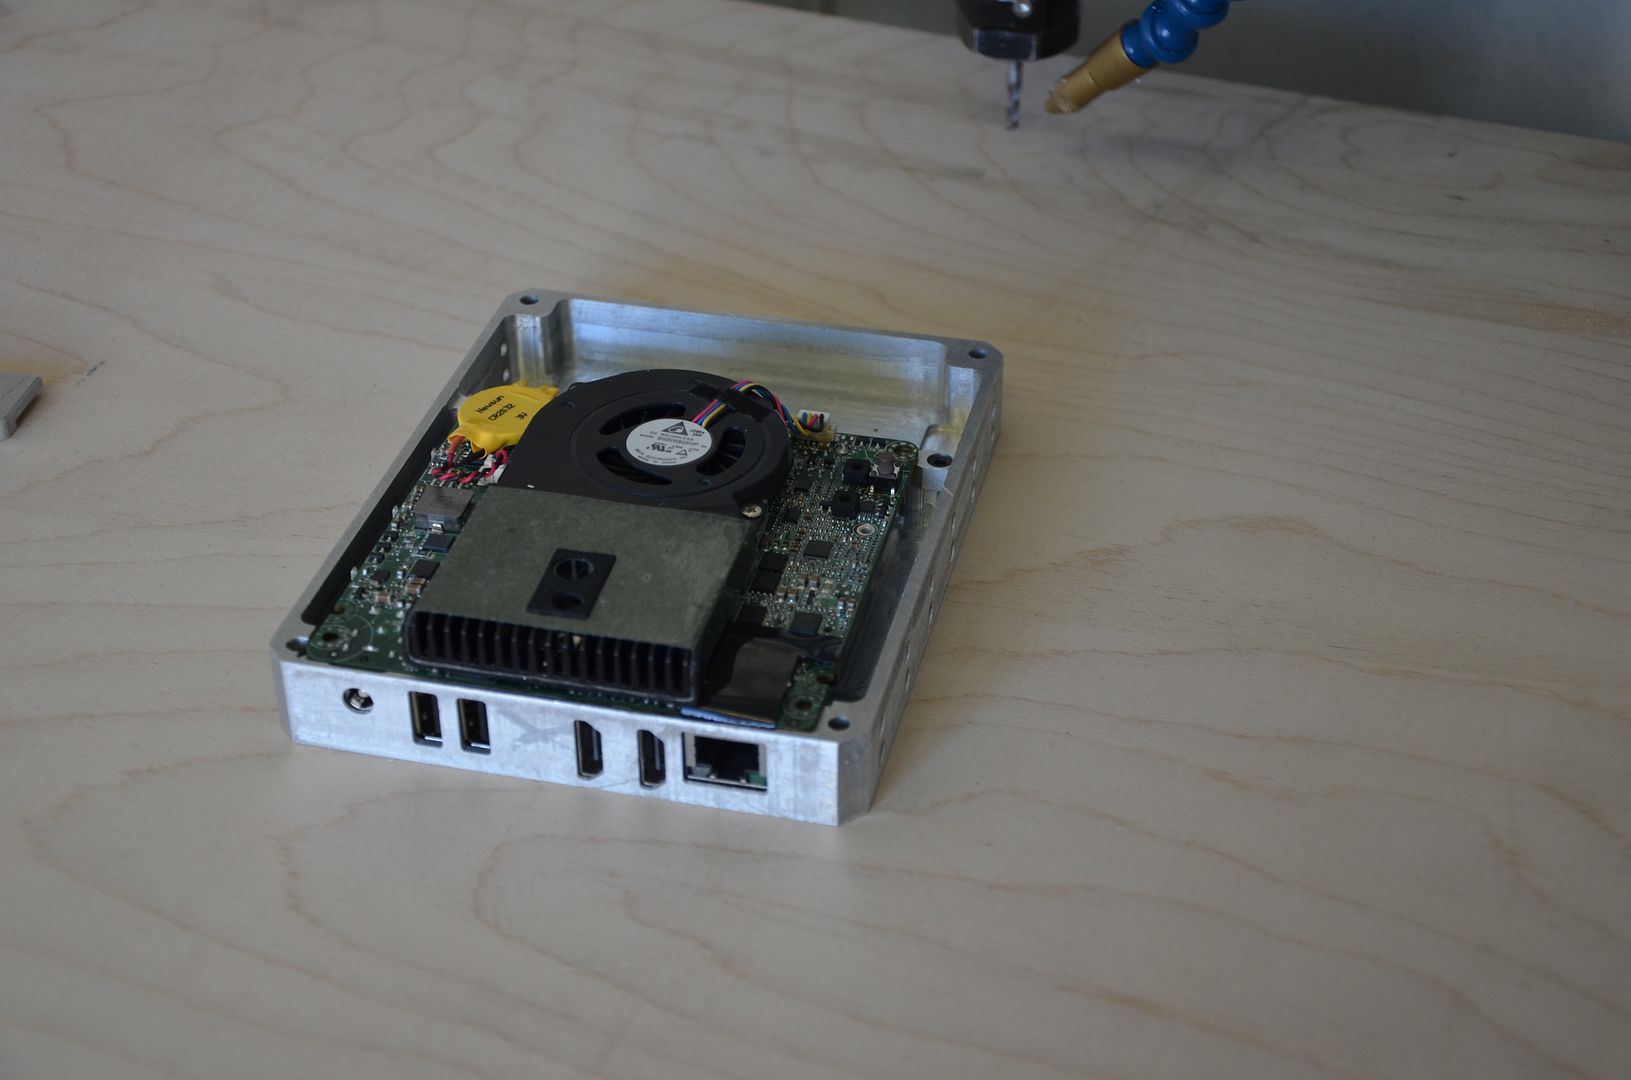
Took me a while with the electronics since im no electrician and don't have a lot of skills with it, luckily no smoke
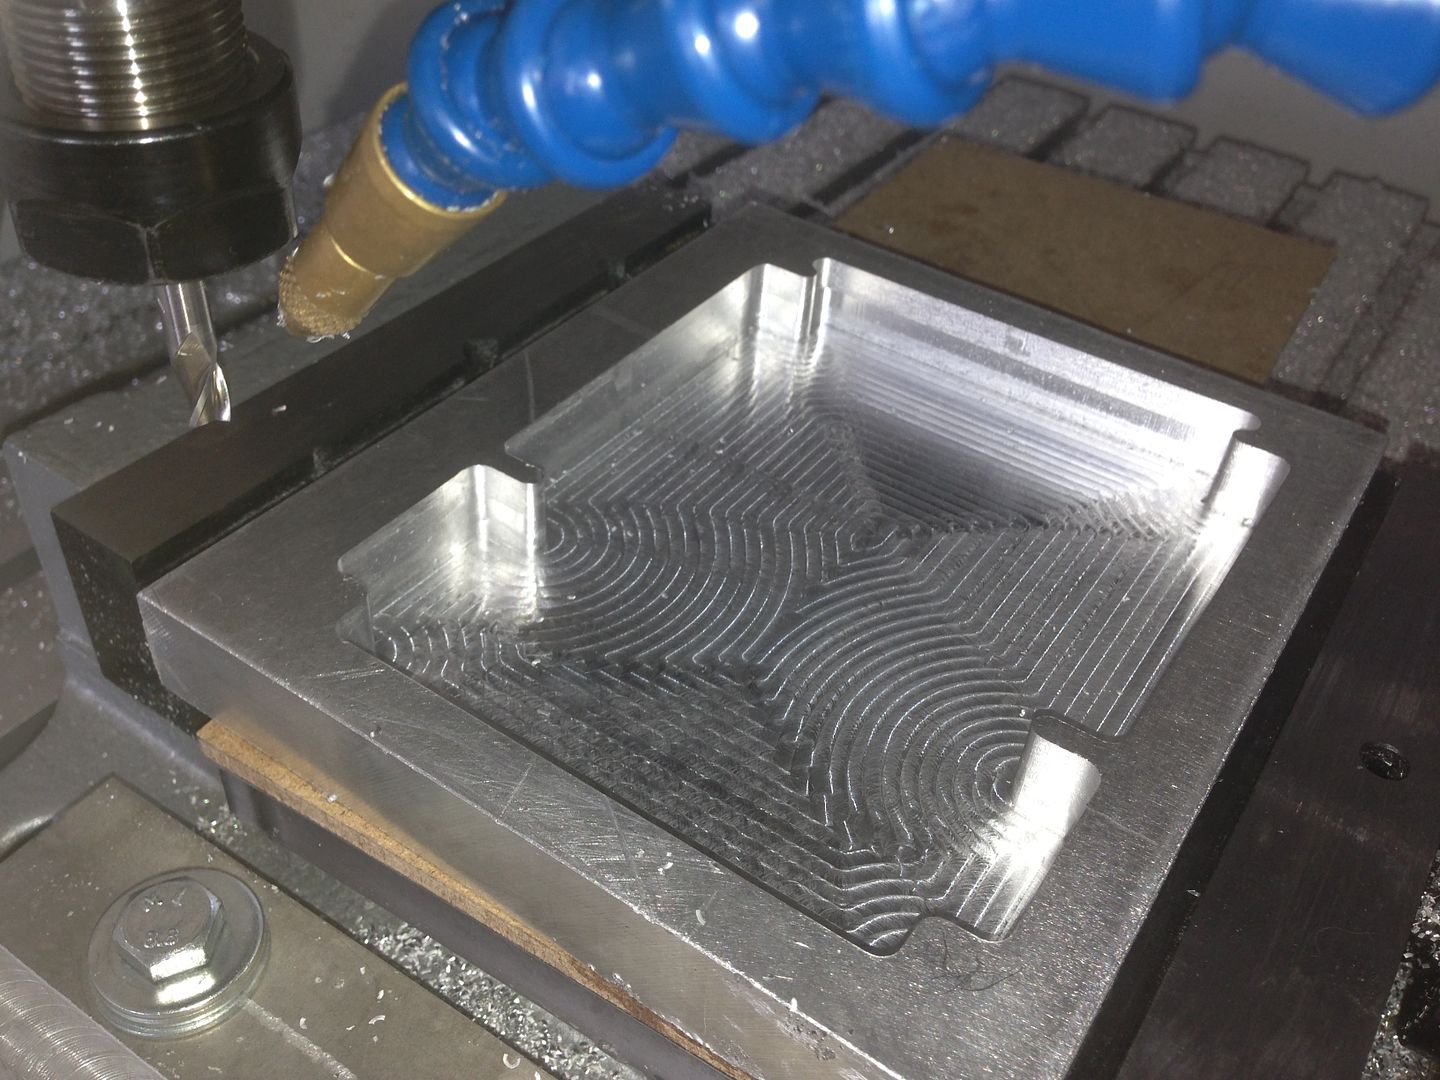
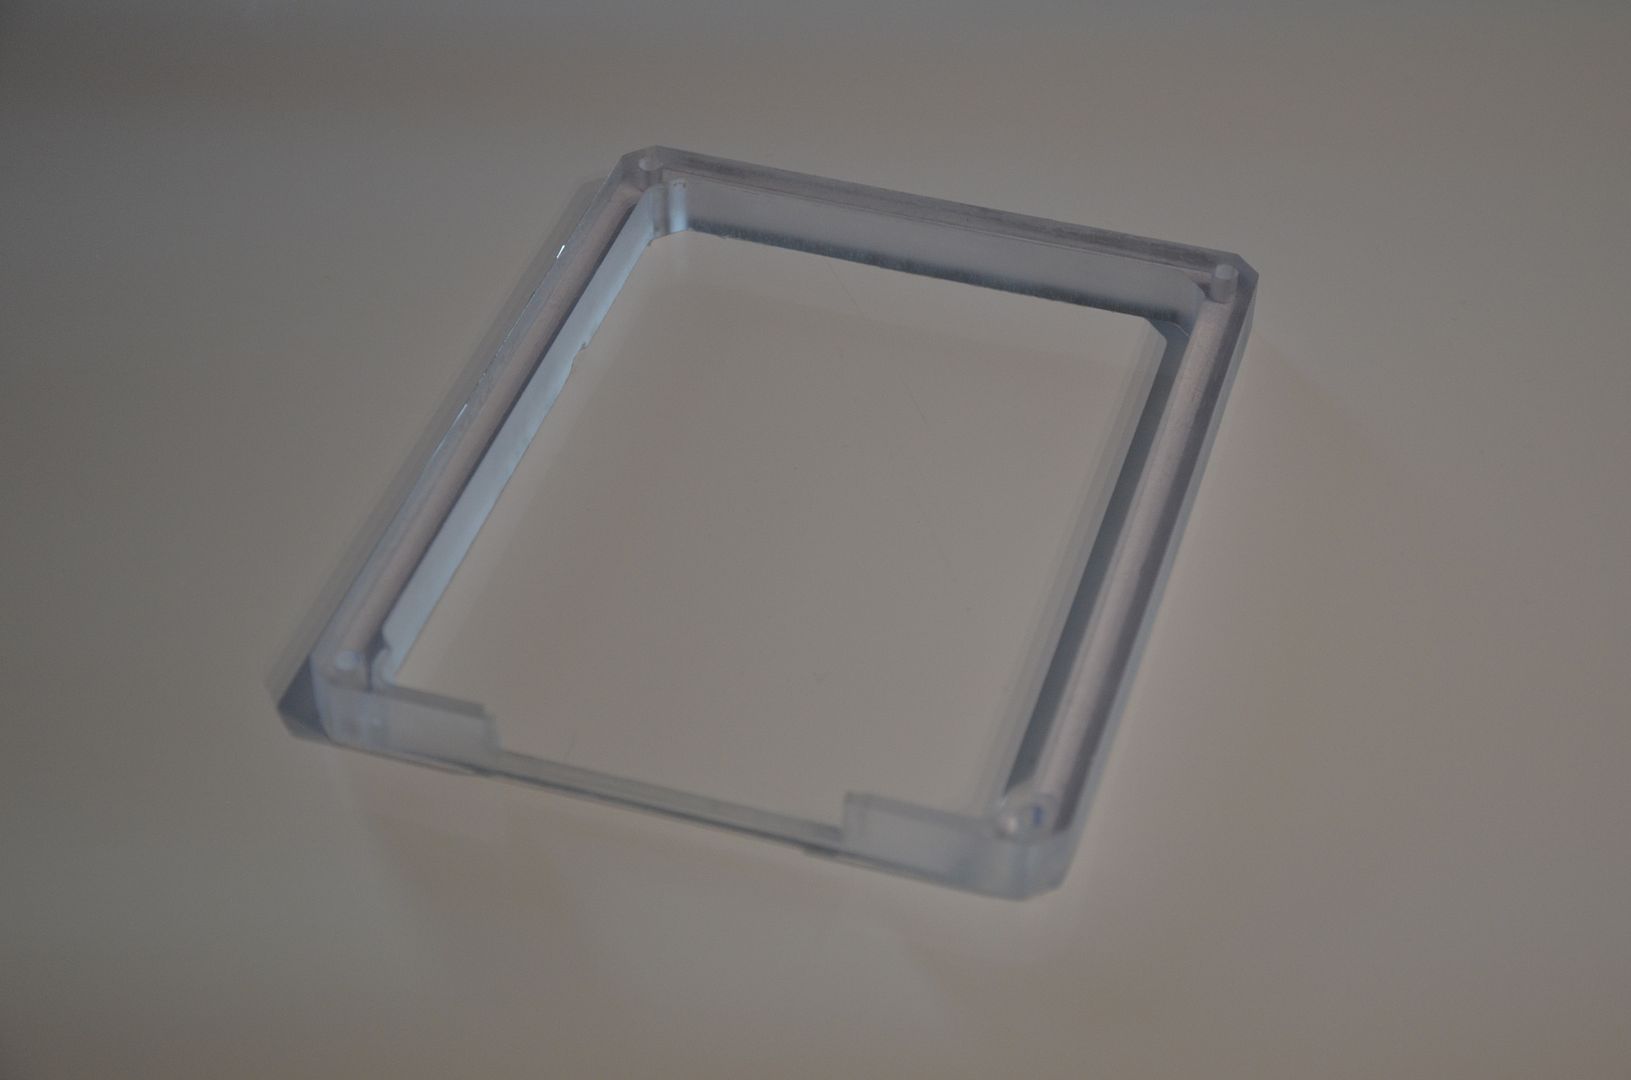
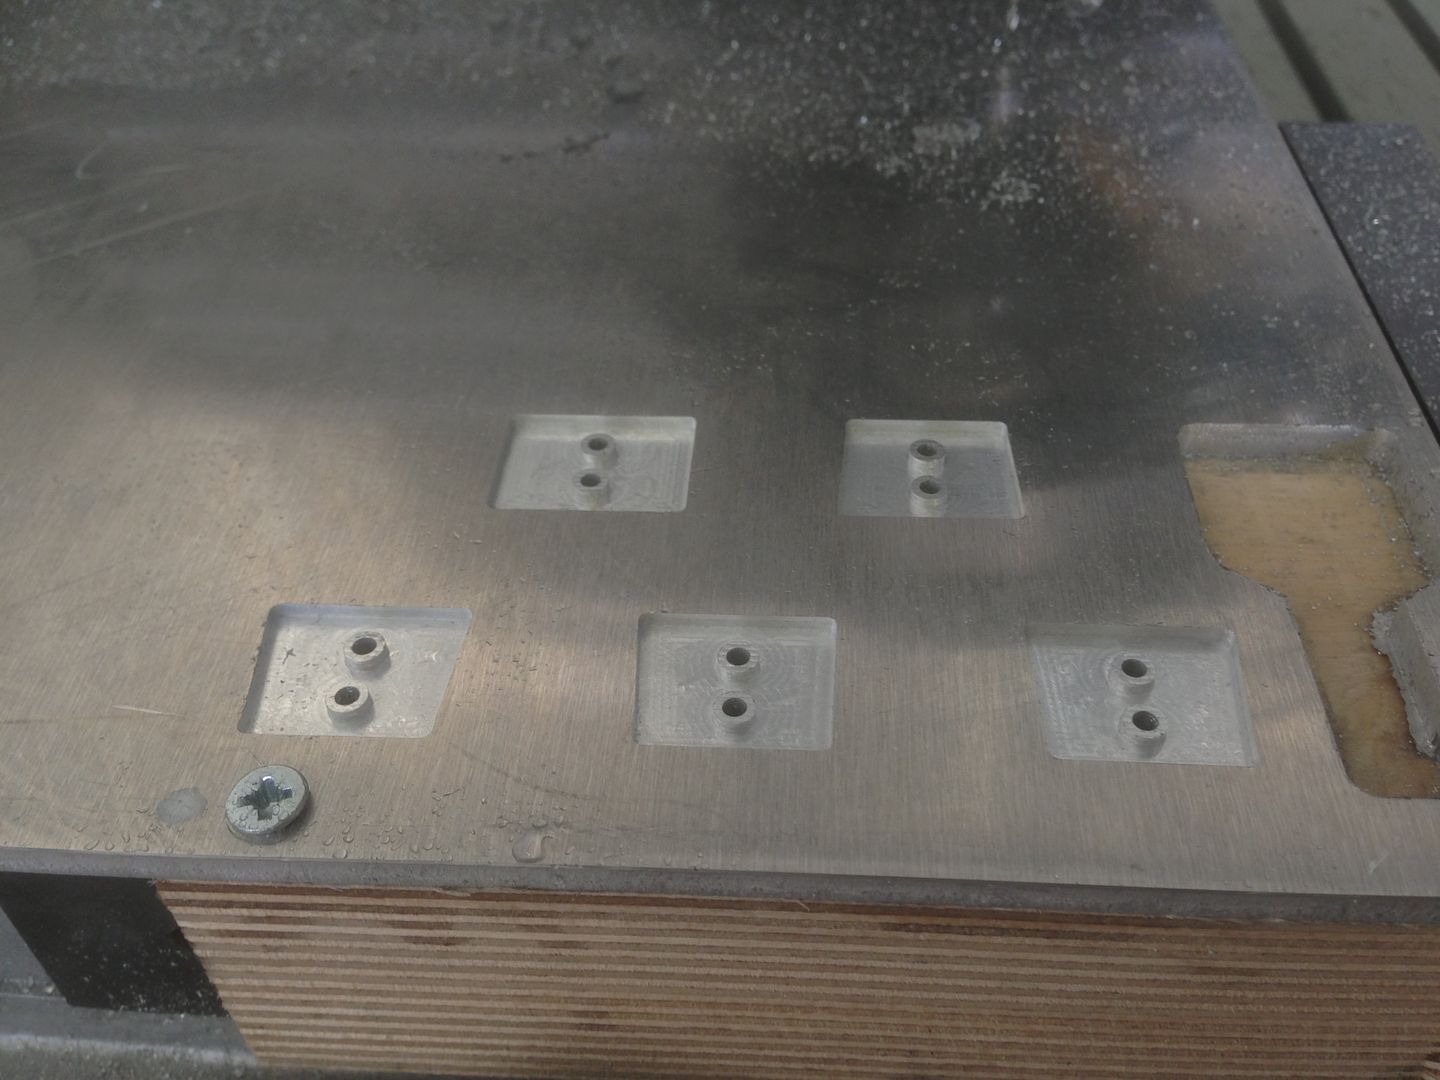
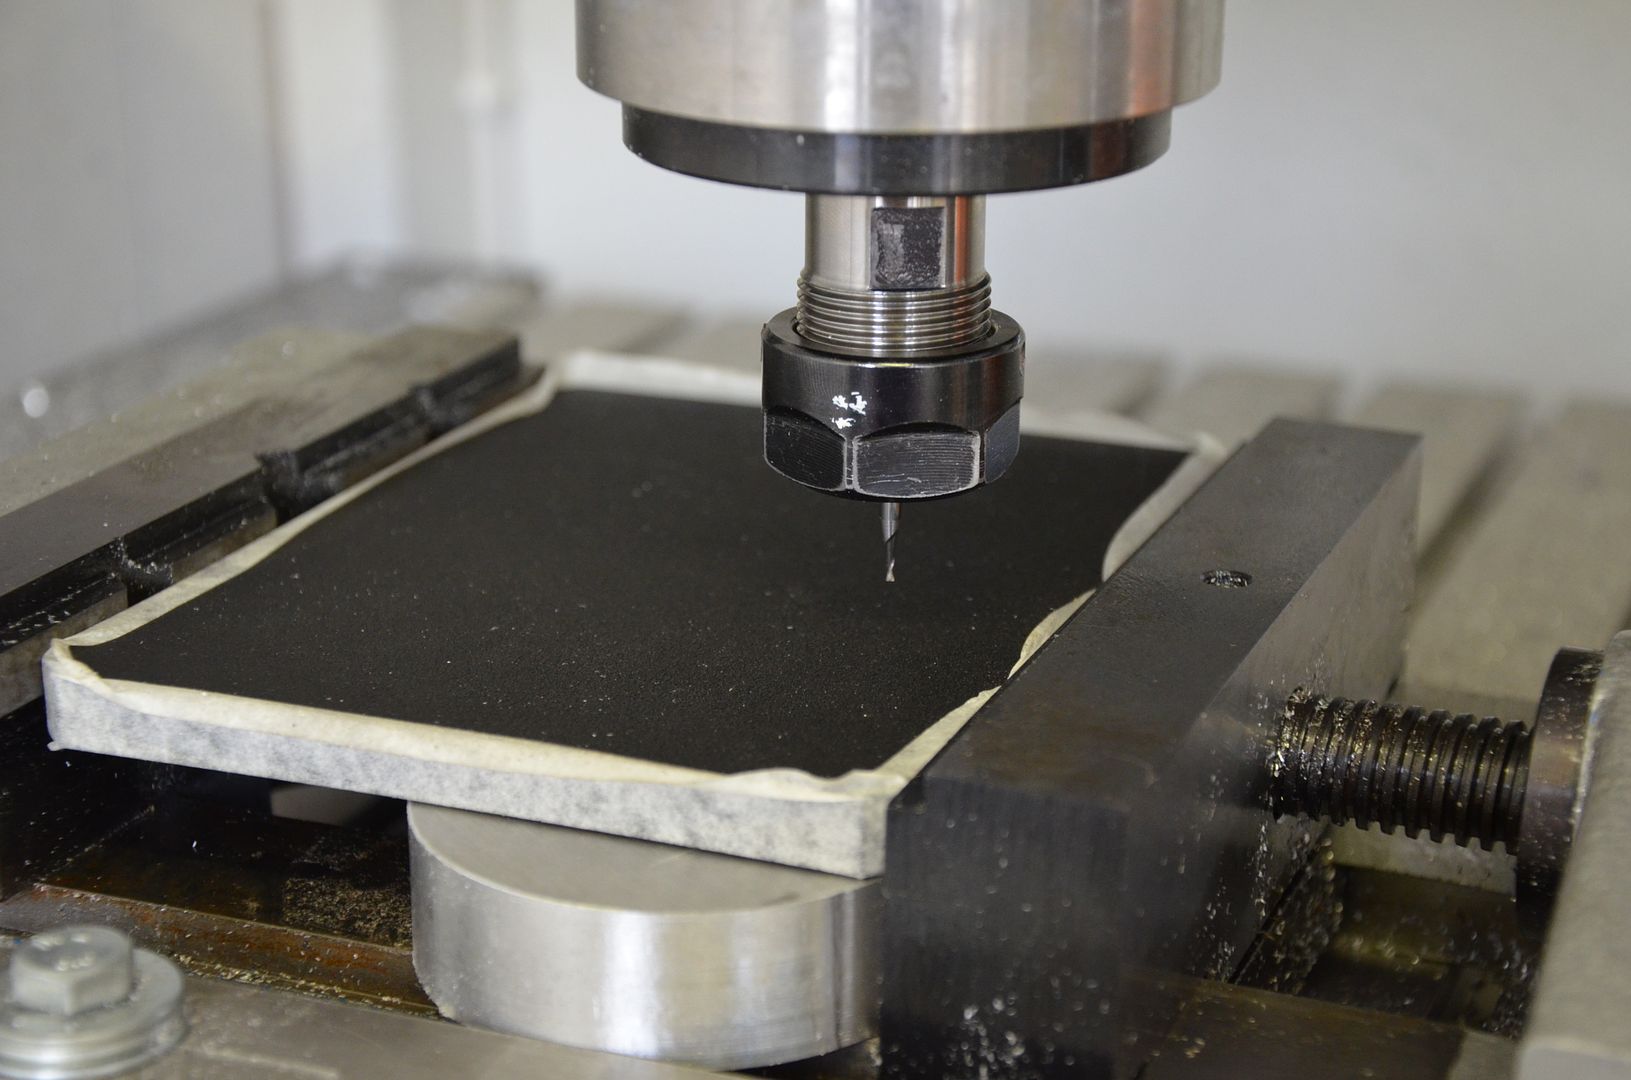
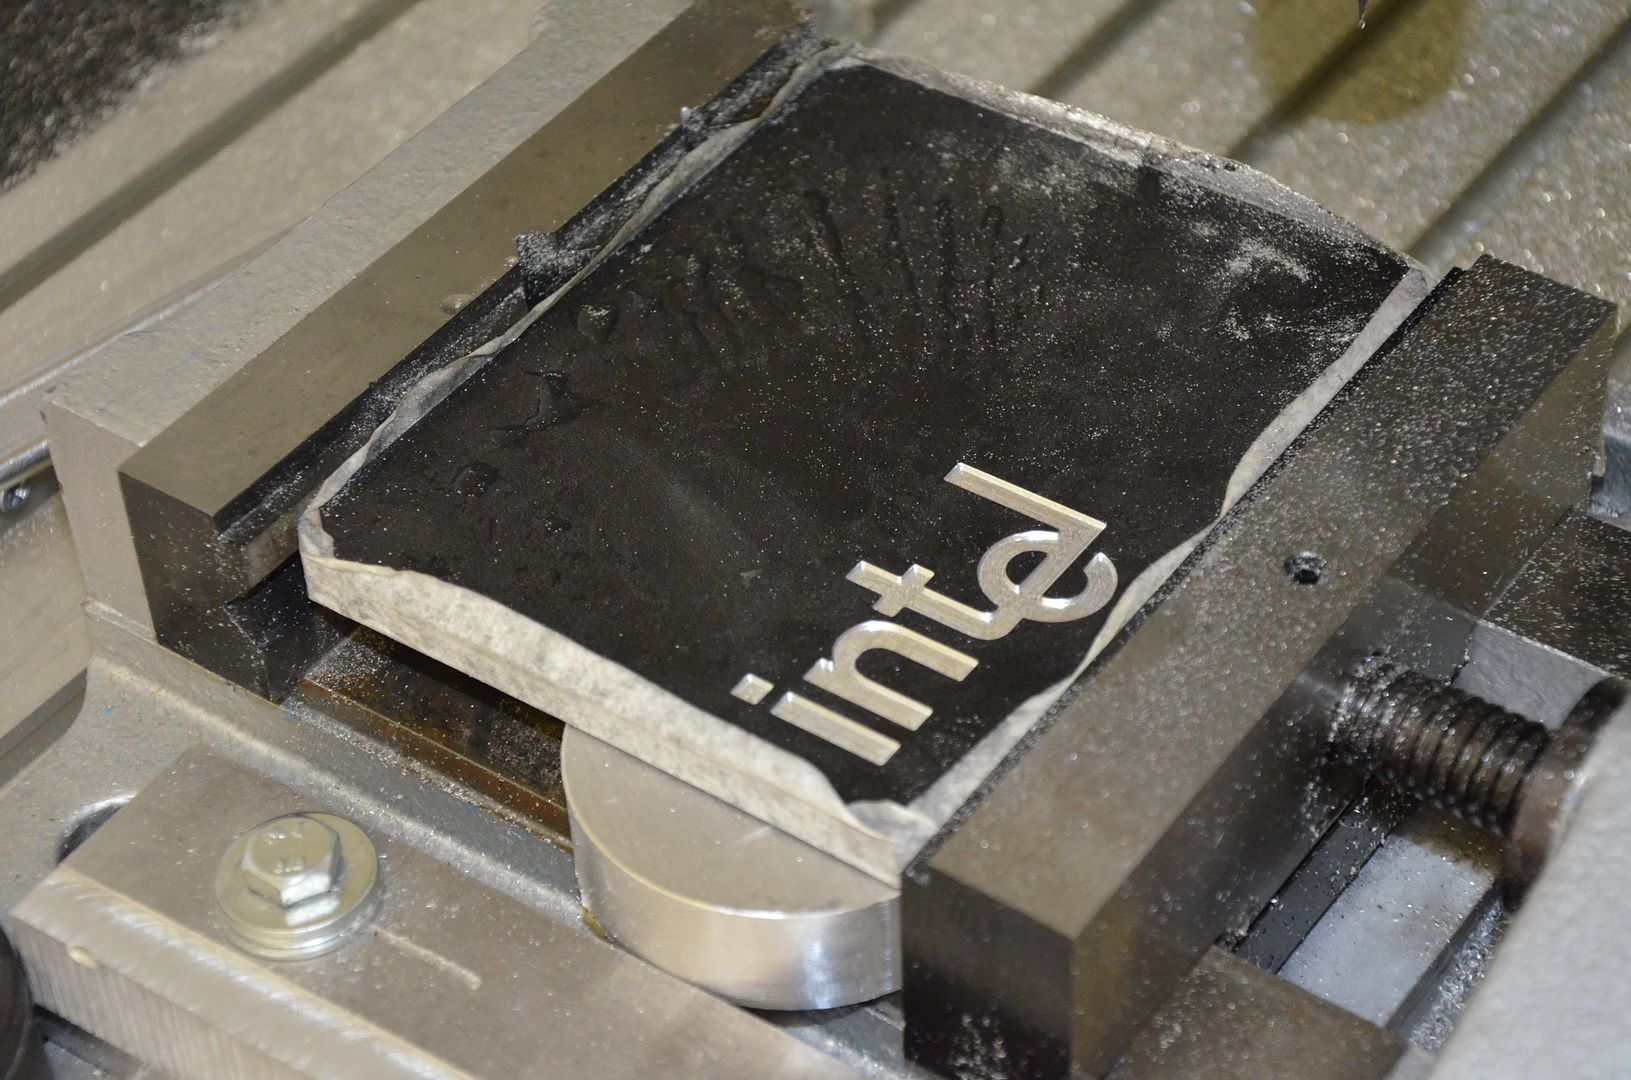
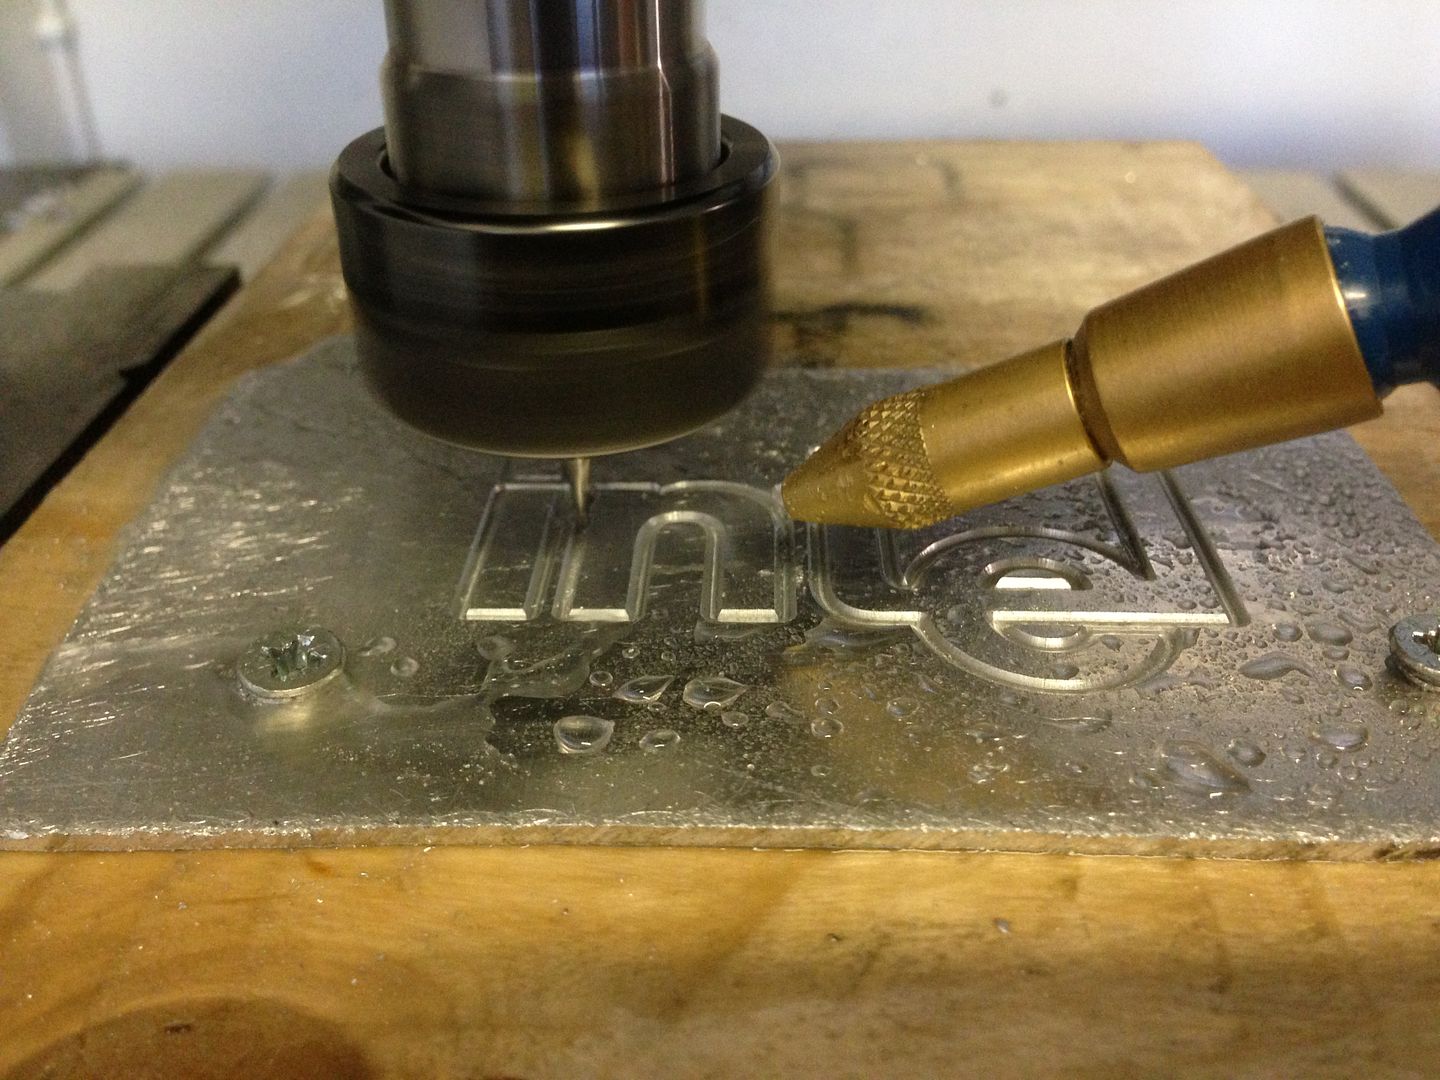
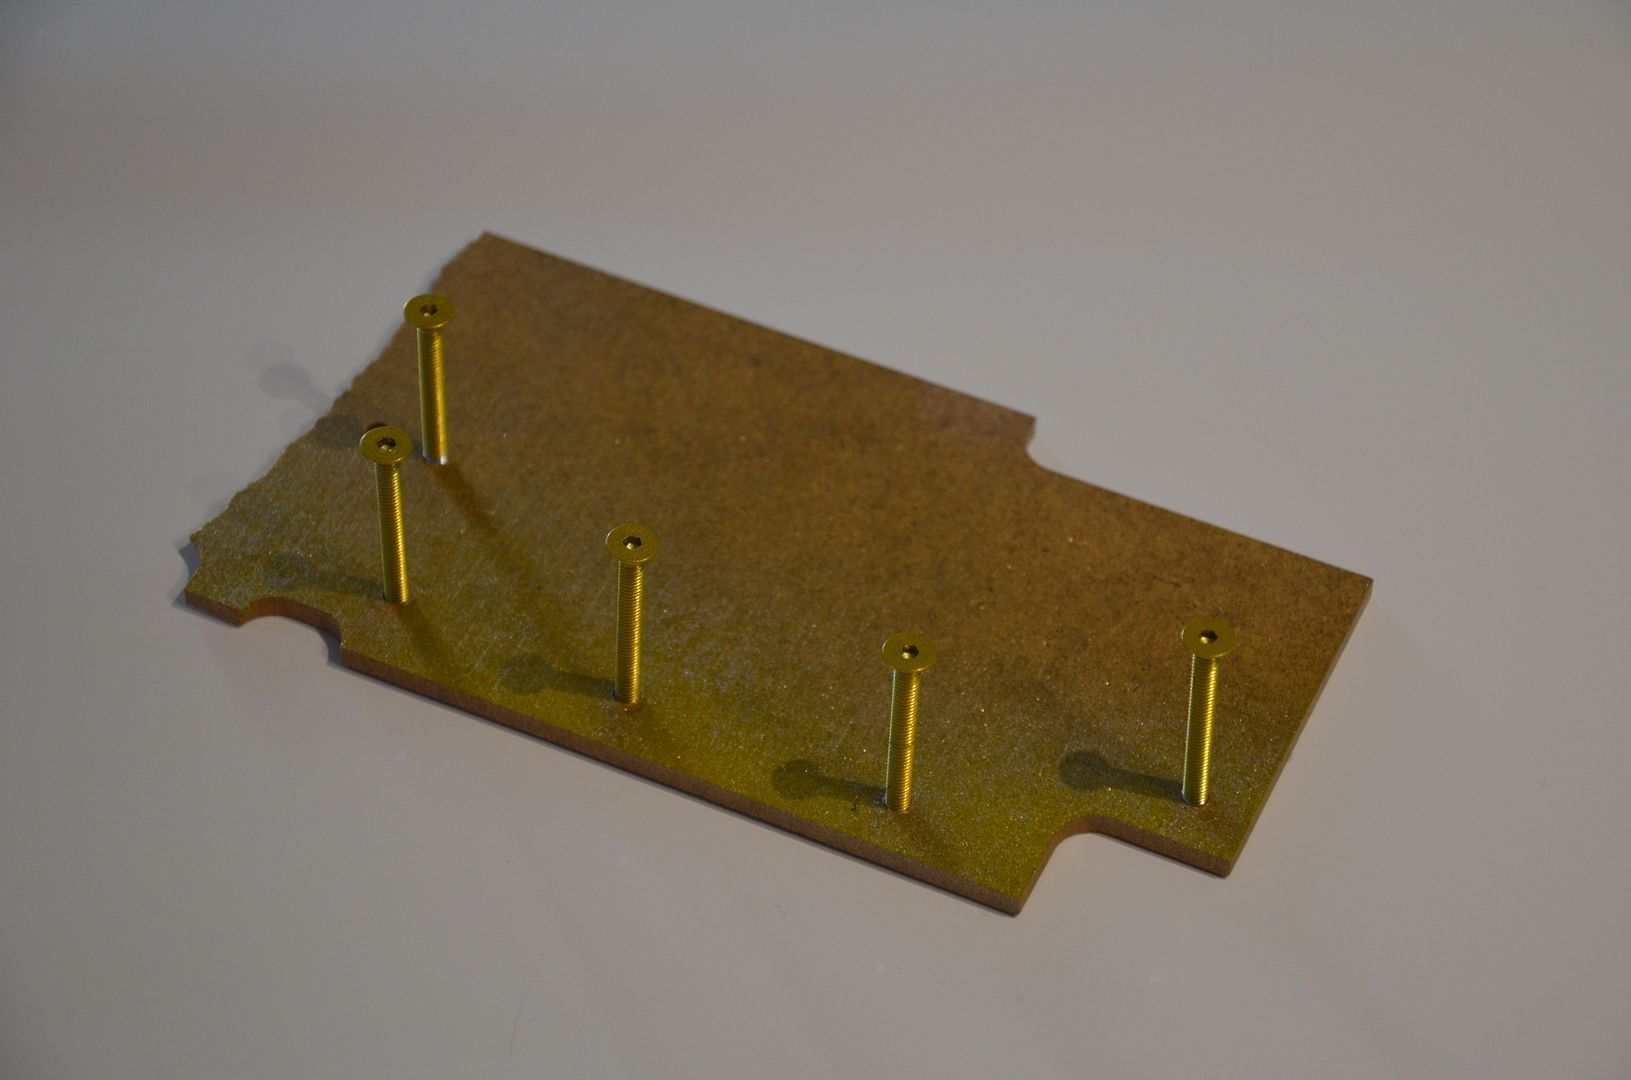
A bit of roughing with a 6mm endmill
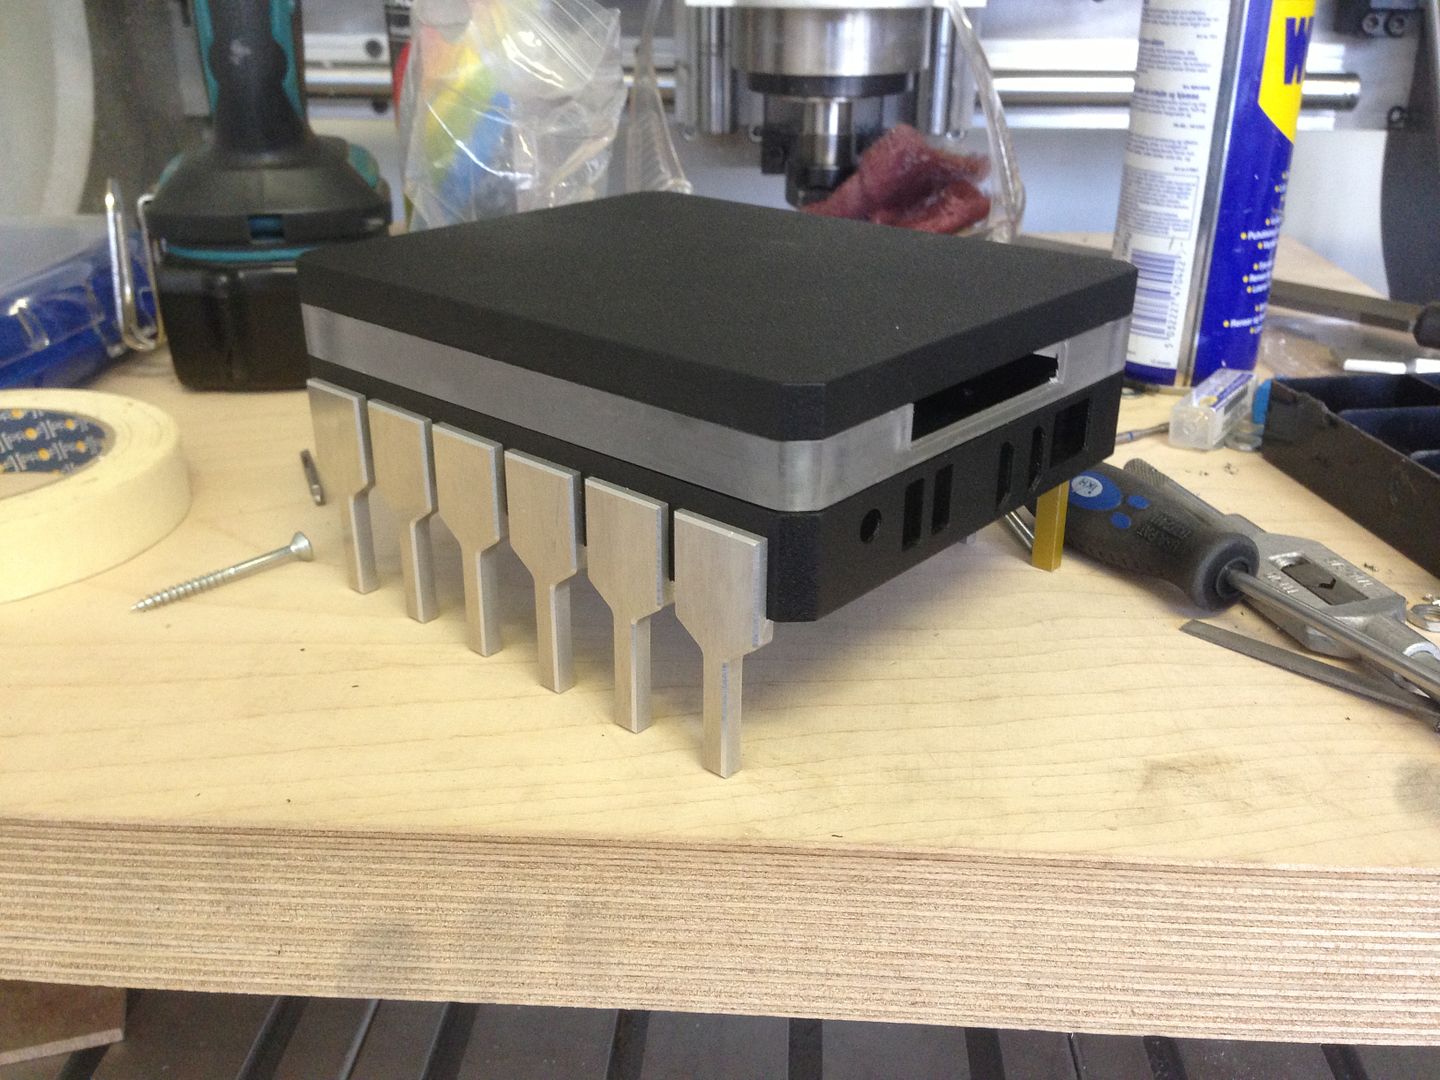
More pictures soon as i have gotten a bit further than this.
Hope you like it and please drop a comment
For a long time i've been wanting to make a small pc for the tv so when i saw the announcement of the Intel NUC/Bit-tech competition i thought i would send in a design and see how it goes. Sadly I didn't get picked for the competition but in the true spirit of modding i bought all the parts instead so i can still make a case.
Background:
When i first saw the Intel NUC and its small size i knew it would be perfect for my needs. When thinking of a design for the competition i started looking at Intel's old microprocessors and what they meant for the general public back in the days. These nuc motherboards are a bit of the same in my mind seeing they are quite powerful for their very small form factor. Anyways, enough of that
This is the design i sent in for the competition. It has changed quite a bit but i don't have any better ones.
Decided on a different version (still an i3) but with an wired network and no thunderbolt as i have no need for thunderbolt as of now and it was a bit cheaper
Nuc, 8GB of vengence 1600 ram and a wireless & BT card from Intel
120GB Kingston SSD
Now that that is over lets start with the build pictures
200x200x20mm piece of aluminum cut with a circular saw, worked a lot better than i thought it would.
As i recently finished upgrading my homebuilt CNC mill/router i thought i would put it to the test during this build
The Mill
Took me a while with the electronics since im no electrician and don't have a lot of skills with it, luckily no smoke
A bit of roughing with a 6mm endmill
More pictures soon as i have gotten a bit further than this.
Hope you like it and please drop a comment


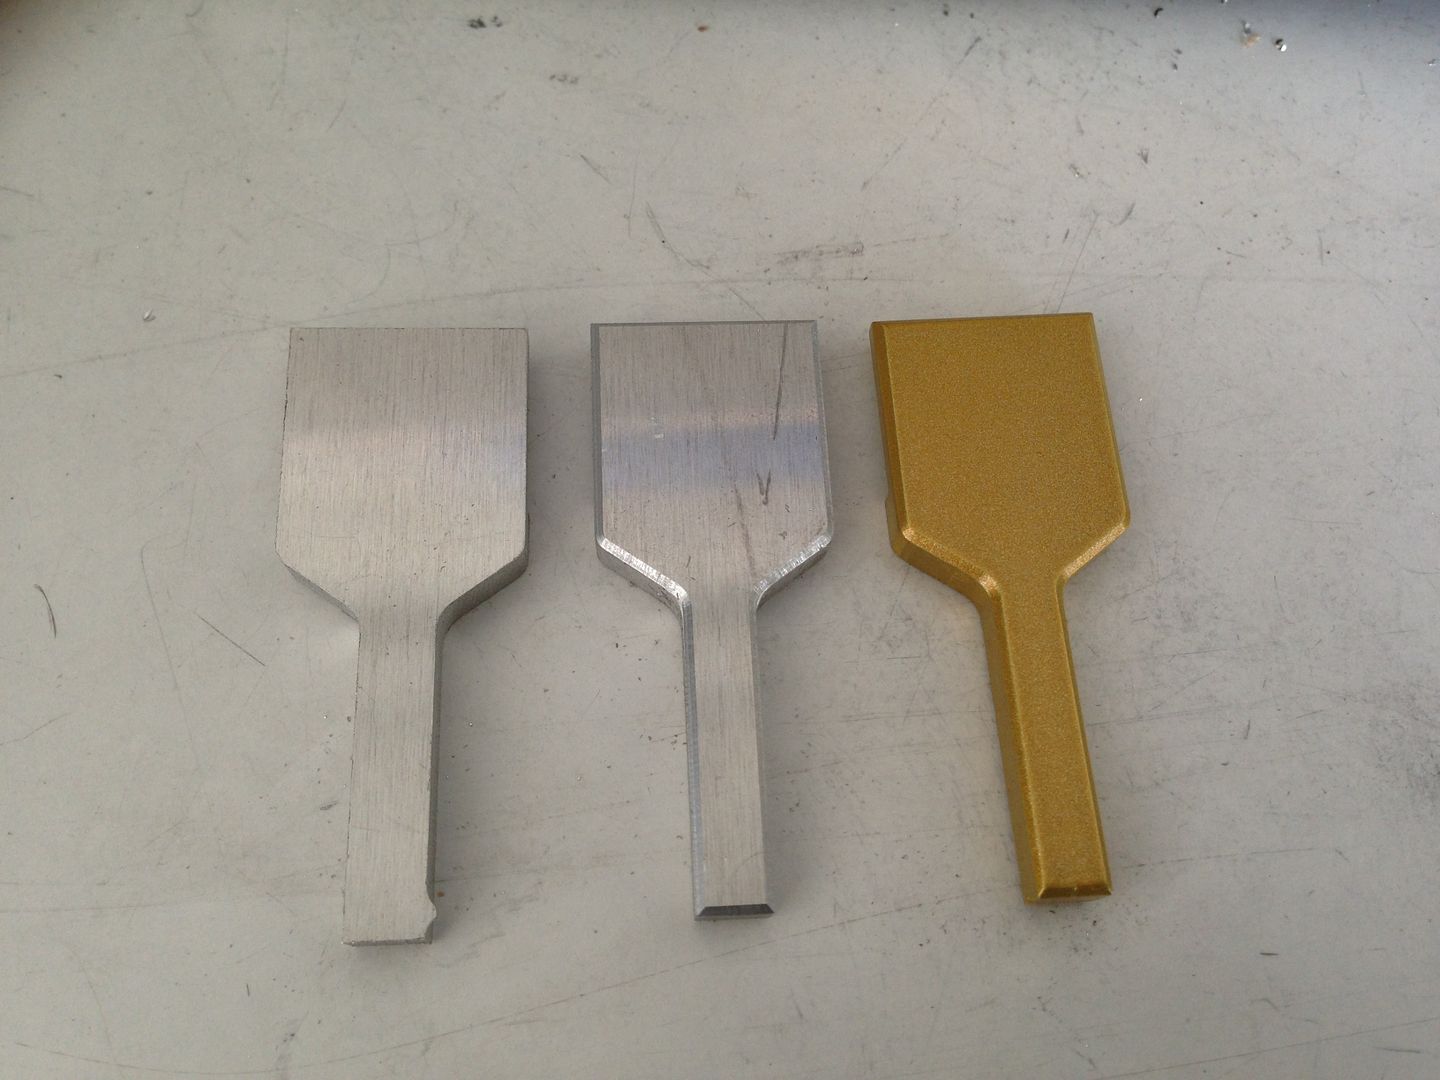

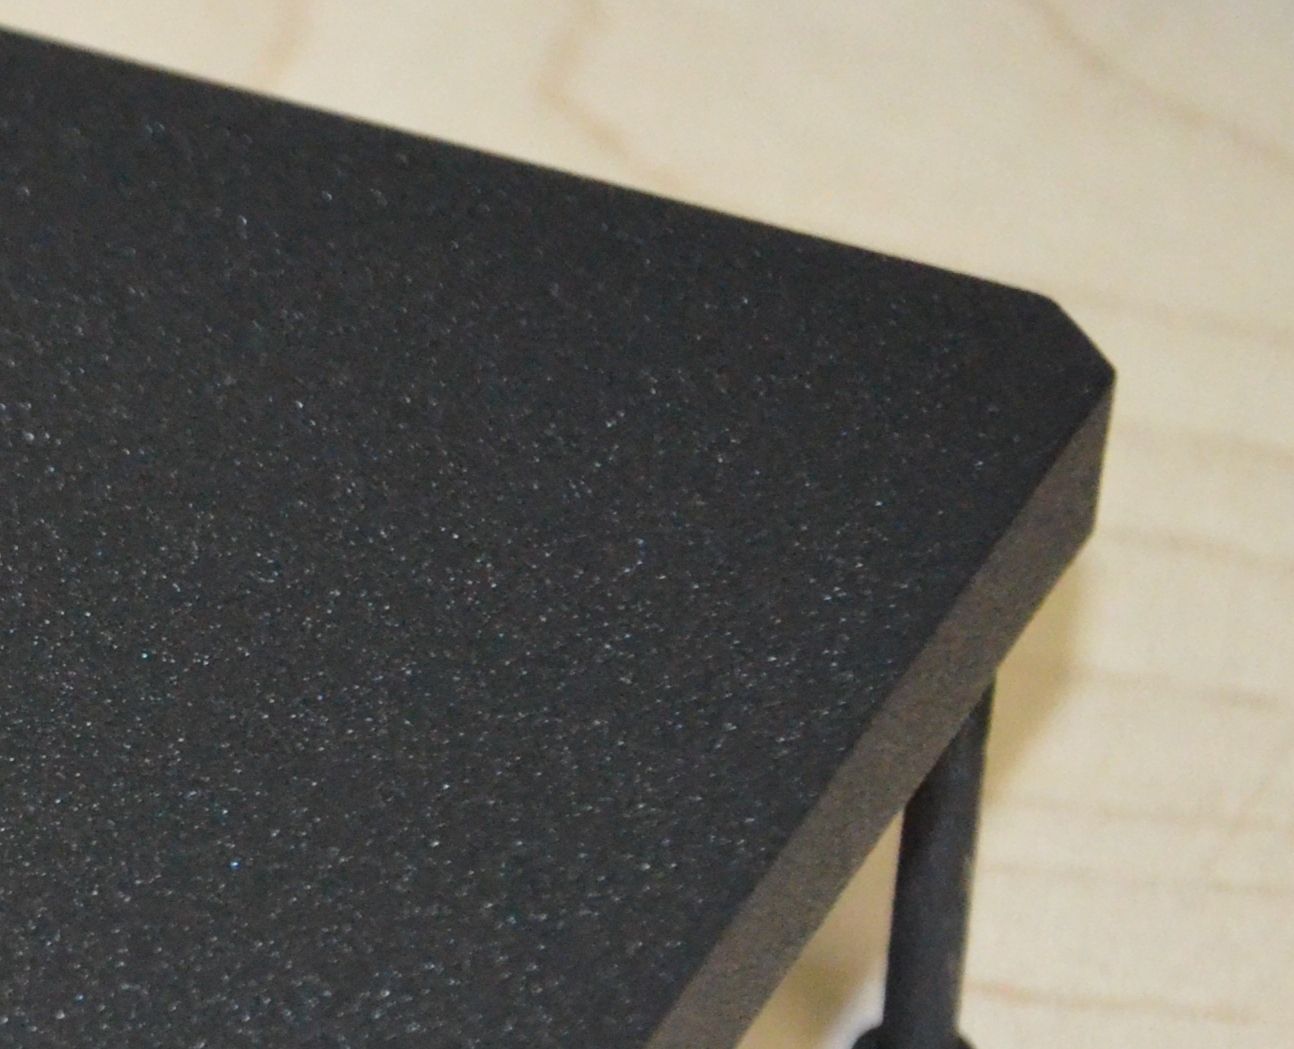

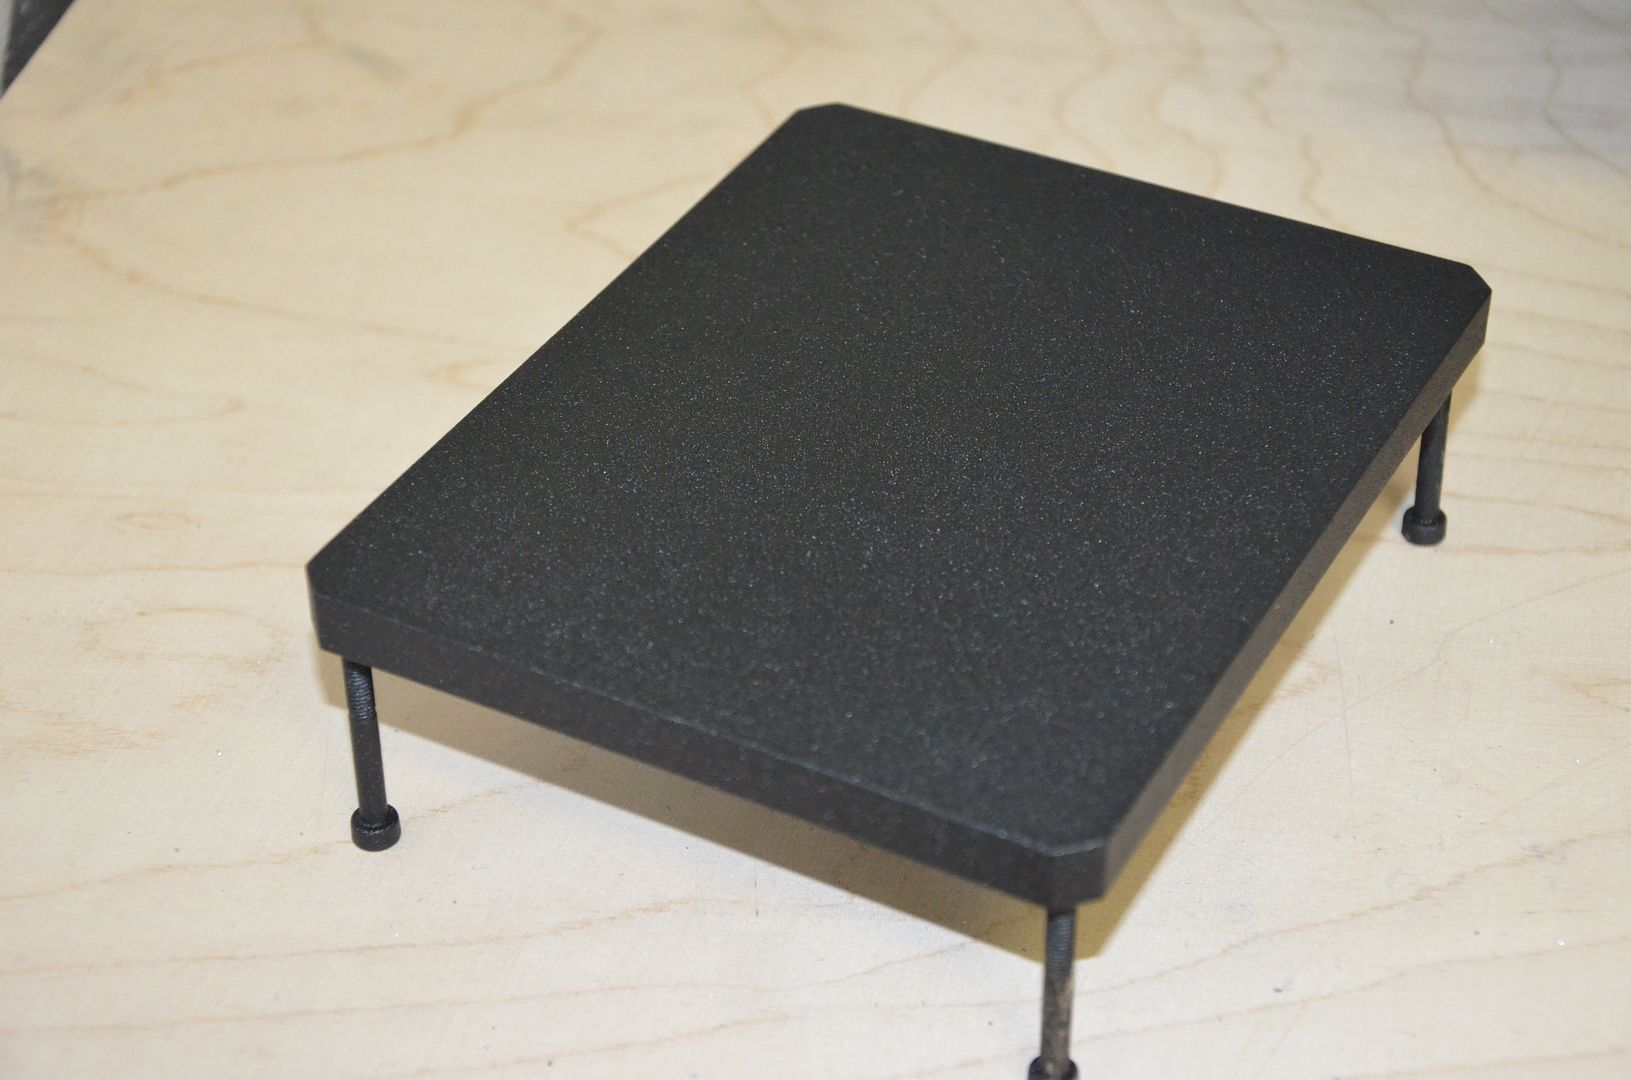
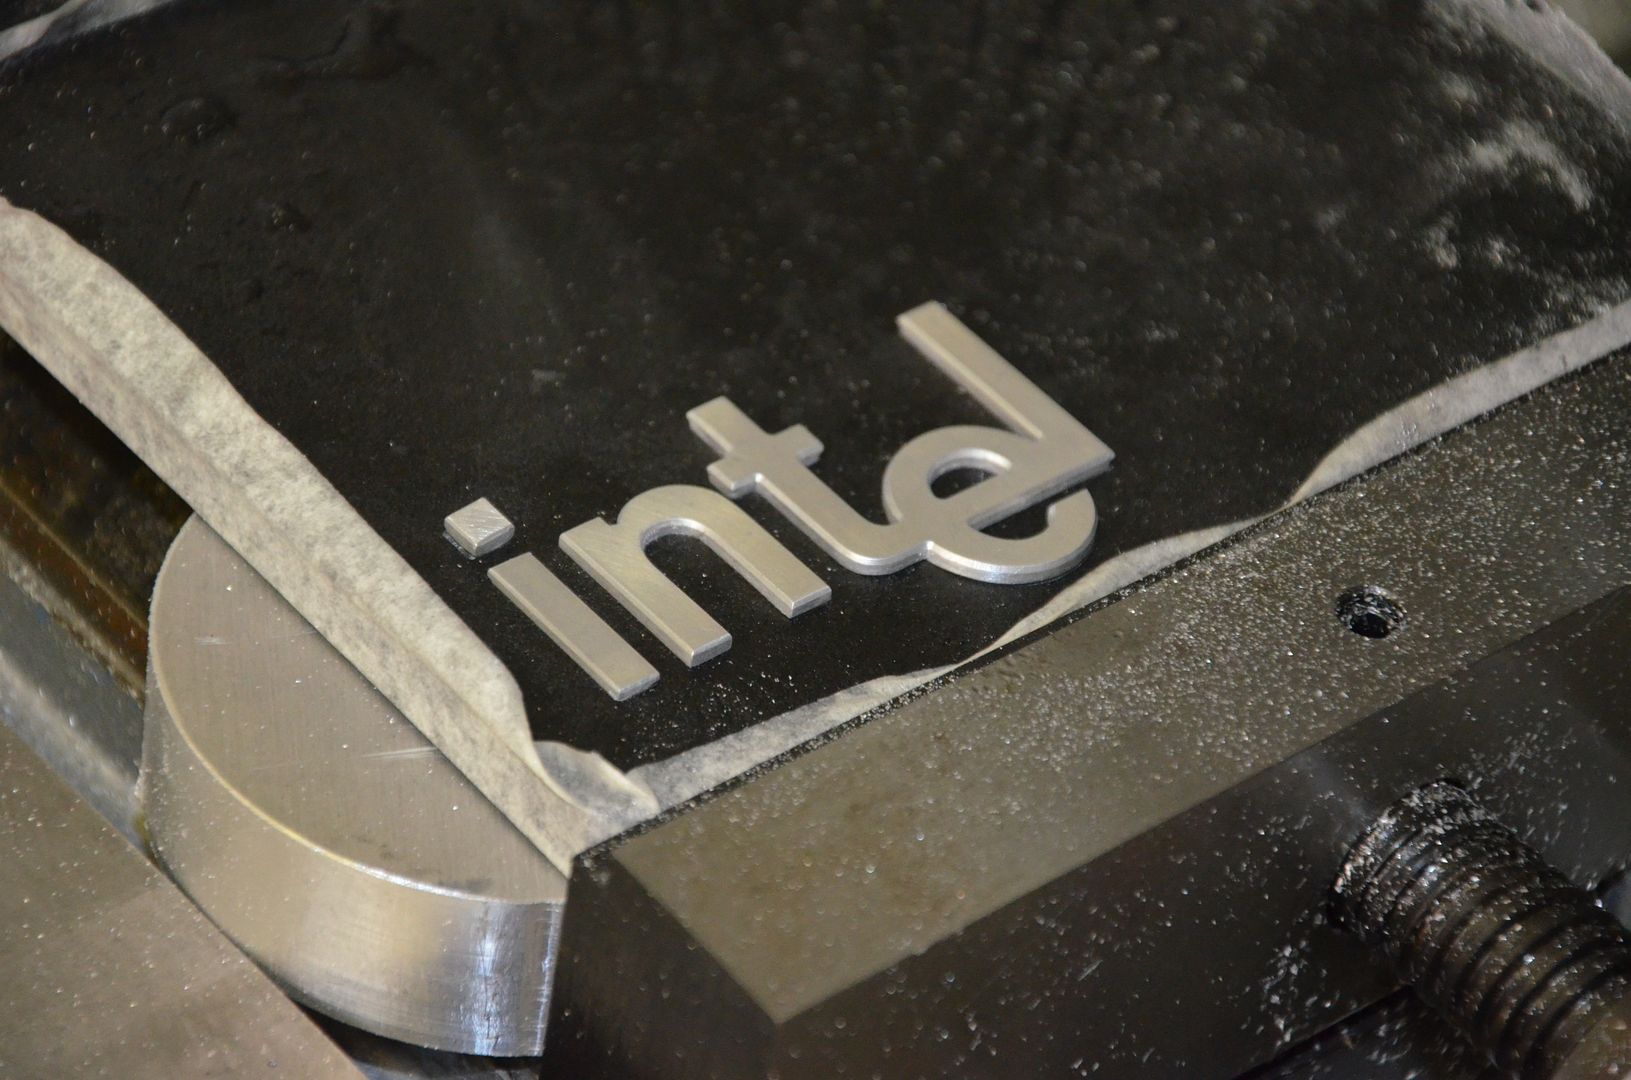
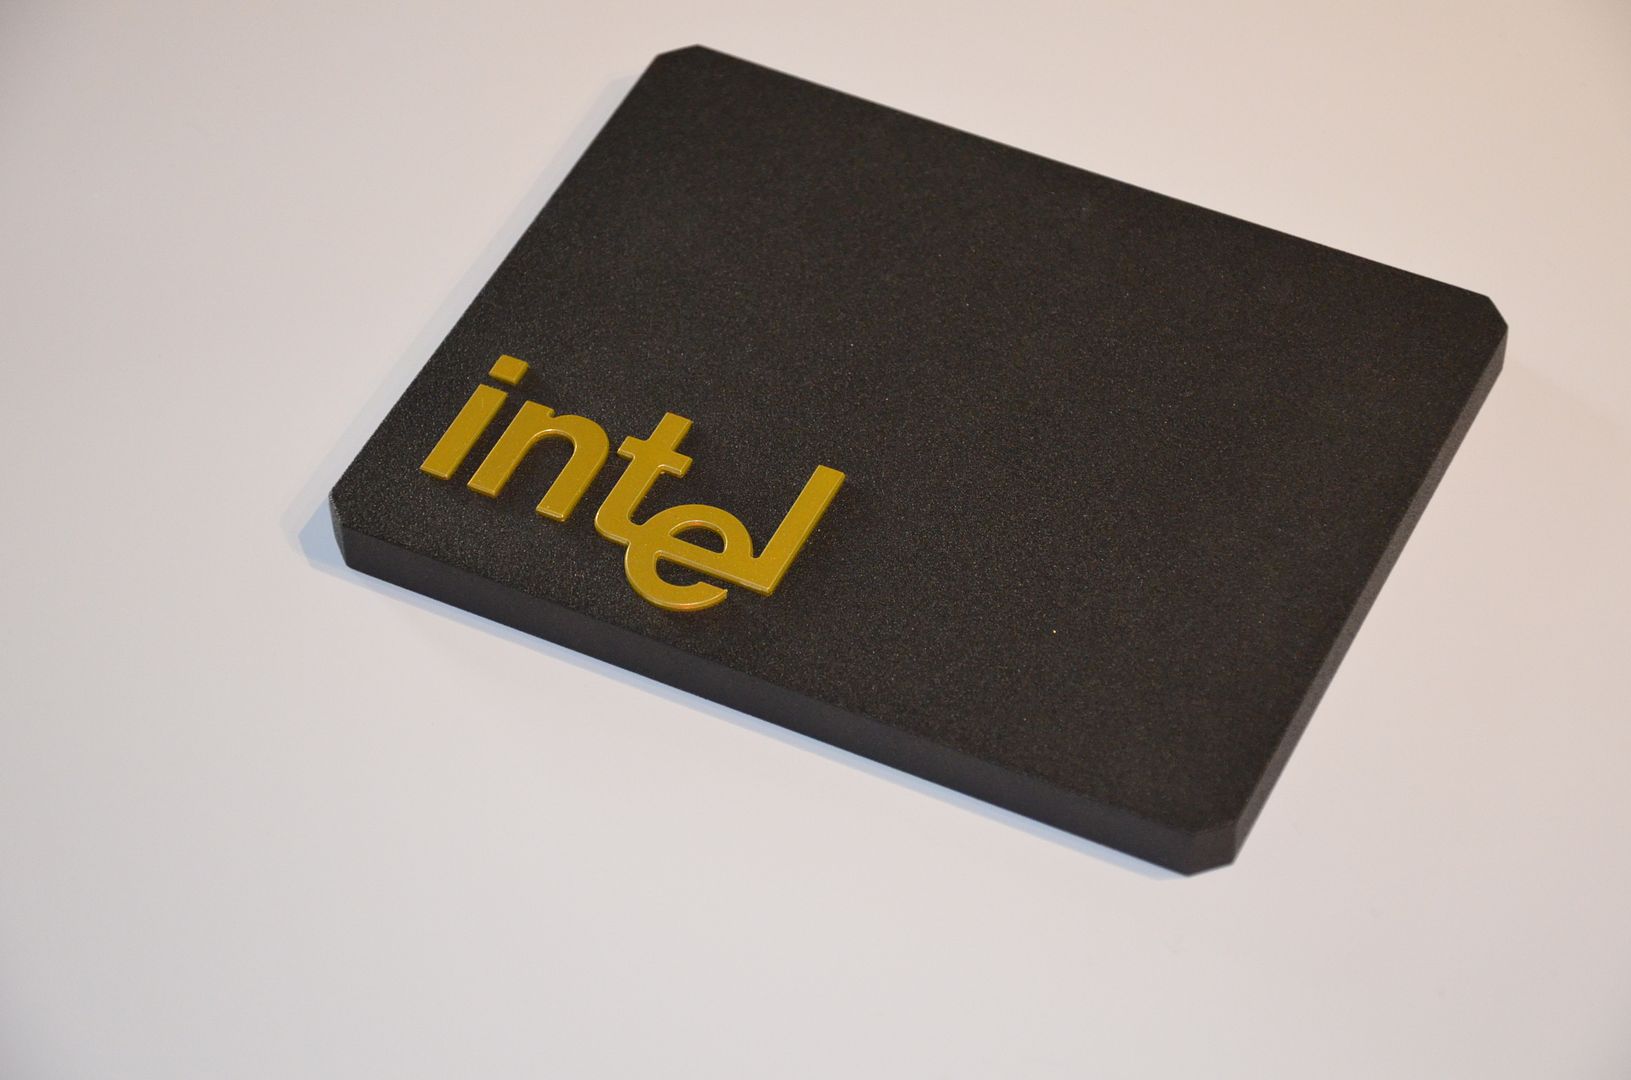
 This is looking even better in the metal than in the CAD drawings, and those legs/Chip Pins look absolutely superb. What paint did the paint the surface of the actual chip with (the black) as the texture and finish looks spot on
 ")
 )
)