

At OcUK we are always looking for new cases that we can use for our system range ans as such we do test builds in new cases that come onto the market.
We are looking at using the fractal design case as an option for our Titan Goliath system. We decided that as we ourselves are reviewing the case for system intergration we would publish our findings so that you can make a more informed decision before buying the case.
Below are a few images of the case before we built in it.


First of all I was very impressed with the packaging that fractal have used, you would find the same sort of quality with other very well known case manufacturers. The case comes in a polythene bag with foam protectors on the top and bottom of the case.
Once unpackaged it was time to take the side panels off and have a look at the chassis to see what sort of cable management is possible and the overall build quality of the case. I have to say that the build quality has impressed me as when I removed the first side panel I was surprised at how weighty it felt, on closer inspection this was due to the very substantial sound deadening matt that was attached to the inside of the panel. Then looking at what cable management options the case has I was again surprised as there is lots of pass-through’s for cables which also have rubber grommets similar to those found on the larger more expensive cases like the Corsair Obsidian 800D.
Next I looked at what accessories are included with the case. First of all you get a bag full of screws and with stand-offs for the motherboard, one thing that I did notice was that all the screws are black this is a very good attention to detail so that the screws blend in with the inside of the case. They have also included a fan controller with the case so that the fans that come included with the case can be controlled manually rather than using the motherboard to control the fan speeds.
Next I started to build in the case I found that the back plate hole in the motherboard tray would be very useful for changing over coolers or installing a cooler with a back plate. We installed the motherboard into the case with great ease the I/O shield for the motherboard clicked in place easily without having to force it.
With the motherboard installed we then installed the optical drive and hard drive. We mounted the hard drive in the bottom tray this was attached using four screws through the bottom of the tray into the mounting holes in the bottom of the hard drive.
The psu installs much in the same manner as other cases on the market but one thing that was slightly different to other cases was that there is a foam surround on the inside of the case where the psu attaches to the case, then when you screw in the psu the foam squeezes up against it thus trying to reduce any vibrations that could be caused between the psu and the chassis.
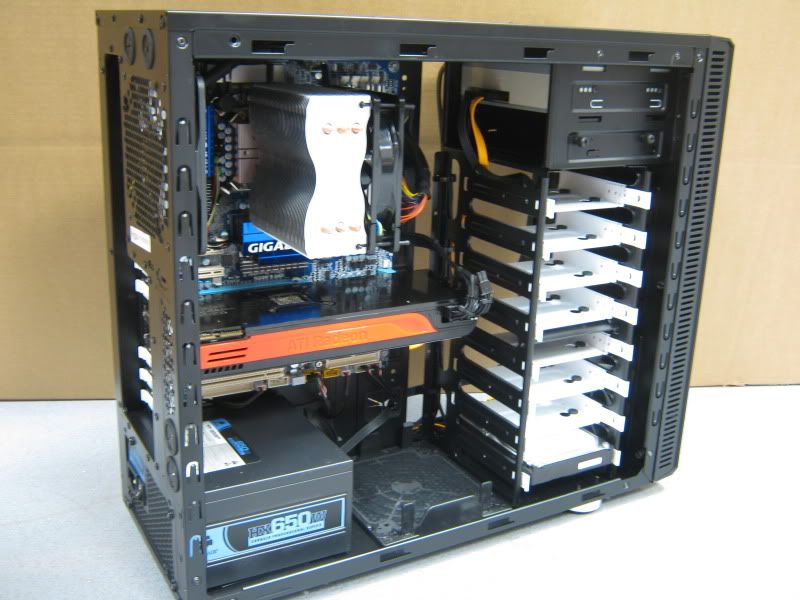
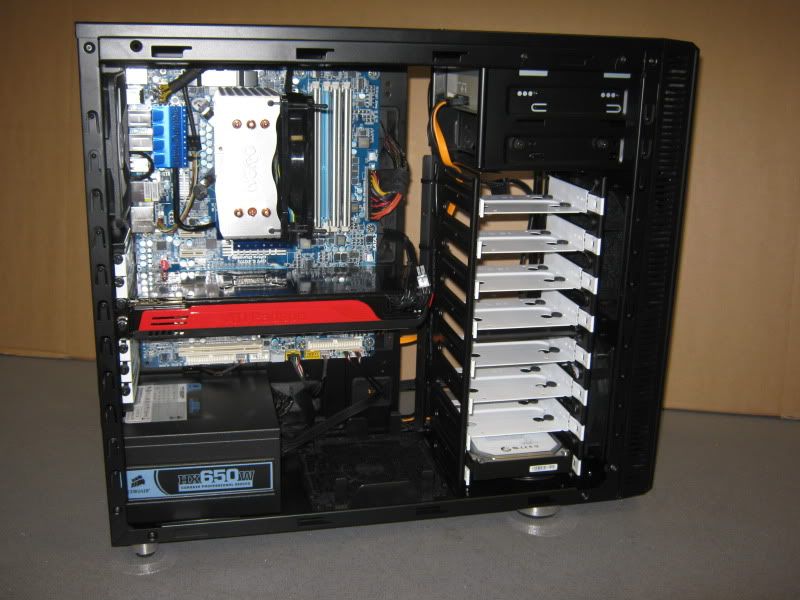
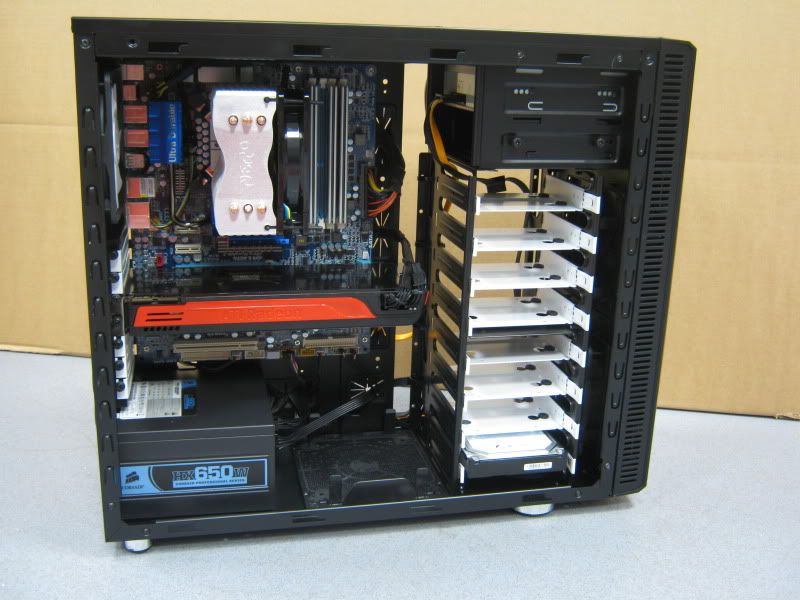
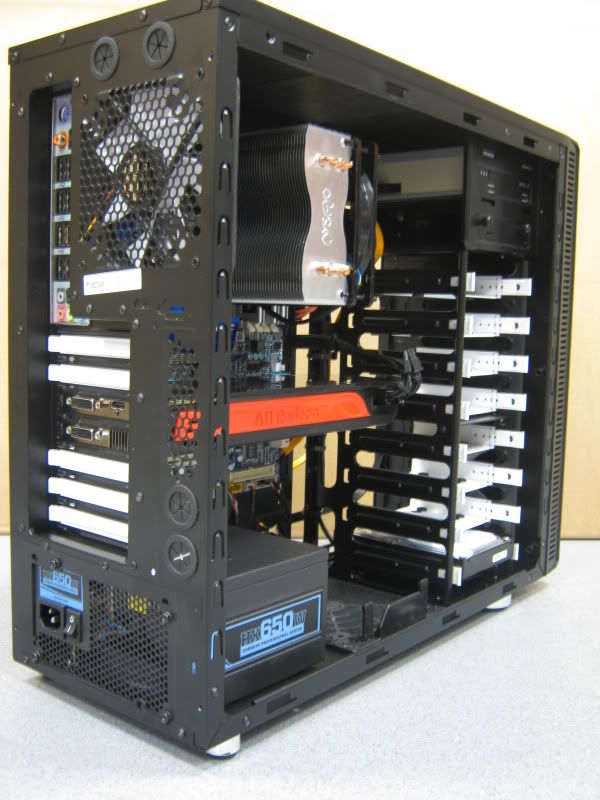
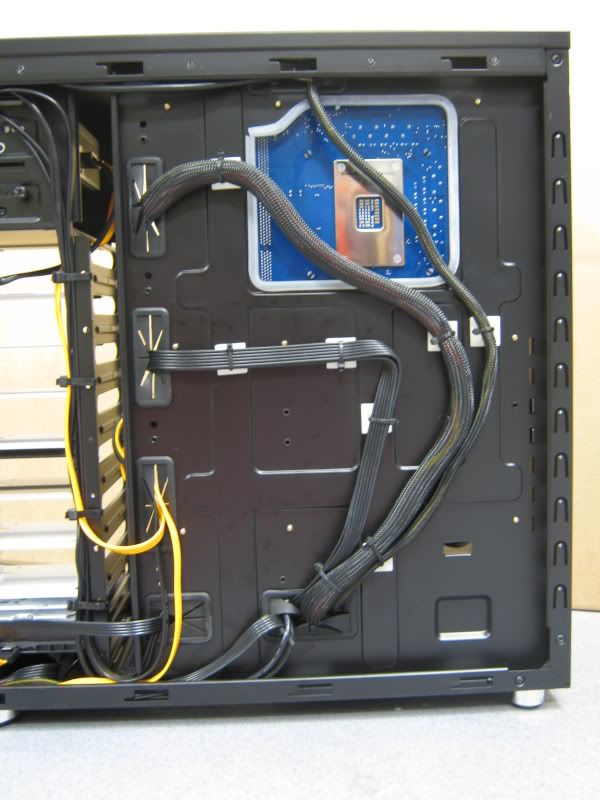
Finally we connected all the cables within the case. The case really came into its own with the cable management options as you can make a really neat job by hiding all the cables behind the motherboard tray. I really nice thought out feature is that they have put a cable pass-through above the motherboard thus enabling your 12volt rail cable to be passed behind the motherboard rather that across the front of the motherboard.
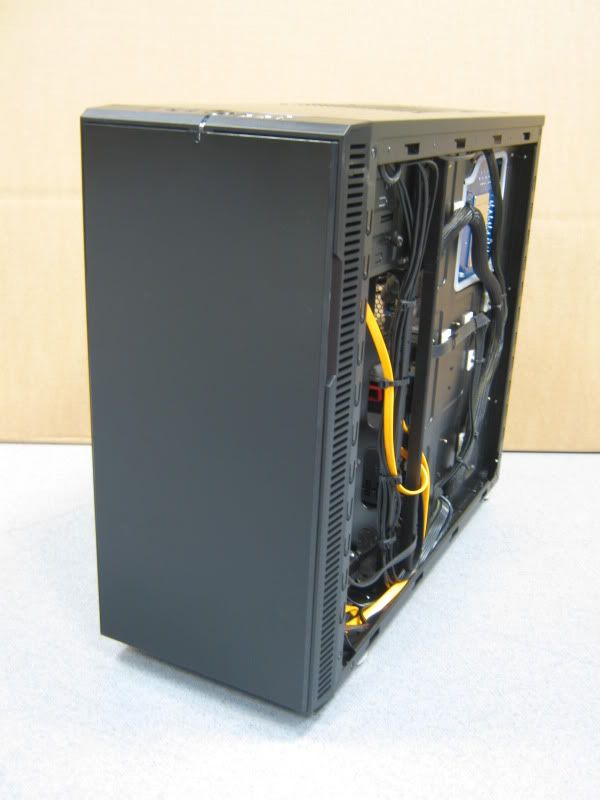
Here are some pictures of the finished build.
Overall I think it is very well thought out case with some great features, The amount of features that this case has makes it excellent value for money and easily on par with cases that twice as much.
We are looking at using the fractal design case as an option for our Titan Goliath system. We decided that as we ourselves are reviewing the case for system intergration we would publish our findings so that you can make a more informed decision before buying the case.
Below are a few images of the case before we built in it.
First of all I was very impressed with the packaging that fractal have used, you would find the same sort of quality with other very well known case manufacturers. The case comes in a polythene bag with foam protectors on the top and bottom of the case.
Once unpackaged it was time to take the side panels off and have a look at the chassis to see what sort of cable management is possible and the overall build quality of the case. I have to say that the build quality has impressed me as when I removed the first side panel I was surprised at how weighty it felt, on closer inspection this was due to the very substantial sound deadening matt that was attached to the inside of the panel. Then looking at what cable management options the case has I was again surprised as there is lots of pass-through’s for cables which also have rubber grommets similar to those found on the larger more expensive cases like the Corsair Obsidian 800D.
Next I looked at what accessories are included with the case. First of all you get a bag full of screws and with stand-offs for the motherboard, one thing that I did notice was that all the screws are black this is a very good attention to detail so that the screws blend in with the inside of the case. They have also included a fan controller with the case so that the fans that come included with the case can be controlled manually rather than using the motherboard to control the fan speeds.
Next I started to build in the case I found that the back plate hole in the motherboard tray would be very useful for changing over coolers or installing a cooler with a back plate. We installed the motherboard into the case with great ease the I/O shield for the motherboard clicked in place easily without having to force it.
With the motherboard installed we then installed the optical drive and hard drive. We mounted the hard drive in the bottom tray this was attached using four screws through the bottom of the tray into the mounting holes in the bottom of the hard drive.
The psu installs much in the same manner as other cases on the market but one thing that was slightly different to other cases was that there is a foam surround on the inside of the case where the psu attaches to the case, then when you screw in the psu the foam squeezes up against it thus trying to reduce any vibrations that could be caused between the psu and the chassis.
Finally we connected all the cables within the case. The case really came into its own with the cable management options as you can make a really neat job by hiding all the cables behind the motherboard tray. I really nice thought out feature is that they have put a cable pass-through above the motherboard thus enabling your 12volt rail cable to be passed behind the motherboard rather that across the front of the motherboard.
Here are some pictures of the finished build.
Overall I think it is very well thought out case with some great features, The amount of features that this case has makes it excellent value for money and easily on par with cases that twice as much.