X99 Phanteks Evolv Rebuild

Associate
Joined
30 May 2015
Posts
451
Location
Sussex, UK
Hi,

I carried out a very basic project log last year using a Predator 360 that ended up expanding to the graphics card water block via QDC connections. I had fun, but it was pretty much a plug and play build. I had a few vinyl’s printed, but wasn’t overly happy with the result. Here’s a link to the old build log (rather than posting more pictures of it here): https://forums.overclockers.co.uk/showthread.php?t=18716127

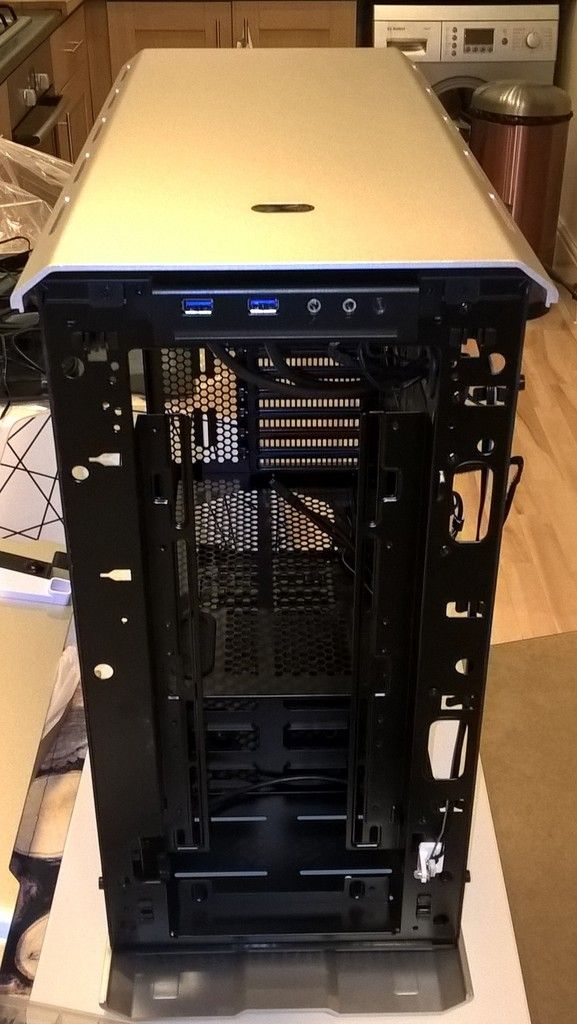
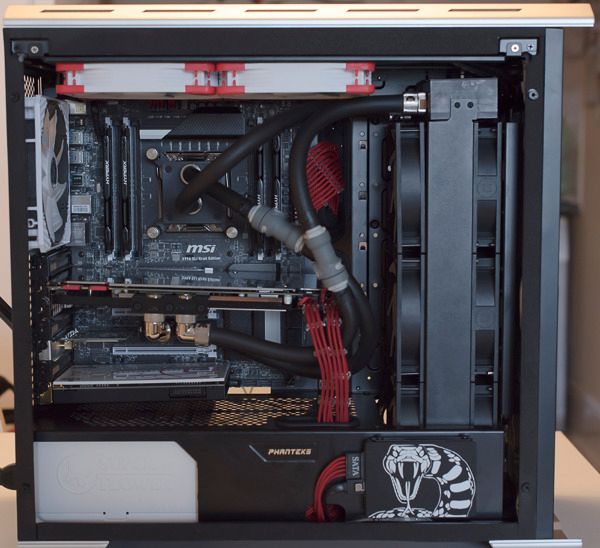
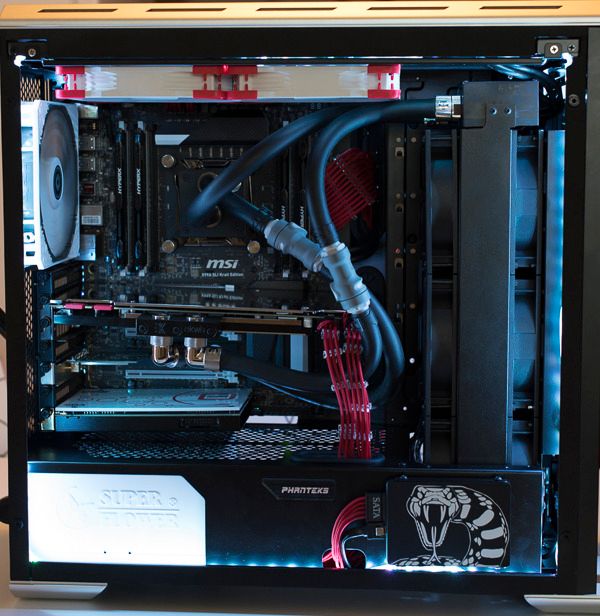
Due to the imminent release of the Phanteks Glass edition ATX Evolv case, I’m going to move house for the gear listed in my sig below. This build log won’t be adding any new kit, but I will be going a little further with the modifications.

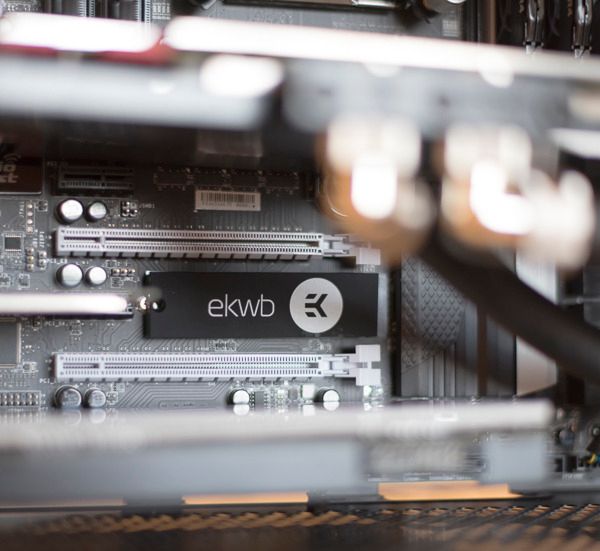
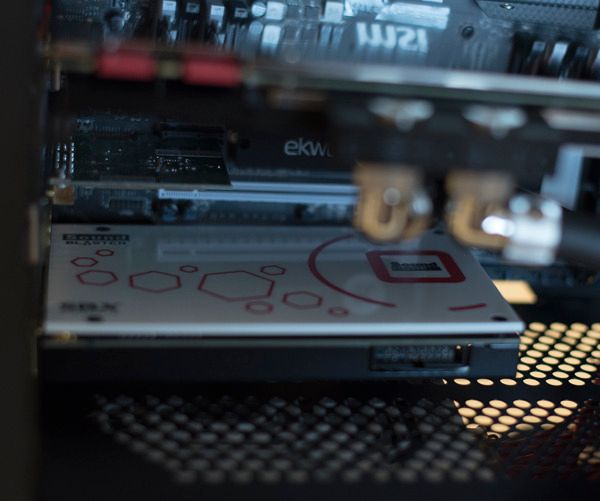
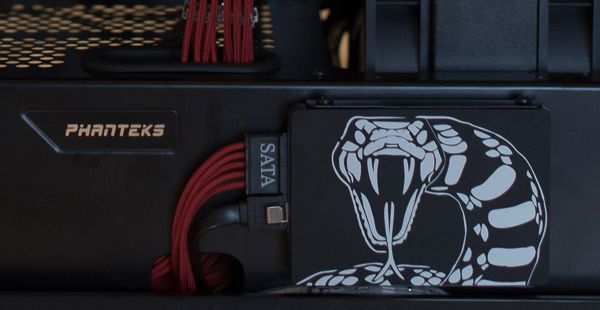
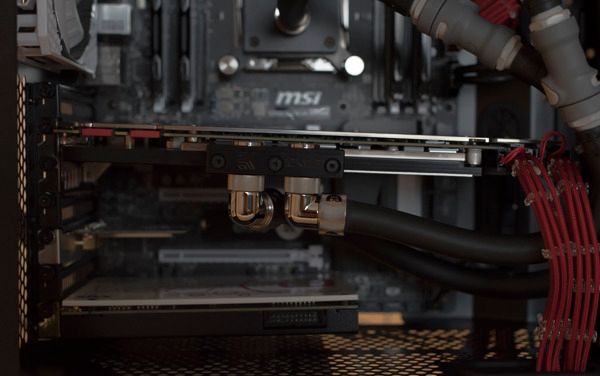
On order are custom ZxR, SSD and M.2 back plates – I considered a custom GPU back plate, but decided that the current nickel one would go well with the glass sides of the case.

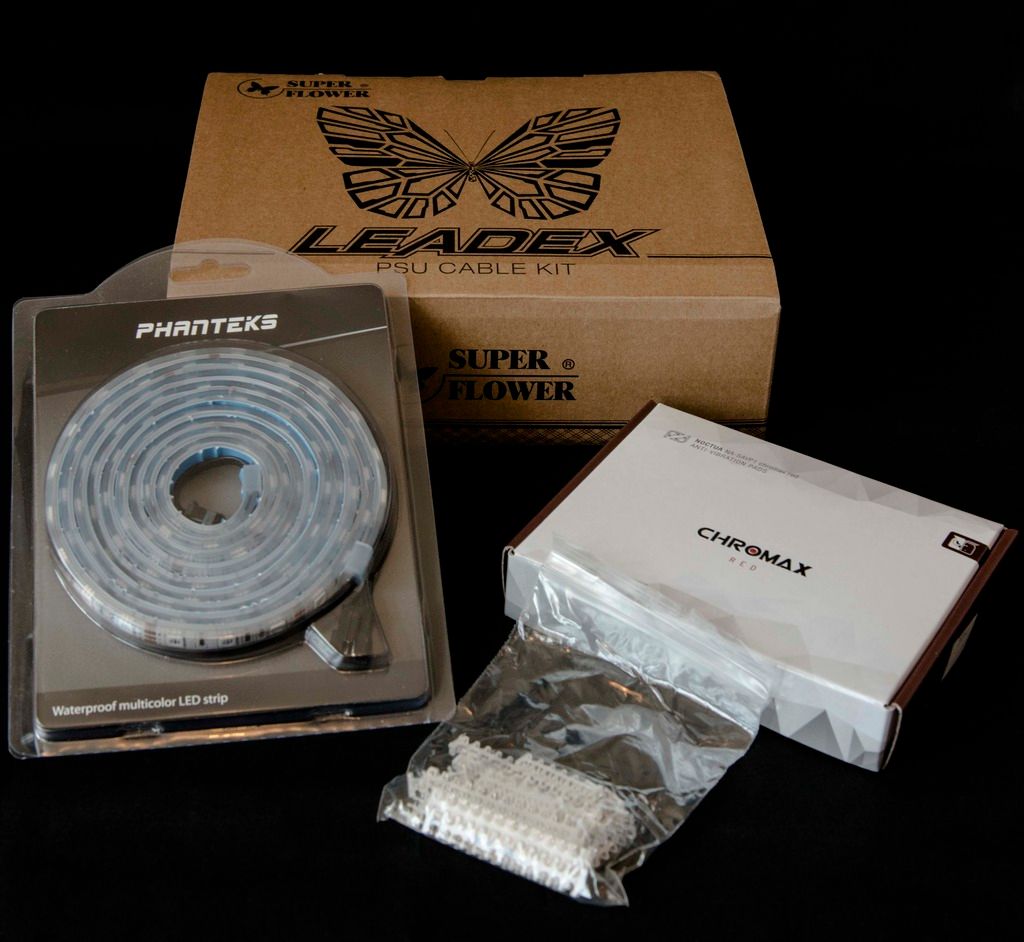
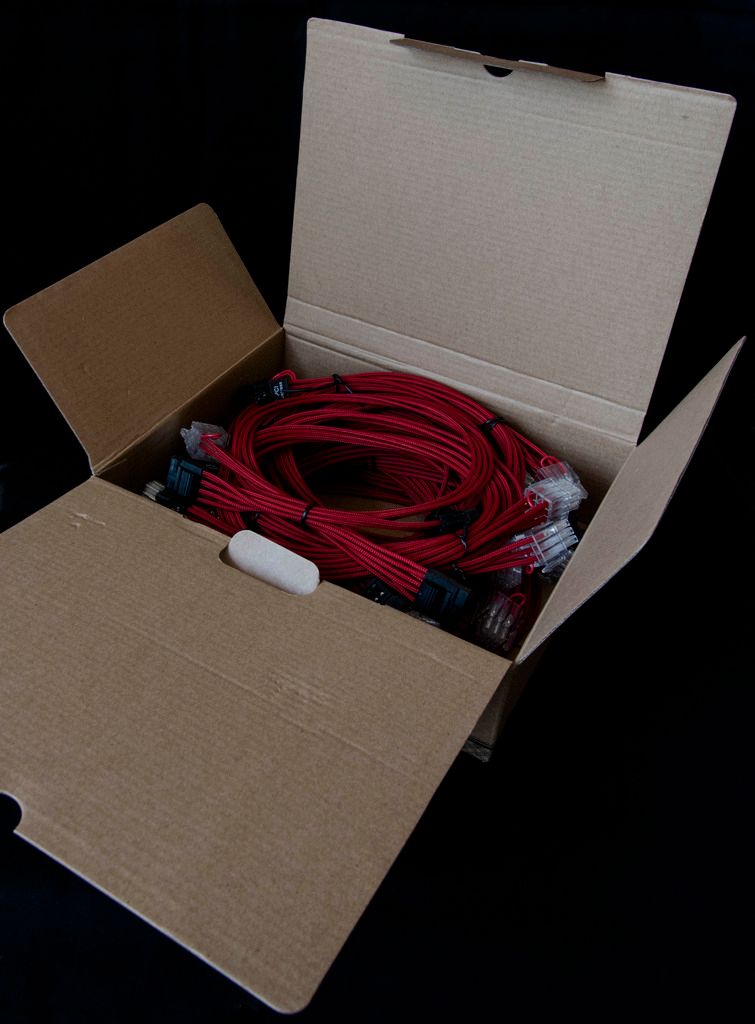
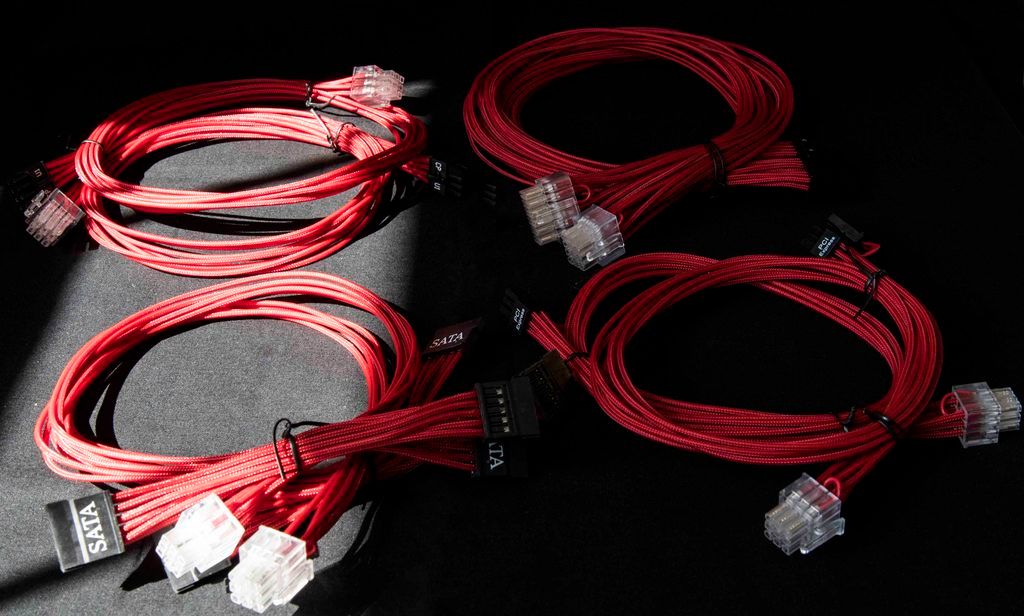
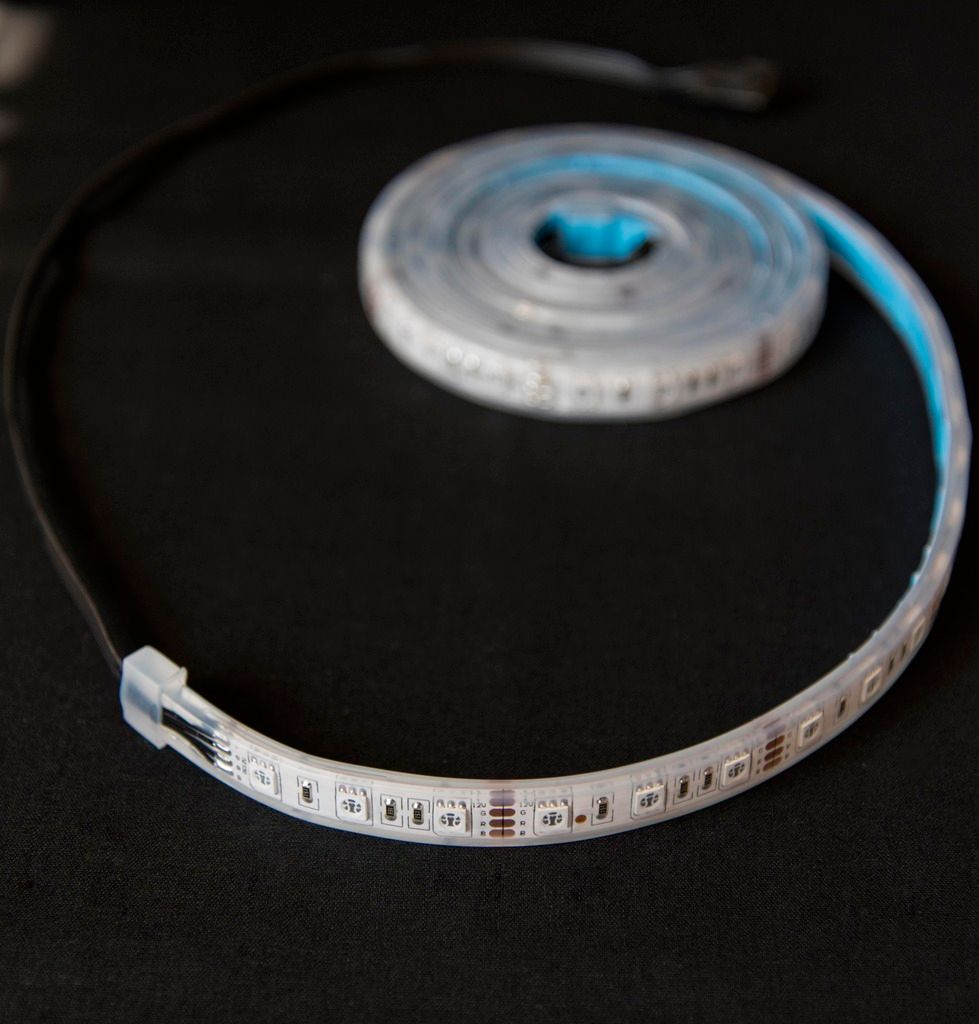
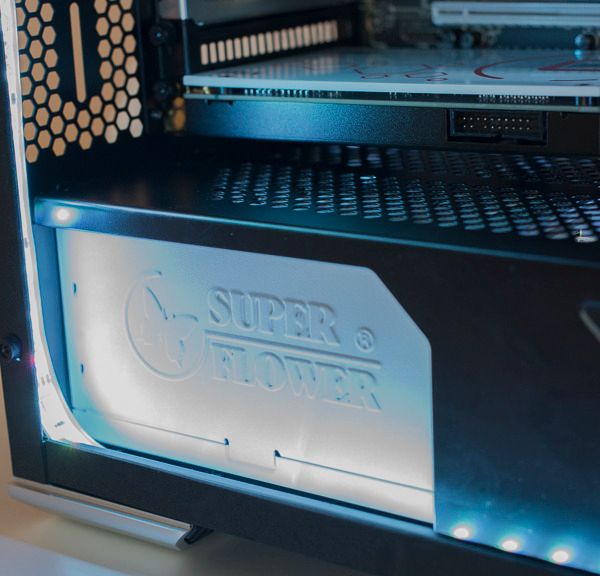
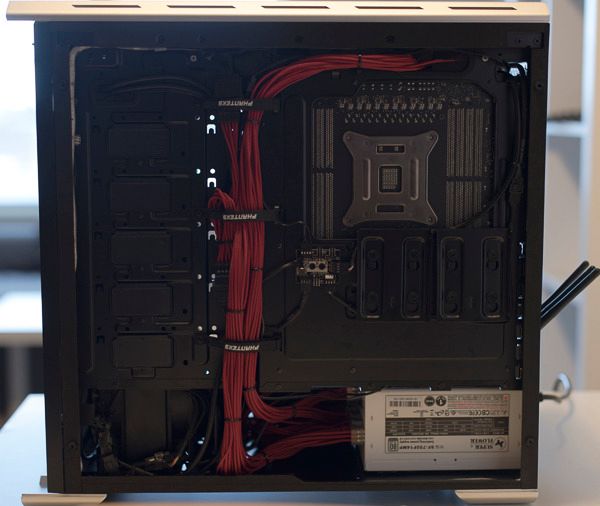
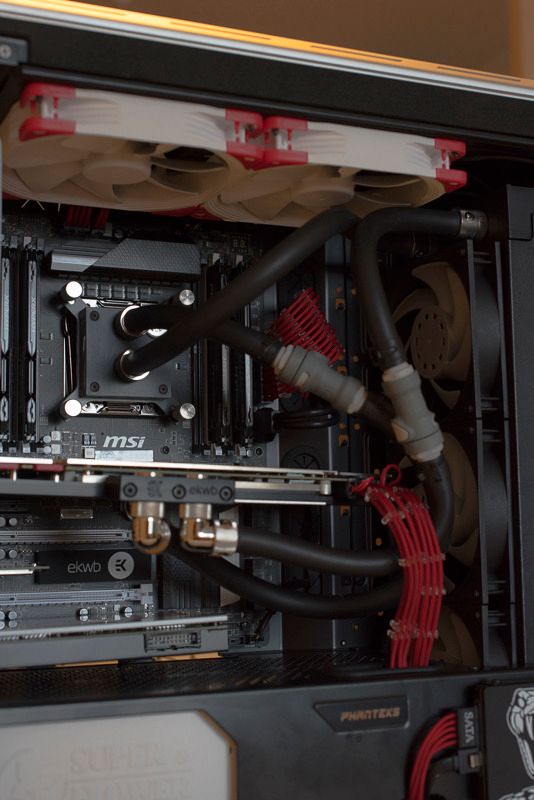
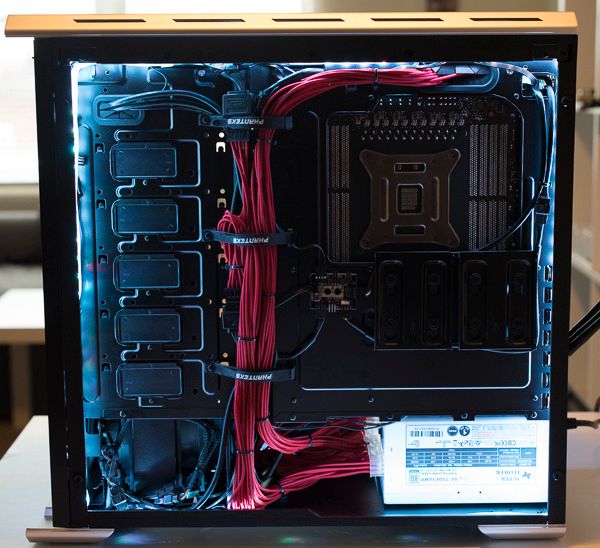
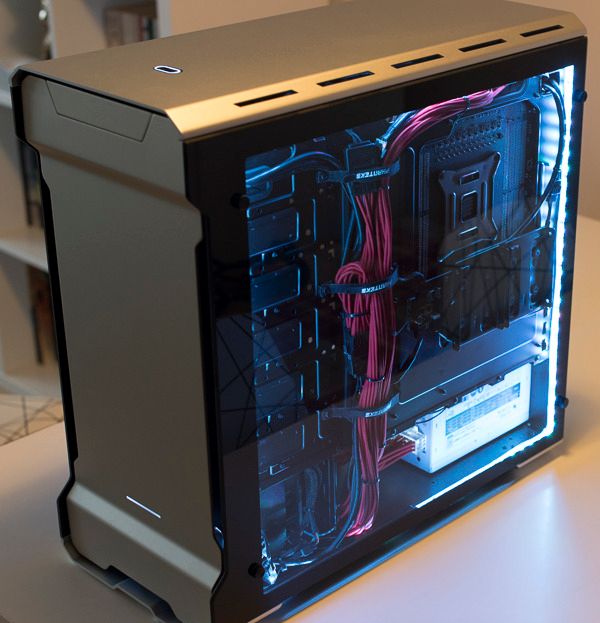
I’m also going to be going full braided cables in the build courtesy of a Super Flower kit to showcase the cable management on the back glass side of the case. I went with red cables to add some accents to the current black/white build. For this purpose I have another 2m Phanteks LED strip coming for the second side.

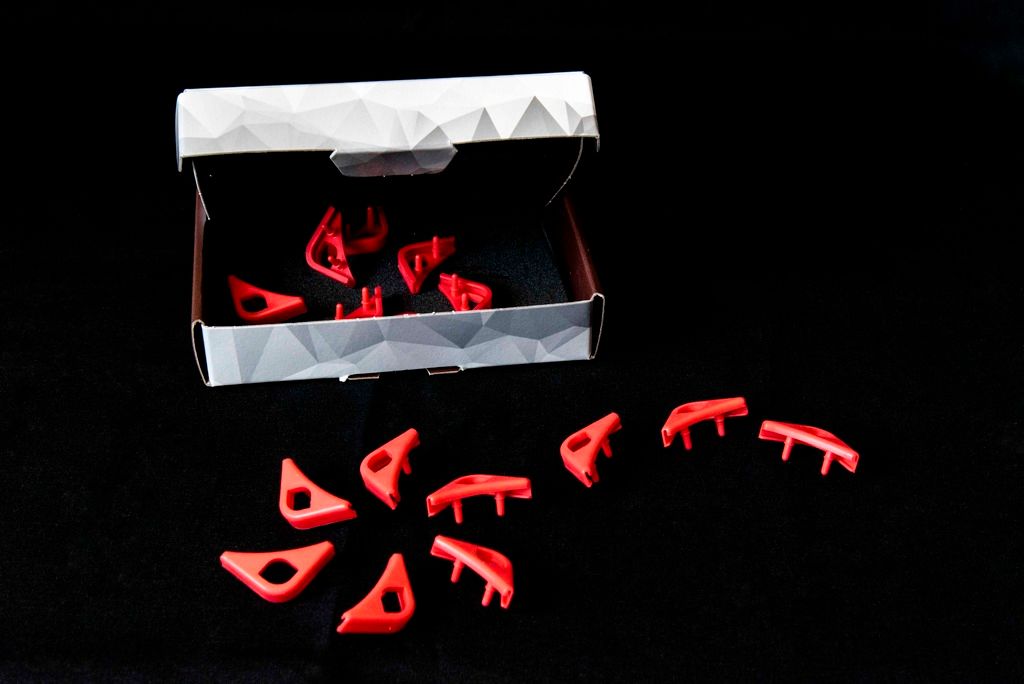
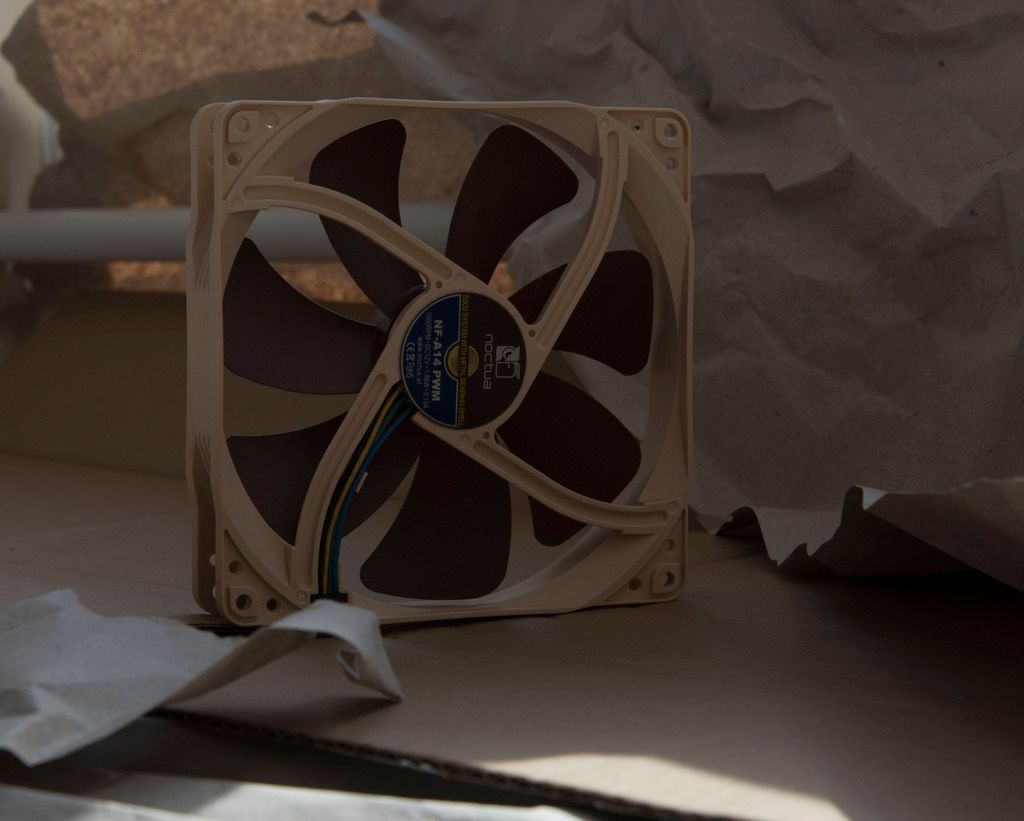
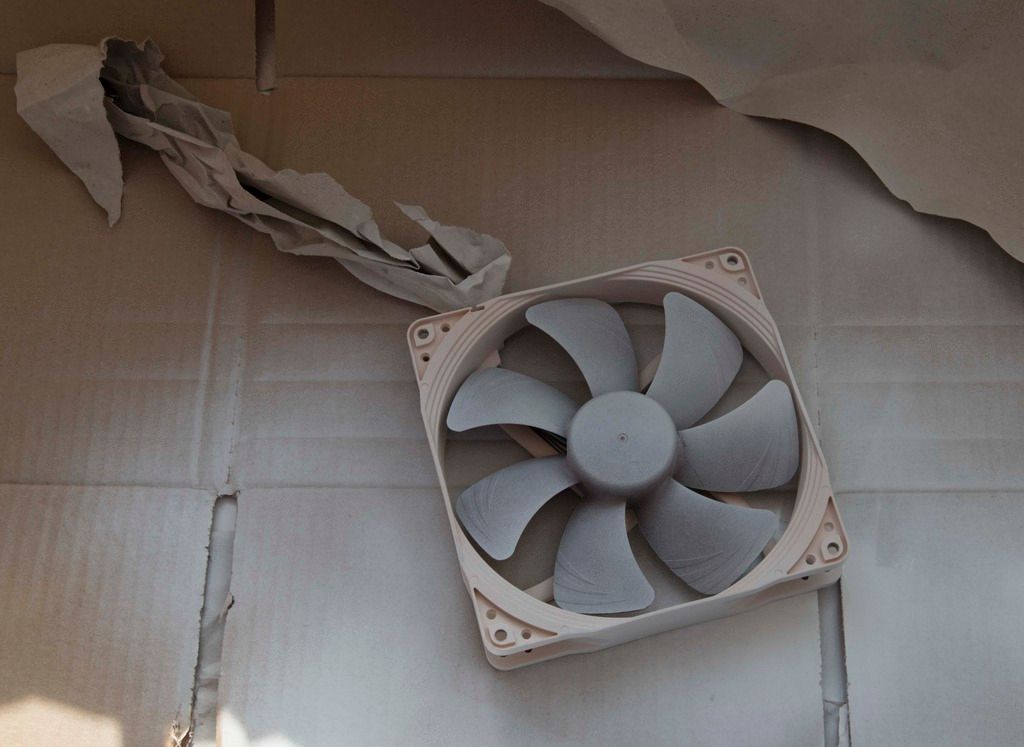
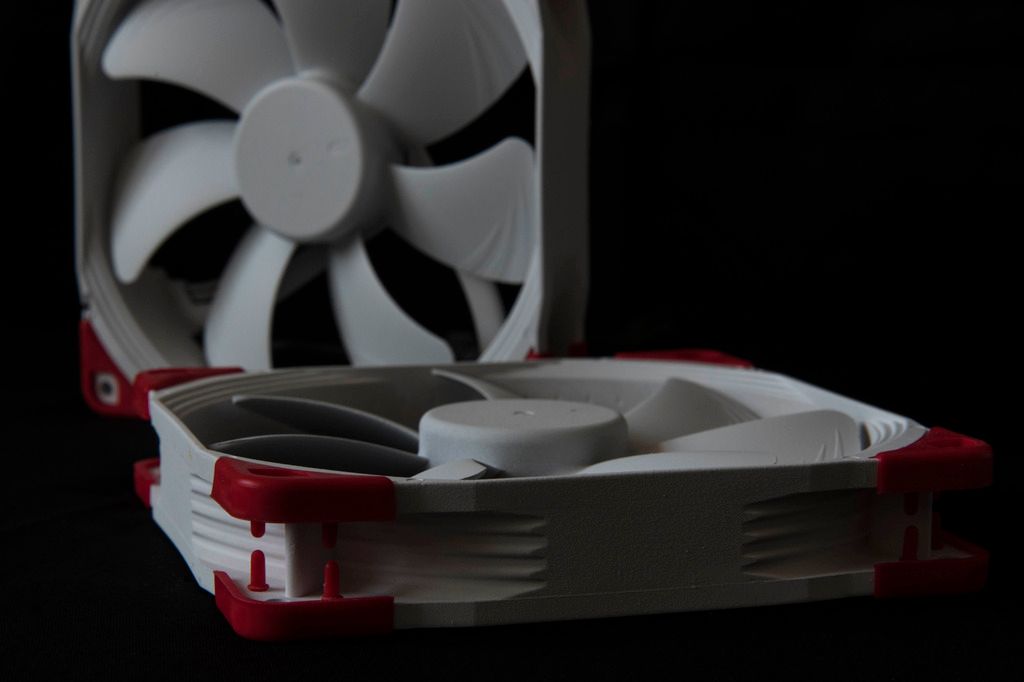
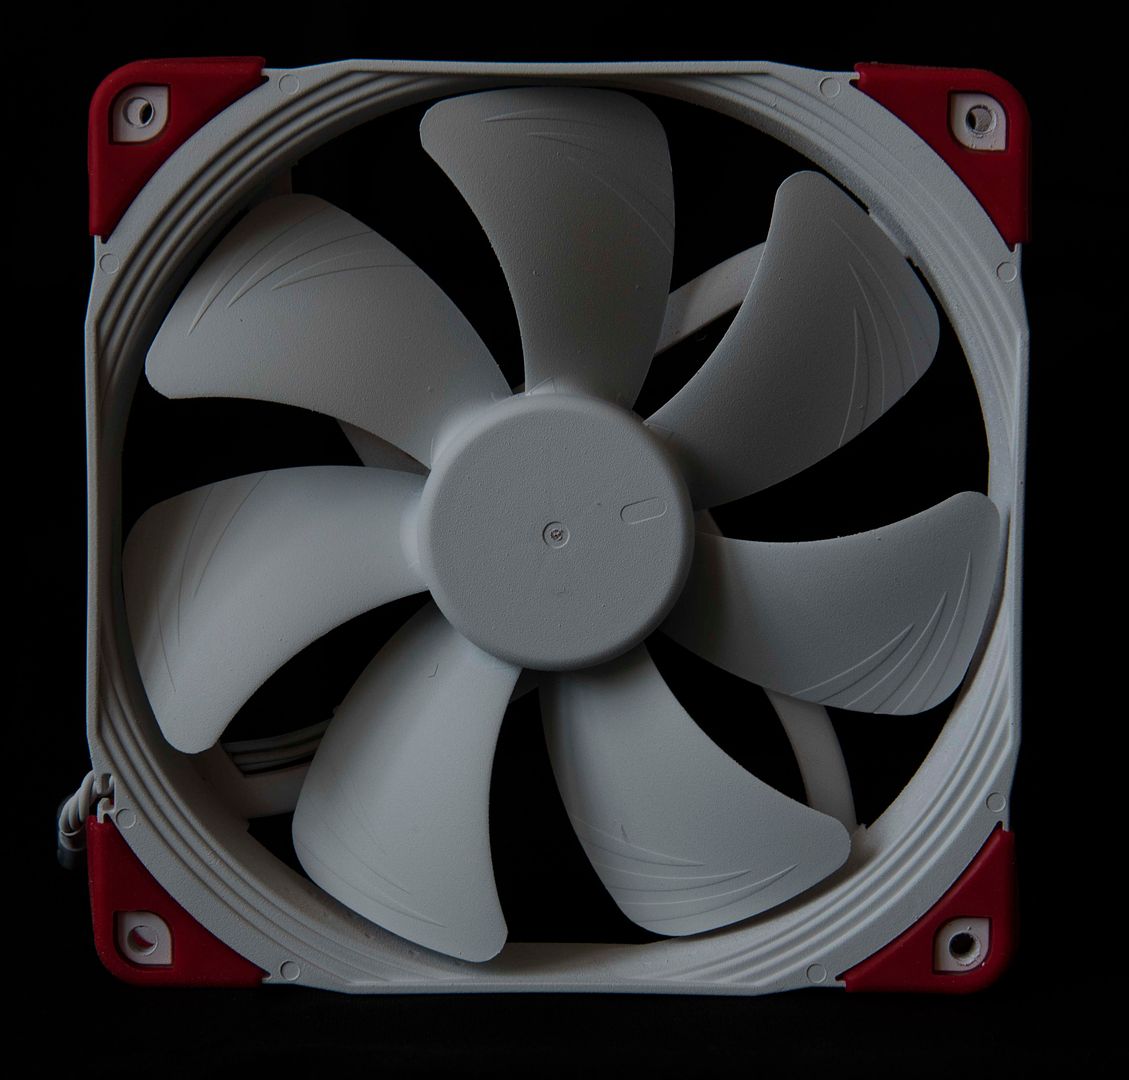
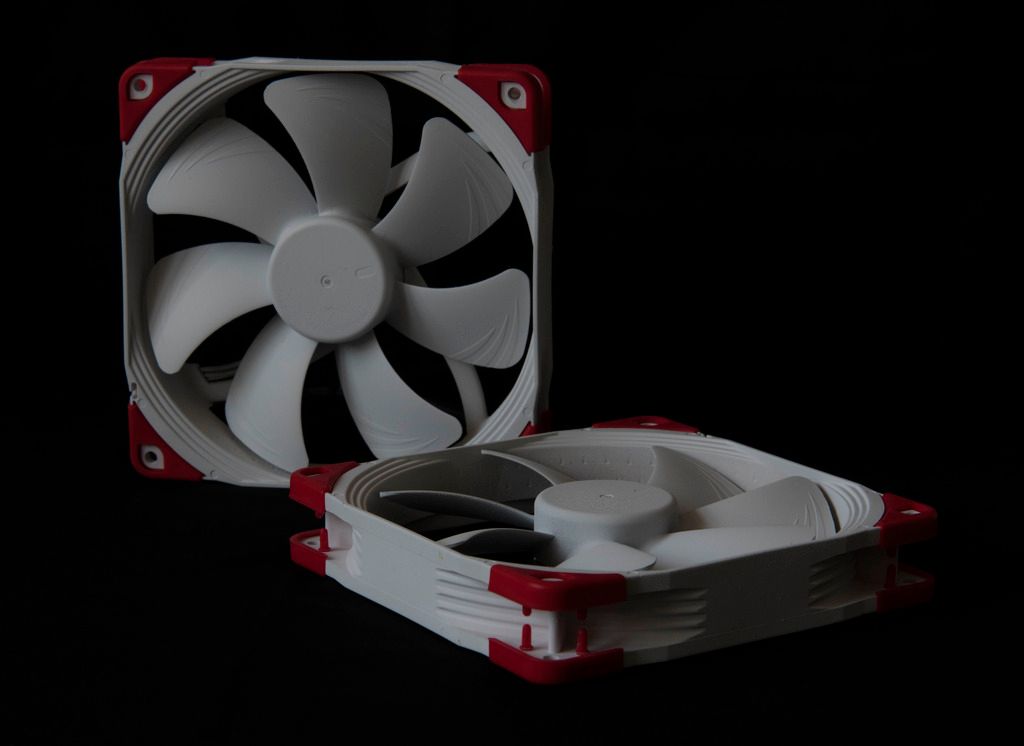
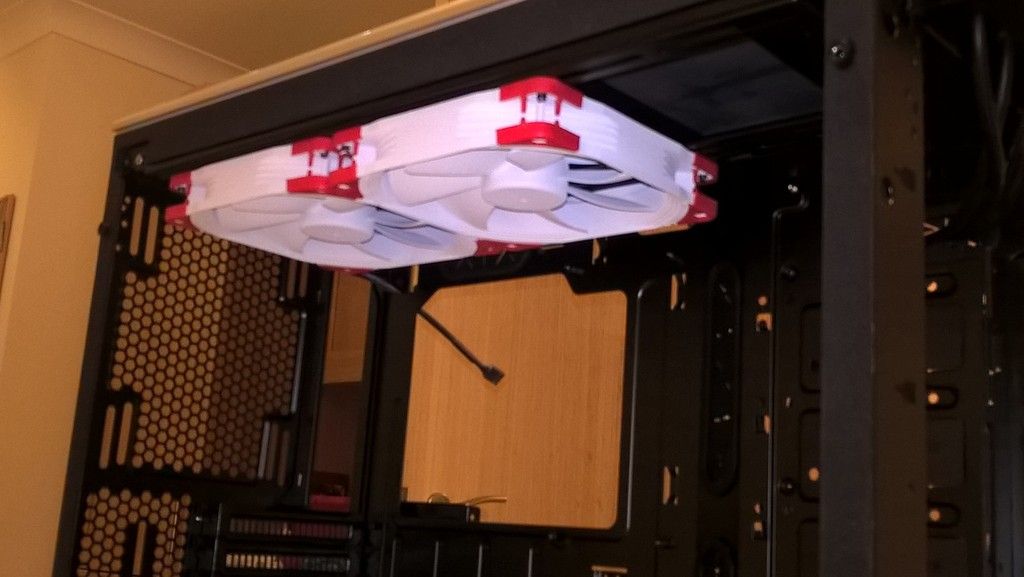
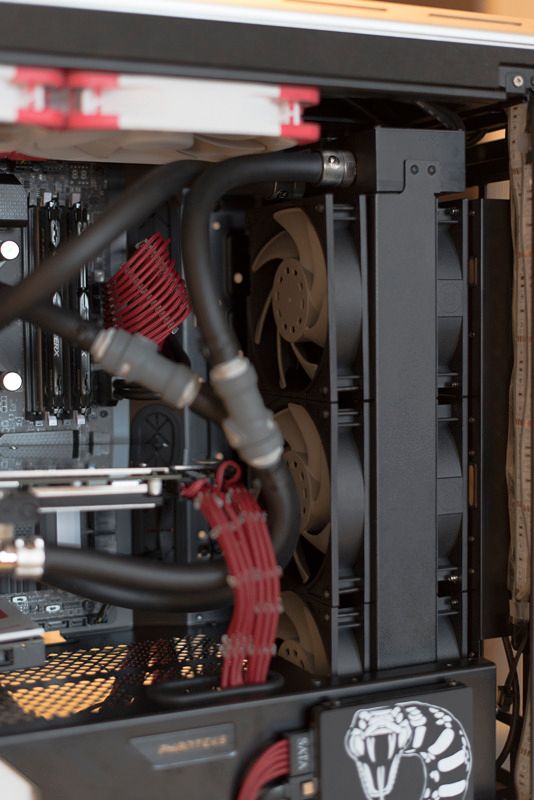
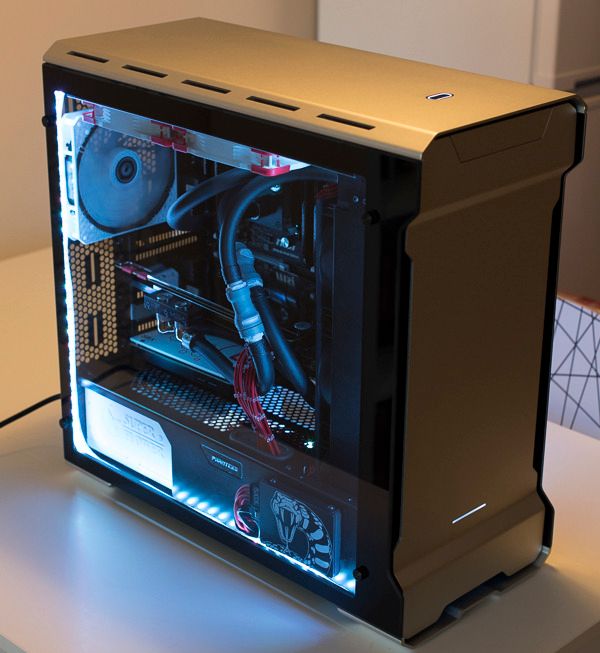
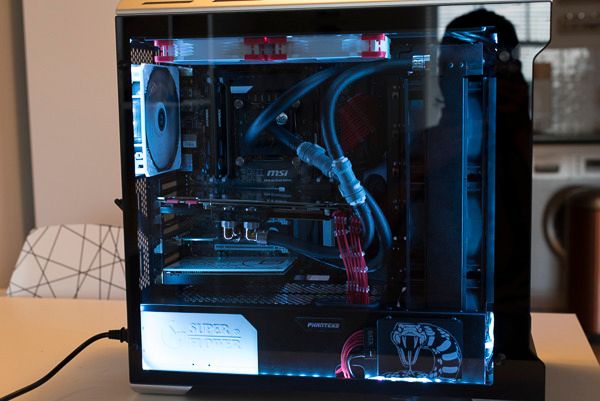
As the Evolv will have less airflow and cooling potential than the current Enthoo Luxe set up, I am going to mount the 360 Predator on the front in push/pull feeding the radiator with cool air intaking from the front. I’ll only have space for 2 140mm on the top (and probably retain my existing BitFenix Pro 140mm on the back). This will mean keeping my Noctua NF-A14’s. Right now they’re hidden in the front of the Luxe and not on display. In the new case they will be in prime visual position, so I intend to spray them white and have some red tips on order to get rid of the brown!

Once everything is in and I will assess temps and airflow, I am (likely) going to get the front and top of the case drilled with some additional ventilation to help with the cooling. I am also likely to get a graphic etched onto the front at the same time. As I day, a little more custom this time around 

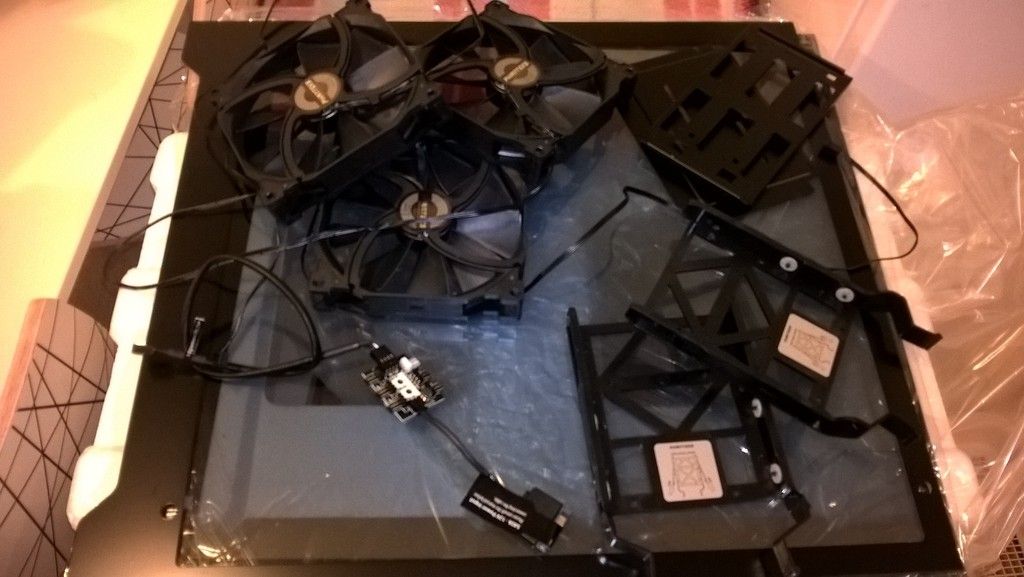
The case is due for shipping from Overclockers on the 12th May, so the idea is to have the fans sprayed and the existing set up stripped down for delivery day. I’m also keen to use this to improve my DSLR product photography skills so expect a batch of new gear and progress shots as things progress.

I’ll update as gear arrives and progress is made. Please subscribe to the thread if you would like to see how I get on. Not settled on a project name yet, we'll see if inspiration strikes when I see the case in person!
 
Associate
OP
Joined
30 May 2015
Posts
451
Location
Sussex, UK
Firstly, accept my apologies for the lack of an update – I’ve been trying to get a side line business up and running and also in the process of buying a new motor :D

This will be an interim update of gear arriving and some of the work started on the fans. A busy couple of days of couriers and postmen deliveries had the following loot arrive:

Pete%20Evolv%20build%20jpegs%203%20of%2011_zps54cdwmni.jpg


The quality of the cable set is good with more than enough spare leads for any future upgrades I may make (thinking full custom loop and an additional 980ti when I will be able to pick one up cheap due to Pascal):

Pete%20Evolv%20build%20jpegs%206%20of%2011_zpsdknfvrkk.jpg


The slight problem that has come up from my assumption on what the cables would be like is on the combs. My existing PCI Silverstone braided extensions are 8 wires. Therefore I ordered some additional 8 wires combs:

Pete%20Evolv%20build%20jpegs%205%20of%2011_zpswpp8bim8.jpg


However, the SuperFlower PCI cables are 6 wires with the +2 plugs tacked on the end of the 6 wires as an extension. This will be a job for a hot scalpel to chop off the redundant slots. Further, I had for some reason expected the braided SATA cable to be usable in a comb (10 slot), but clearly it's problematic due to being 5 braided cables. I’m going to have a think on this when I am in possession of the case for the best solution:

Pete%20Evolv%20build%20jpegs%207%20of%2011_zpscyqrf9ym.jpg


I am happy with the Chromax tips for the Noctua fans – a nice vibrant red to catch the eye when they’re mounted in the roof of the case:

Pete%20Evolv%20build%20jpegs%204%20of%2011_zpsoujbr8dr.jpg


Finally, I have an additional 2m of Phanteks LED lighting to make sure that all my effort with tidy cable management gets noticed ;):

Pete%20Evolv%20build%20jpegs%208%20of%2011_zpswwkqdr7h.jpg


I’m still waiting on the custom back plates (although they should be shipping in a day or so and not having them won’t delay the build. Obviously I’m at a bit of a roadblock now until the case turns up, but I have managed to get the fans ready for their new home - I had a spare 120 mm Noctua and 120mm Vardar to fill the gap in the interim.

Here are some shots of the fan progress and finished result. I’m pretty happy with them and hope that you’ll agree that the white/red combo is going to look a lot better than the beige/brown default offering:

Pete%20Evolv%20build%20jpegs%201%20of%2011_zpsz3eqaga1.jpg


Pete%20Evolv%20build%20jpegs%202%20of%2011_zpscfuyxoak.jpg


Pete%20Evolv%20build%20jpegs%2010%20of%2011_zpszoacfzkw.jpg


Pete%20Evolv%20build%20jpegs%2011%20of%2011_zpskz2oozhr.jpg


Pete%20Evolv%20build%20jpegs%209%20of%2011_zpswuxxxr78.jpg


Next update should be a big one as I’m hoping to be able to complete the re-home in a day when I have the case.
 
Associate
OP
Joined
30 May 2015
Posts
451
Location
Sussex, UK
Just had a delivery.... so now I'll see you on the componants-but-no-case and raise you 300ft of paracord but no wires to sleeve! :D

Just had a DHL confirmation that my custom backplates have just been shipped! I'm catching you up :D

Just need OCUK to come through on the case. The ETA is still being listed as 12/05, but tomorrow will tell if I get a further courier update.
 
Associate
OP
Joined
30 May 2015
Posts
451
Location
Sussex, UK
Thanks, I was pleased with the results and possibly.

I researched this and a guy in the US also sprayed his Noctua's. He tested db's before and after and there was an increase of 1db. If I get a similar increase I can live with that.

Also, when I'm gaming I use my K702's so am immune to the fan acoustics.

Looks like the case is not going to arrive until next week now. I'll spend the interim cutting down the PCIE cable combs and installing all of the back plates before I migrate across cases. The back plates will look way better than the vinyls used on the current build.
 
Associate
OP
Joined
30 May 2015
Posts
451
Location
Sussex, UK
Case has now turned up (and the backplates) I've been a bit busy, but hope to make a start on the build tonight for a few hours after a lifting session.

The case looks ace and is going to be great with all of the kit in it.
 
Associate
OP
Joined
30 May 2015
Posts
451
Location
Sussex, UK
Thanks Bradley.

A small update I was able to prep the case whilst the missus was out last night. Apologies for the unedited phone shots - I wanted to get a quick update in without having to set up and edit DSLR photos:

Here's all the bits I removed from the case in preparation for putting the gear in:
WP_20160517_20_48_17_Pro_zpsegiz9ff8.jpg


A shot of the front ready for the Predator 360 in push pull:
WP_20160517_20_48_50_Pro_zpsrmzvblgv.jpg


The resprayed Noctua's sitting in their new home. I'm pleased with the aesthetic and red accents from the Chromax tips:
WP_20160517_20_48_38_Pro_zpst9cibyf9.jpg


And finally a shot of my little French Bulldog puppy. She was missed off my last build, so I thought I should sort it out this time around :D
WP_20160517_20_28_21_Pro_zpswdzdon1p.jpg


I'm looking to finish things off on Friday and Saturday. That will be adding on the custom back plates and transferring all the gear from the Luxe case here. I can see a lot of the time being spent on the cable management as I want to nail that for the open rear side. I have got the 2nd 2m strip of LED's in place so it will be a dual illuminated build.

Expect a further update at the end of the week.

Cheers
 
Associate
OP
Joined
30 May 2015
Posts
451
Location
Sussex, UK
The case will stay black inside. I have a nickel backplate on my Ti and a custom backplate in white with black and red accents for my ZxR soundcard.

The Mobo is Black and white also.

Finally the 2 strips of led's are also to add colour and the case being silver should also add contrast.

I've loads of white primer and top coat left, so may consider a spray of the PSU shroud if I feel like I want more white to come through. My PSU is white so it may be good to balance out the shroud. Time will tell and it's a quick win if I decide to go that route.
 
Associate
OP
Joined
30 May 2015
Posts
451
Location
Sussex, UK
So the build is done. Temps seem okay, but the noise is slightly greater than the Luxe case. Aesthetically it's worth it though.

I'm holding off on the unveil shots until I get a chance to carry out a shoot with the DSLR on the weekend.

In the interim, here's a sneaky preview of the sound card backplate:

y3mSrMGb9aAGTnmnrYP2LHfBOPcpx6Fk9poWsCp24n07Ef2XQ4ZlaPCFw74xoUxOPDOyI6tinLxByank2dQWXpze_v_T-QjgWAkh8p-YgWx5M-gEaaOyxxzSYwHP84ey95smnYSensUlzzHj3VAmMOjmA
 
Associate
OP
Joined
30 May 2015
Posts
451
Location
Sussex, UK
Looks good. Like the backplate! Look forward to seeing whether I'm going to be jealous of your full glass side!

I think you will be (although am a little bias).

I just need to do a small amount of tidying of the cables as they come out of the psu - I want to bind them so that they're nice and neat in the psu shroud area.

It's funny how much EVERY aspect of the build needs to be considered with a full glass front and back sided case. However, I think that the results are worth it and hope that everyone agrees when they see the finished build.
 
Associate
OP
Joined
30 May 2015
Posts
451
Location
Sussex, UK
I was wondering whether to see if it was possible to hybridise a glass and non-glass version to get a full glass 'window' and a metal rear panel. I can't be mounting rads on a glass panel! ....athough, with a tile drill....NO, I can't be mounting rads on a glass panel, it'll end in tears! :D

It is tempered glass, although I would be impressed if you manage to mount that beast of a rad onto it!
 
Associate
OP
Joined
30 May 2015
Posts
451
Location
Sussex, UK
Okay, so I've got some DSLR shots done - not totally happy with them as I didn't have my studio lights set up, nor my polarising filter to hand.

First up some feature shots:

Evolv%20shots%2011%20of%2014_zpslwrrj2bw.jpg


Evolv%20shots%204%20of%2014_zps5shqpx43.jpg


Evolv%20shots%205%20of%2014_zps1u8sz5fh.jpg


Evolv%20shots%202%20of%2014_zpszlmauzbl.jpg


I'm happy with the custom covers here and think that they are a LOT better than the vinyl's I used in the previous case.

Now onto some shots with the glass off and no LED illumination:

Evolv%20shots%203%20of%2014_zpsdpz8ftb0.jpg


Evolv%20shots%201%20of%2014_zpsjprun90l.jpg


Evolv%20shots%206%20of%2014_zpsl1tfuxxd.jpg


Evolv%20shots%207%20of%2014_zpsu05ncnga.jpg


Evolv%20shots%208%20of%2014_zpsr5na1hjf.jpg


I'm pleased with the cable management and reckon I've done a glass backed build justice.

The Super Flower braided cable set are quite thin and this has meant that I've gained some extra sag on the GPU front. Not the end of the world, but I may need to do something about it.

And the lit up and then glass sided on :D

Evolv%20shots%209%20of%2014_zpsfoug9fgy.jpg


Evolv%20shots%2010%20of%2014_zpsejnfpilk.jpg


Evolv%20shots%2013%20of%2014_zpsjpo3lomf.jpg


Evolv%20shots%2014%20of%2014_zpsm9767sb8.jpg


Evolv%20shots%2012%20of%2014_zpsmay0zwyv.jpg


I did have a lot more shots with the glass on - using a range of colours and pulses from the LED's. However, the lack of the polariser on the lens meant that there was too much ambient reflection. I'm going to get some more shots once I have my filter back. I may also sort out a shot video to show the LED's in cycle action.

Let me know what you think and I'm happy to hear any suggestions for improvements.
 
Associate
OP
Joined
30 May 2015
Posts
451
Location
Sussex, UK
That looks very nice! the cabling at the back is so neat! great job!

But i agree the GPU droop needs some attention :D

Also think you should straighten the gpu power cables. looks to be leaning to the right on the photo. would look nice if it was straight like the rear cables

Agree on both points. I need to work out the best way to get the gpu cable combs more secure - as the braids are so thin even the thin combs don't really grip them. It's meant that they are less tamed! I'll figure that out though.

I'm thinking of reaching out here to anyone with a 3d printer to print me out a T or L shape thin brace for the gpu. I need to take measurements of what I need and hopefully someone can come through for a fellow OCUK member ;)
 
Associate
OP
Joined
30 May 2015
Posts
451
Location
Sussex, UK
It's a custom cover that I had made by Cold Zero. He also did the Soundcard and the SSD cover. I gave him the assets for the SSD drives and had him modify one of his existing Soundcard backplates to match my colour scheme requirements. Highly recommended service if anyone else is interested.

I'm now on the fence for a possible etched front of the case. Also, on the back-side I'm considering a custom cover to go over the fan hub and perhaps in the bottom left where all of the Predator fan splitters are - they are messing with my cable mojo :cool:
 
Associate
OP
Joined
30 May 2015
Posts
451
Location
Sussex, UK
It looks really good. Does it serve any heatsink function? They can get quite hot. 60-80C hot.

Etched side: could look good with the right image. Could also distract from the contents - which I don't think you need to do!

Back covers: hub doesn't really notice in pics. See what you mean about the Predator splitters but because they're black I didn't notice them in the pics until you pointed them out. Easy cover with some flat acrylic though and space for artwork.

RIght now no heat sync function although it is raised from the actual M.2 via a very small velcro attachment. I was thinking of adding in some heat sync tape though to help with any heat dissipation.

The etching wasn't going to be the side, but the aluminium front. I would only consider a very minor side etching in one of the top corners (but probably would leave the glass as is for cleanness).

Flat acrylic was my thoughts too on the splitters. Likely from my man Cold Zero once more so I can get some bespoke graphics done. I was also thinking about getting him to make me a gpu brace.
 
Associate
OP
Joined
30 May 2015
Posts
451
Location
Sussex, UK
Very nice work. Love the cable management.

Out of curiosity, how well would a radiator breath up top do you think? looks a tad closed off?

Thank you. As Cenedd says, the top airflow isn't great (without modding) and I would expect that a more aggressive water cooled loop may struggle if there were more rads. I'm not convinced that enough heart would be expelled efficiently. Having the 360 rad on the front though seems to keep everything in check. I am aware of the argument about no to minimal impact of push pull in fan configurations, but for the time being it seems to be handling the temps of a high cpu and high gpu overclock well.

top notch. very neat build.

Thanks mate.


I also spent a little time considering the best options to deal with the GPU droop. I may have a solution using a 24 pin cable comb and a couple of screw holes that are on the back of the case. I'll need to test out whether this is viable later in the week, but it will be a subtle low impact solution if I can blag it.

I think that I'm also going to get a white customer acrylic plate for the rear side of the PSU with the SuperFlower logo to tidy it up. That will go alongside a black vinyl rectangle to hide the Predator splitters which will likely have some build details on it. Finally, I may add in an additional vinyl cover to go over the back of the mobo and cover the cpu plate and fan hub.

Then I may be about done! :D I'll keep progress updates going and am going to hold off on final shots with the polariser until I get these last few additions sorted.

If anyone has any other suggestions, now would be a good time before I place an order for the custom plates.
 
Associate
OP
Joined
30 May 2015
Posts
451
Location
Sussex, UK
So the picture above doesn't show the true color??? it looks light grey

Regards!

It's probably a bit off as I didn't set up my studio lighting for the shots I took. However, it's not THAT far off. WHilst it's called silver, remember that it's brushed and matt aluminium, rather than say the silver of the nickel GPU block backplate (for comparison).

I guess you could describe it as a light grey though! ;)
 
Associate
OP
Joined
30 May 2015
Posts
451
Location
Sussex, UK
What's the little EKWB tag on your mobo, is it just an aesthetic item?

Love the build btw, this is pretty much what I'm going to be ordering when I get round to it :)

It's a custom M.2 SSD cover that I had commissioned for the build.

Really appreciate the kind words too. One day it will be a full hard line loop!

I've also got the GPU sag sorted now so am really happy with how things are running. 50c on CPU and GPU in 1440p gaming so happy with how things have turned out (so far)
 
Associate
OP
Joined
30 May 2015
Posts
451
Location
Sussex, UK
The one's I have are adhesive. Not such a problem in this case as it's easy to wedge them in. When I had a strip in the luxe beforehand, I needed to use separate 3M double sided tape as the default tape strip isn't the strongest.
 
Back
Top Bottom